cracking project you got there mate


cracking project you got there mate


Nice build bud ,
Thanks
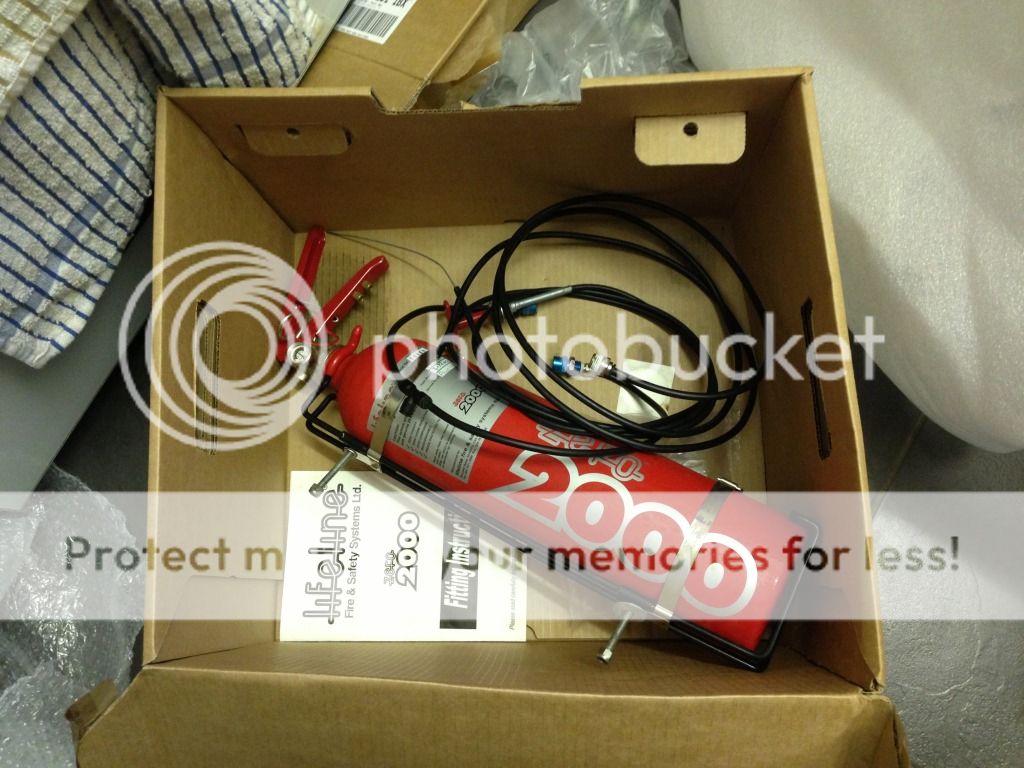
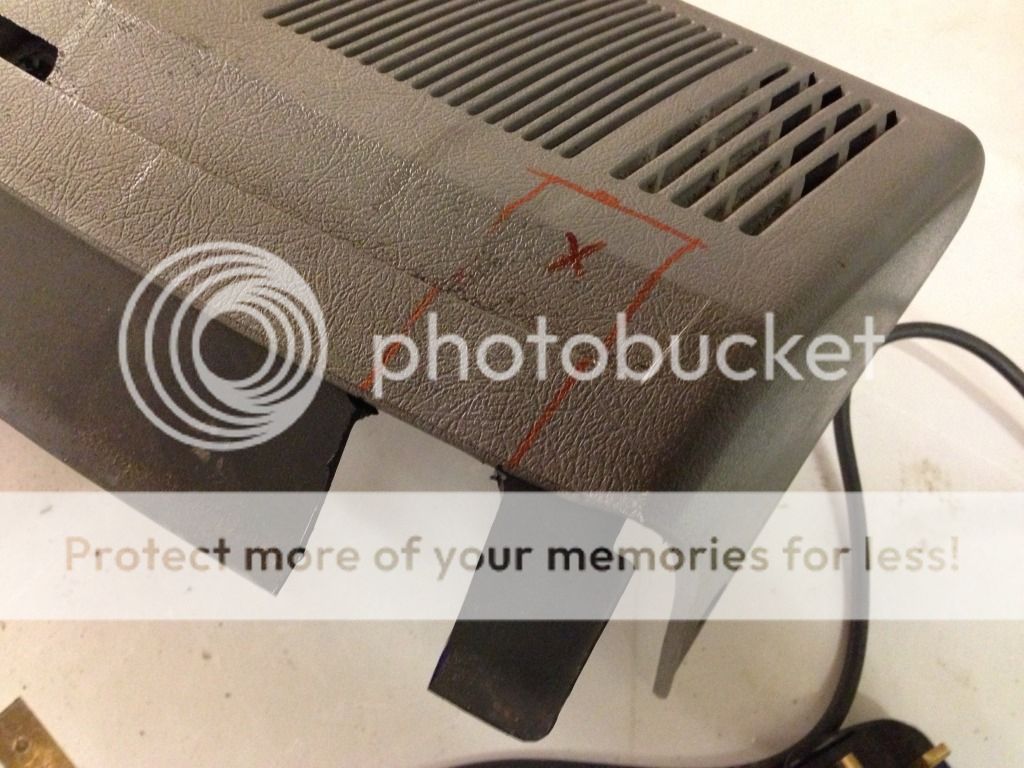
Had a nice package arrive today. Genuinely had no idea what it was until i opened it, as i think i must have bought it after a few glasses of wine.
Came with two nozzles all pipework and a remote pull cord, so very happy with that.
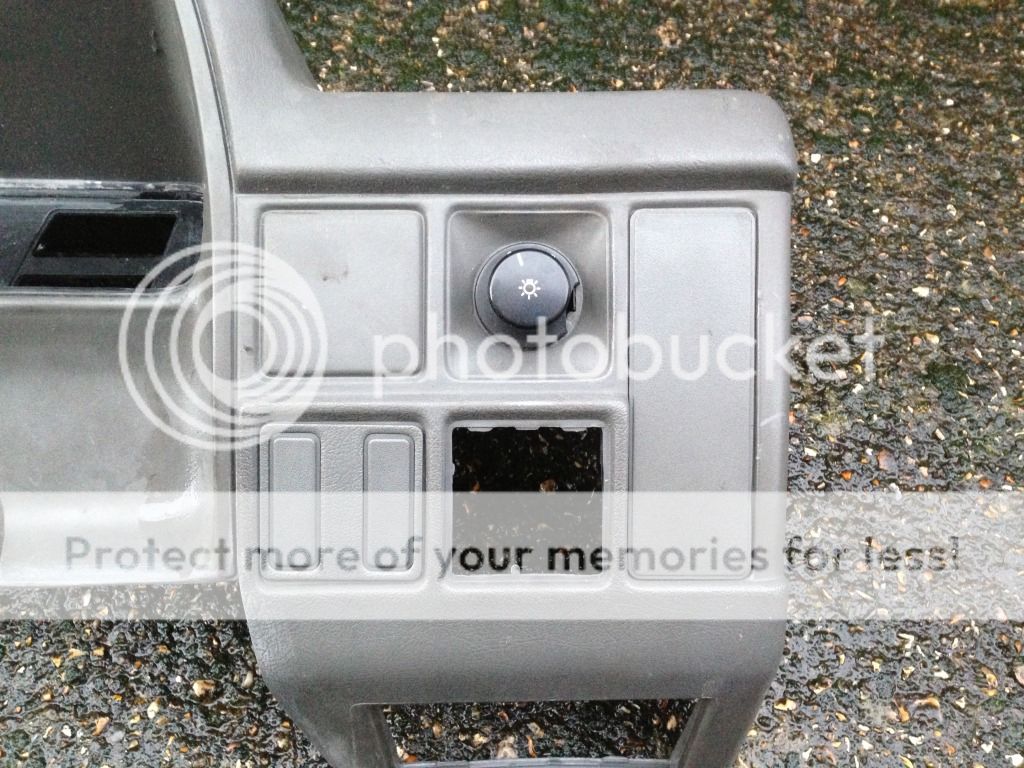
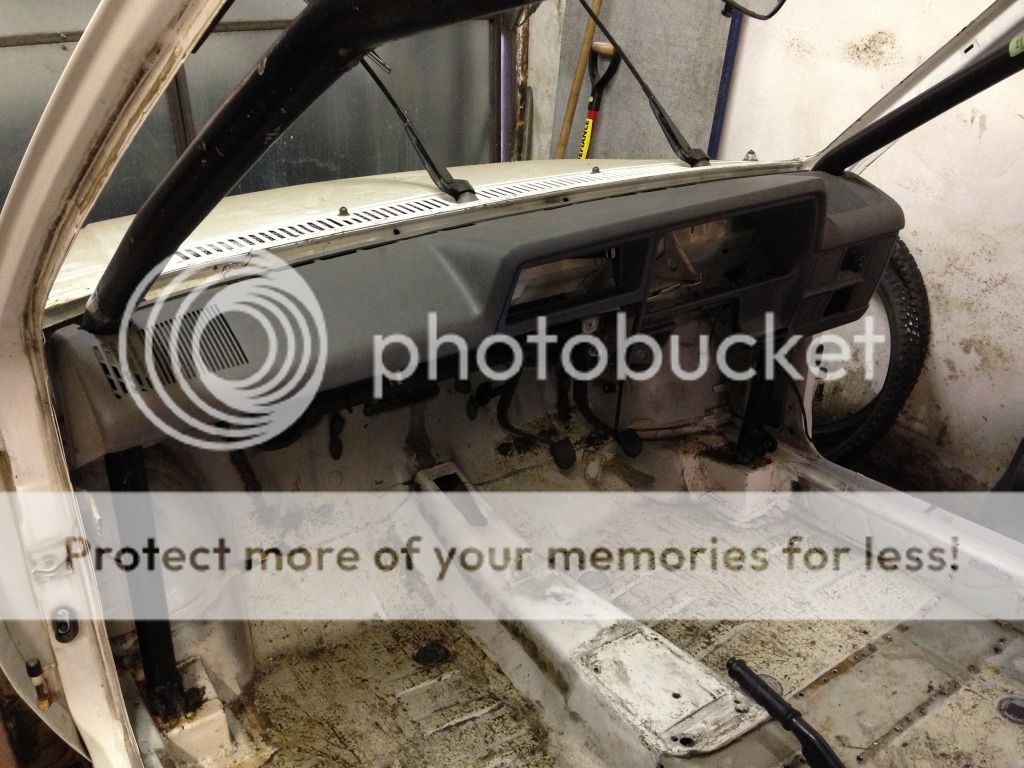
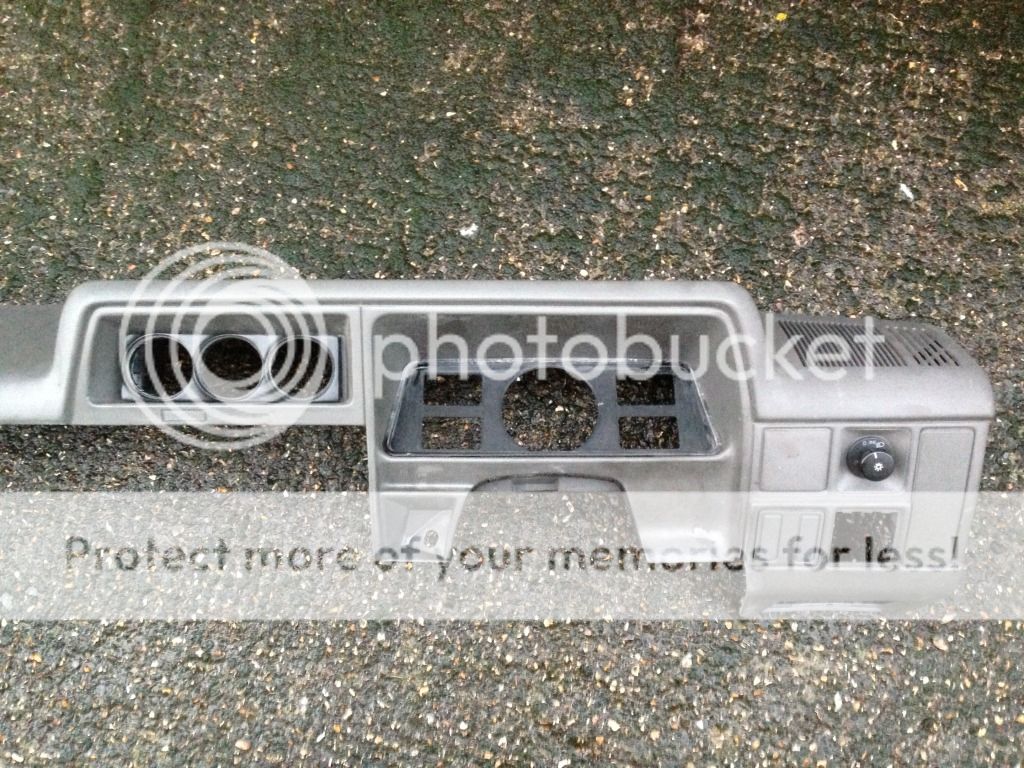
I also got all the bits i needed to finish my dash from the scrappy this week. So got all mk1 switches, fuse box cover and a set of base clocks to mess around with
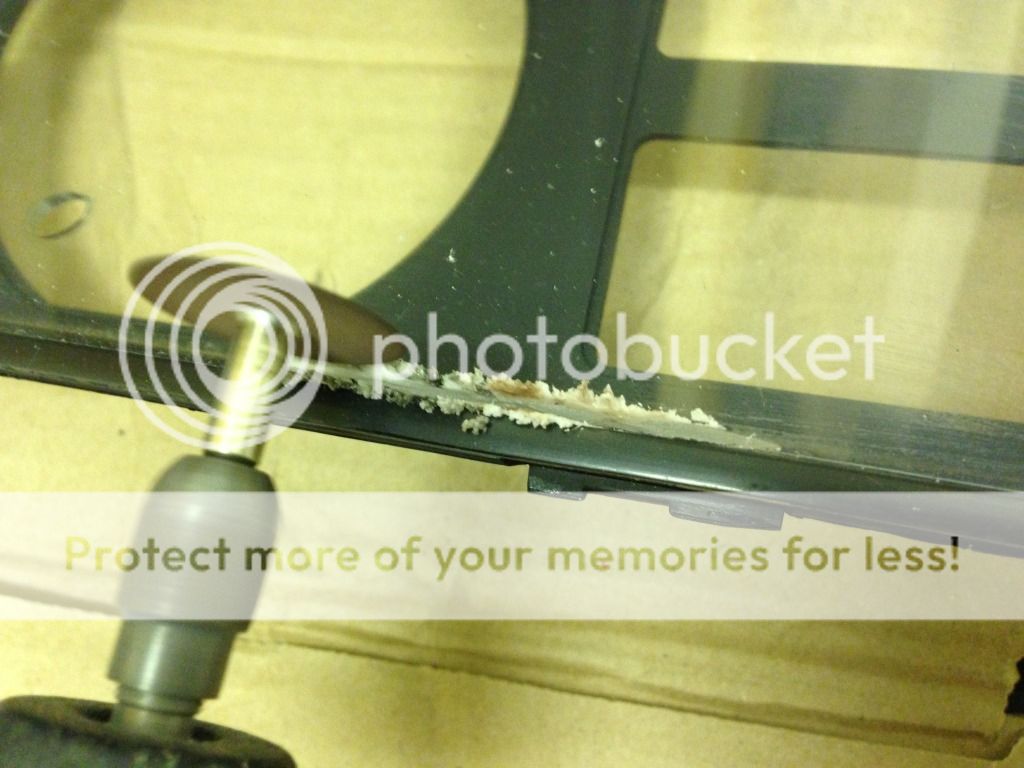
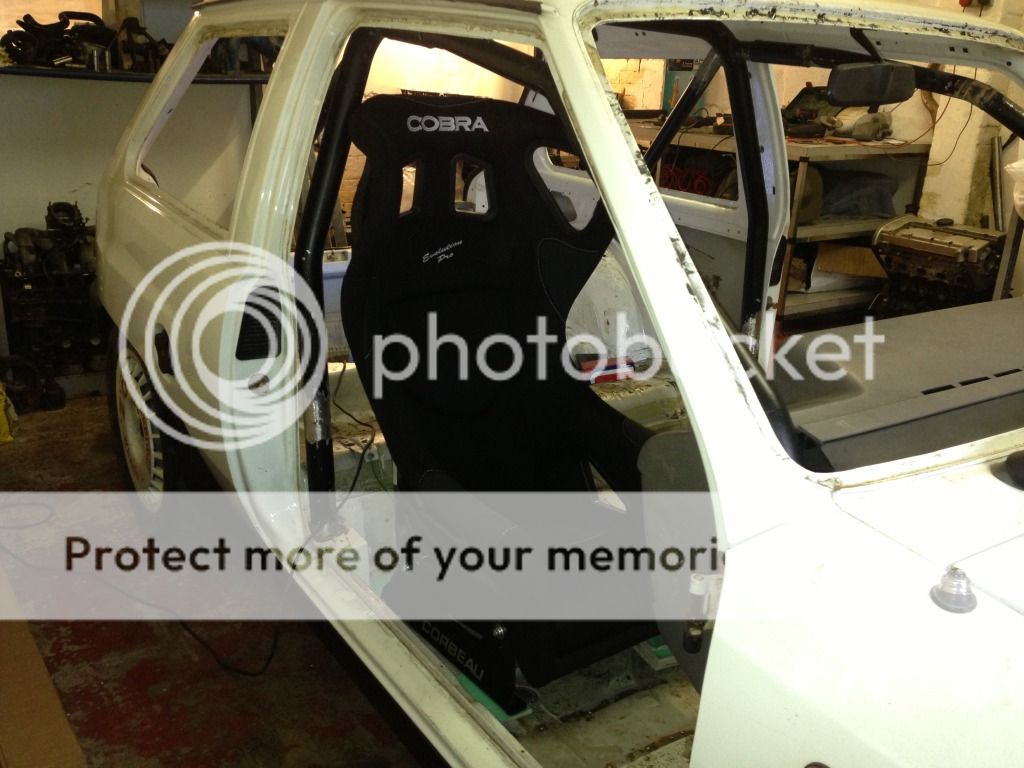
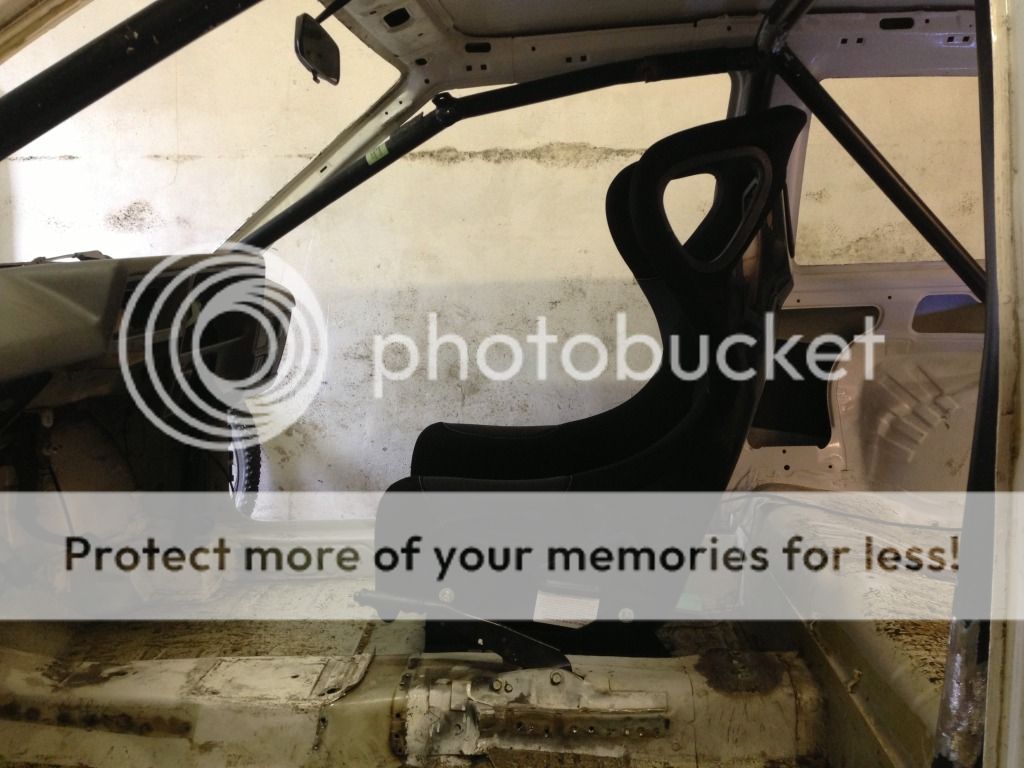
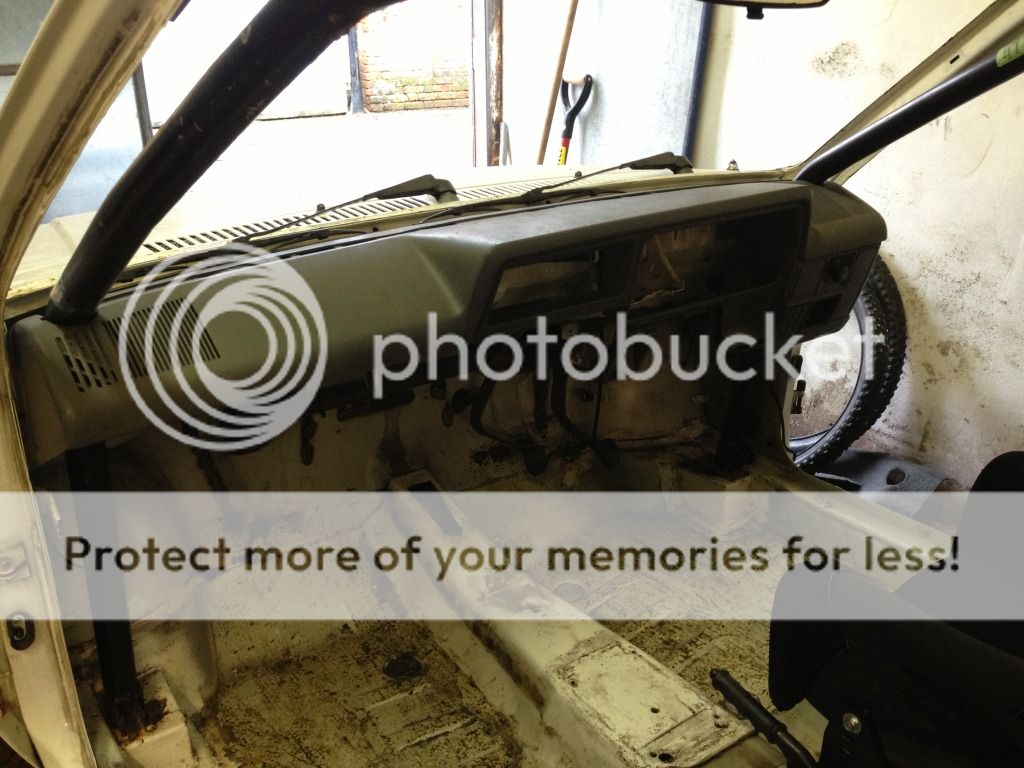
Original plan was to pop the glass out and fit a new panel in place of the rear one to house a stack rev counter and 2 gauges, But upon inspection it was obvious that would leave a horrible rough edge facing the driver where the screen was bonded on.
So instead i decided to do it the hard way, and cut the screen out, leaving the nice smooth bead around the edge.
Took ages
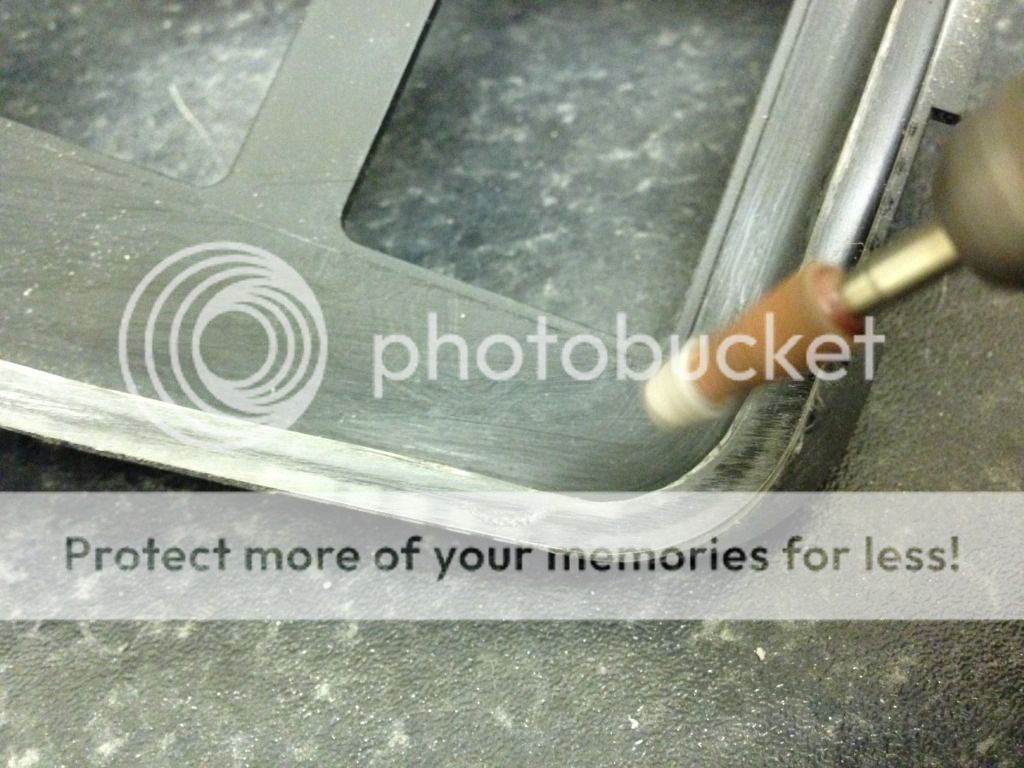
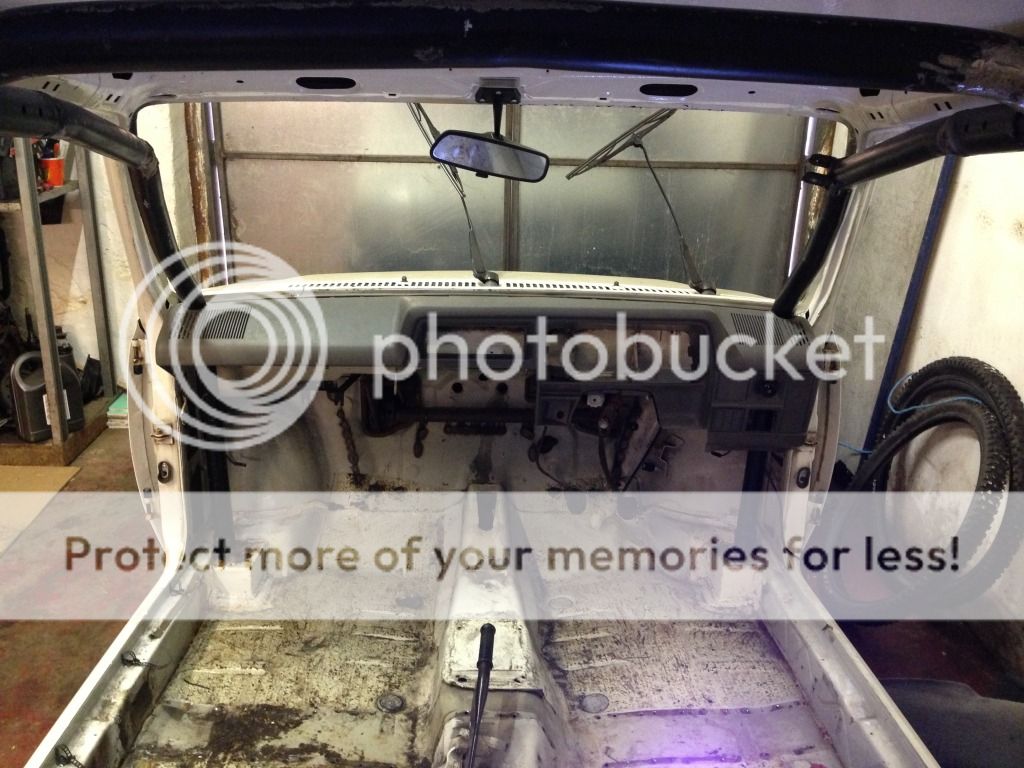
Then went round the edges with various dremmel attatchments
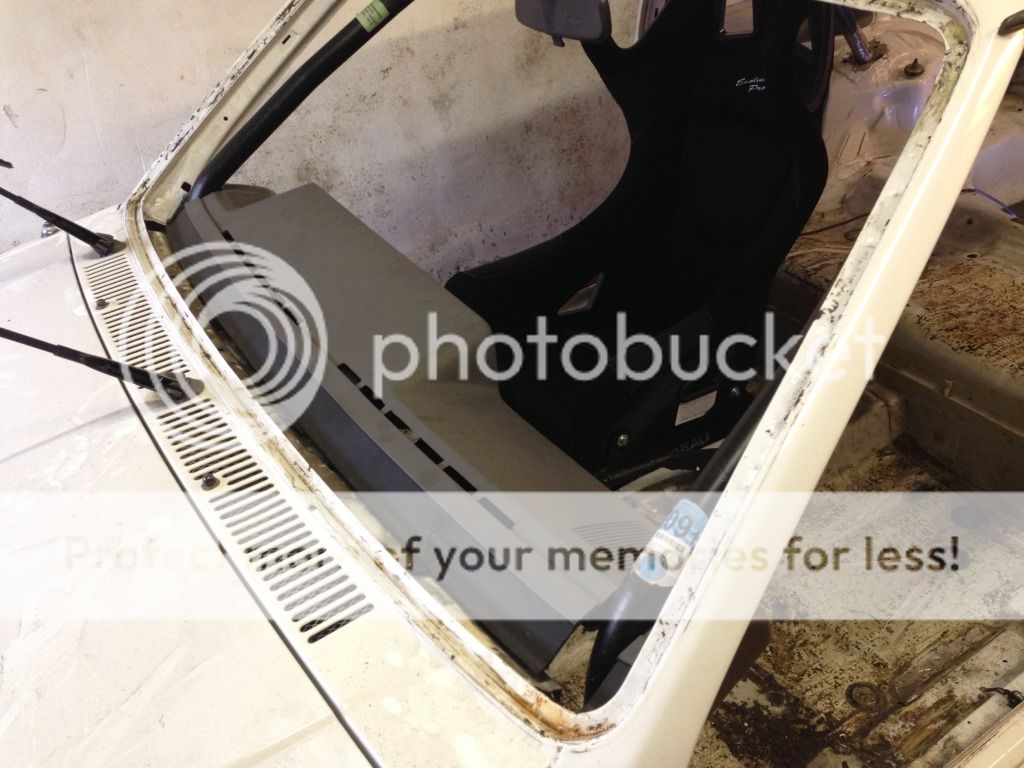
Finished that for now, and quite pleased with it. Just needs a skim of filler to smooth the gap on the inside, then i can cut away the inner panel and replace it with the new one.
Left it like this for now as it has more strength with the old rear panel fitted. Sanding it was a nightmare, could have snapped at any minute
Last edited by Benn; 04-12-17 at 04:48 PM.
Originally Posted by Edd
 Thanks, still just seems like a tin box and an expensive shed full of parts to me, but hey ho.
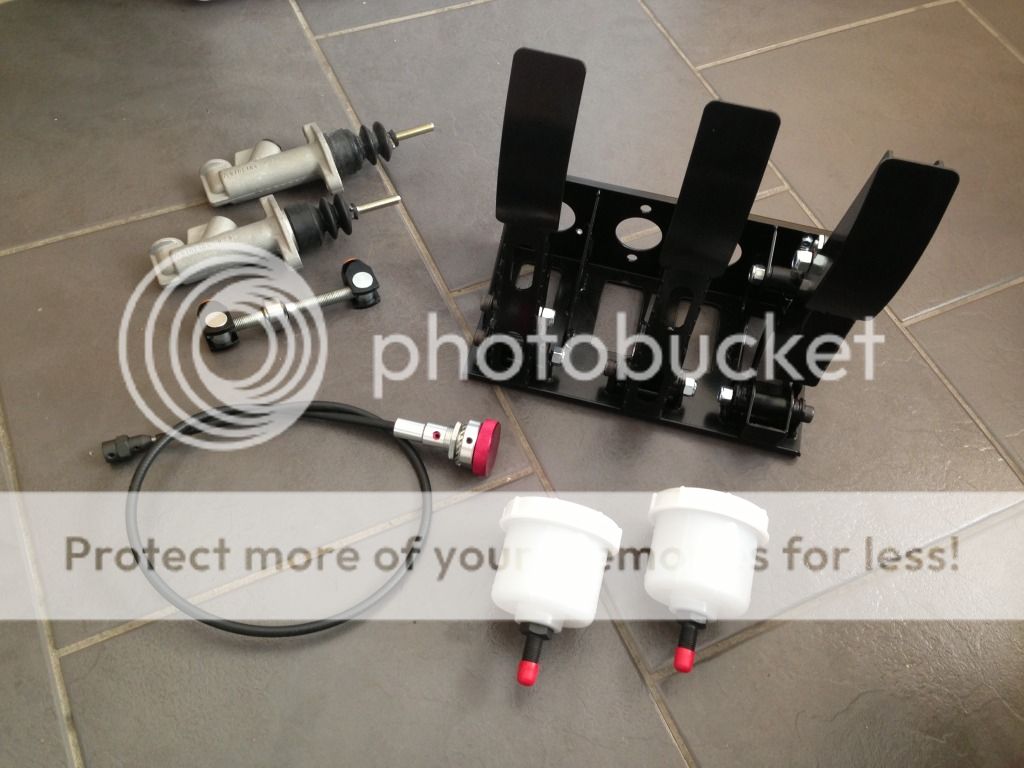
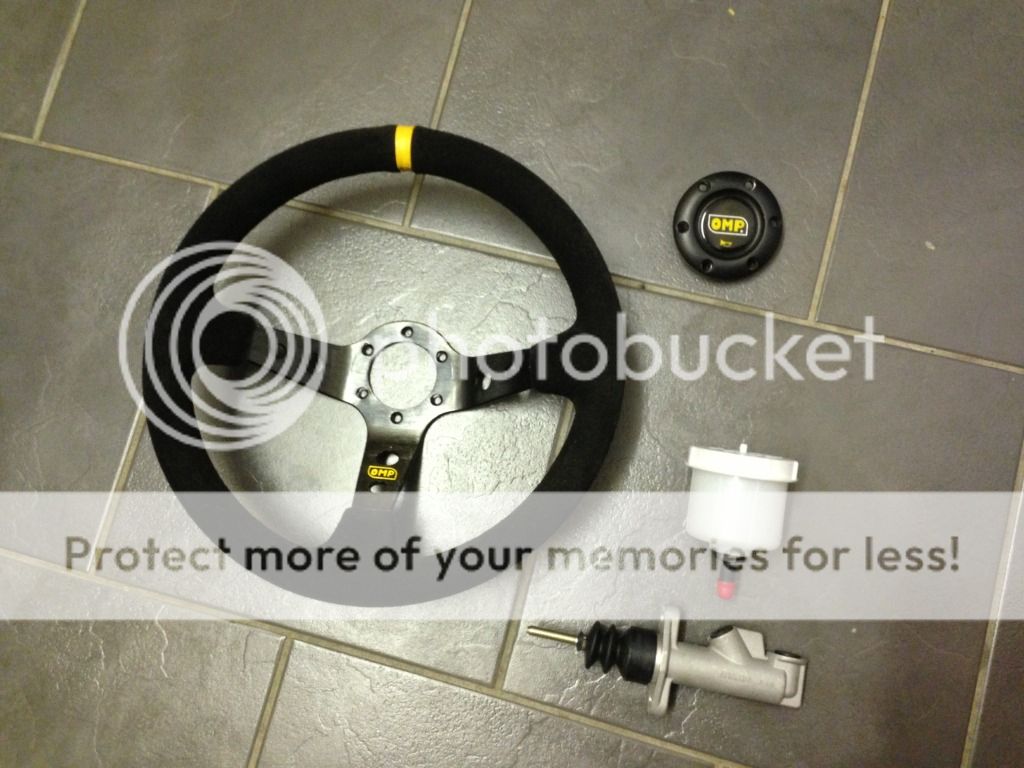
Had a few more deliverys since the last update.
Pedal box arrived.
Along with the new steering wheel, and a 3rd M/C so i can convert to Hydraulic clutch
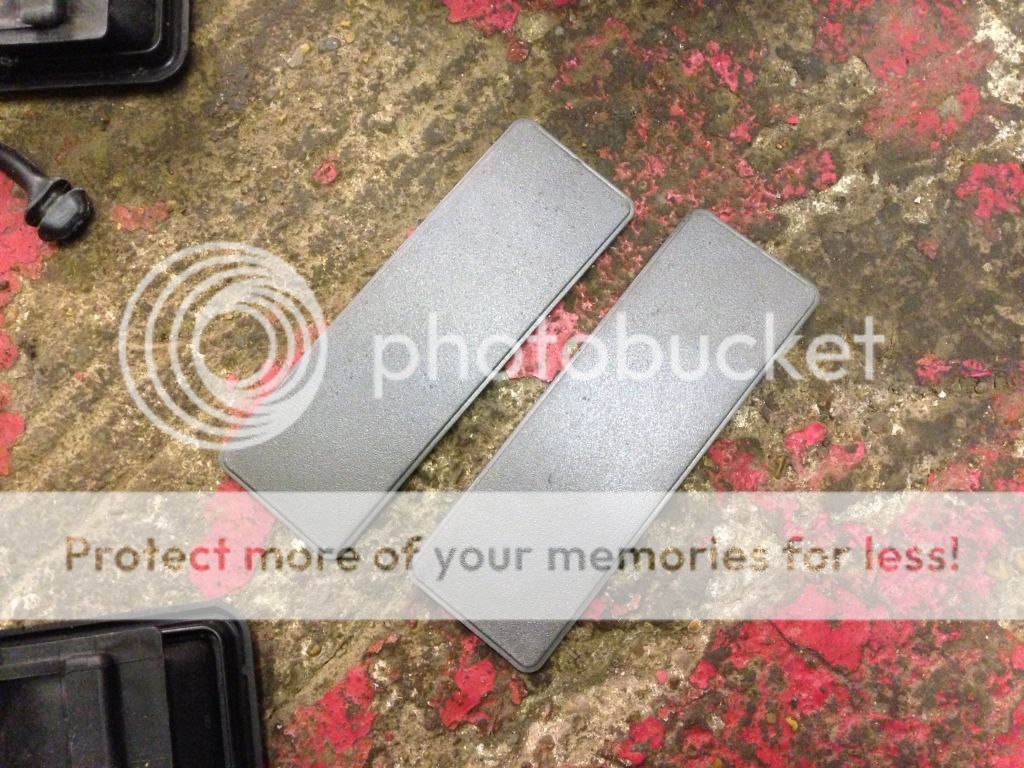
And this Has just made me very happy.... I found this bag of bits down the unit.
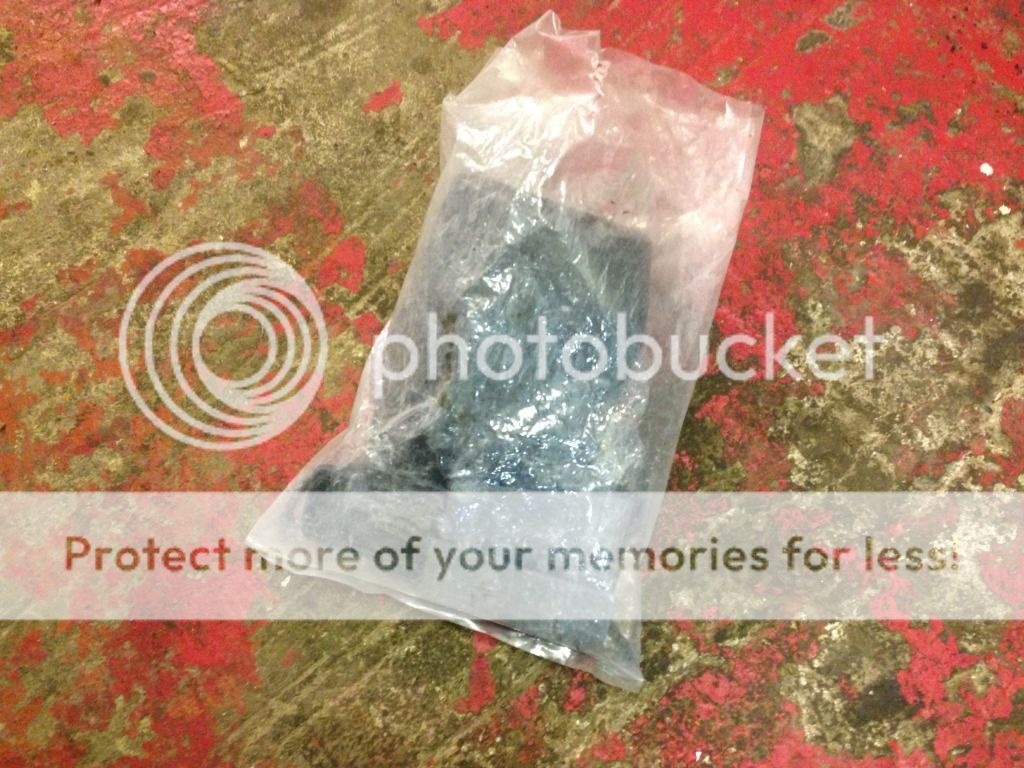
I needed the bag so tipped it upside down and found these.
I was desperate for 1 and this now means i have no excuse for not finishing my dash and getting it flocked. I know how incredibly rare they are, and i must have kept hold of them for this very reason, cant remember though.
Anyway, couldnt resist fitting it, along with all the other blanks as soon as i got home.
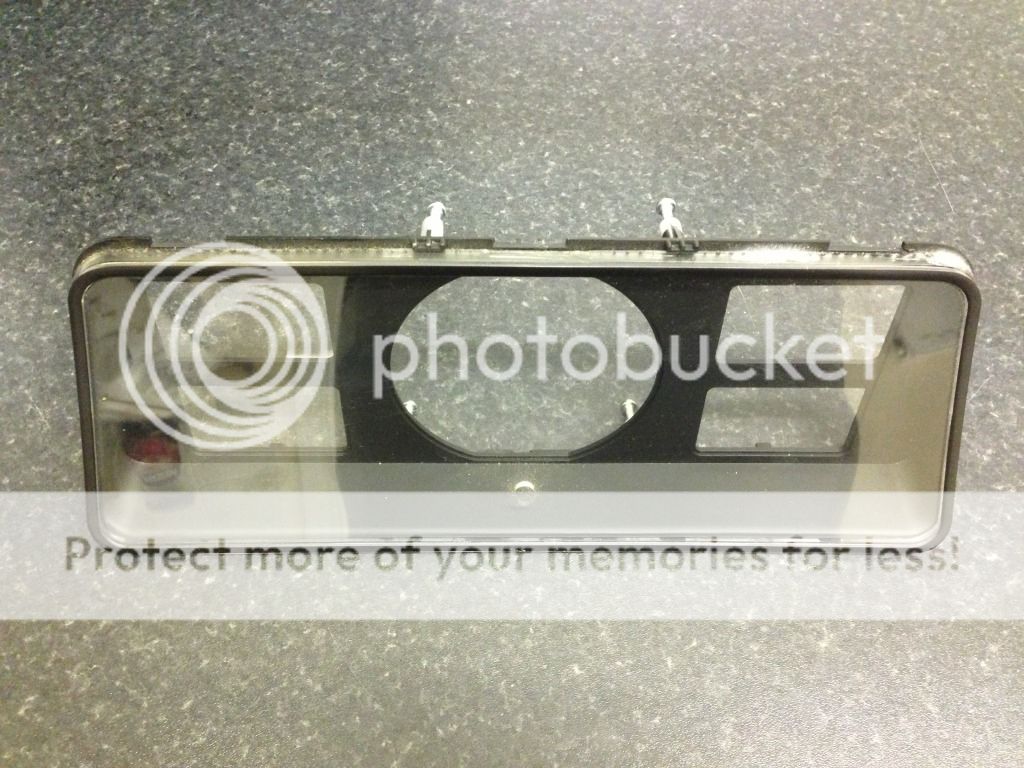
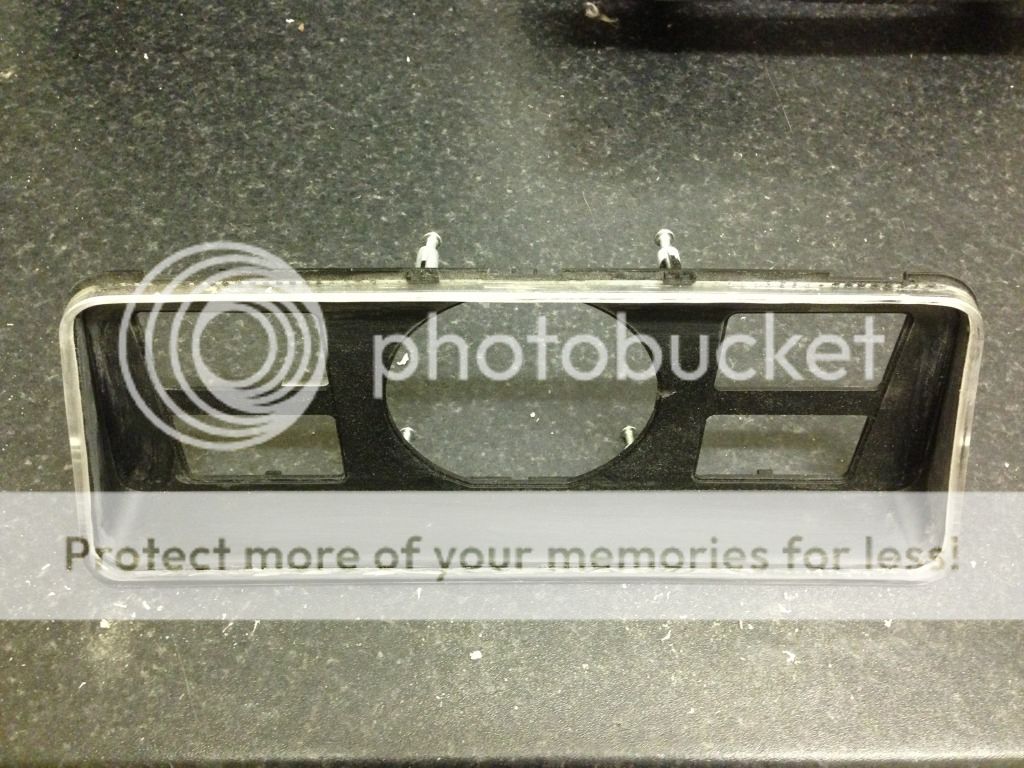
Also whilst having a bit of a clearout found a nice resin 52mm din panel for 3 gauges, which looks pretty cool.
Cant wait to get it finished now.
Last edited by Benn; 04-12-17 at 04:49 PM.
Coming along nicely Craig! What make is the pedal box?
Cheers Simon. Its a new design, by a bloke called Neil Taylor at BrakeSpeedPerformance. Its basically a direct copy of the OBP pro race one, but is priced to compete with their entry level "super-budget" pedal box, which is a shocking design.
This ones OK, there are a few bits il change, but you get what you pay for.
that dash looks slutty
Cheers Matthew, got it trial fitted yesterday.
Time for a little update, been stupidly busy with work recently, but squeezed a day in to work on the car yesterday which i really enjoyed.
A bit of an odd modification il agree, but here goes.
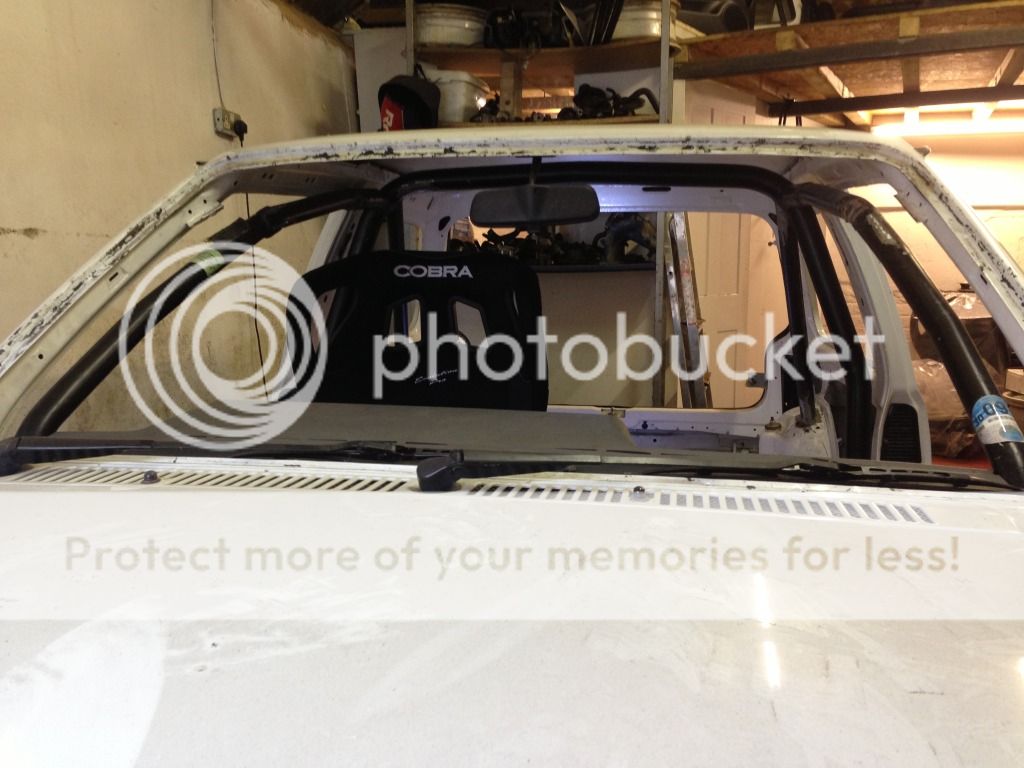
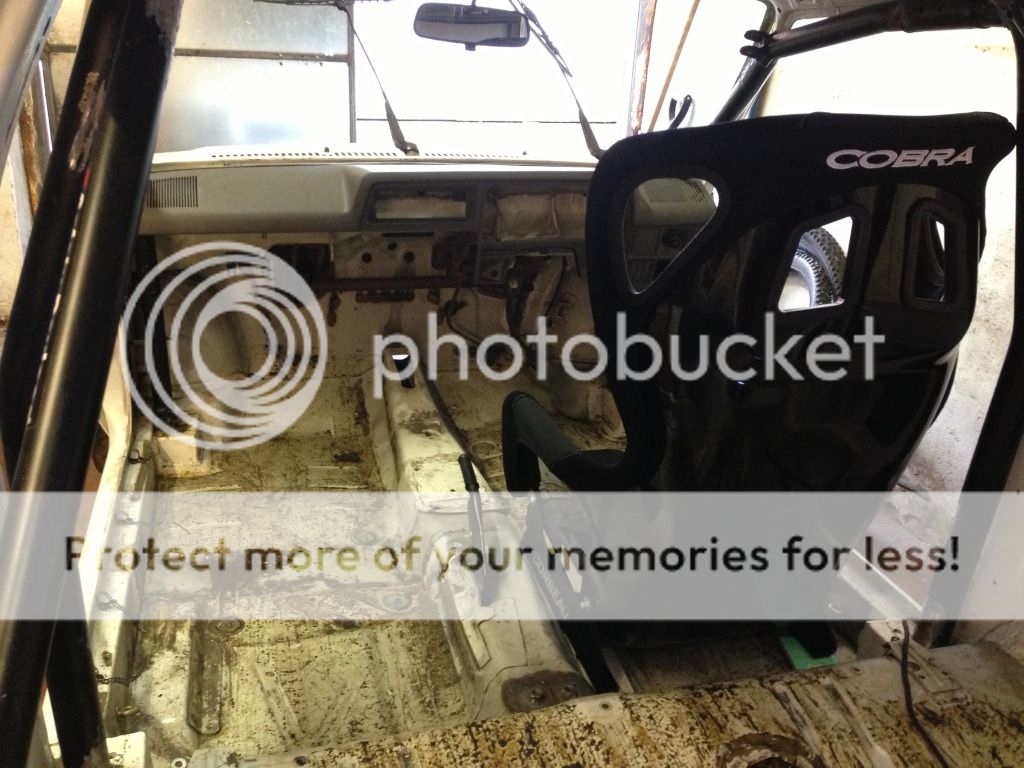
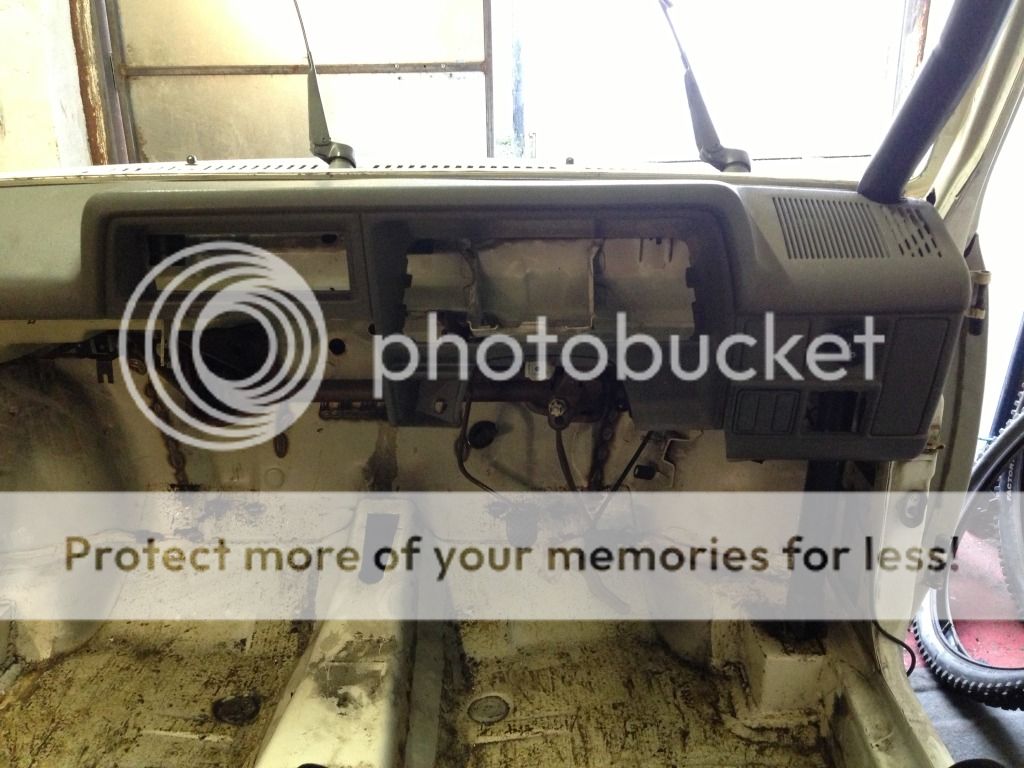
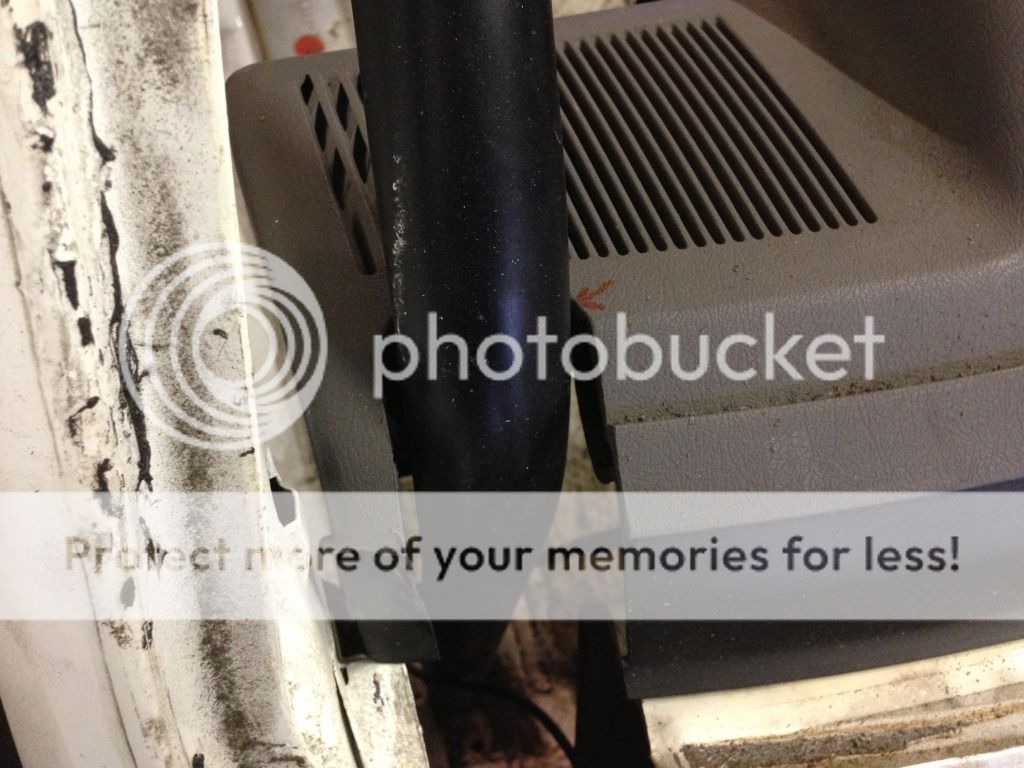
Time to fit the dash, and make the cut-outs for the cage to pass through, So measured and marked, then cut them out with a 42mm hole saw.
I purposely cut them a little short, as my original intention was to keep chipping away at them with the file until it was perfect, But once i offered it up i started thinking about lowering it a bit.
Just balanced in place there, but 30mm lower than the standard position, which il come to in a second.
The idea is, that the seat is being lowered, the steering wheel lowered and the pedals moved back, so with the seat in position and the dash up in its original place i couldnt see the bonnet / scuttle, which might have been an issue.
Unfortunately i wasnt able to take pics of it in the original position, as it would have meant making the cage cut-outs further into the dash, which then would have left a gaping hole each side when lowered.
Last edited by Benn; 04-12-17 at 04:50 PM.
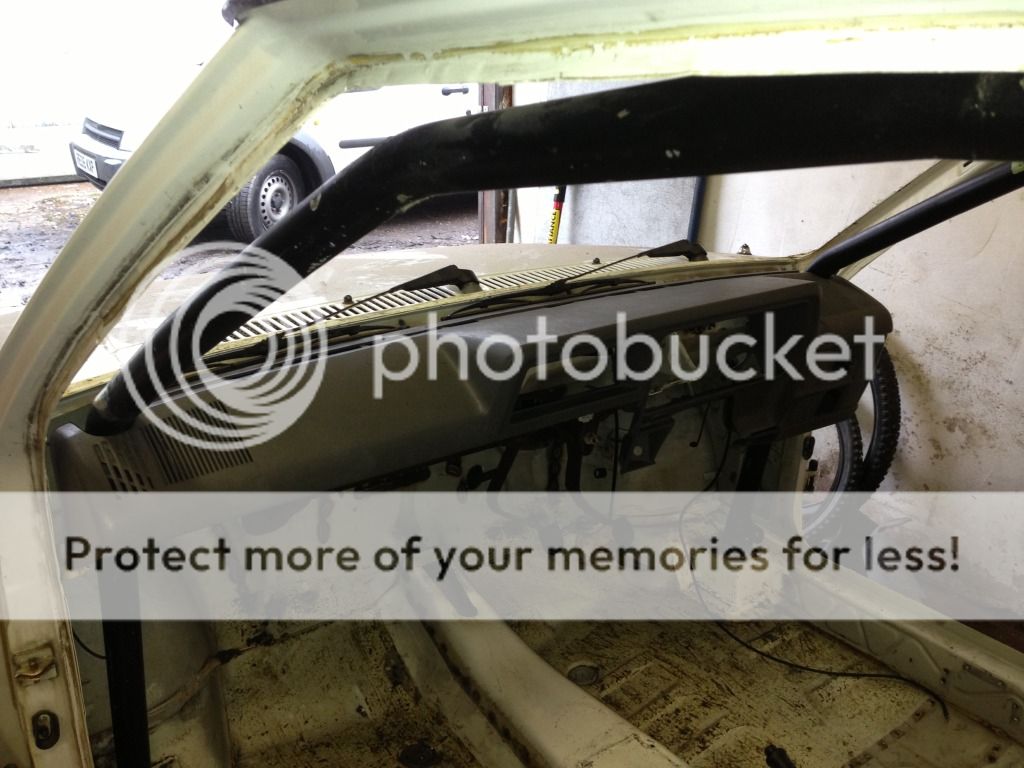
Still looks relatively tidy from outside
This is the new view taken from exactly eye level.
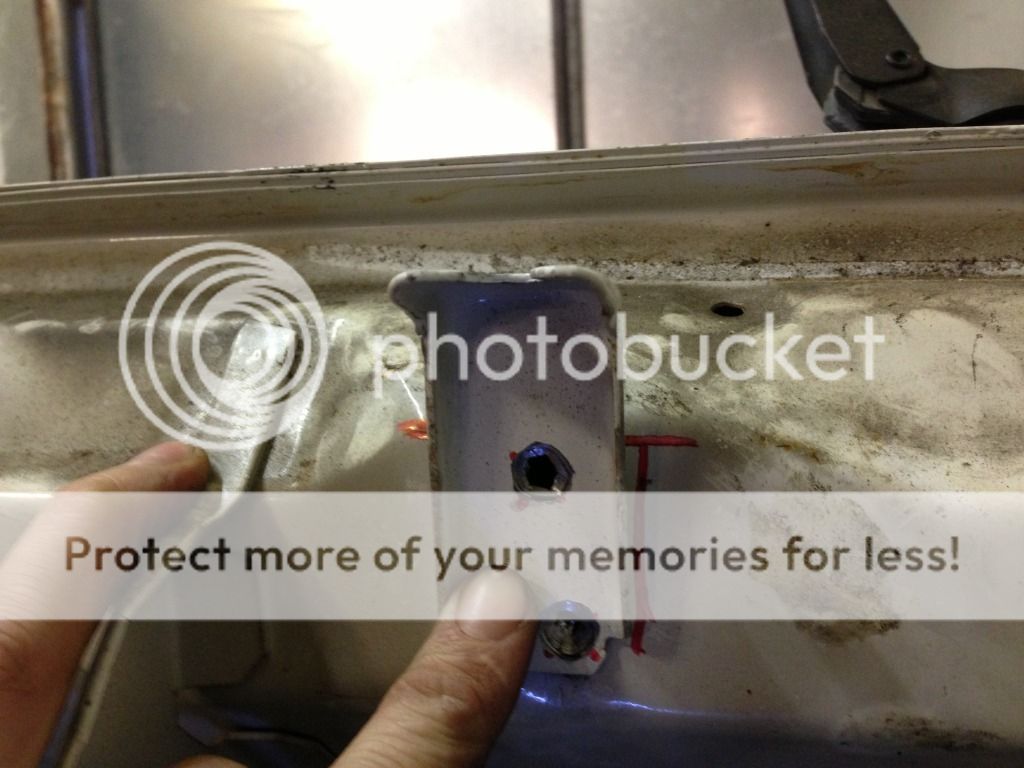
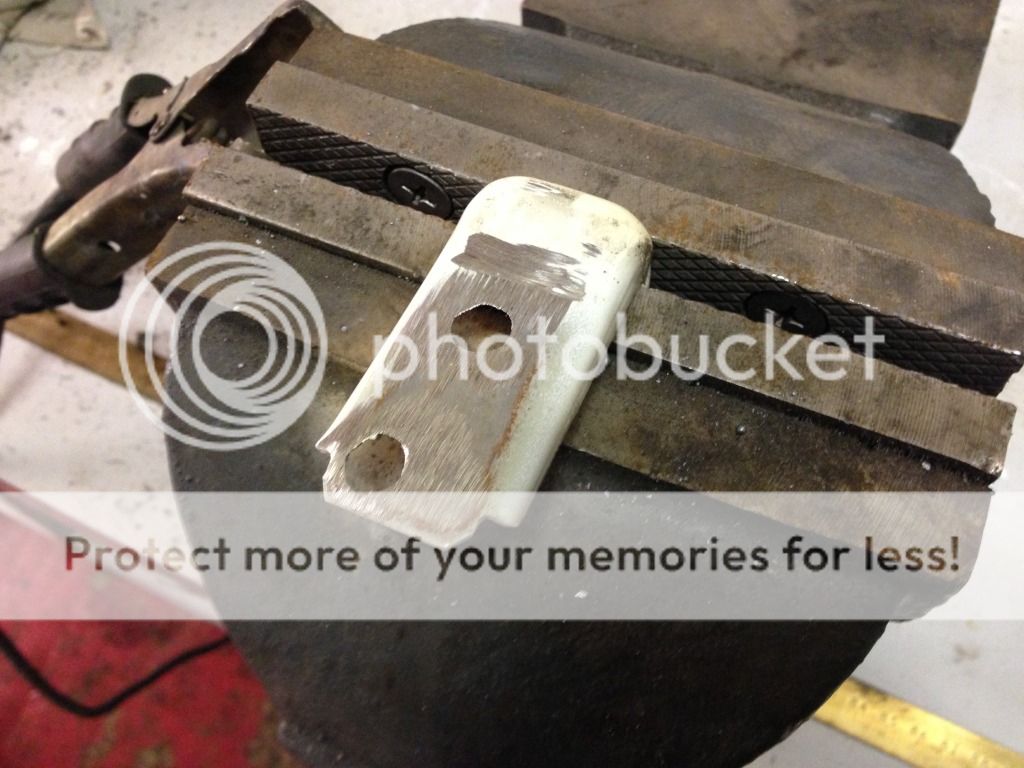
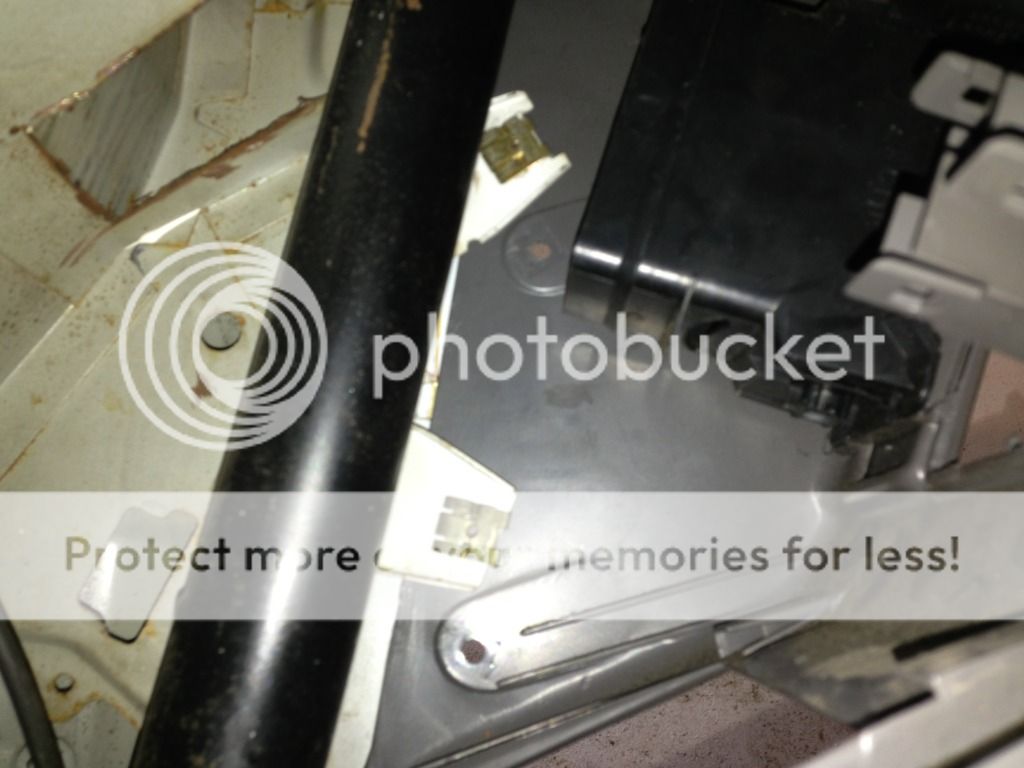
Time now to remove the L shaped brackets.
So drilled out the spot welds and welded up the holes, as i plan to re-use them, just the other way around so they reach out further into the car
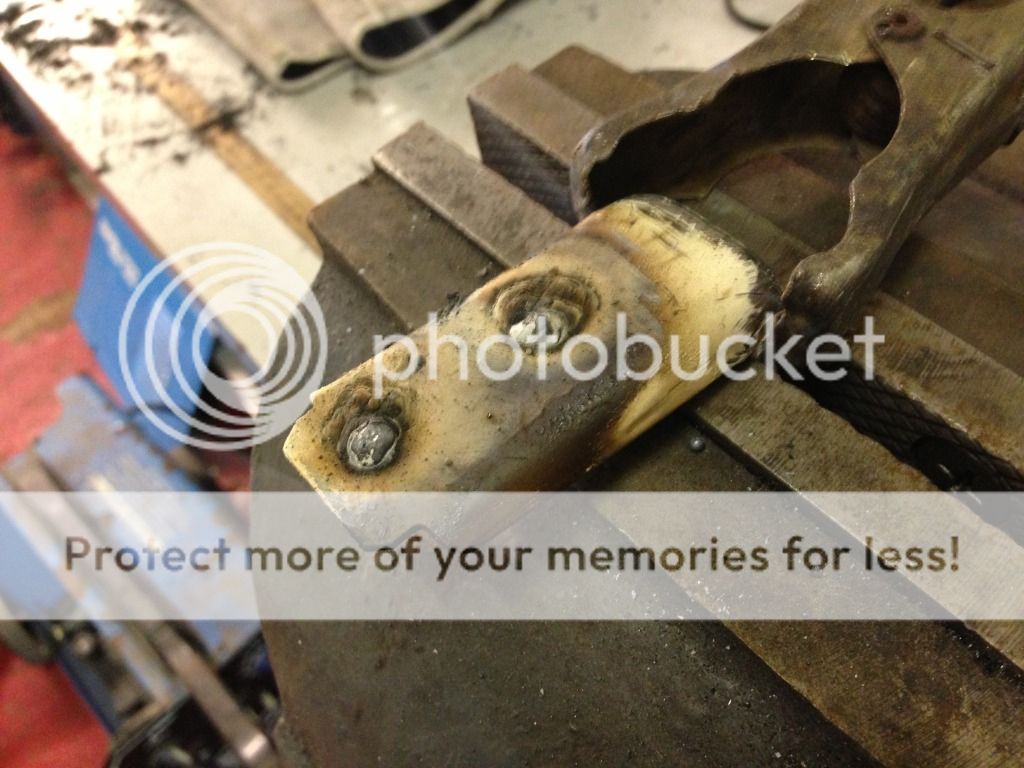
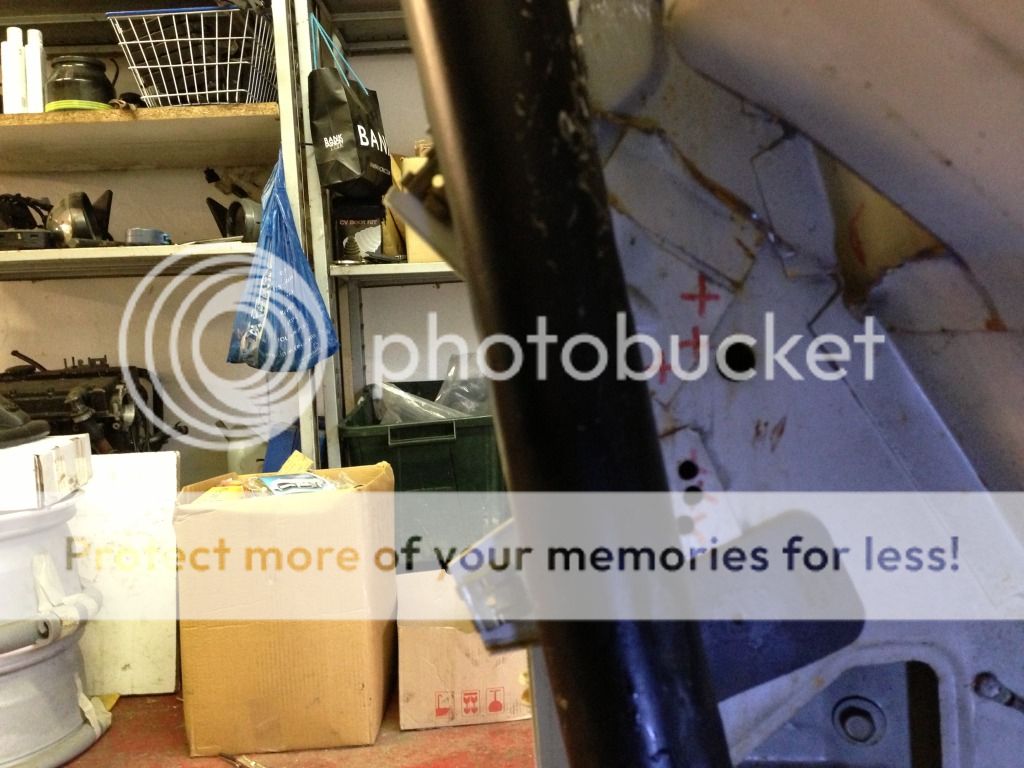
Got them welded on, the started on the side mountings. The lowest left hand one gets binned as its no longer required, and the other three get moved down about 30mm.
Pic below shows it pretty well.
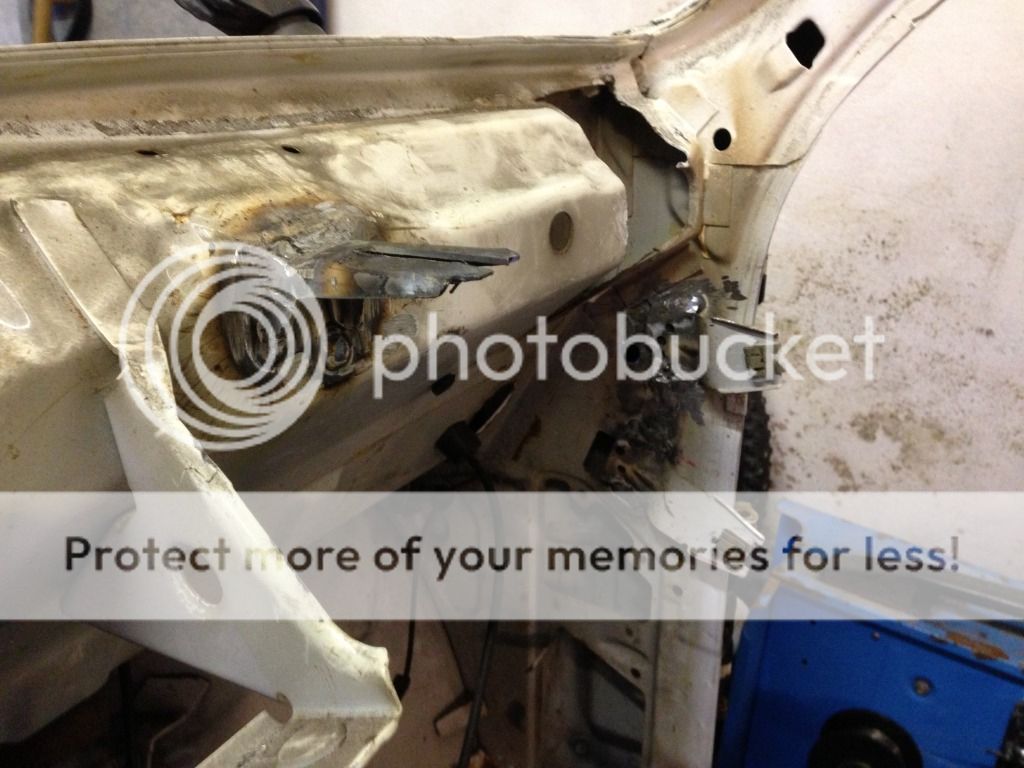
So again drilled them off, and welded them up. (shocking welds as i forgot my helmet)
And with a few minor tweeks, thats it fitted.
Absolutely chuffed to bits with it. It took about 5 hours, but most of that was planning and fine tuning.
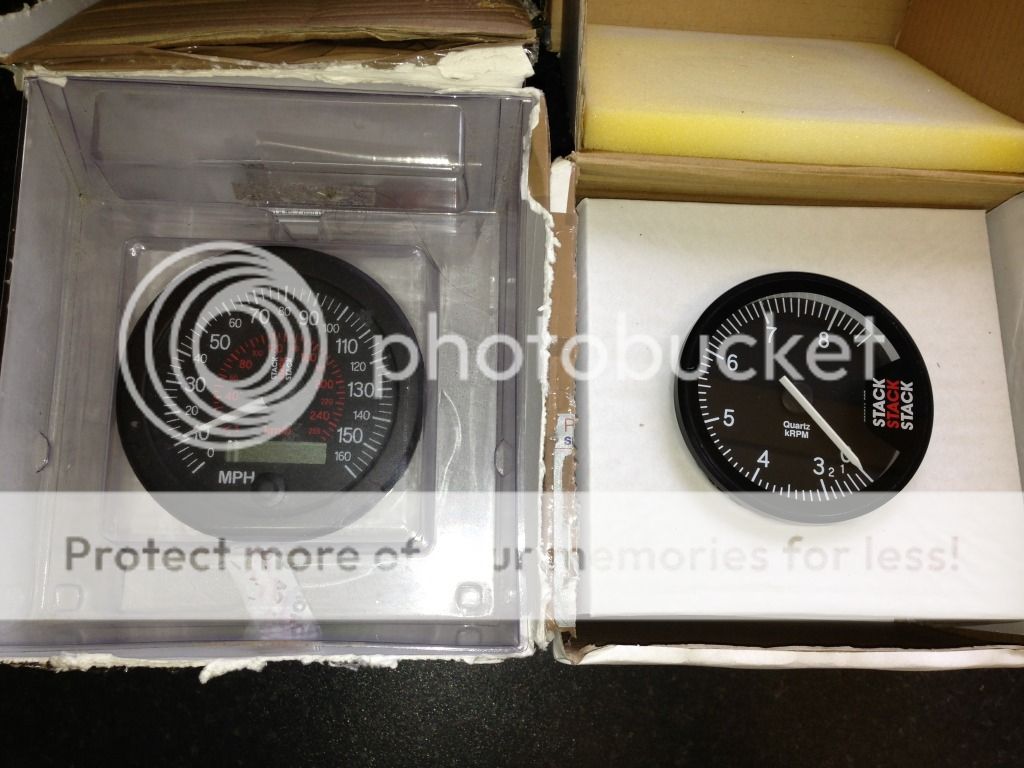
Also been getting a few deliverys this week, So got my Stack st400 tacho, and 160mph speedo. Thats great as it now means i can run the gripper diff and still have an MOT friendly speedo.
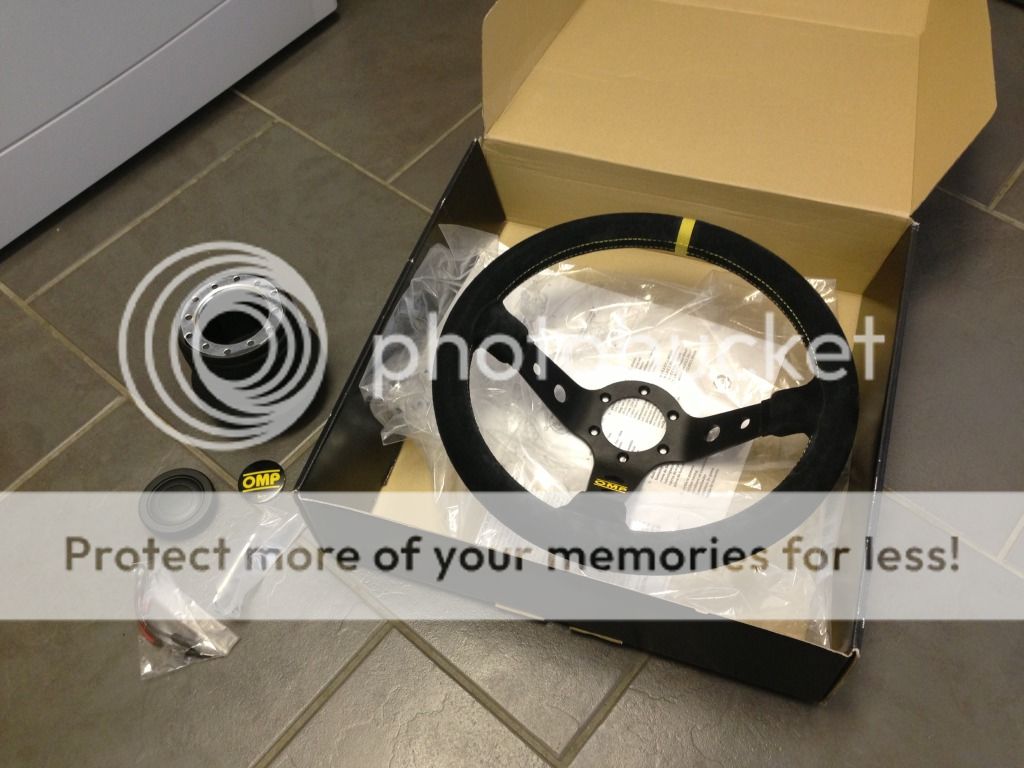
And i wasnt completely happy with the used OMP steering wheel i bought the other week, as it had a bit of wear on it, so bought a nice new one of those too.
Last edited by Benn; 04-12-17 at 04:50 PM.

Cracking parts list your getting together there mate. The end result will be epic.
David.
Posting Permissions

 Reply With Quote