Colour match looks good on bonnet and boot, and the weight saving from removing hinges etc is definately worth havingKeep up the good work! i should be at TOTB to cheer on the lightweight under-powered car


Colour match looks good on bonnet and boot, and the weight saving from removing hinges etc is definately worth having
Seeing as we were talking about your car...What actually is happening to the champagne supernova today? Will you run it single seat on the day?

Well worth taking the passenger seat and belts out. Looking good Olly.


Good work once again
I am the rep monster - give me all your rep and I will become all powerful and take over the WORLD!!!
Small Block Club Member #3
Car has to run full road trim, so 2 seats, 2 harnesses, altho, I think that is where the nitrous bottle will sit now
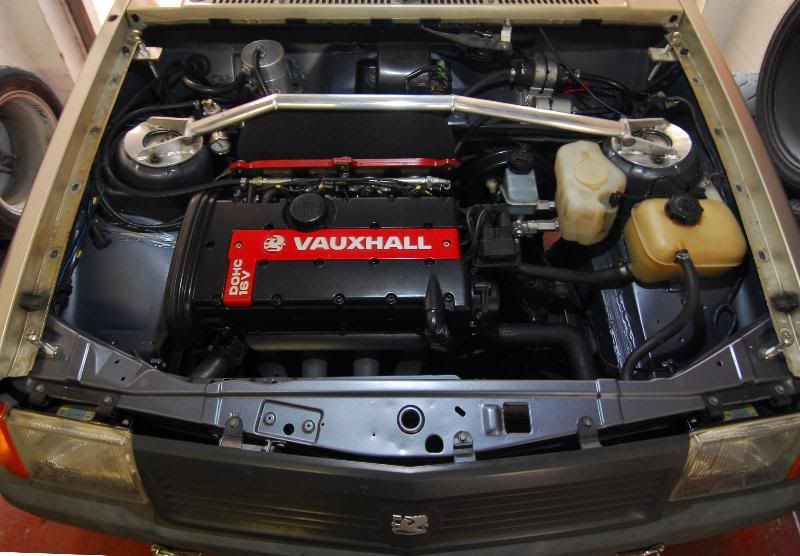
Forgot to mention, at the geometry place yesterday they had the proper four wheel laser alignment, and the tracking was miles out, whilst it was up on ramps we did a full bolt check and torqued all the bottom arms up.
And from where my beam got rachet strapped at Jam Sport, nova ian borrowed a Porta-Power from a mate, and we managed to get the beam pulling parallel again, which gave much more stability on the way home!
nice work mate, realy good..
will seeya next sunday fella

Nice work dude,
you didnt flat the base coat off then lacquar it did you? As you should reapply base over anything you've flatted down, as the flatting will remove the metllic bits in the base and lacquar wont cover flattiing scratches.
All I wanted was a Pepsi, just one PepsiFar from suicidalStill I get them tendenciesBringing back them memories
That I really miss when I reminisce
Ian was over again today to help me finish of the work needed in time, so thanks very much pal, I will be returning the favour in due course!
Jobs to be done were to fit cut out and rear quarter polycarbs, measure up and drill bonnet for the four pins, measure up and drill tailgate for pins, adjust hinges, set camber to -2°, set castor to +4°, bottle jack rear arches and space rear wheels out by 3mm, although these sound like small jobs, they're all time consuming and can't be rushed
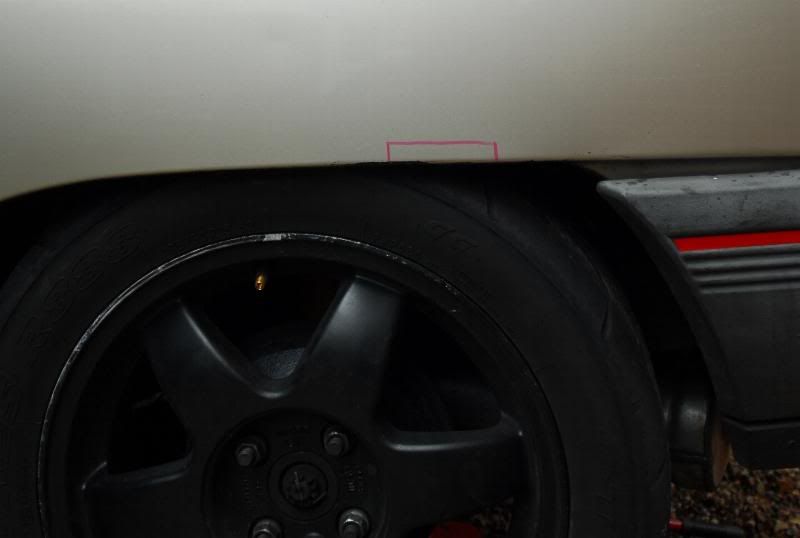
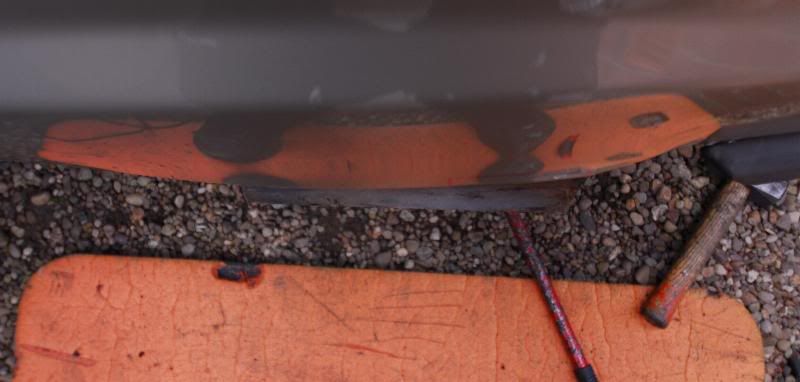
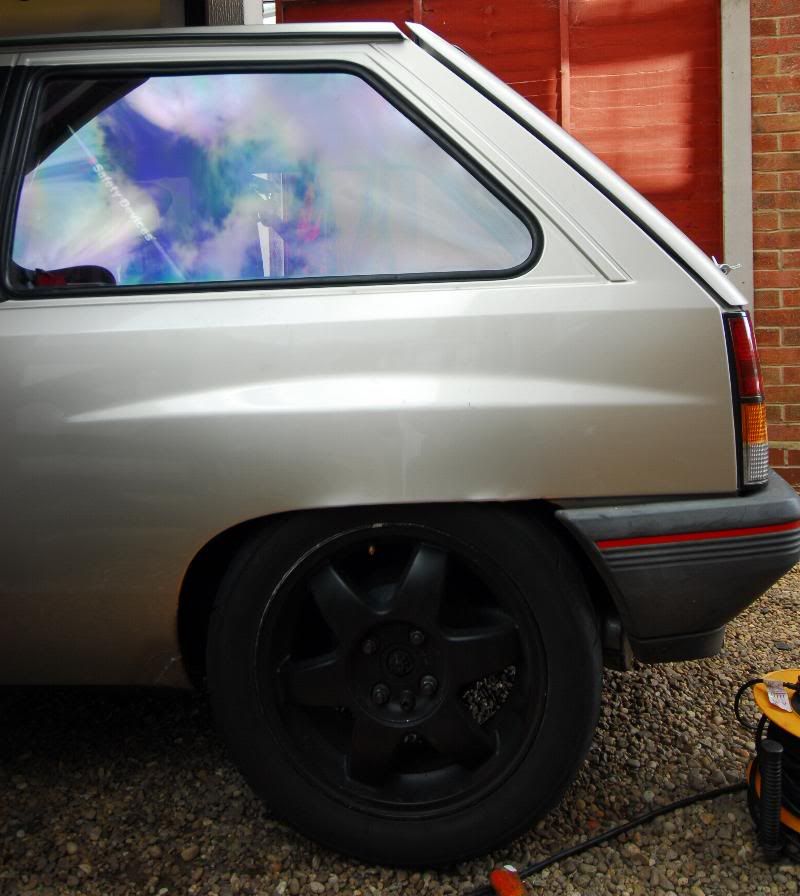
Now for some pics, firstly to mark out the closest part of the rear arch to the wheel, which set circa 3mm from the tyrewall
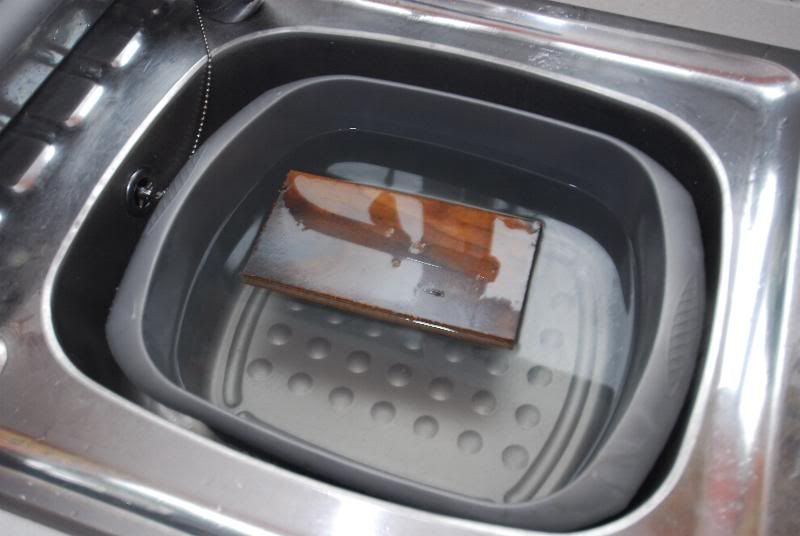
Soak plywood in boiling water, until all bubbles disperse from wood, so its full soaked up
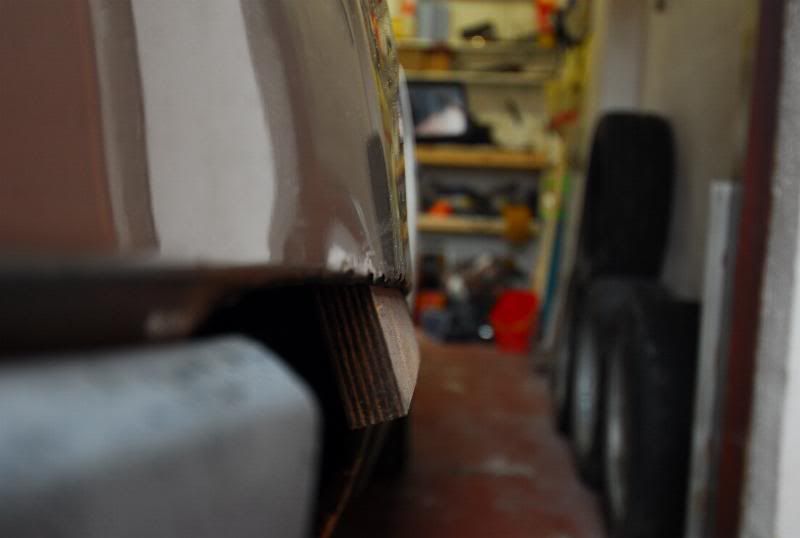
Get thick alloy, or steel to brace across the car so it's not pressing against shock absorber, put bottle jack horizontally, then plywood against arch and gentle jack out
Start to see the gains, use heat gun to heat the paint and metal so they flex instead of crack, then leave for both to go cold whilst arch is in final position
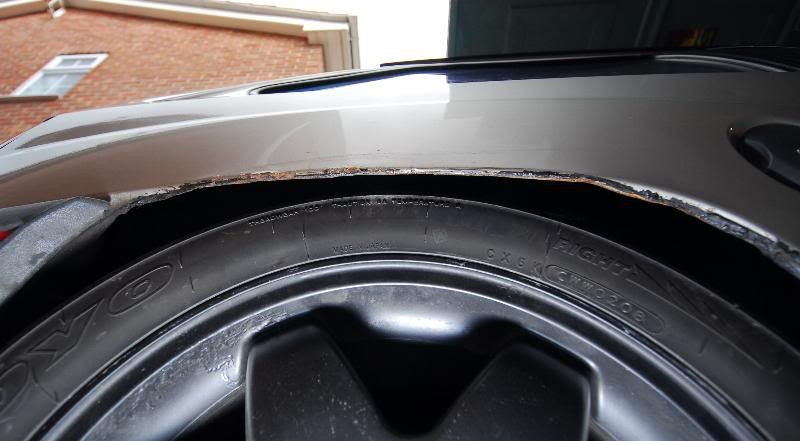
Relax jack, and admire lots of clearence, a damn site easier, nicer than I expected it to be, this clearence is with a 3mm spacer fitted, which didn't fit at all prior to this, I can now run fingers all the way down the tyre wall, without touching the arch
Slightly more done on the other side, as this was alot closer, loving the flairyness
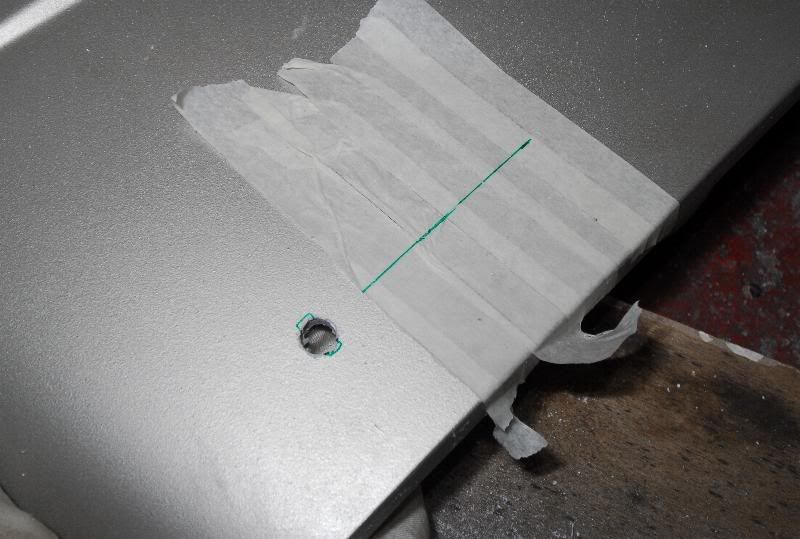
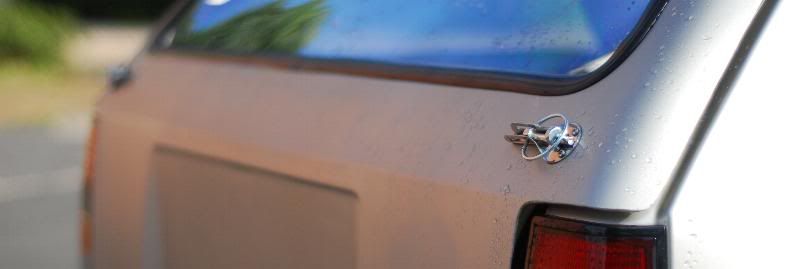
Whilst I was doing the above, Ian was measuring up for the pin fitting, must say - his attention to detail is amazing, much more effort than I would have gone to!
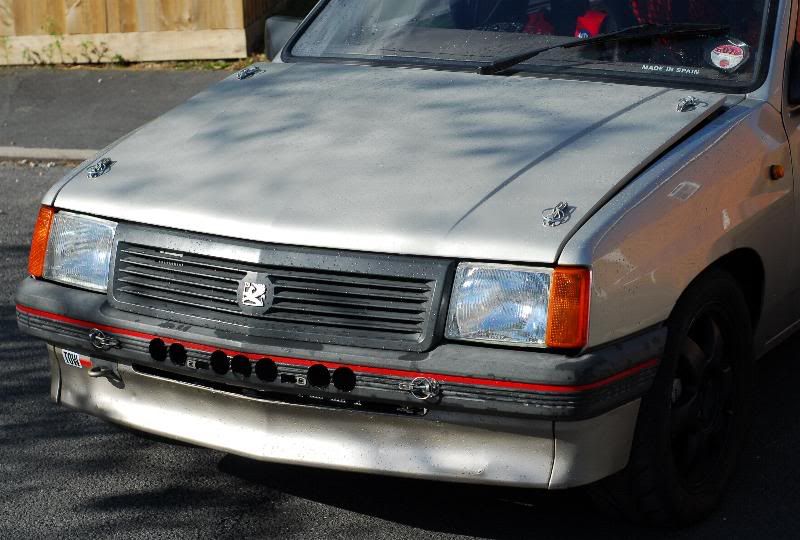
Hole drilled, then he offered up the pin upside down to see where they needed filing too
All done, yes yes, i know
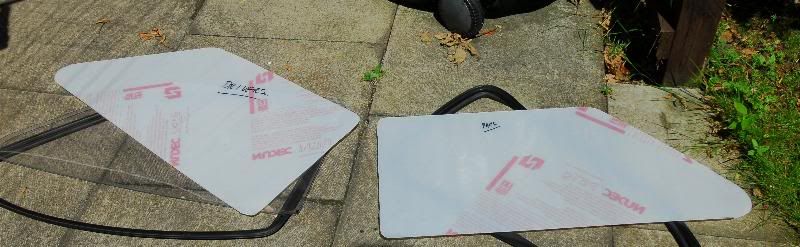
Then cut the new rear quarter windows out, each 3mm item weighed 0.8kg (1.6kg pair), and each new 2mm item weighed 0.5kg (1kg pair), so another 0.5kg saving
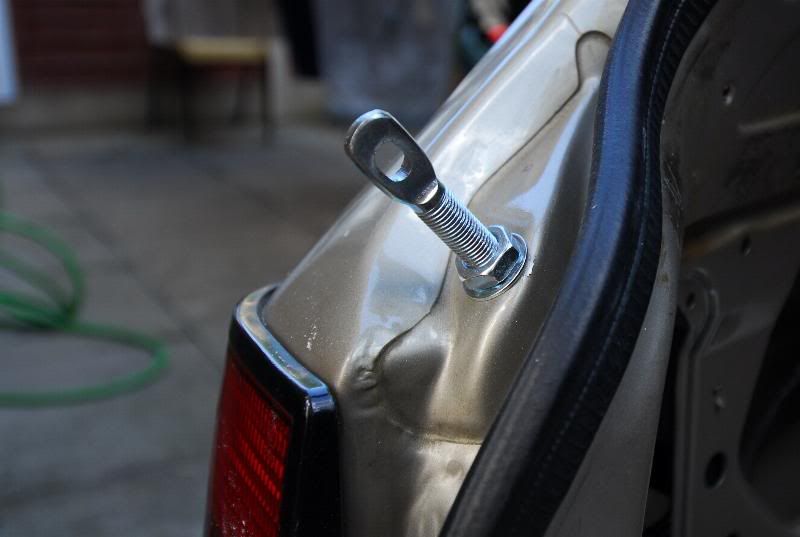
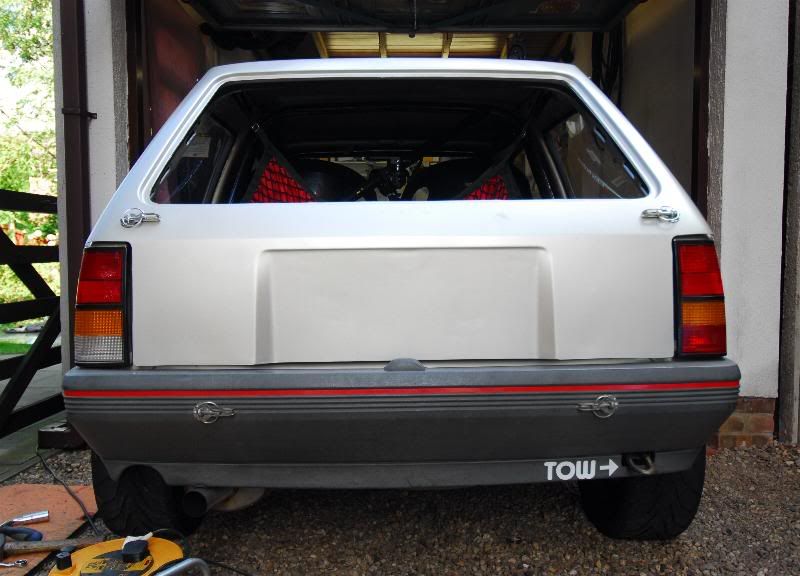
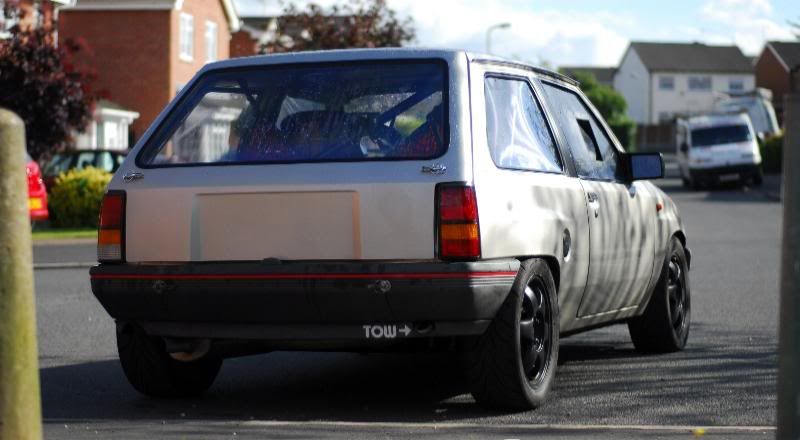
On with the tailgate, alot of fiddling with the top hinges to get the panel gaps right, which we got in the end, then fitted the bottom pins the same position as Lee
Panel gaps look spot on for a fibreglass panel
Then side gaps fine, and new rear polycarb with no stickers
Tart
Used alloy tabs at the rear of the bay to mount the back pins
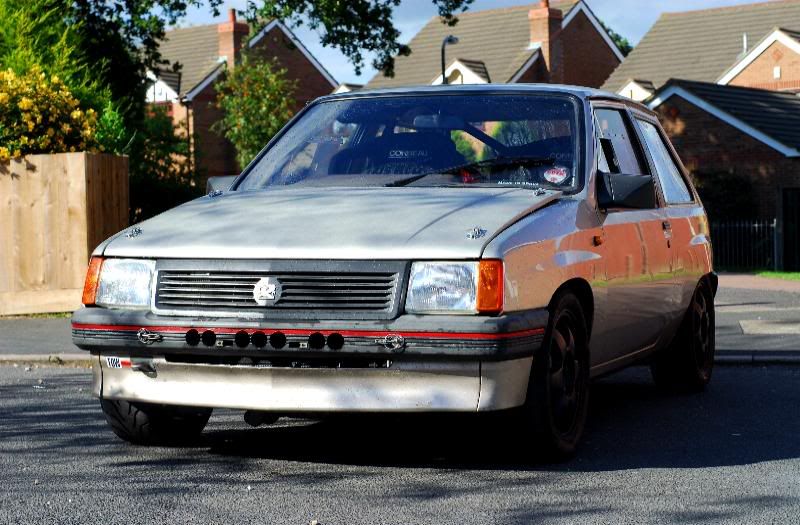
Final outcome, and new stickerless look
Posting Permissions

 Reply With Quote