nice work ols, neat fab for the spring bracket i like it!


nice work ols, neat fab for the spring bracket i like it!
hi bud thats one mint shell there nice job uvedone with engine brings back memories,your garage looks mint aswell wanna pop round an sort mine

Ad, Jon & Paul - thanks for the comments.
Dave - very interesting about limiting the drop on the beam, I might well do that aswell.
I've been doing some measurements, full droop on the beam with the bottom shock absorber bolt in (obviously) is 6inches, from the beam spring seat, upto the chassis.
Now, my spring is 4inches, and my height adjustable platform is 0.8", so at very least, my minimum total heigh (as previously said I think
But I'll have to see after my cornerweighting session, as if they are mid-to full height, I won't have any gap even with the shocks at full length
I like the idea though, should I need to limit the drop on the beam!
Seconded/thirded on nice work on the spring retainers, I think I'll either go that route or the beam straps at some point in the near future, think my cable tied rear springs are frowned upon
Well, the beam straps are OK - but I'd personally wouldn't like the springs not being "held" in.
I know I know, standard Novas, and 99% of cars on the road don't have rear springs held in, but then 99% of the cars on the road don't have them this small.
I'll end up doing both, the retainers to hold them up to the car, and the straps to get rid of the "banging" should there become a gap...
We'll have to see after my visit to JamSport
Thanks again for the interest!


Cool work as always.
Liking the spring "retainment" system
Old XE track car
http://www.pngclub.com/forum/showthread.php?t=74272
ols cant you use the same retianers on the beam too? so its all solid??


Good work going on there - love the air box and light intake mod. Your car does you credit - very effective modification
BTW got any advice as to the best buys available for snap off steering wheels? With my new seat in place I cant get out
Last edited by CP; 25-05-08 at 02:10 PM.
I am the rep monster - give me all your rep and I will become all powerful and take over the WORLD!!!
Small Block Club Member #3
Cheers Ad.
Paul - not really, as thats where my height adjuster is going to be sitting, so a similar retainer will restrict the height
CP - thanks mate, really chuffed with how it's come out. Regarding 'Snap-Off' bosses, I bought mine from eBay for £27 delivered, I'll find you the link and PM you
OK, on with progress from today, in short - rear springs are sorted, and fixed in position! yay
Before I go any further, I must say a massive massive thank you to Matt Newey (m17tty), Rob Hirst & Andy Clay for all their help today - was wicked fun... also thanks to Michelle for the drinks and doughnuts, and also Rich!
Photos/ How To - as always from me
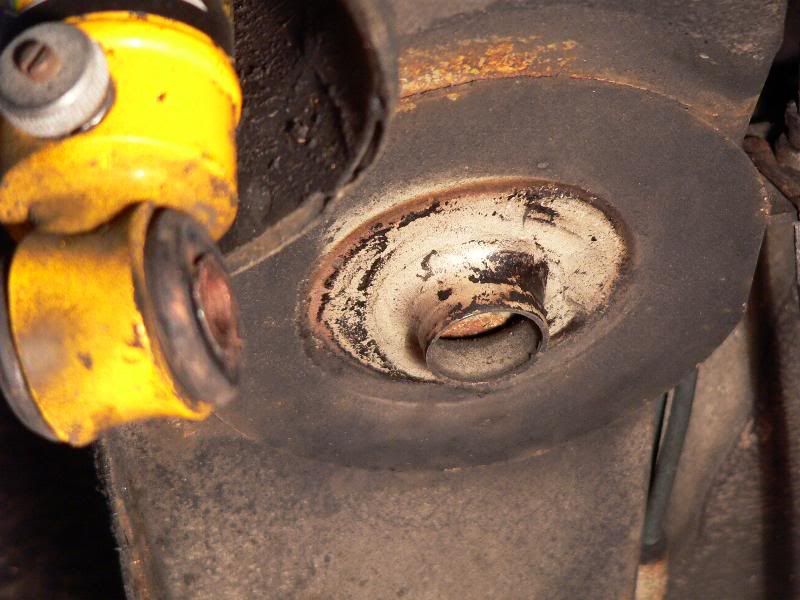
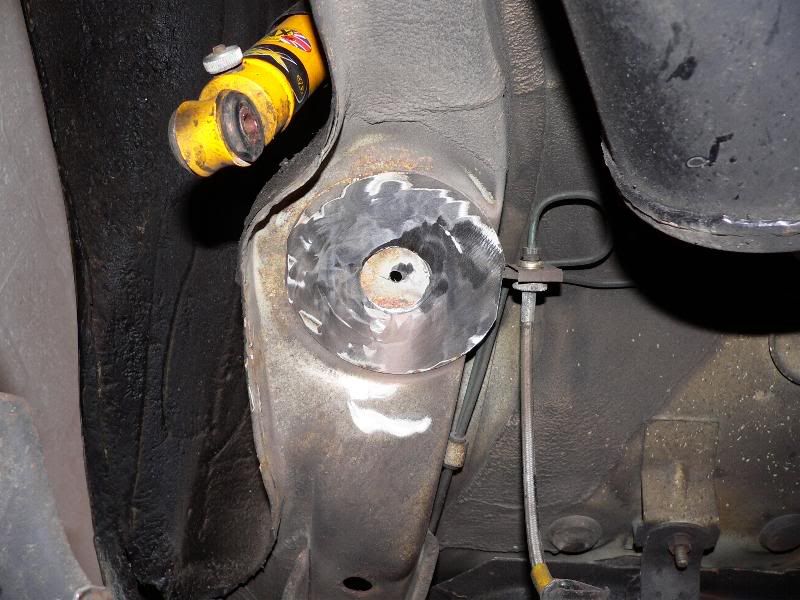
When you remove your rear spring, on the chassis you will have a locating nipple so the spring knows where to be seated
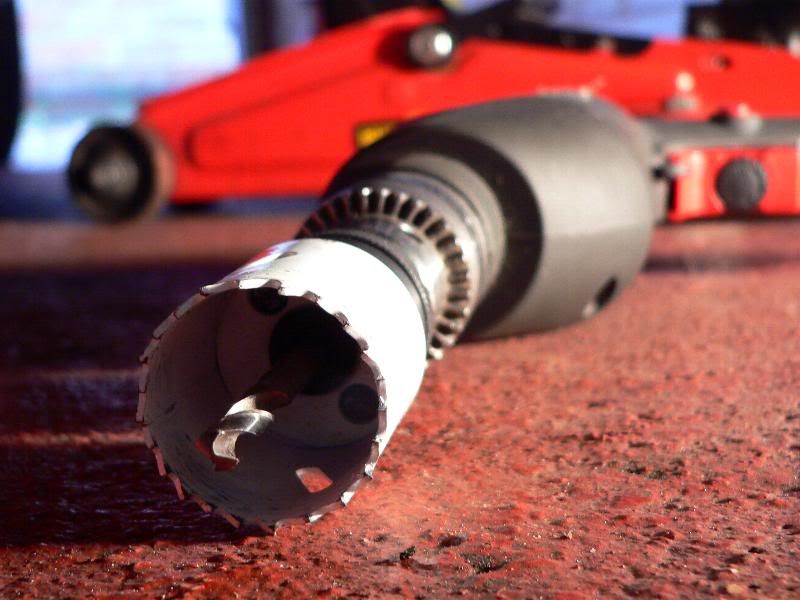
Our weapon of choice, a 40mm hole saw, after deciding a angle grinder wasn't approprate due to space
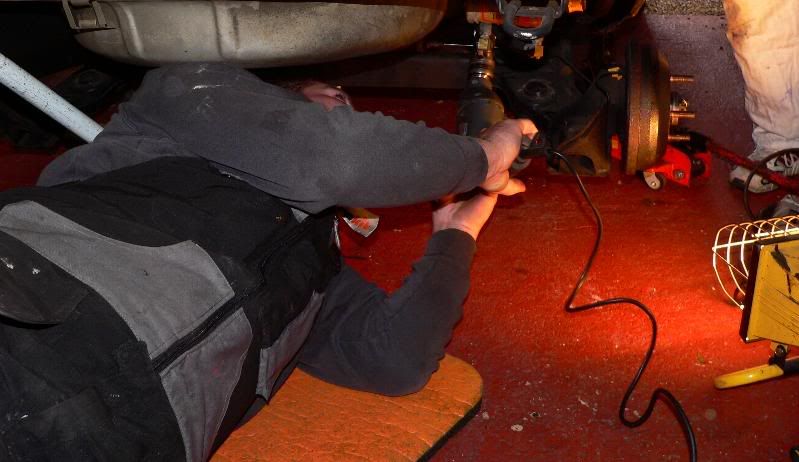
Matt gets with down and dirty with it
Action shot, gotta love a bit of action
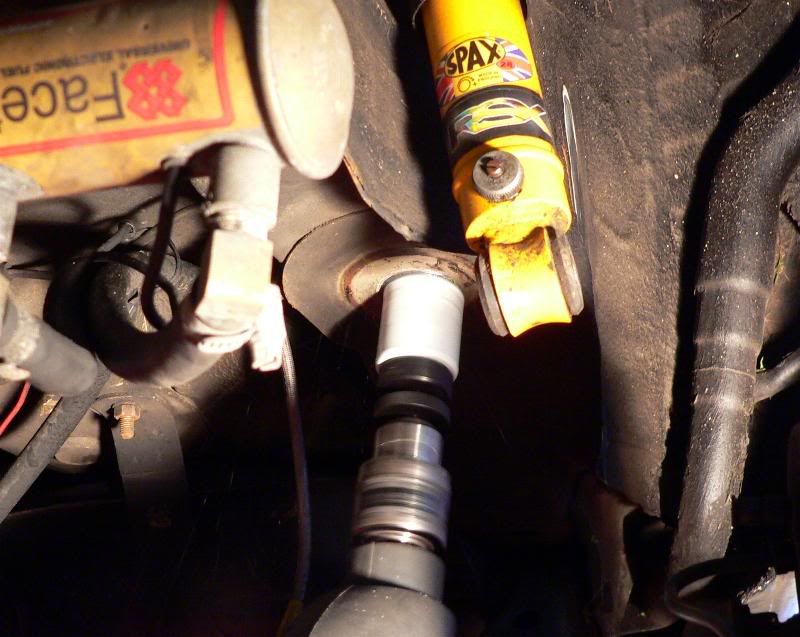
Then you will be left with this
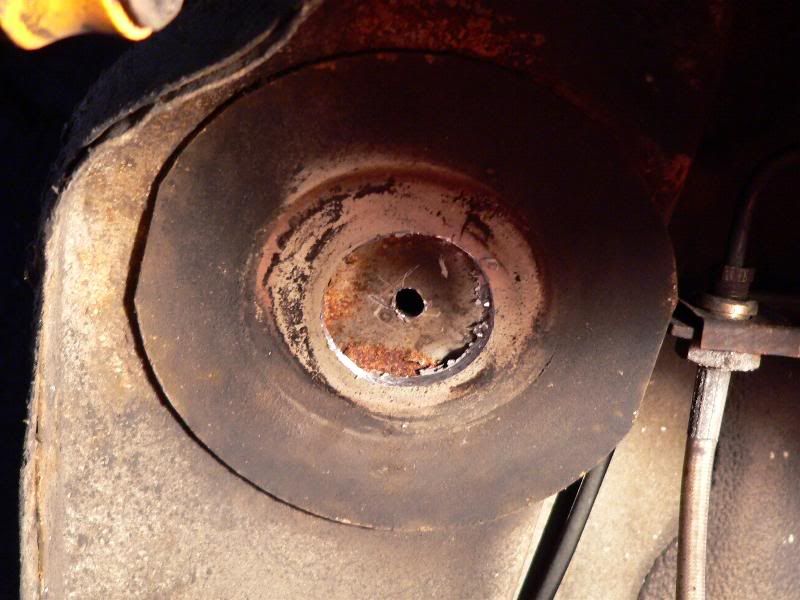
And this can be desposed off, unless you'd like to keep it of course
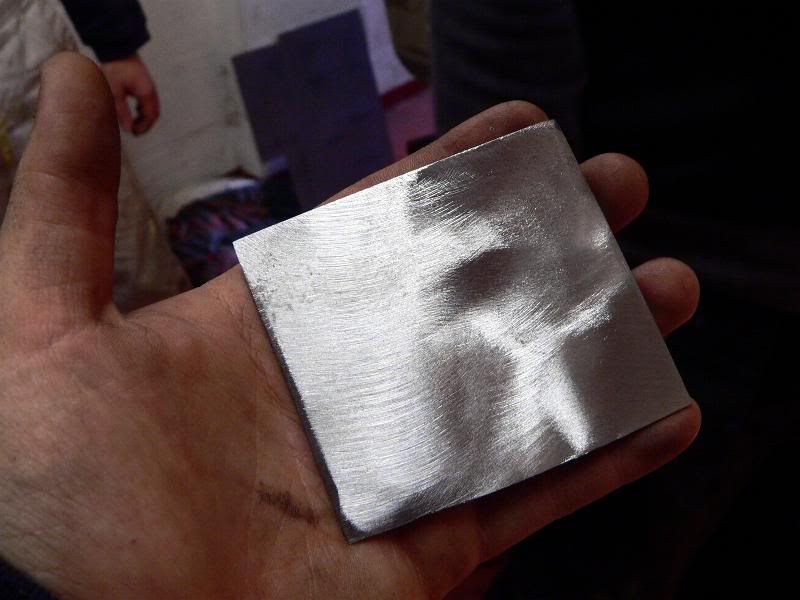
Then zapp a flap disk over it to get the metal nice and shiney, so you can see your face it in
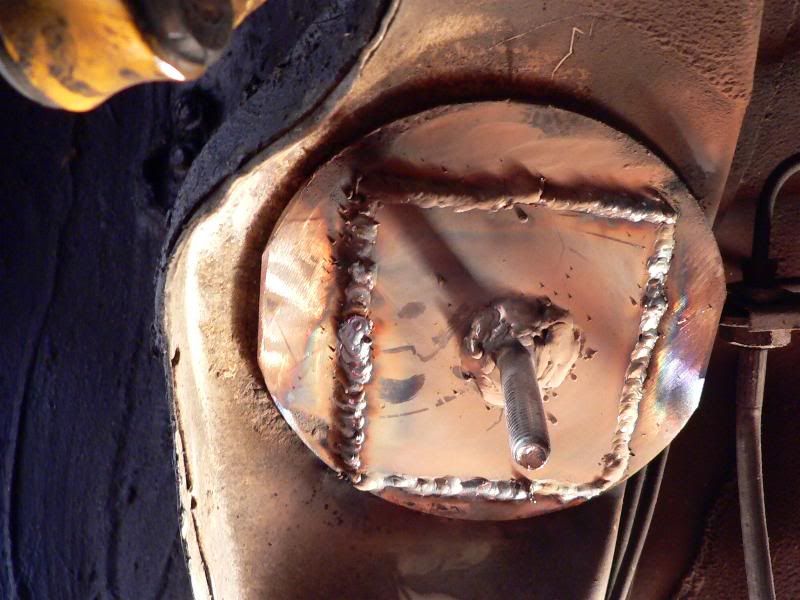
Then cut a 3.5" by 3" section of 2mm steel, which hits the circular part of the chassis perfect corner-to-corner, measured by Matt
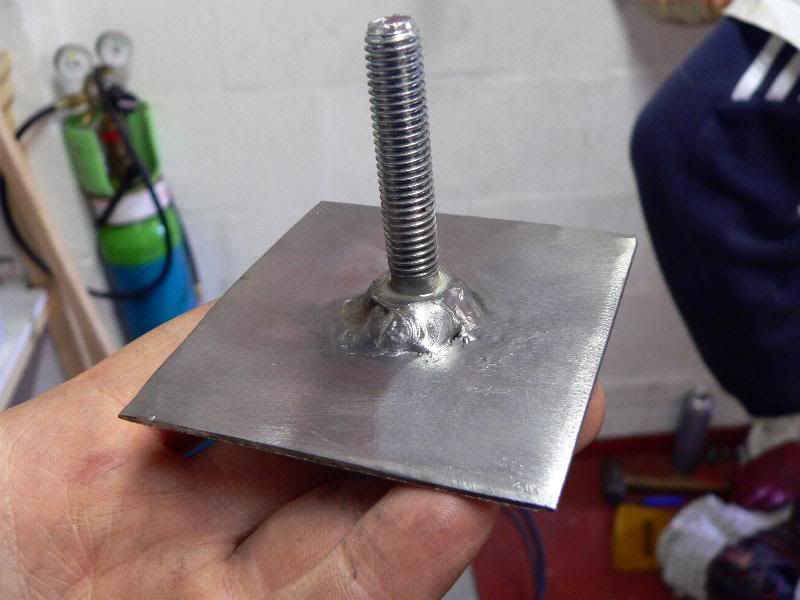
We decided to weld the M10x35 nut onto the steel plate as it'll be stronger, a better weld, and would be easier to weld to the car, so I did this
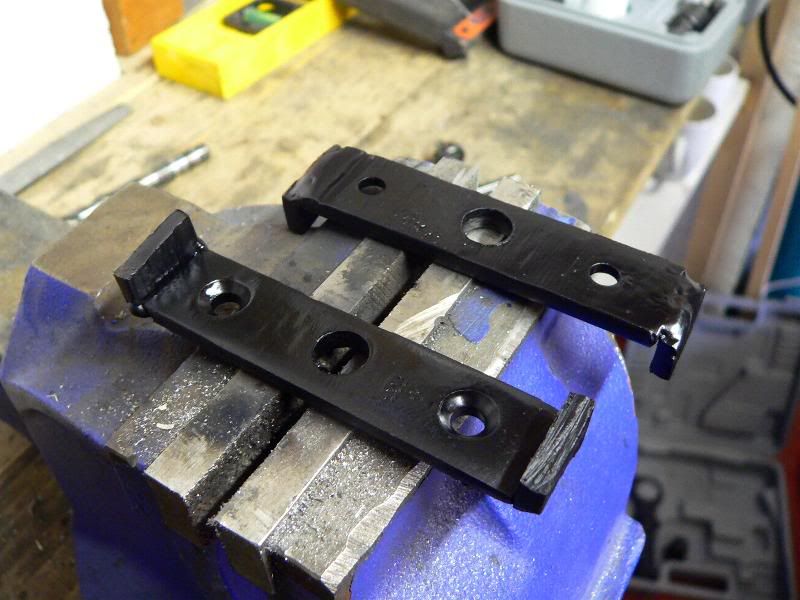
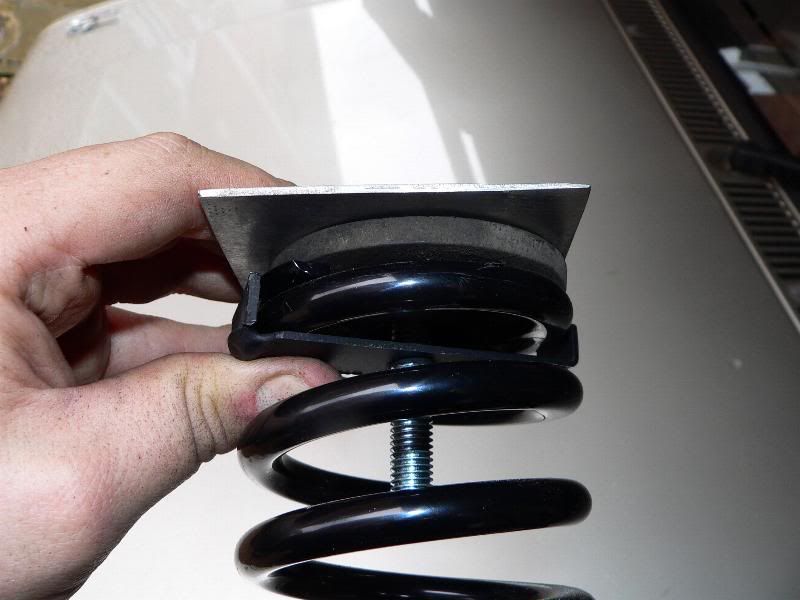
Better pic of the B&Q brackets that I put together
And then along with the top rubber seat, this is how it will be seated
Enter Rich... (not literally) after faffing about for hours trying to get my poxy welder to work, a call to Rich, 10 minutes later he arrived and did this for us
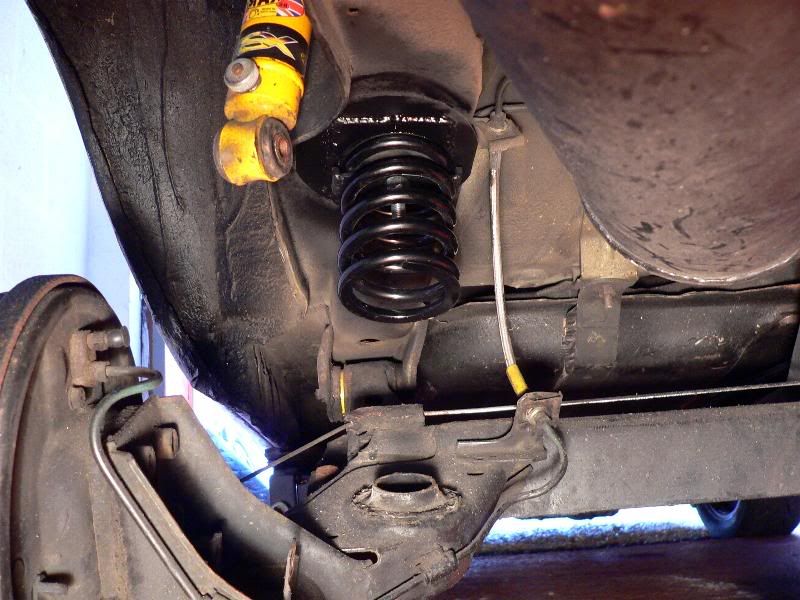
The add the rubber seat, then the spring, then the retainer, then the M10 nut with nylock, to get this - perfec'
From below, be sure the spring is sitting central... tis!

Posting Permissions

 Reply With Quote