


The set I bought came from Plastics4performance http://www.plastics4performance.co.uk
I cant recommend them enough, I mentioned my severe misting problem in wet conditions, and he suggested some coweled exhaust ports in the rear window. Ordered the full set which came to around 280 quid including front sliders, and they arrived in about 3 days!
Anyway, to the fitment.
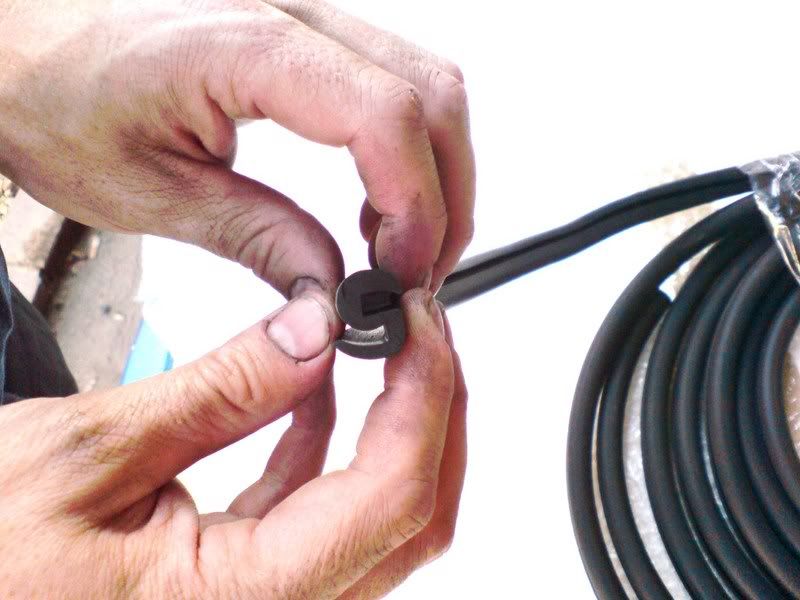
As well as the windows, you will need some rubber to fit the front ones as they obviously wont fit the standard equipment.
We used http://www.sealsdirect.co.uk/bbCMS/s...DepartmentId=4 ,
SWR149 - 5mtrs @ ?4.10 per mtr.
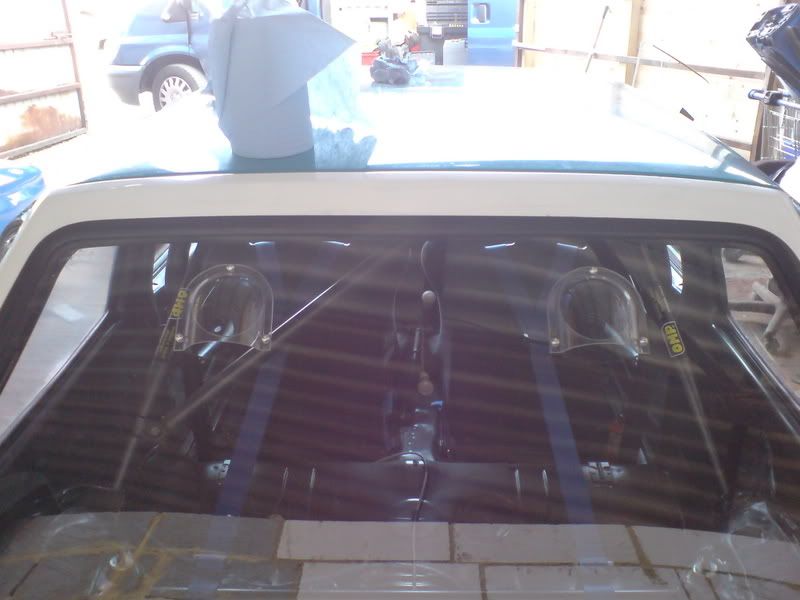
We started by fitting the rear quarter and back windows, as the procedure is the same as fitting glass, and we wont insult your intelligence by describing how to do it. If you are at a loss, there will be various guides around the forum, just use the search!
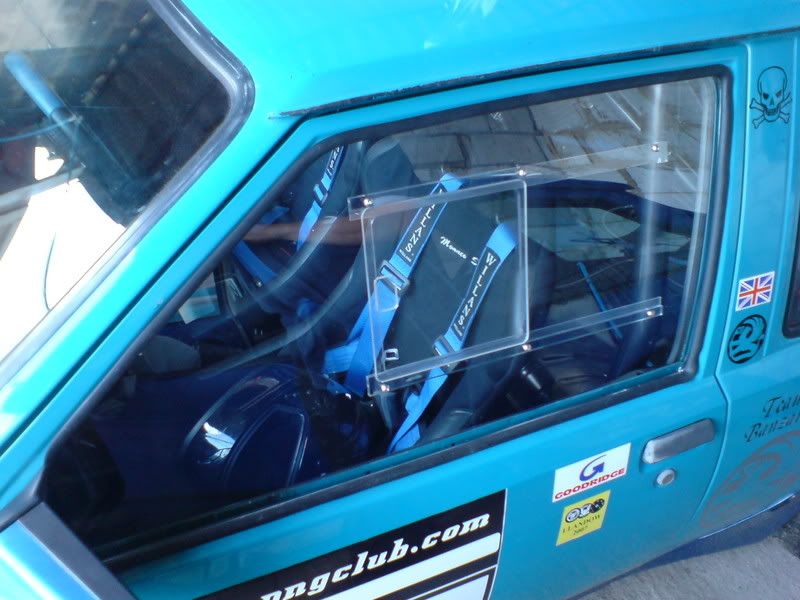
The rear looks hardcore wit the exhaust ports
So, onto the fronts.
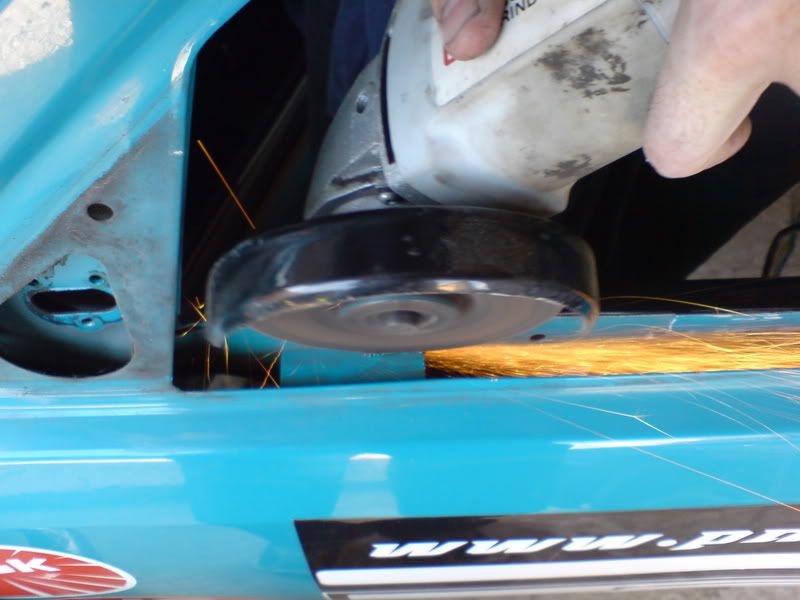
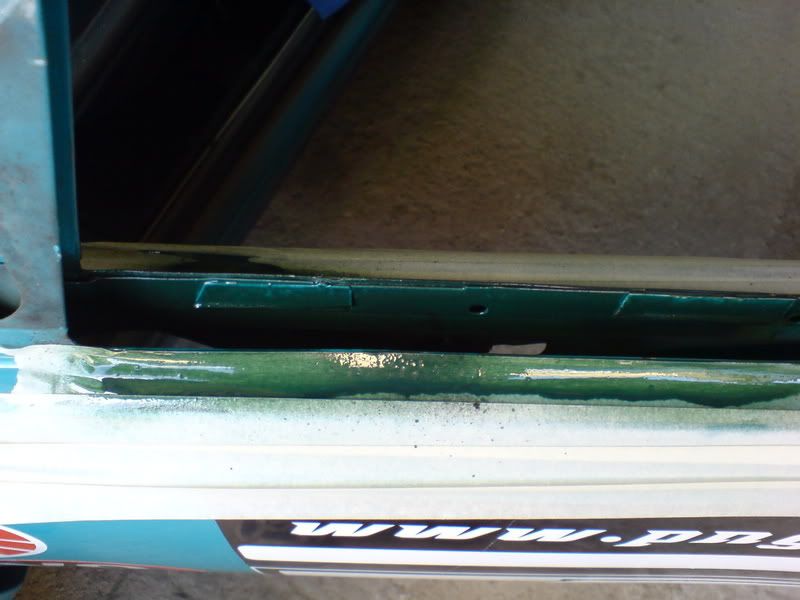
After stripping out all the glass, rubbers and window mechanisms, and removing the door mirrors, you need to grind off the two small metal tabs which the front quarter window sits on..
Ensure you paint up the exposed metal, bearing in mind you will be able to see the inside edge once the windows are fitted, so either blow the whole length of the door the same colour, or use a colour matched paint. This is always assuming you give a sh1t, which I dont, so i just grabbed a random can of hammerite
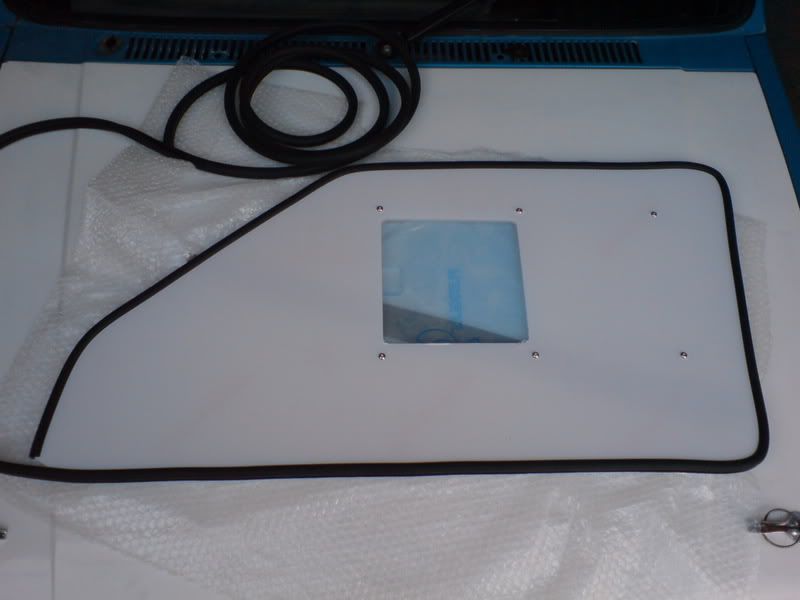
The front panels are designed to be fitted in a different way to how we fit them, in which case, they need to be cut down. (if you are buying from another source, I suggest you take your time and test fit the panels beforehand). You will also need to remove the sliders to prevent damaging them, and also to remove the protective film once you've finished.
We cut 25mm from the bottom of the window, and 5mm from the front end.
Next job is to cut the rubber to size. This picure is a bit misleading as we found you need to leave the shortest edge (front edge) without rubber otherwise you cannot refit the wing miirrors, and it makes fitment UBER fiddly.
Now comes the fun bit, trying to fit them. The key here is patience, of which I have very little, so this job was given to Dar because a) he has teeny tiny fingers, b) he's done it before and c) he loves me.
We slid the panel up through the door as we have cut out all of mechanism hangers and stuff from the door itself. If you havent done this, you will have to ease it in through the top taking great care not to scratch the polycarb. Also, LEAVE THE PROTECTIVE FILM ON until you have finished as you will be manipulating it and nasty fingerprints will be smeared all over the place, and it also offers some protection from scratches.
Work your way around the panel as you would fitting a rear window, only this time back to front, pulling the rubber over the outside lip on the door. This is the part that needs the patience and small fingers!
And thats the job done. Remove the protective layers, refit the mirror and slider, and then marvel at how fecking light your door is, like I did!


 Reply With Quote


