Page 4 of 211 FirstFirst ... 234561454104 ... LastLast
Results 31 to 40 of 2108

Thread: House's ITB XE build and re-build

  1. #31
    Senior User
    Join Date
    Dec 2013
    Location
    Kings Hill, Kent
    Posts
    1,892
    Post Thanks / Like
    Mentioned
    0 Post(s)
    Tagged
    0 Thread(s)

    Default

    So today was a productive day.


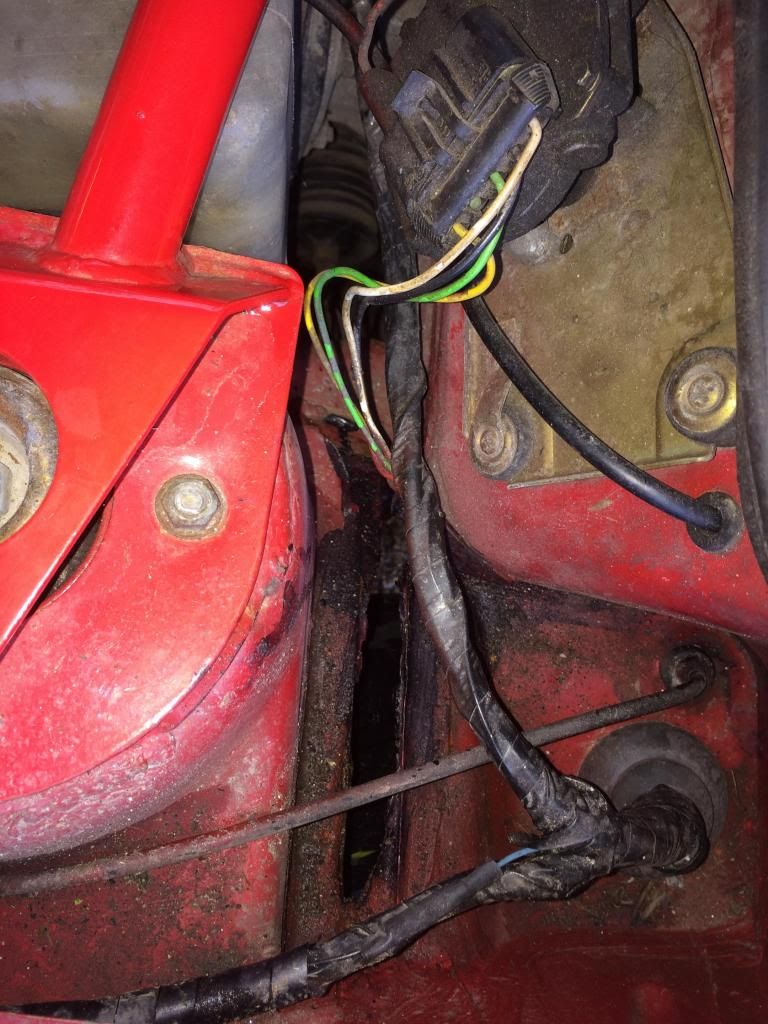
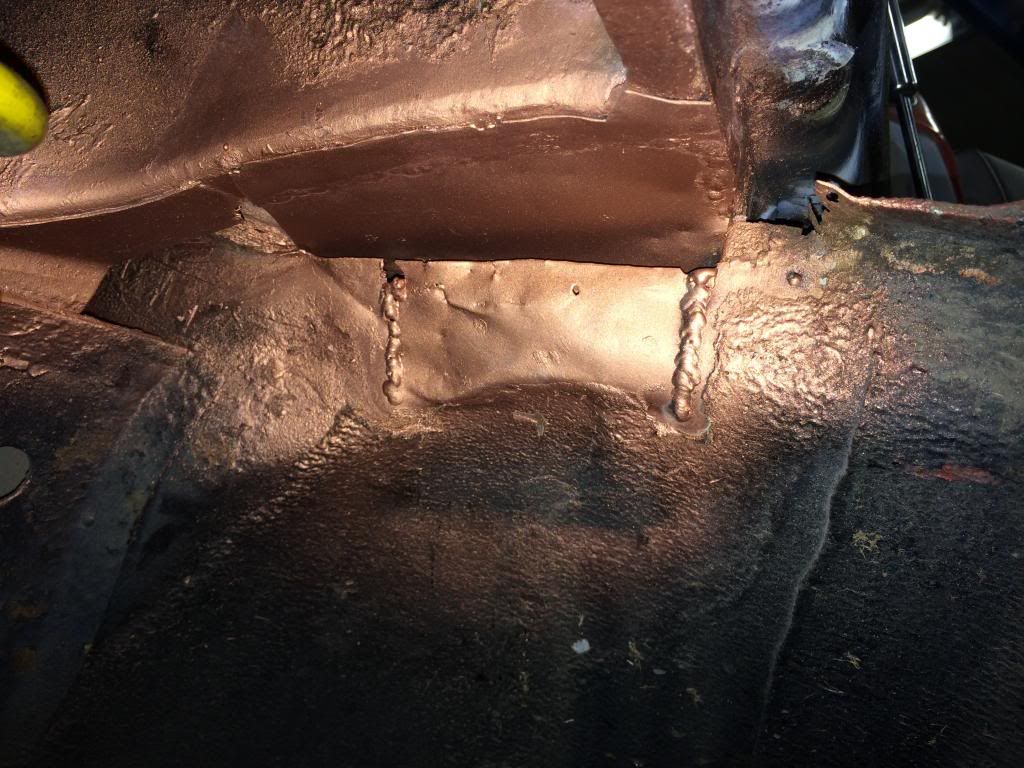
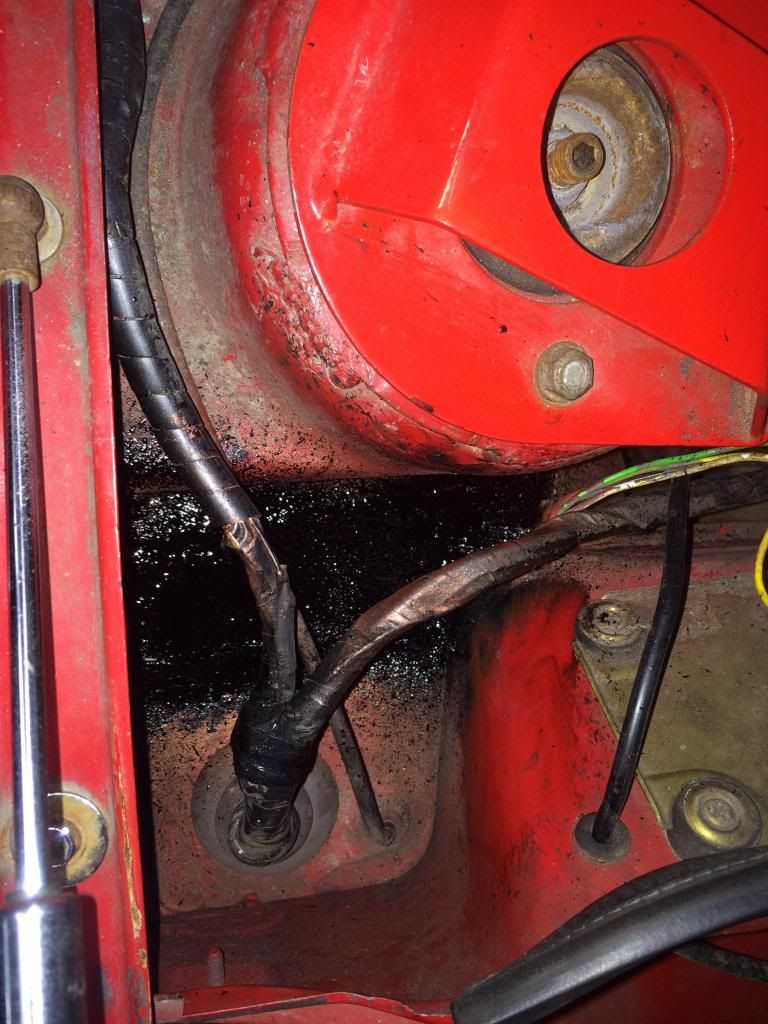
    Passenger shock tower with a little bit of seam rot and a rather large hole. This was letting water into the car and had begun to rot the seam where the bulkhead meets the under side of the scuttle.


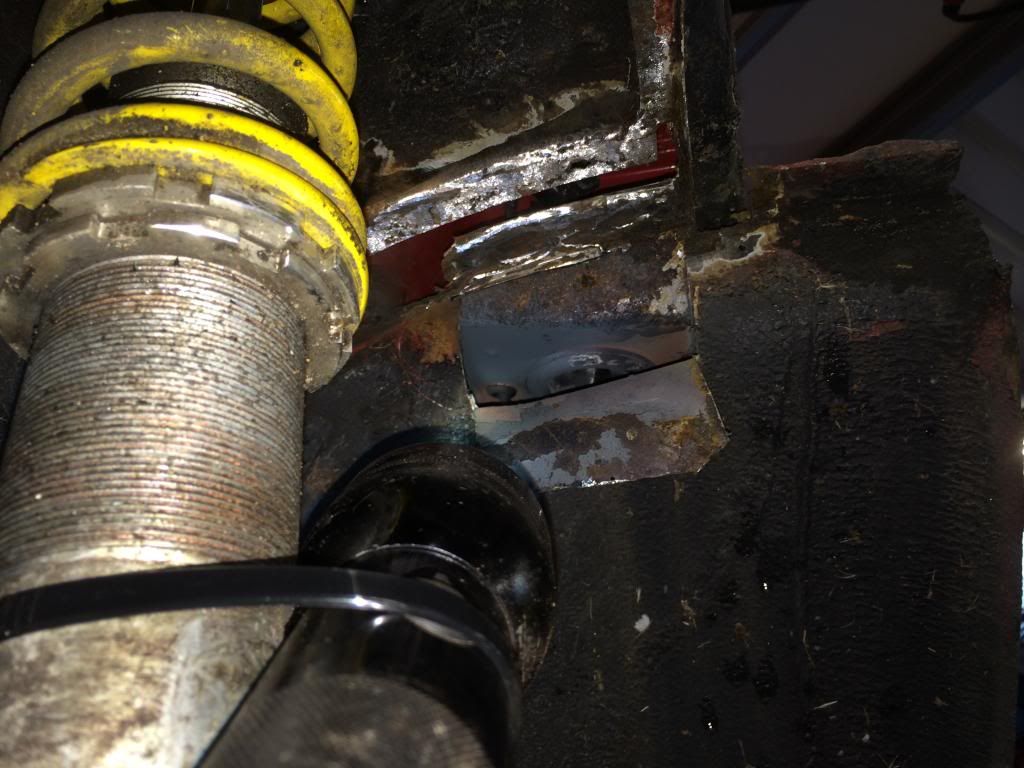
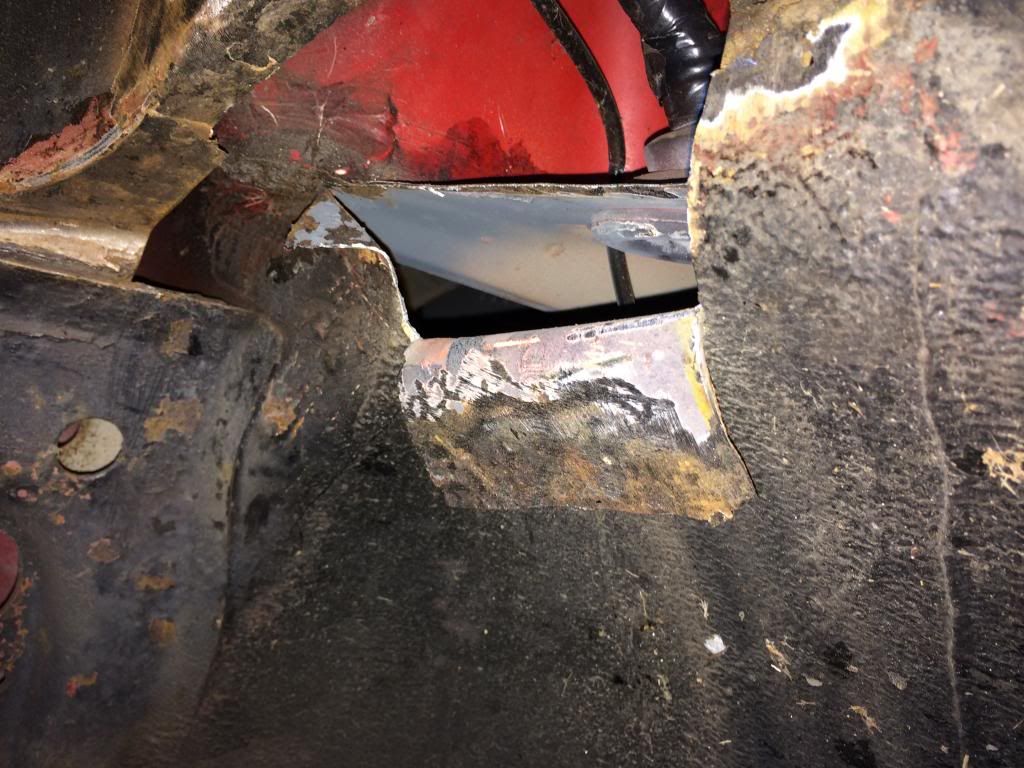
    stripped back and the seam peeled away to allow us to get the the rot that I couldn't reach from inside the car, as you can see the grey primer is where I applied rust treatment and zinc primer last week, without peeling away the seam we'd never have been able to properly treat the surface rust.


    All cleaned up and ready to size some plates up to weld in the gaps.


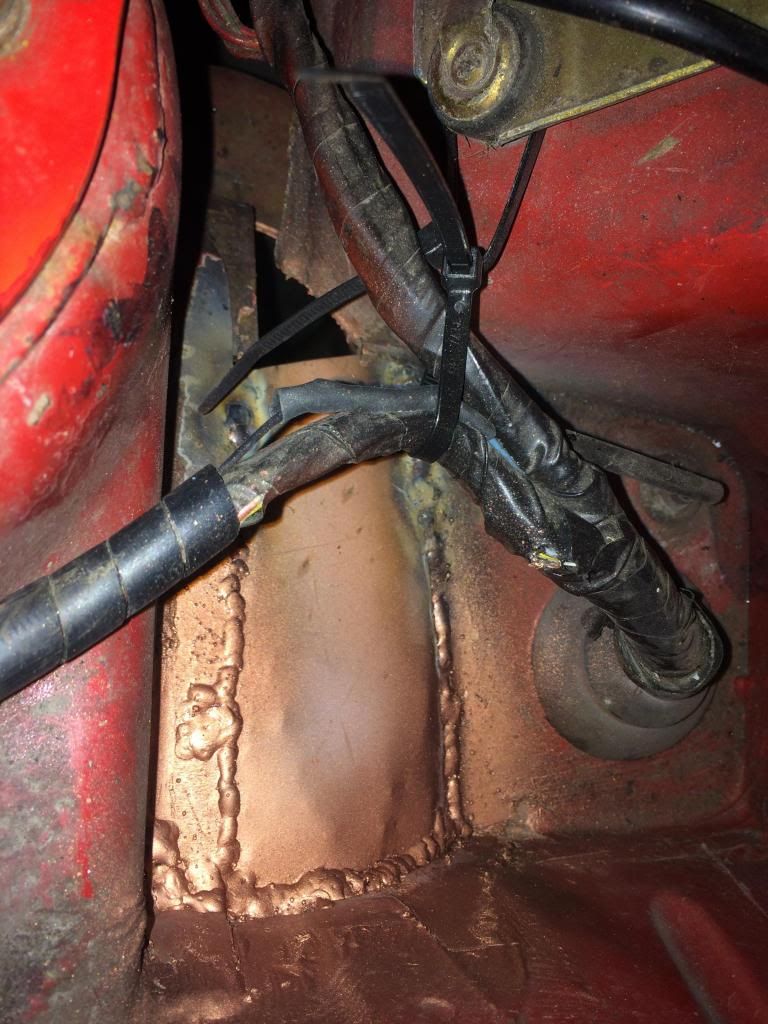
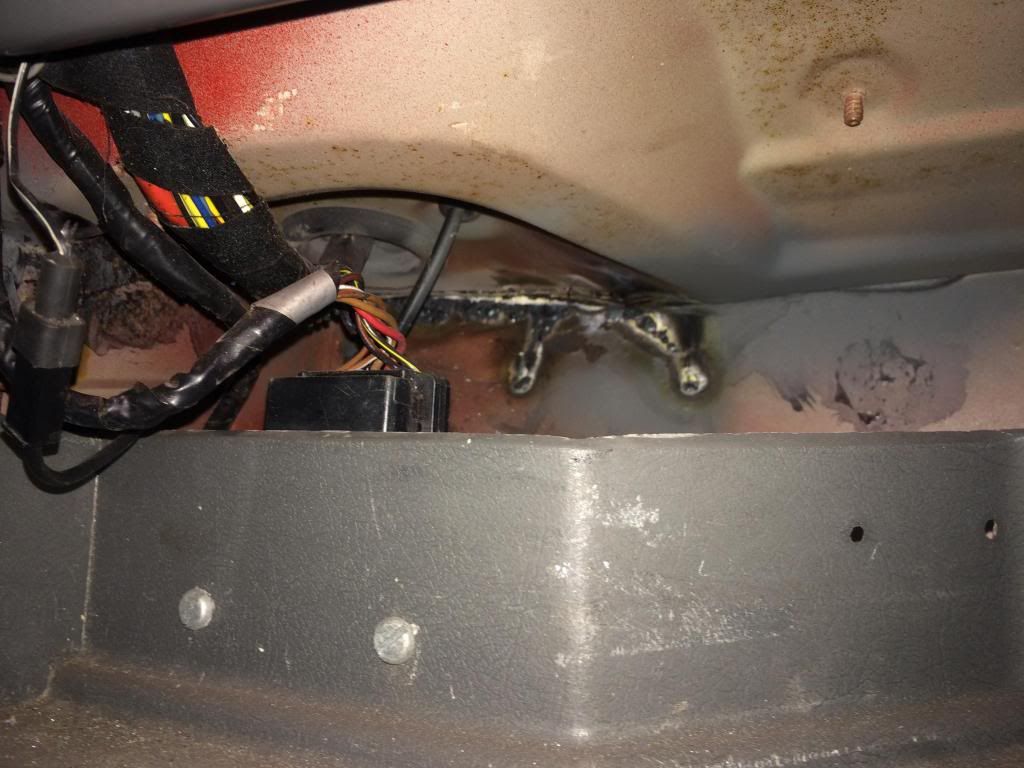
    Pre weld copper spray primer stuff applied to protect any of the bare metal edges, all surfaces were treated with rust treatment while we had it all exposed.


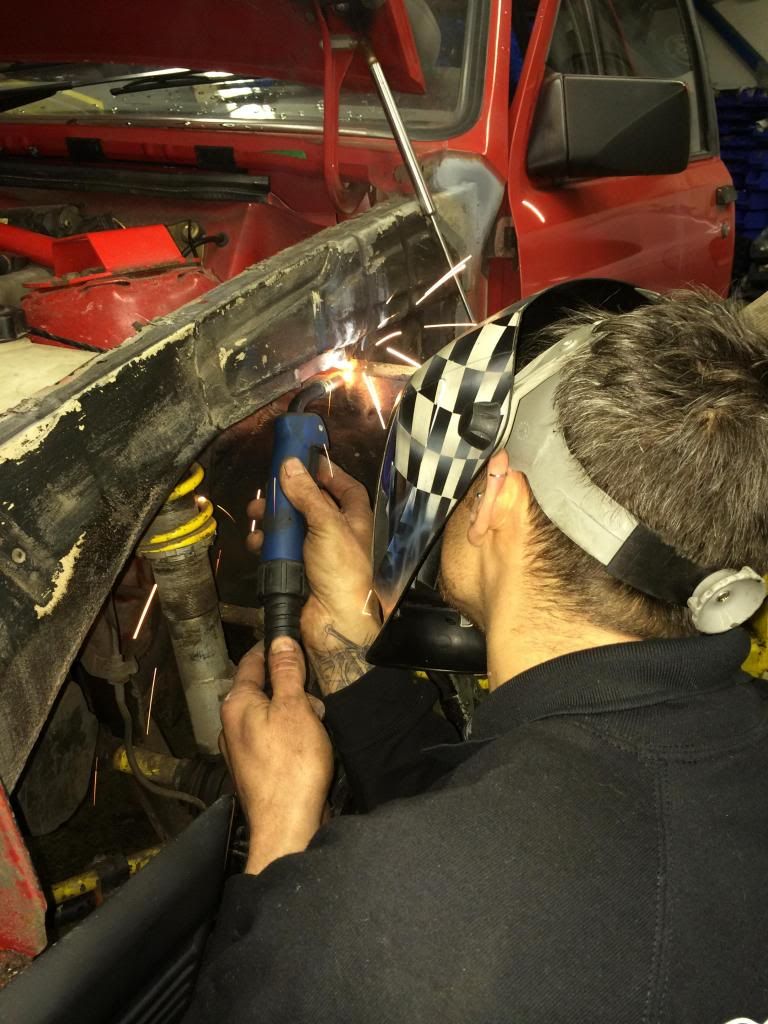
    Tim here doing his thing.


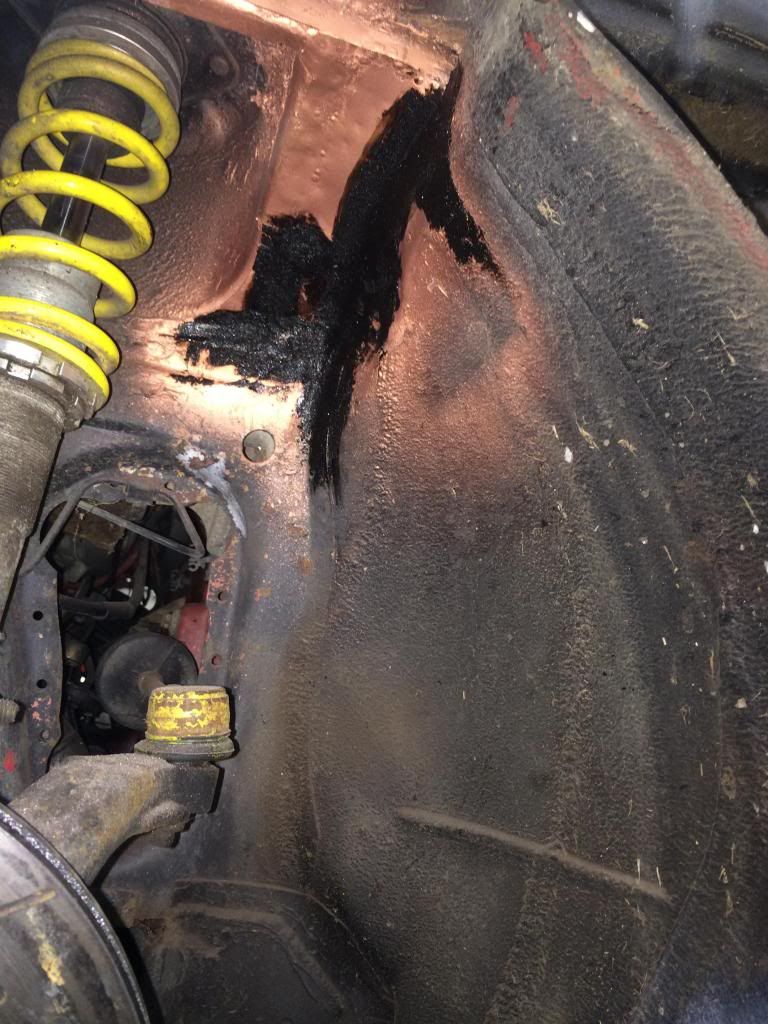
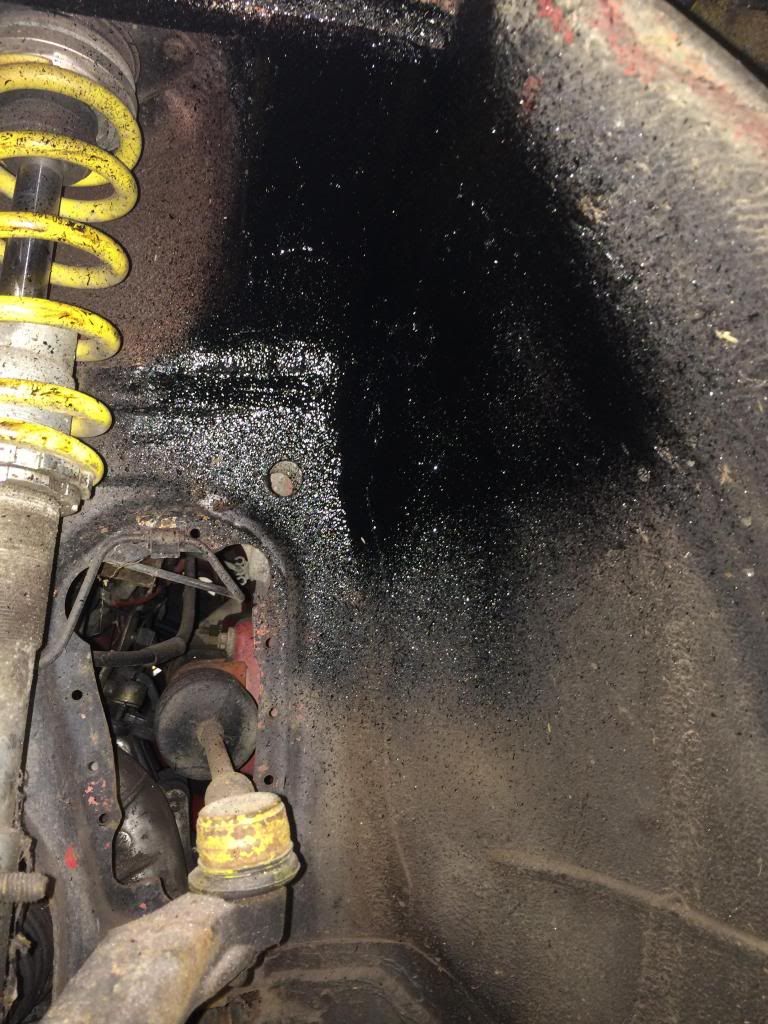
    Looks a bit better!!!


    problem solved, got up inside and sprayed the welds from the inside of the cabin too.


    That was the hole solved!!

  2. #32
    Senior User
    Join Date
    Dec 2013
    Location
    Kings Hill, Kent
    Posts
    1,892
    Post Thanks / Like
    Mentioned
    0 Post(s)
    Tagged
    0 Thread(s)

    Default

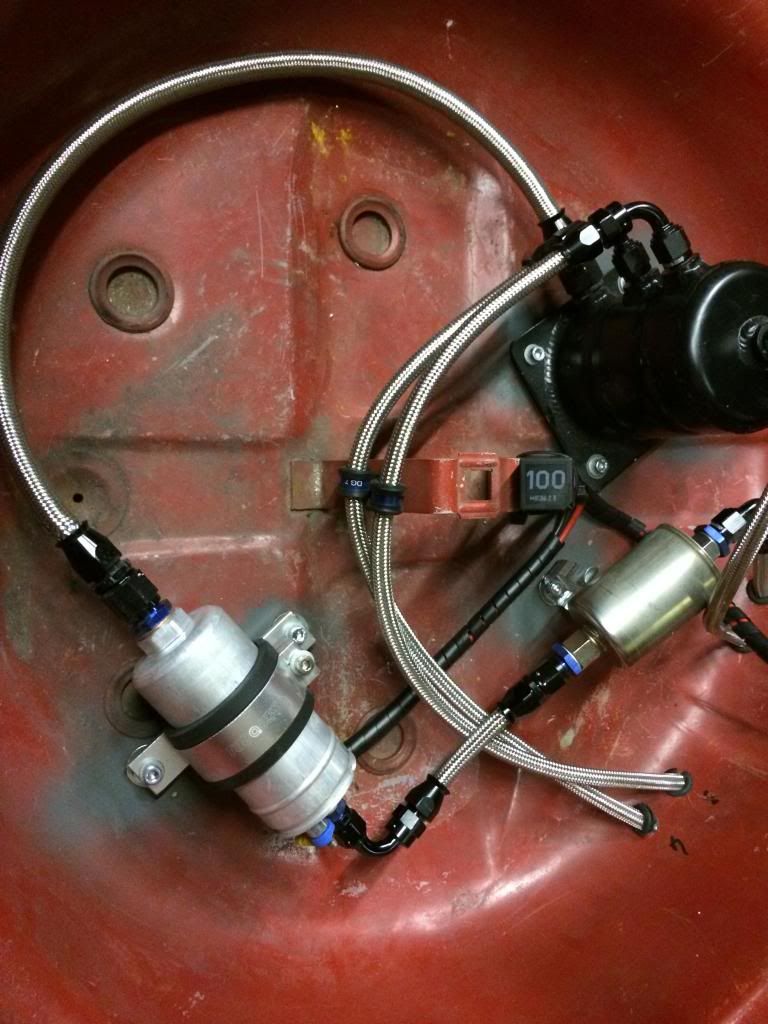
    Also finally tackled the fuel system today and I'm glad I waited to get to a proper garage to get this done.

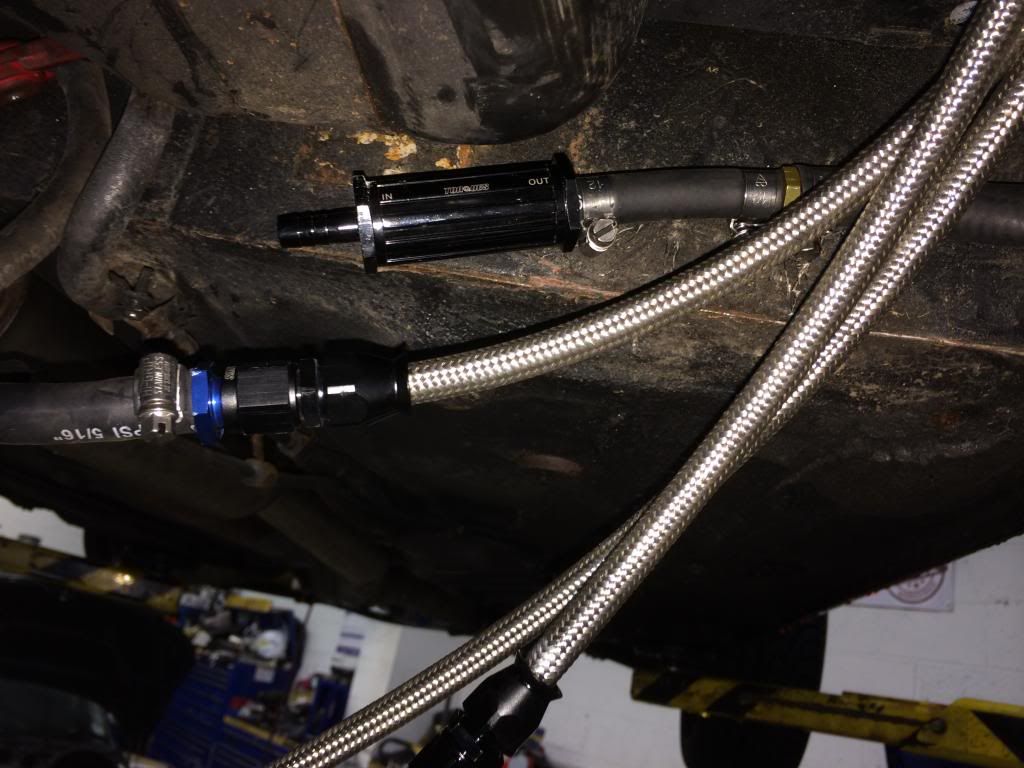
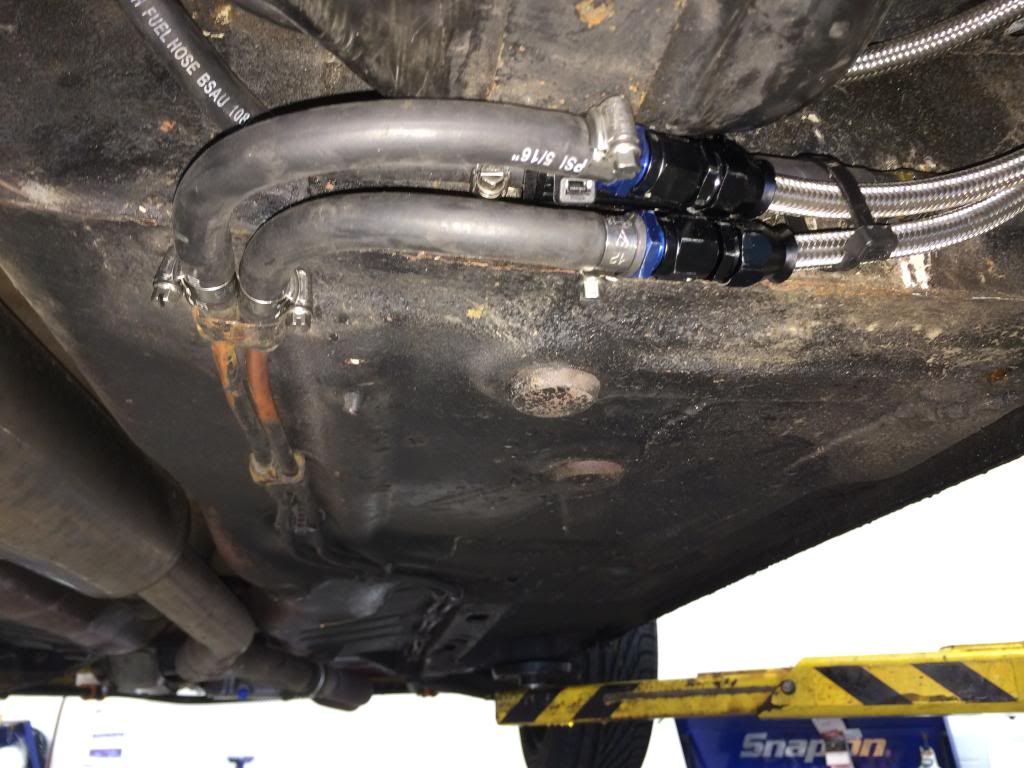
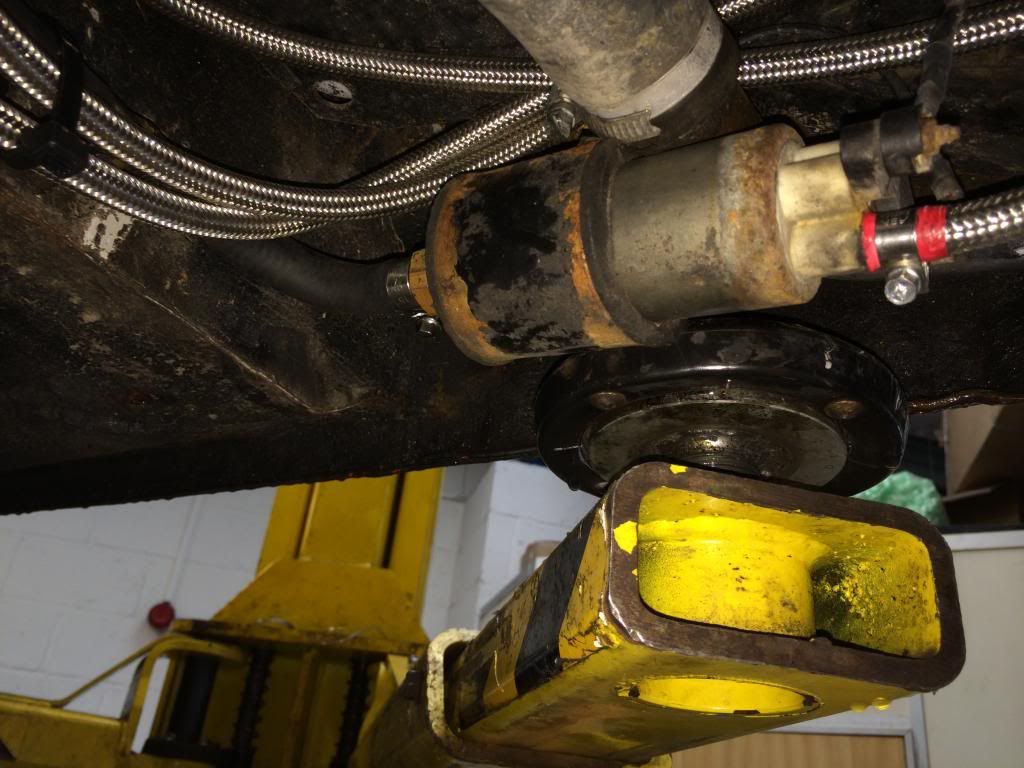
    Pre lift pump in line filter, we had to use rubber hoses onto the copper pipes for the car as we couldn't get the right radius on the PTFE hoses without crimping them. Had to make some barbs on the end of the copper pipes too as the end were just plain.


    Using the existing pump as a lift pump to the swirl pot, athough when we went to wire it both the terminals broke off, luckily Tim dug out a brand new pump from his G60 Golf that he donated to the cause!! No pics of that cos I had the raving hump by the time the terminals broke off!! Will get outside tomorrow and take a snap of it and add it in!!


    Fuel system all setup and wired in, I was shocked, but not unsurprised, to find that the feed for the existing fuel pump was in 0.5mm wire, it was like 5 strands of human hair!!
    Couldn't live with that drawing 22 amps (11 for each pump) so we ran a fused live in 2.5mm cable direct from the battery to the relay then from the relay to both pumps, again in 2.5mm.
    Then used the original fuel pump live to switch the relay.


    Really pleased with this, reset the fuel pressure to 2.7 bar on idle, 3 bar under load.

    The difference is really noticeable, when you come out of a roundabout quick and ask for the power it's there, where as before it would seem really flat as I guess it was fuel starving from the fuel being swished around the tank.

    All in all, a productive day.

    Big thanks to the guys at The Phirm, Tim, Damo, Jay and Paul the weirdo, for their efforts today, Damo did a particularly good job of prepping all the shock tower and inner wing for welding.

    http://www.thephirm.co.uk/

  3. #33
    Senior User
    Join Date
    Dec 2013
    Location
    Kings Hill, Kent
    Posts
    1,892
    Post Thanks / Like
    Mentioned
    0 Post(s)
    Tagged
    0 Thread(s)

    Default

    Managed an oil change too, although it was more like treacle when it came out and there were iron filing on the magnetic sump plug!! Cleaned the air filter too as it was absolute grot, hoovered the car (adds 5 bhp).

    Hopefully if it's dry this weekend I'll get the polisher out and see if you really can polish a turd.

  4. #34
    Go low or Go home. Moderator Benn's Avatar
    Join Date
    Mar 2004
    Location
    Fareham, Hampshire
    Posts
    23,815
    Post Thanks / Like
    Mentioned
    12 Post(s)
    Tagged
    0 Thread(s)

    Default

    I'm surprised you didn't run the braided line all the way to the fuel rail.. Looks very nice, do like the nice ends.
    Good to know you've fixed the fuel issue too. Looks nice and tidy in the boot.

    Your rear brace tho, (looking a page back) it wont do alot bolted to the shock tops, you really want it welded/bolted to the turrets. There you'll really feel difference.
    Last edited by Benn; 18-01-14 at 09:33 AM.
    All I wanted was a Pepsi, just one Pepsi
    Far from suicidal
    Still I get them tendencies
    Bringing back them memories
    That I really miss when I reminisce

  5. #35
    Senior User
    Join Date
    Dec 2013
    Location
    Kings Hill, Kent
    Posts
    1,892
    Post Thanks / Like
    Mentioned
    0 Post(s)
    Tagged
    0 Thread(s)

    Default

    Thanks Benn, I didn't run all the way to front of the car because I'm planning on throttle bodies and knowing me I'd run the braided lines too short for the bodies and end up having to replace the lot. I'm also a little dubious about drilling the shell with more holes than absolutely needed. If I can get away with the copper lines then I'm happy to do so.

    as for the rear strut brace, it's not my doing but I've always thought it didn't look right where it is, so what you're saying is cut it shorter and move it down so it's welded directly between the turrets?? Makes sense, I'll put that on the list!!

  6. #36
    Go low or Go home. Moderator Benn's Avatar
    Join Date
    Mar 2004
    Location
    Fareham, Hampshire
    Posts
    23,815
    Post Thanks / Like
    Mentioned
    12 Post(s)
    Tagged
    0 Thread(s)

    Default

    Ah nice plan, i used the std studs on the floor to hold my braided lines up to the floor. but understand the TB bit..
    And yeah the rear brace needs to be bolted or welded to the turrets as that is the bit that takes the movement from the shell. First time you move it to there you'll notice the difference*
    As it stops all flex. On the strut tops it will only hold a tiny bit of movement, but mostly the rubbers do that so.


    * You might not as you have a cage,
    All I wanted was a Pepsi, just one Pepsi
    Far from suicidal
    Still I get them tendencies
    Bringing back them memories
    That I really miss when I reminisce

  7. #37
    Senior User
    Join Date
    Dec 2013
    Location
    Kings Hill, Kent
    Posts
    1,892
    Post Thanks / Like
    Mentioned
    0 Post(s)
    Tagged
    0 Thread(s)

    Default

    Busy day this week at The Phirm.

    After going for a spirited drive during the week (Monday or Tuesday) I think it was, I returned home to find a lot of water making an appearance in the bottom right corner of the rad, passenger side, where the hose goes to the back of the block. After a few minutes of looking at it drip dripping and praying to my phoney baloney god that it would stop (it didn't) I went online and ordered a shiney alloy GSI rad, this was a most pleasing 5 minutes.

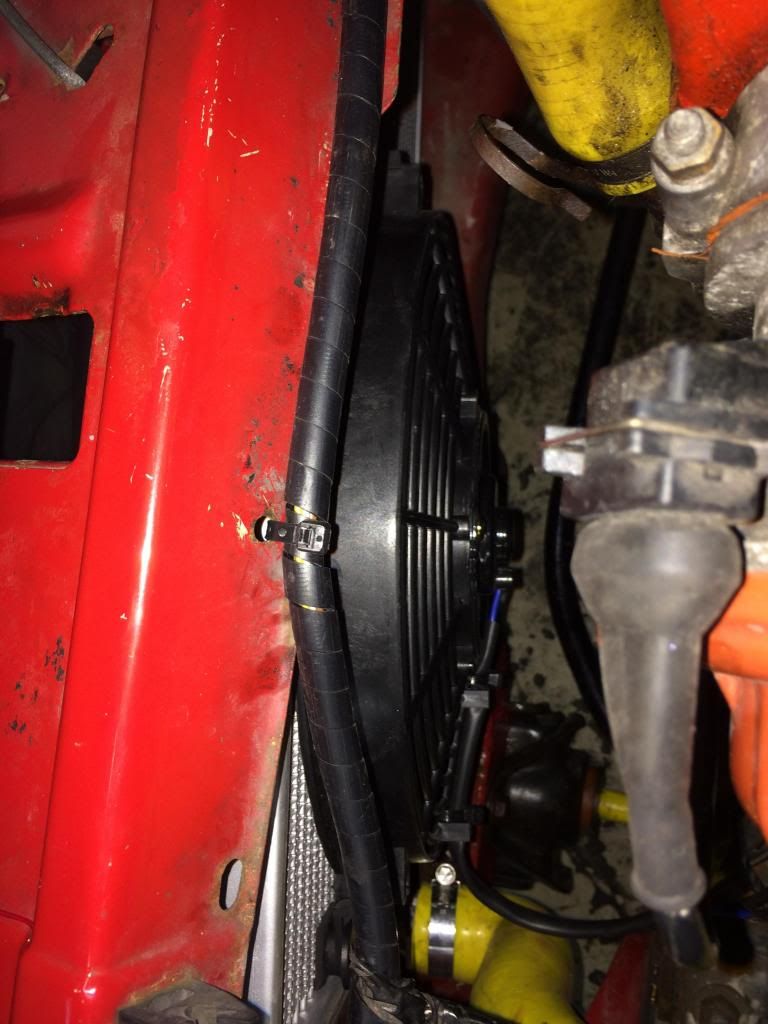
    I also ordered a cheap fake Kenlowe from somewhere, it was £20 and I fully expect it to last 5 mins and then me to have to buy a proper Kenlowe and moan about the false economy of buying cheap stuff. I am ofcourse hoping that the plucky little fan holds on for aslong as possible!!

    I got to the Phirm, the chosen place of work, not only because it's warm and dry but mainly because Tim and the guys there can solve pretty much any issue (this was to prove valuable later in the day).

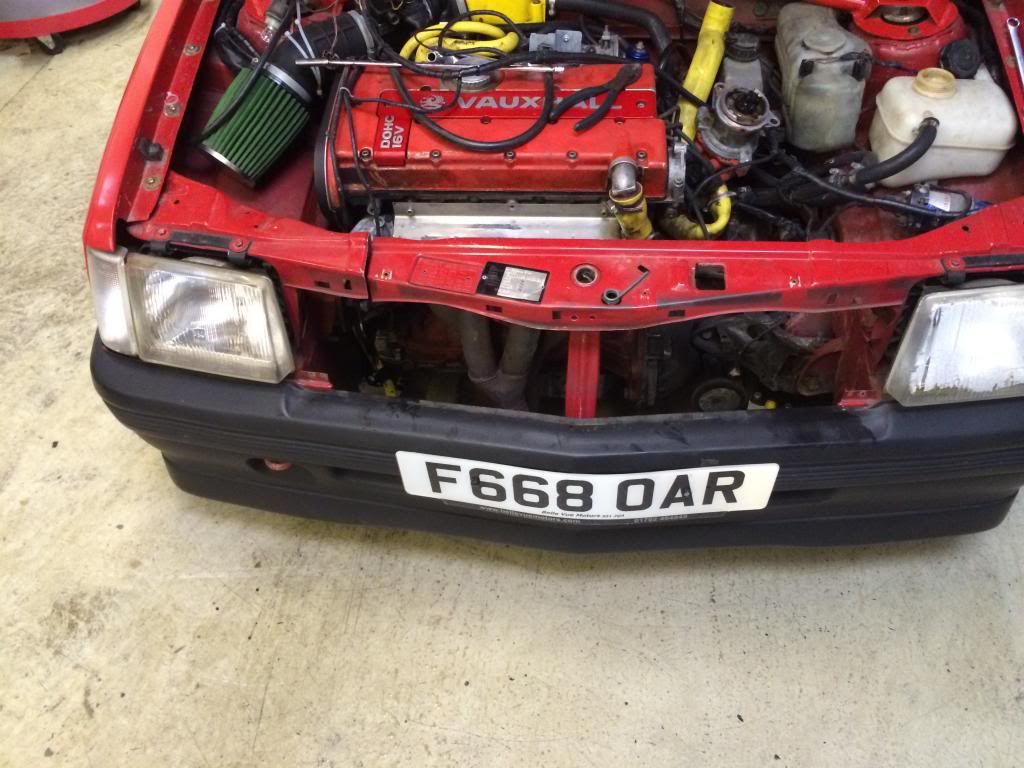
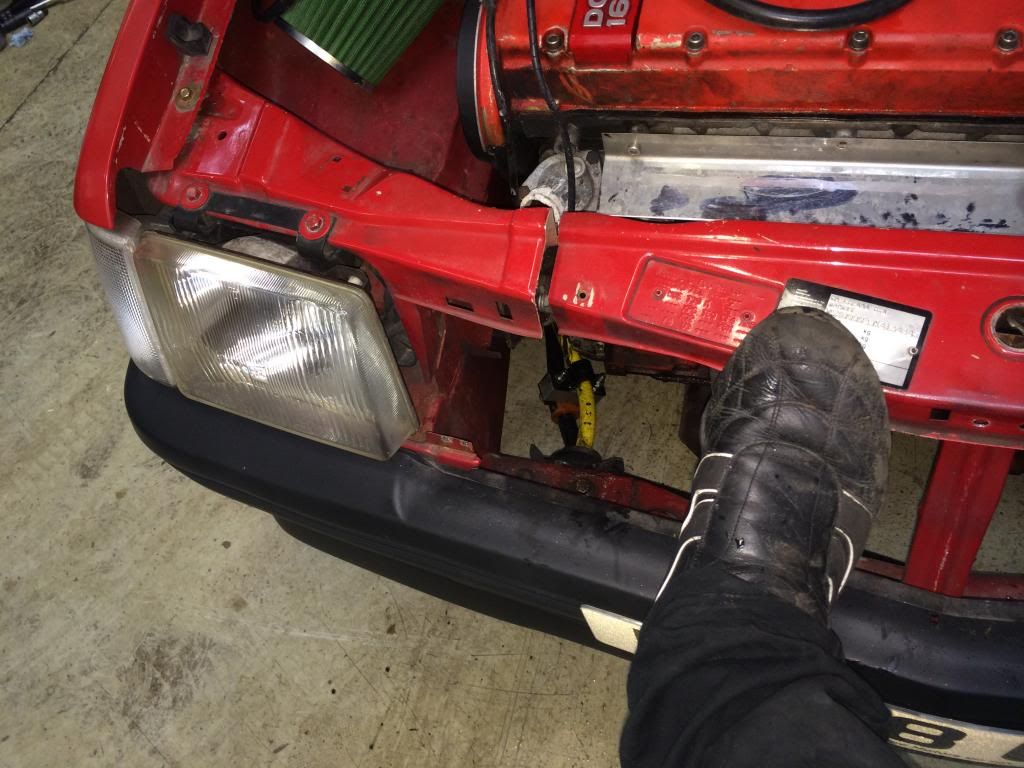
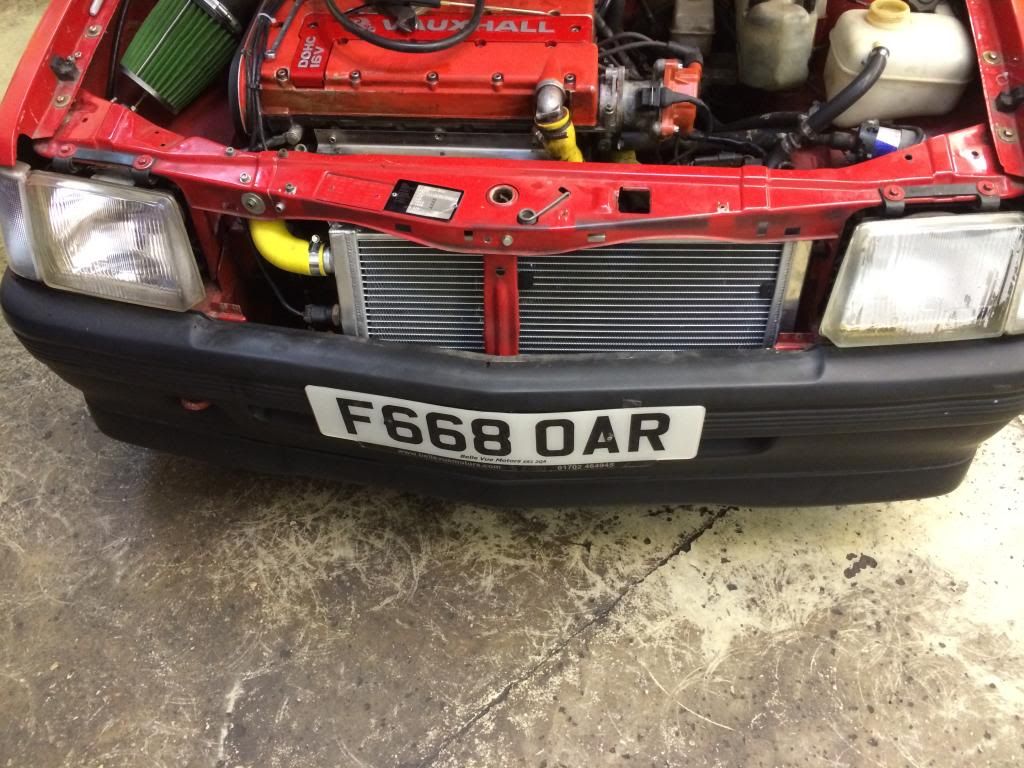
    I began to look at getting the rad out and I'm sure on my old Nova I could get the rad out with the exhaust manifold in place, evidently it's not possible on this one, I was bored with the idea of taking the ARB and manifold off so made a little cut in the slam panel.


    It's like a little radiator trap door.

    Anyway with the rad out I looked at ways of mounting the oiil cooler, it wasn't happening with the rigid pipes that come on the Vauxhall one, I got bored quite quickly and decided to get rid of it, it was annoying me anyway with it's constant leaking and messy pipes and the way the pipes rubbed on the bottom pulley wasn't exactly prefect either, so it's a goner.
    I'm going to order up a 6 row cooler and some AN fittings and hose to run it the the front and get it in next to the water rad when I get 5 minutes. I'm pretty sure the threads are 18mm x 1.5 pitch.

    As anyone who has removed an oil cooler will know, once you remove the sandwich plate you're left with the stud that comes out the oil pump, this is too long to screw the filter directly onto and as I hadn't planned to remove the oil filter I hadn't ordered a shorter non cooler adapter.
    We searched around the workshop for a one in a million chance that a VW one might fit, no luck, we then dreamt up the idea of cutting the existing one down, TIG welding it back together and turning the weld down on the lathe so it screwed in properly.
    We like to innovate, so Tim got going on the lathe to turn the exisiting one down to make it a male female type fit and he happened to find an off cut of threaded bar in the lathe, luck would have it that it was 18mmx1.5!!!
    Result!! We drilled a 13mm hole through the middle with the lathe, job done.

    After all that was done, I went back to what I was doing before the oil cooler got in my way!!!


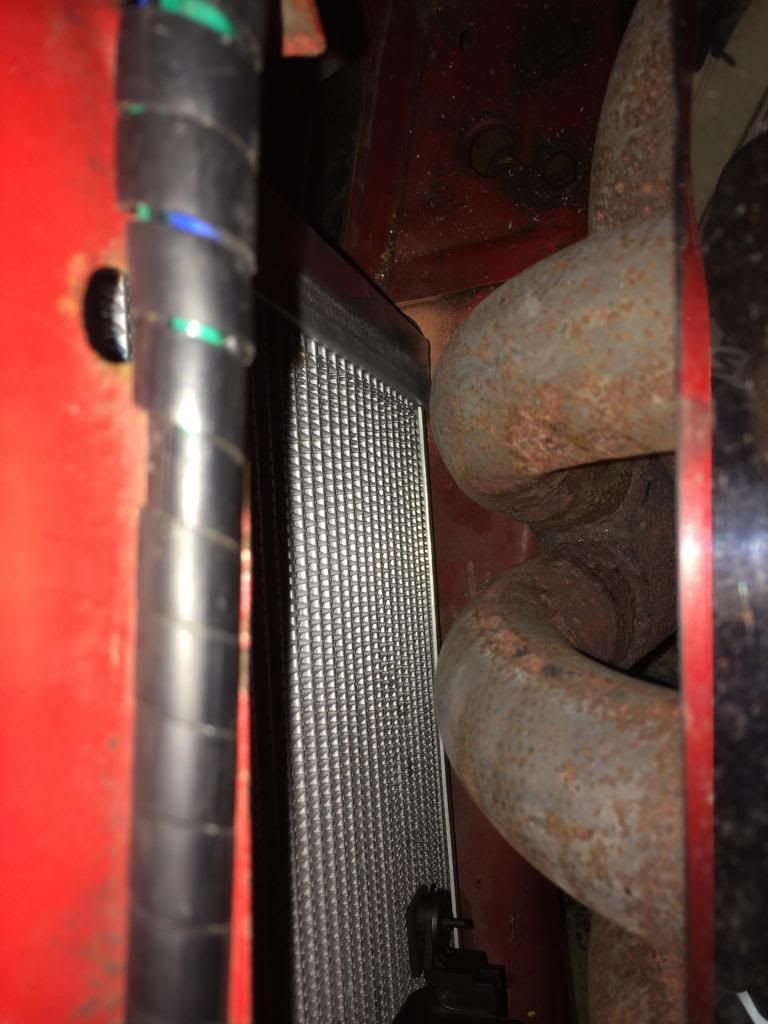
    The old rad was so close to the manifold it had melted part of the core, I figured this wasn't the best thing in the world, so I decided to pull the drivers side of the rad forwards away from said manifold, this was easy enough, remove the rad mount from inside the slam panel at the top, pull the rubber bung out in the bottom crash bar and drill and new hole as far forward as possible with a cone cutter, rubber bung back in, use the other 2 exisitng mounts on the passenger side, rad is now 30-40mm further forward than it was. Yeah it's at an angle but I can live with that.

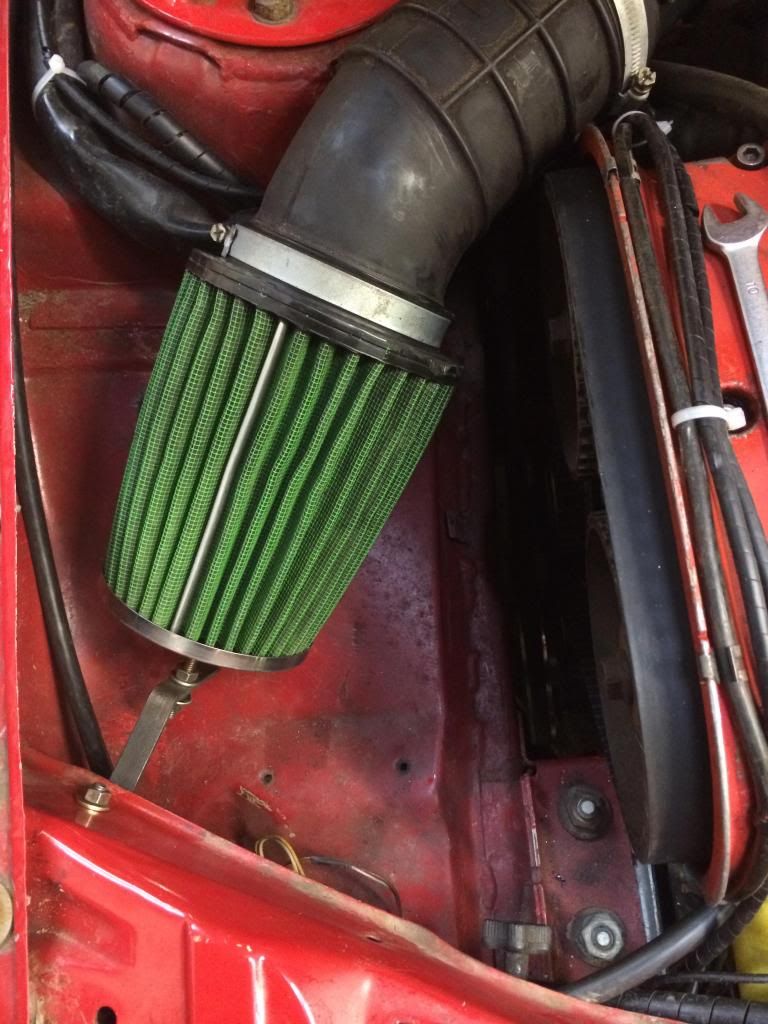
    Because I'd passed the "leave now to avoid the traffic on the M25" deadline, I decided to hang around and piss about with a few bits, tidied some wiring, made a bracket for the air filter cos the pipe was getting dangerously close to the inlet cam pulley. I've got a cambelt cover to go on and will be doing so next week.
    This bracket is only temporary as the entire induction system will be going once the TB's turn up. Just gotta pay myself the dividend to allow me to order them.


    I've also been in deep discussions with Phil Nichols of FPE, he's building me a monster of an engine to go with the TB's, more on that to follow.

  8. #38
    Senior User SRimon's Avatar
    Join Date
    Jun 2003
    Location
    Plymouth, Devon Drives: VX220
    Posts
    3,143
    Post Thanks / Like
    Mentioned
    0 Post(s)
    Tagged
    0 Thread(s)

    Default

    Front end not welded?

  9. #39
    Senior User
    Join Date
    Oct 2007
    Location
    Cudworth, Barnsley, South Yorks. Drives: Nova 2.0 16v hatch.
    Posts
    2,775
    Post Thanks / Like
    Mentioned
    0 Post(s)
    Tagged
    0 Thread(s)

    Default

    Hi mate just a quick one what size/poundage springs are you running on the from coil overs as I need some for mine to clear my speedlines.

    Damo.

  10. #40
    Senior User
    Join Date
    Dec 2013
    Location
    Kings Hill, Kent
    Posts
    1,892
    Post Thanks / Like
    Mentioned
    0 Post(s)
    Tagged
    0 Thread(s)

    Default

    Quote Originally Posted by SRimon View Post
    Front end not welded?
    In what way mate? I was led to believe this has had some "seam welding" and I can see some welds on parts, where should the welds be? When the engine comes out I'm looking to weld it all up properly.

Posting Permissions

  • You may not post new threads
  • You may not post replies
  • You may not post attachments
  • You may not edit your posts
  •