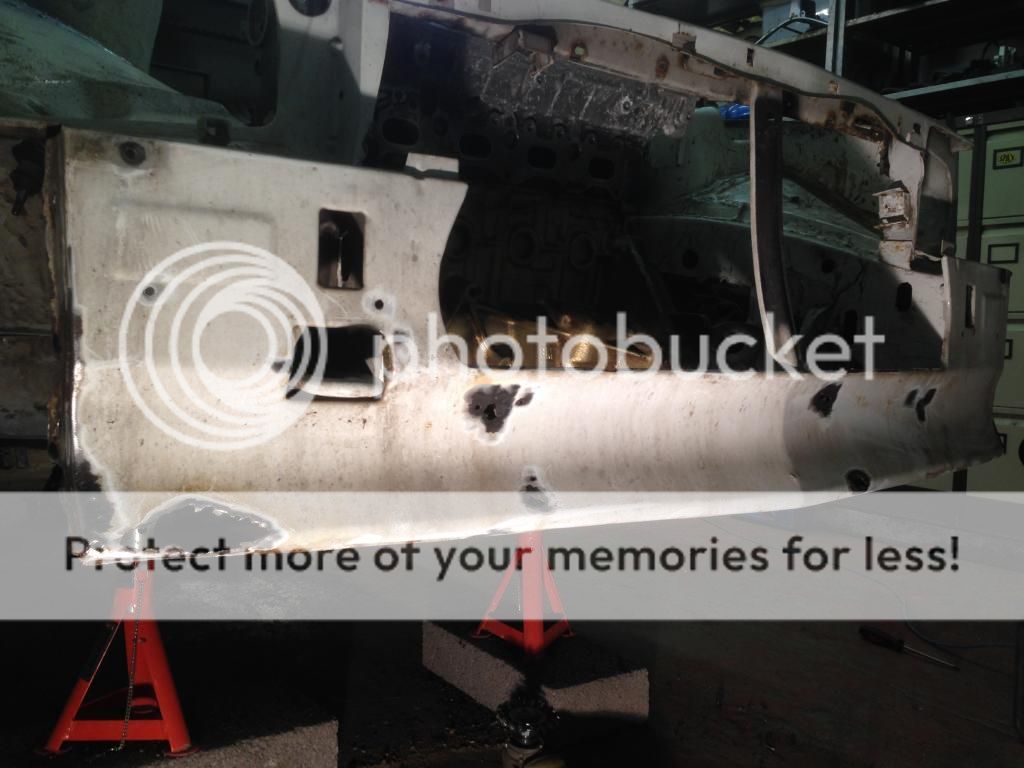
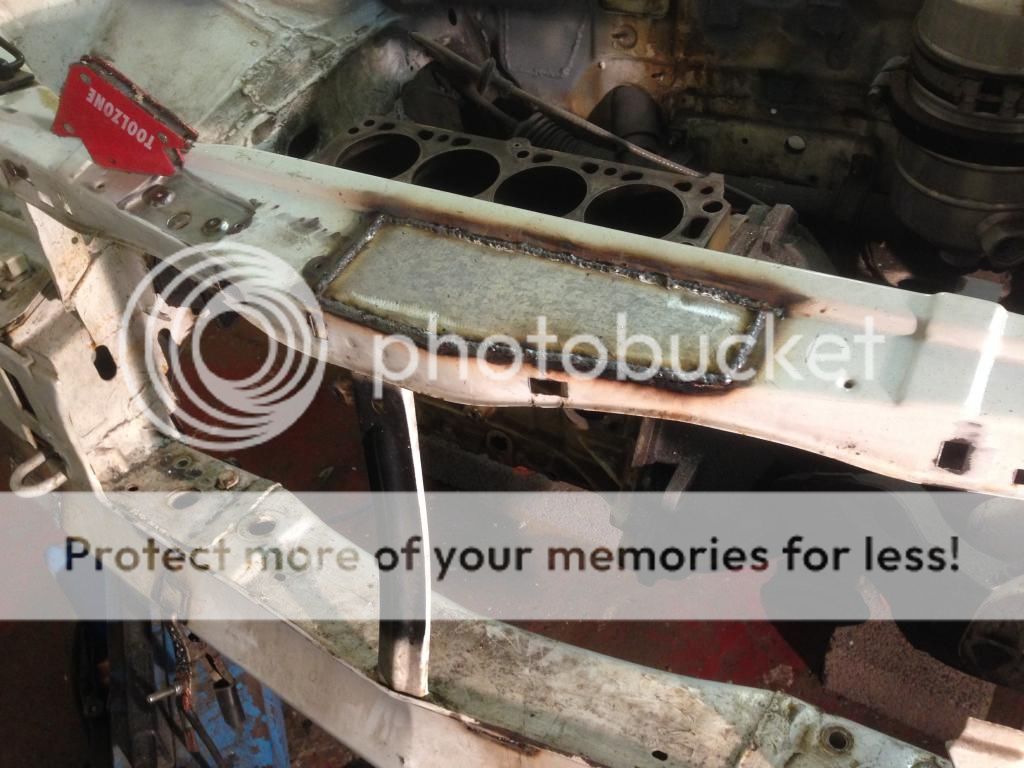
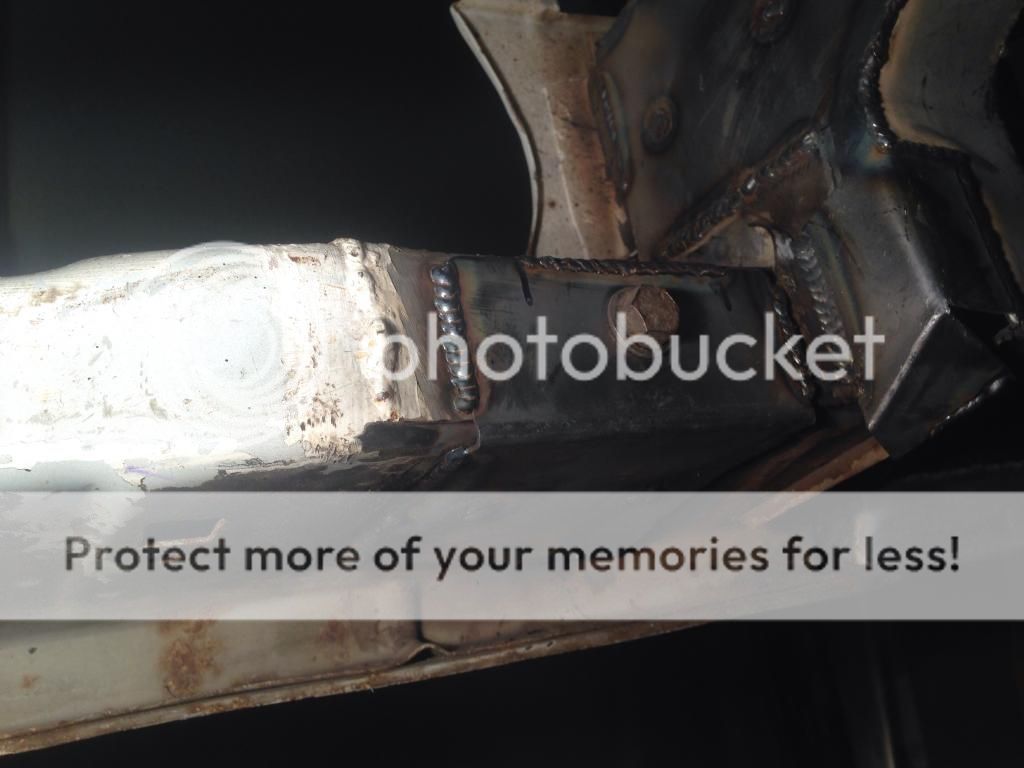
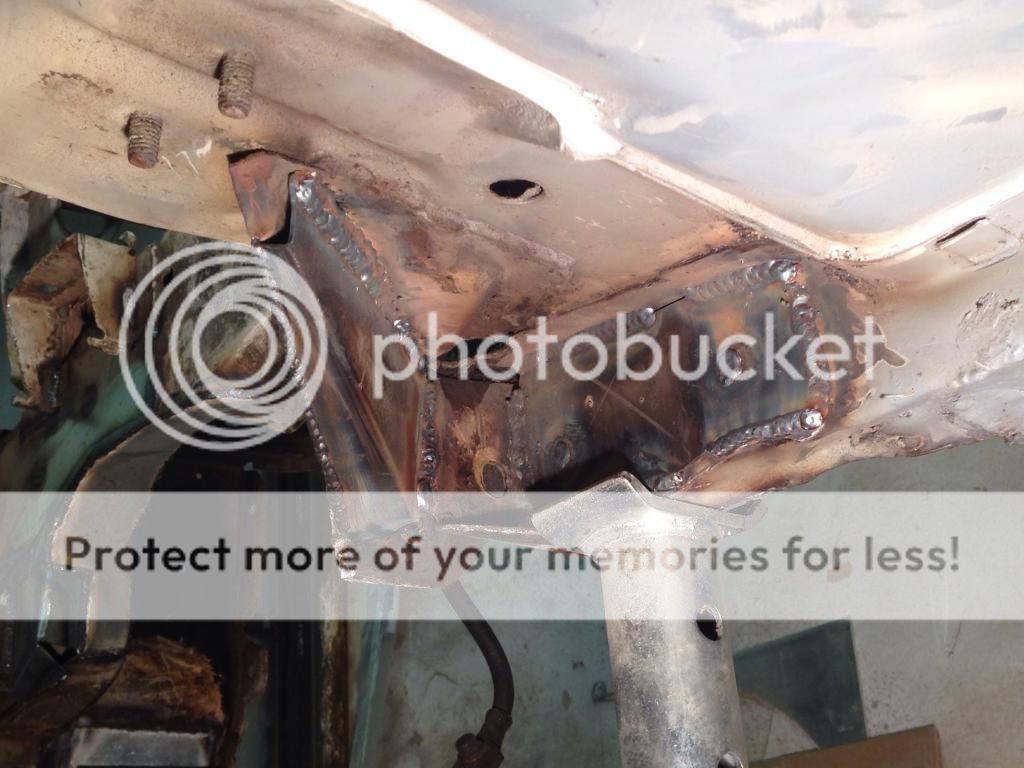
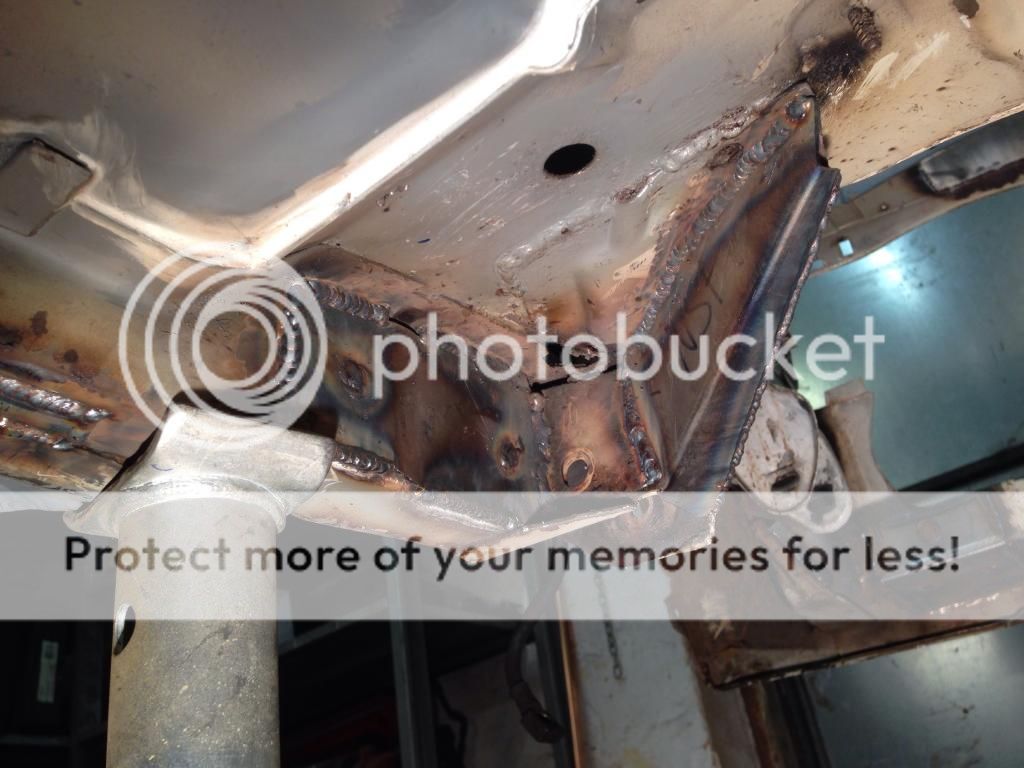
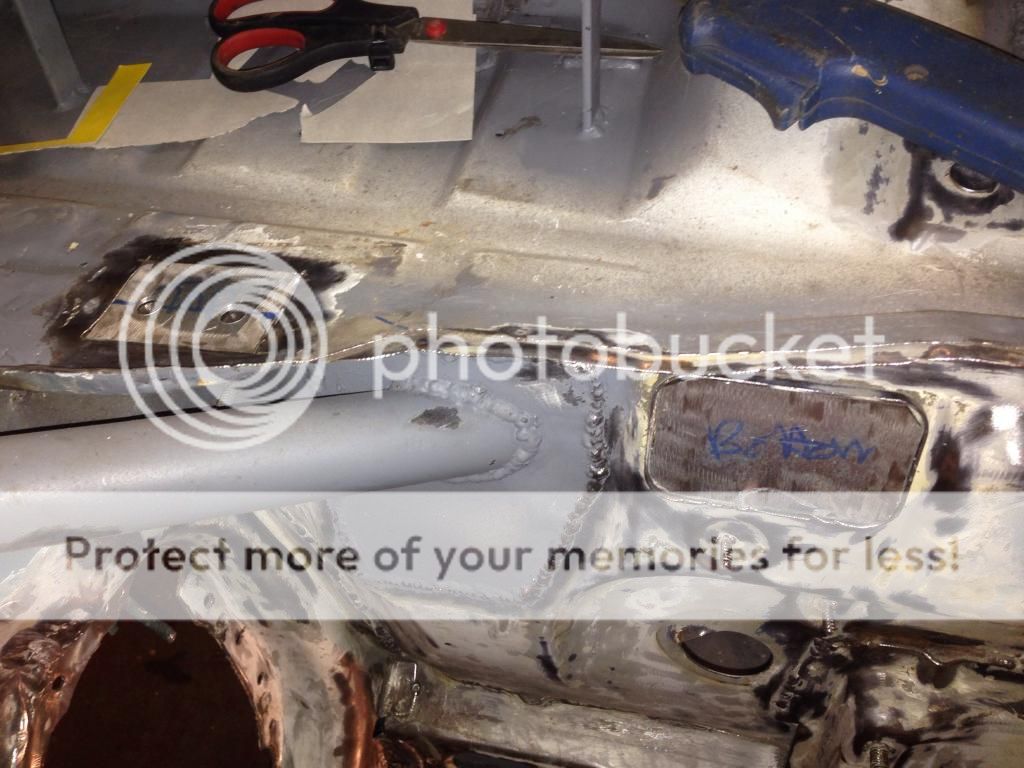
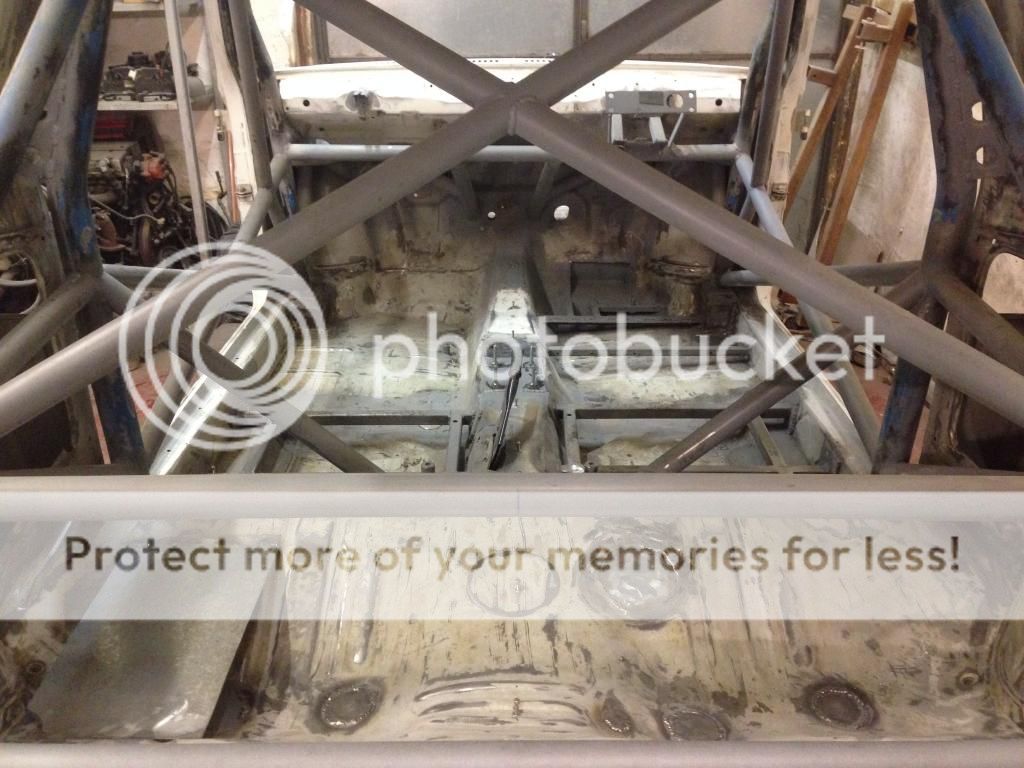
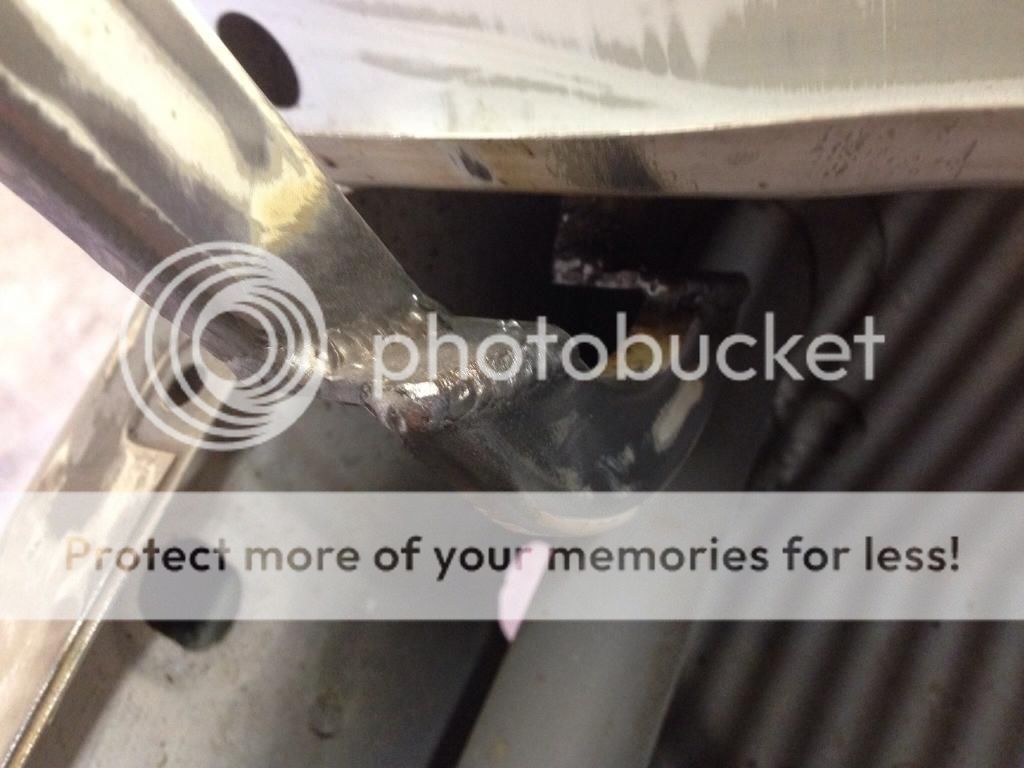
Factory sealer is a nightmare.. Hides rust all over the place. Nice repair on thr 3way join.


Factory sealer is a nightmare.. Hides rust all over the place. Nice repair on thr 3way join.
All I wanted was a Pepsi, just one PepsiFar from suicidalStill I get them tendenciesBringing back them memories
That I really miss when I reminisce

Good work Craig, they love it rot out just there

Nice repairs, bet if you ground the welds flat you'd not see it at all under the new stonechip. Think mine went in very similar places too, I definitely remember the battery tray/splash guard area going through!
Thanks all. Keep meaning to properly read your build Ian.
........................................
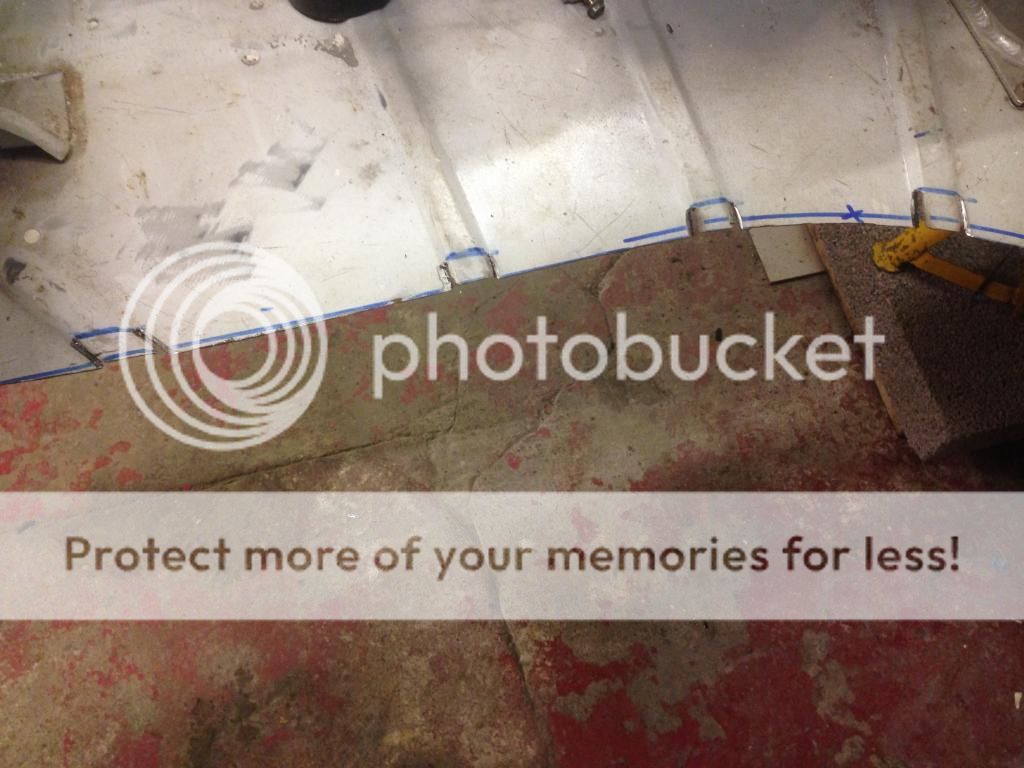
Did a bit this week. Started fixing the spare wheel well. Instead of hammering the flutes down in the boot floor I got all fancy and cut into them with a 3mm blade.
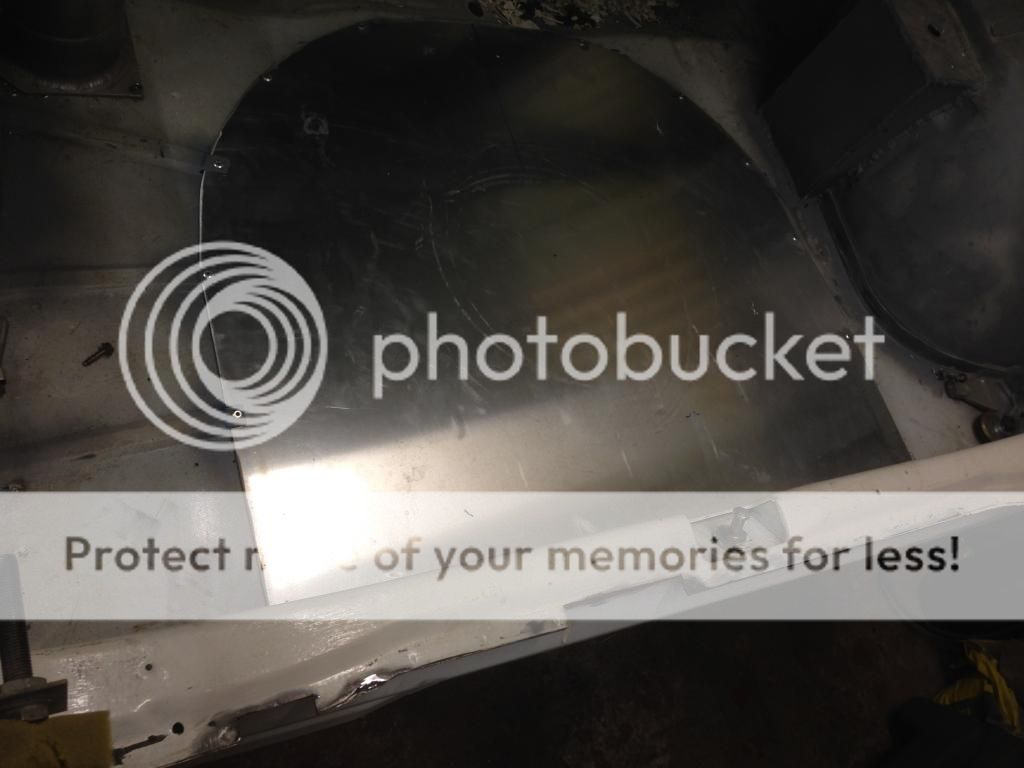
Then trimmed down the ally plate and riveted it in place.
Pic also shows some areas of the boot seal which I cut out due to the dreaded.
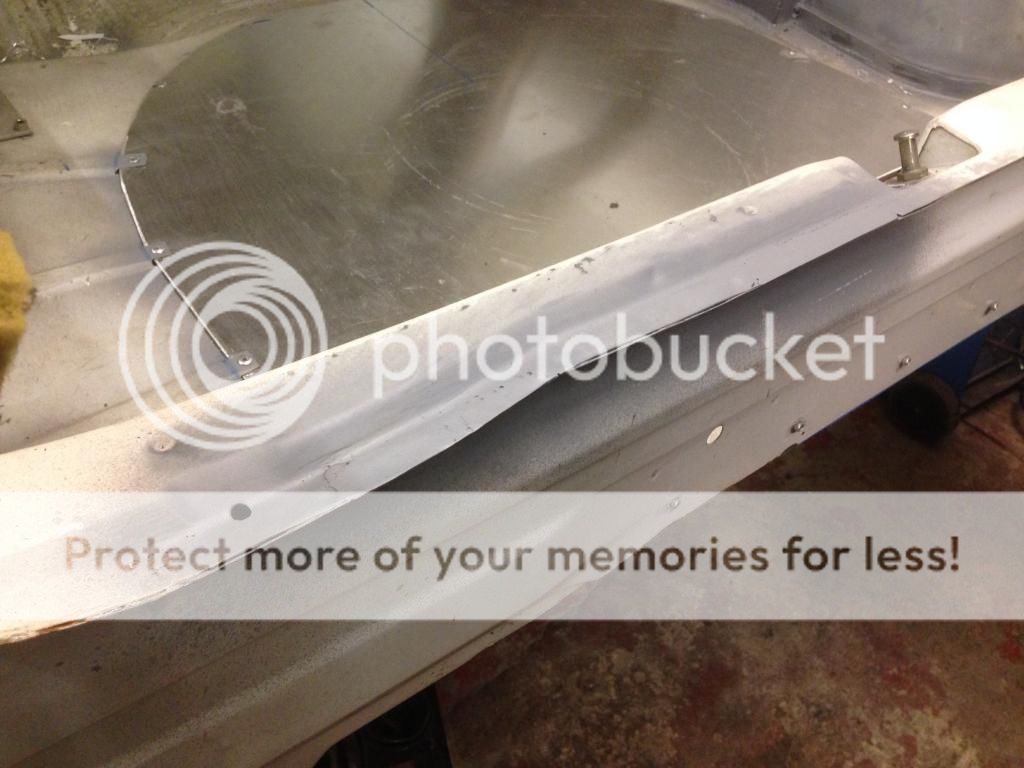
Boot seal repaired
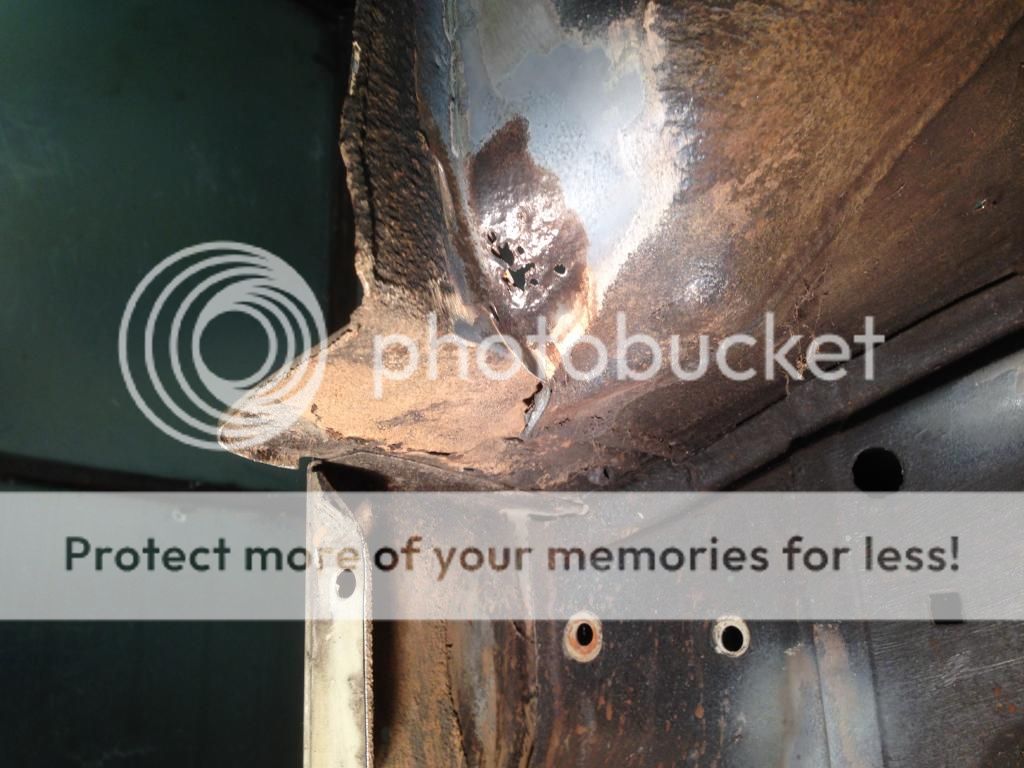
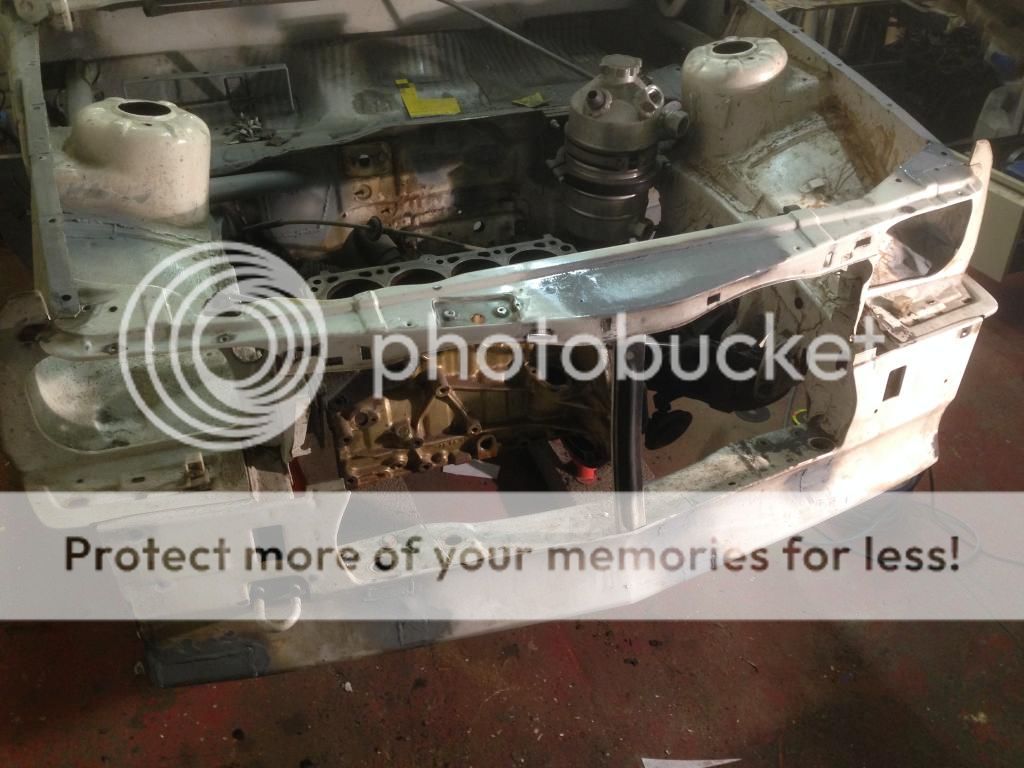
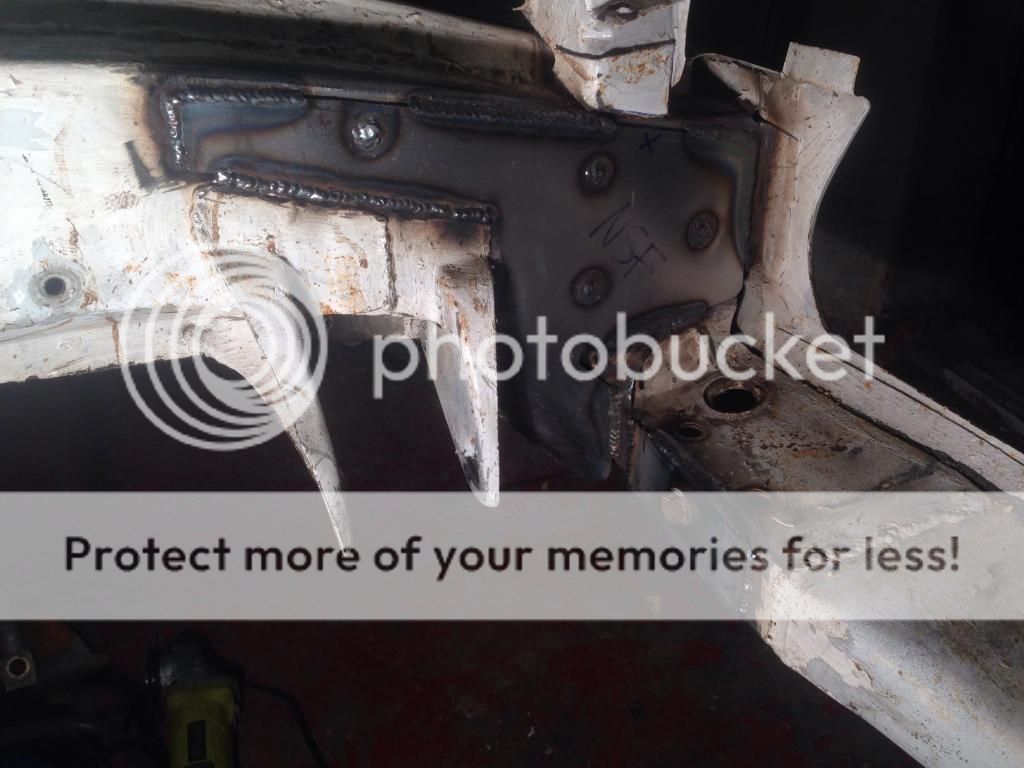
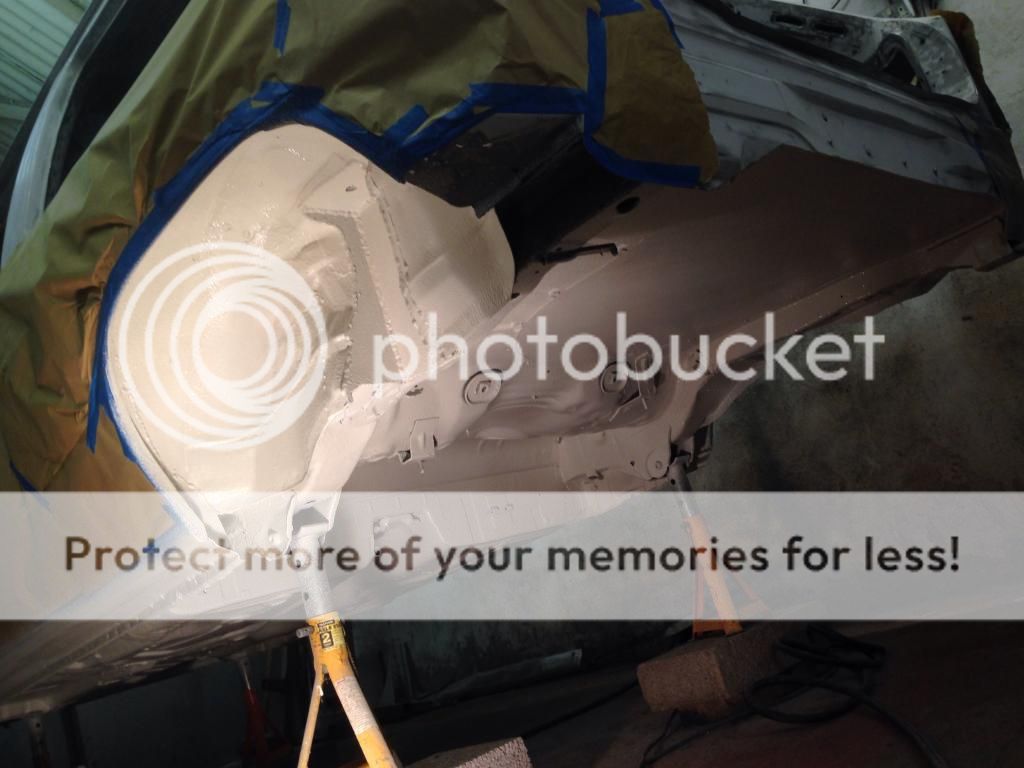
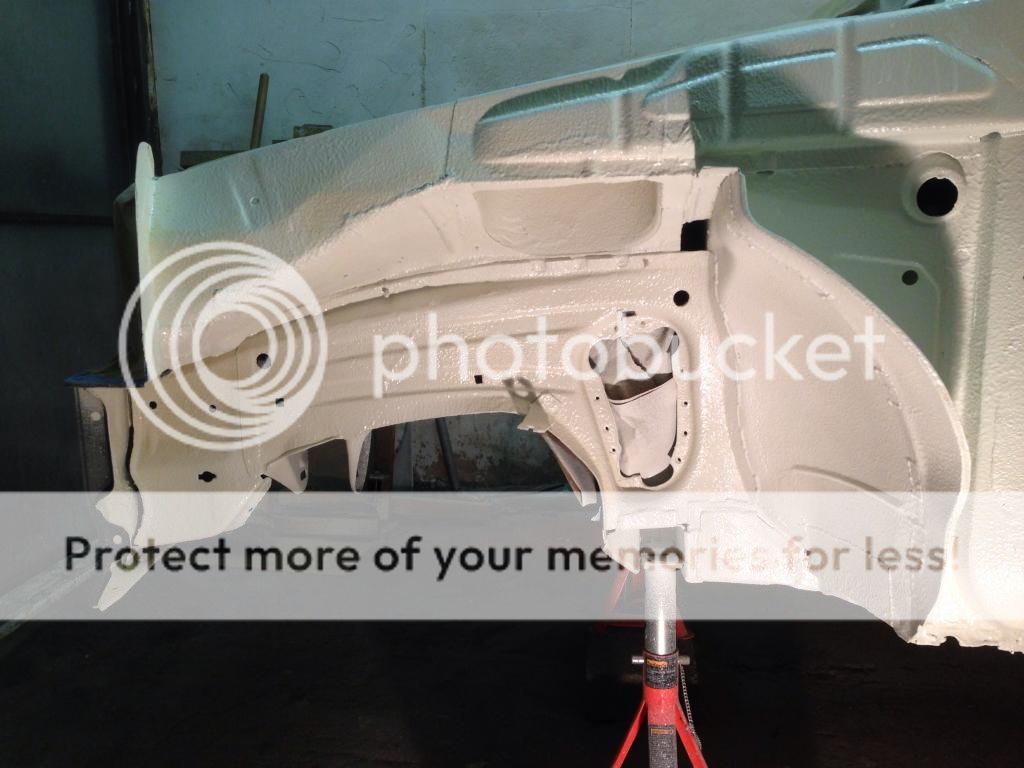
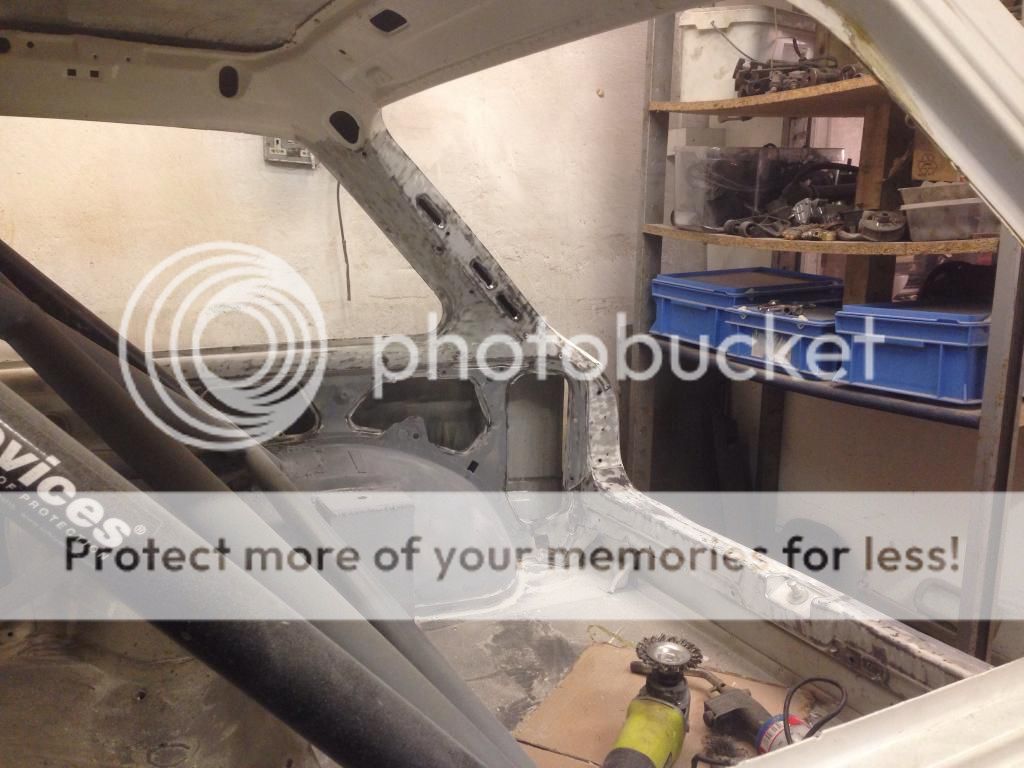
Moved round to the N/S inner arch again, and addressed a patch behind the headlight.
Then went on a rust hunt in the front valance
All sorted. Wasn't going to mess around grinding the welds too much.
Cut this out. It was a bit scabby, and not required any more. Was surprisingly heavy too.
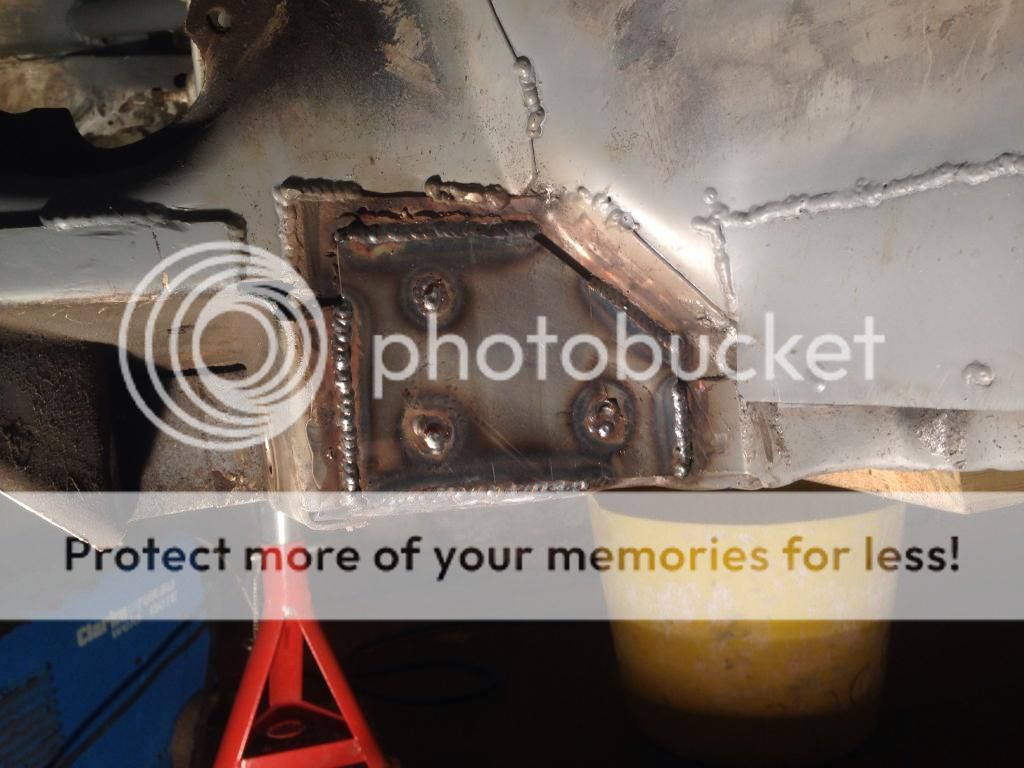
Plated
Gave it all a quick tickle with the grinder and left it there.
Getting very close to having a rust free Nova now. Pretty sure I could run around tomorrow with some Krust for the flakey bits, then be ready to mask for underseal.
Brilliant repairs bud, don't make it too good otherwise you will be scared to drive it!
A little more progress this week. Sorted out a compressor ready for spraying the underseal.
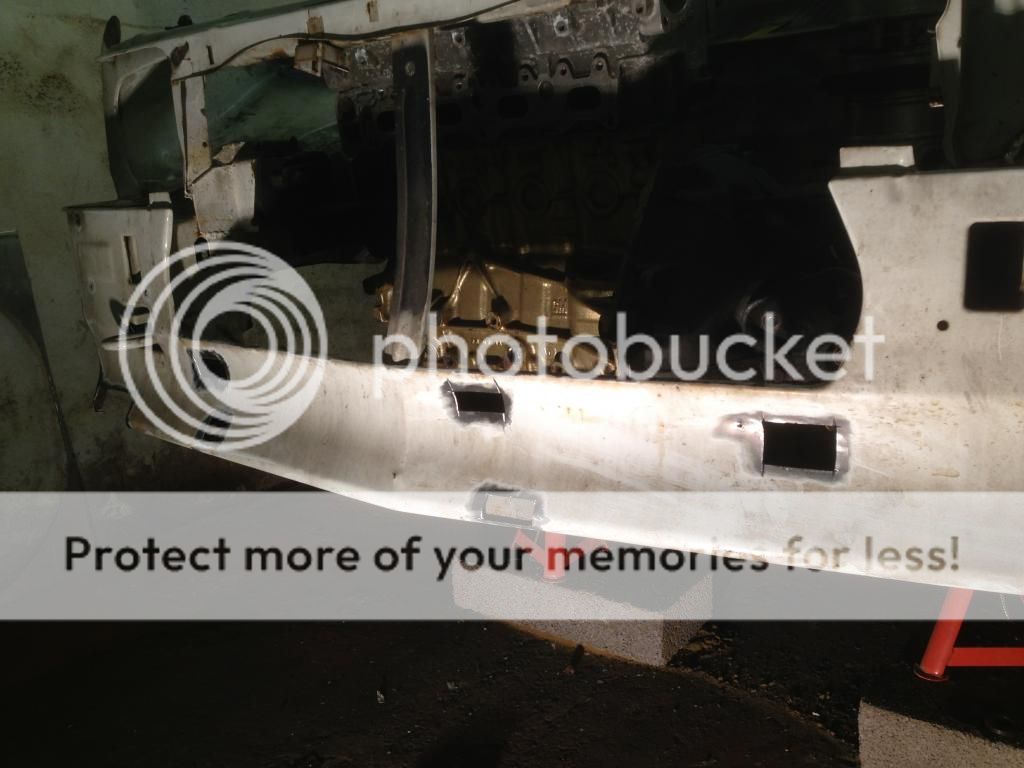
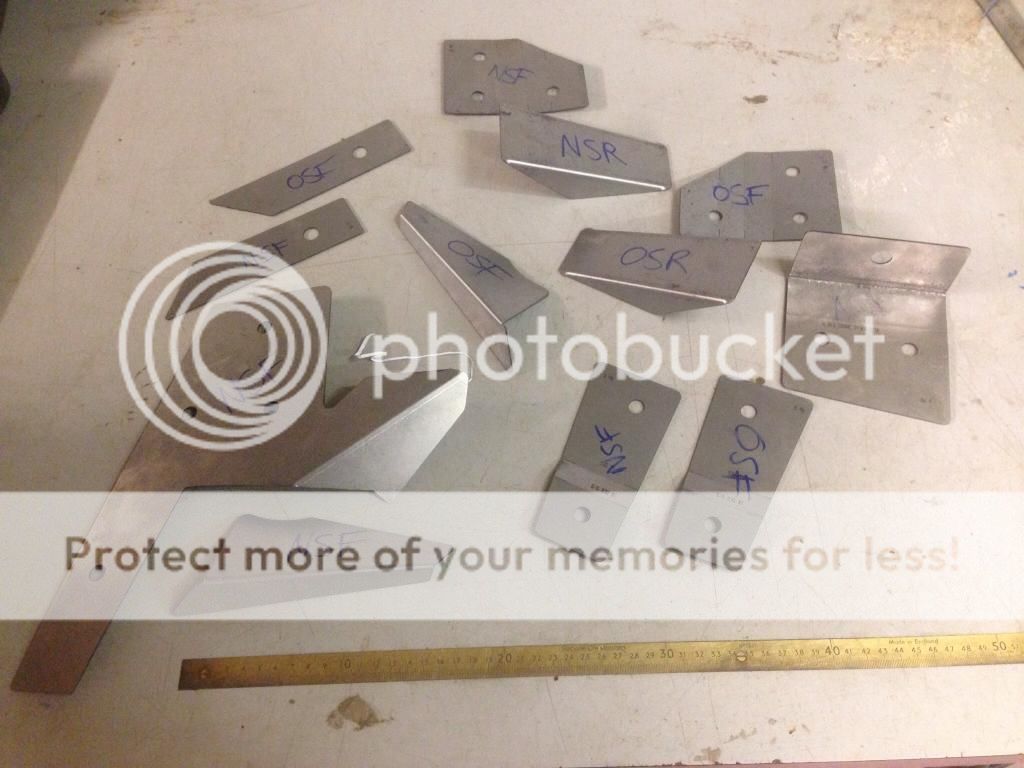
Then acting on sound advice, ordered up a chassis plating kit from Pro-Tech. I was initially only planning on fitting the bits for the chassis legs and cross member, but as its a 14piece kit thought I might as well do them all. (A couple of bits missing from pic)
First job, work out where they all go.
O/S had to be altered to suit the chassis mod where the oil pump will run,
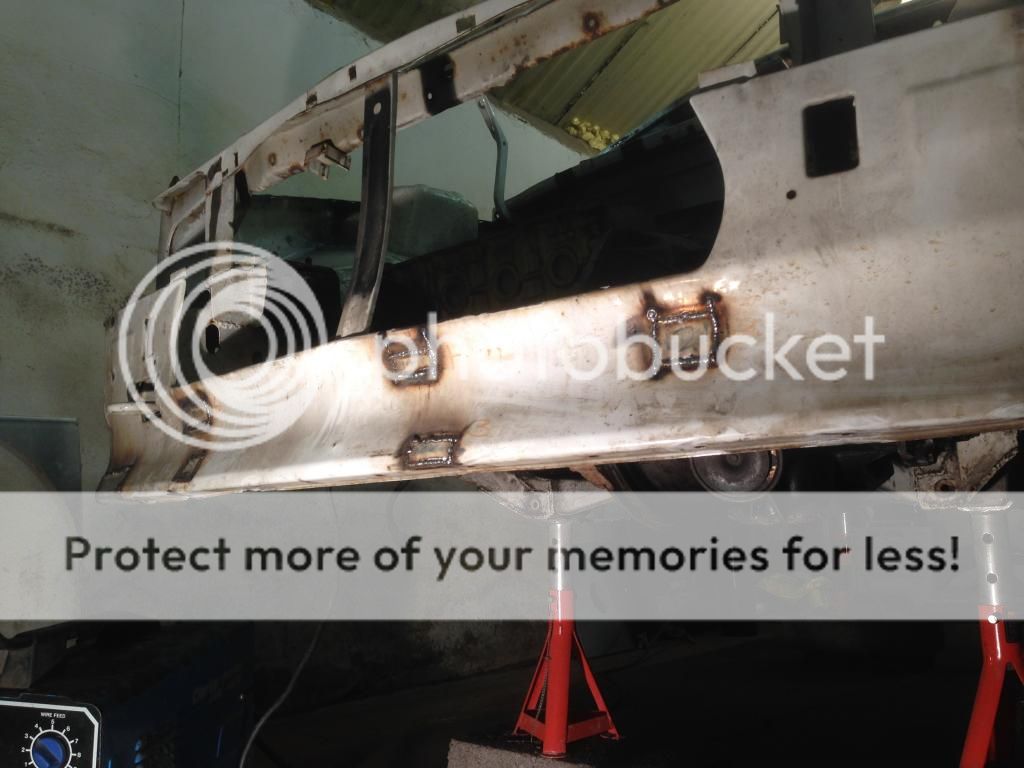
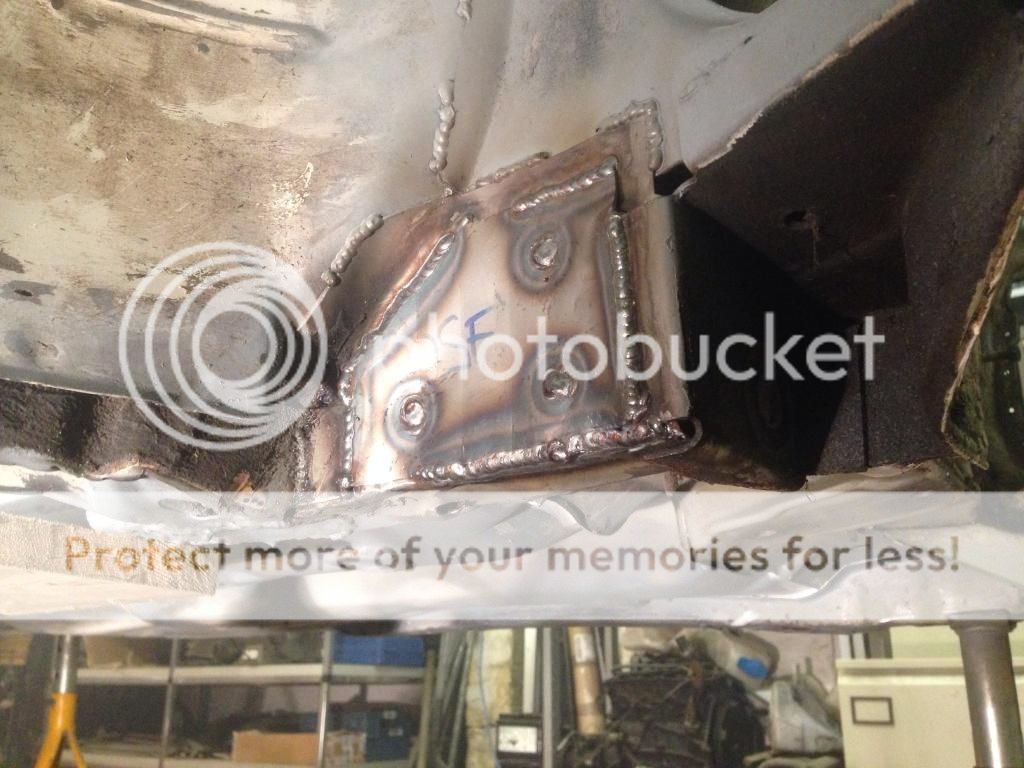
Tie bar mount and N/S plated.
Plates inside the arches.
These 2 are a pain to fit, but with a light, something to rest my left arm on and some extra layers of clothing managed it.
And finally the rear beam.
Took around 4hr's to get them in and actually quite a nice job to do. I'm still not convinced they are all necessary, but at least it makes the shell more saleable if for any reason it ever gets broken up.
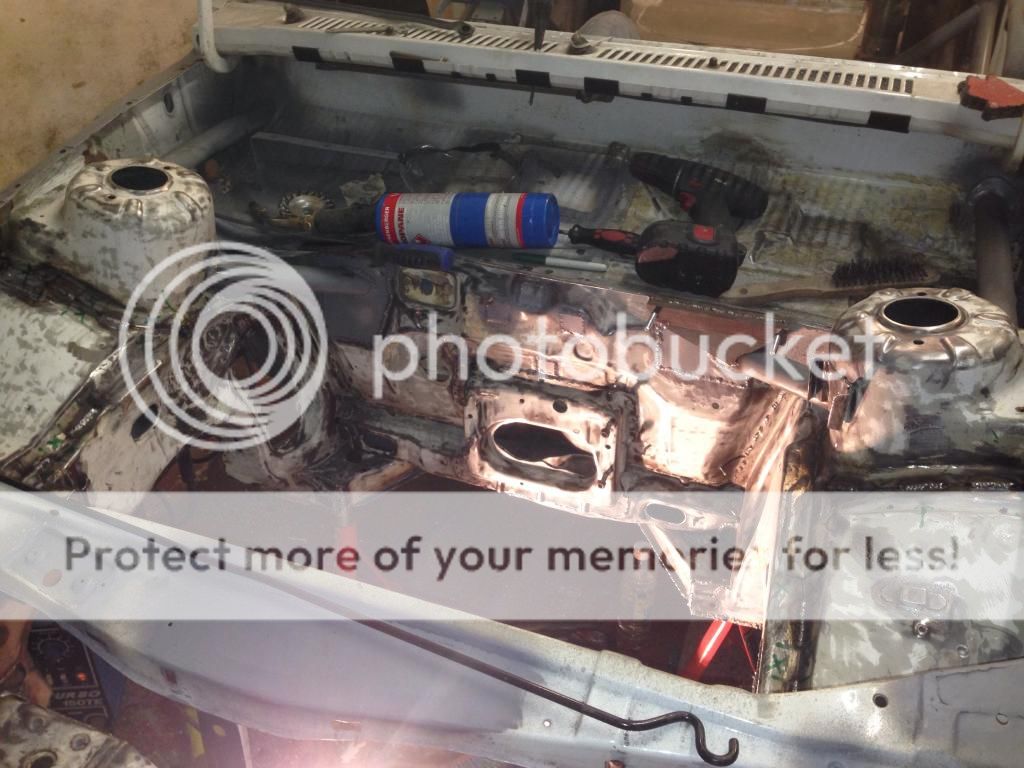
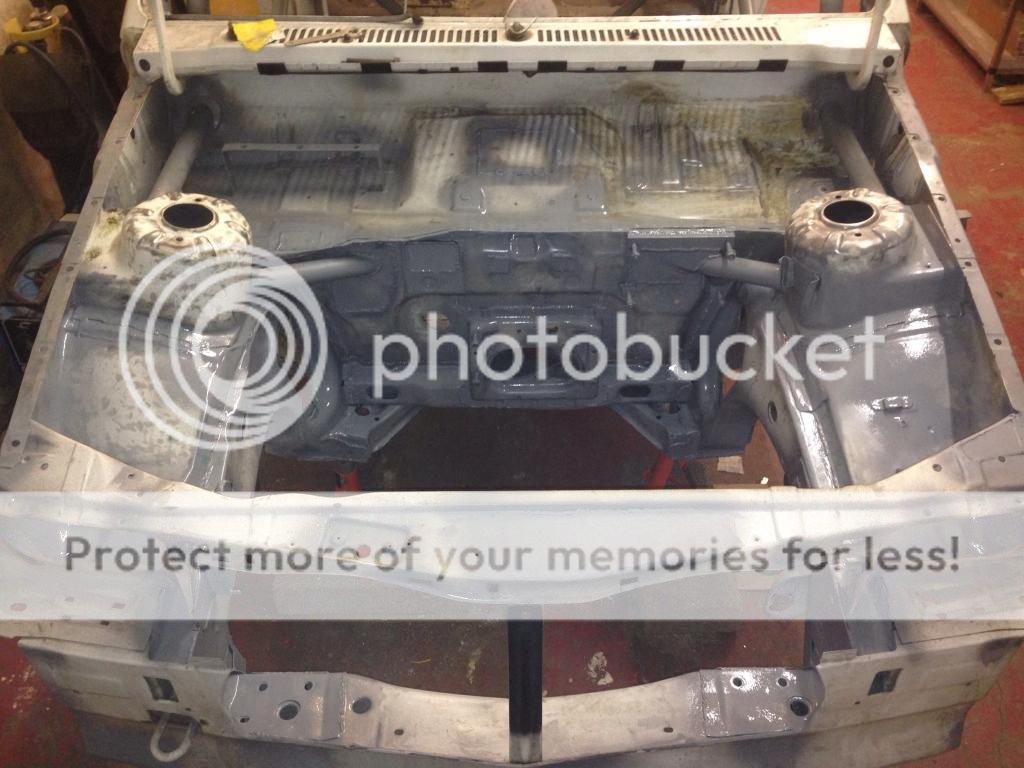
Started scraping off all the Hammerite in the engine bay. God knows why I ever thought it was a good idea, but it had to go.
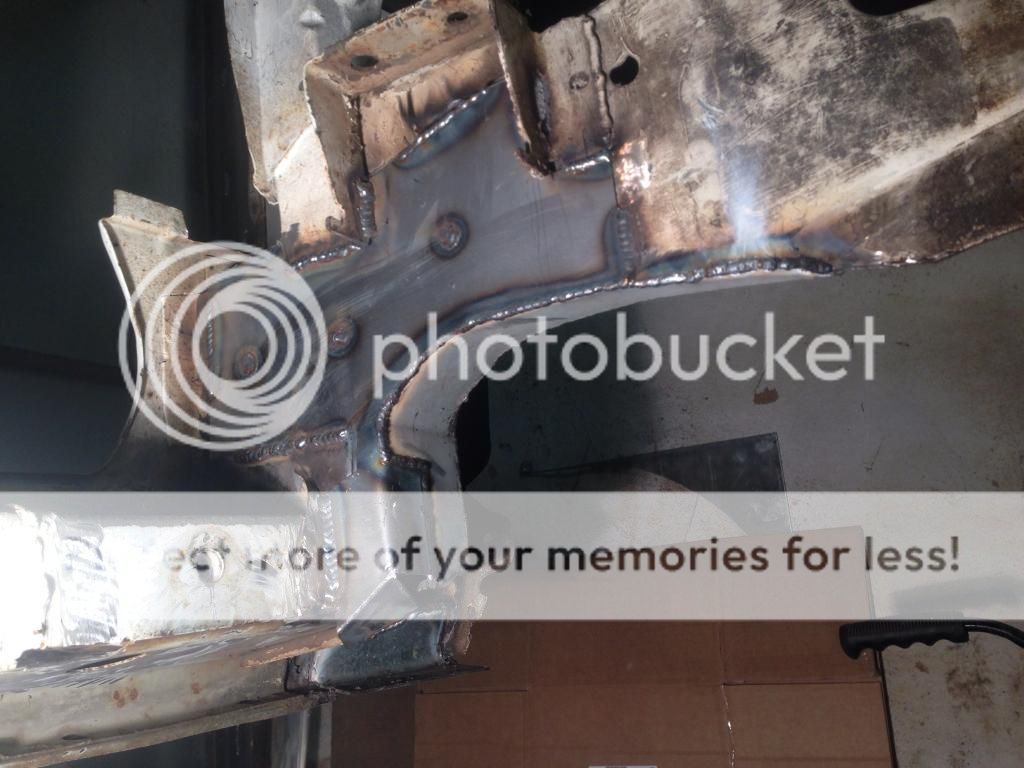
Also needed to grind out all the stitch welding on the chassis leg's / turret's and re-do it. It was untidy, and being done with the gassless wire I used to use when first learning its structural integrity was questionable.
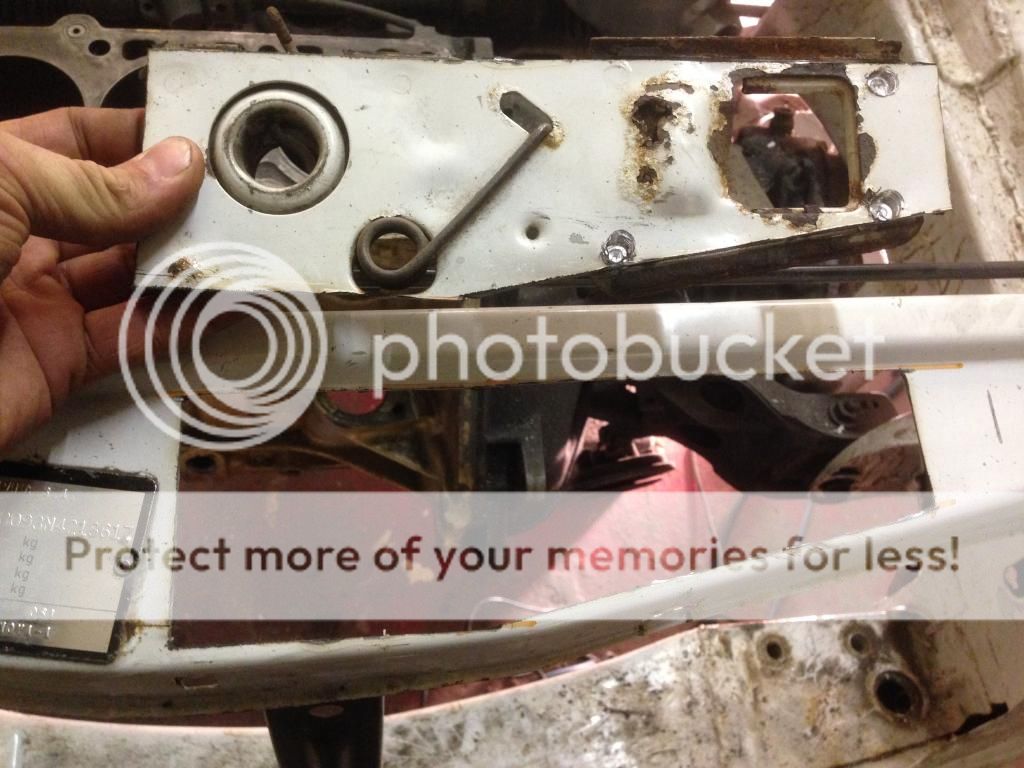
Two more plates. Top one was a captive bolt fixed to a spot welded plate which used to hold something pedal related, bottom one clutch cable.
Also made a lower mount for the oil tank so its held on 2 bands, then treated the remaining surface rust and gave a coat of primer out of a can.
Then briefly moved into the back of the car to start removing more Hammerite
Last edited by 8valve-craig; 16-12-13 at 10:19 PM.
So, Its been a while since I updated this. Been mega busy getting it to a point where it could be painted.
I didn't really take a lot of photo's, but started by stripping off all of the Hammerite inside. A complete nightmare. Cant believe I built the cage around it.
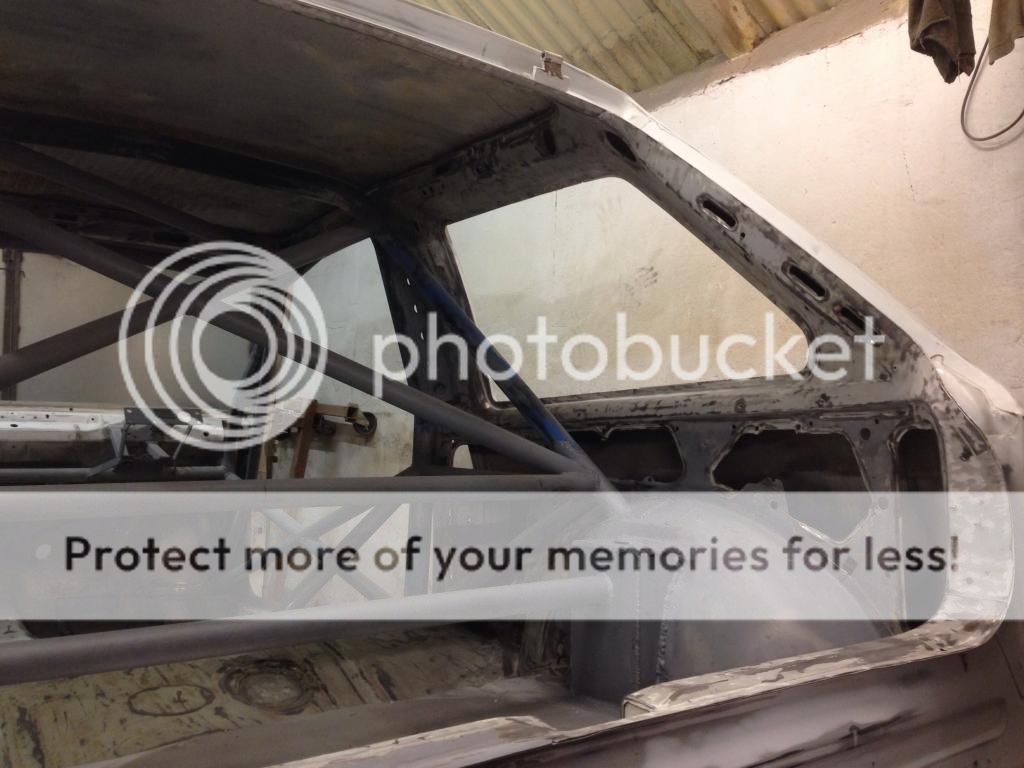
Then made some additions to the cage. A rear strut brace in-between the turrets, and some vertical bars in front of the dash, slightly smaller in diameter at 31mm, but make such a difference entering / exiting.
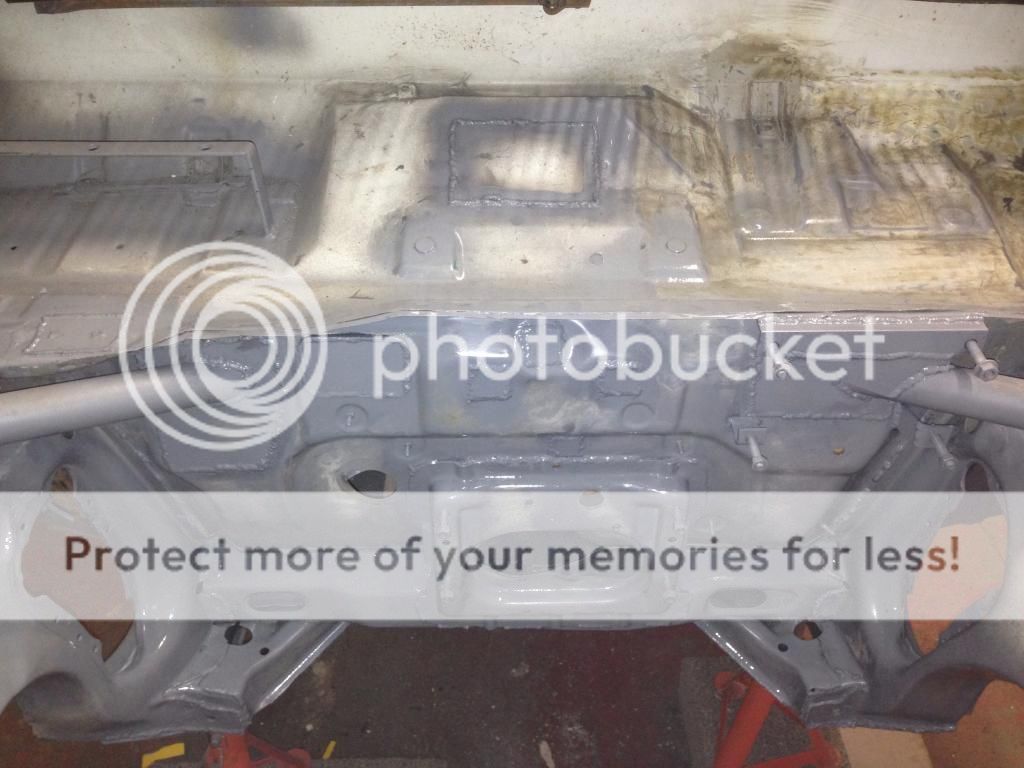
A few more bits, like plating over the old SPi pump hole in the floorpan, and fitting a flat plate to mount my pumps on.
Also made the bolt's for the shifter base captive, and did the same with the bolts for the bulkhead bearing. Then measured out and riv nutted the floor for all of the brake and fuel lines, which you can see right down the centre of the tunnel (brakes) and to the left sill (fuel).
Moved onto the bonnet hinges. They fouled the cage, so needed offsetting a little. Just fitted the bonnet, braced the hinges, cut them and re-welded so once the braces were cut off they were in the same place
Also bought some top mounts and modified the front turrets so they offer full adjustability.
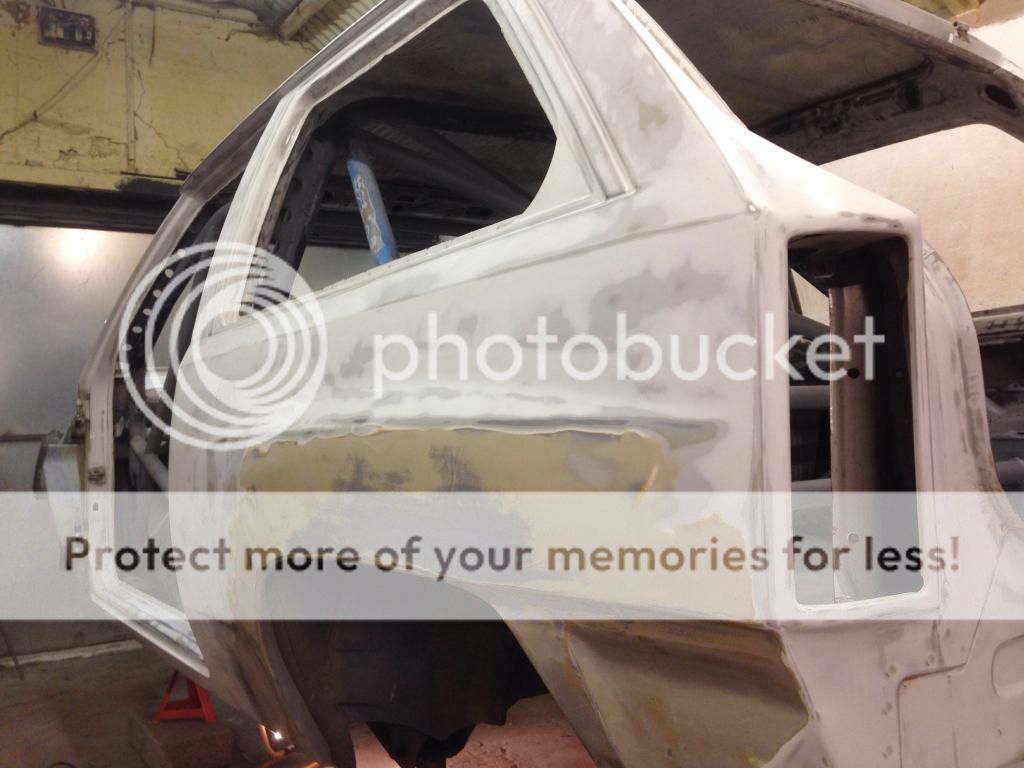
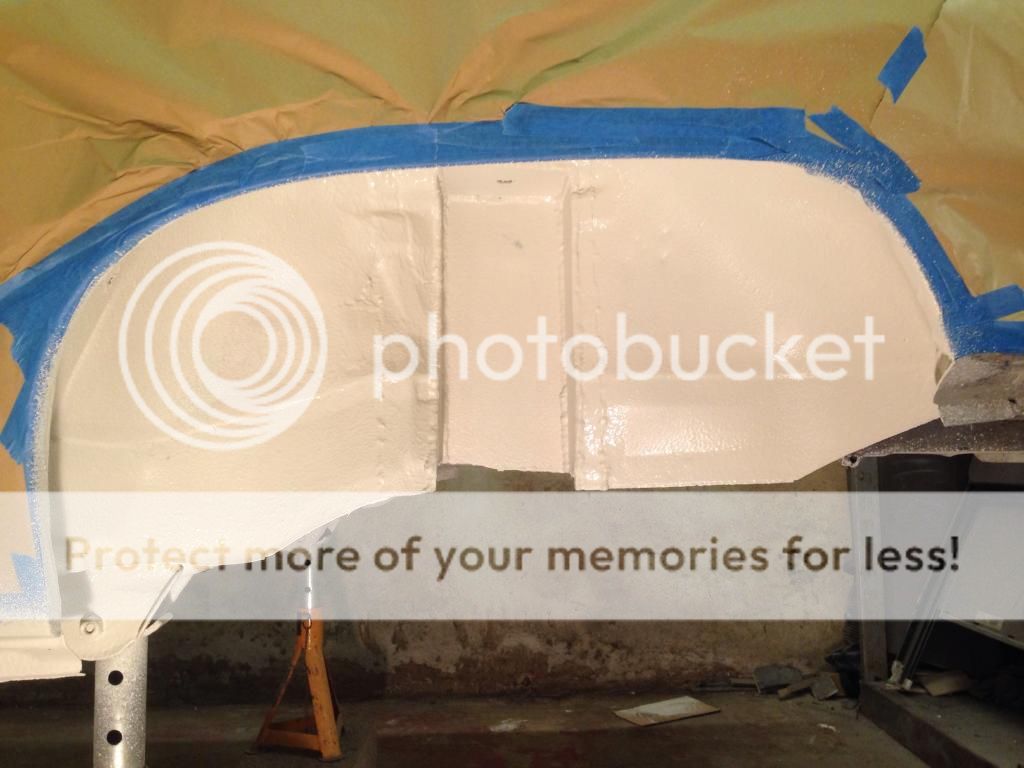
Started rubbing it down, 320g dry.
And did a bit more tidying on the rear arches.
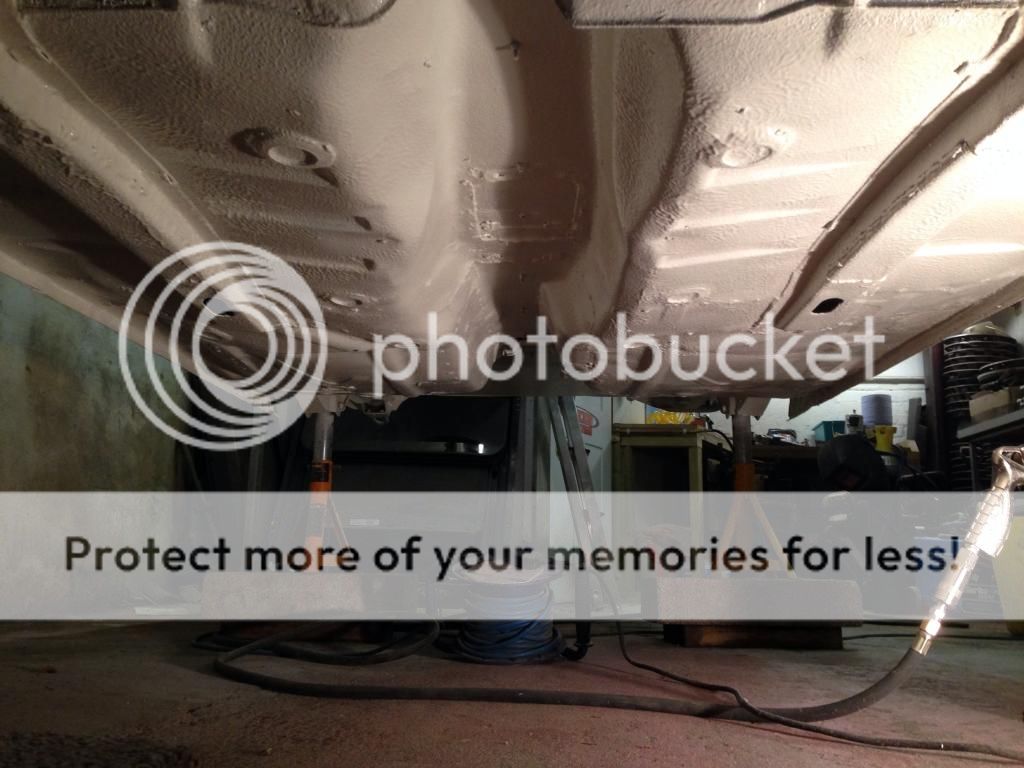
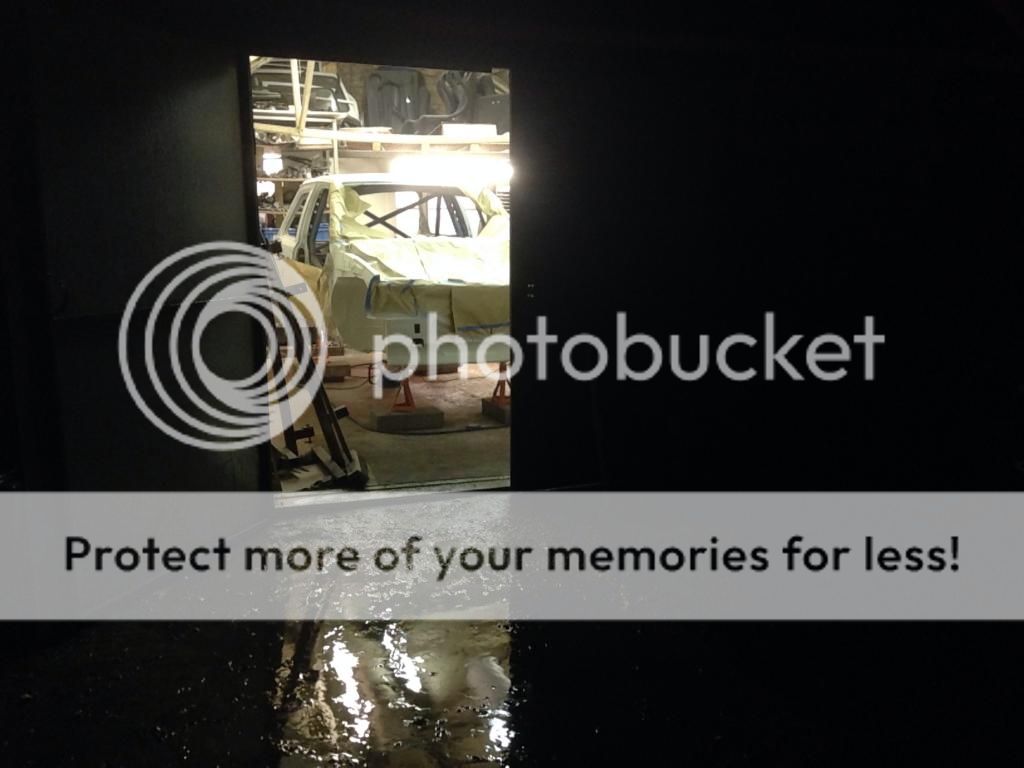
Masked it all up for the Gravitex (admittedly should have sprayed it before rubbing down, but I was waiting on air fittings)
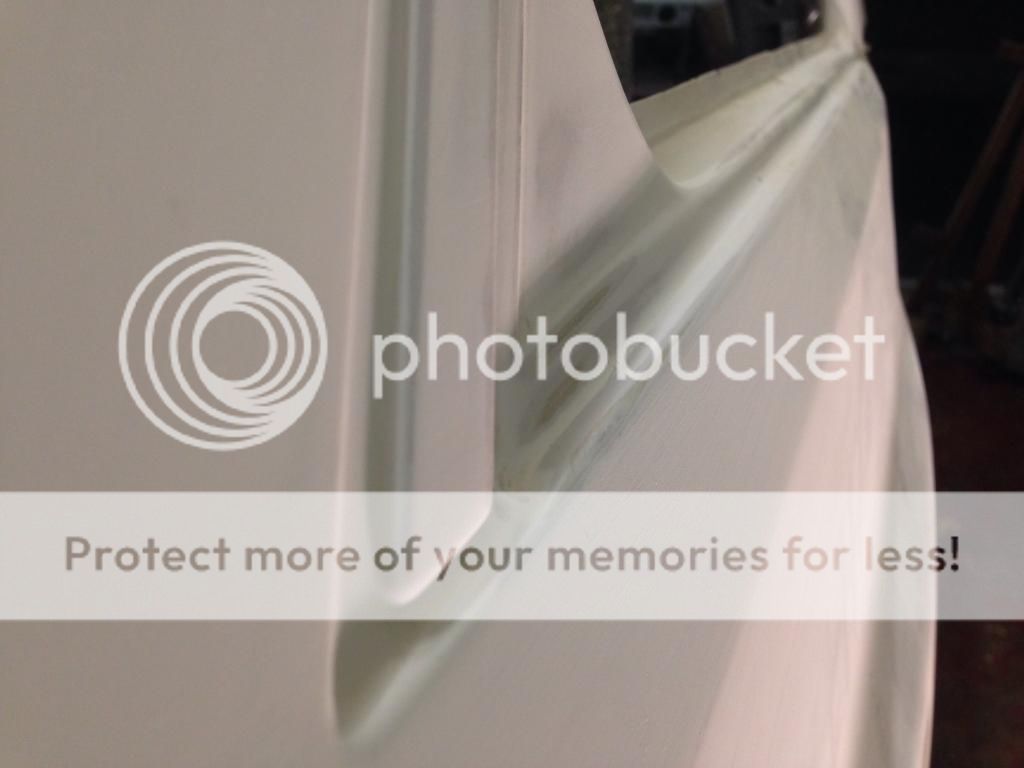
Did a test patch on the door at 4bar, then went for it.
It came out pretty well. I could have done with a better mask though as my head was spinning. Had to go outside for some air very late last night, if I had hit the deck I probably wouldn't have been found until the morning so lesson learned, Air fed mask next time.
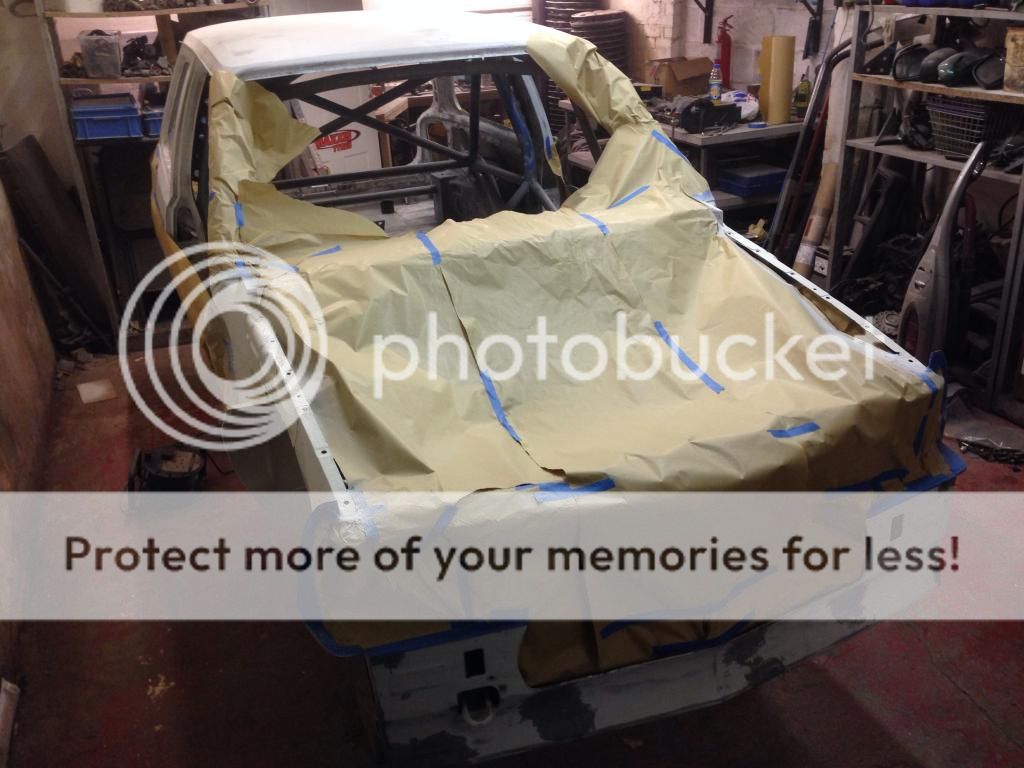
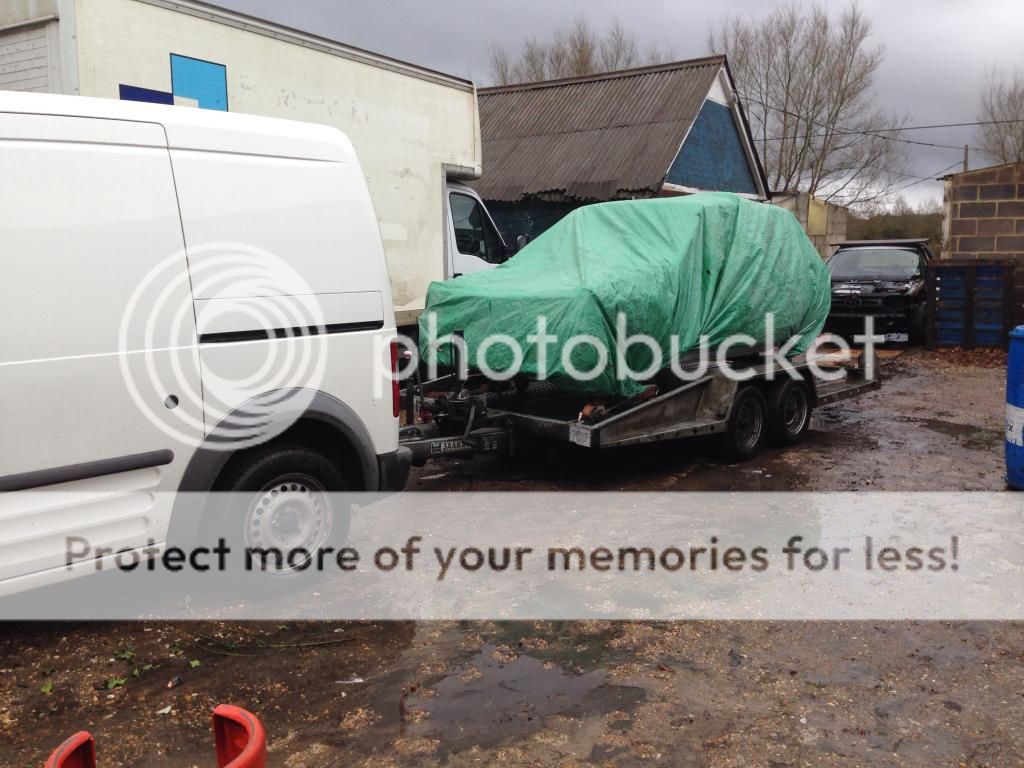
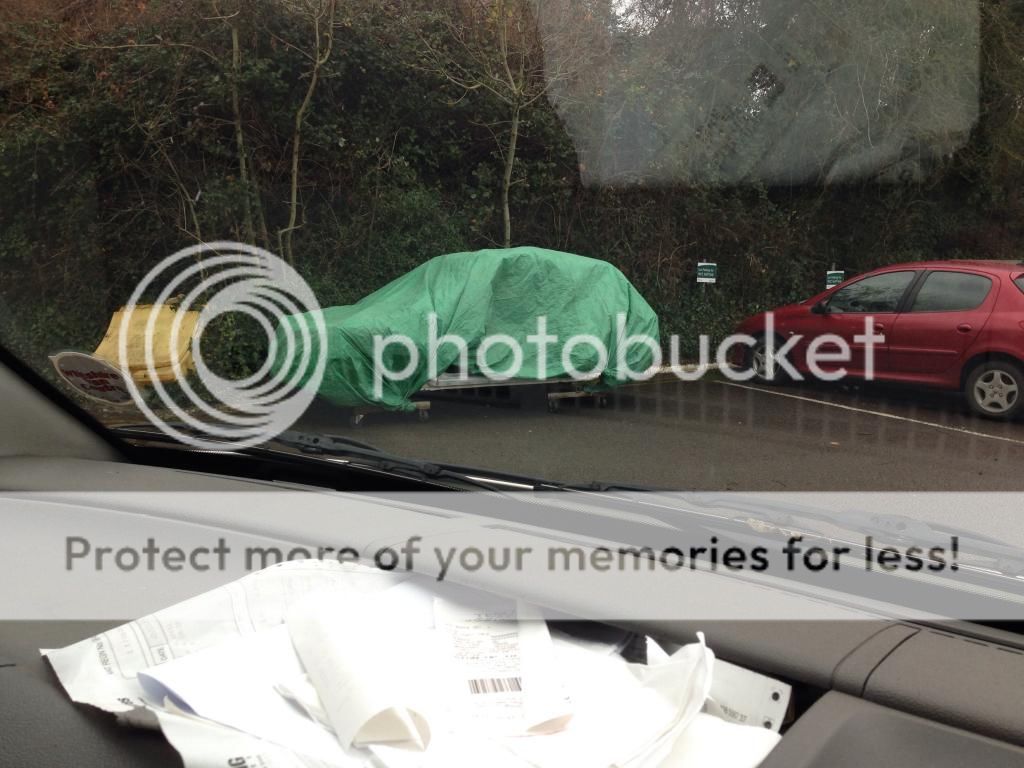
I booked it in for paint 2 weeks ago, so my deadline was 9:00 today. Had it not have been absolutely pissing it down I would have been there on time, but had to go and fetch a big cover to protect the bare metal areas.
Got it loaded up
And dropped off at 11:00, which in my eyes is on schedule.
I couldn't be happier. I'm a shell of a man, but nothing a few days off wont sort. Painter has instructions to "do a good job", so despite him originally giving me a very good price, I made it clear today he should do whatever necessary.
Got back, gave the place a good sweep out. Seems weird not having it in the way,
Lots of stuff is now being stripped and coated..... Wheels, tank, straps, suspension, shafts etc. Loom has already been trial fitted so can be wrapped, and the dash has been further trimmed, so can now be flocked.
More soon
Last edited by 8valve-craig; 16-12-13 at 10:16 PM.

Just read through the whole build, very impressed Craig.
Keep up the amazing build!
Might have to nick your spare wheel well plating idea, very neat!
Fantastic work dude.
Under sides looks great, are they being painted over? Or left in the Gravitex finish? (sorry if you said i can't remember)
Shell looks great, rear brace in a nice add in too.
She's gonna look great when all painted. can't wait to see it, might have to pop over when it's back.
All I wanted was a Pepsi, just one PepsiFar from suicidalStill I get them tendenciesBringing back them memories
That I really miss when I reminisce
Posting Permissions

 Reply With Quote