stunning work Nick! This makes me want to get stuck into my mk1.


stunning work Nick! This makes me want to get stuck into my mk1.

lovely work as always nick

Hey guys,
A little update then...............
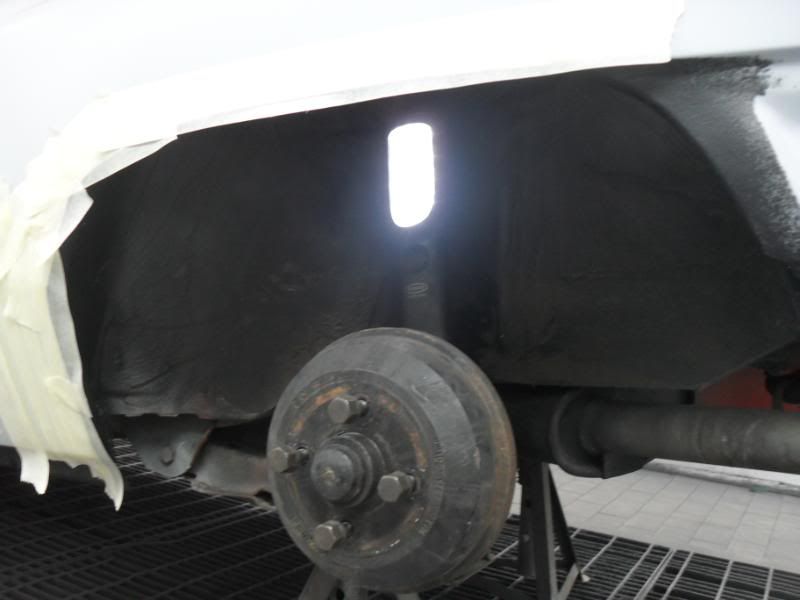
After demasking from the primer stage I left the car in the booth up on stands for easy access to the inside of the rear arches. This way I could get them etched and sealed up......
A little etch........
Then once that was dry sealer was applied right the way round the inner arch.......
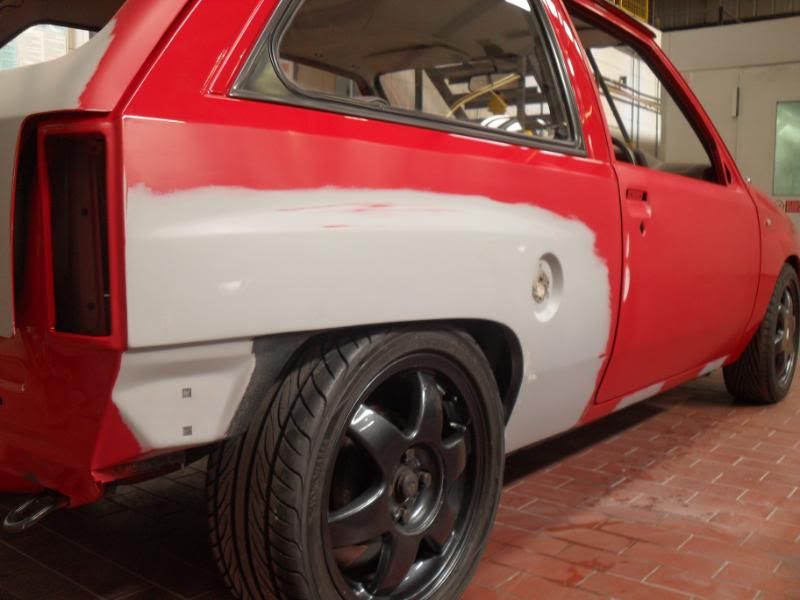
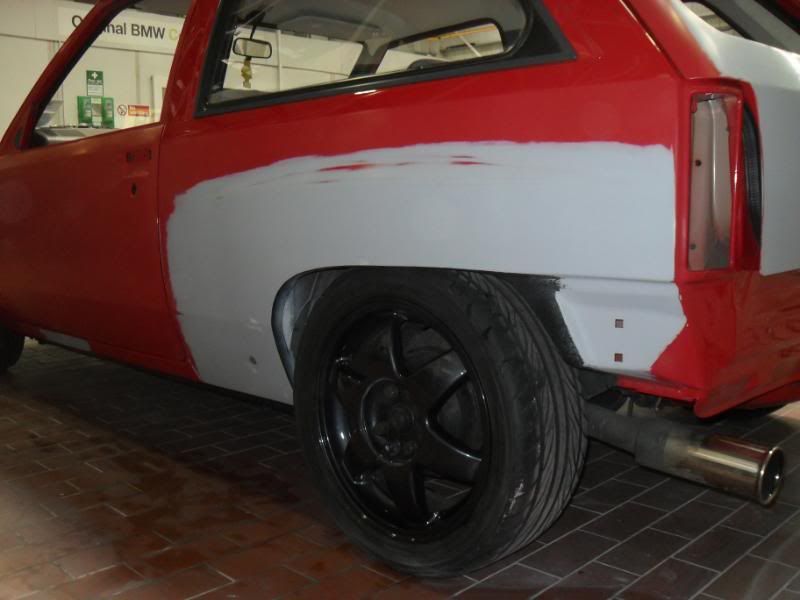
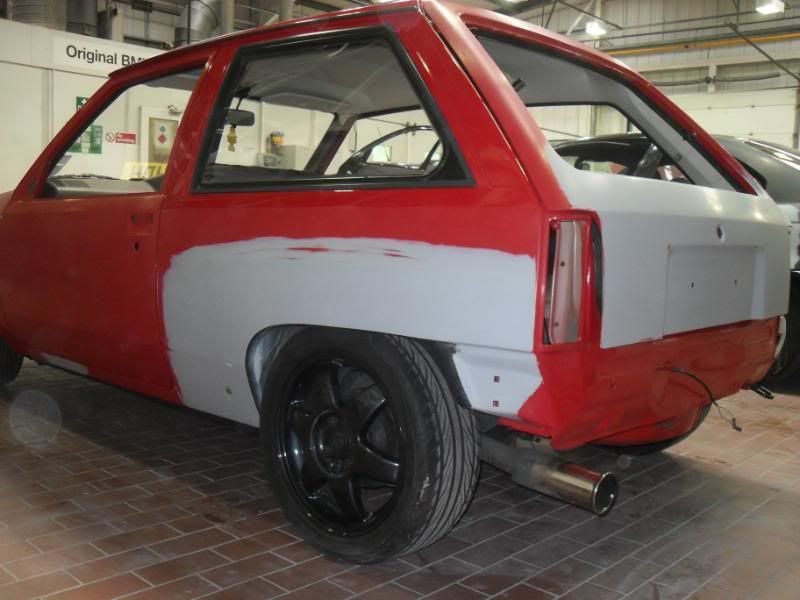
Following this the wheels went back on and it was rolled outside so I could wash back the stoneguard and block the high build repair areas......
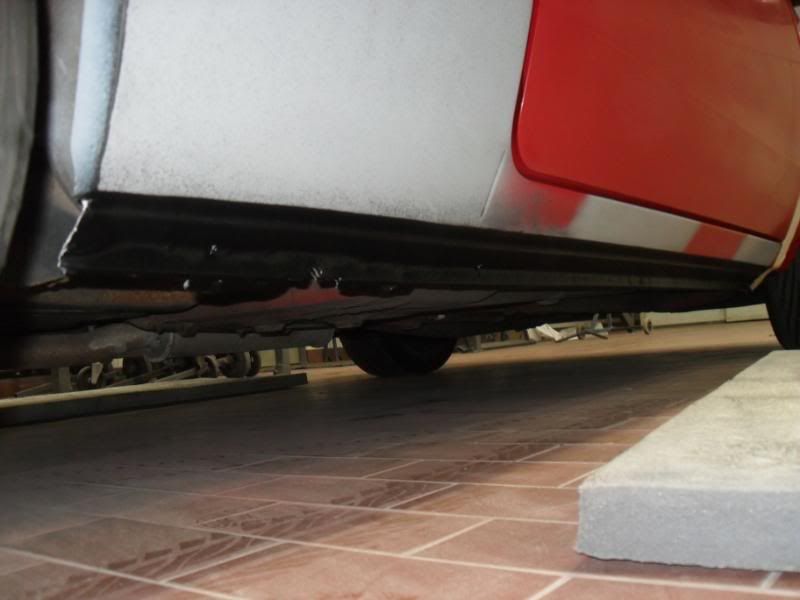
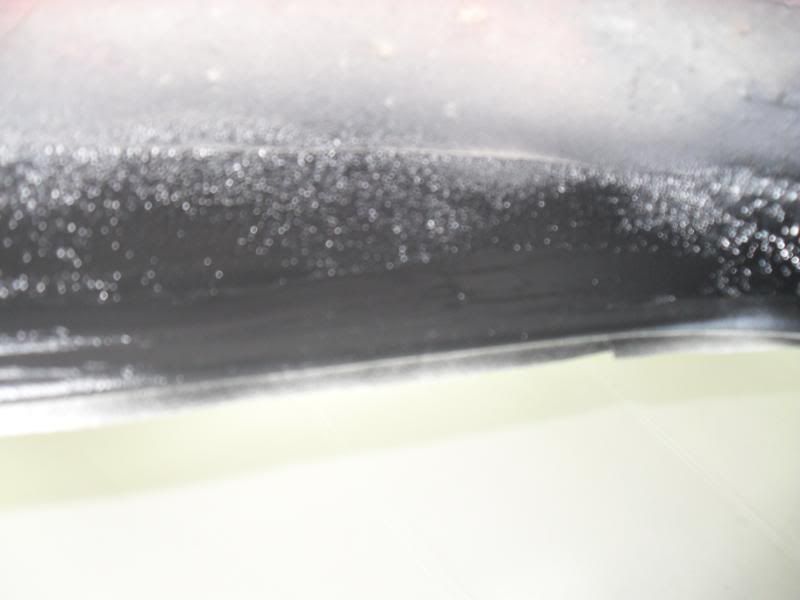
Stoneguard washed back to lip and sill edge areas........
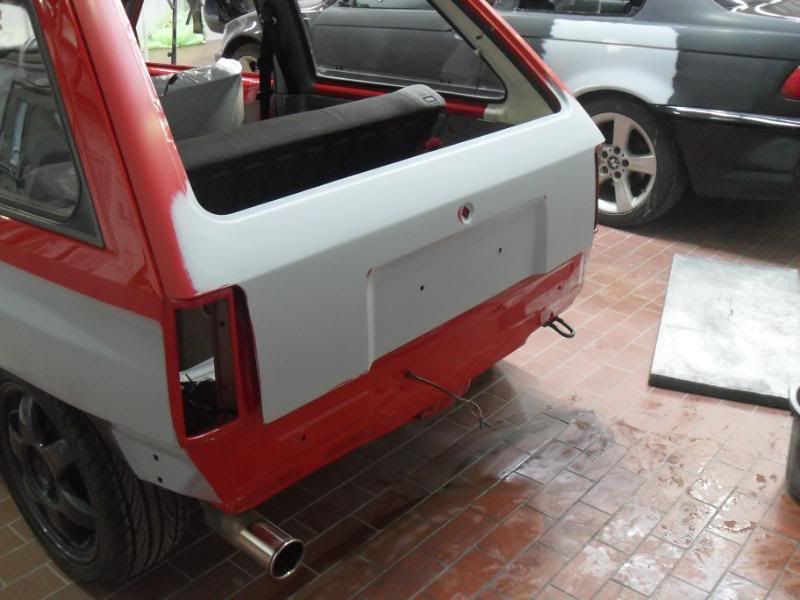
Then onto the blocking the tailgate repair......
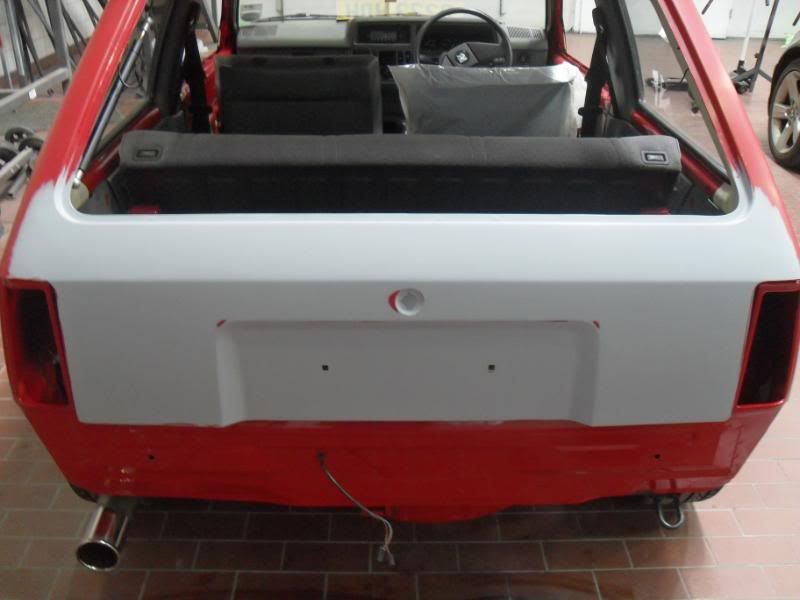
Then the quarter repairs followed.........
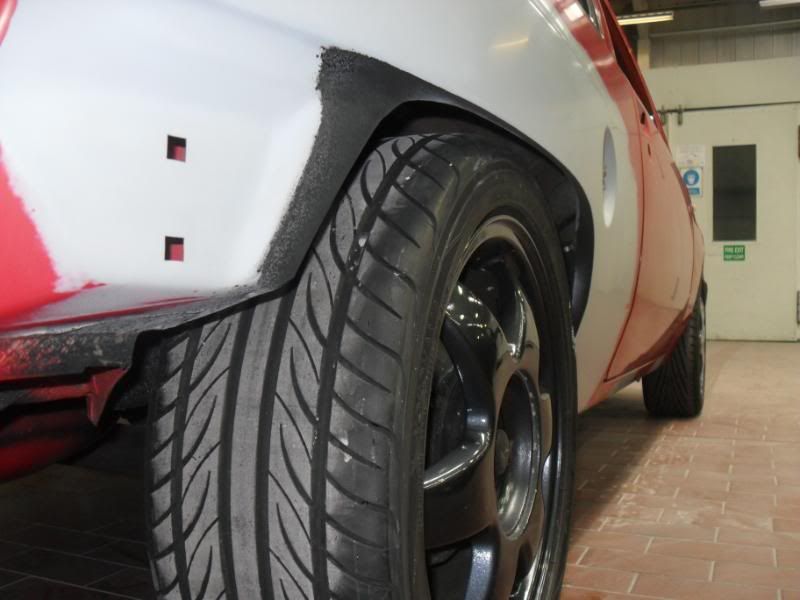
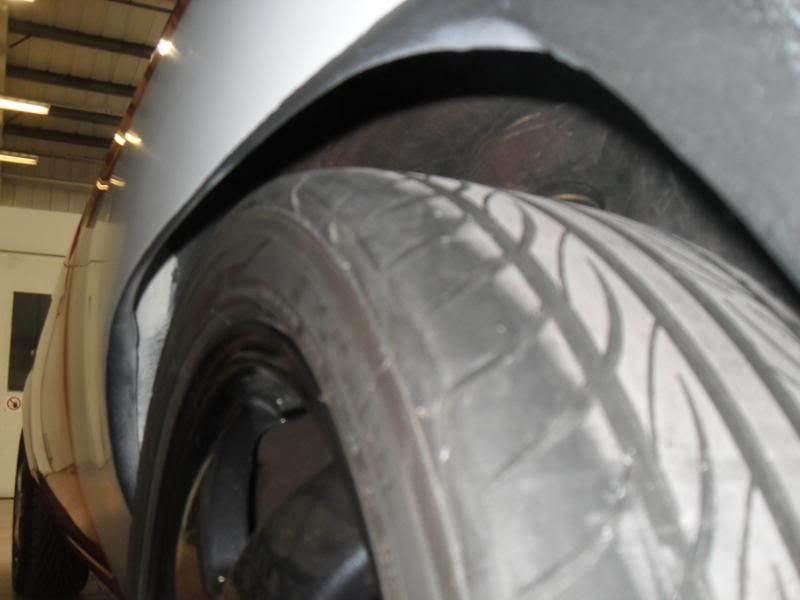
Close up of wheelarch clearance and stoneguarded areas.........
Once I was happy all repairs were completely level I stoppered up a few pinholes and had the car back on stands at the rear for an overpaintable stonguard to be applied over the sealer inside the rear wheel arches.......
Leaving this to dry all was left until the day after. More coming soon!
Nick.
Last edited by Nick J; 06-05-12 at 06:37 PM.
Win
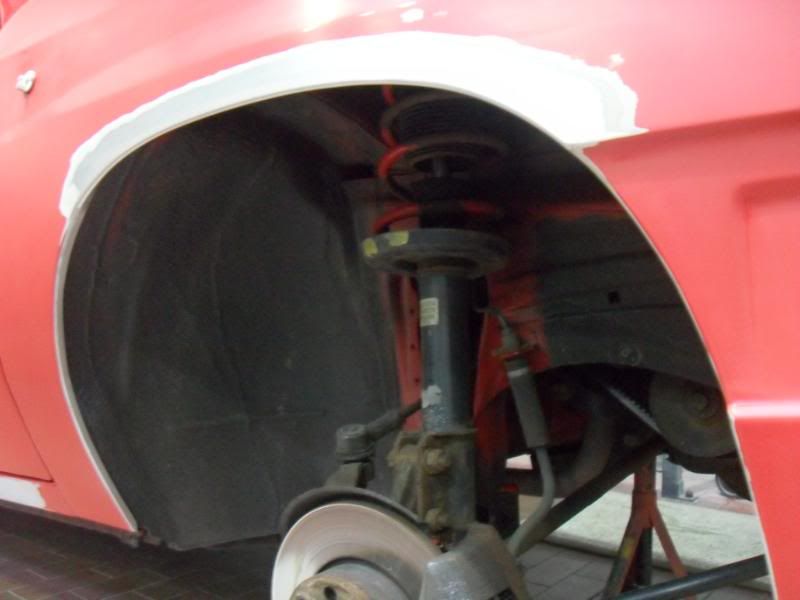
Now as I explained earlier I didnt want to go overboard with what we were doing this year but with my purchase of the 16" wheels and the gaz coilovers which Id like to run pretty low I did think as per my previous builds Id have a problem with front wing clearance. So to combat this I cleaned out the inside of the front arches in preparation for rolling......
Car up on stands and wheels ready for the off........
My foreman then gently rolled the arches over and I got busy preparing the wings for primer...........
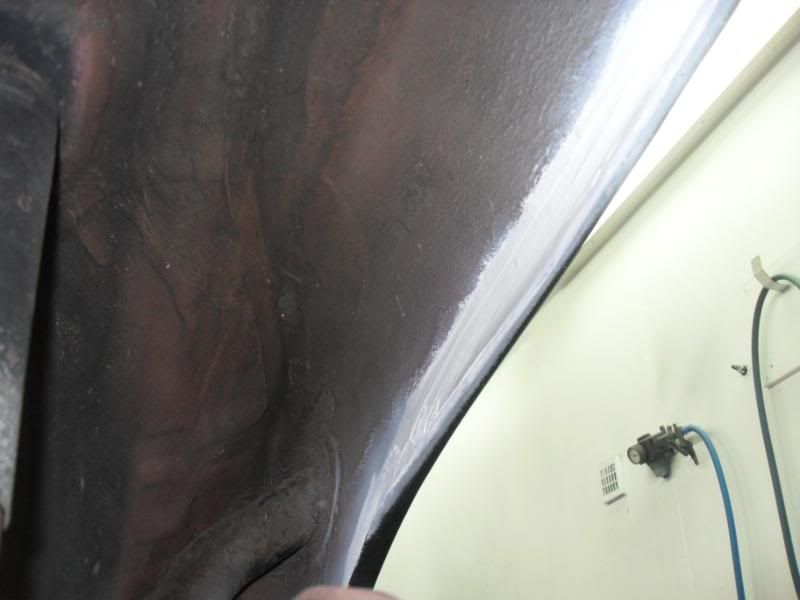
As you can see I also bare metalled the arch lip right around the wing to double check for corrosion as I dont want to be re doing any of this next year!
Nice straight/rolled front arches tapered off at either end........
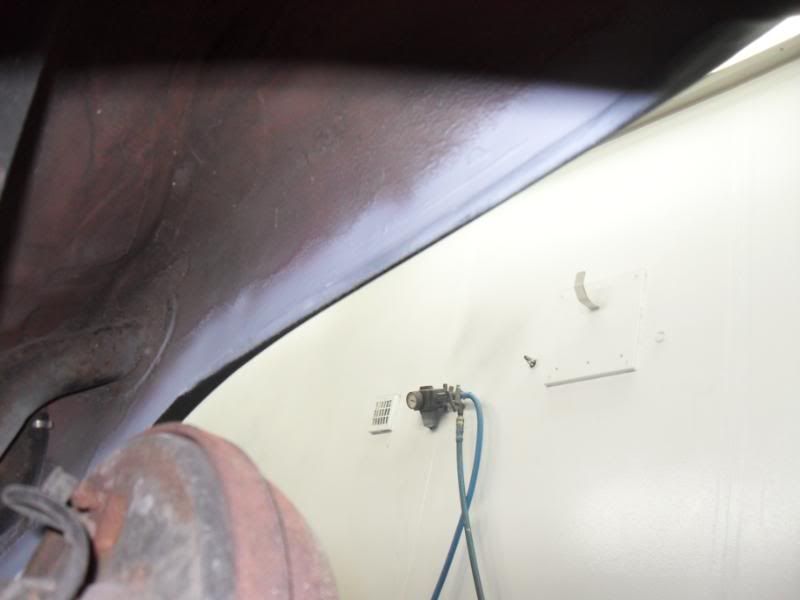
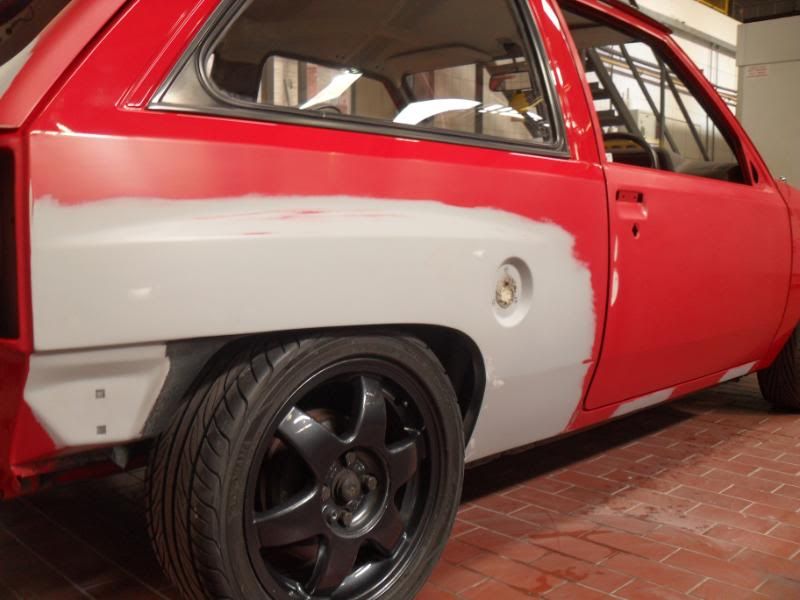
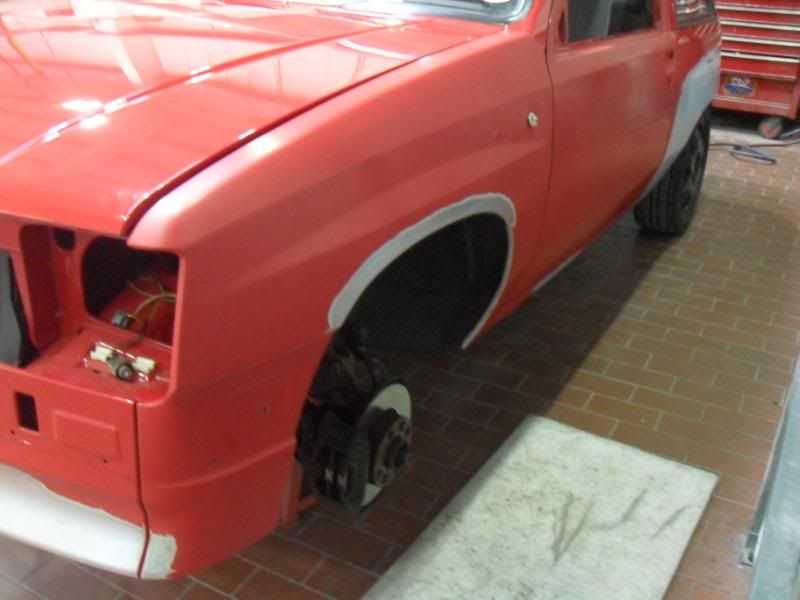
From the previous picture you'll also have seen my next port of call being the front valance. I really didnt intend of going this far but as always things tend to grow! It had quite a few chips that had been touched in really badly some of which had tiny spidering so just to make sure no real corrosion was hiding under their I took it back to the bare metal to find as was well......
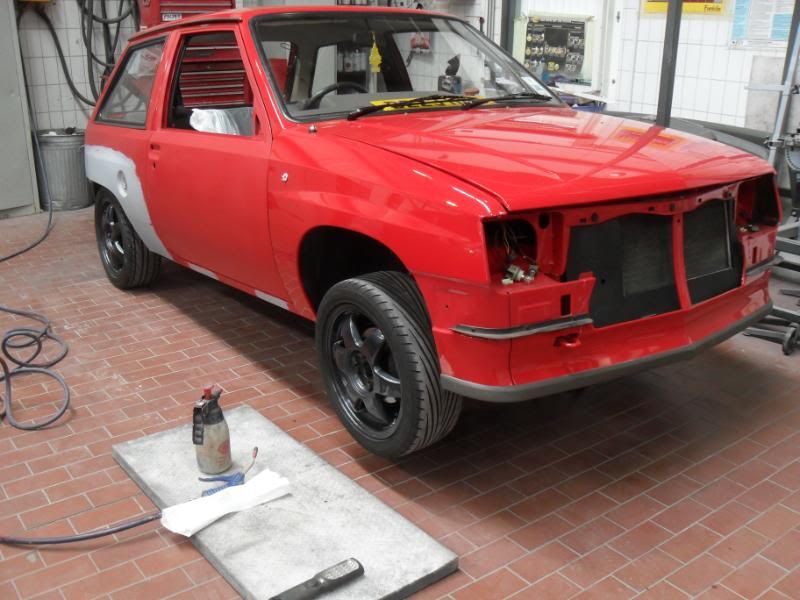
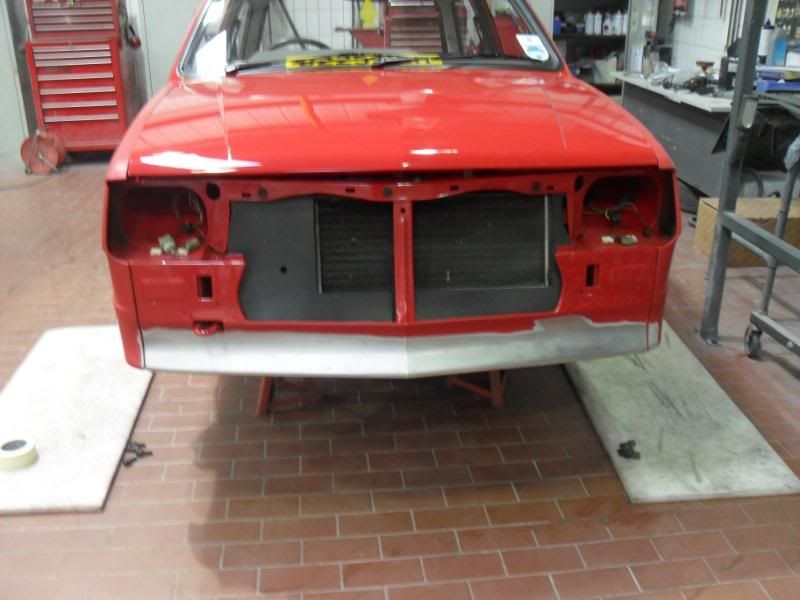
With the wings and valance prepared back into the booth we went for primer.......
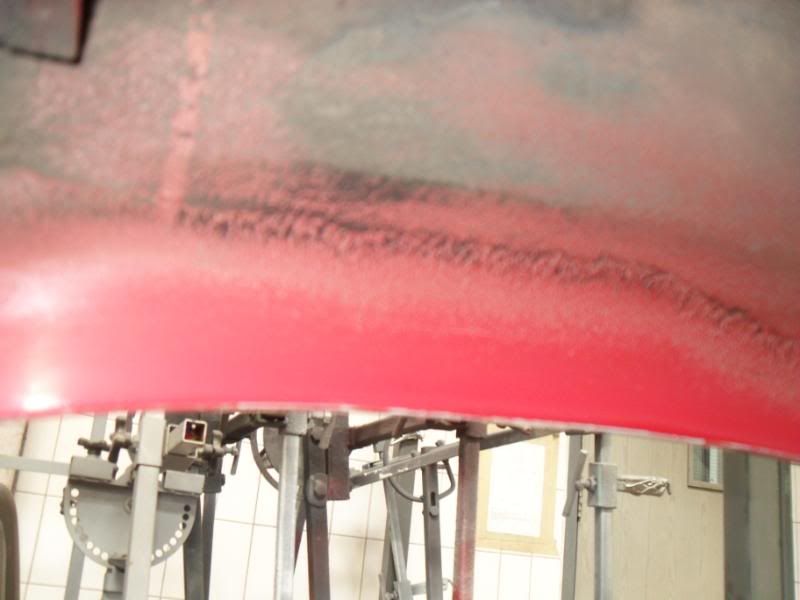
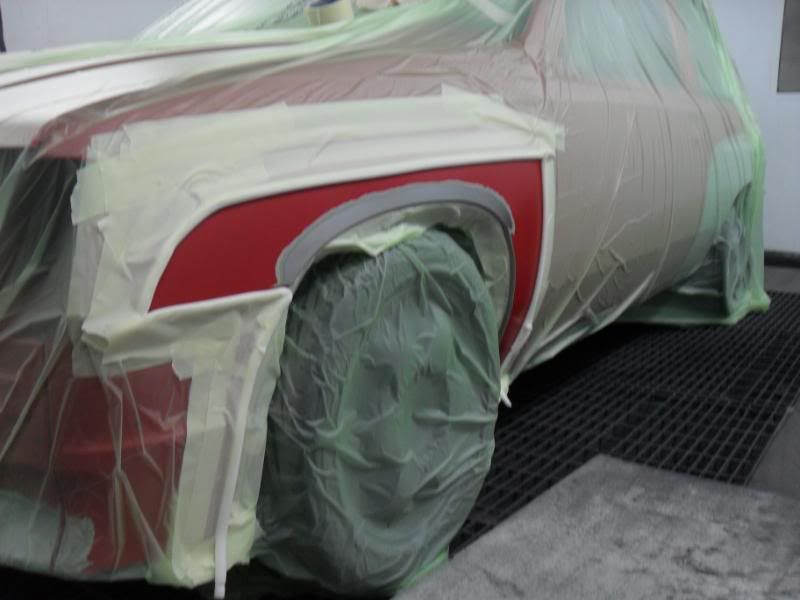
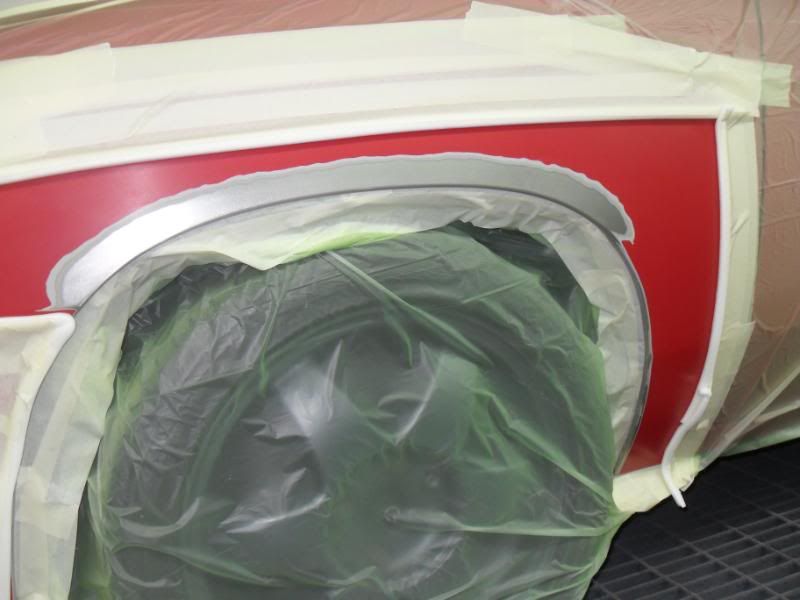
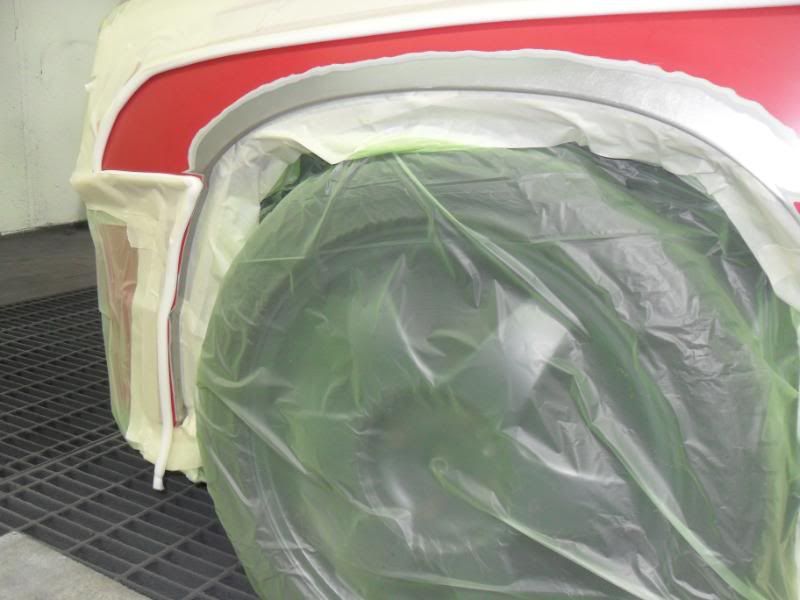
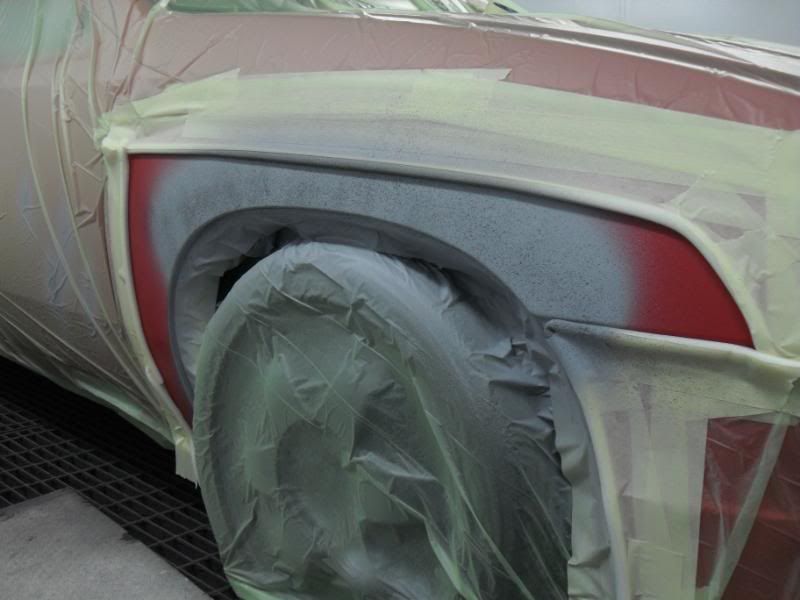
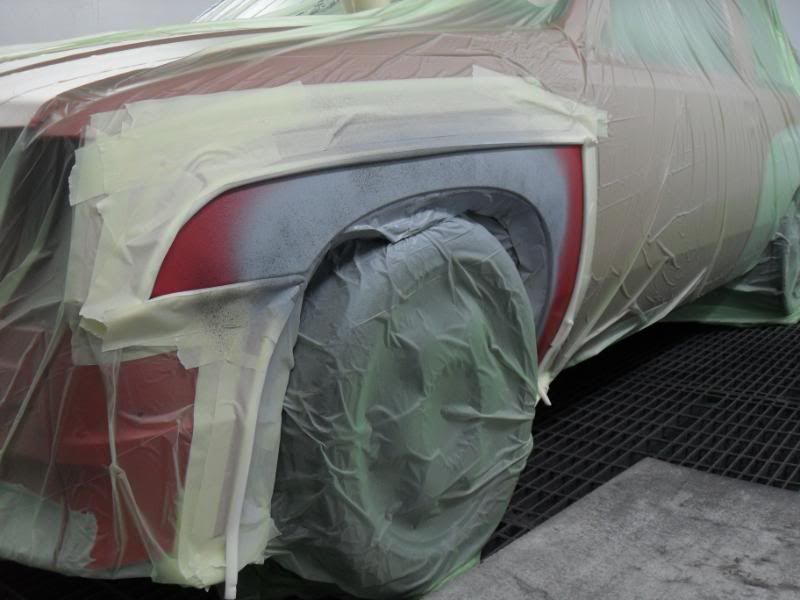
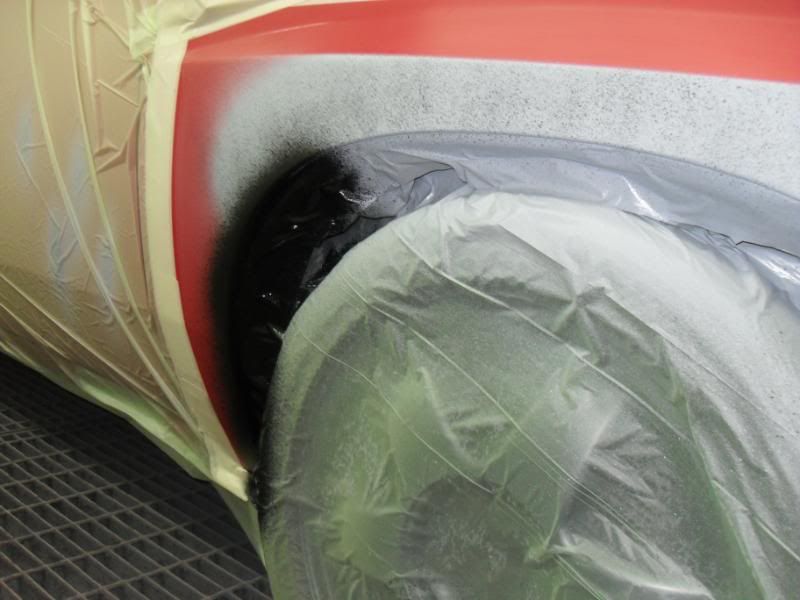
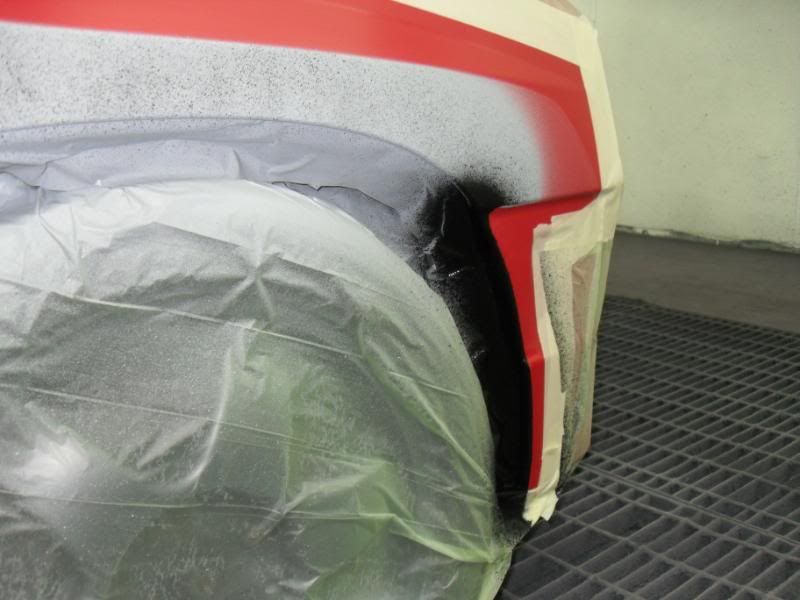
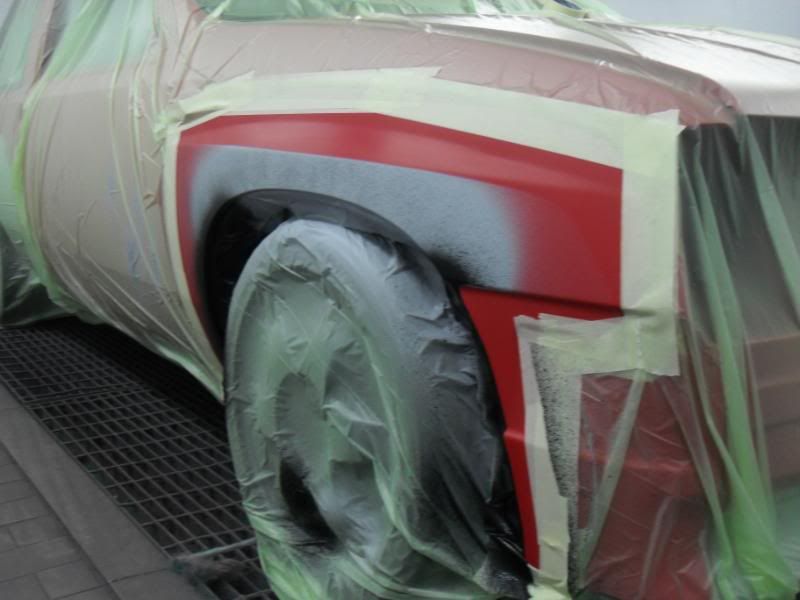
Again I wanted to keep the repair area as small as possible so I used foam edge tape off the first wheel arch swage line.......
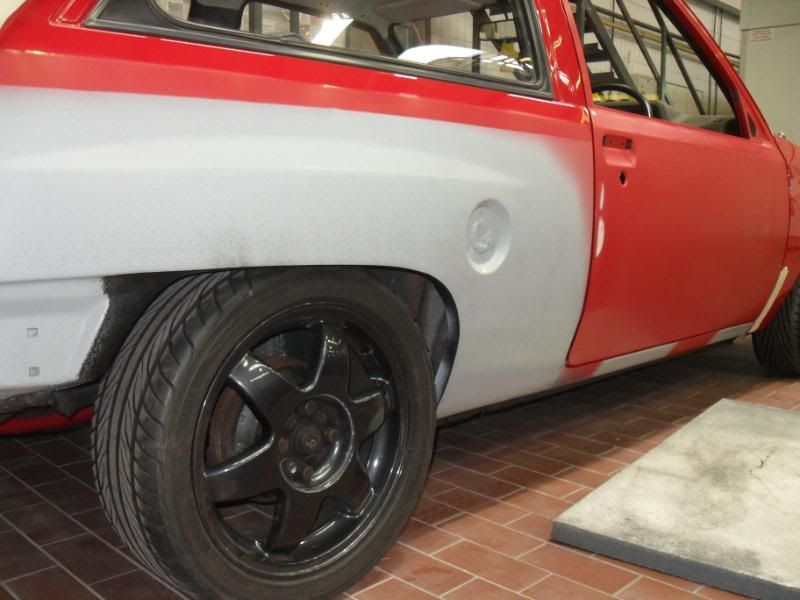
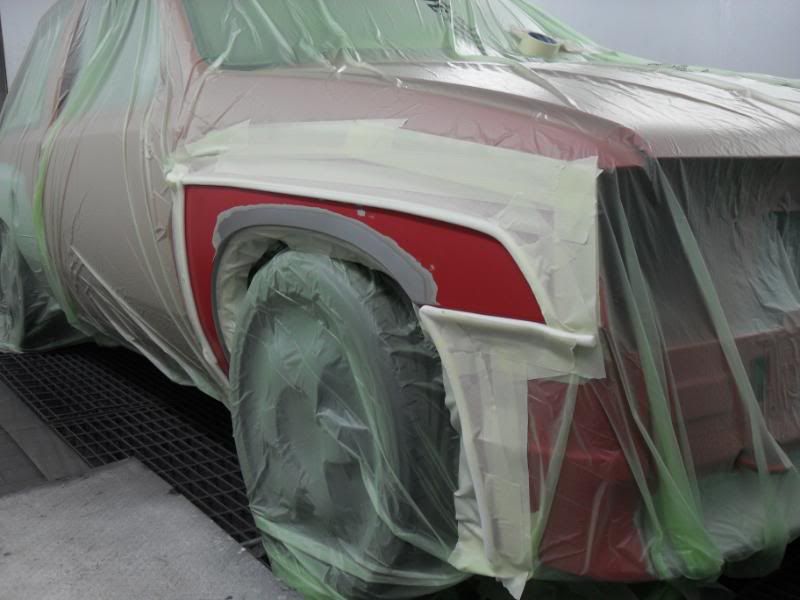
Once I'd guidecoated the primer and it was dry the stoneguard was back out on the front and rear edges. Id have done right the way round but theirs hardly any lip to roll off once the front arches are folded!........
From the above pics you can see the primer and stoneguard has been contained which will mean the repaired areas can be coloured afterwards without any need for basecoat to be up near the bonnet or A pillar areas etc.
Nick.
Last edited by Nick J; 06-05-12 at 07:19 PM.
Great work Nick

Nice work nick as always , wish I had your skills .
Cheers Ad.... You and me both tbh! However once the first panel had come up so well I knew I had to go right round it!Originally Posted by Adam

Im sure you'll be on with it soon enough mate. Wait until other things are out of the way and you can get cracking again.
Cheers Kev.......Im always wishing I had other members skills!
Nick.
Wish I had the old red one off you when I had the chance. Instead of getting the ford

Looking sweet. Those Cesaro's look good too.
Posting Permissions

 Reply With Quote