UPDATE
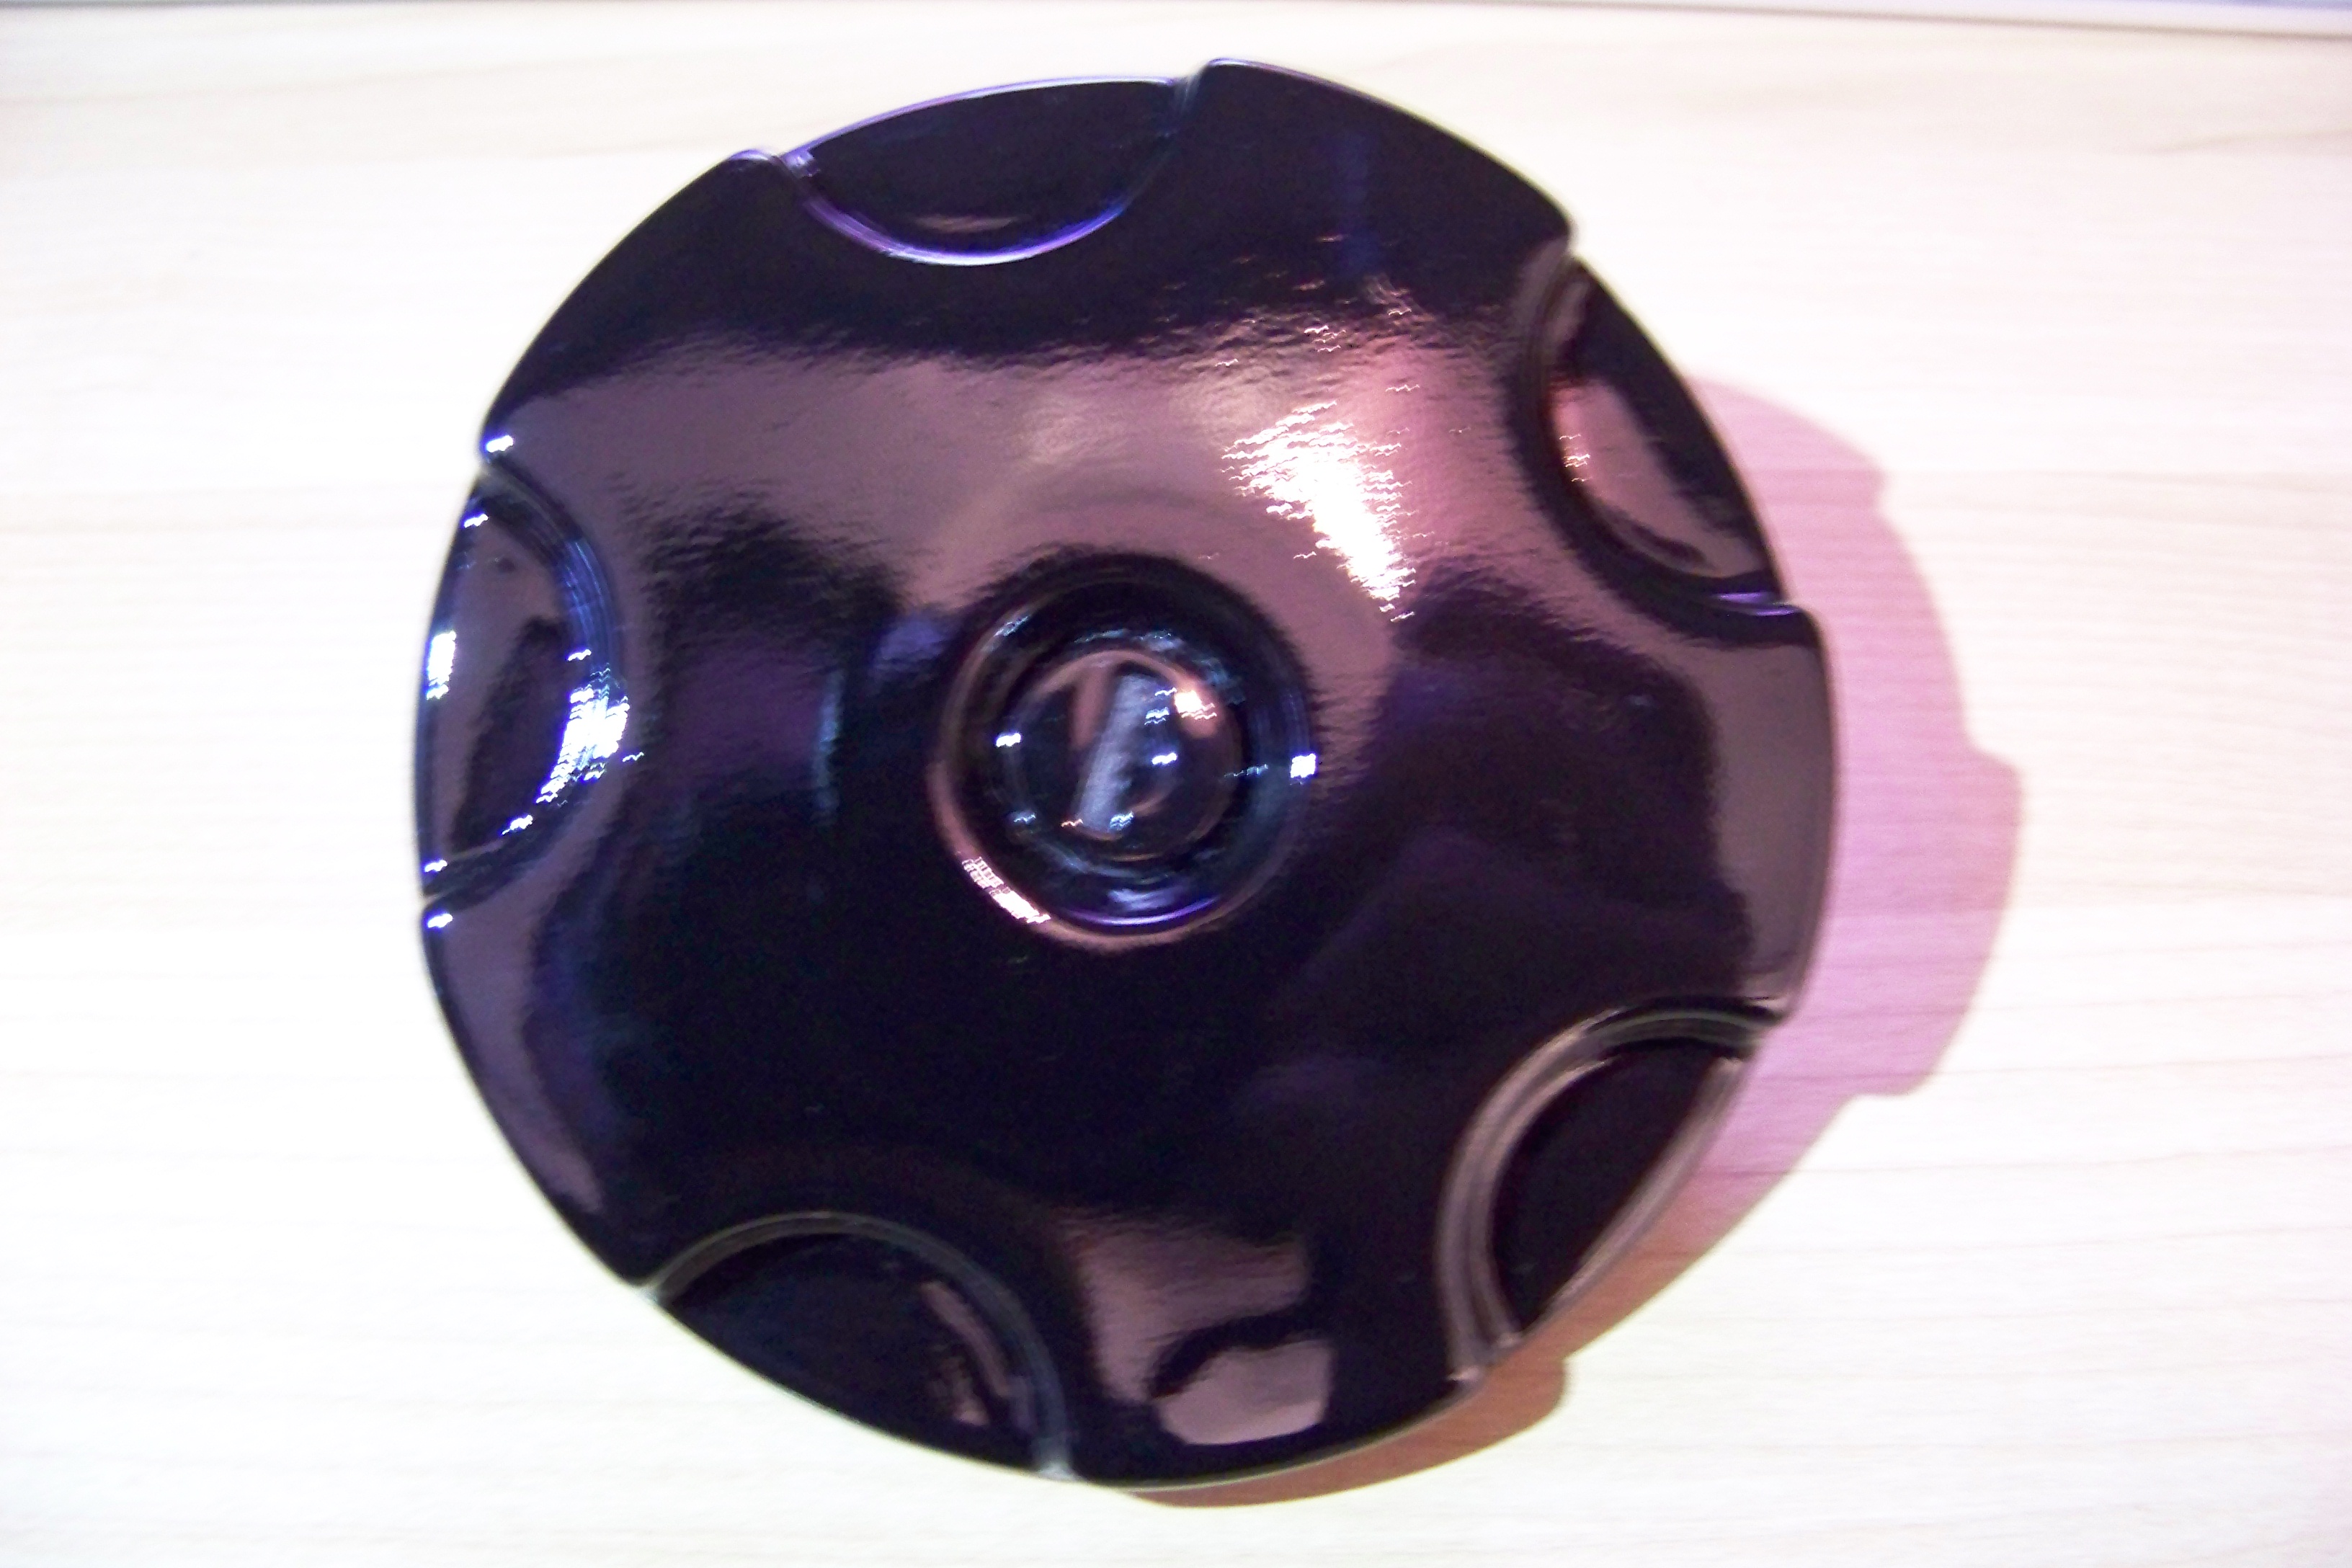
Here's the outcome of the fuel cap I painted the other day. I haven't flatted it just yet as the rattle can lacquer takes a week or so to go properly hard (excuse the bad pic)
I have set myself some odd jobs to get done this week as I'm owed extra time off due to taking on more hours. I'm hoping to get these odd jobs sorted so that they are out the way and will allow me to concentrate on the important stuff.
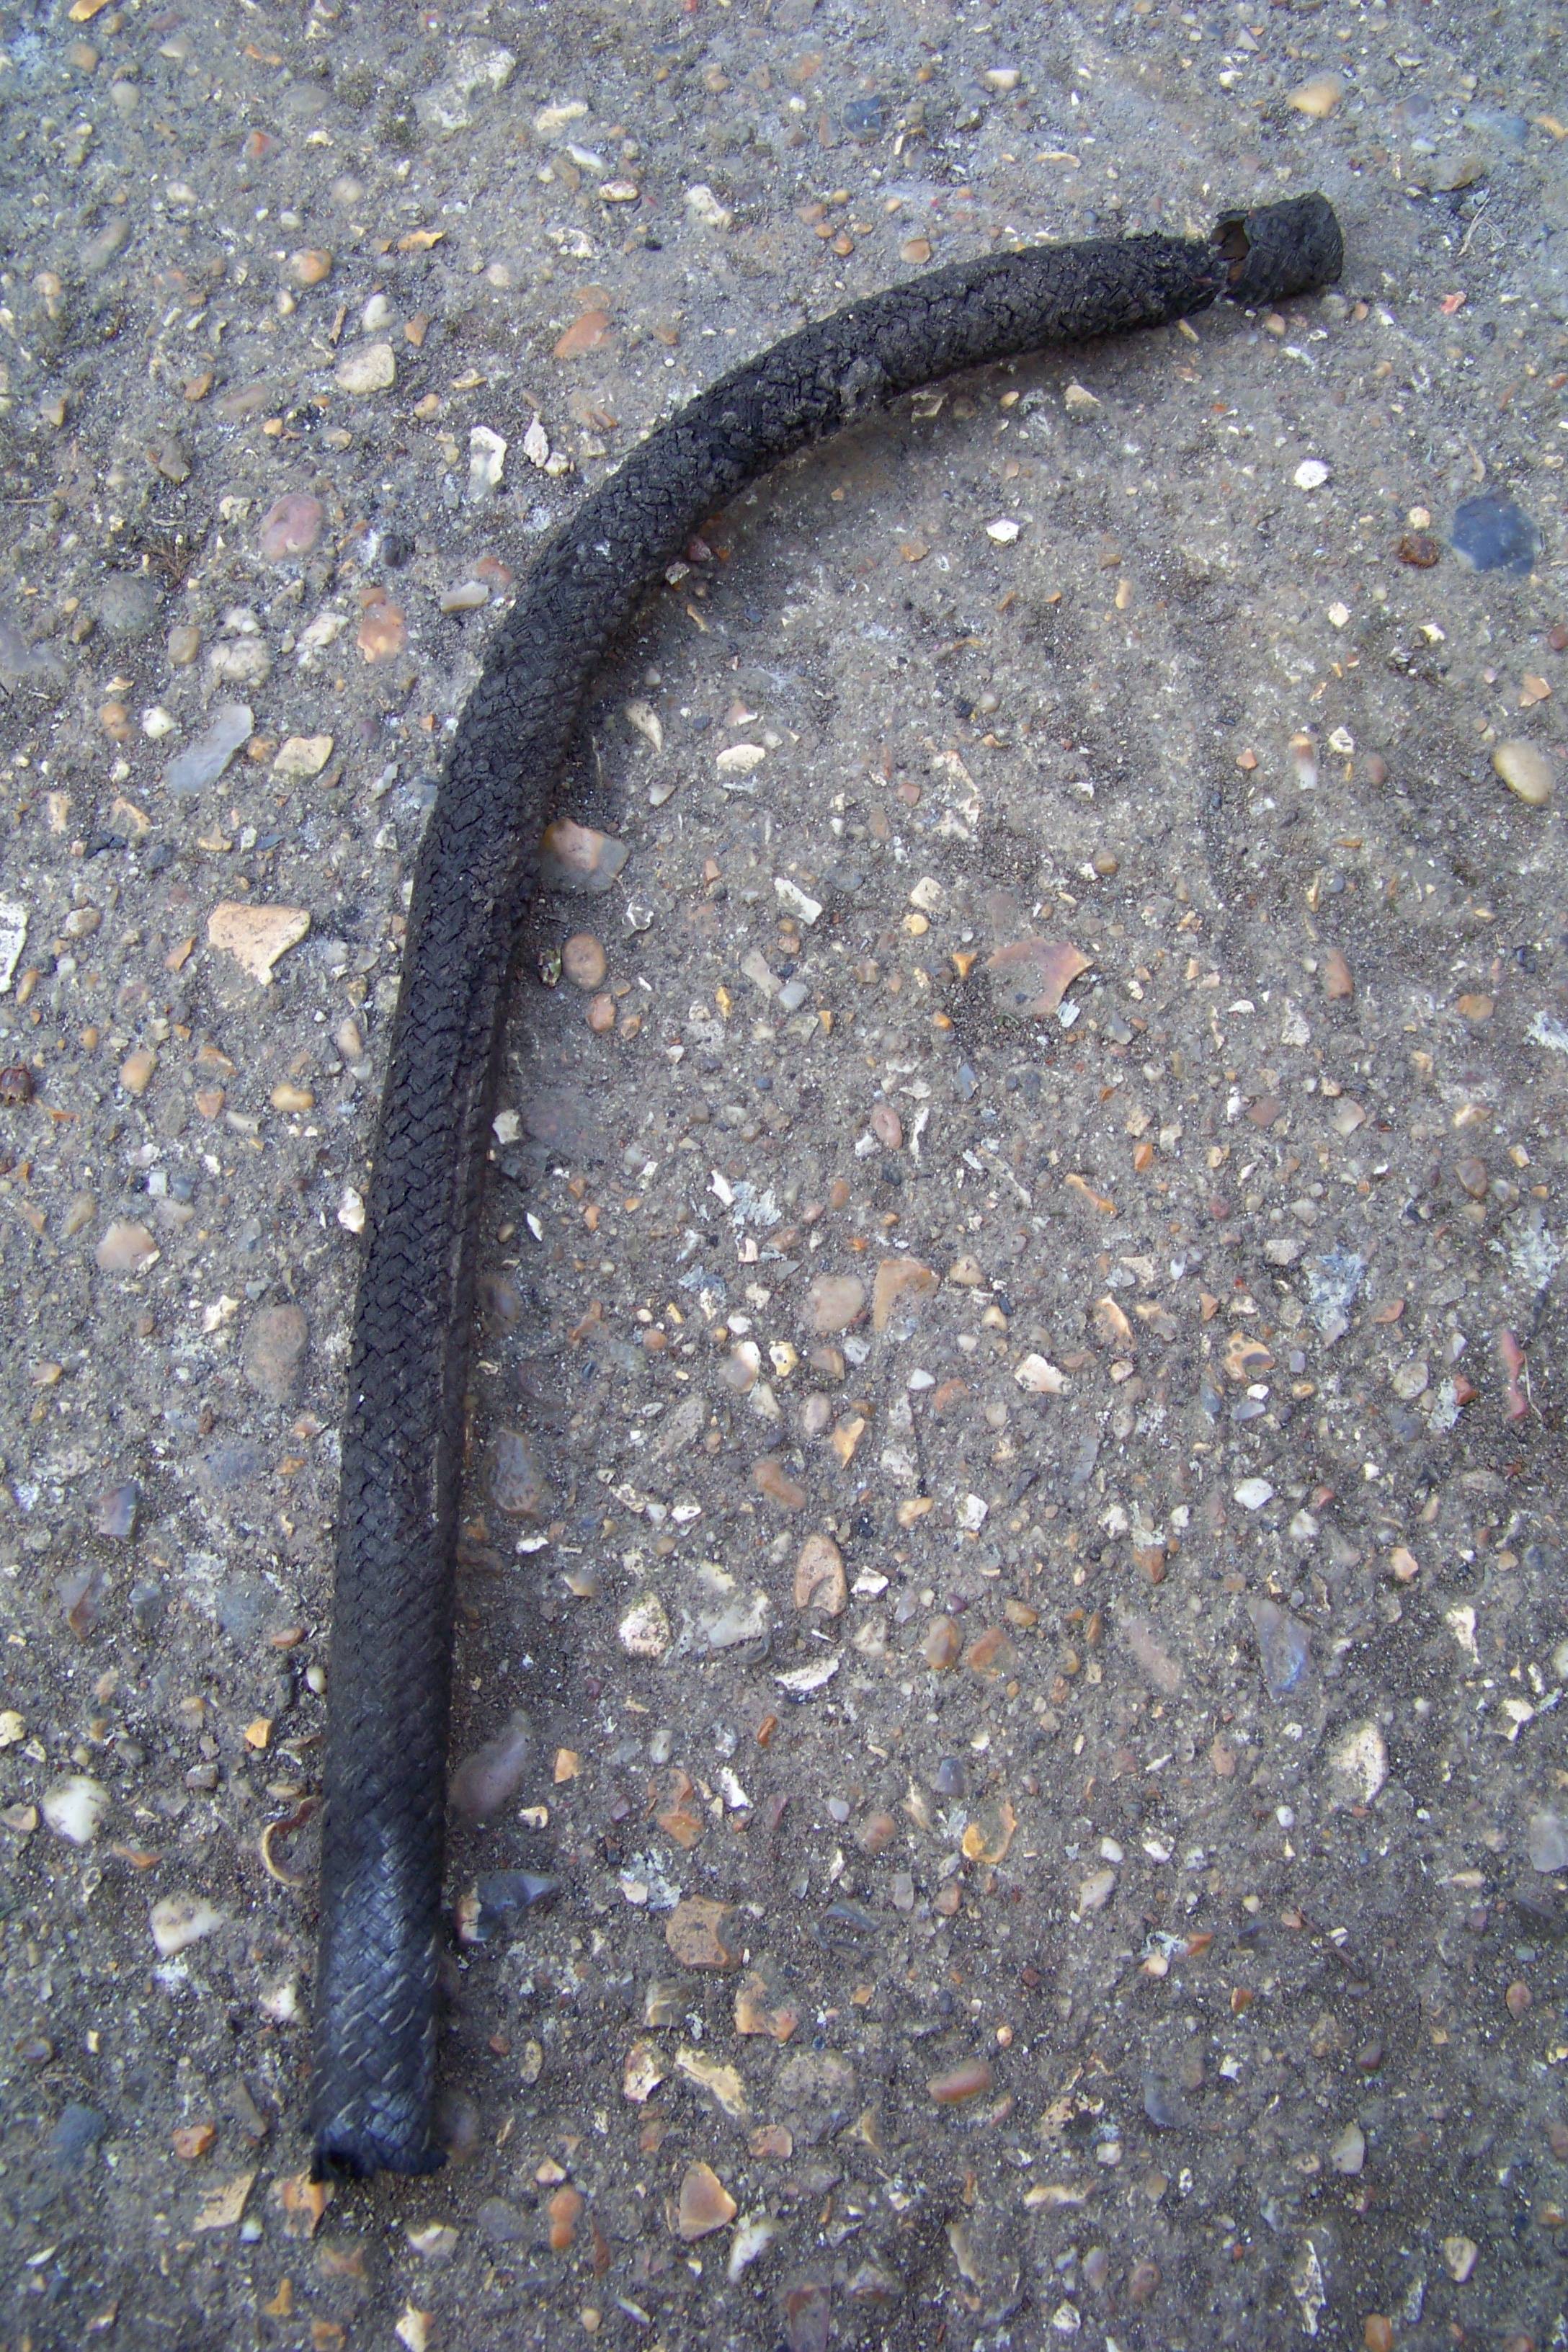
On today's to-do list was the fuel tank. I knew there was a split/missing section of breather hose, the smaller 4mm ID hose but another reason was to inspect and make sure the floor was cushty and for the tank to get some lovin'.
Up went the back end on the drive-on ramps and under I went. I unhooked the handbrake cable from the handbrake rod, removed all the hoses connected to various places, the larger filler neck hose was a bit more of a pain. I though I'd removed the P-clip which hold the bottom of the filler neck but the bolt had seized and anymore force the bracket that holds it would bend a bit too much. Undid the tank straps and lowered the jack to lower the tank. The biggest ball ache was the filler neck breather which is situated right at the top of the tank. It's held on by a jubilee that locks into itself and is the tightest of squeezes to undo. My knuckles still hurt!
In the end, thanks to Mowgli's simple idea, I cut it off. Just as well really as it was funked beyond funked. Split 6 ways and literally fused to the tank. I'll be replacing the hose with some proper 11mm ID rubber fuel hose and will join it to the current breather hose a bit further up where it is in good condition.
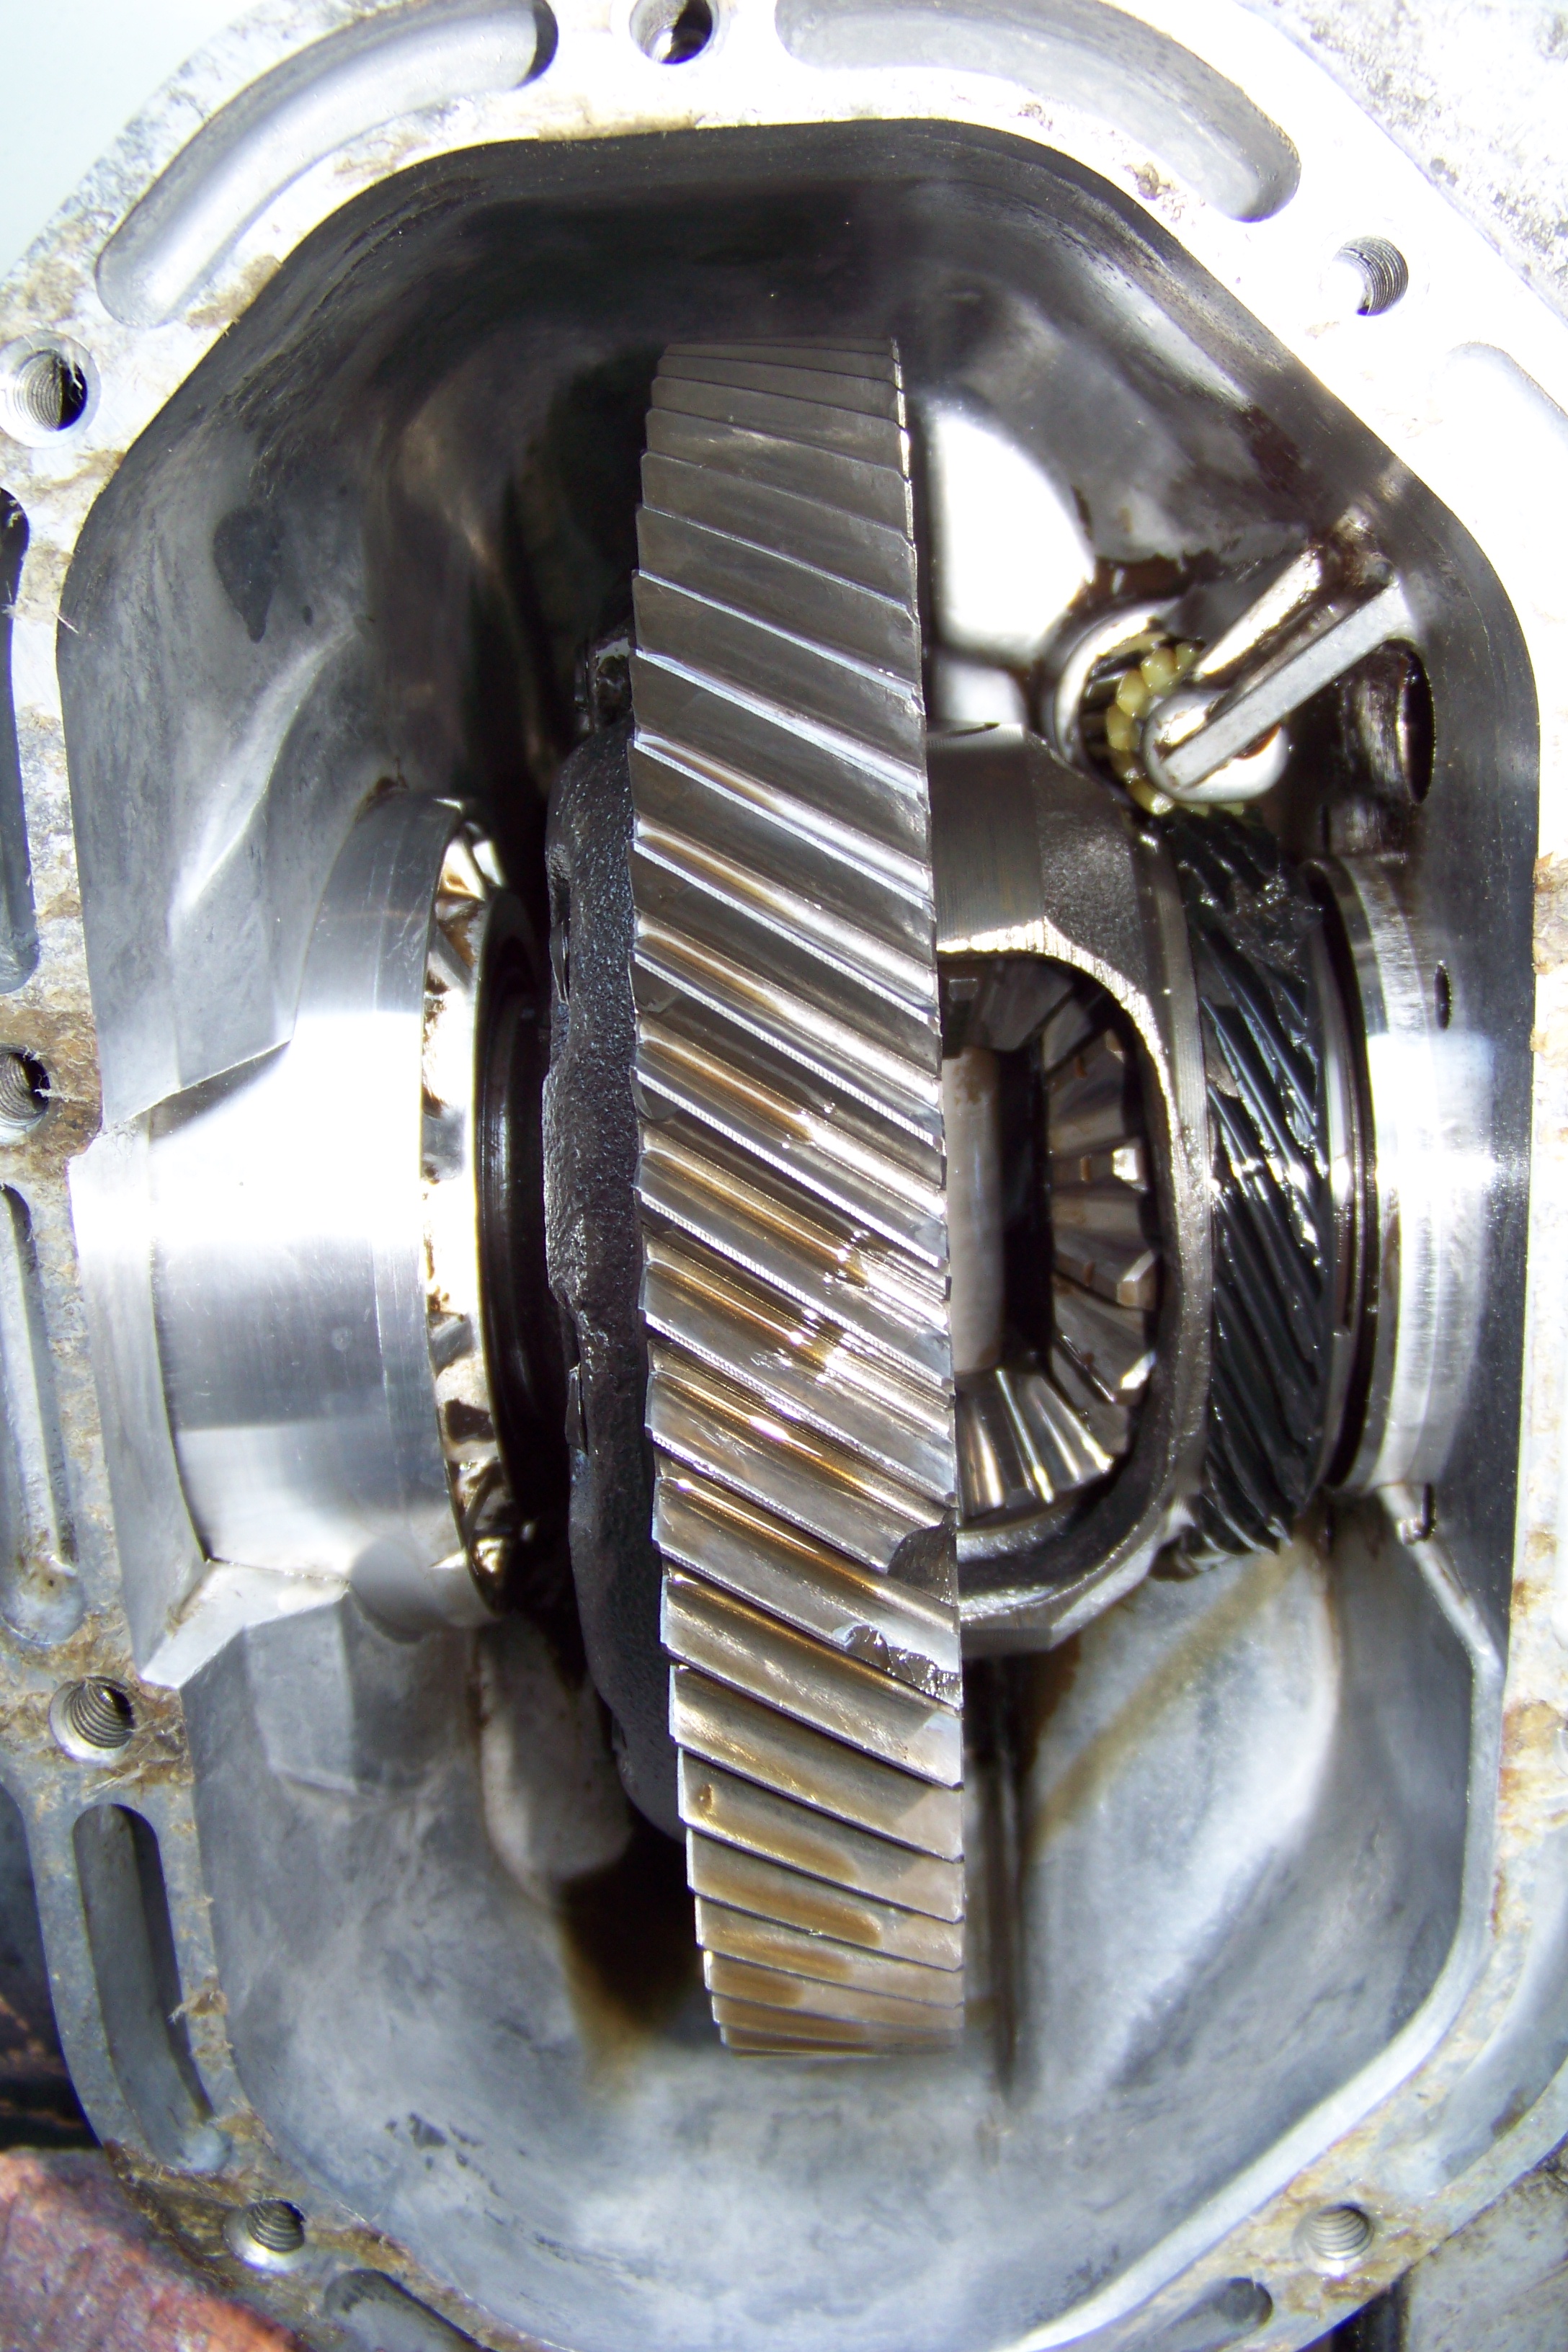
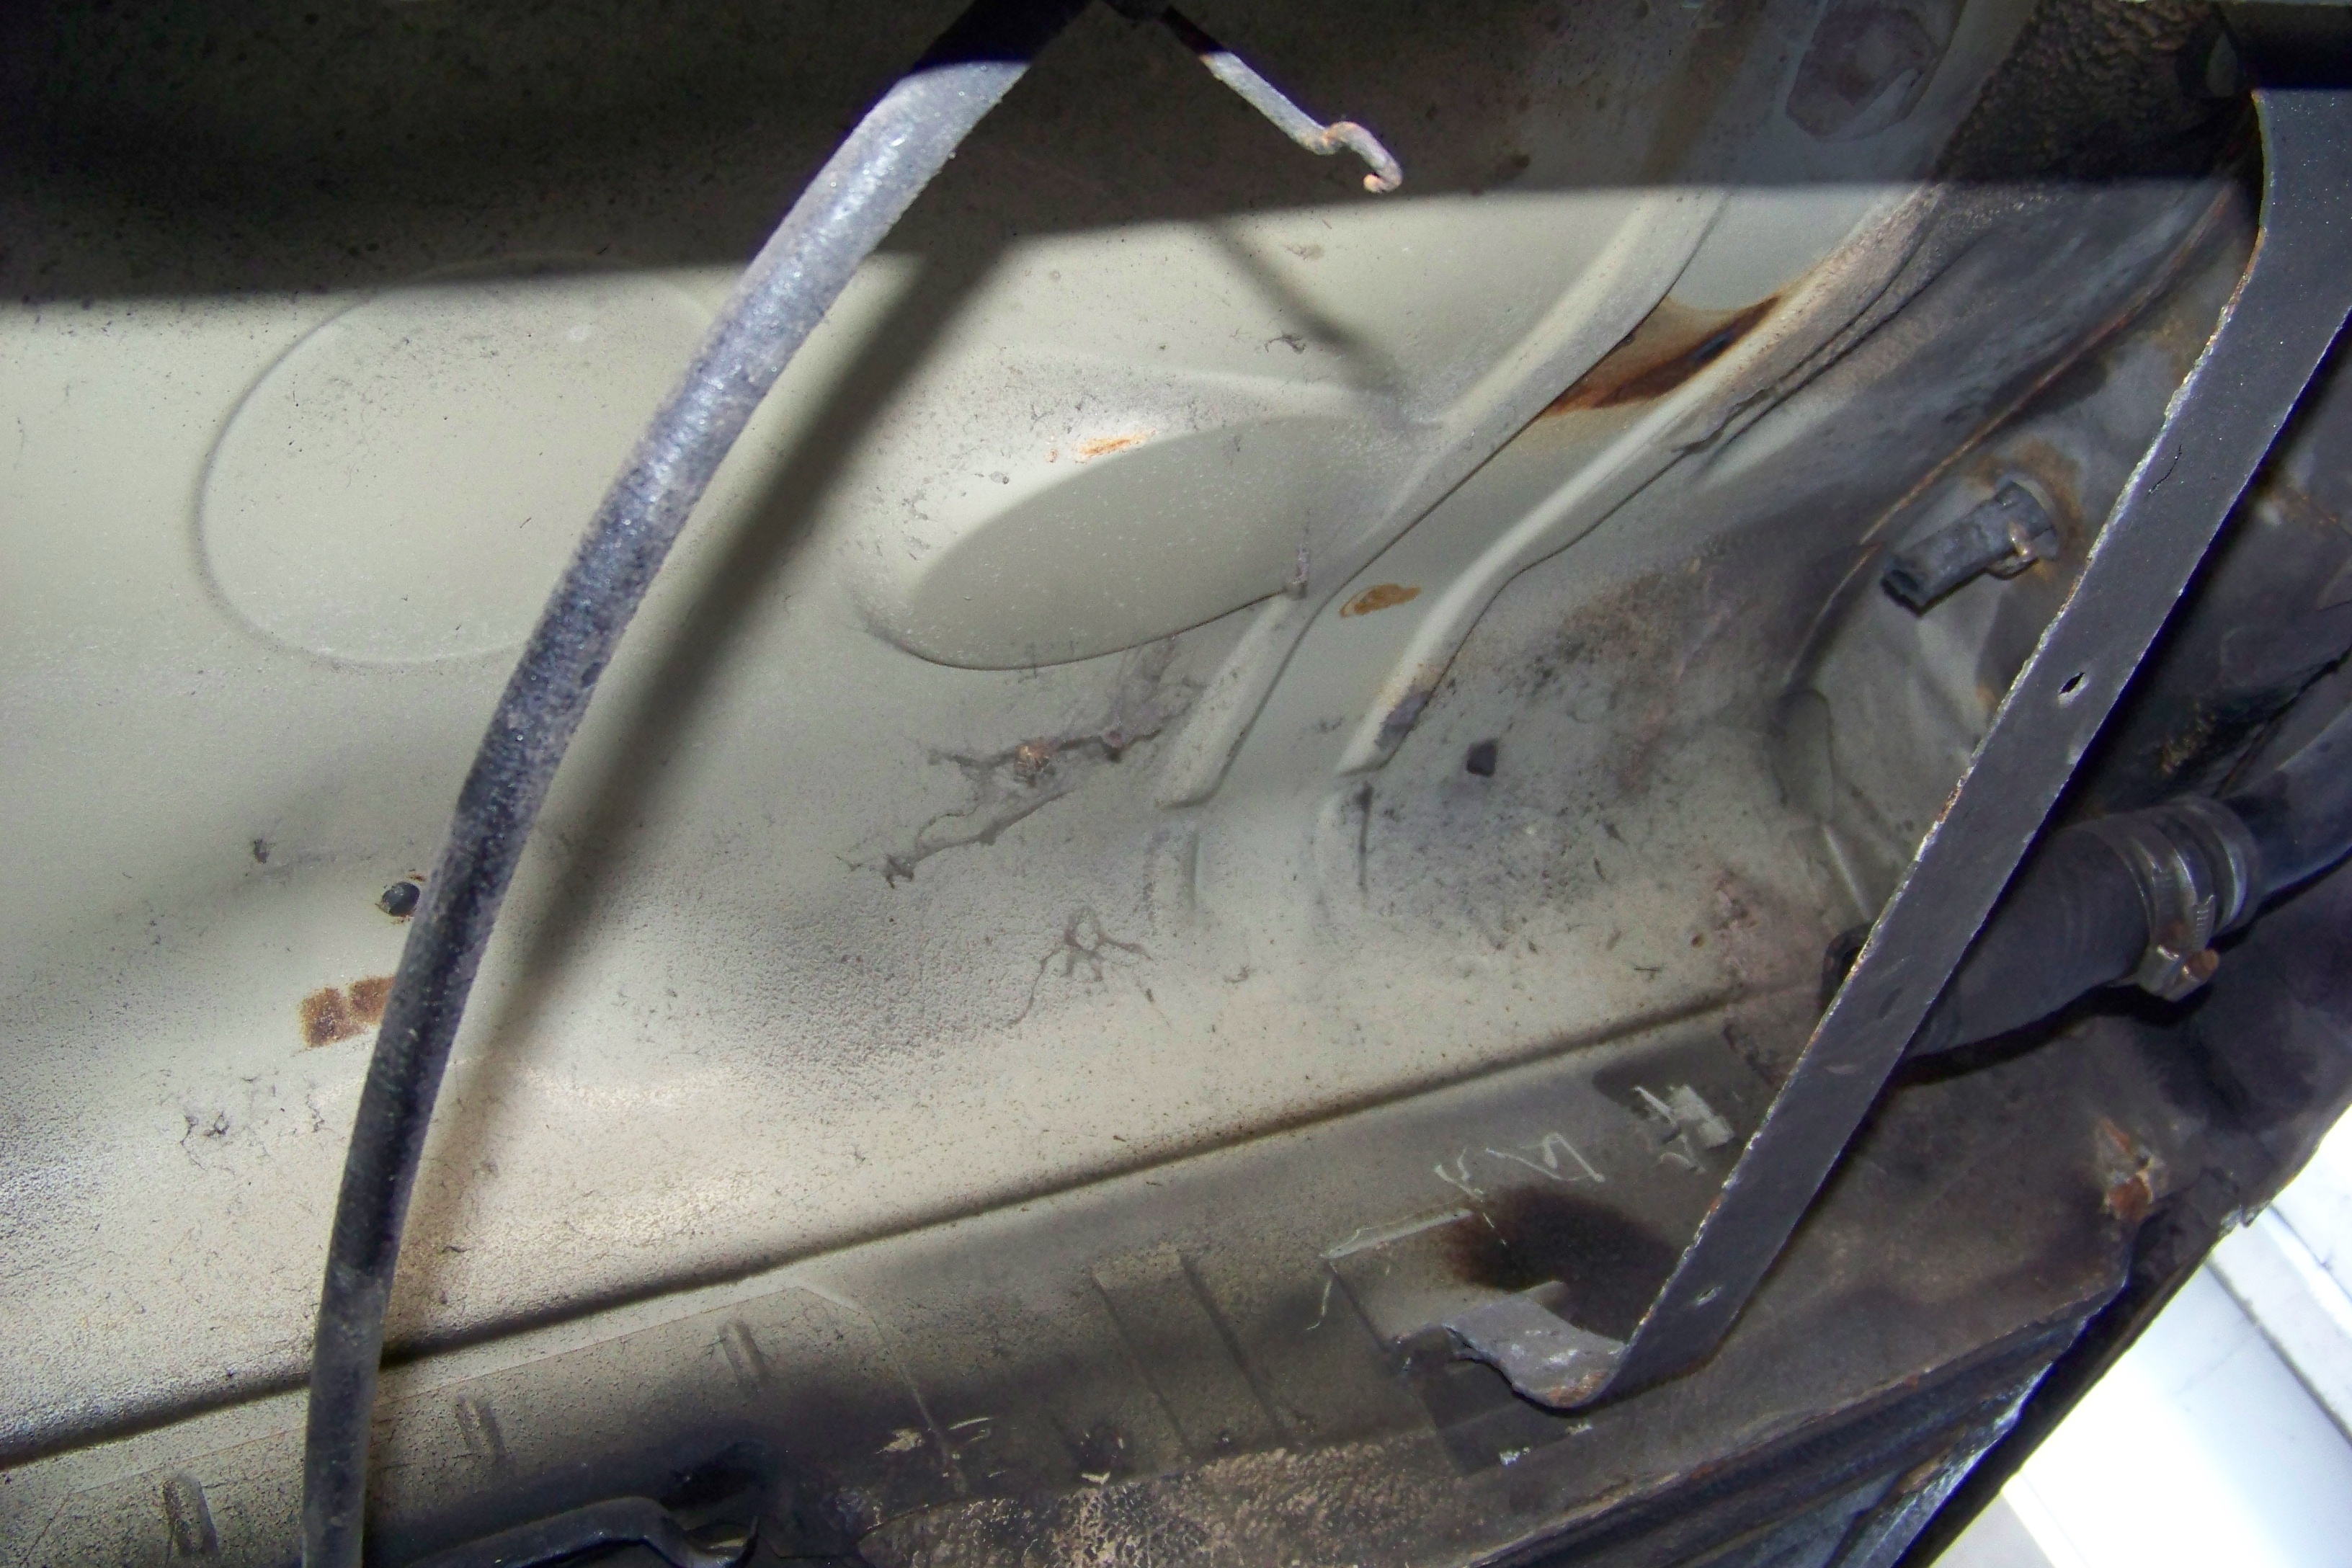
Once removed I was left with this sight
A tiny bit of surface corrosion around the edges of the floor but still very solid. I was expecting a hidden nightmare but I was smiling when I saw it. Treated the small areas in question with some rust remedy and allowed it to properly work its way in. I'll be seam sealing the seams (duh) and either acid etching or zinc primer to the bare metal bits and I'll then stone chip it. I cleaned up the floor and got rid of the dust, dirt and cob webs.
Also need to find out how to remove the tank straps.
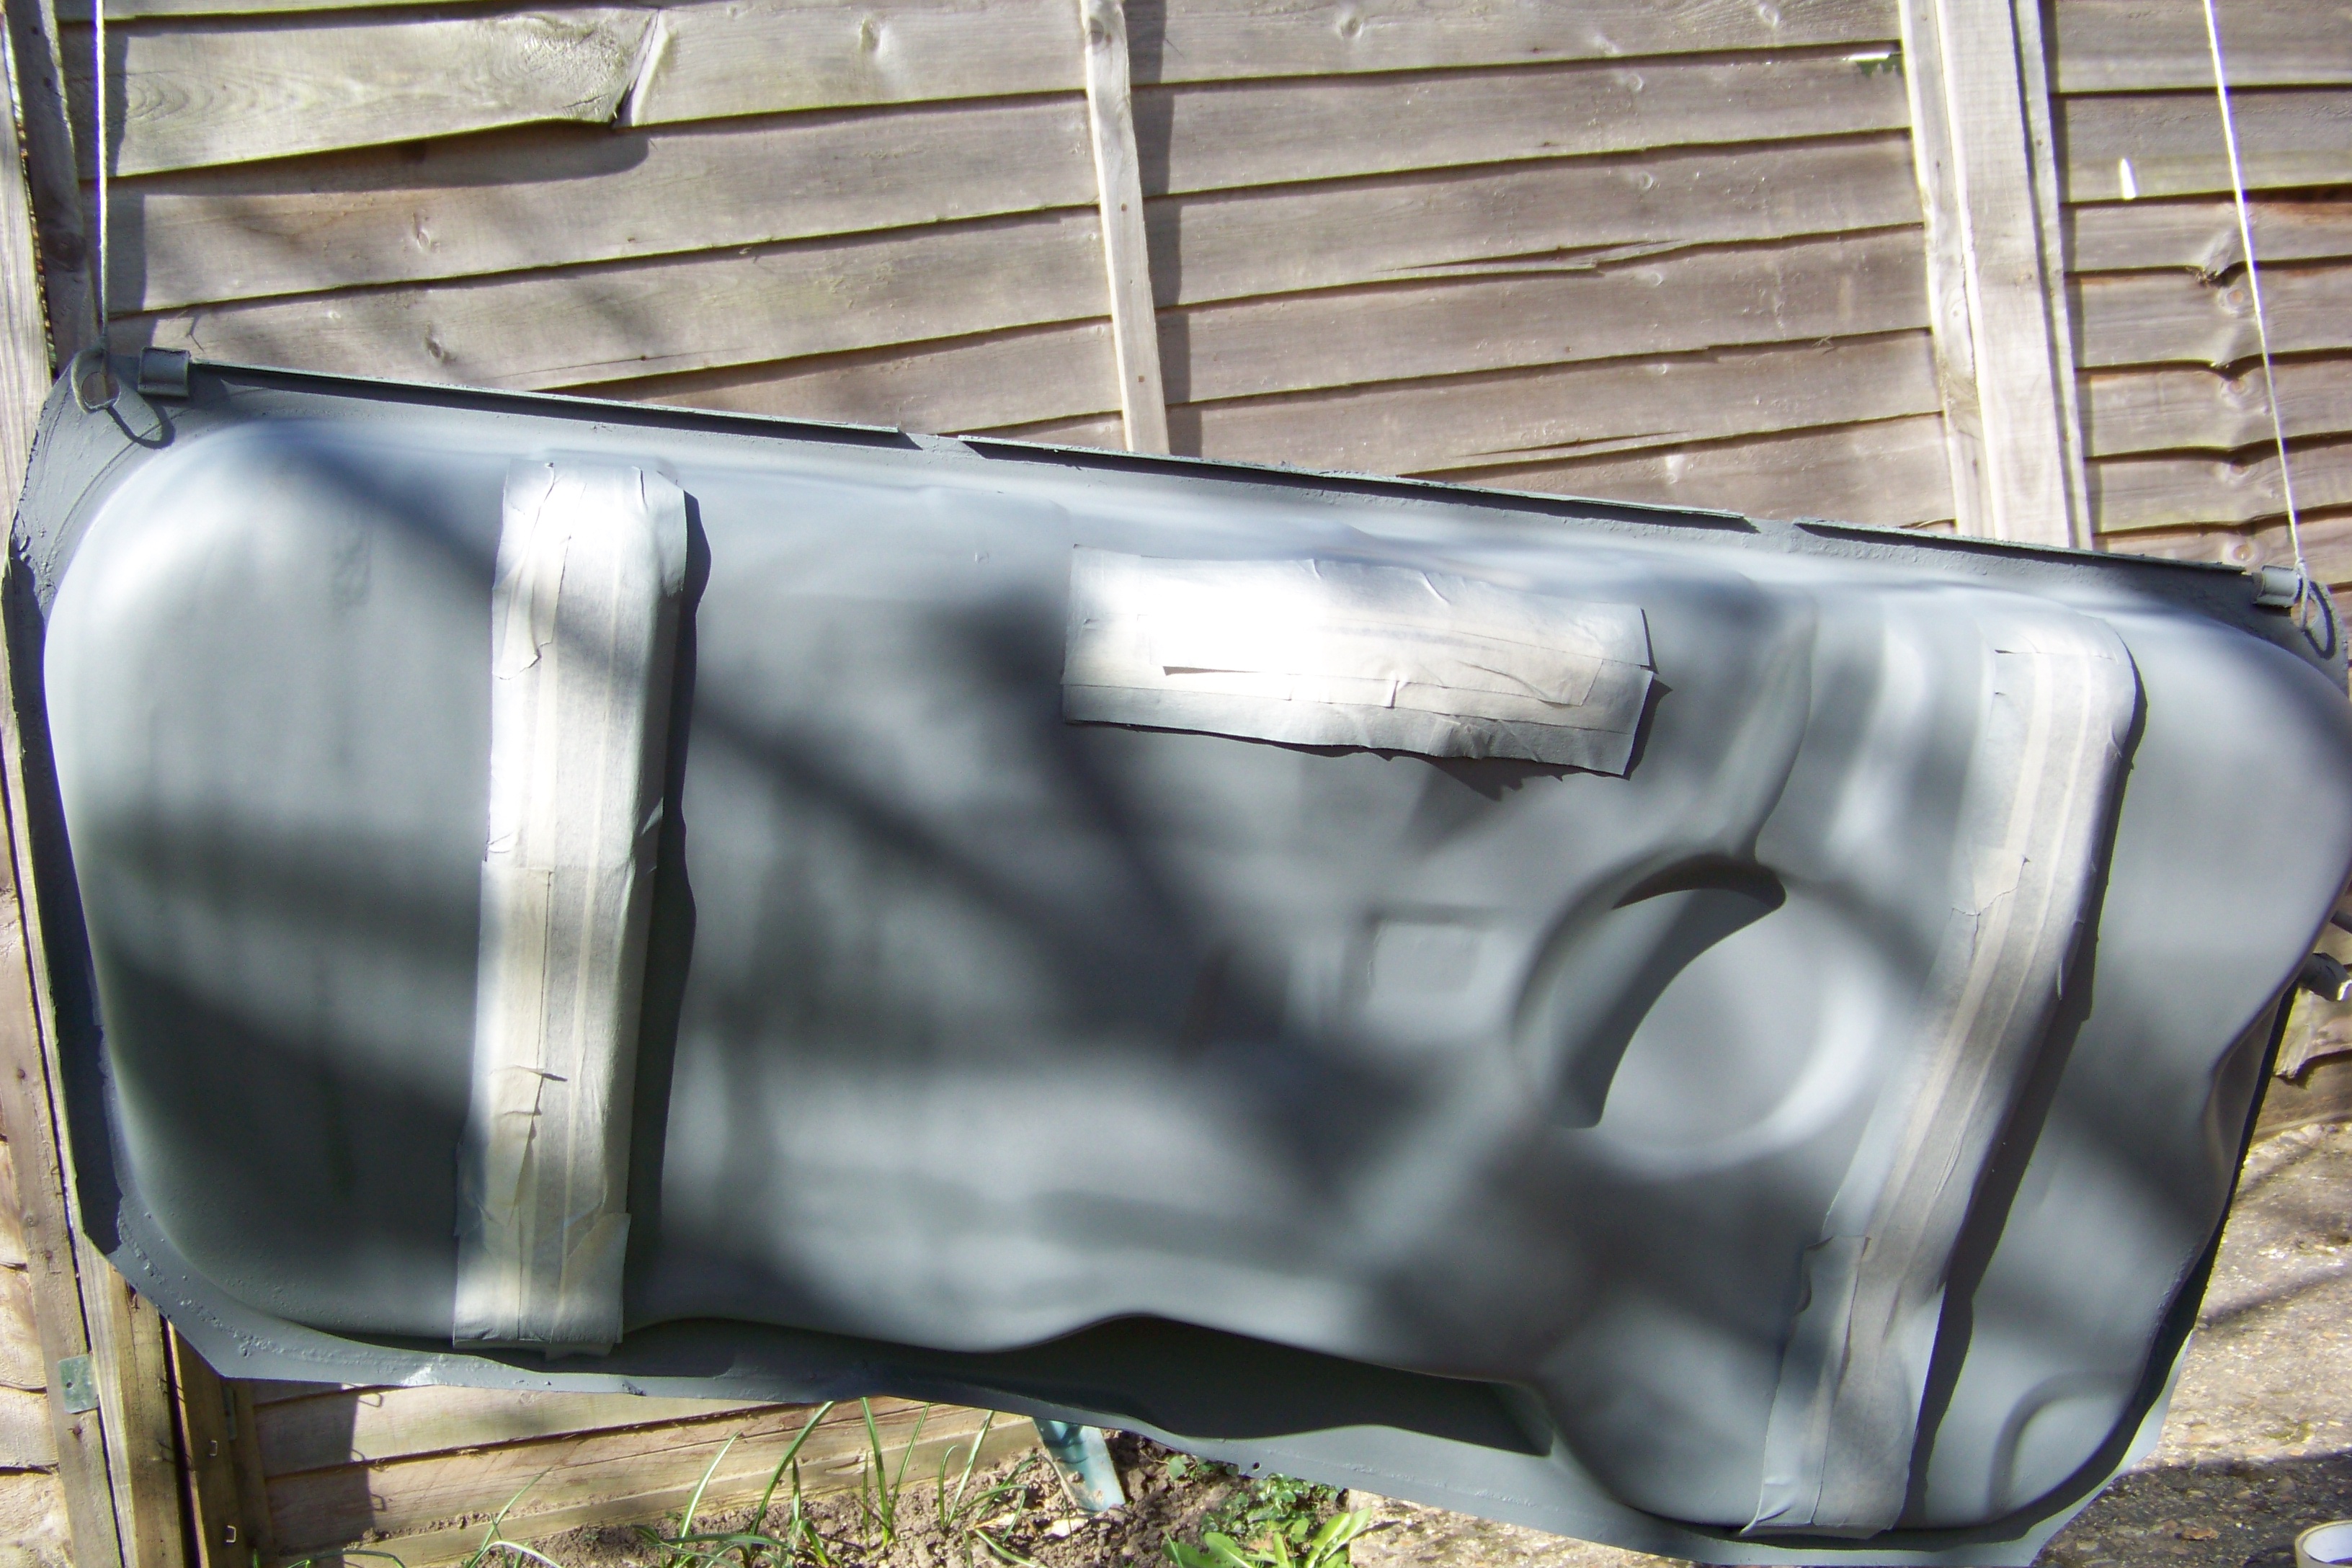
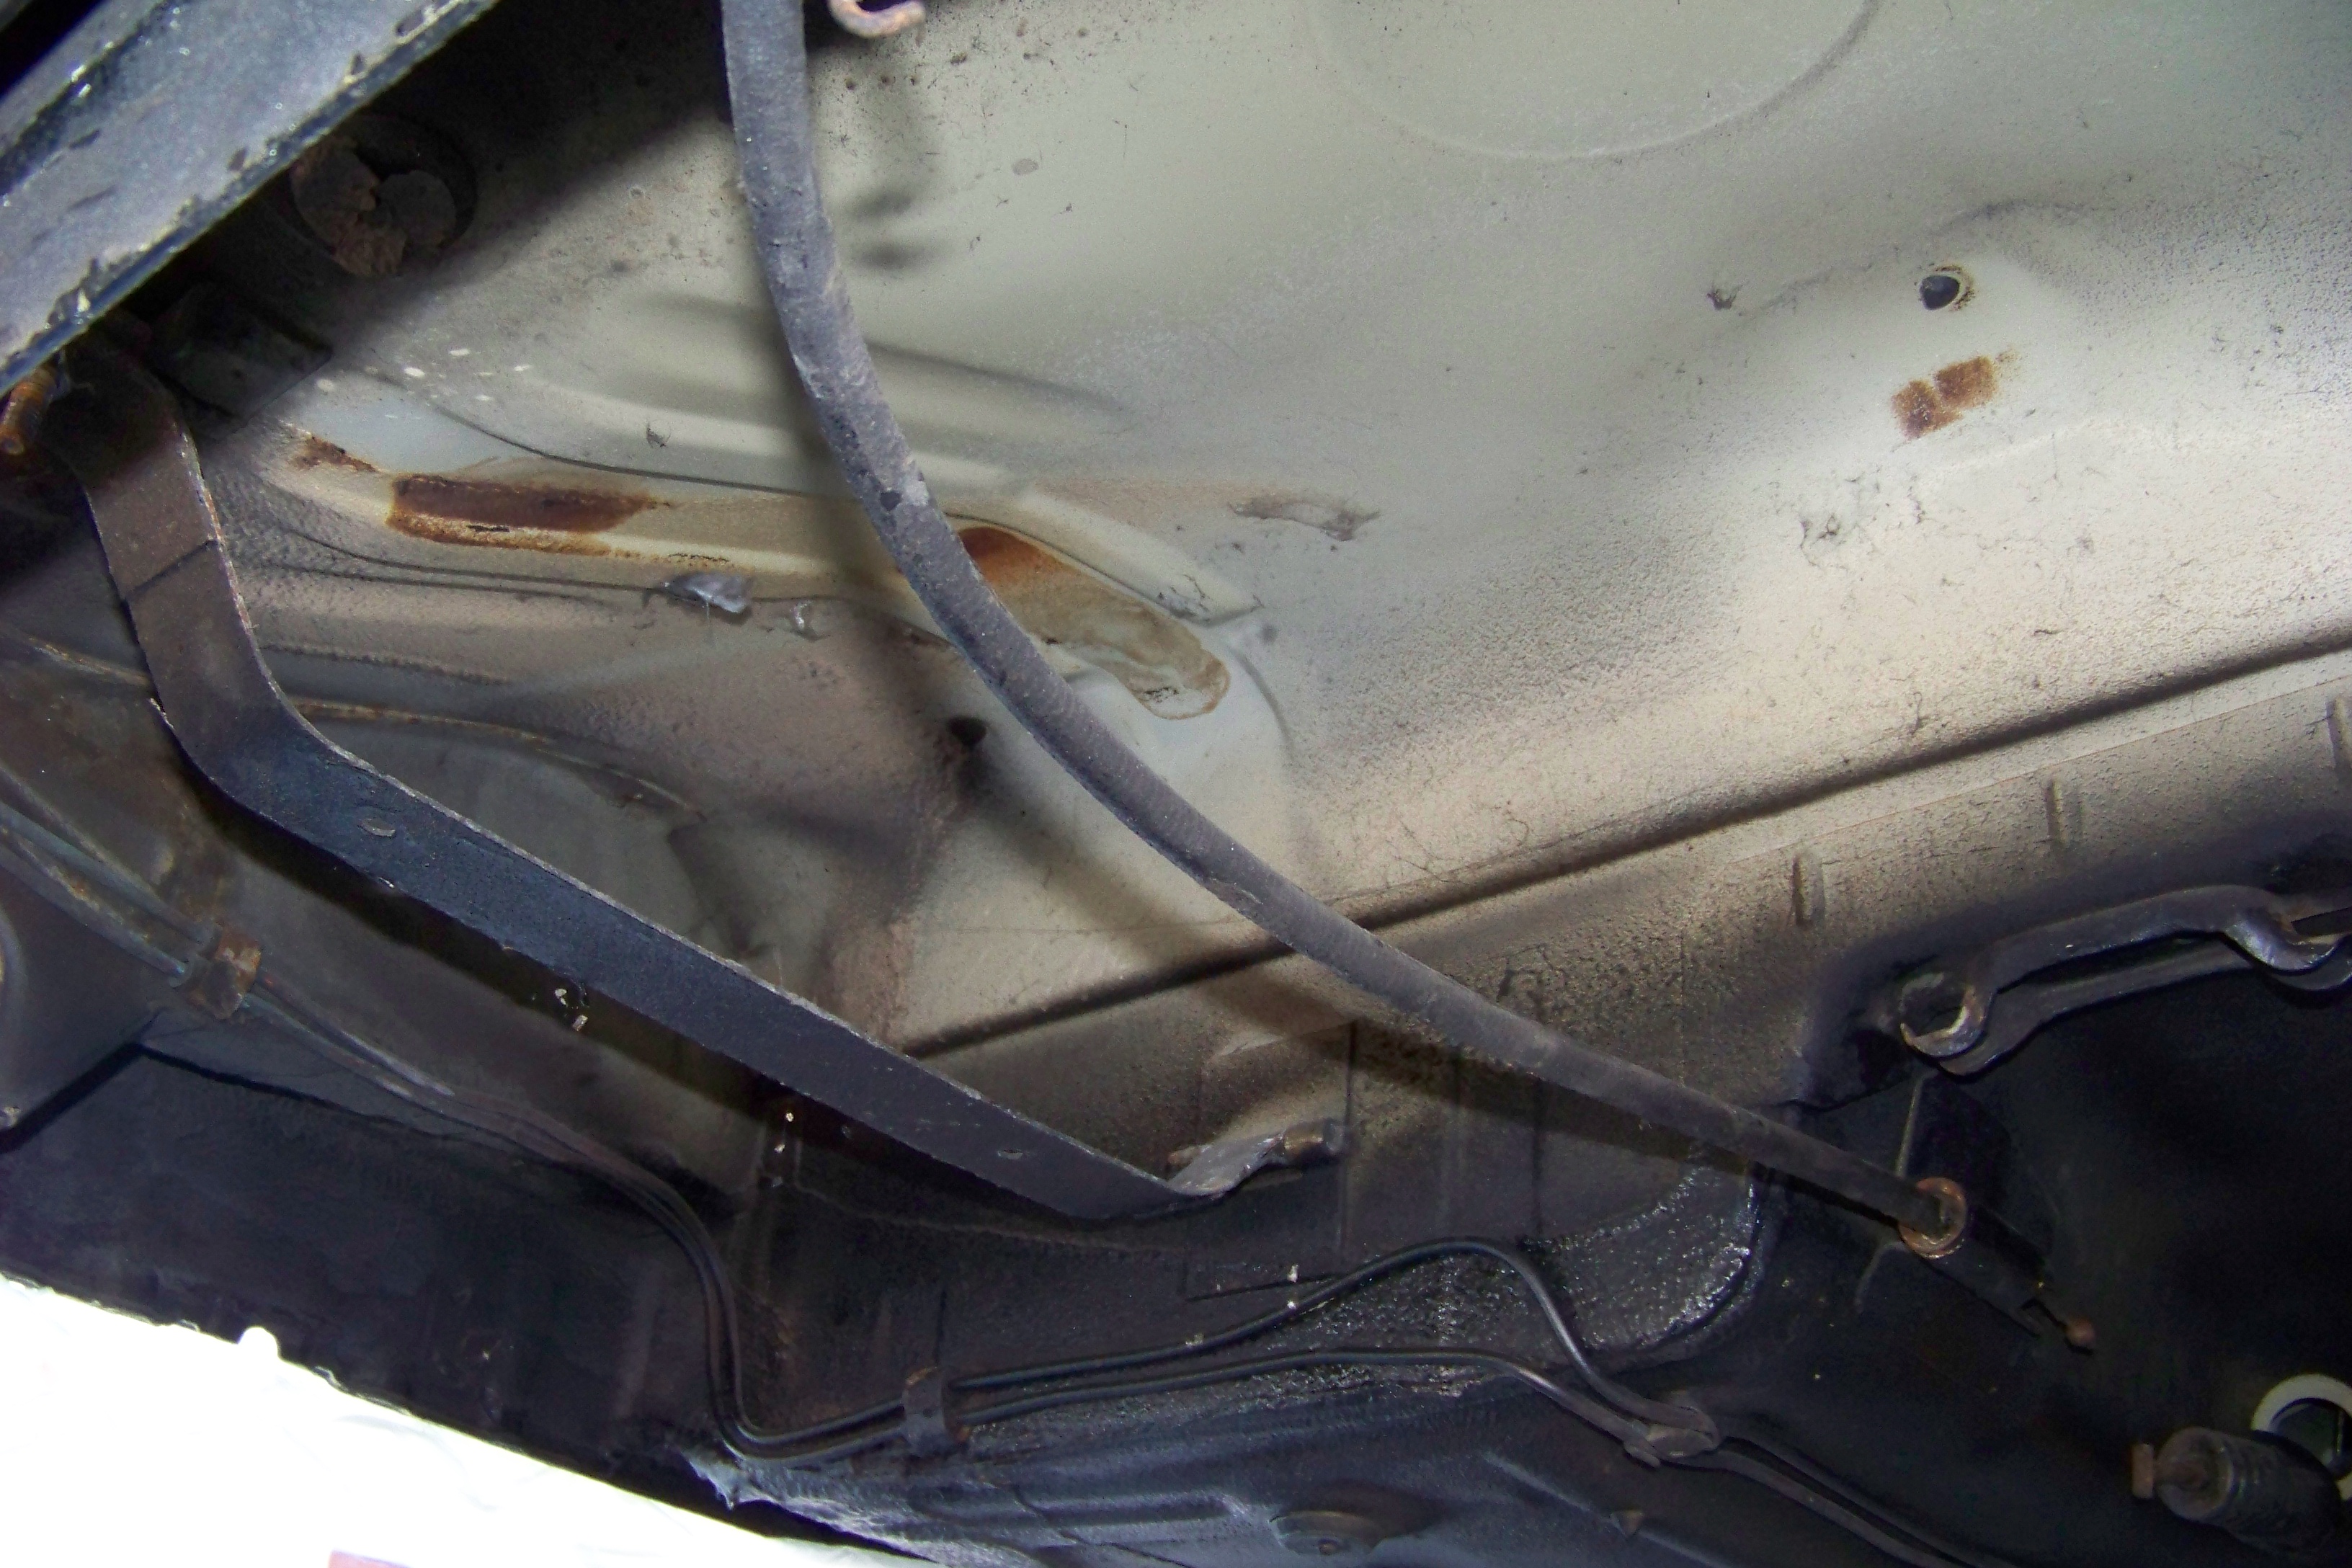
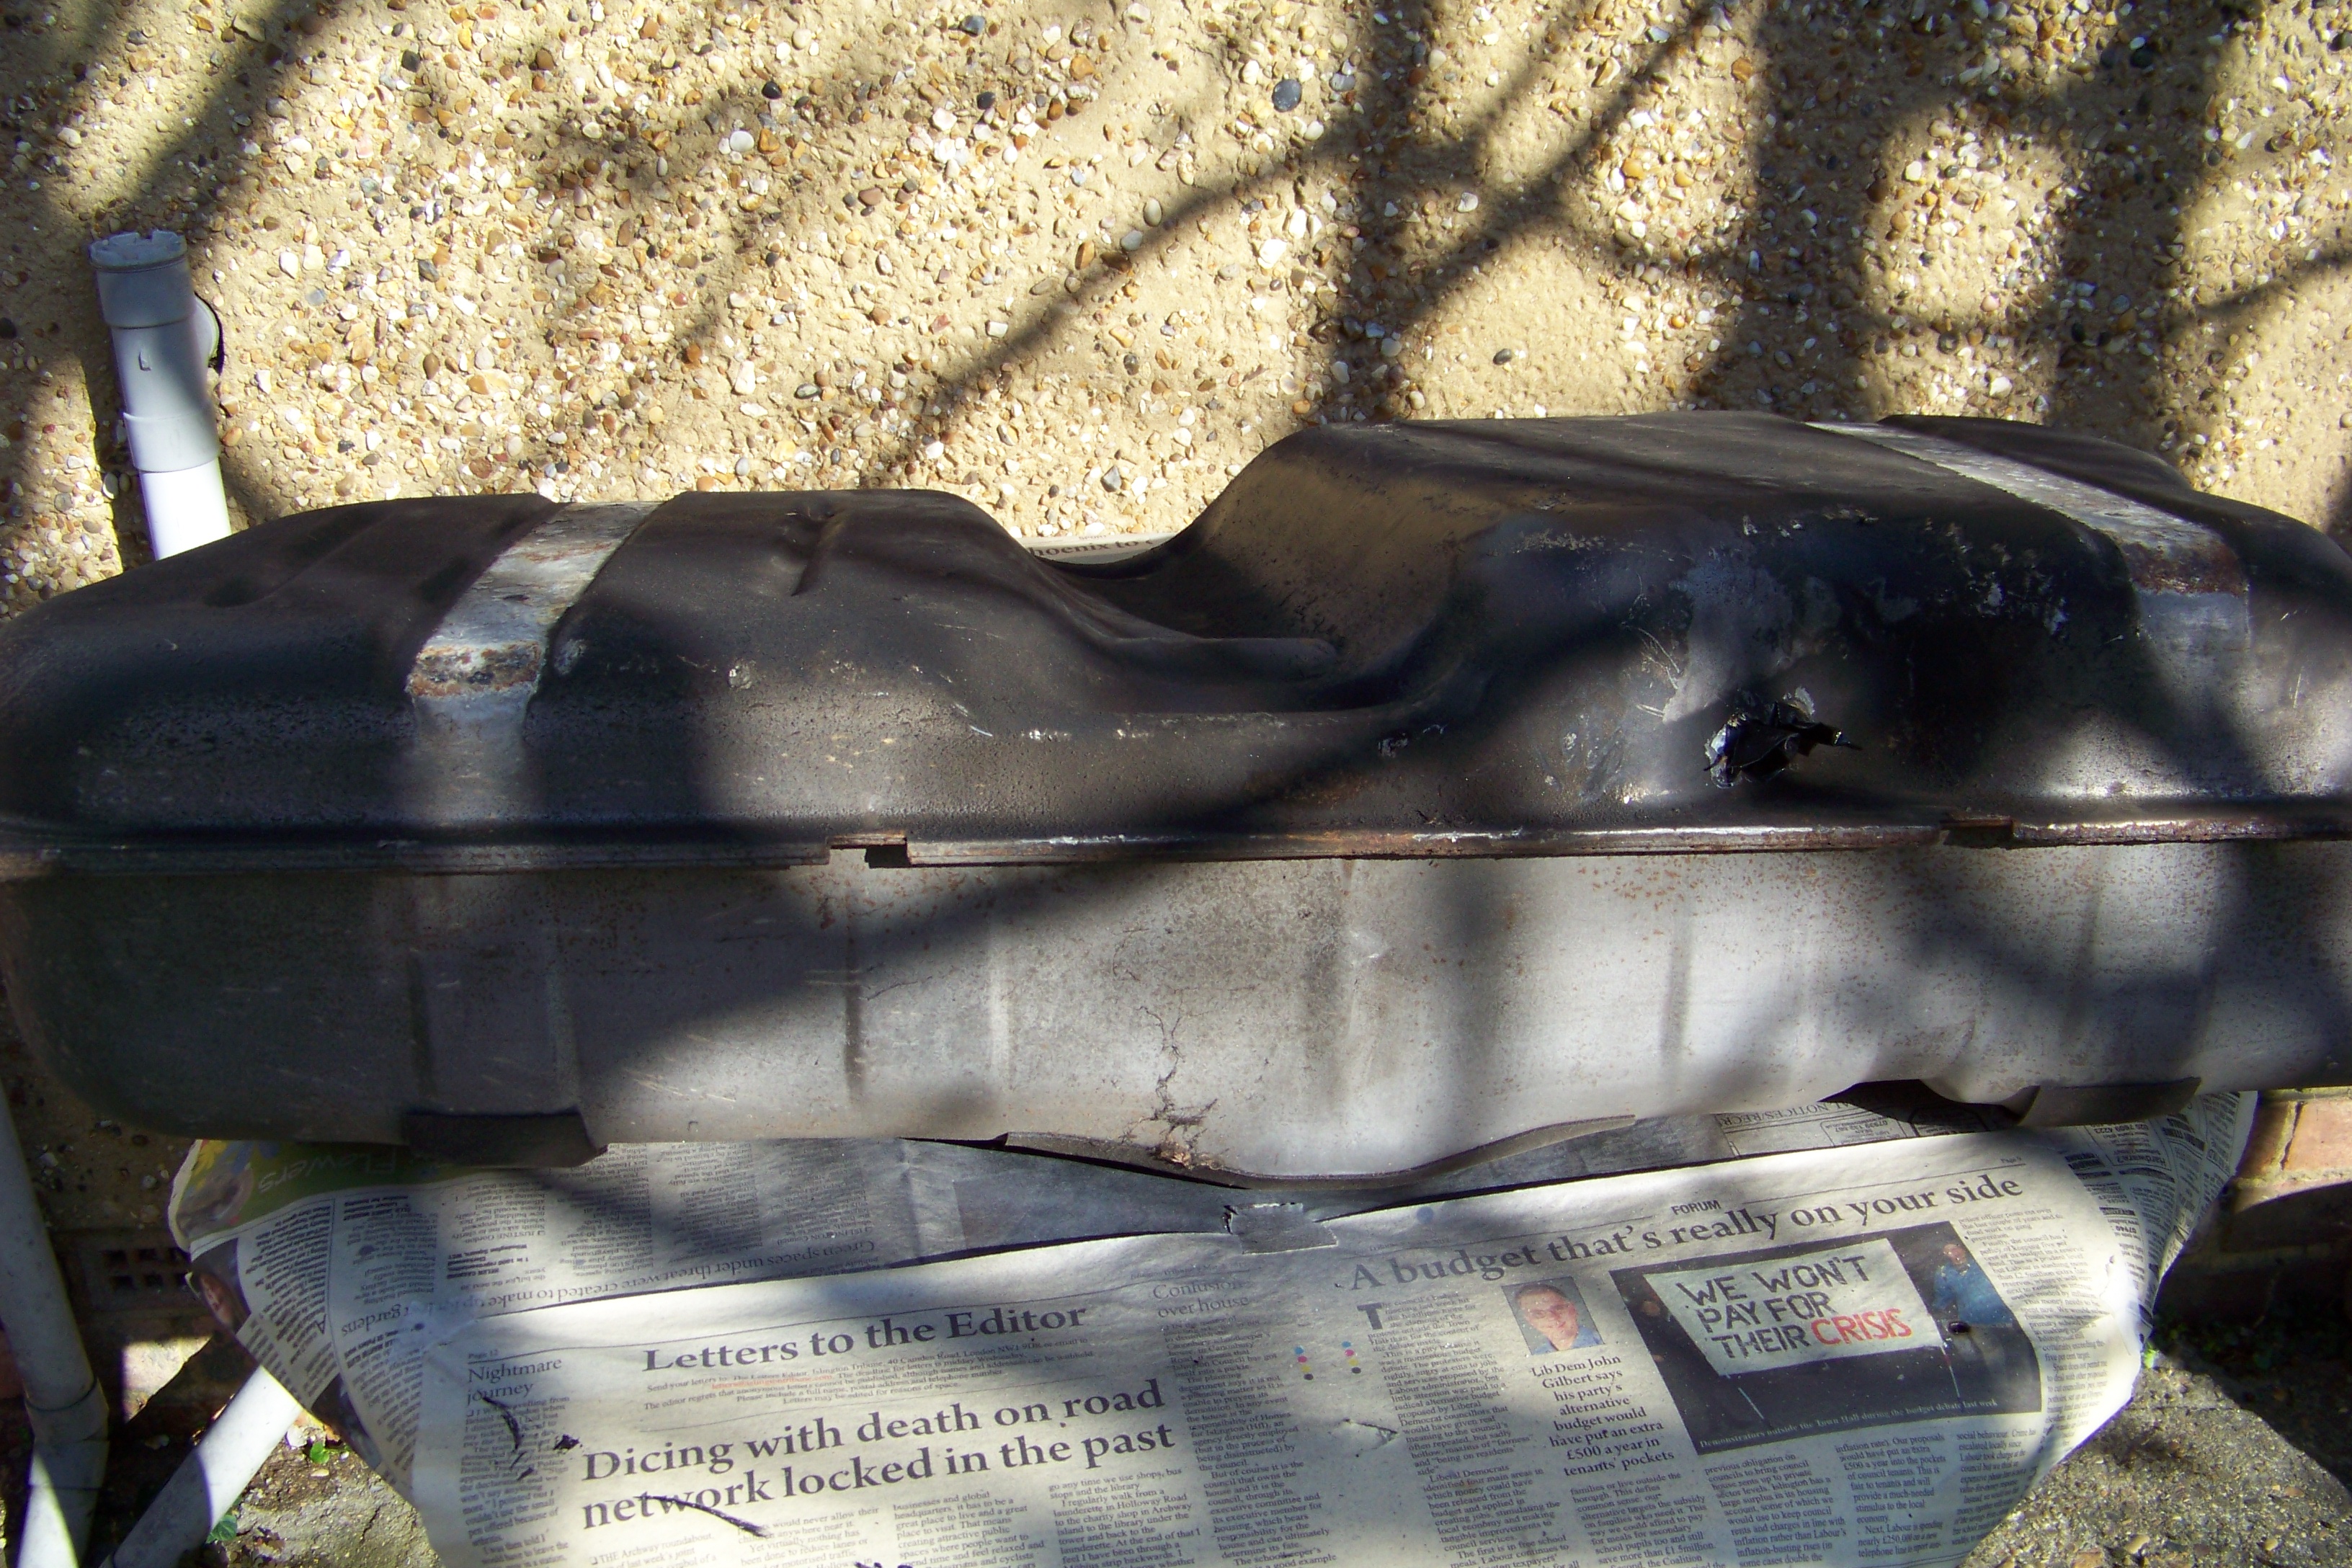
Next came tackling the tank. Here's how it came out.
This of course is the side which faces the road. The other side was clean a few little areas of corrosion but again everything else was solid. Plenty of Mr. Muscle Oven Cleaner and the trusty drill and wire brush attachment made shifting the crud was easy.
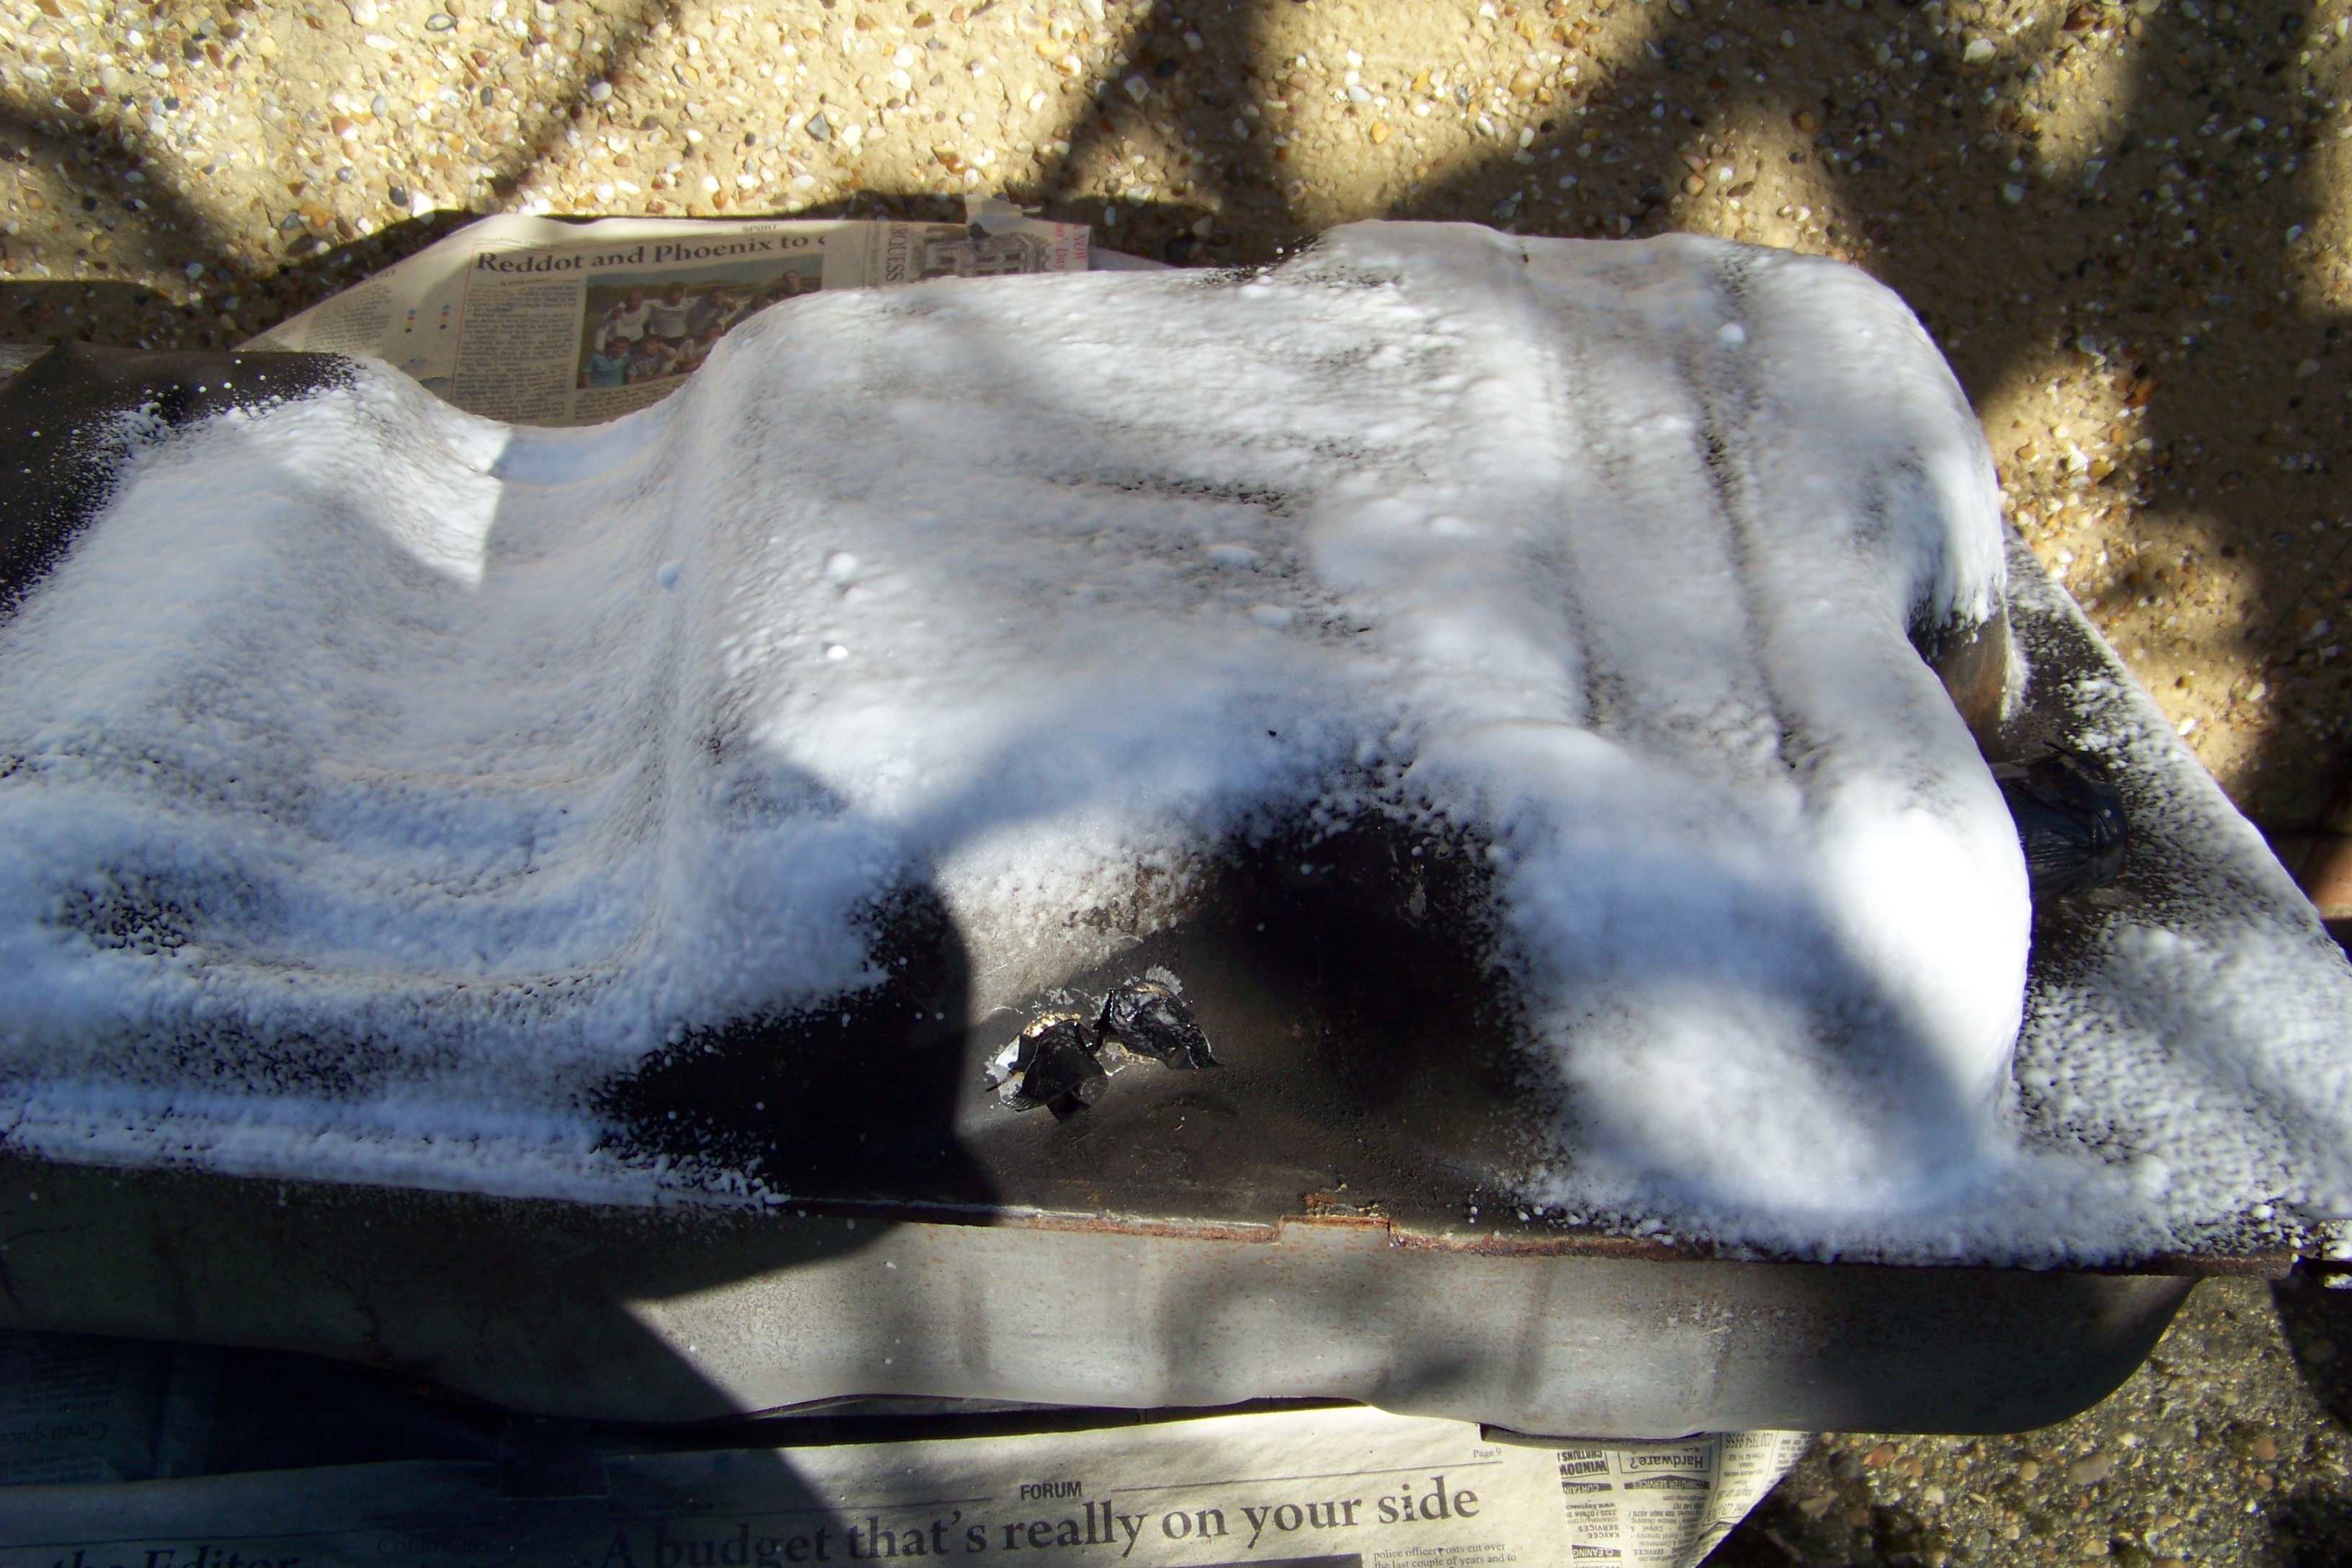
Letting Mr. Muscle do the job I hate
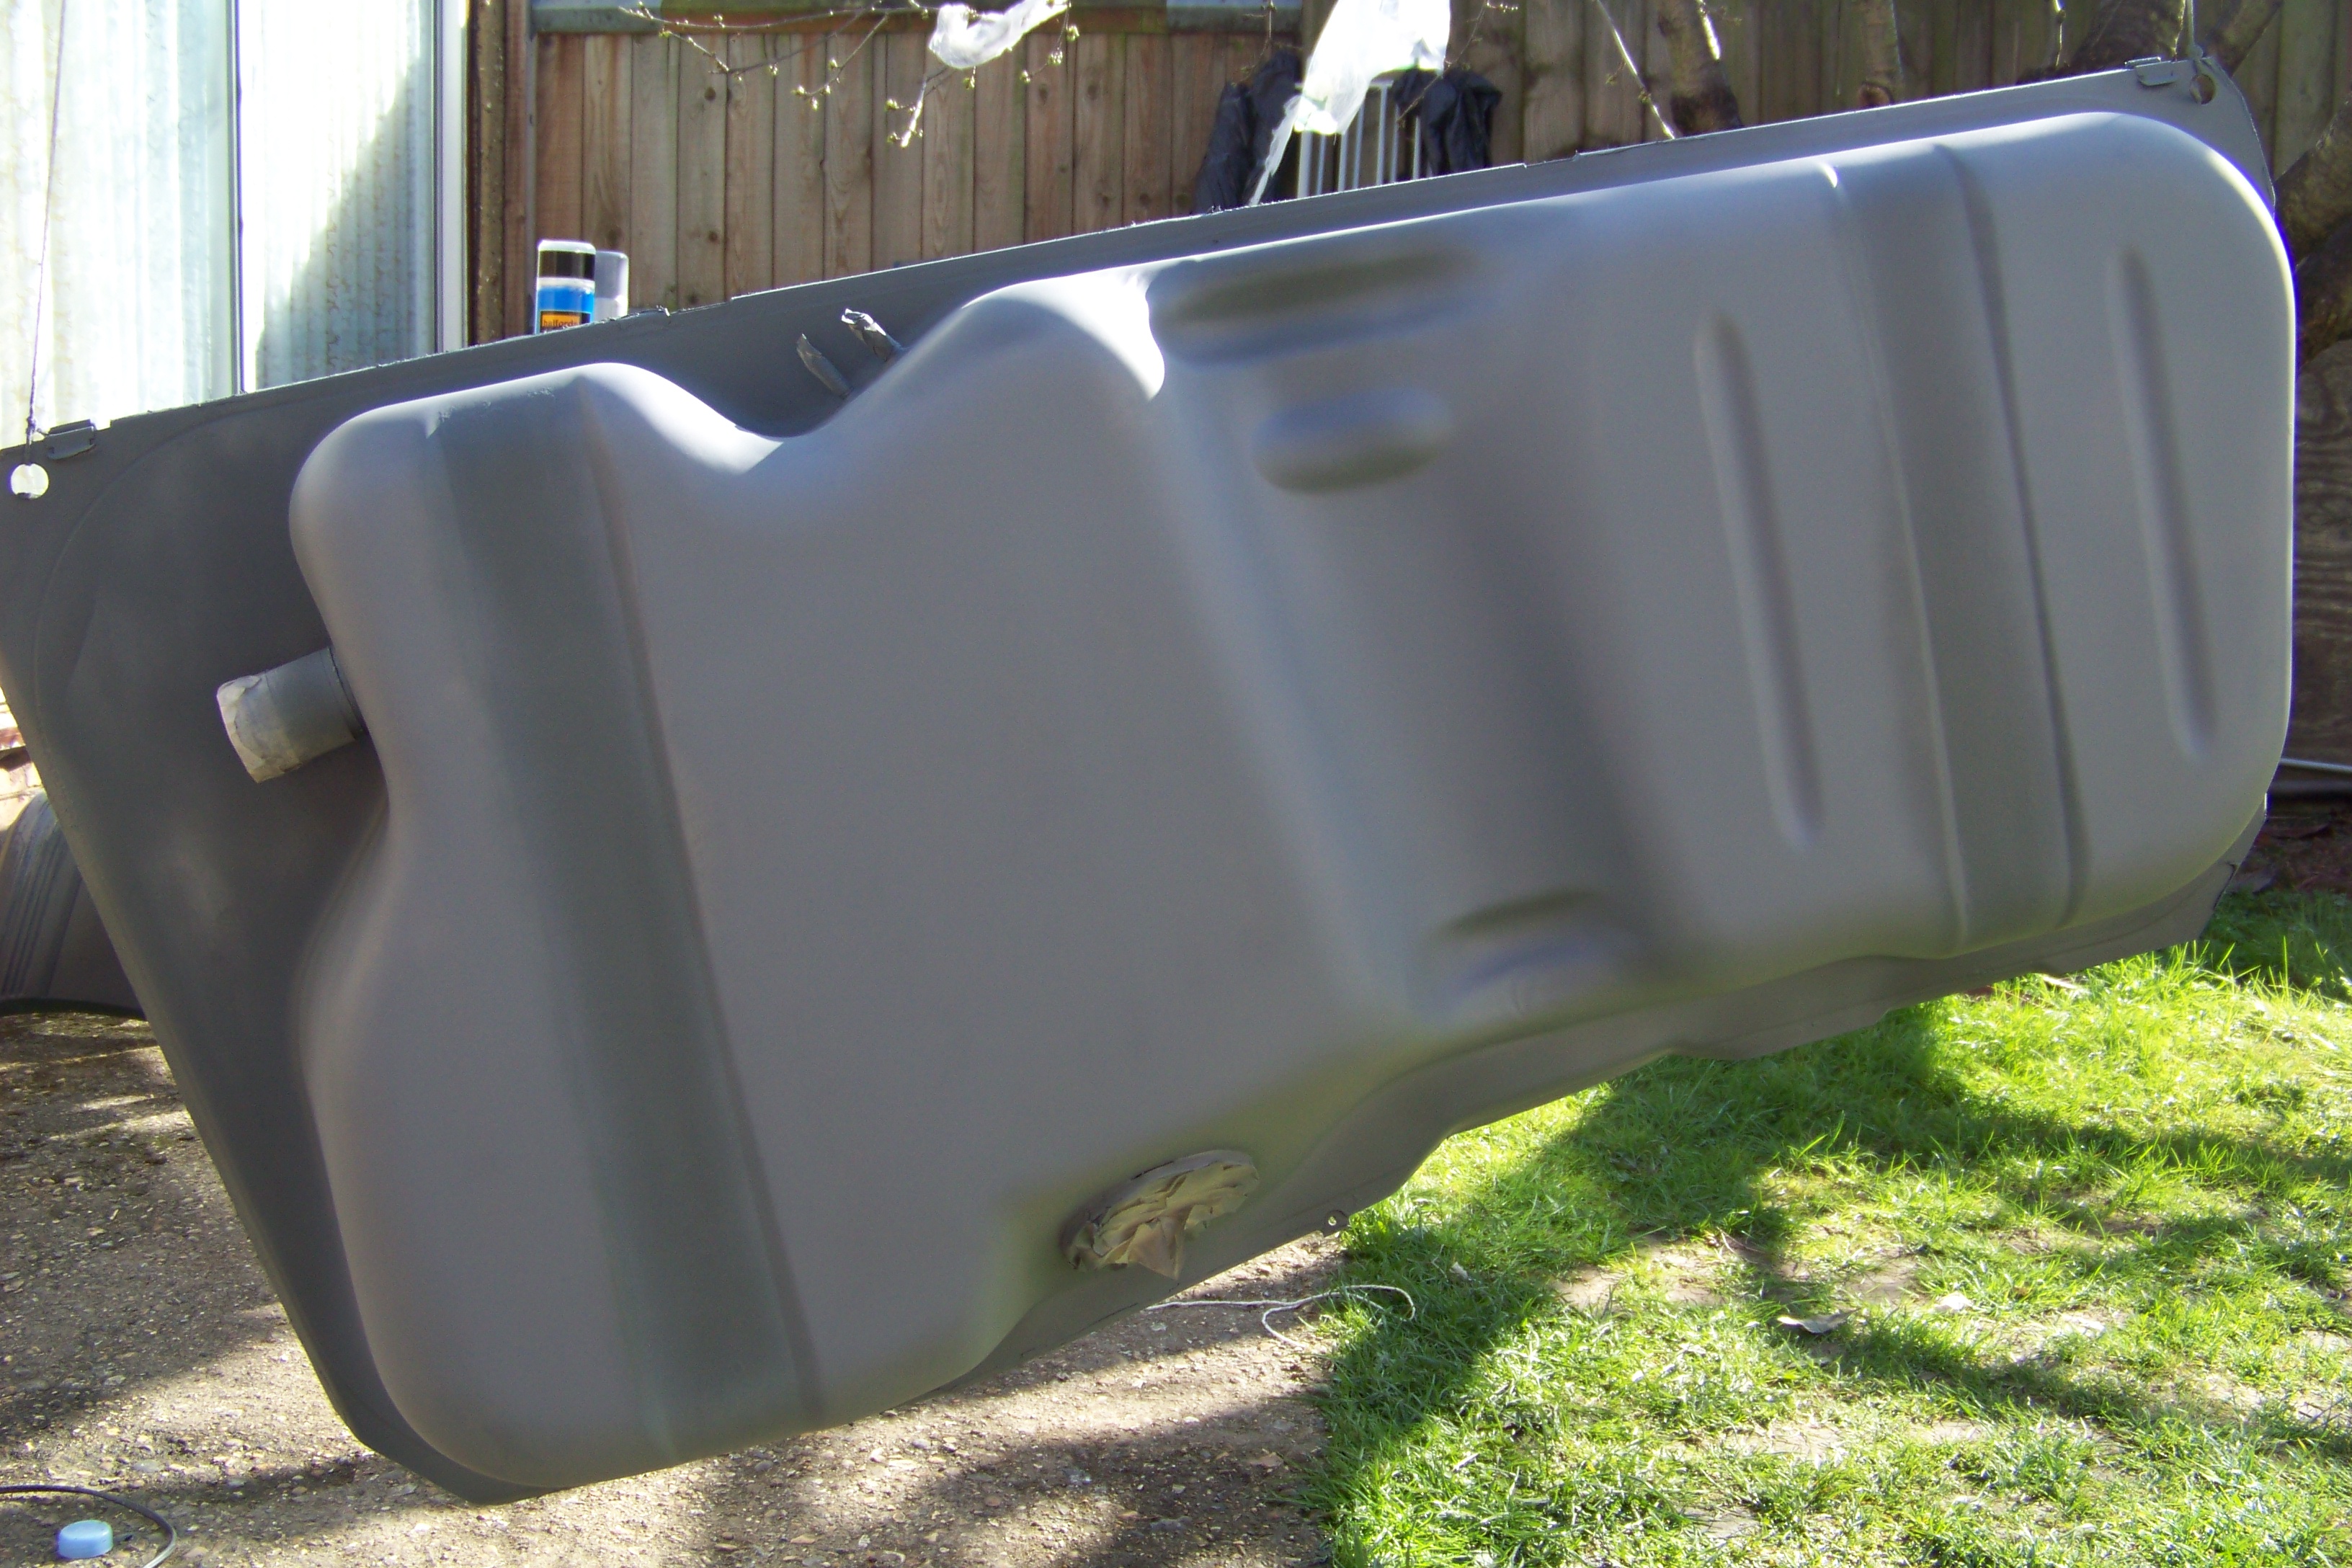
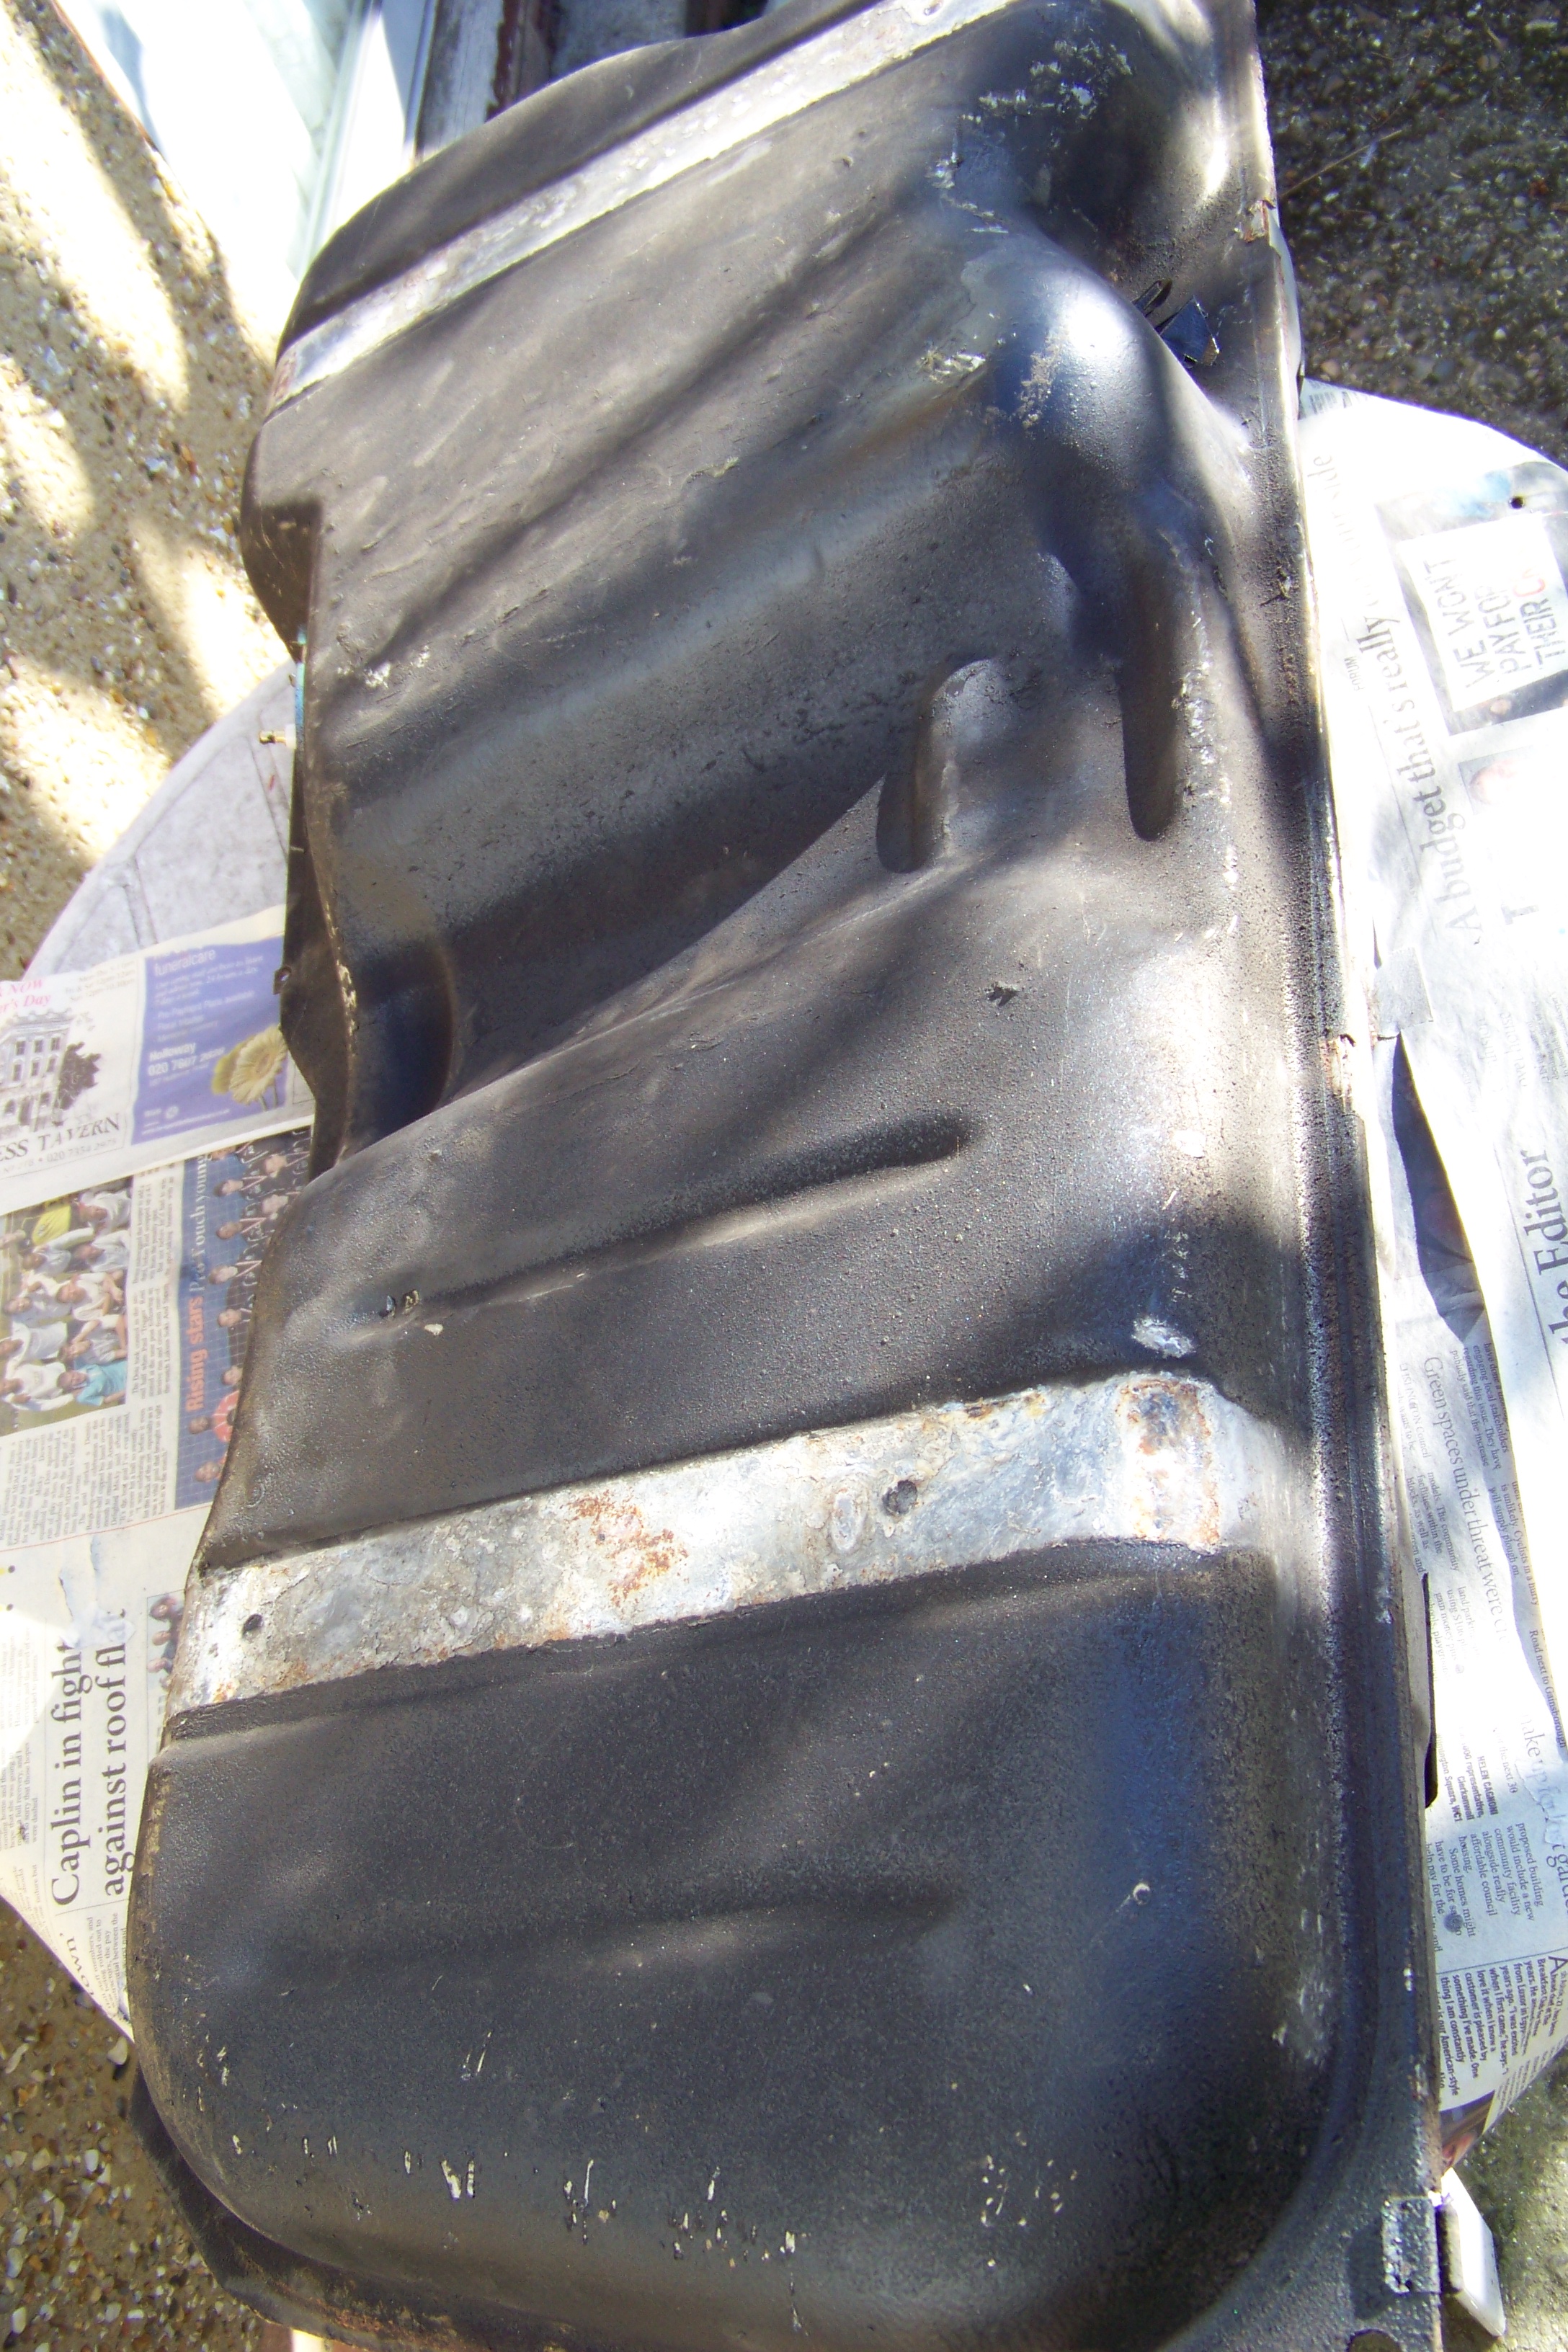
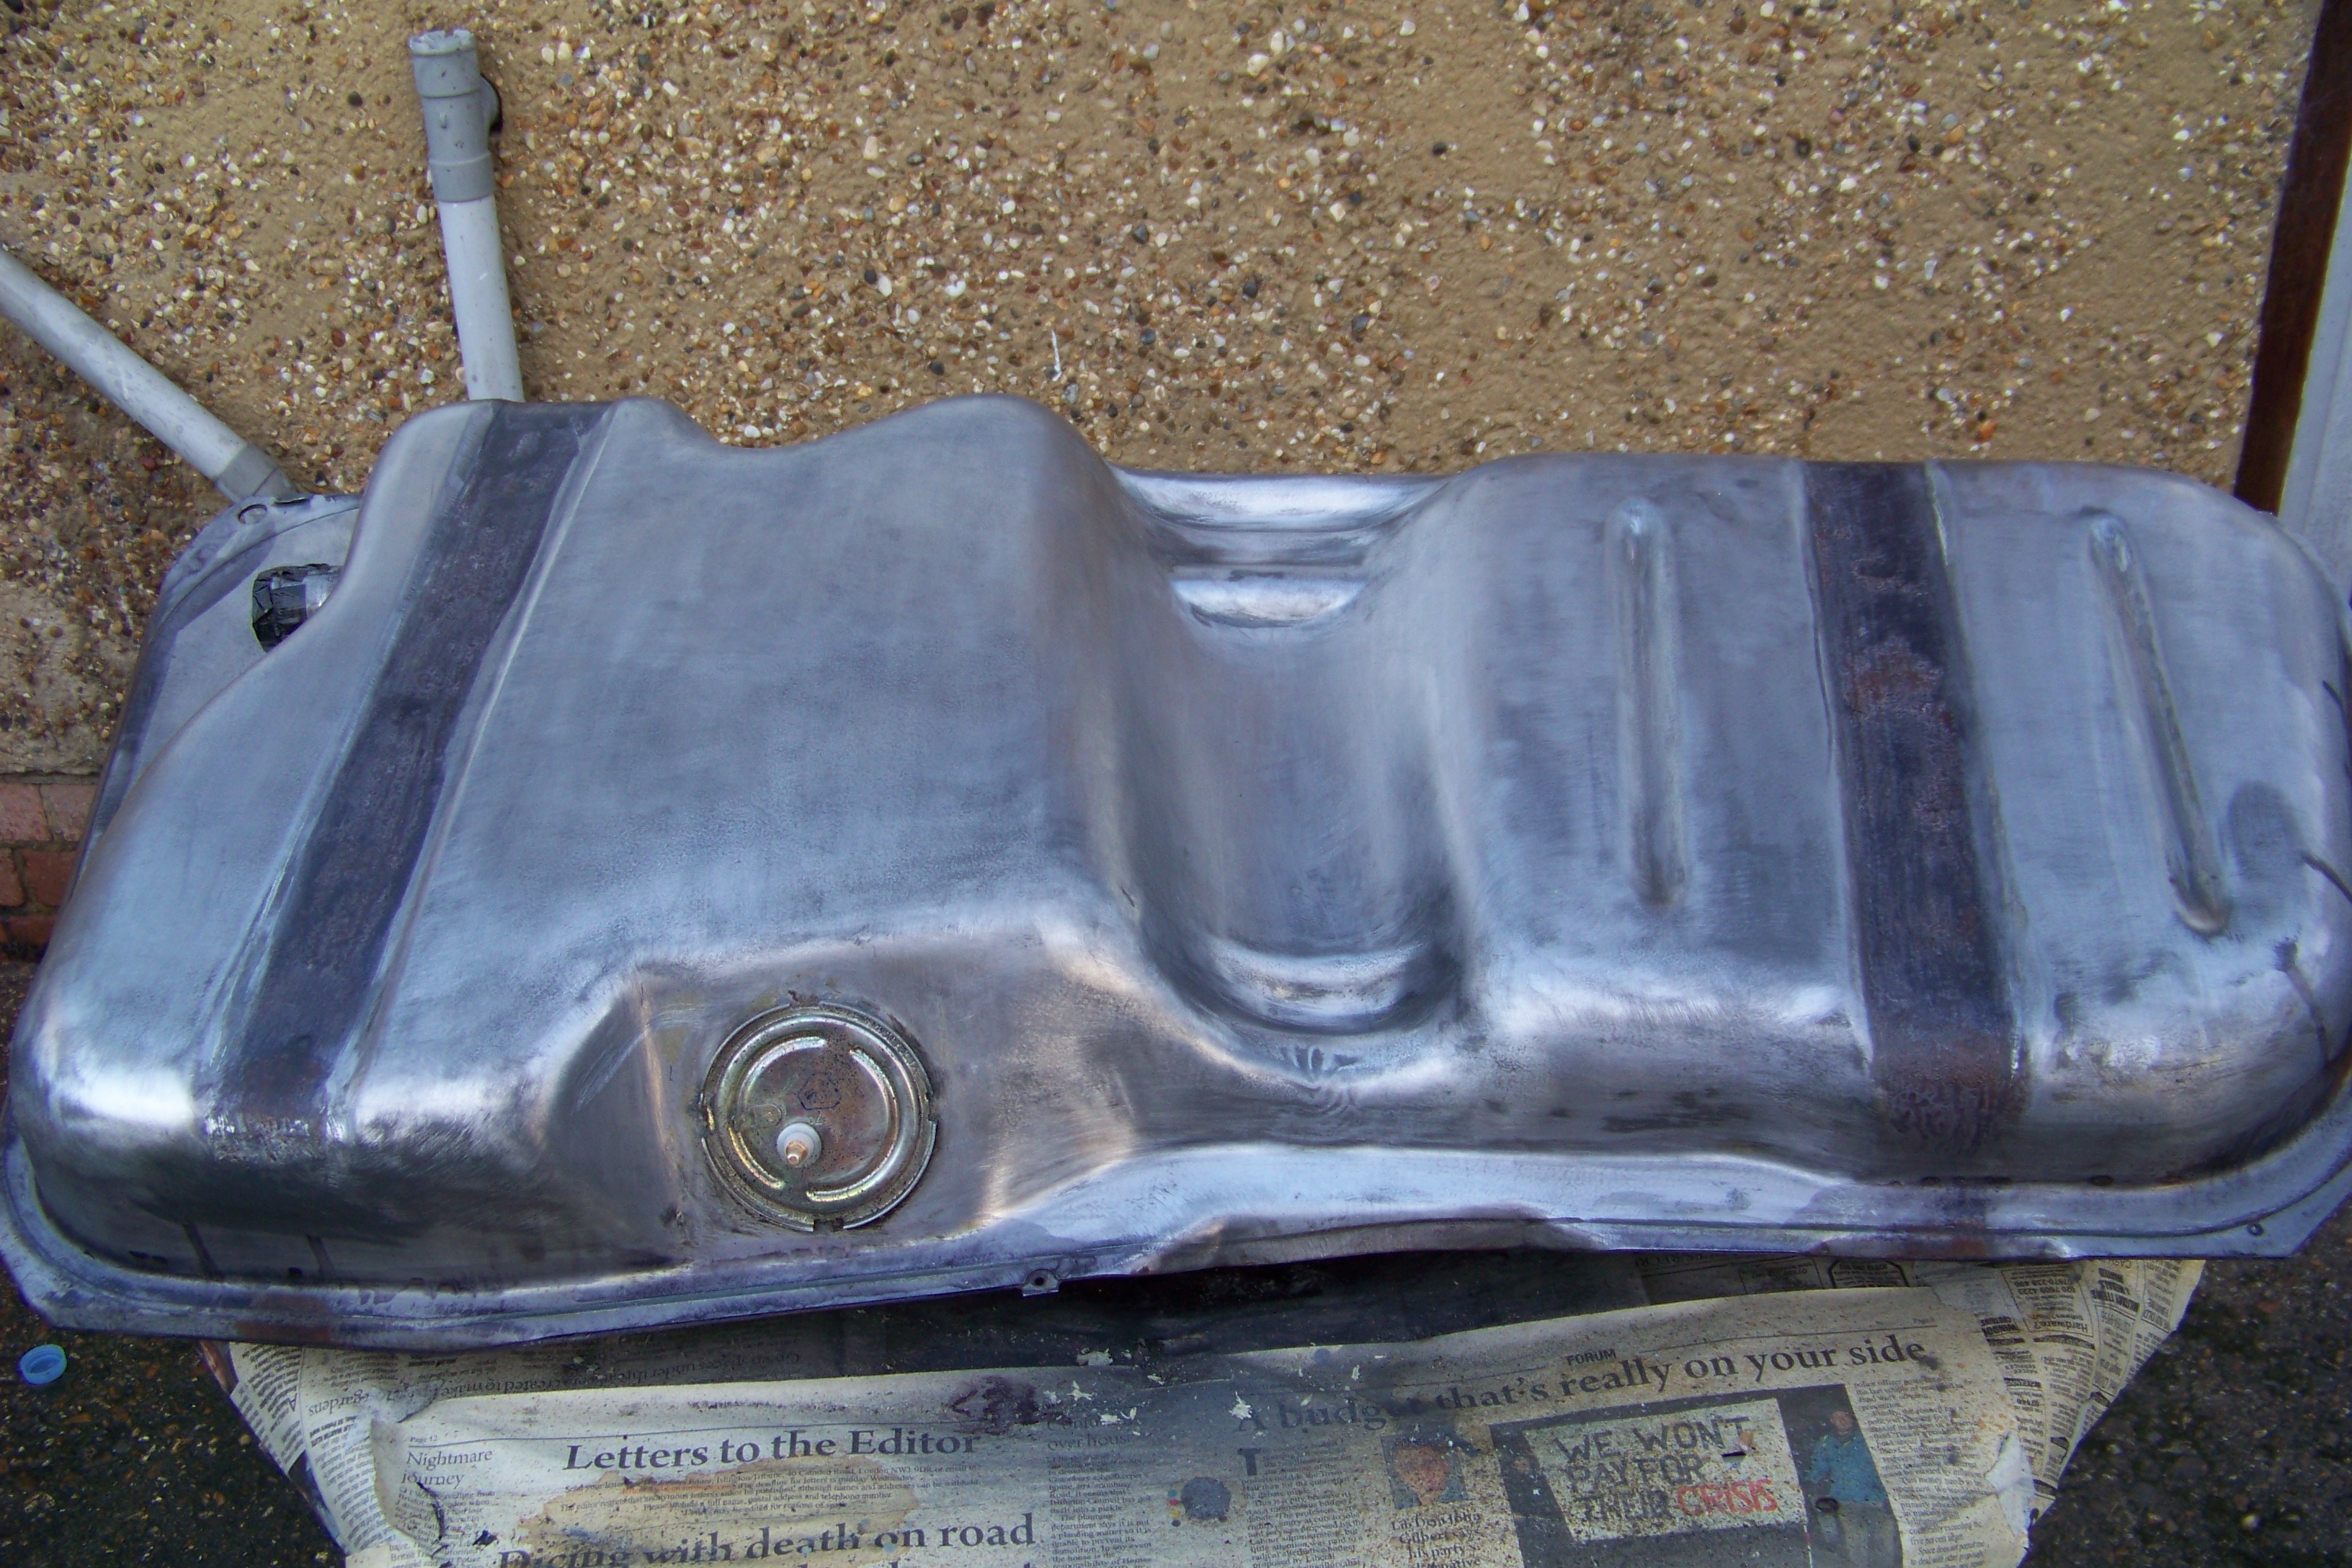
Had to go over a few times to remove the waxoil type protection on the tank but it eventually came out. Then went over it with some 240 grit wet n dry and get it all evenly flat and then put some final rust remedy to the affected areas.
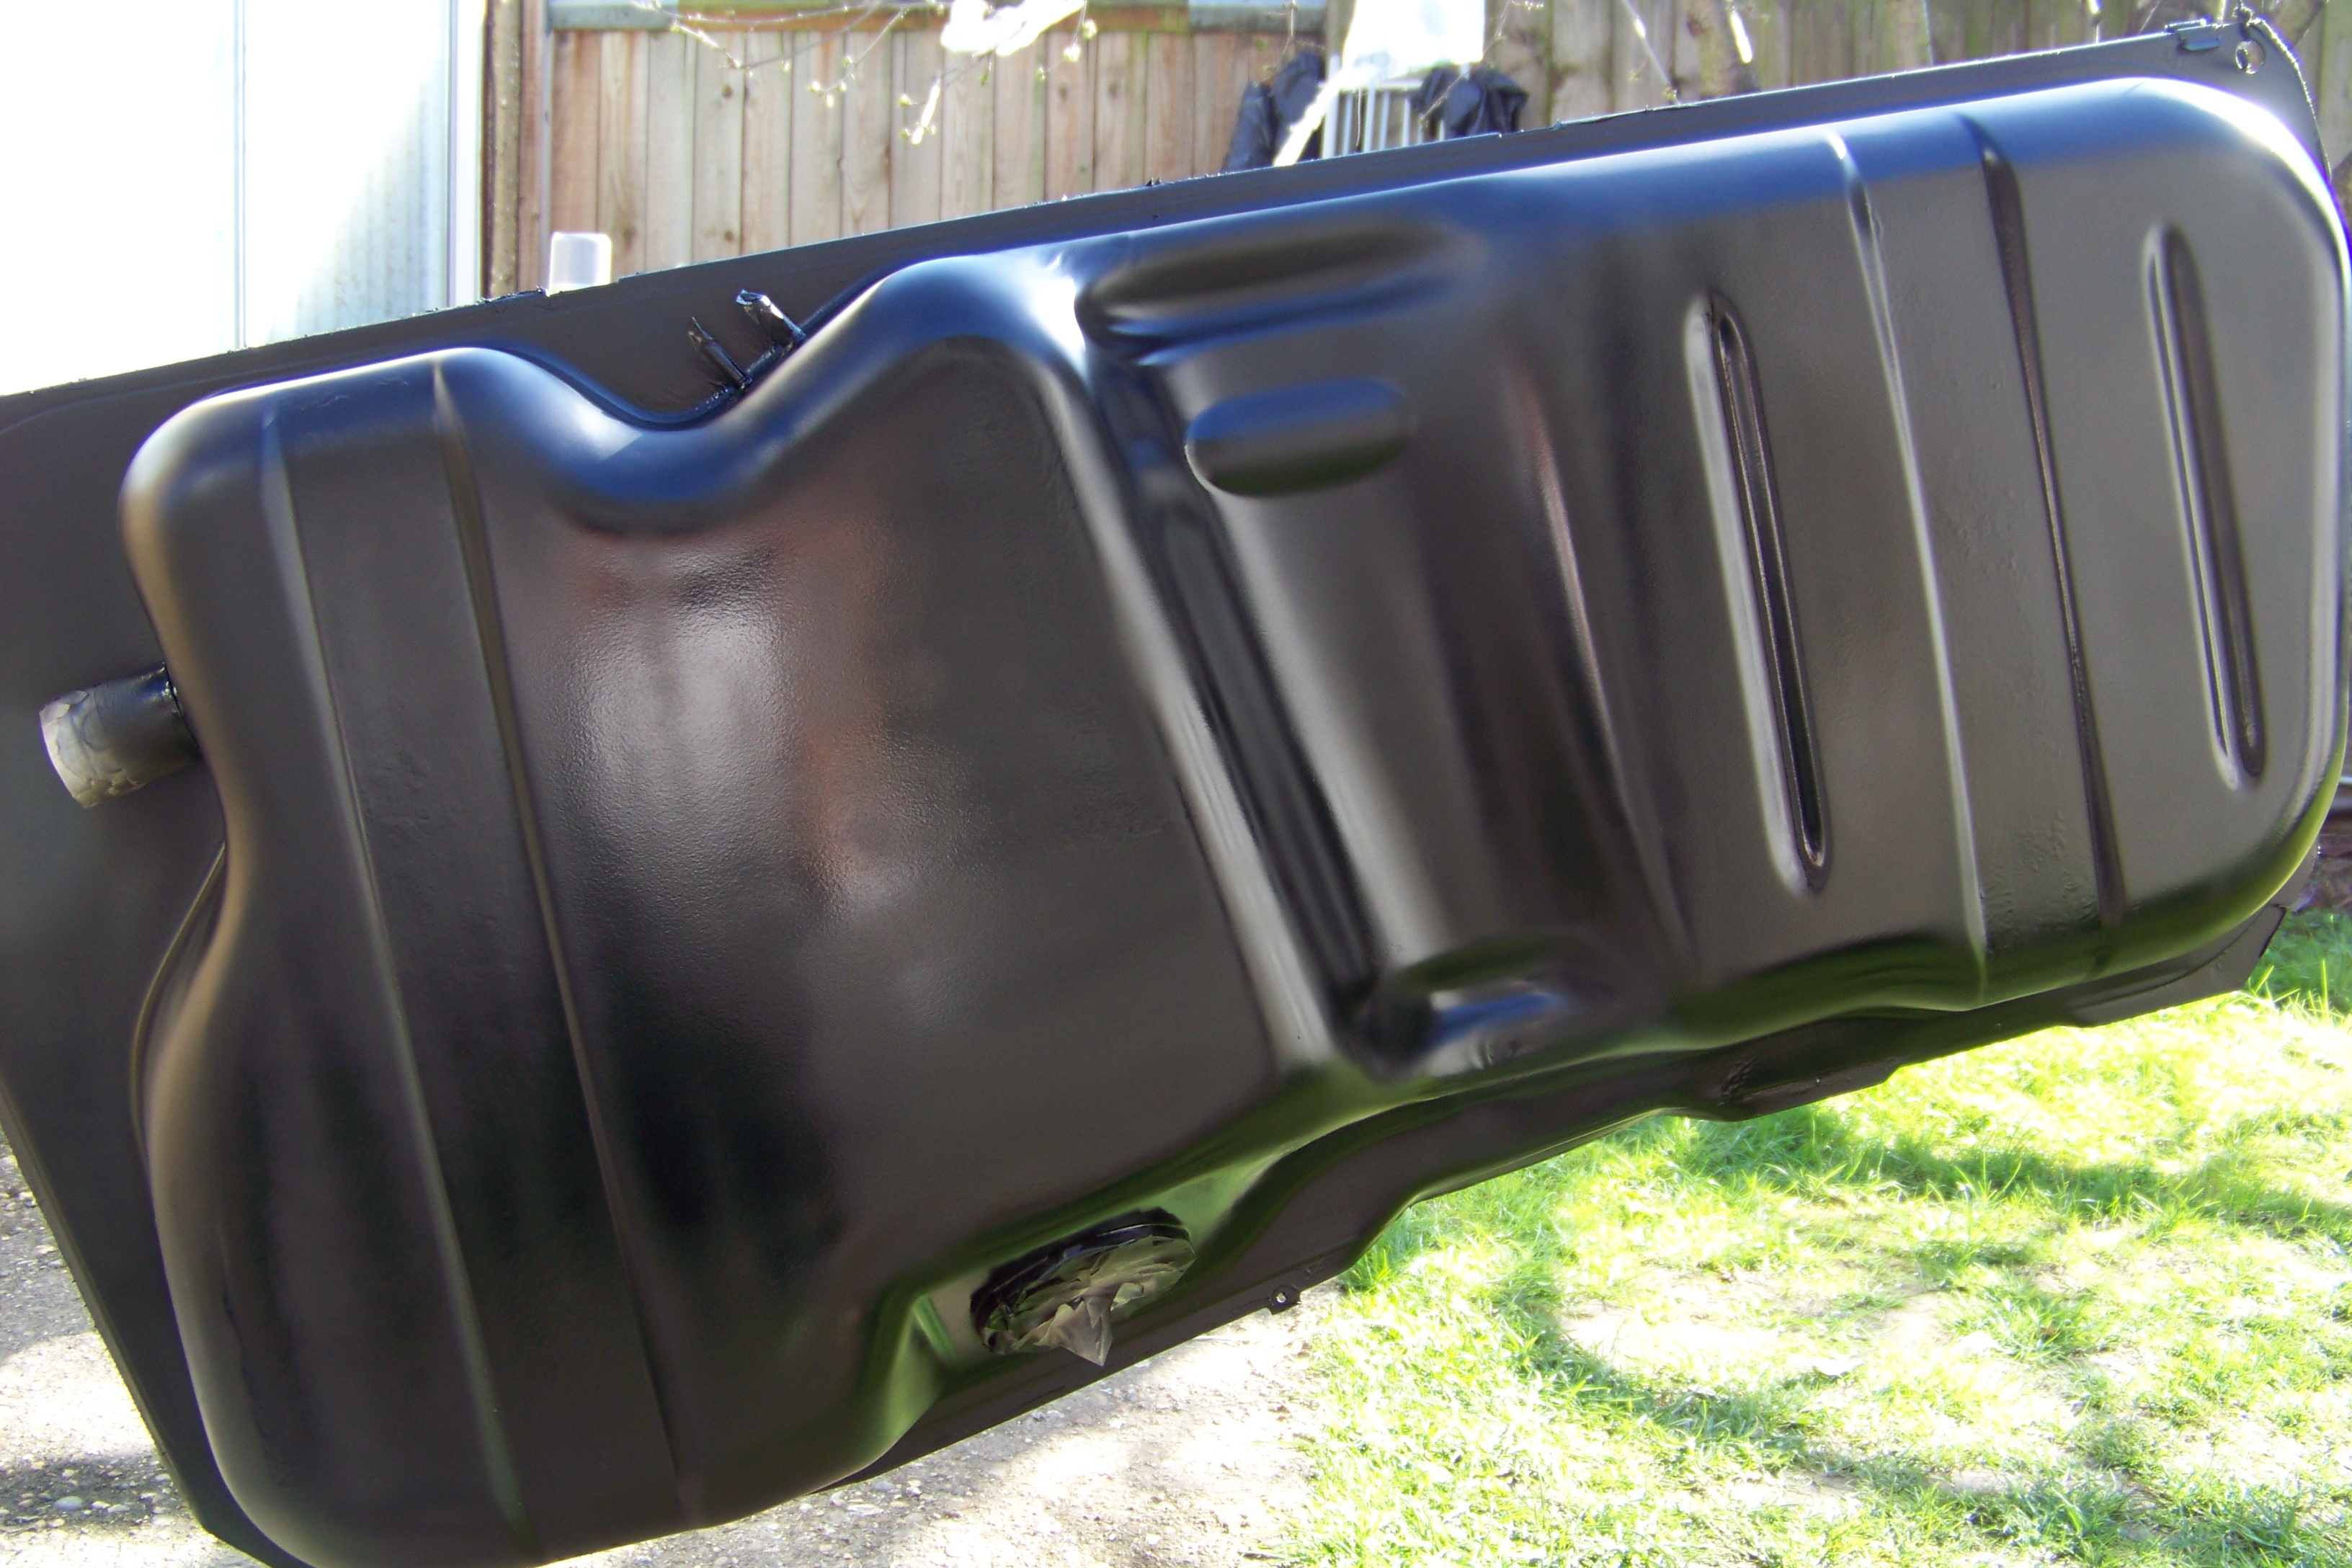
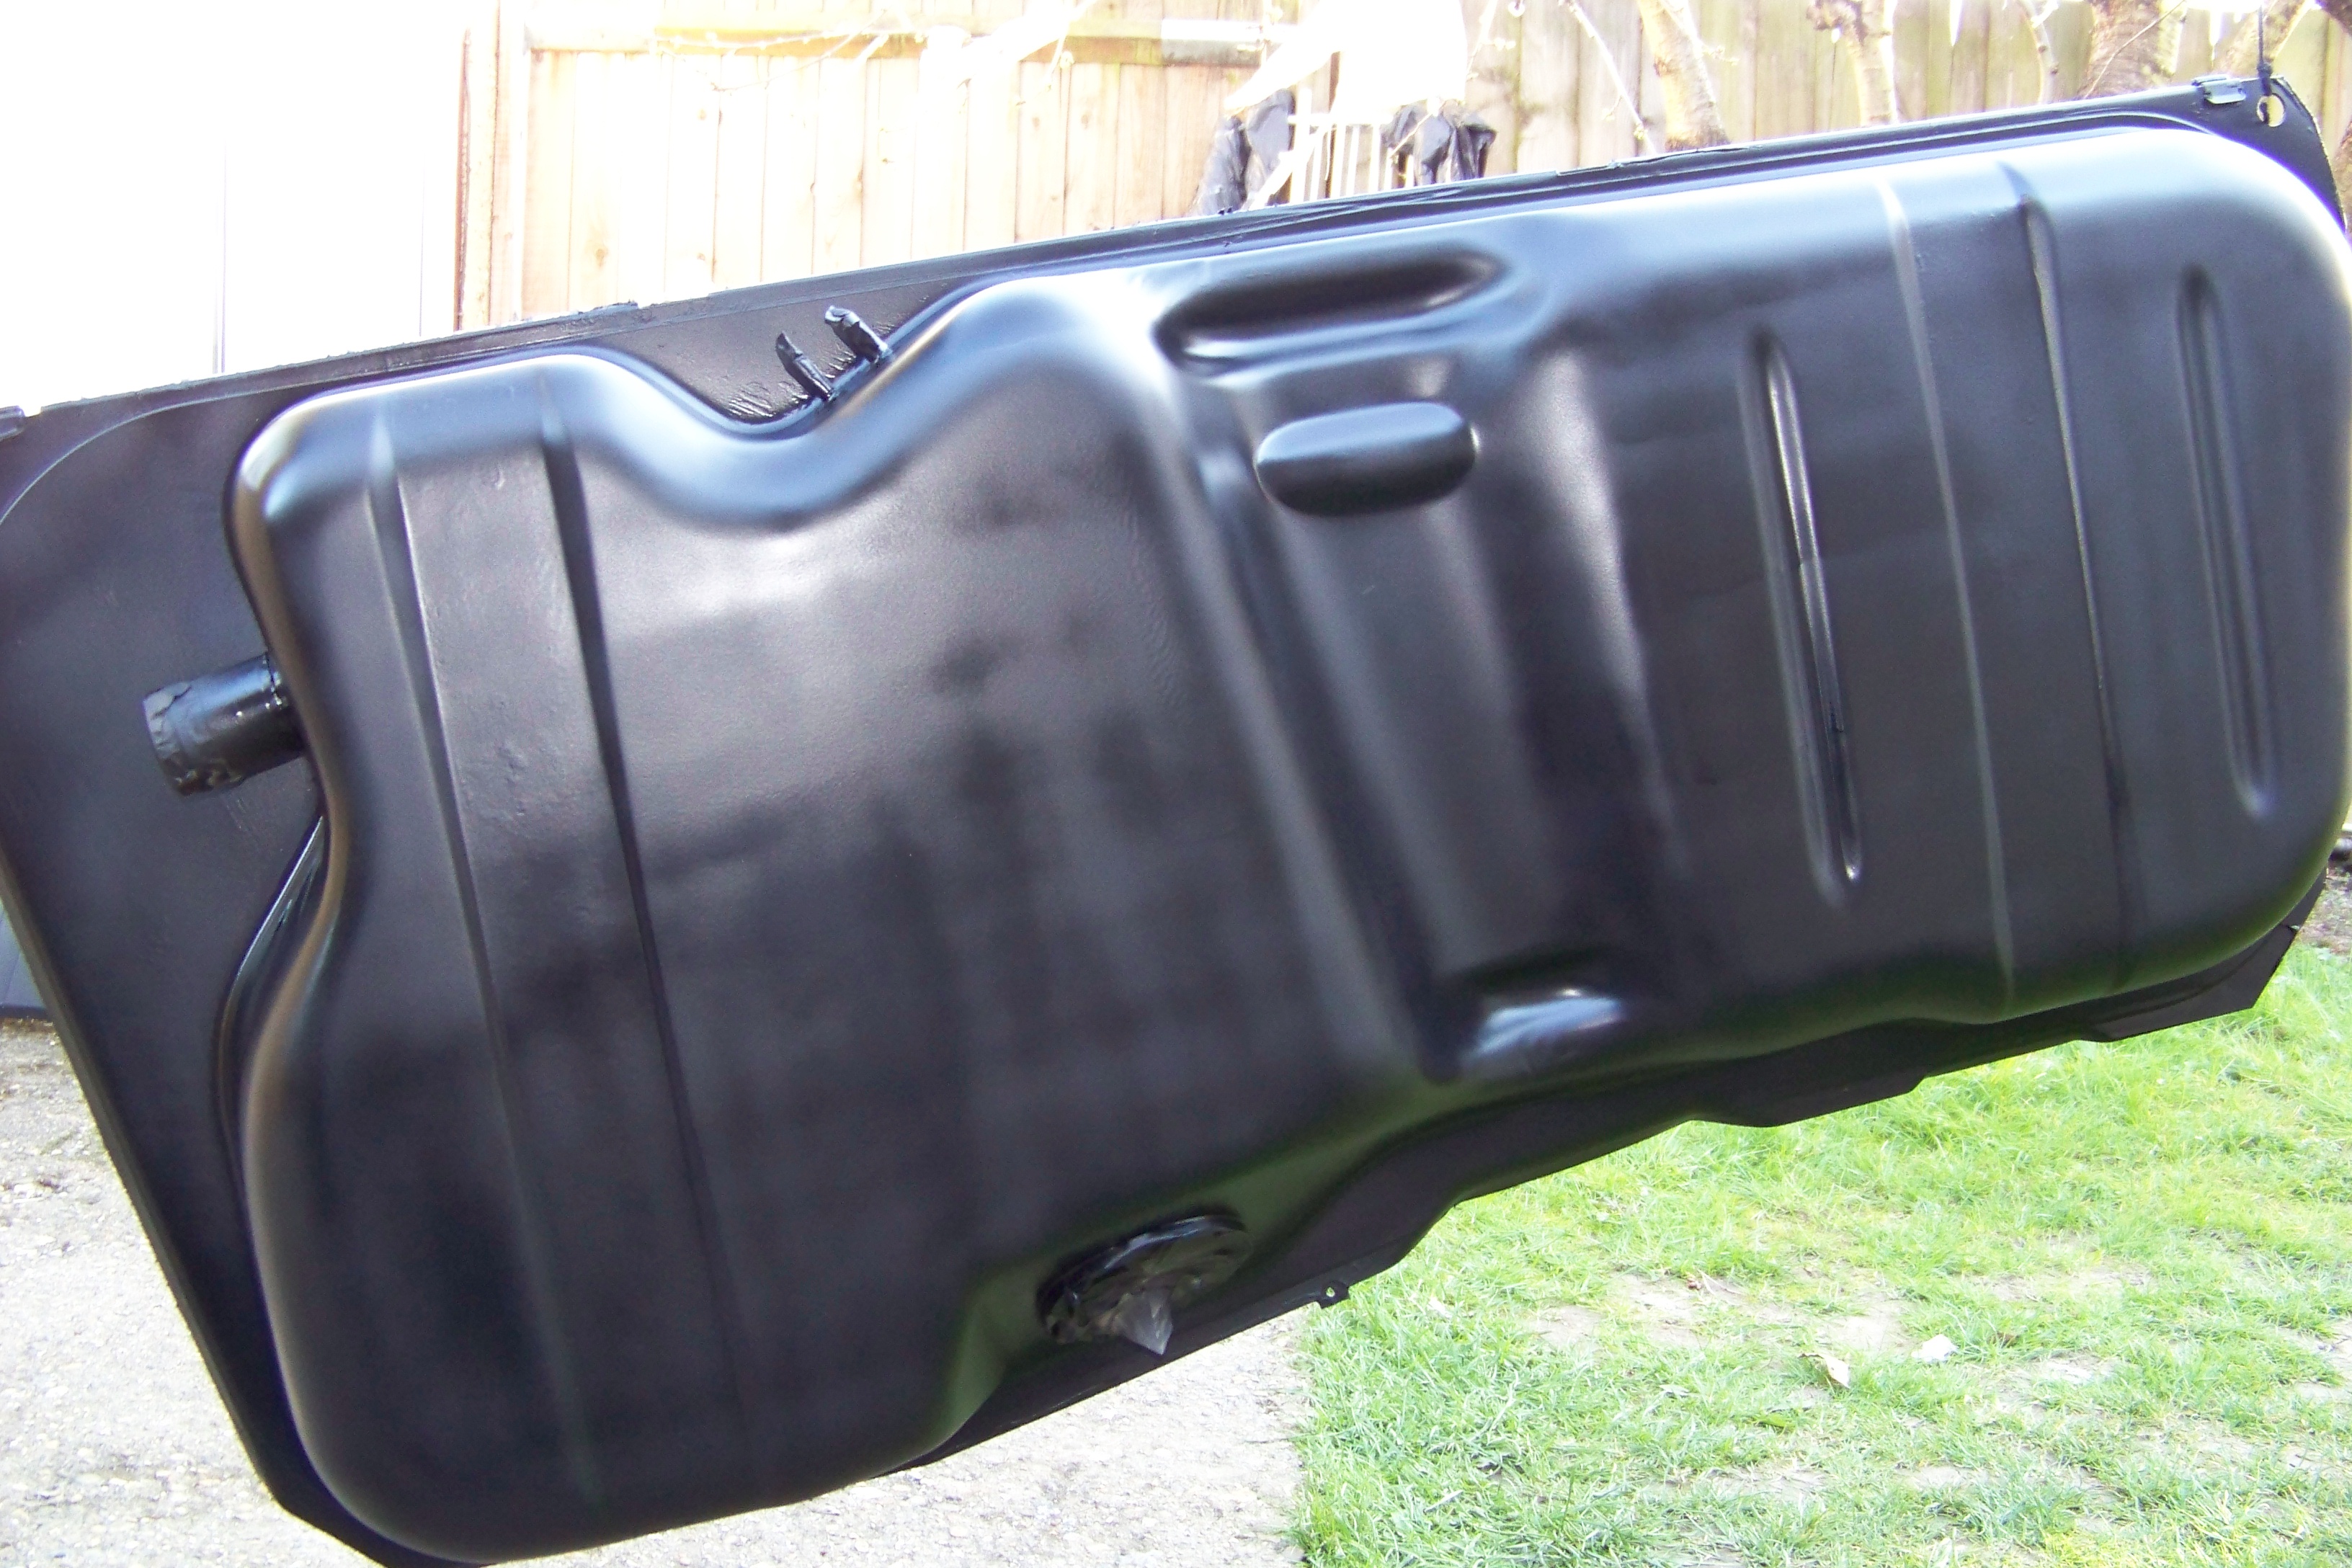
I also seam sealed the joins of the tank to stop any moisture working away at it.
Then it got dark... Was at it since 12pm! Tomorrow will see the tank get primer and a coating. I've opted to go for Enamel black as it's hard wearing, easily wiped and easy to re-coat should I need to in the future.
I need a drink!

 Reply With Quote