Page 83 of 111 FirstFirst ... 3373818283848593 ... LastLast
Results 821 to 830 of 1105

Thread: Project: Gold Snowplough Turbo

  1. #821
    Gold Club Member# 001 Club Member Nova_Tek's Avatar
    Join Date
    Jul 2002
    Location
    Hertfordshire..... Builds: ......... Snowplough'd LET
    Posts
    8,107
    Post Thanks / Like
    Mentioned
    0 Post(s)
    Tagged
    0 Thread(s)

    Default

    UPDATE

    Great news... finally got the pump cradle assembly :D I got an ebay message from the actual account holder apologising that the item hadn't been dealt with as her son was the one using her account and selling the bit. She, apparently, had strong words with him and she posted the bits out immediately
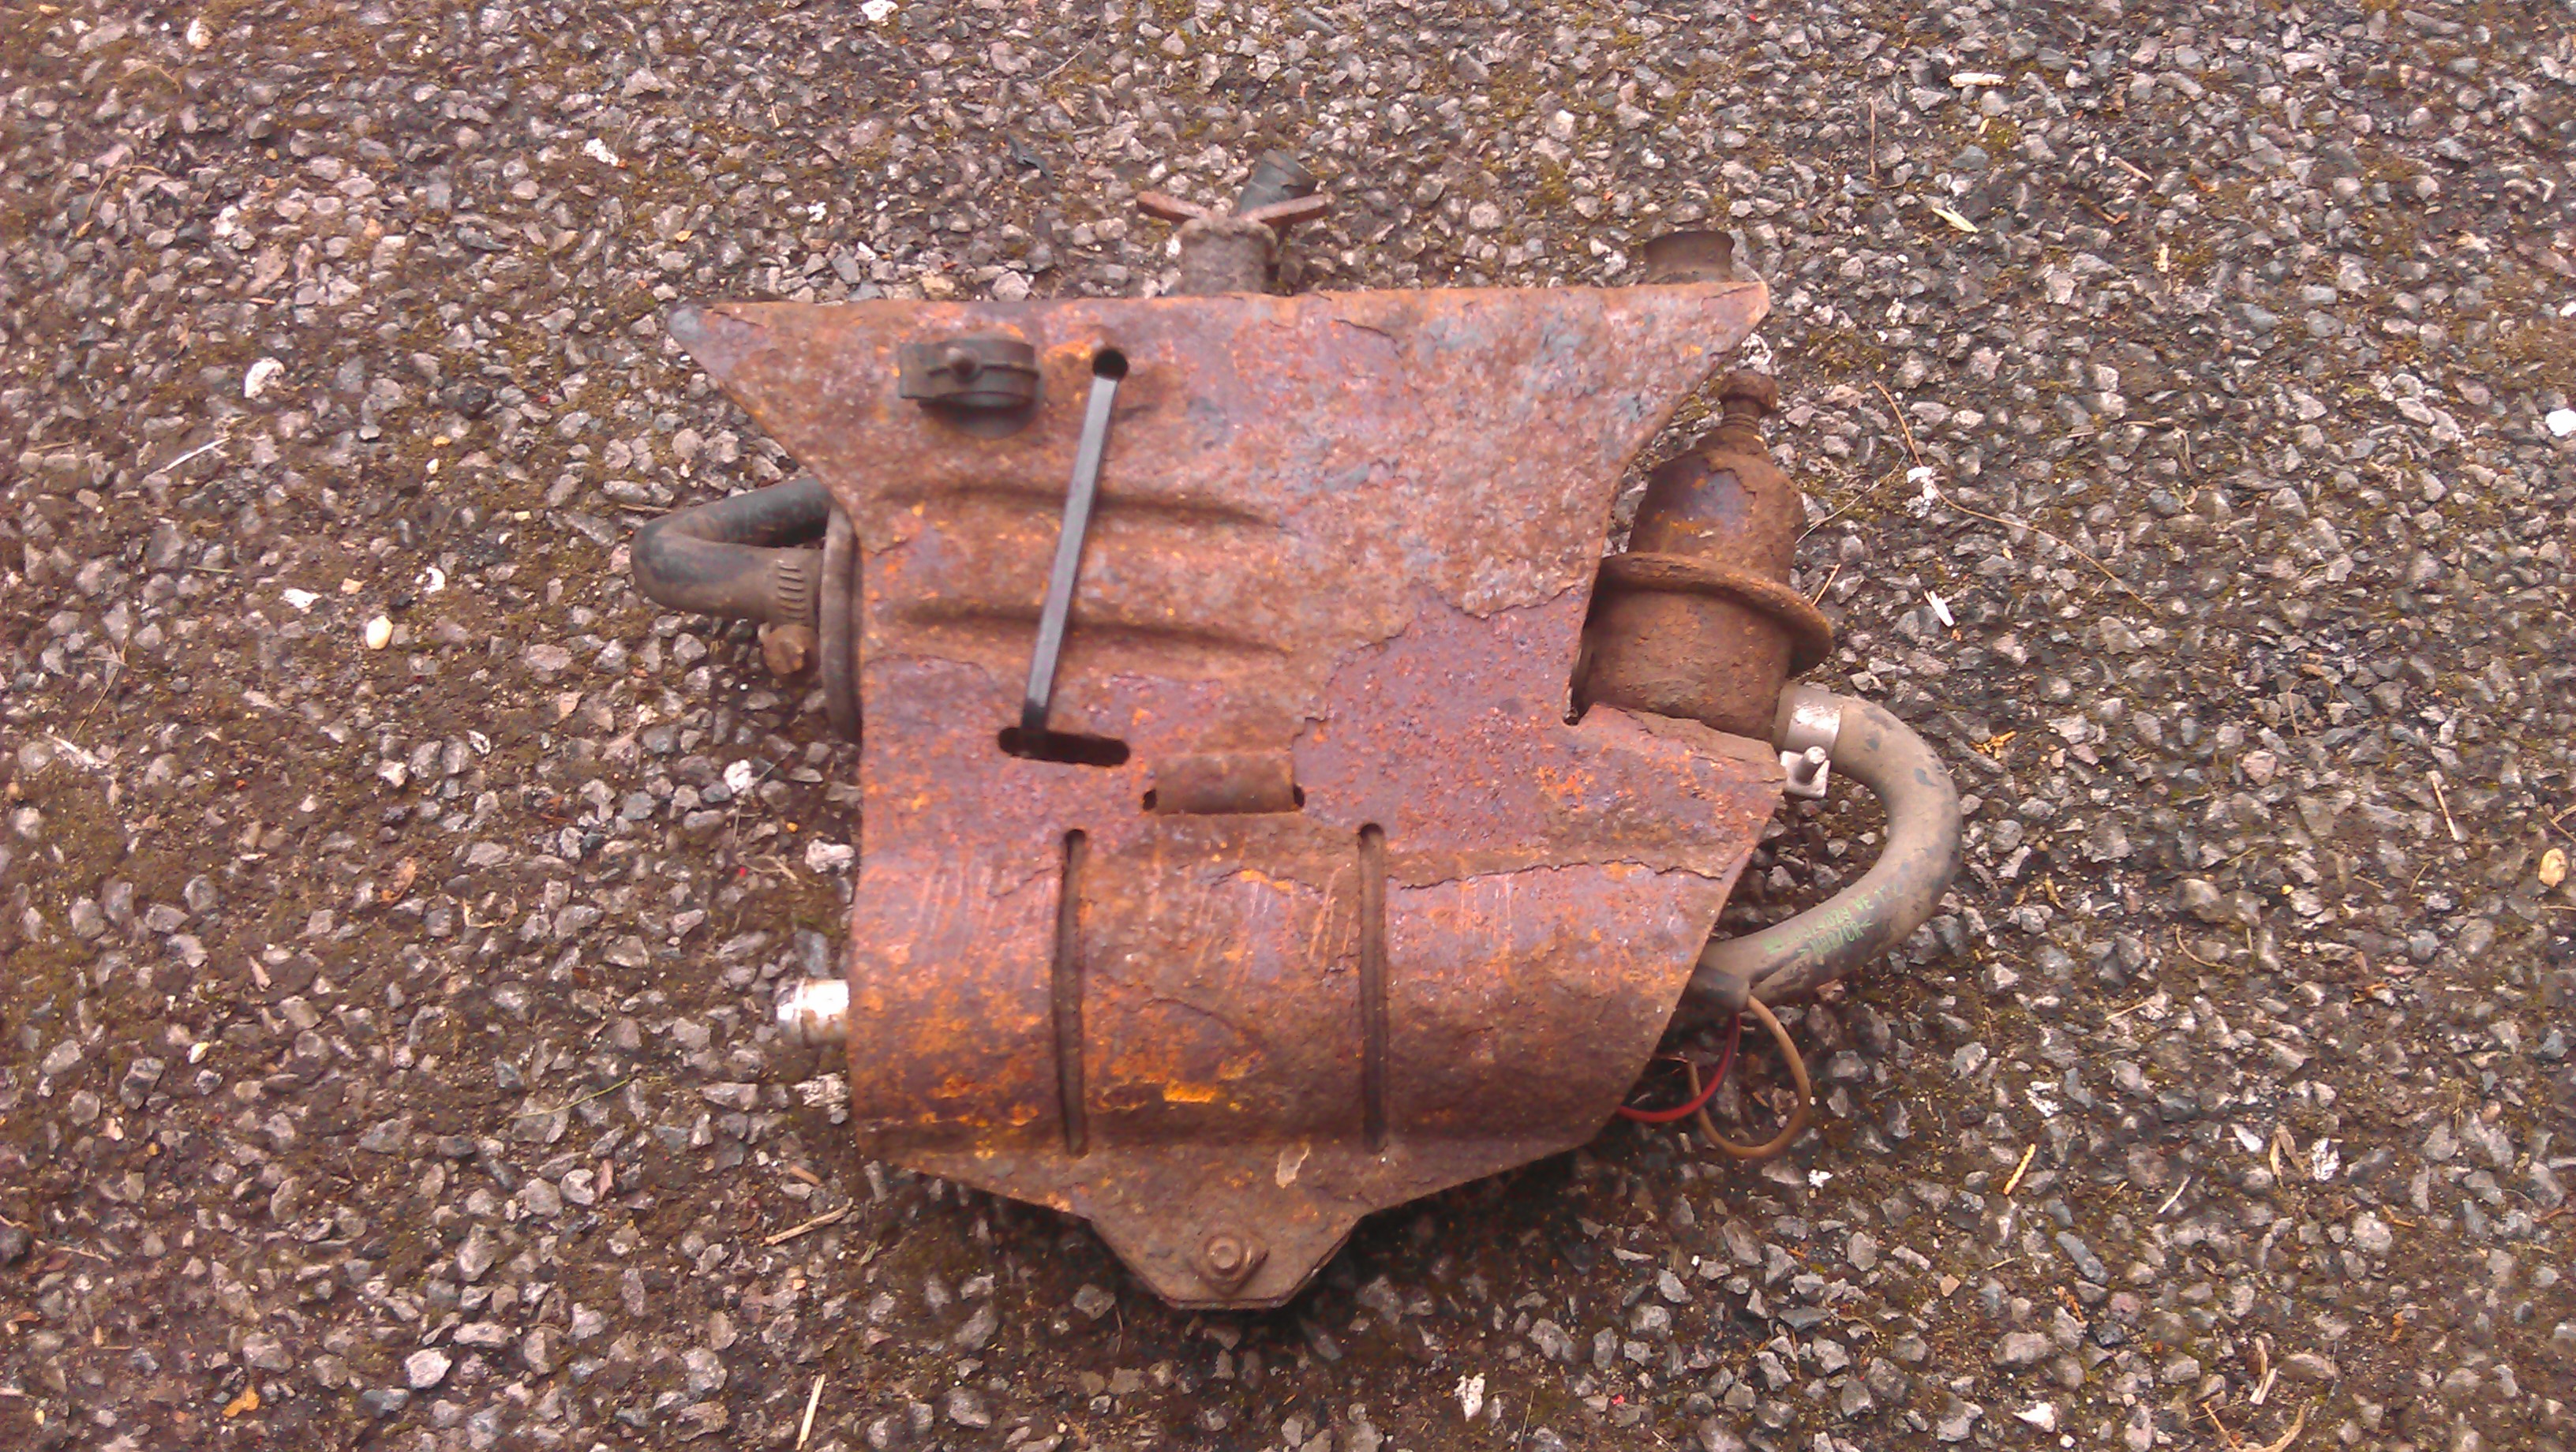
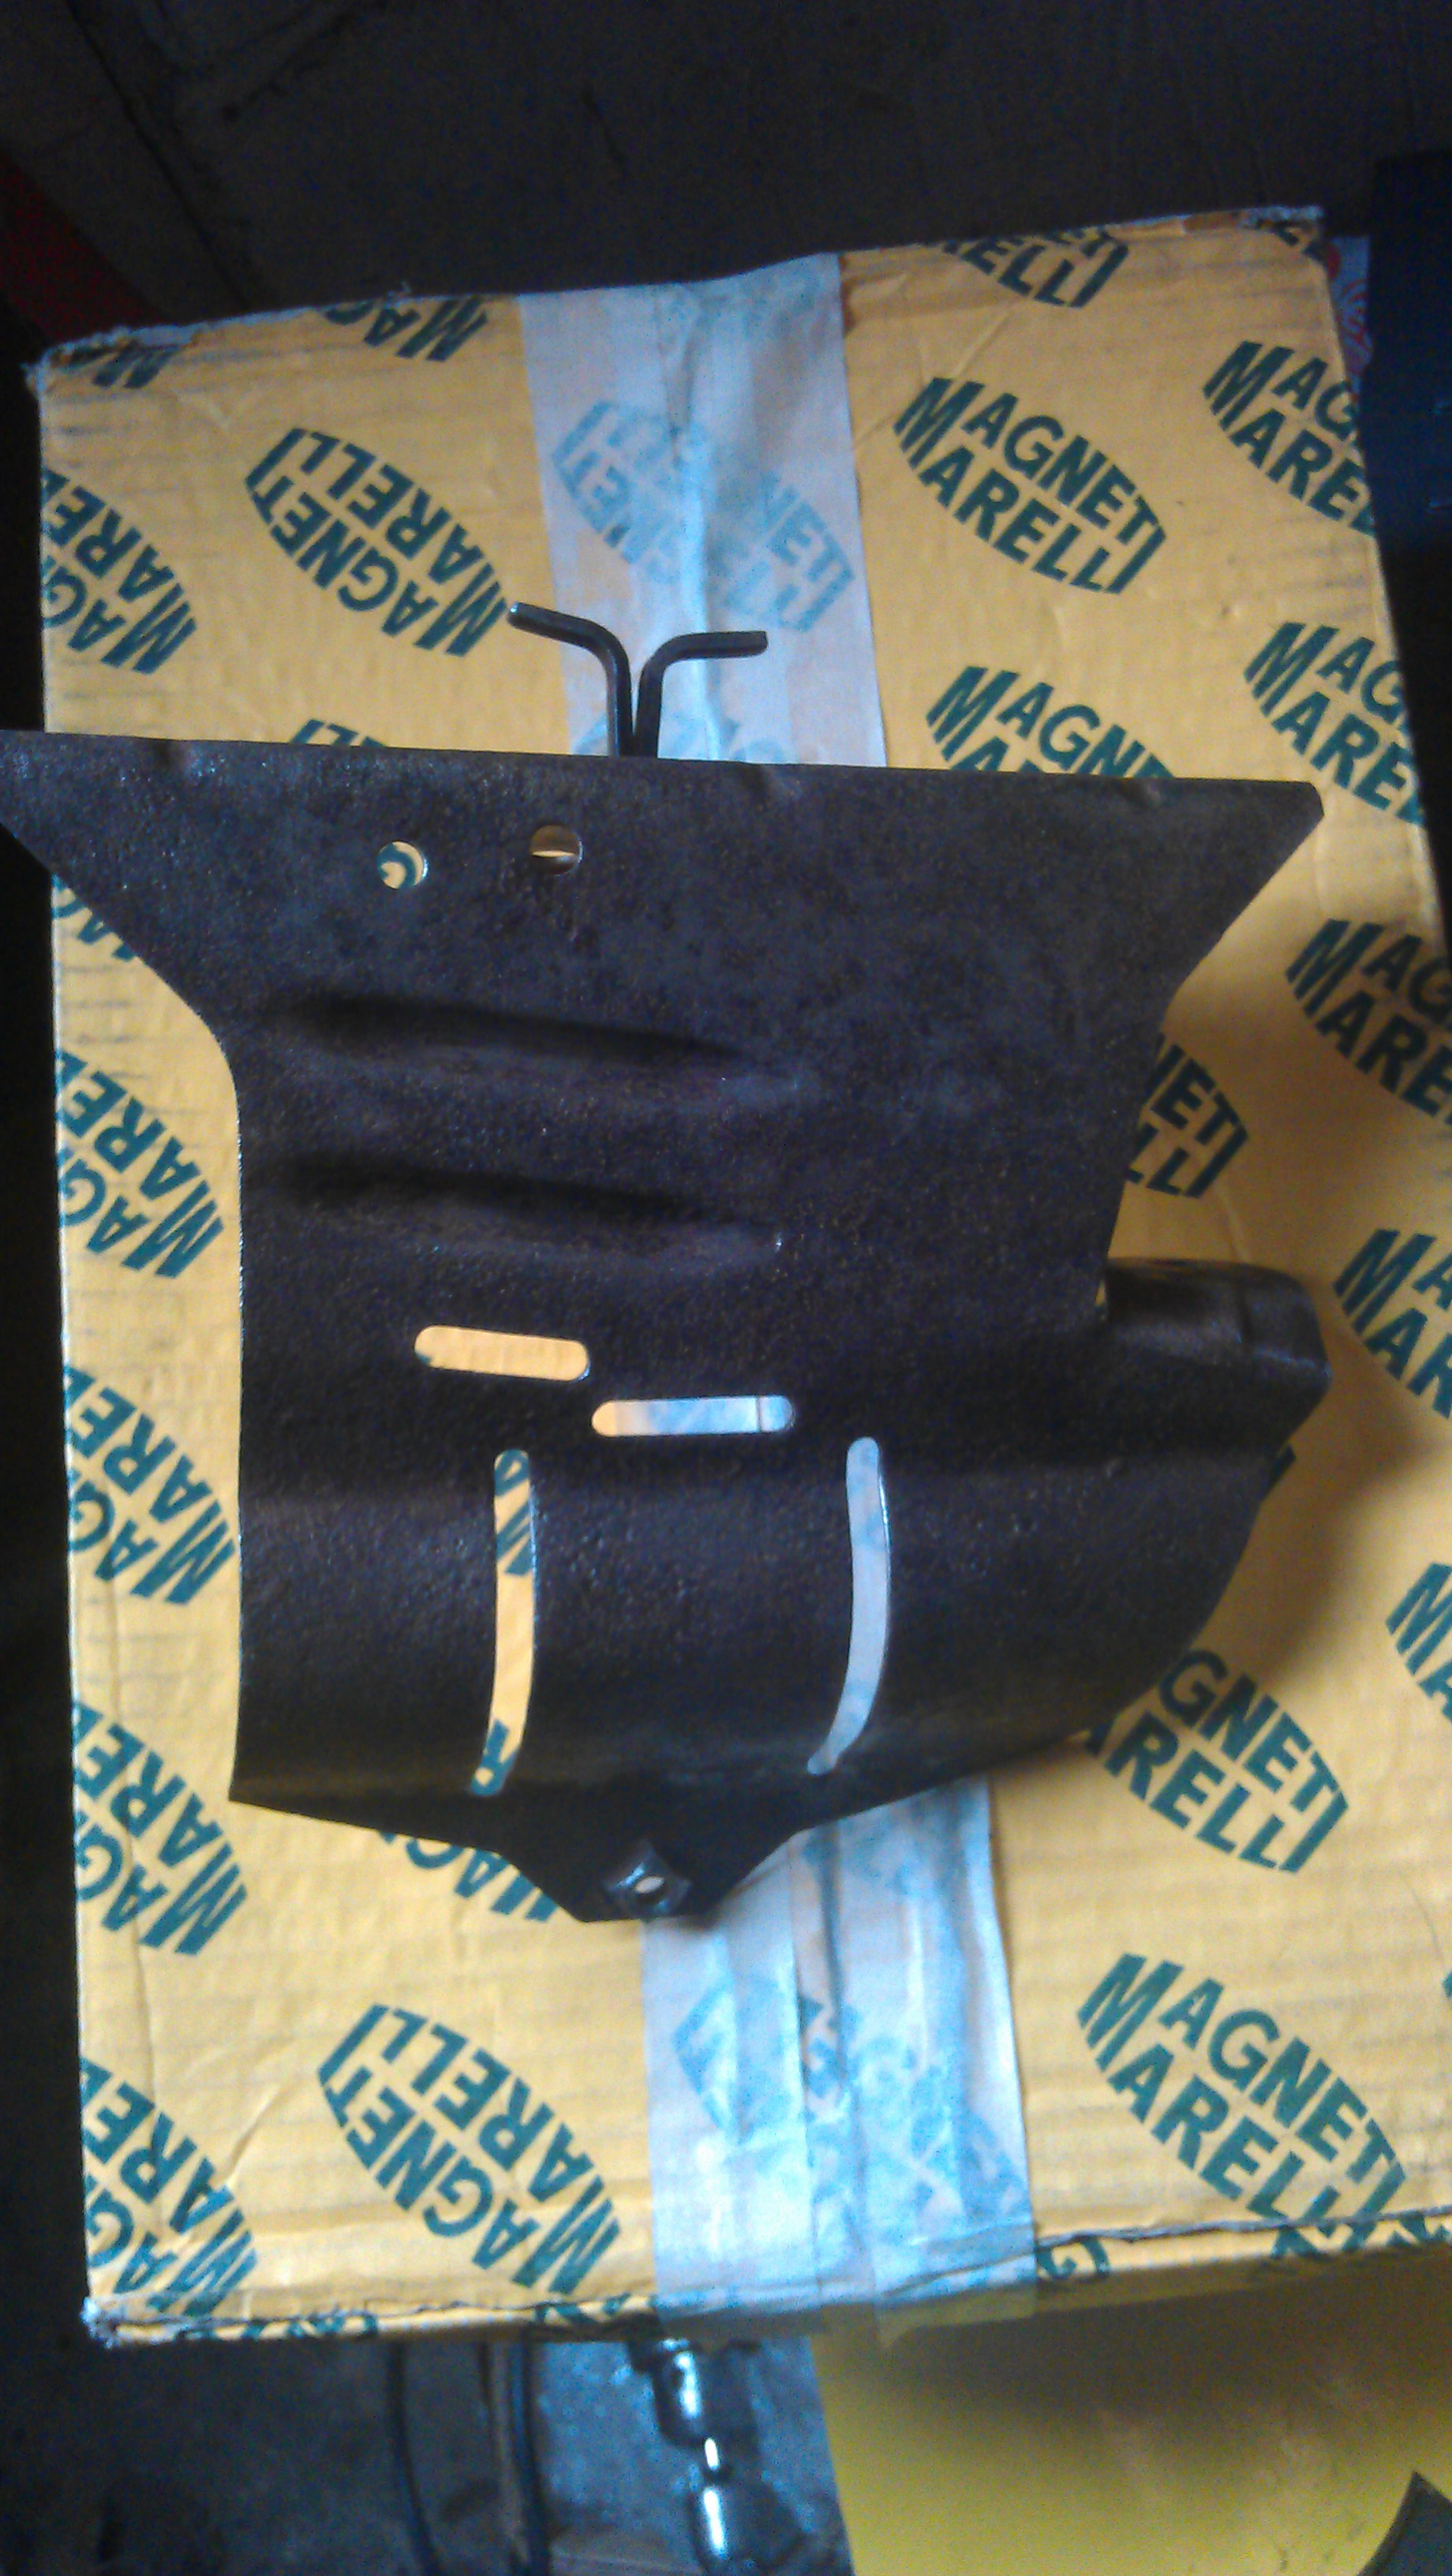
    As it came:


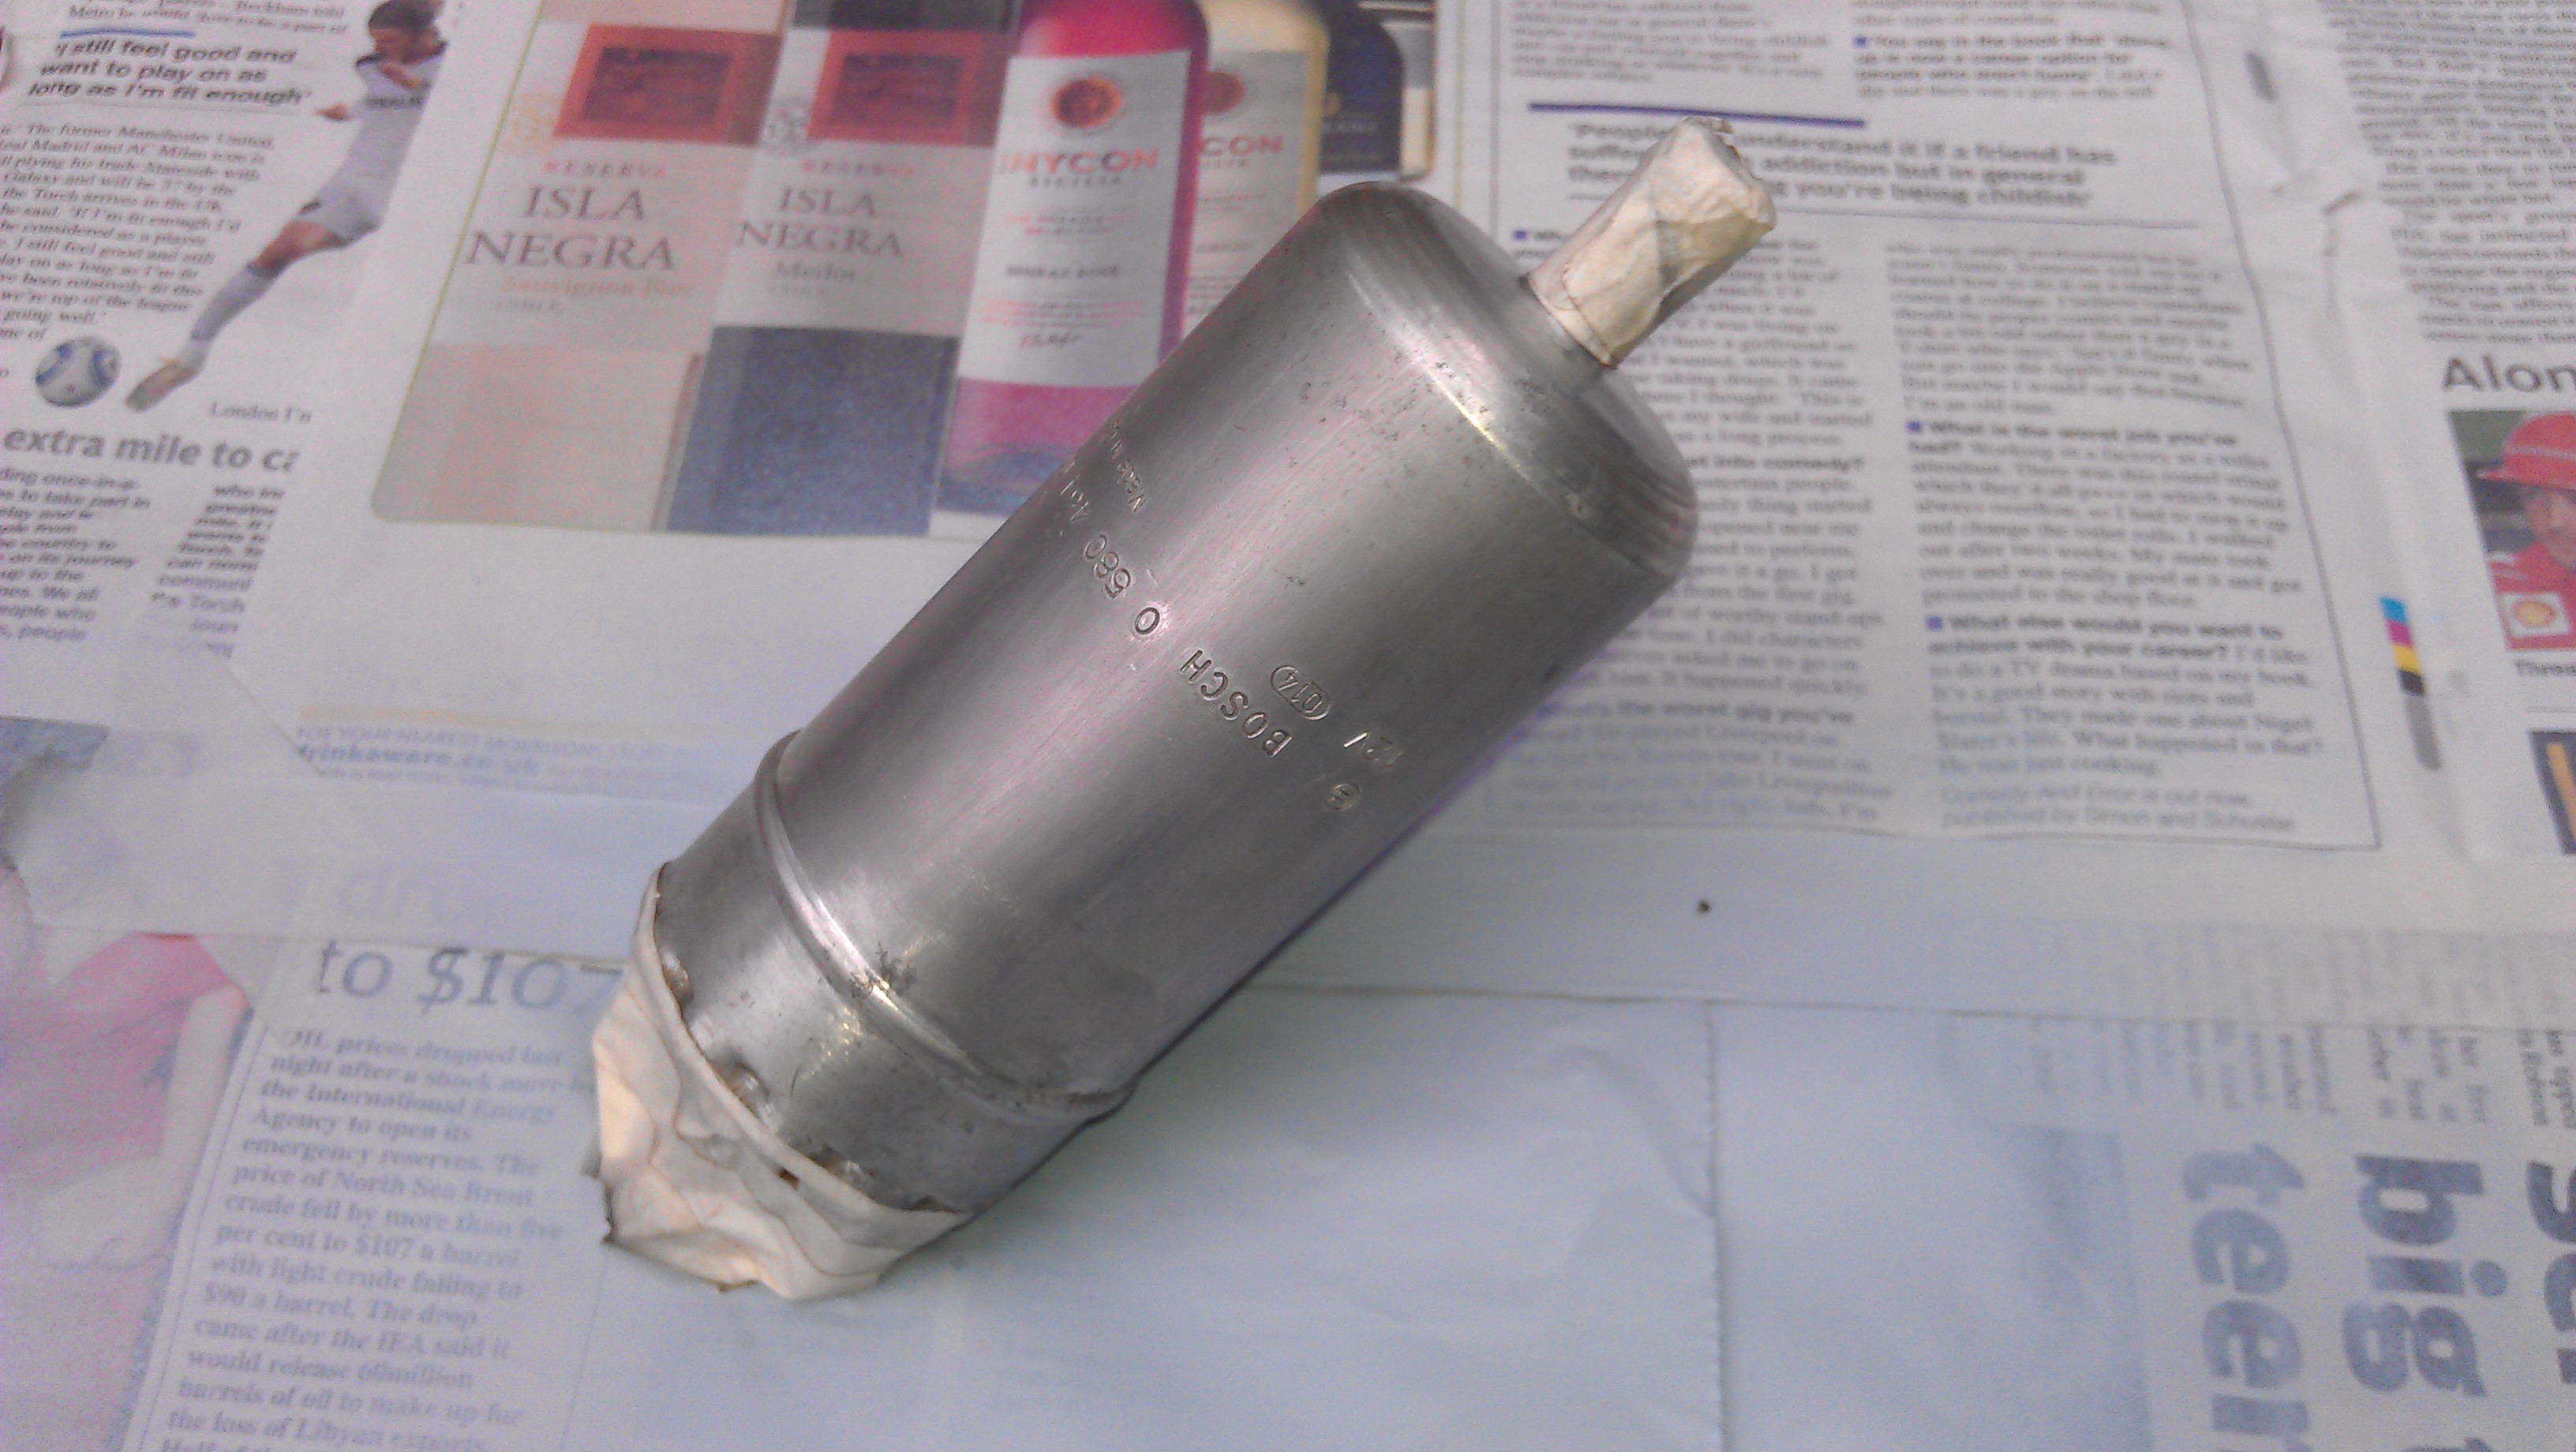
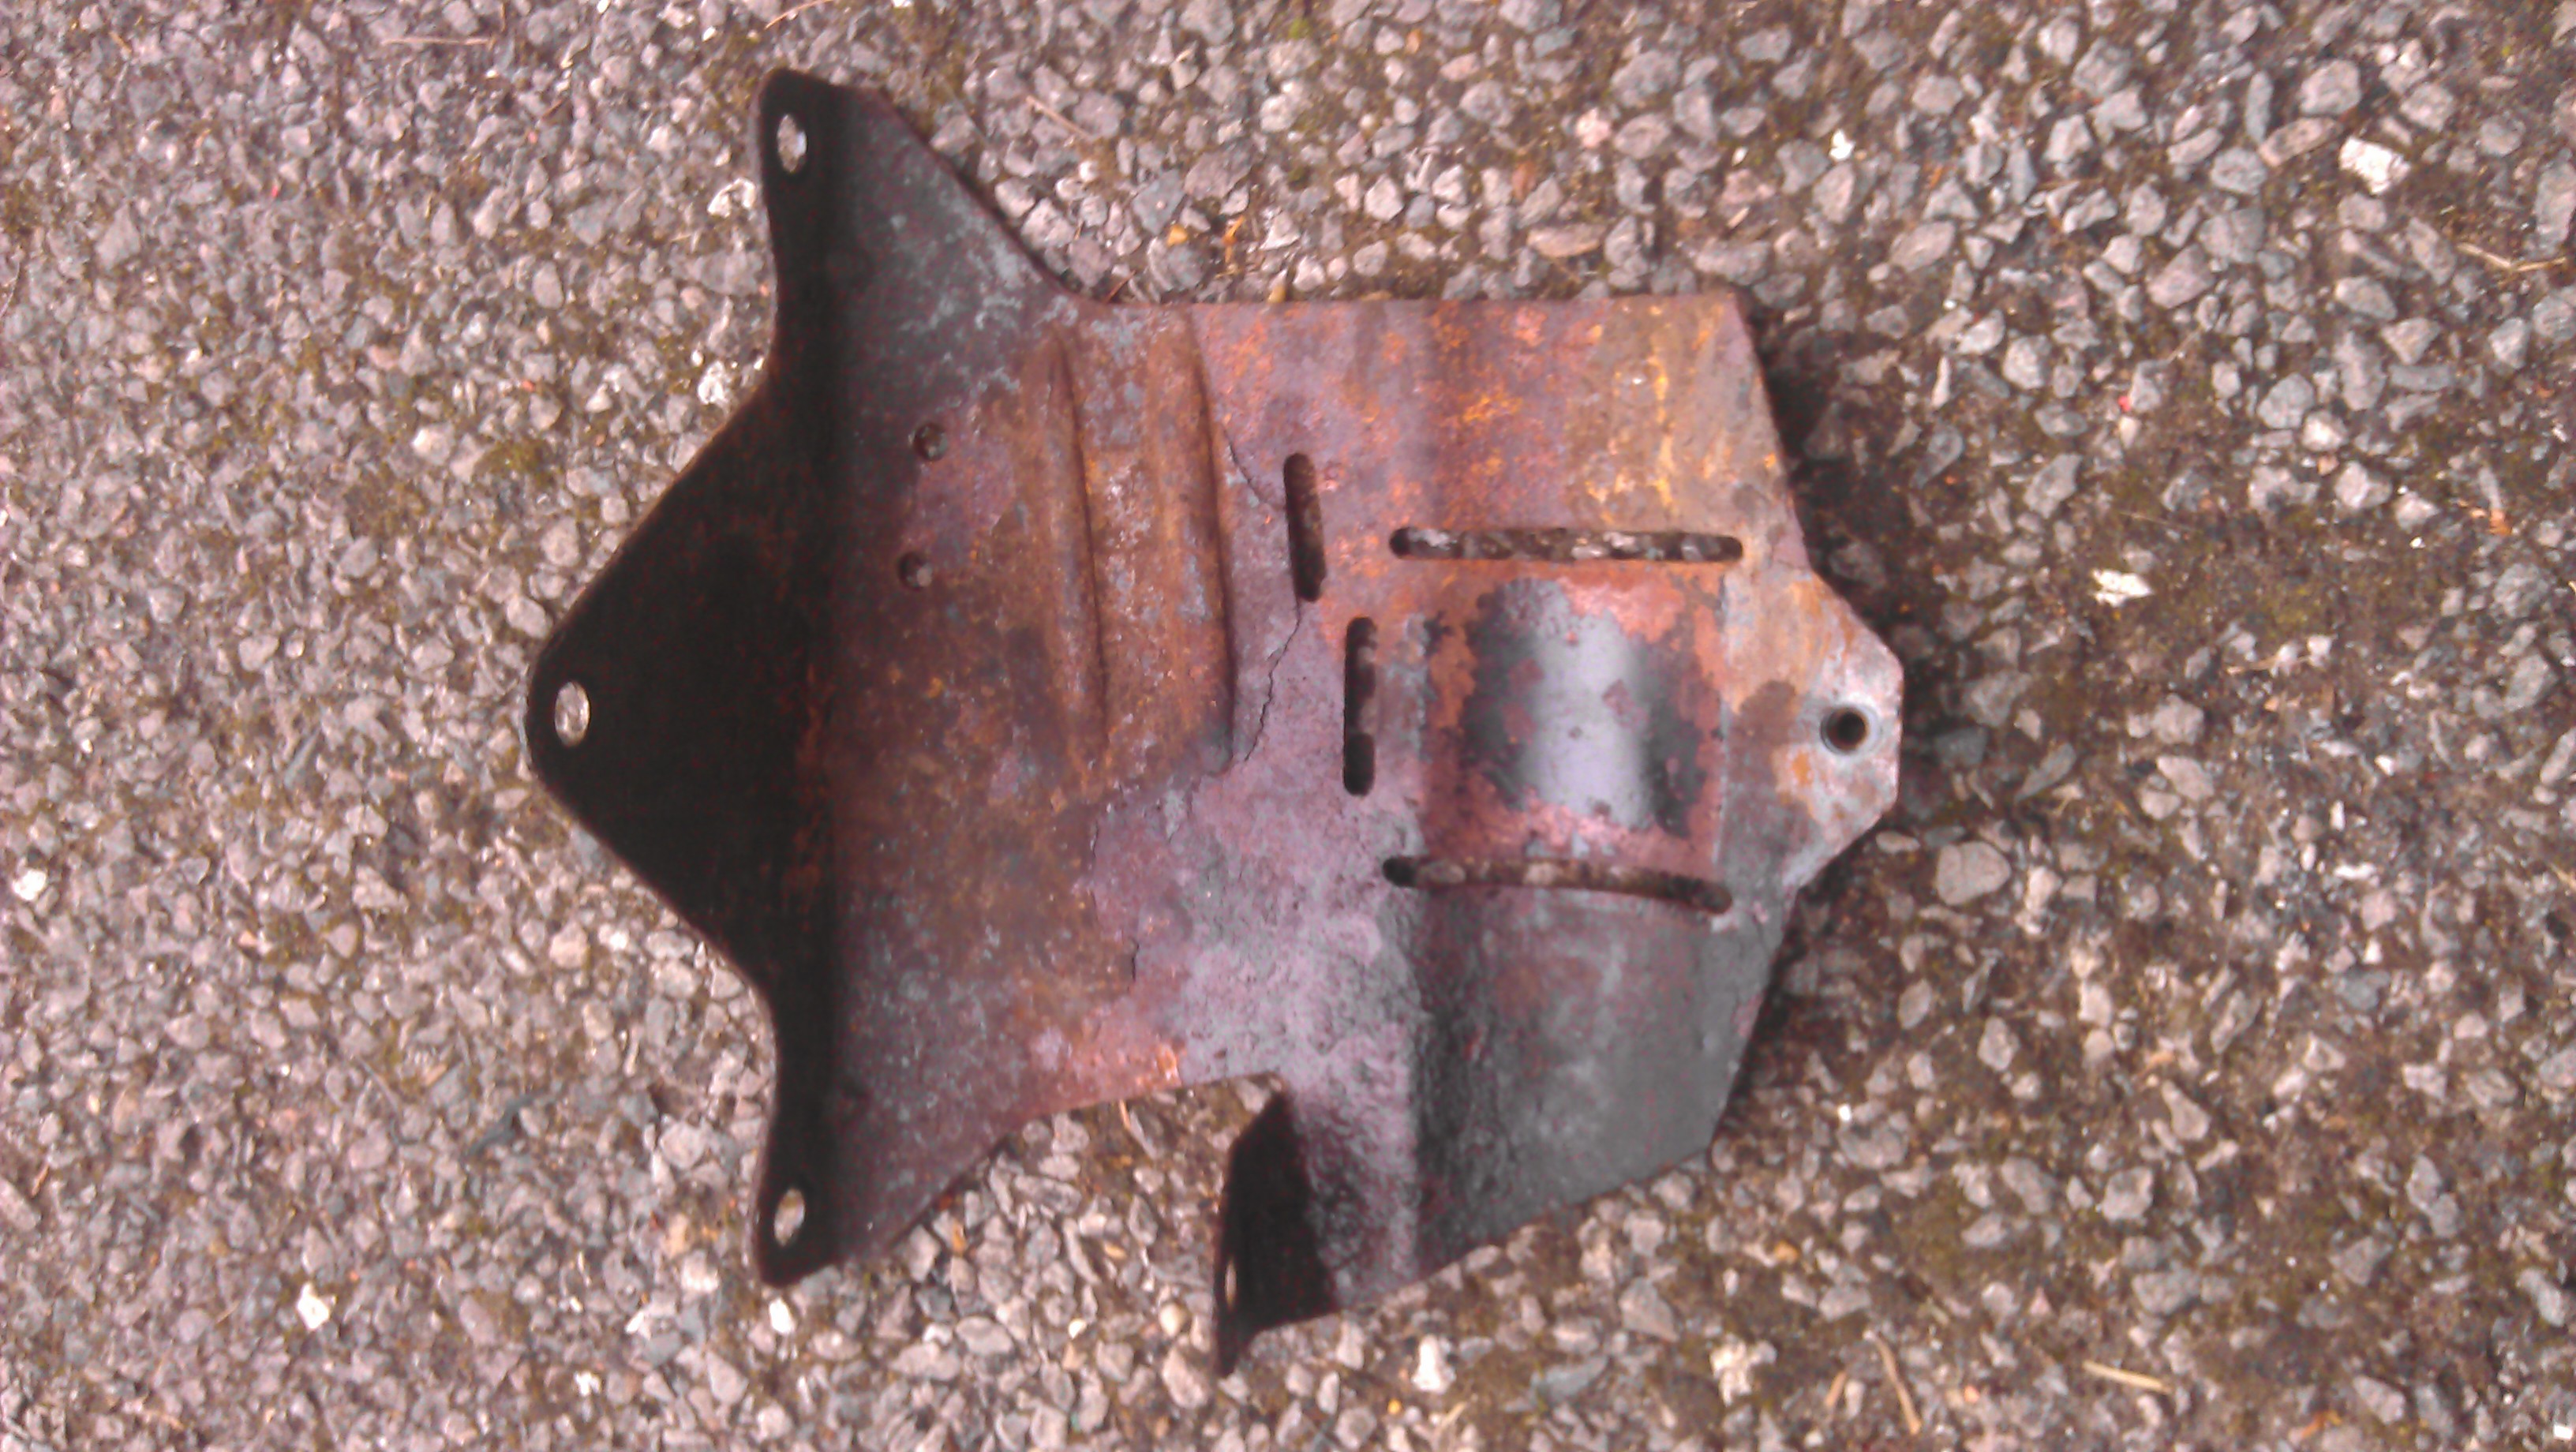
    And after spending a good 35 mins getting everything off which had literally fused and rusted into each other it became like this:


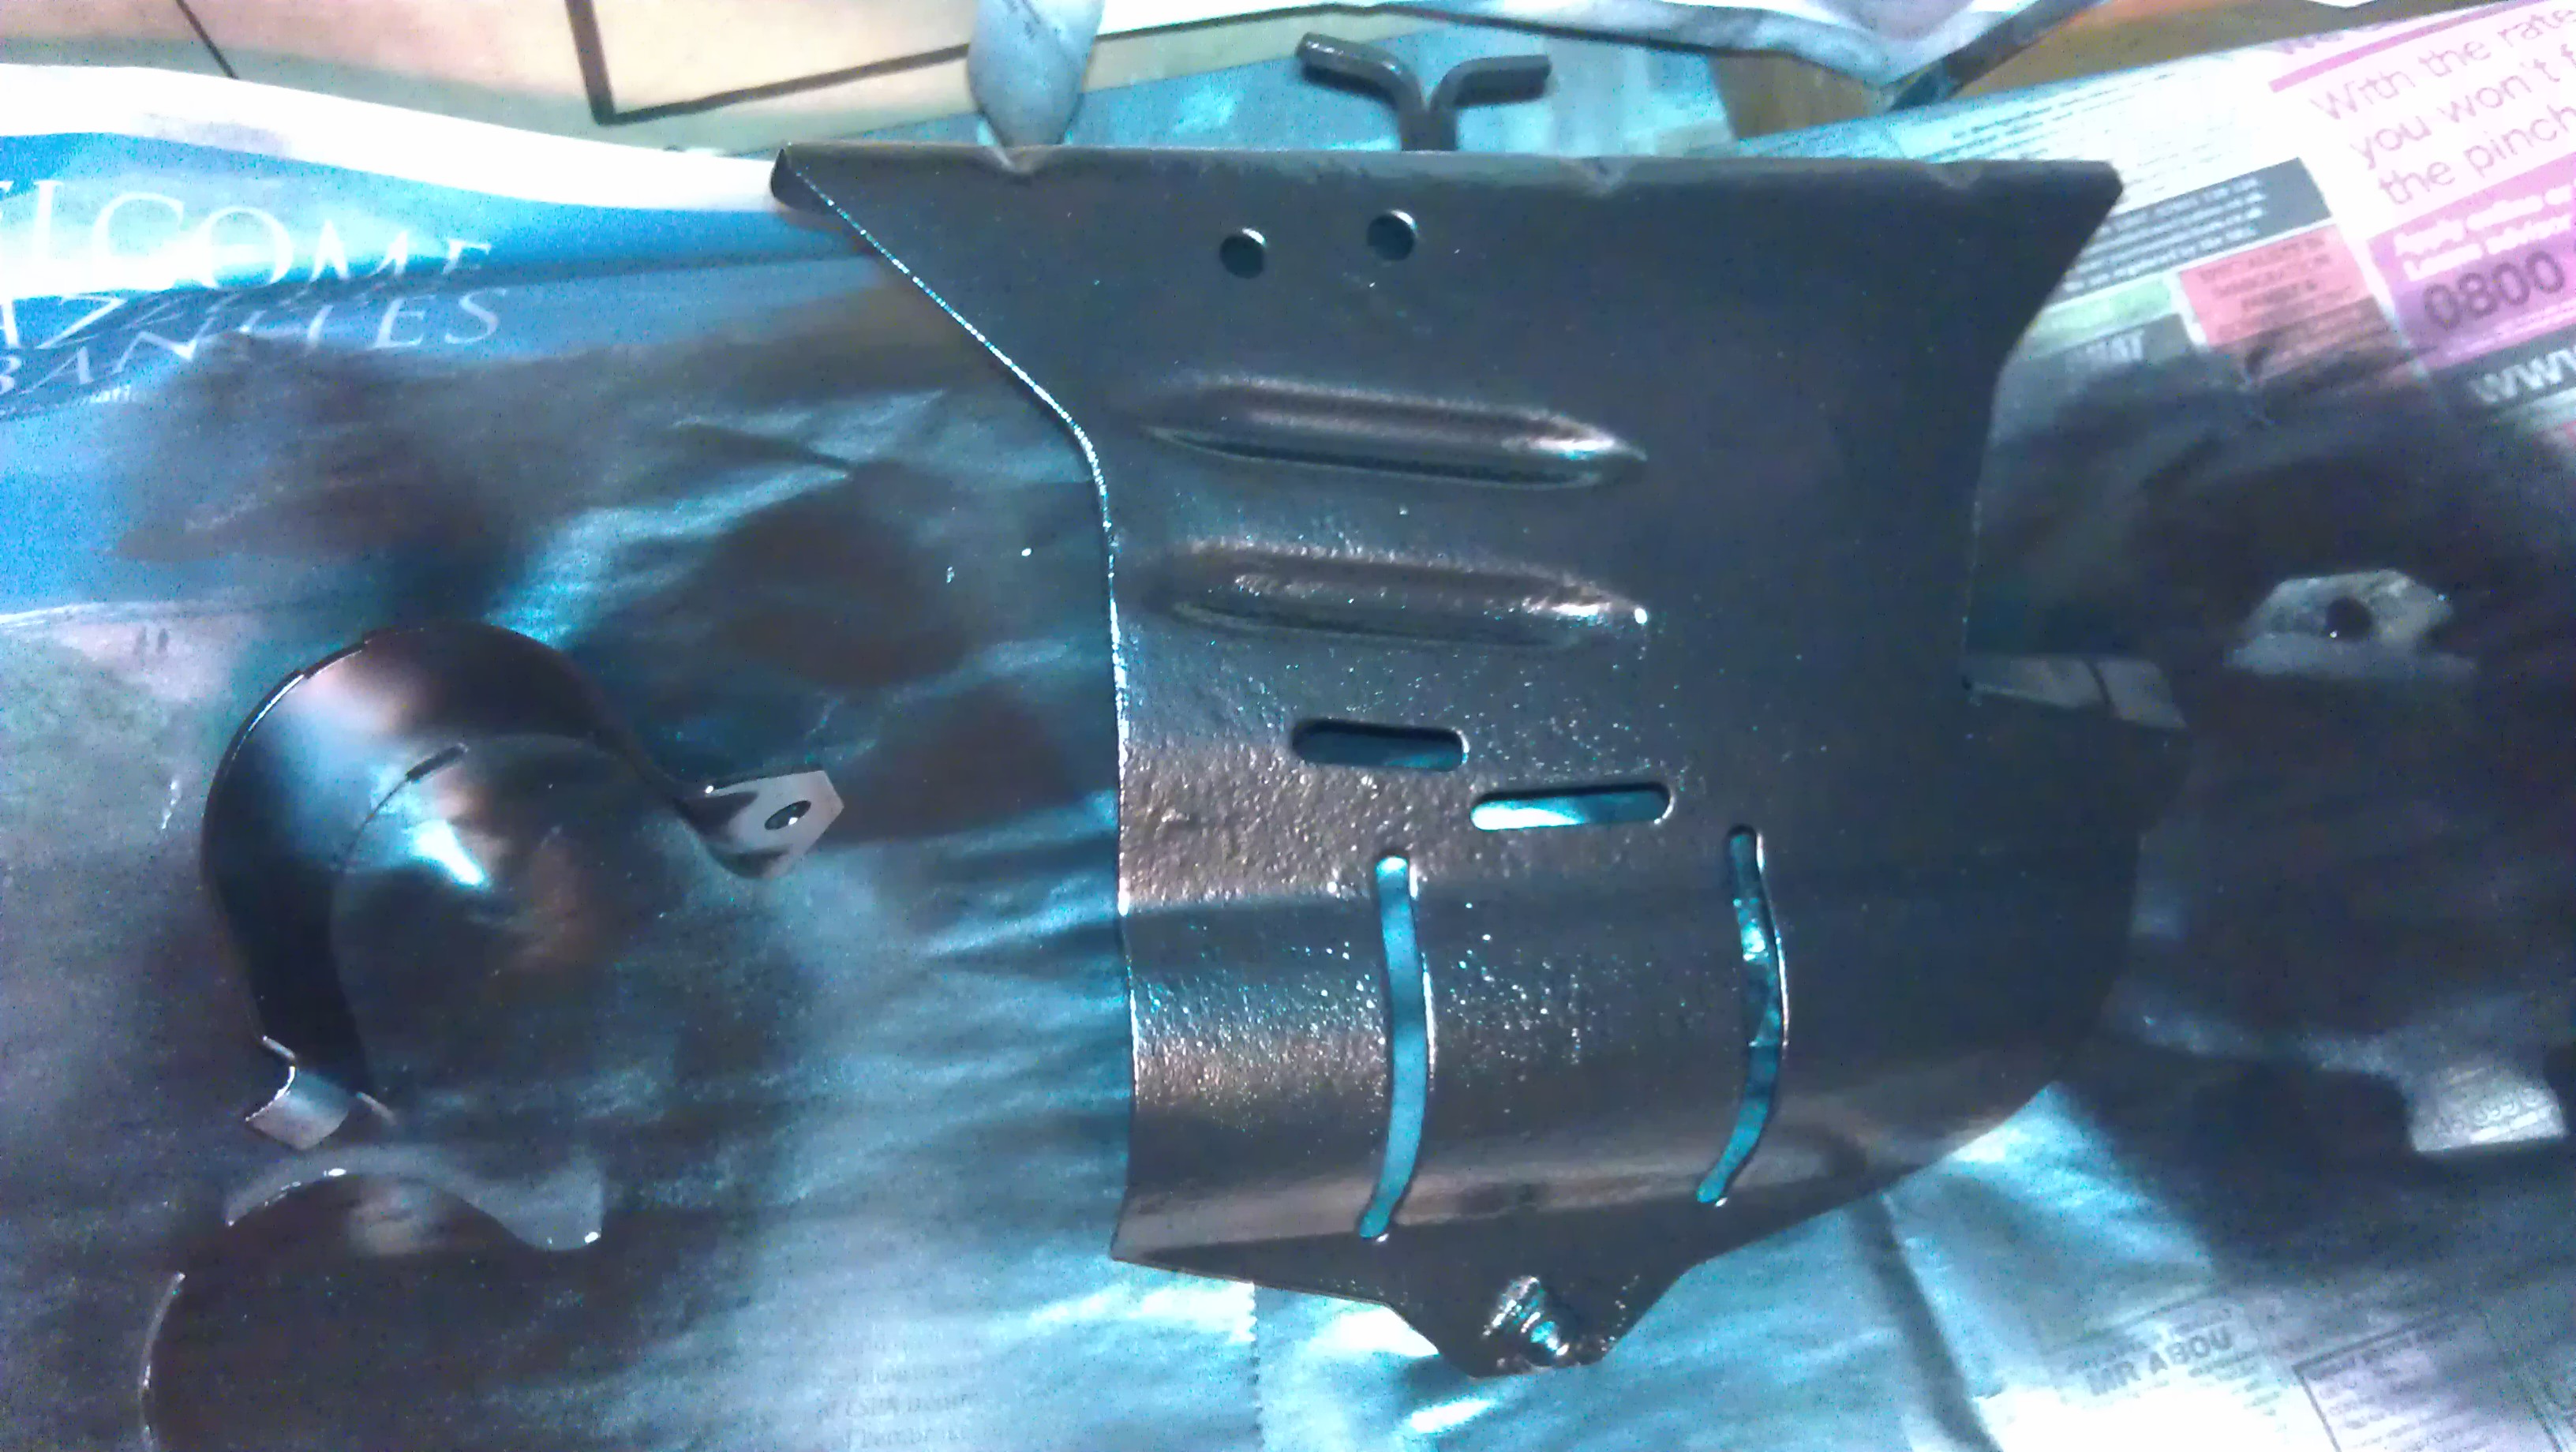
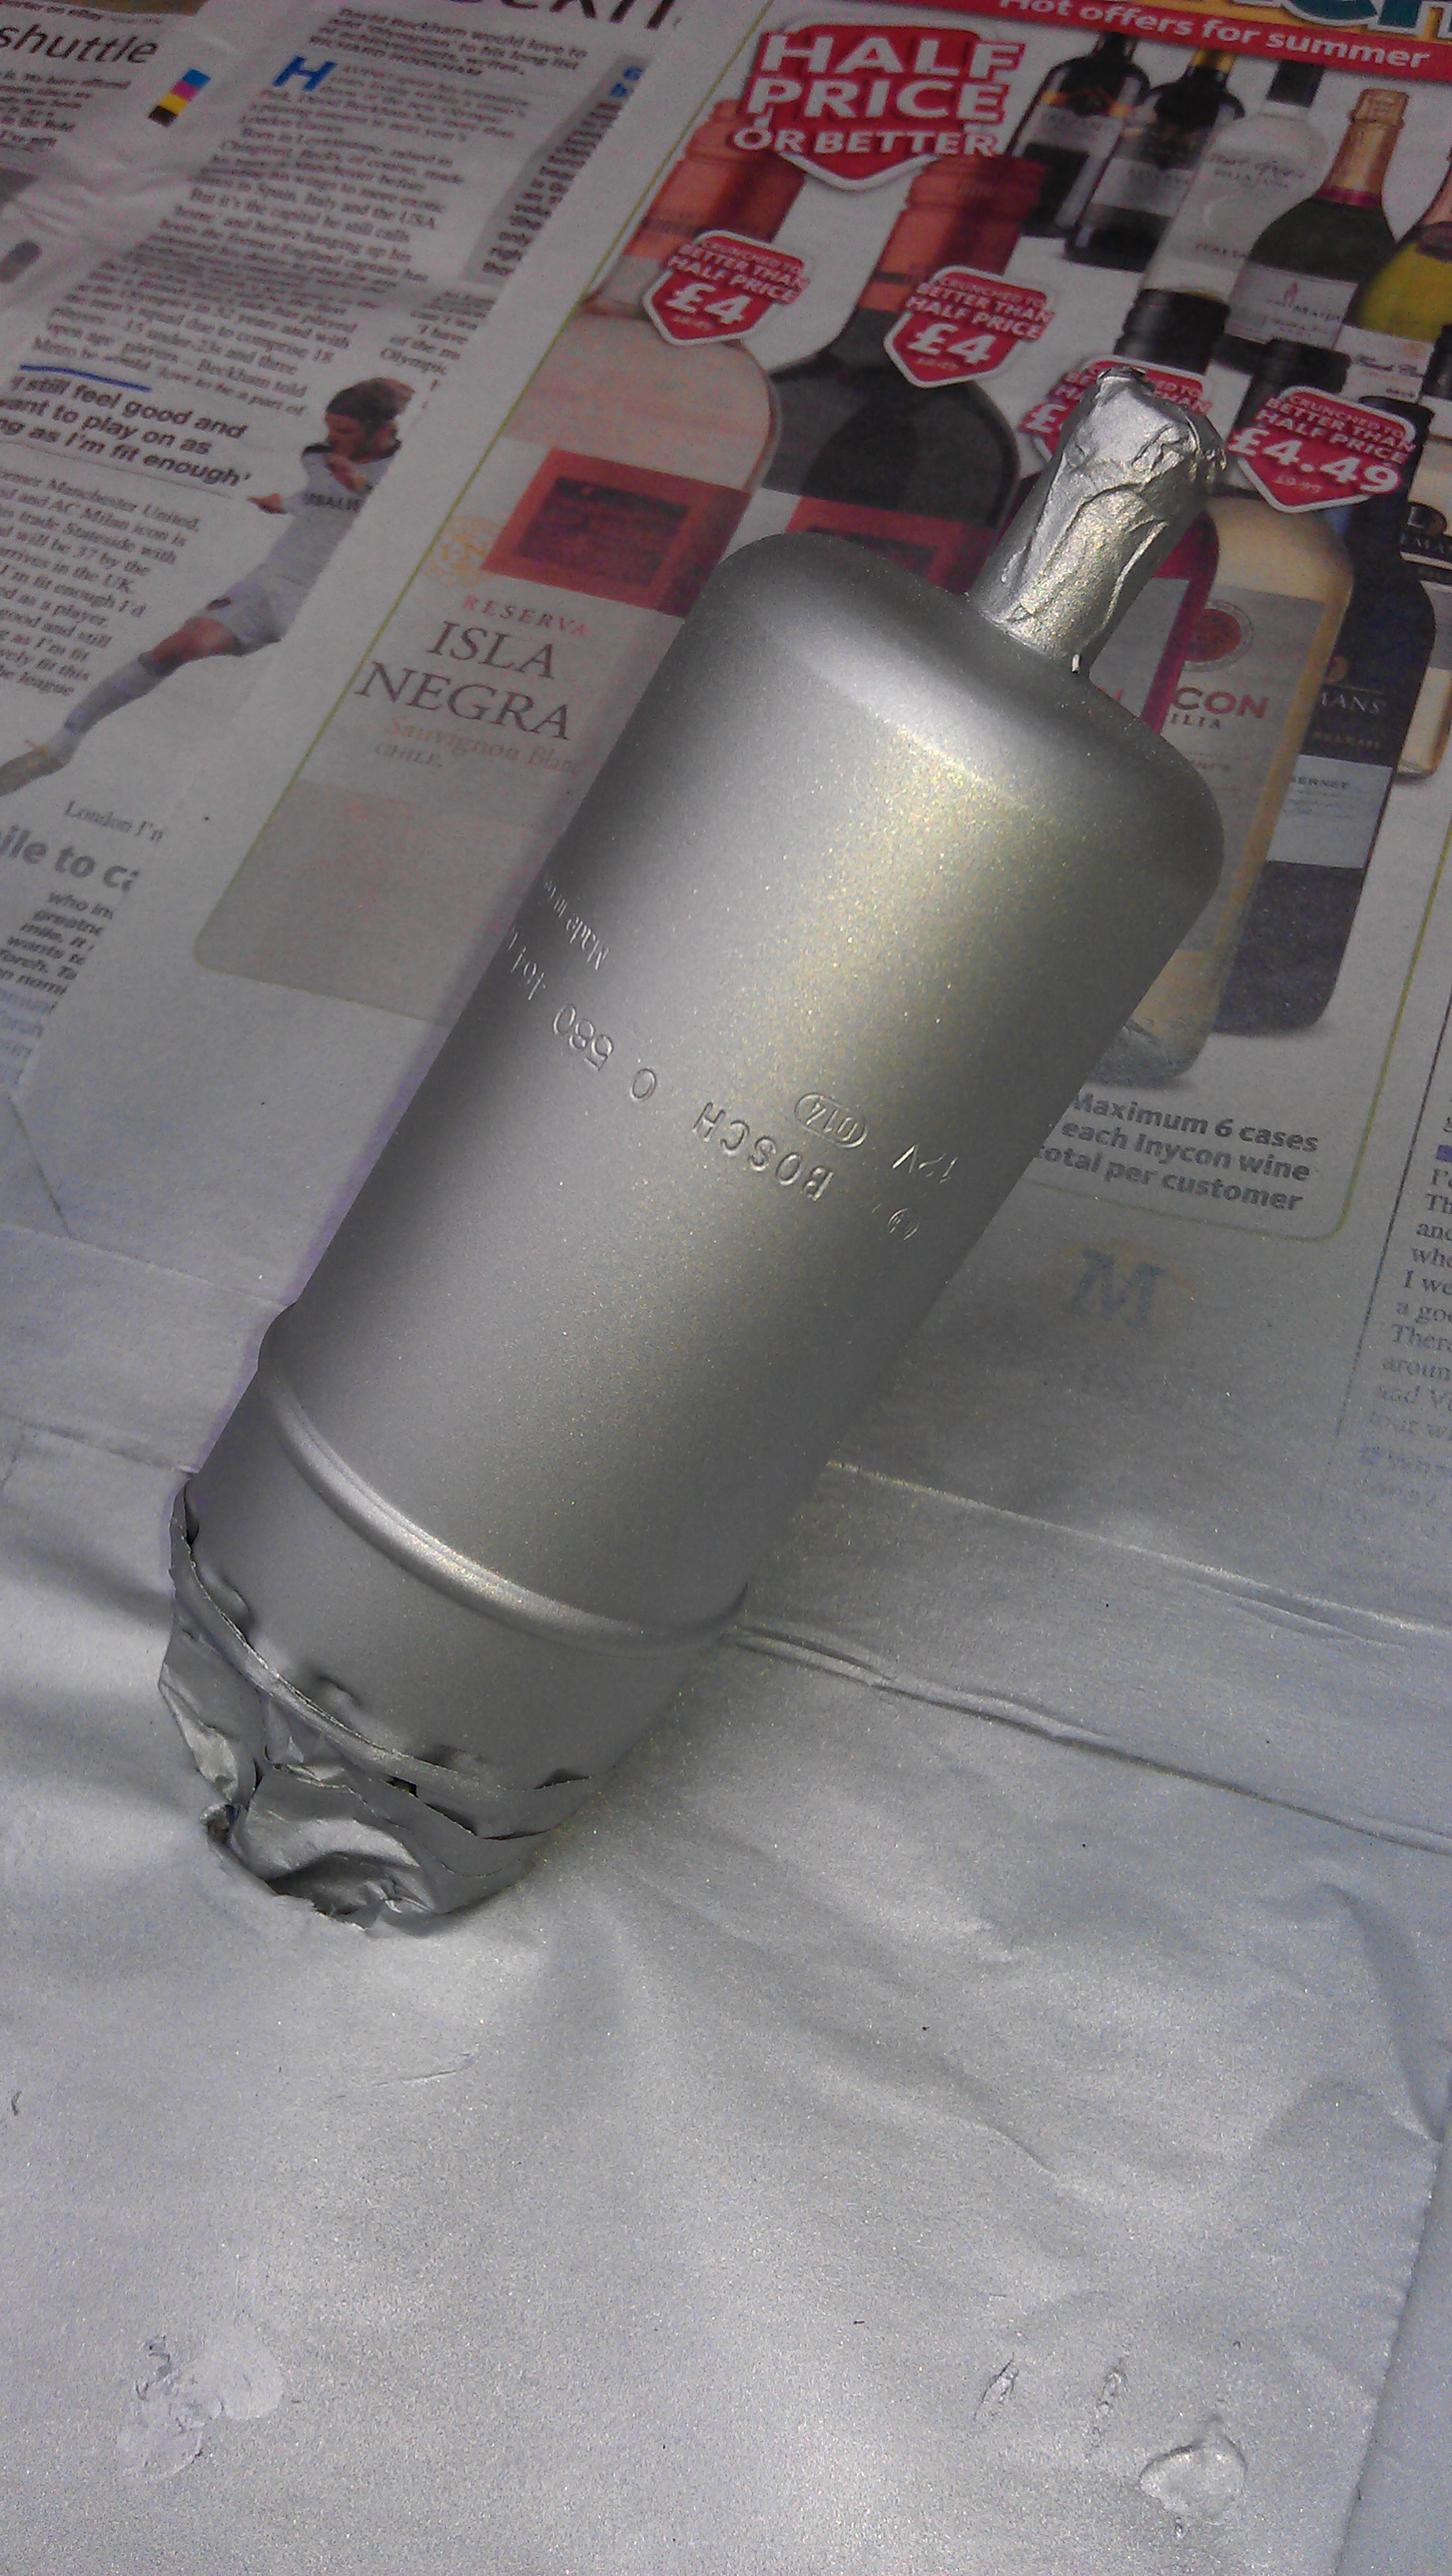
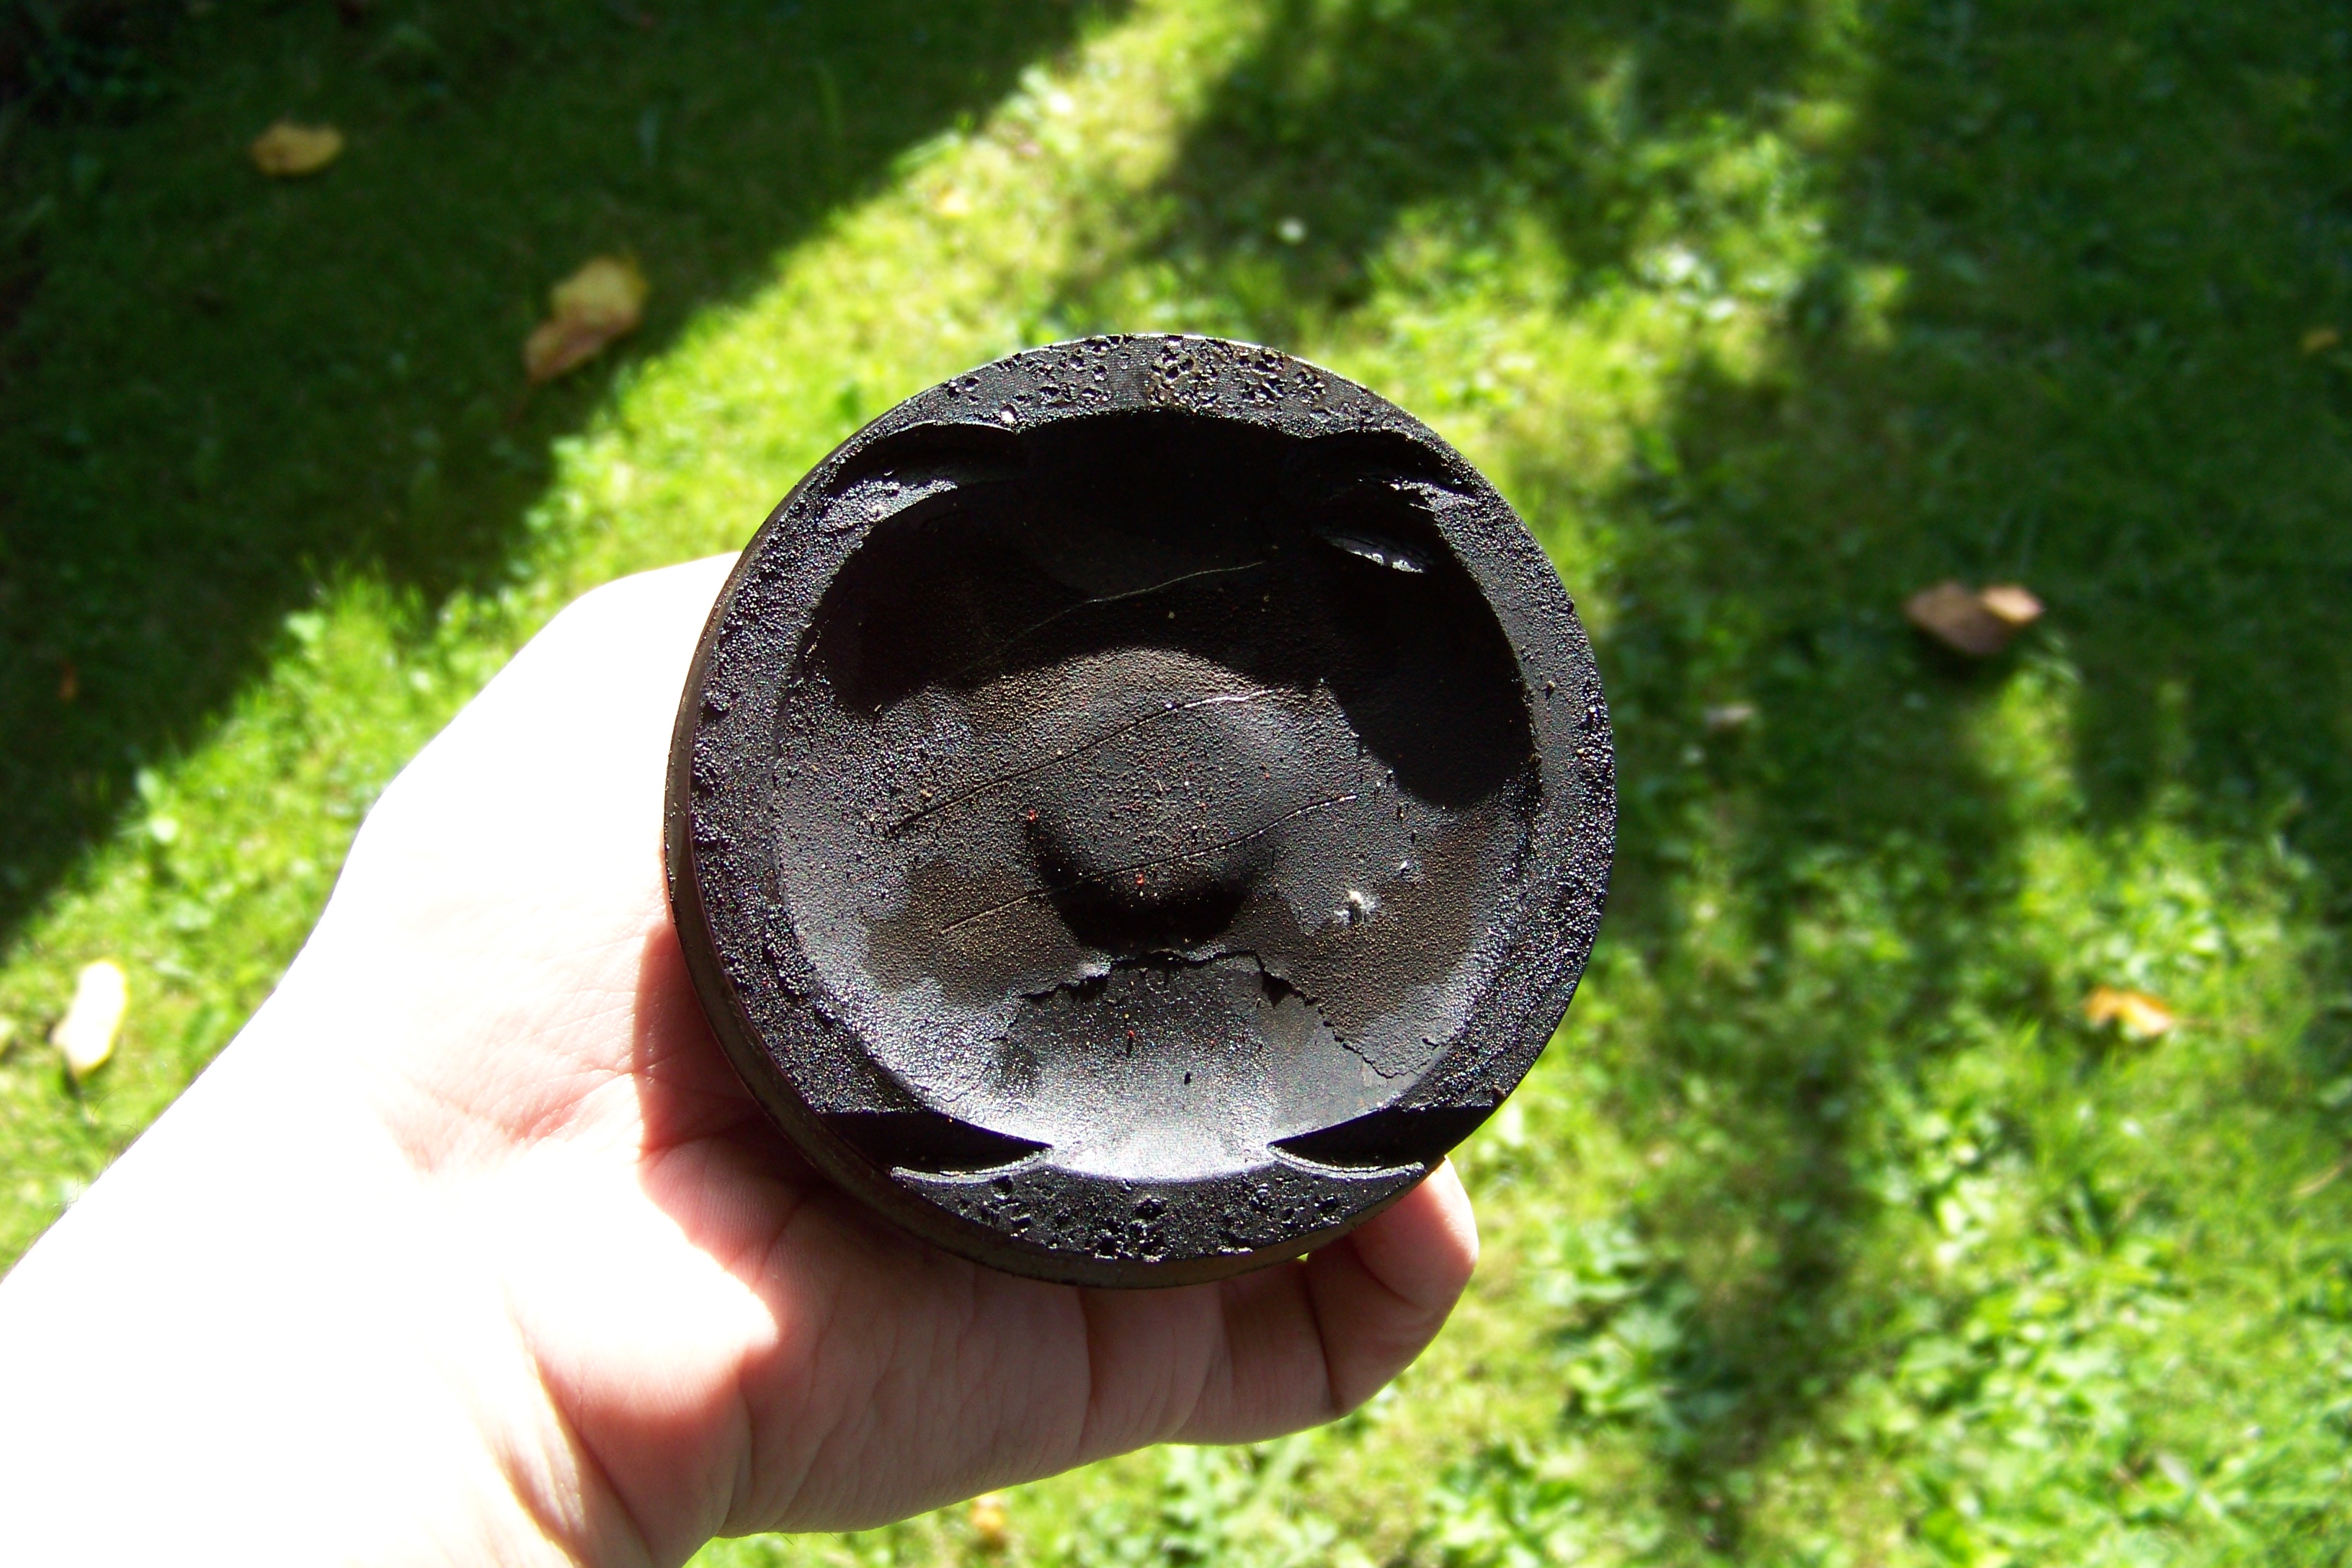
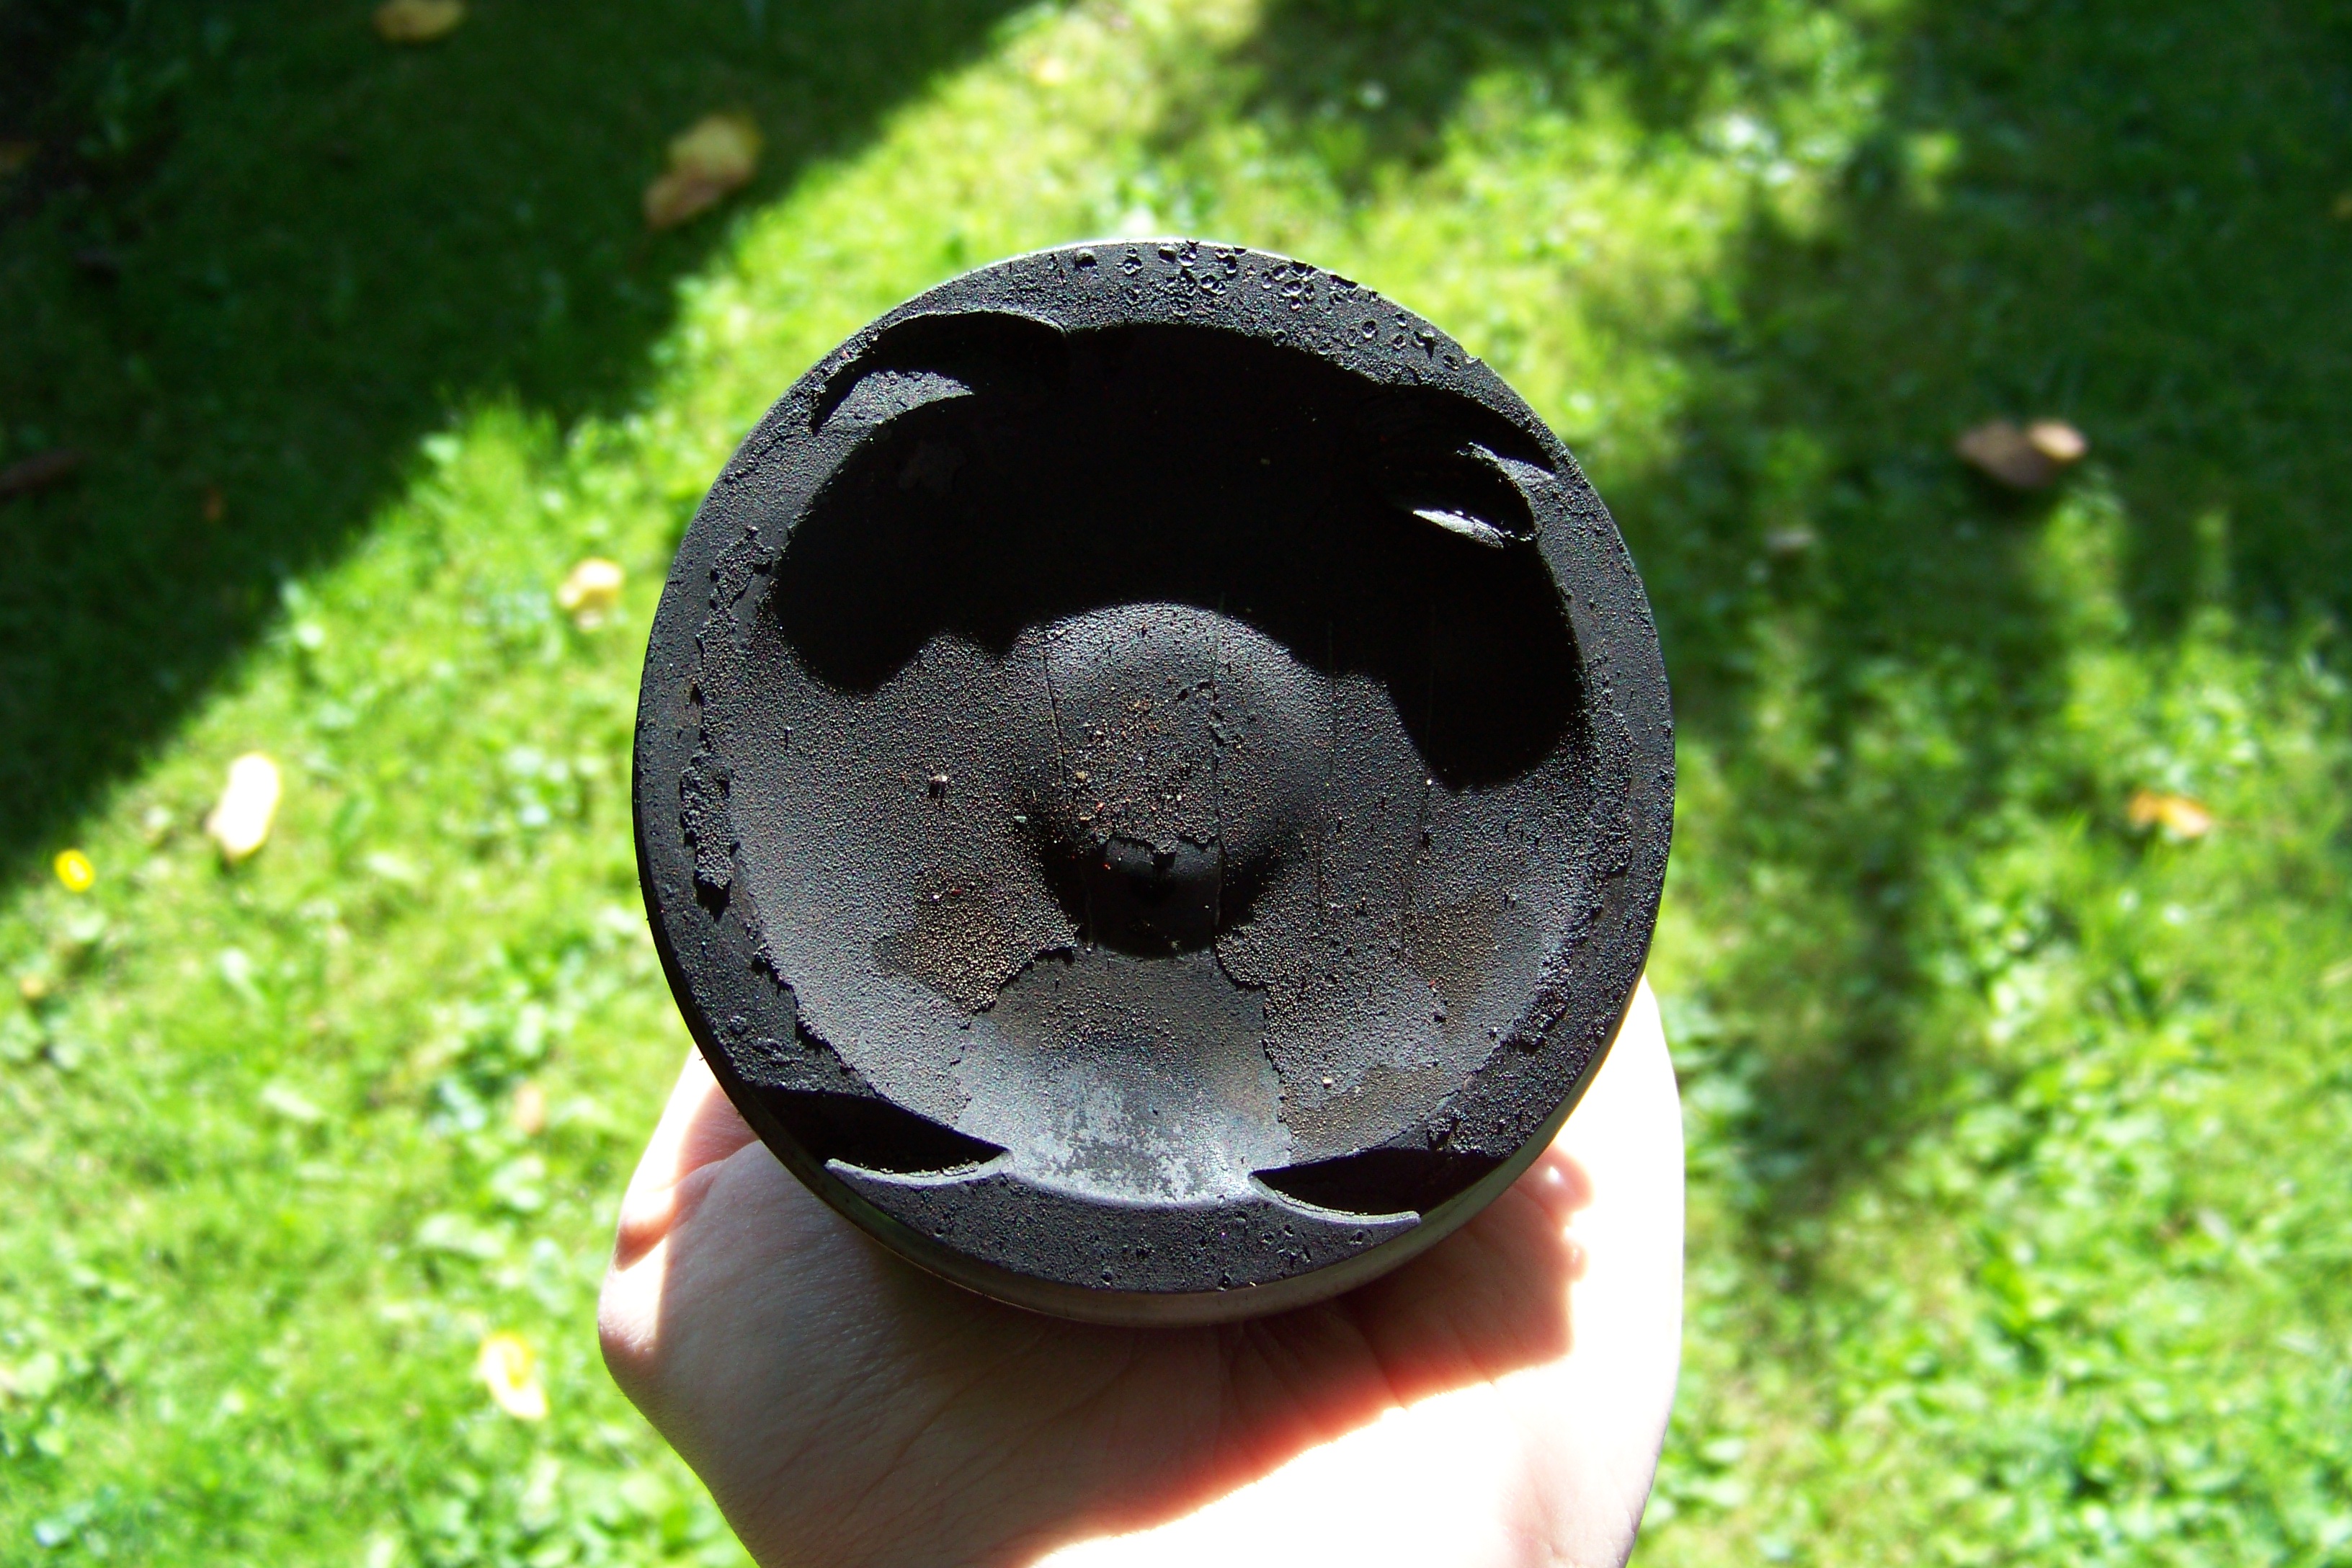
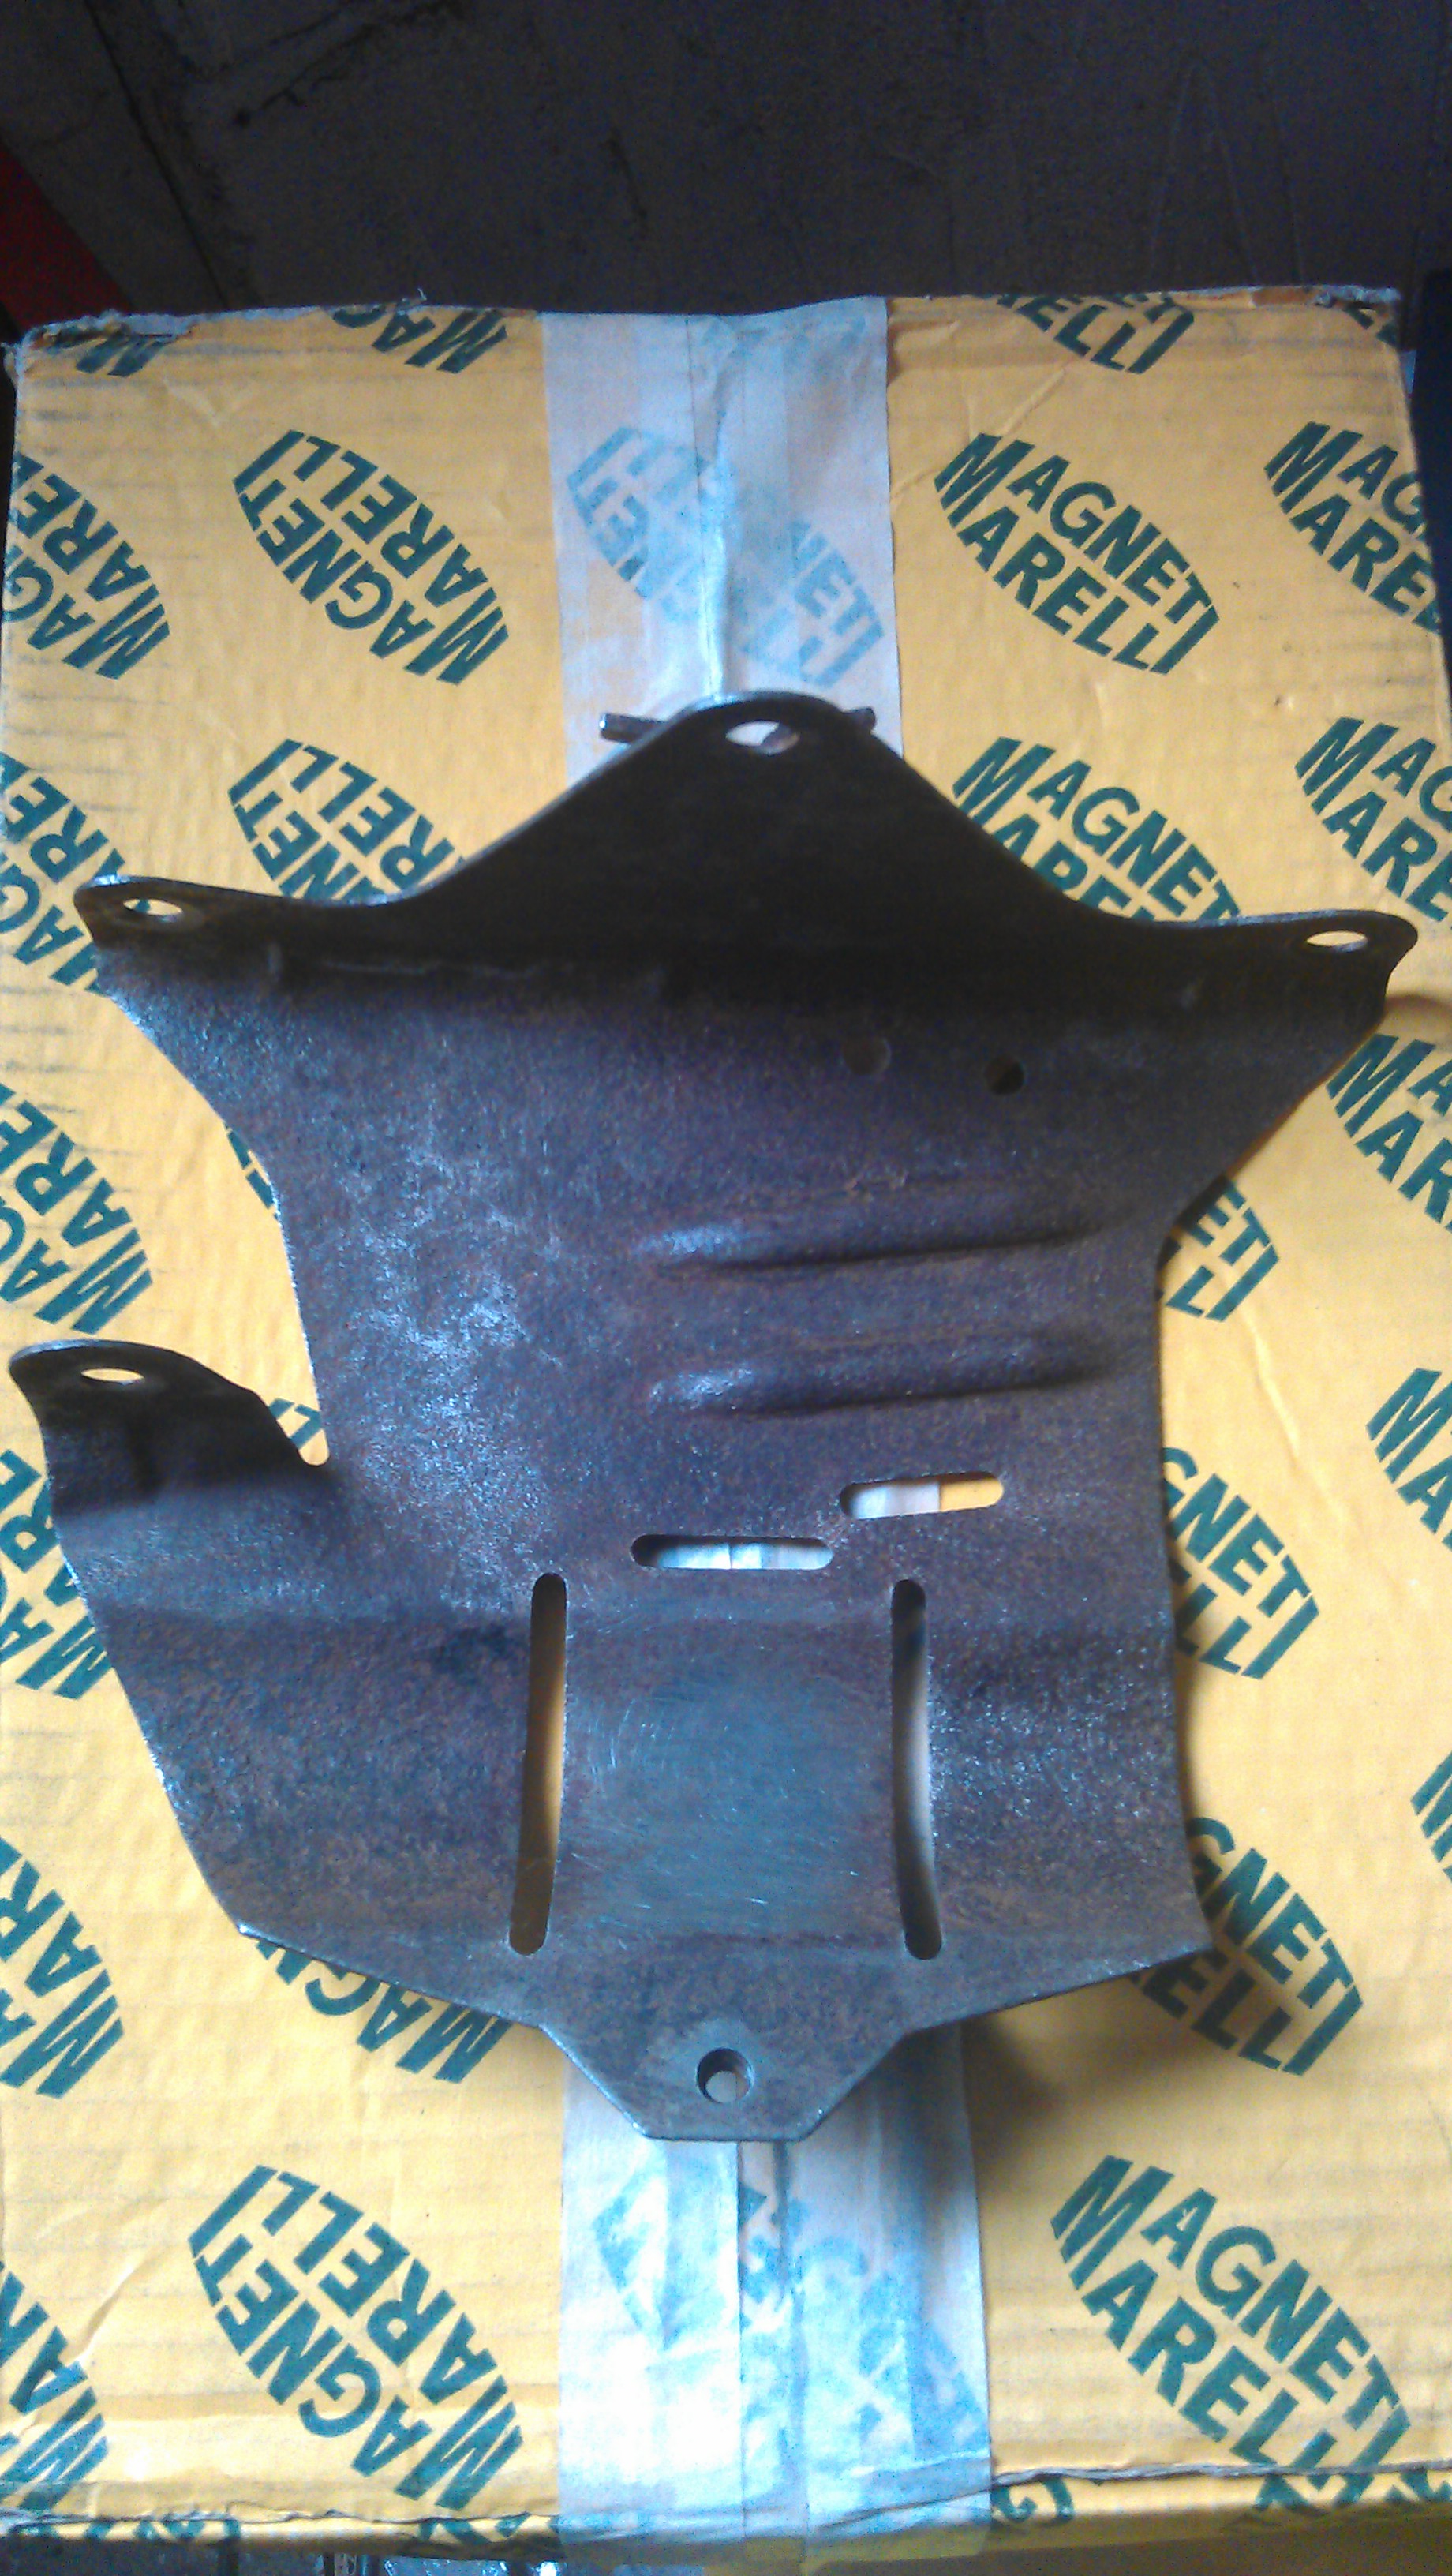
    I then attacked it (hardcore you know the score), with the power drill and wire brush/wheel, 40 grit paper and a hammer (works wonders getting off large hardened flaky bits) I got it to this stage


    (not the greatest pics phone was going flat so no flash and the proper camera was dead too )

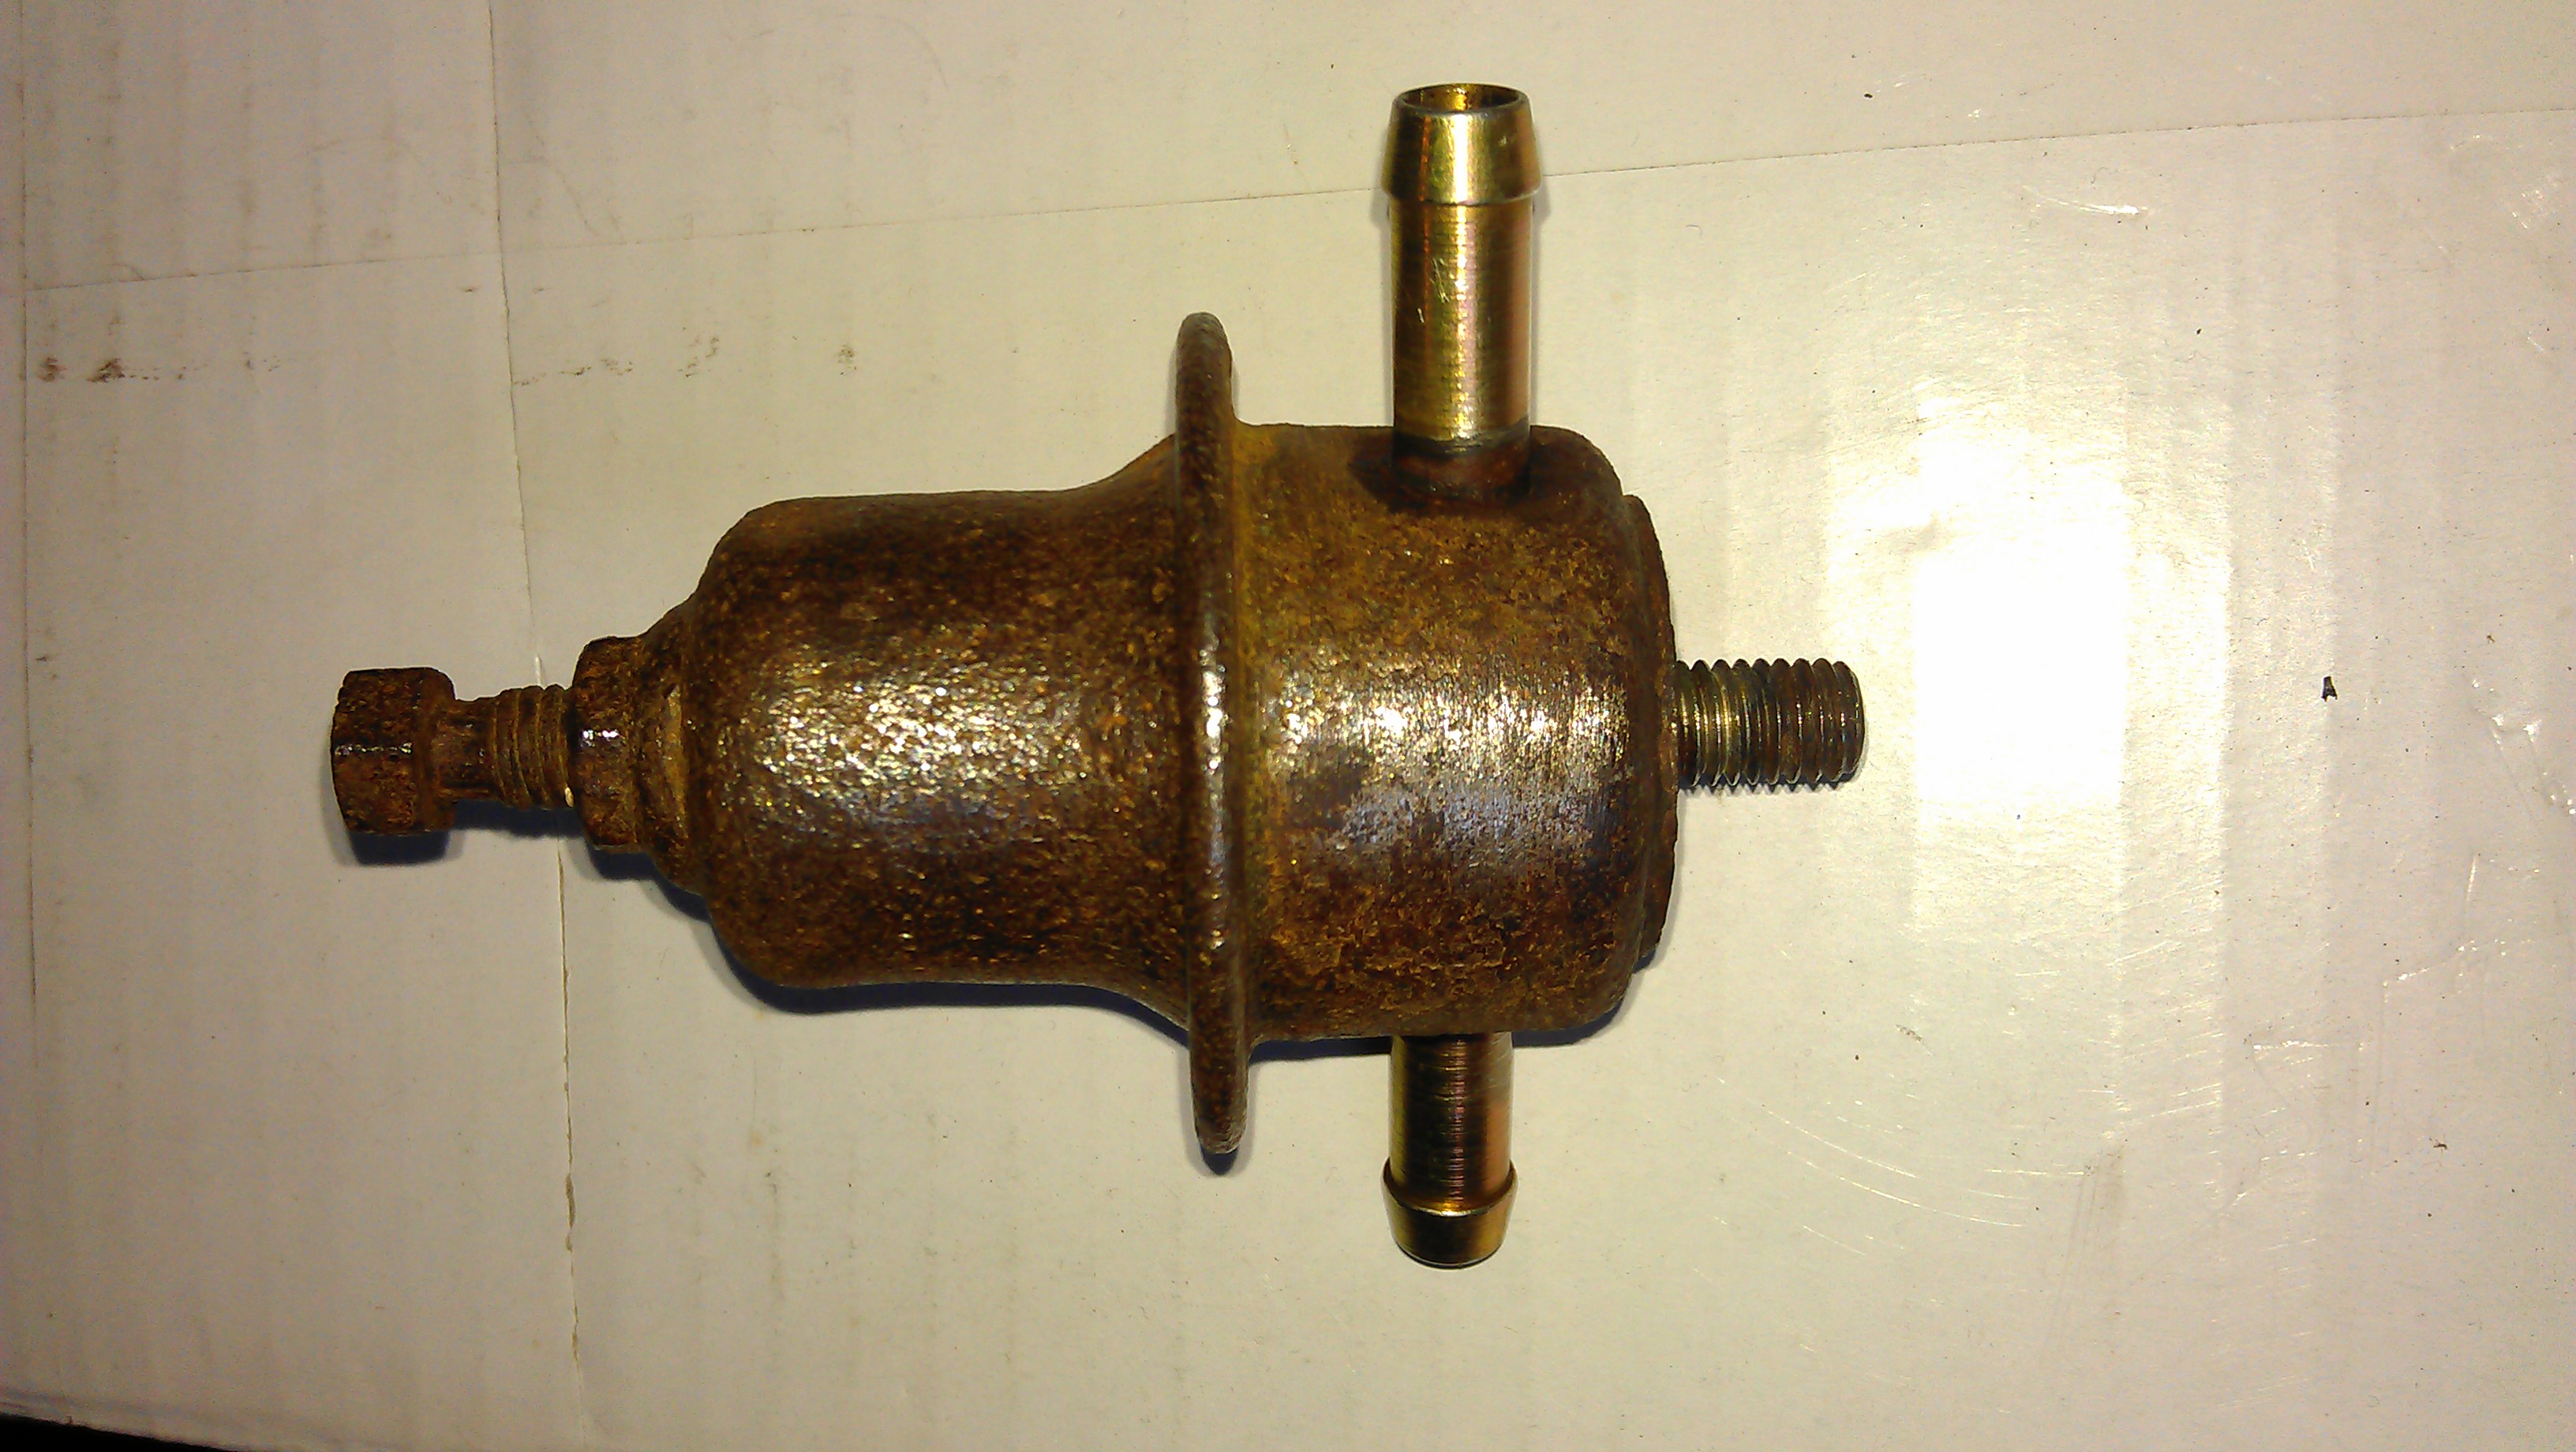
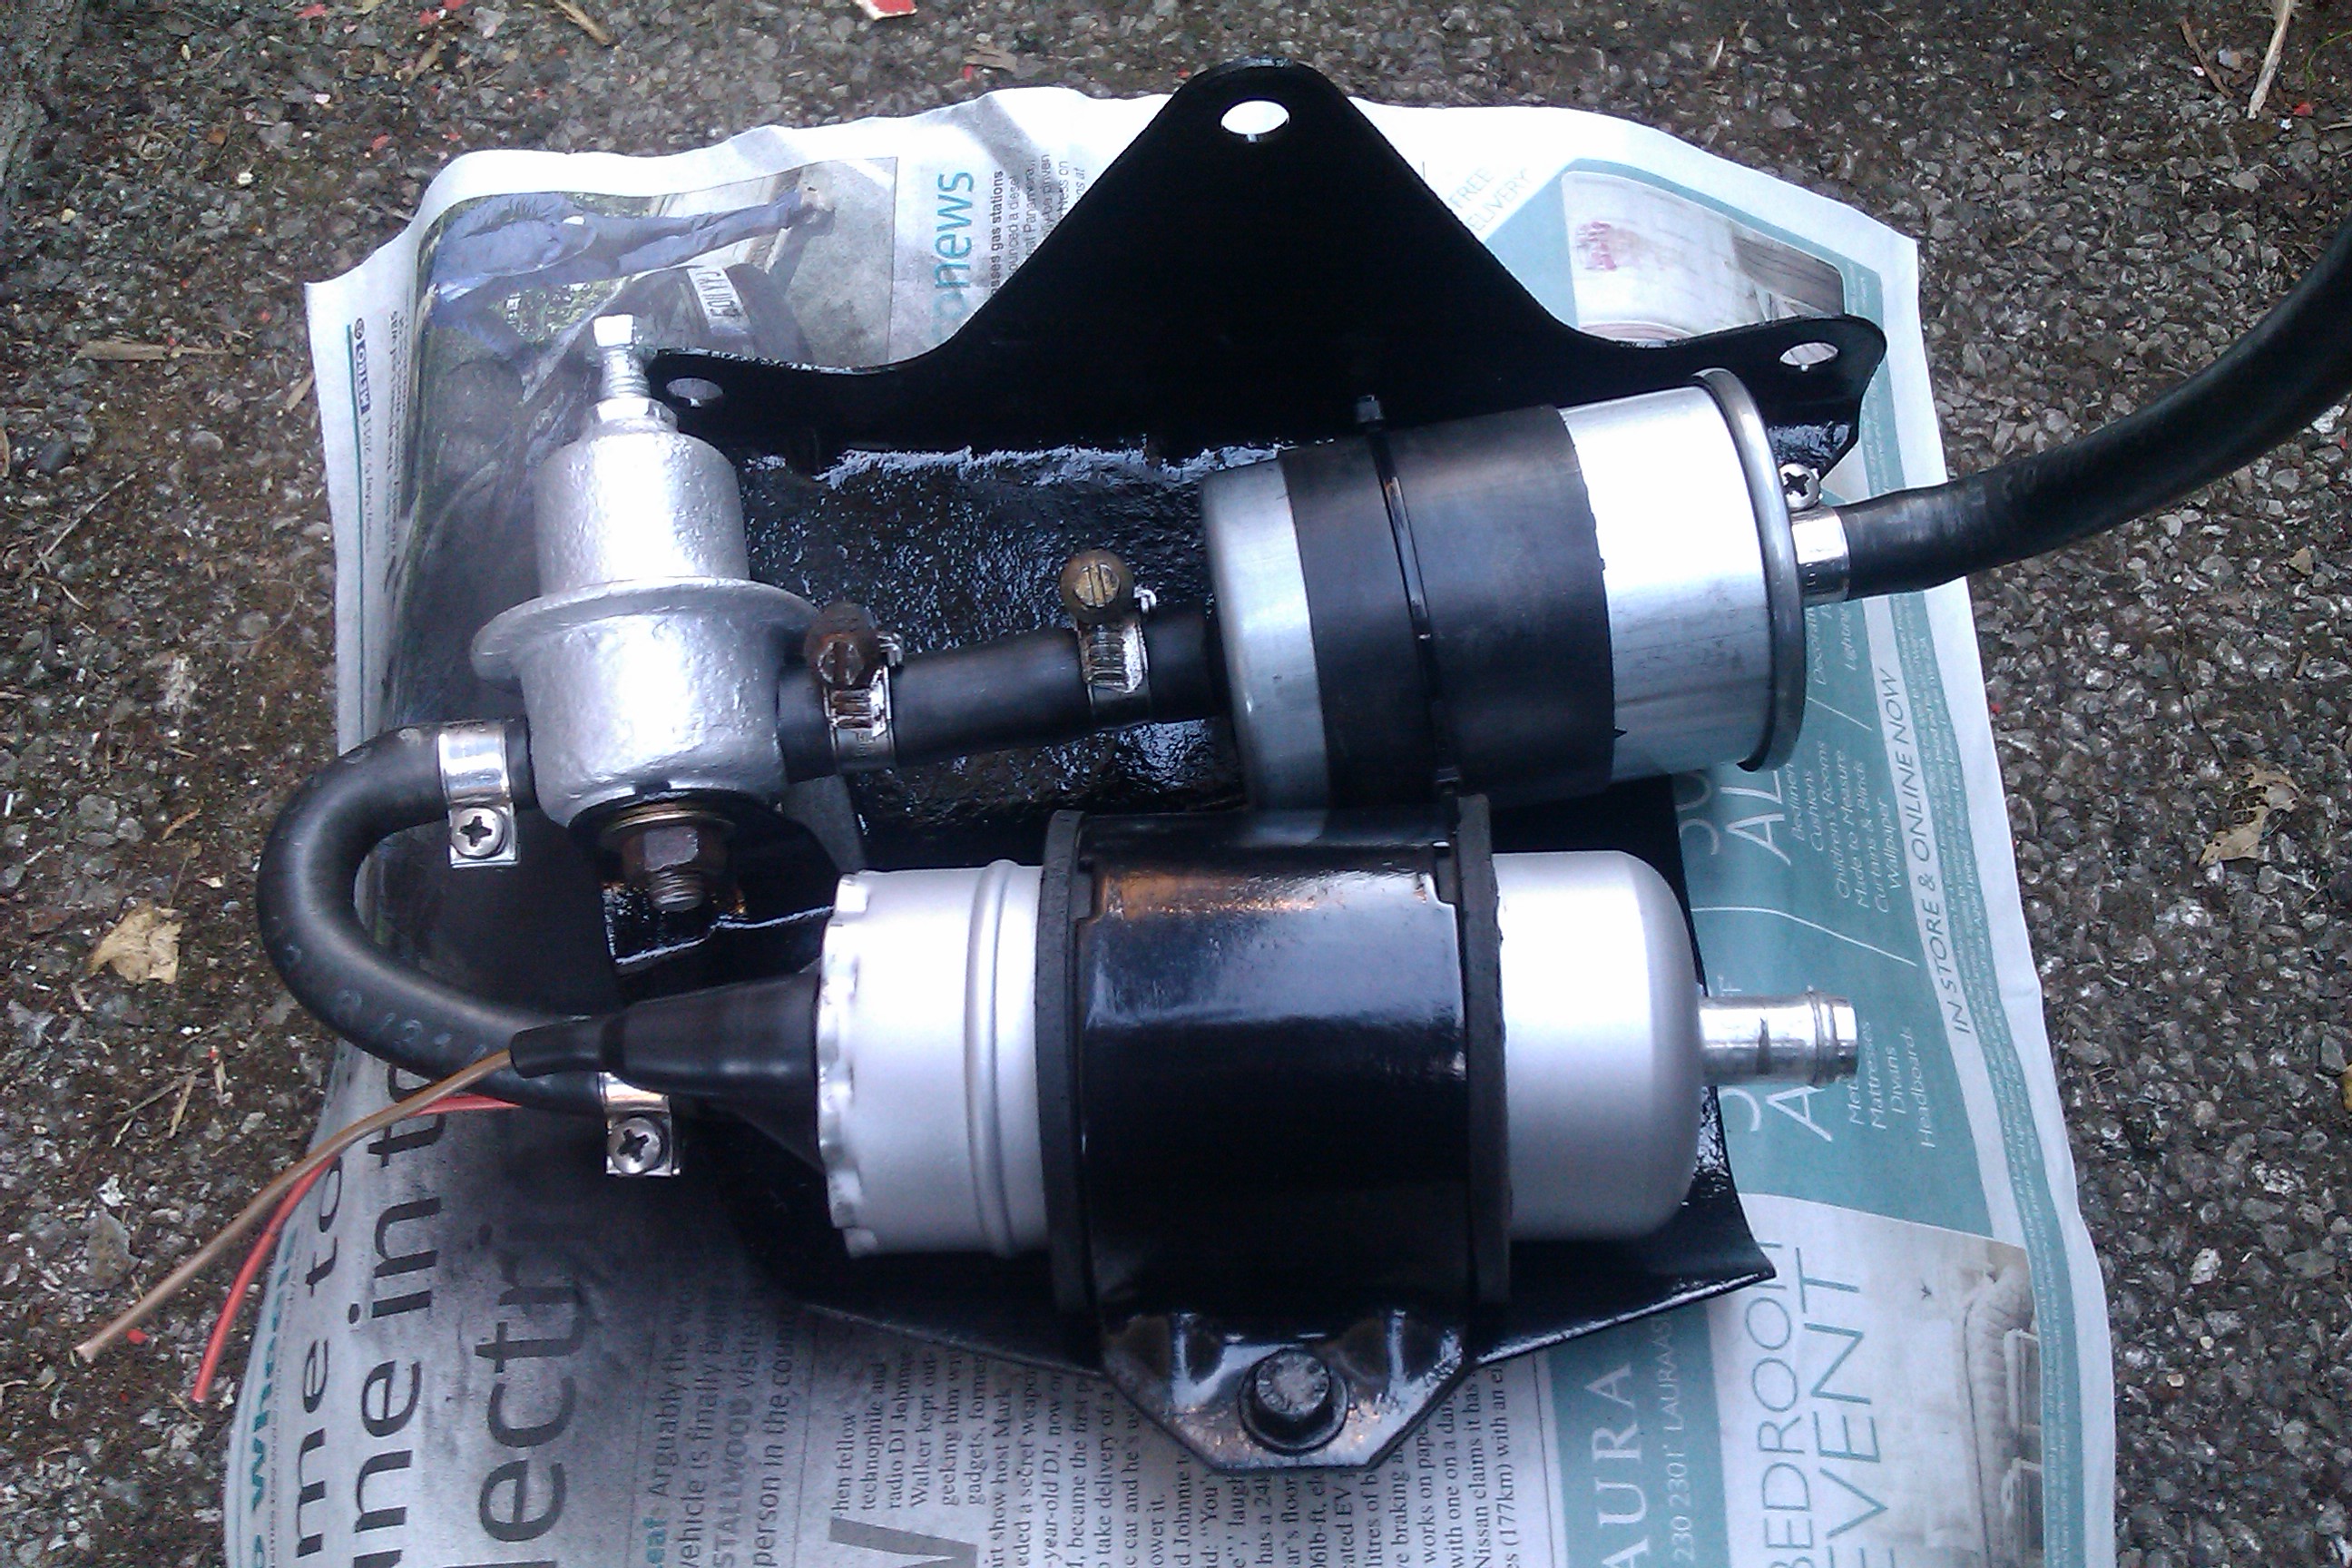
    Think I'm gonna need a new fuel damper as the on on there now is totally funked and if I tried hard enough I could probably stick a screw driver in it as it's rusted to sh*t. It was absolutely chucking it down with plenty of thunder storms too so skipped spraying it.

    I also got this vital item from Nick J (Cheers dude )

    Hoping the weather is good tomorrow, day off should see me get it painted.
    Last edited by Nova_Tek; 21-05-20 at 12:07 AM. Reason: Image rehosting

  2. #822
    Gold Club Member# 001 Club Member Nova_Tek's Avatar
    Join Date
    Jul 2002
    Location
    Hertfordshire..... Builds: ......... Snowplough'd LET
    Posts
    8,107
    Post Thanks / Like
    Mentioned
    0 Post(s)
    Tagged
    0 Thread(s)

    Default

    . Post error!

  3. #823
    Gold Club Member# 001 Club Member Nova_Tek's Avatar
    Join Date
    Jul 2002
    Location
    Hertfordshire..... Builds: ......... Snowplough'd LET
    Posts
    8,107
    Post Thanks / Like
    Mentioned
    0 Post(s)
    Tagged
    0 Thread(s)

    Default

    UPDATE

    Continuing from where I left off... As yesterday was a sunny day I cracked on with finishing off the pump cradle. Got it ready for a spot of painting and waiting for the acid etch primer to dry (didn't get shots of that part). A good few coats of black paint and let it dry.


    Once it did, I gave it a coat of petrol resistant lacquer and let it dry.

    I turned my attentions on the spare fuel pump which I cleaned and rubbed down


    and gave it a few coats of paint as well


    Let that dry and then moved on to the in-line fuel damper. It was in a mess. I was interested to see how far the rust would go as it looked way past it. Couldn't use any power tools so did it all by hand but I eventually got it to this state:


    There was a lot of surface crust but it was solid underneath and the nipples where mint, seeing as there were no leaks I gave it a few coats of paint. By the time I got the damper clean the black paint had dried enough for a few coats of lacquer. Gave it and the pump clamp plenty of coats and let that dry over night. I also cleaned up the jubilee clips and cut a new length of hose between the fuel filter and damper.

    This morning the lacquer was rock hard so I re-assembled the pump. I just need a nice metal clamp to fit around and retain the filter and it's on with fitting the rubber bushes to the Nova's underside and bolting it up and connecting to the tank

    Here's how it looks:


    Pleased that it looks so much better then when I first got it.
    Last edited by Nova_Tek; 21-05-20 at 12:16 AM. Reason: Image rehosting

  4. #824
    Club Member Club Member brucer's Avatar
    Join Date
    Apr 2007
    Location
    Old Radnor, Powys
    Posts
    2,803
    Post Thanks / Like
    Mentioned
    0 Post(s)
    Tagged
    0 Thread(s)

    Default

    congrats on how well you cleaned the fuel damper, i didnt bother with mine as they tend to be rusty as! maybe in the future ill take it off and paint it.

    still coming on though mate.

  5. #825
    Gold Club Member# 001 Club Member Nova_Tek's Avatar
    Join Date
    Jul 2002
    Location
    Hertfordshire..... Builds: ......... Snowplough'd LET
    Posts
    8,107
    Post Thanks / Like
    Mentioned
    0 Post(s)
    Tagged
    0 Thread(s)

    Default

    Cheers man,

    Was tempted to throw it away but decided to investigate it a bit further, amazing what a hammer can do, takes off flakey rusty bits so easily.

    Just a case of getting my mate to give me a date so we can get the LET sorted.

  6. #826
    Senior User
    Join Date
    Sep 2002
    Location
    Manchester Drives: 911 Carrera 2, MR2 Roadster turbo
    Posts
    4,633
    Post Thanks / Like
    Mentioned
    0 Post(s)
    Tagged
    0 Thread(s)

    Default

    That bracket for the fuel pump has been well bent. The fuel filter shouldn't be mounted there, it mounts on the tank. I think the assembly as you have it will hang far too low?

    Edit - Doesn't look like a Nova one?

  7. #827
    Gold Club Member# 001 Club Member Nova_Tek's Avatar
    Join Date
    Jul 2002
    Location
    Hertfordshire..... Builds: ......... Snowplough'd LET
    Posts
    8,107
    Post Thanks / Like
    Mentioned
    0 Post(s)
    Tagged
    0 Thread(s)

    Default

    It looks rather straight to me, it is rather easy to be though. I know there are a few types of these cradle things but to be honest they are hard to get hold of. I needed to get one, as it's one of the last things I actually need, so worth a shot.

    I got this the other day finally. After getting sent totally the wrong item from these guys, I then sent it back. They sent me the correct item which never turned up so after contacting them they re-sent another one


    Needed a few assorted sizes so this fit the bill just fine and comes with it's screw driver.
    Last edited by Nova_Tek; 24-02-12 at 08:04 PM. Reason: Re-host image

  8. #828
    User
    Join Date
    Jan 2011
    Location
    HUN
    Posts
    442
    Post Thanks / Like
    Mentioned
    0 Post(s)
    Tagged
    0 Thread(s)

    Default

    Quote Originally Posted by Nova_Tek View Post
    http://img808.imageshack.us/img808/1861/1002387.jpg
    A few cable tie and it's a complete Nova Survivor Kit

  9. #829
    Gold Club Member# 001 Club Member Nova_Tek's Avatar
    Join Date
    Jul 2002
    Location
    Hertfordshire..... Builds: ......... Snowplough'd LET
    Posts
    8,107
    Post Thanks / Like
    Mentioned
    0 Post(s)
    Tagged
    0 Thread(s)

    Default


  10. #830
    Gold Club Member# 001 Club Member Nova_Tek's Avatar
    Join Date
    Jul 2002
    Location
    Hertfordshire..... Builds: ......... Snowplough'd LET
    Posts
    8,107
    Post Thanks / Like
    Mentioned
    0 Post(s)
    Tagged
    0 Thread(s)

    Default

    UPDATE

    What can I say... it has been a while since I've updated the thread/worked on the project.

    Woke up real early to take my bro and his fiance to the airport. Drove there in the SR and managed to find out that it is a good 6 - 7 mph out on the speedo compared to GPS speed (No surprises I guess). Anyway... got home and called my mate telling him I was ready when he was. About 15 minutes later he arrived with all the tools.

    Got the LET into the back garden as it was a lovely warm sunny day, finally!

    Got to work slowly stripping off the head and making our way around the block. We got to the cam belt side, stripping the tensioners etc off and moved on to the toothed bottom pulley. Had a moment of uncertainty/doubt after all the force needed to take the bottom pulley bolt off, the crank didn't budge (but the bolt cam off fine). We both were wondering what we'd find. We soldiered on and removed the timing cover back plate and eventually cracked off the head. At this point I didn't know what to expect. Knowing the engine hadn't run for the best part of a couple years, it was either gonna be 'oh sh*t, what a state!' or 'ok... that's not bad' or 'wow... that's flippin' awesome!'. I'd say it was more the second scenario of 'ok... that's not bad'

    We then spun the block round with no head to start removing the pistons and hopefully finding the reason why the crank wouldn't turn by hand. Started off with piston 2, then 3, then 1 and lastly 4. Pistons slotted out with ease. Crank still wouldn't turn. So we started coming up with a few possibilities. Looking and the bearings it seemed that they were well worn. We continued to remove the caps for the crank itself. Undoing them was straight forward but a few bolts were a bit too easy to undo... hmmm.

    A couple of the caps came off fine, the other two were slightly stiffer and needed a bit of persuasion. Two of them were missing a bearing. So we started coming up with more conclusions.

    1) 'maybe the last owner was a fu*king retard',
    2) 'maybe the engine was gonna be built back up, but then had given up on and temporarily reassembled for the time being'.

    Reason two seemed more likely.

    We tried to see if the crank would lift or turn now that all but one cap were removed, but still wouldn't shift! The final cap at the fly wheel end was a right ball ache to remove, took 10 mins of faffing around to get it out but it finally did. At that point we found out why the crank didn't budge. A 17mm spanner and 2 minutes later and the crank was moving! It turns out (pardon the pun) that the fly wheel bolts were tightened all the way in and were pretty much locking the crank. Sigh of relief. No major issues just expected wear on an old engine.

    Enough of my jibber jabber, took a few pics of what was uncovered.

    One stripped GM head. Didn't remove the valves as my mate didn't have his tool with him.


    And the other side. Valves looking fine but looks like some signs of det


    Head gasket didn't seem to have any obvious issues

    Cams and lifters all out and looking ok. Lifter could do with a clean as some are firmer/softer than others but there are two that seemed to have seized. A few cam lobes have slight scuffing and a couple camshaft caps pulley side have a bit of scoring on them so may need to be replaced.


    One filthy GM oil pump needing one hell of a clean inside and out most likely.


    This will deffo be getting the paint treatment... Absolutely dirty!

    All the pistons had good rings, undamaged which was a good sign. Still will get renewed of course but nice to see. The pistons did however all show something odd

    Piston 1


    Piston 2


    Piston 3


    Piston 4


    Did anyone notice? I know the pistons have valve cut outs on the face, but they all seem to have an extra indentation that looks like they've been struck by a valve. Inspecting the valves we noticed nothing out of the ordinary so the only thing we could conclude was that something happened way in the past and the pistons were reused. Unless someone can shed some light as to why it could be like that. Contemplating what to do with them.

    ...
    Last edited by Nova_Tek; 22-05-20 at 09:45 PM. Reason: Image rehosting

Posting Permissions

  • You may not post new threads
  • You may not post replies
  • You may not post attachments
  • You may not edit your posts
  •