Page 108 of 200 FirstFirst ... 85898106107108109110118158 ... LastLast
Results 1,071 to 1,080 of 1998

Thread: The Counts Track Day Nova Build

  1. #1071
    Senior User Count Vaux Alot's Avatar
    Join Date
    Jan 2008
    Location
    Bedfordshire/Hampshire
    Posts
    4,961
    Post Thanks / Like
    Mentioned
    0 Post(s)
    Tagged
    0 Thread(s)

    Default

    Quote Originally Posted by Benn
    Dude. Didnt know you where doing it wide too.
    The fb arch does look a lil off shape...
    I love the pic with the wheel sticking right out of the arch from the back..

    Bay looks cool as funk.
    Yep nice and wide thought i might as well - 
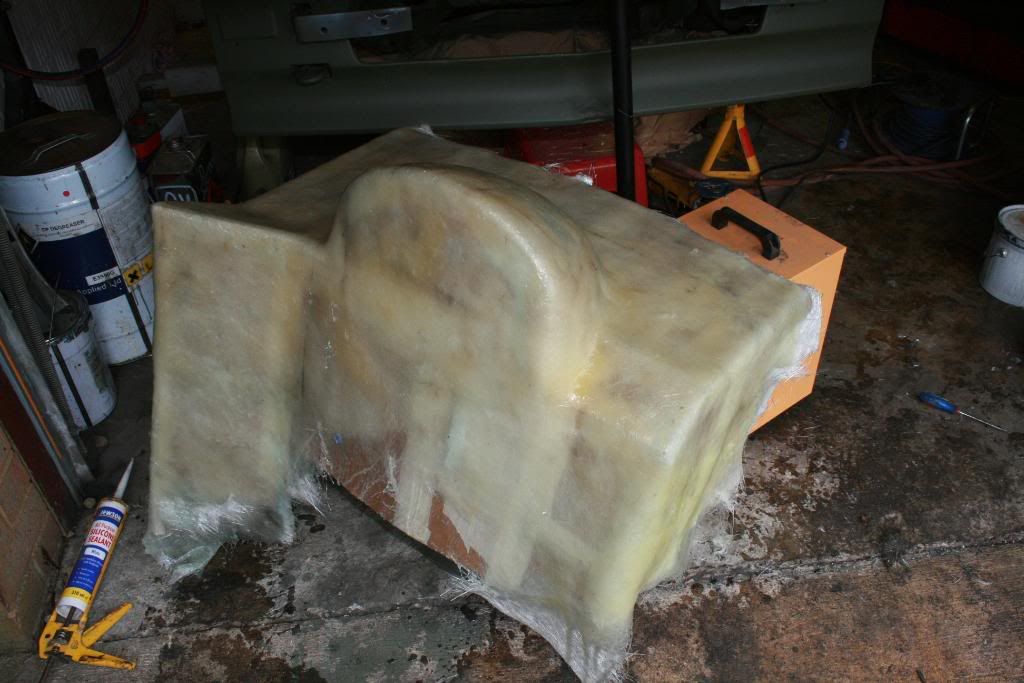
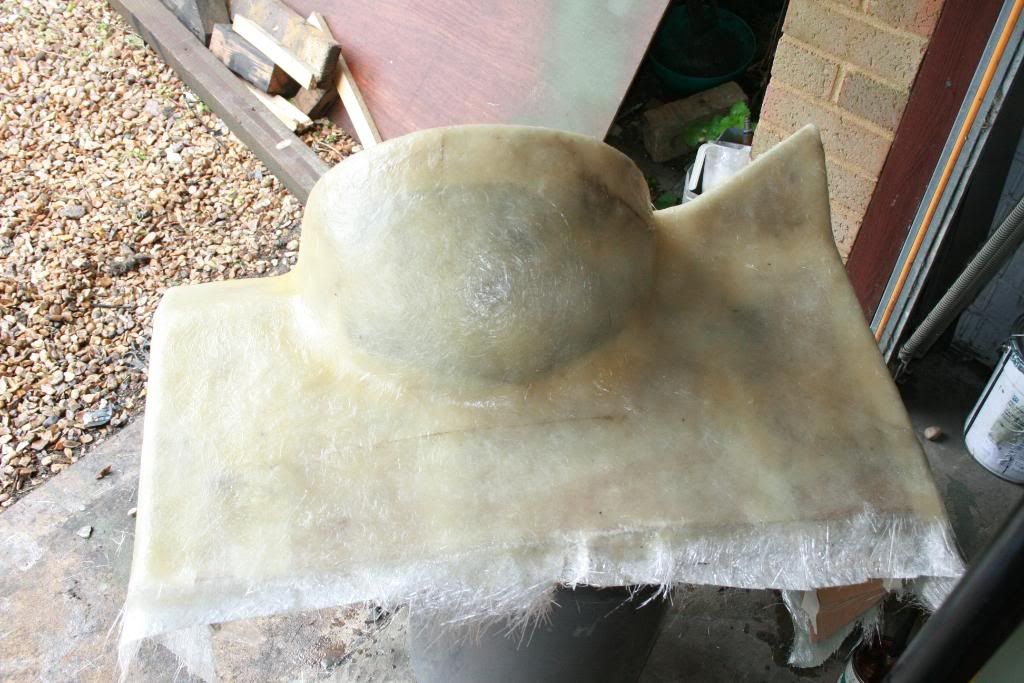
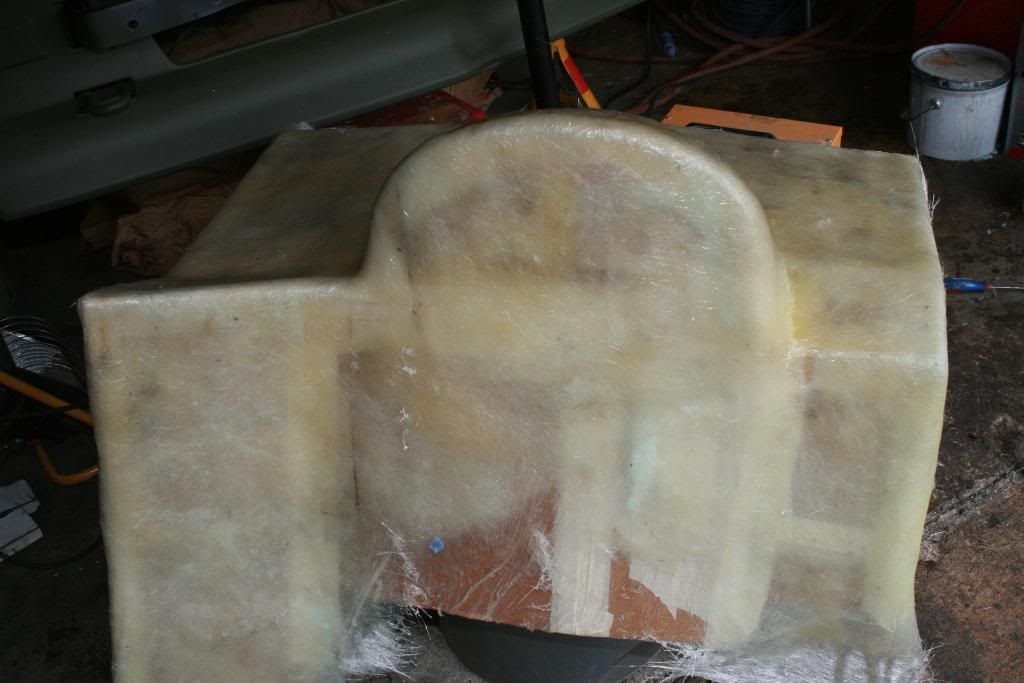
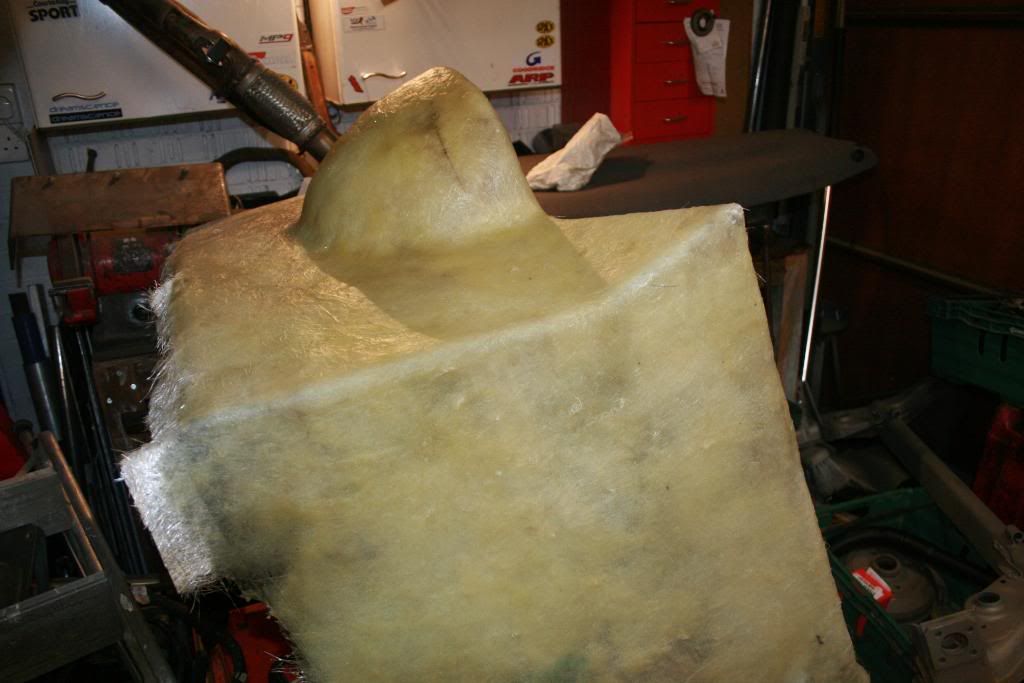
the F/G rear arches are a strange shape and i'm unsure exactly how i'm going to tackle it at the moment although i have a few ideas....i can't see how they ever fitted in the first place

    Quote Originally Posted by The Simps
    oh, will your rear track be slightly wider than your fronts?
    No mate +100 mm front and rear!

  2. #1072
    Go low or Go home. Moderator Benn's Avatar
    Join Date
    Mar 2004
    Location
    Fareham, Hampshire
    Posts
    23,815
    Post Thanks / Like
    Mentioned
    12 Post(s)
    Tagged
    0 Thread(s)

    Default

    Bang them on, go low and drive it hard..

    Have they been trimmed and shaped?
    All I wanted was a Pepsi, just one Pepsi
    Far from suicidal
    Still I get them tendencies
    Bringing back them memories
    That I really miss when I reminisce

  3. #1073
    Senior User Count Vaux Alot's Avatar
    Join Date
    Jan 2008
    Location
    Bedfordshire/Hampshire
    Posts
    4,961
    Post Thanks / Like
    Mentioned
    0 Post(s)
    Tagged
    0 Thread(s)

    Default

    Quote Originally Posted by Benn
    Bang them on, go low and drive it hard..

    Have they been trimmed and shaped?
    Yes i think they have been 'trimmed' and 'shaped' but not very well i will be banging them on over the weekend so we will see how they turn out - once they are on its paint the outside of the car time!!

  4. #1074
    User
    Join Date
    Mar 2008
    Location
    Leicester
    Posts
    159
    Post Thanks / Like
    Mentioned
    0 Post(s)
    Tagged
    0 Thread(s)

    Default


    Updates please!!

  5. #1075
    Go low or Go home. Moderator Benn's Avatar
    Join Date
    Mar 2004
    Location
    Fareham, Hampshire
    Posts
    23,815
    Post Thanks / Like
    Mentioned
    12 Post(s)
    Tagged
    0 Thread(s)

    Default

    Quote Originally Posted by Count Vaux Alot
    Yes i think they have been 'trimmed' and 'shaped' but not very well i will be banging them on over the weekend so we will see how they turn out - once they are on its paint the outside of the car time!!
    Cool cool, and yeah maybe trimmed by a blink guy.
    With your metal work skills a bit of fiber glassing wont be hard...
    All I wanted was a Pepsi, just one Pepsi
    Far from suicidal
    Still I get them tendencies
    Bringing back them memories
    That I really miss when I reminisce

  6. #1076
    Senior User Count Vaux Alot's Avatar
    Join Date
    Jan 2008
    Location
    Bedfordshire/Hampshire
    Posts
    4,961
    Post Thanks / Like
    Mentioned
    0 Post(s)
    Tagged
    0 Thread(s)

    Default

    Updates should be on their way tonight - i've had an uber busy family weekend so should get some time later....Benn F/G is not a problem as you will find out later - and its not the arches.....

  7. #1077
    Go low or Go home. Moderator Benn's Avatar
    Join Date
    Mar 2004
    Location
    Fareham, Hampshire
    Posts
    23,815
    Post Thanks / Like
    Mentioned
    12 Post(s)
    Tagged
    0 Thread(s)

    Default

    Cool cool, man of manny tallents then, and its not the arches? the metal ones or the fb?
    All I wanted was a Pepsi, just one Pepsi
    Far from suicidal
    Still I get them tendencies
    Bringing back them memories
    That I really miss when I reminisce

  8. #1078
    Senior User Count Vaux Alot's Avatar
    Join Date
    Jan 2008
    Location
    Bedfordshire/Hampshire
    Posts
    4,961
    Post Thanks / Like
    Mentioned
    0 Post(s)
    Tagged
    0 Thread(s)

    Default

    Right update time....As mentioned before i'm going wide track front and rear - there are several options available to fill those wide arches some better than others imo. The options are wide low offset wheels (there is the possibility that the width would cause them to track across the road badly and the low ET to make them feel 'uncomfortable' to drive on), A wide track kit from the likes of HH or pilebeam (sp?) or TAS if they still existed (which they don't) but they are all major £££, the classic hubsentric spacers or my favoured option make my own!

    So here is the latest attempt at money saving/problem solving from the Count Developments camp it all started when i was perusing the possible options and JohnH said he had an old TAS catalogue laying around so he posted me it (cheers mate! 
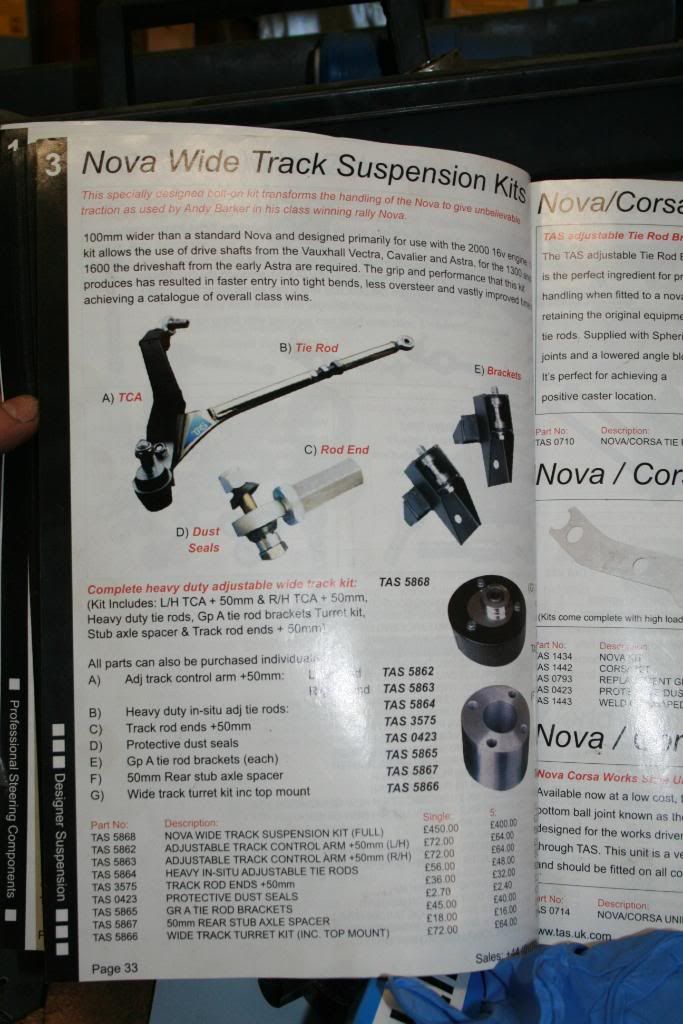
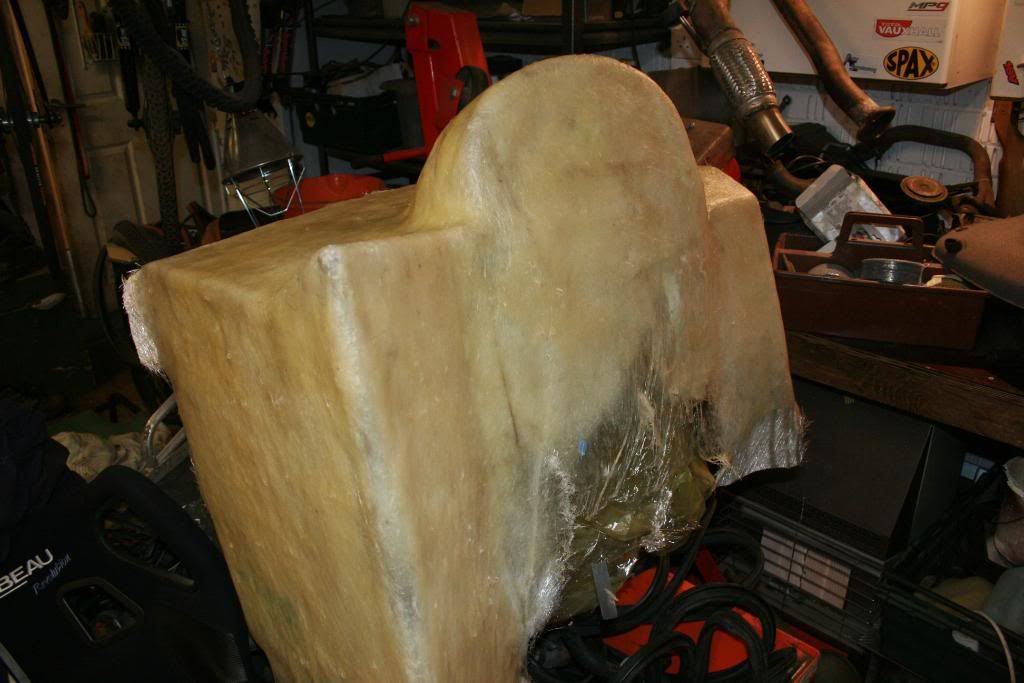
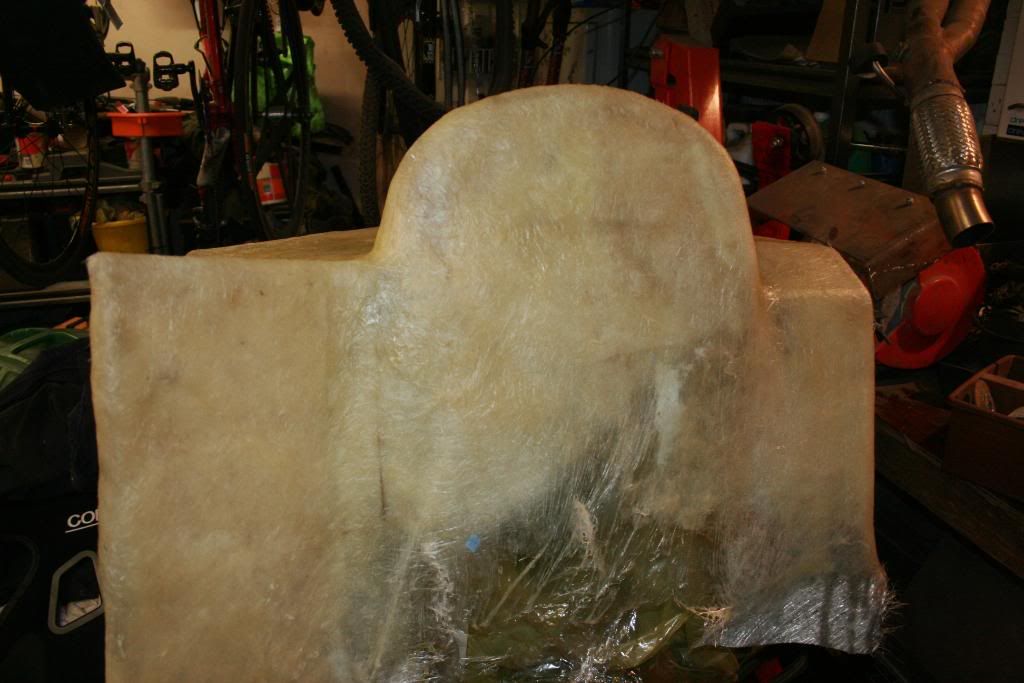
) - i had a look at what they used to offer (see below) and what other companies still offer (at a price but after making mine i realise why!)

    So here is the pic from TAS its very small an not overly helpful but does give a rough idea (i will add i couldn't find anyone running any wide track kits that have decent photo's) so i basically started from scratch!


    I started off with the standard arm took loads of measurements and worked out the angles then used them to widen the arm by 50mm and knocked up a jig (i don't have pics of this as my dog sh?t phone will not connect to my laptop no matter what i do so apologies).

    After i was happy with the angles etc i welded the arm up to give this (i will get some better pics of the finished results once they are all er finished)

    Uniballs on the outside


    RJ on the inside for adjustable camber


    Then to bring out the hub carrier so i didn't have loads of neg camber i sorted these +50mm spacers out (the other option would have been to alter the strut top by moving it out from the centre of the car) these will be used in conjunction with eccentric strut tops.


    As you can see the carriers face is sitting quite level and its not all bolted up properly


    Once i had achieved the shape of arm required and it fitted ok to the car with the hub carrier spacer i set about making up the tie bar as i already make the drop mount for the lower front panel these are similar to the TAS design but better imo as they are not fixed at the lower arm end.

    I went for LH rose joint at the front to the drop mount


    Then roughly lined it up (yes the lower arm is the other way up in this pic as i wasn't sure which way round was the best at this point)


    Then i cut the tiebar in half and put a RH insert in the opposite end to the LH RJ so it will take a RH threaded bar (in 12.8 so strong as funk) like so

    LH thread at one end and RH thread at the other


    This is then bolted to the lower arm, I gave it some more strengthening just because

    Holes to puddle weld the bar in


    Then slotted the other end of the bar to add a piece of plate in the middle as so to add to the strength of the bolted end


    Welded it in


    So i ended up with this


  9. #1079
    Senior User Count Vaux Alot's Avatar
    Join Date
    Jan 2008
    Location
    Bedfordshire/Hampshire
    Posts
    4,961
    Post Thanks / Like
    Mentioned
    0 Post(s)
    Tagged
    0 Thread(s)

    Default

    I then added an 'anti crush' bit of 12mm id tubing for the bolt


    This therefore giving one complete tie bar that allows 'on car' adjust ability

    Once the tie bar was complete i moved on to the mounting position on the lower arm TAS used this method (the one reasonable on car pic i could find)


    It uses a 'foot' looking end like the original tie bar but if you tried to adjust the tie bars length then surly you would need to elongate the holes to accommodate the angle change at the lower arm end? So to over come this i made it a pivot using the bolt through idea above.

    Here is the tie bar mounting point on the lower arm


    And boxed it in


    The finished result ending up like so


  10. #1080
    Senior User Count Vaux Alot's Avatar
    Join Date
    Jan 2008
    Location
    Bedfordshire/Hampshire
    Posts
    4,961
    Post Thanks / Like
    Mentioned
    0 Post(s)
    Tagged
    0 Thread(s)

    Default

    Needless to say i was more than happy with the result (as long as it actually works that is ) so this is the development stage only and may need some final alterations (read as smashing with a bit hammer and binning and starting again if it all goes wrong)
    As i didn't have all the resources the large companies that produce kits similar to these it did take ages to work it all out but then result nearly looks profesional imo and i can understand why they cost so much in the first place.

    So while i was twiddling my thumbs i decided its nearly time to start rebuilding the interiour (not that there is much interiour actually going back in to the car ) i thought i would try a bit of F/G action with the dash (Benn what you think?)
    So i knocked up this custome fiberglass dash - i'm not sure how it will turn out yet after its cut to size and tidied up but it may well find its self bin bound also if it looks w@nk.

    What you all think?


    Pod in the middle for the rev counter speedo etc guages and switches to the left fuses to the right or something like that


    Apologies if any and or all of that made no sense as i'm very tired of three days of screaming kids at the inlaws

Posting Permissions

  • You may not post new threads
  • You may not post replies
  • You may not post attachments
  • You may not edit your posts
  •