I always love to see your projects Joff, great attetion to detail. Well done mate.
As for the sensor, could it be a YOR sensor (they monitor G-force for the ESP)?
Dan


I always love to see your projects Joff, great attetion to detail. Well done mate.
As for the sensor, could it be a YOR sensor (they monitor G-force for the ESP)?
Dan

Nice detailed work, and a lot more involved than most people would have bothered. Can tell you live in East Yorkshire with your blue wheelie bin

Saturday update....
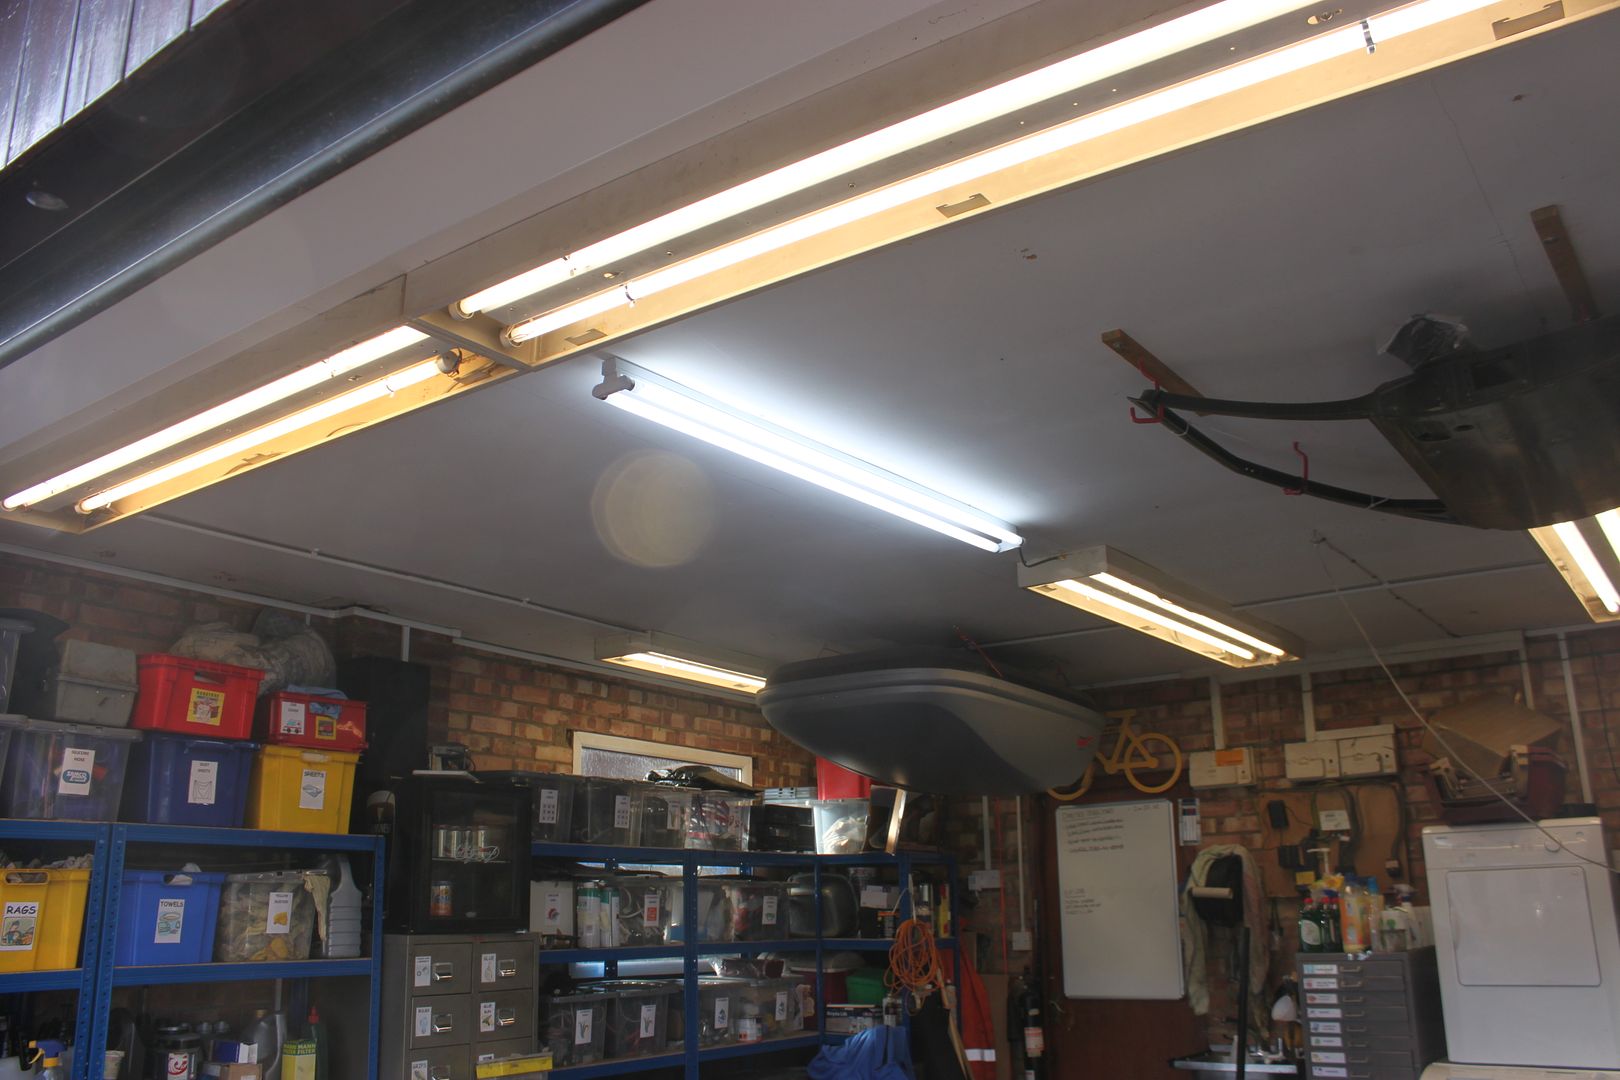
Rain stopped play this morning so I moved the Nova out and changed the roll bar link bars on SWMBO's current Meriva and then replaced a non functioning strip light - wasn't expecting the tubes to be so different in colour....
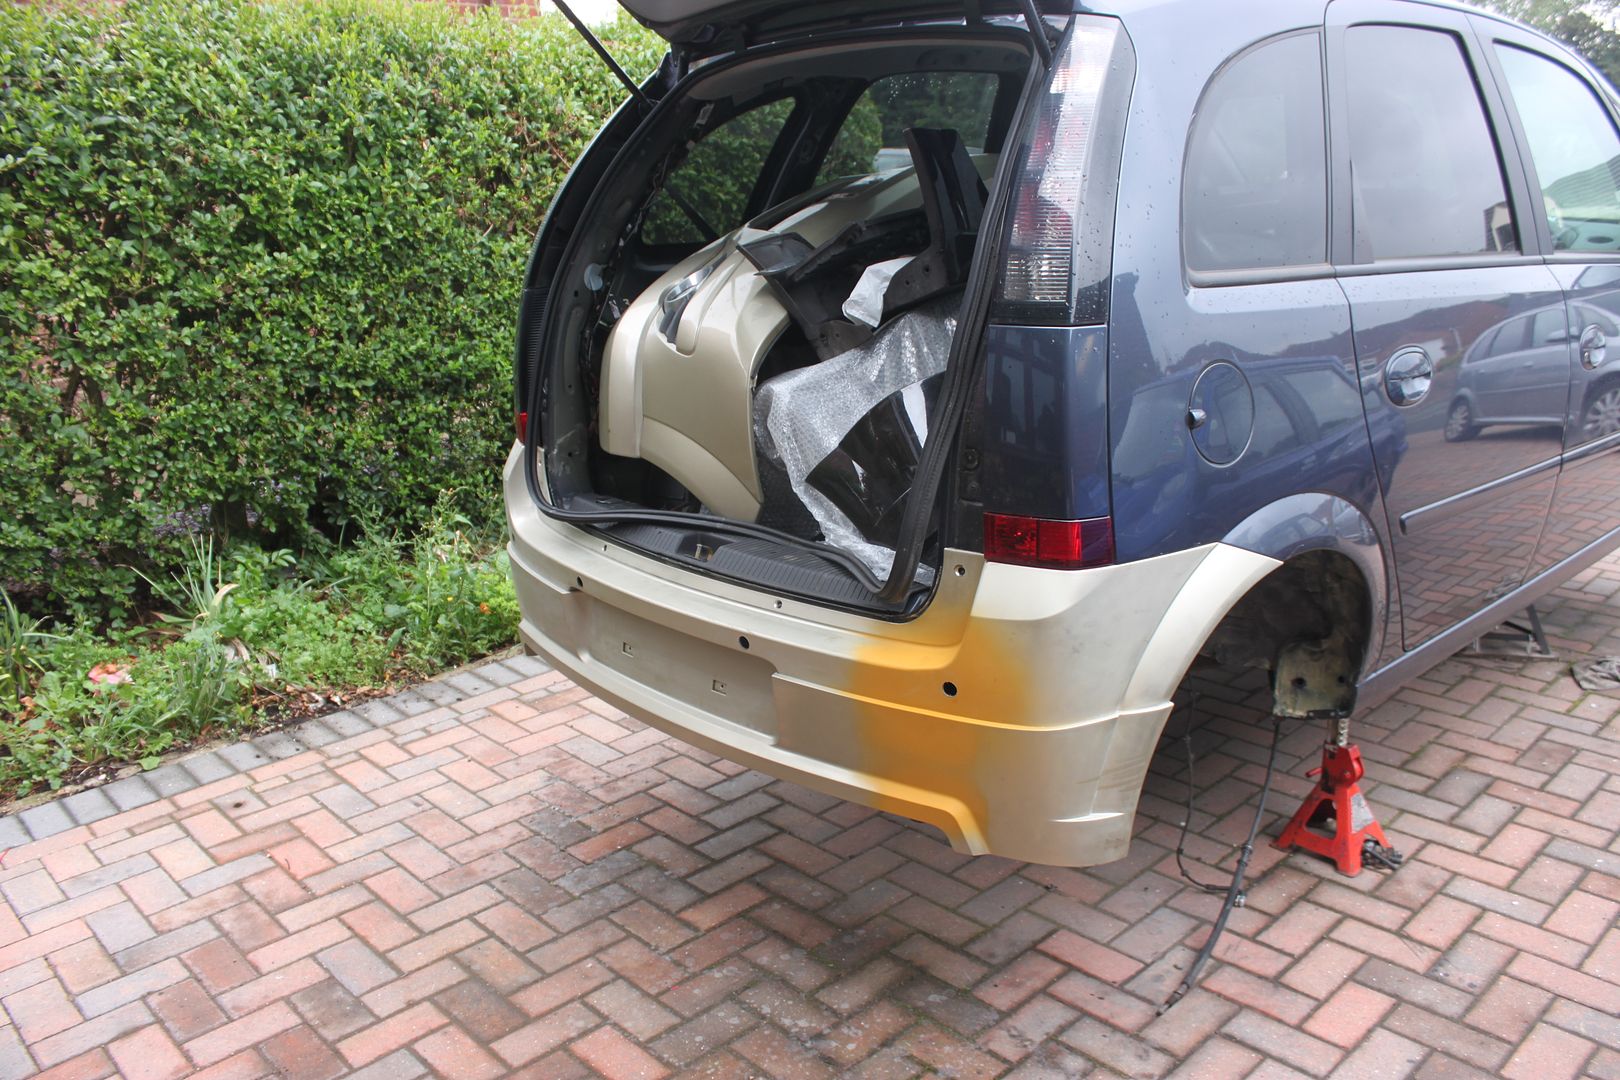
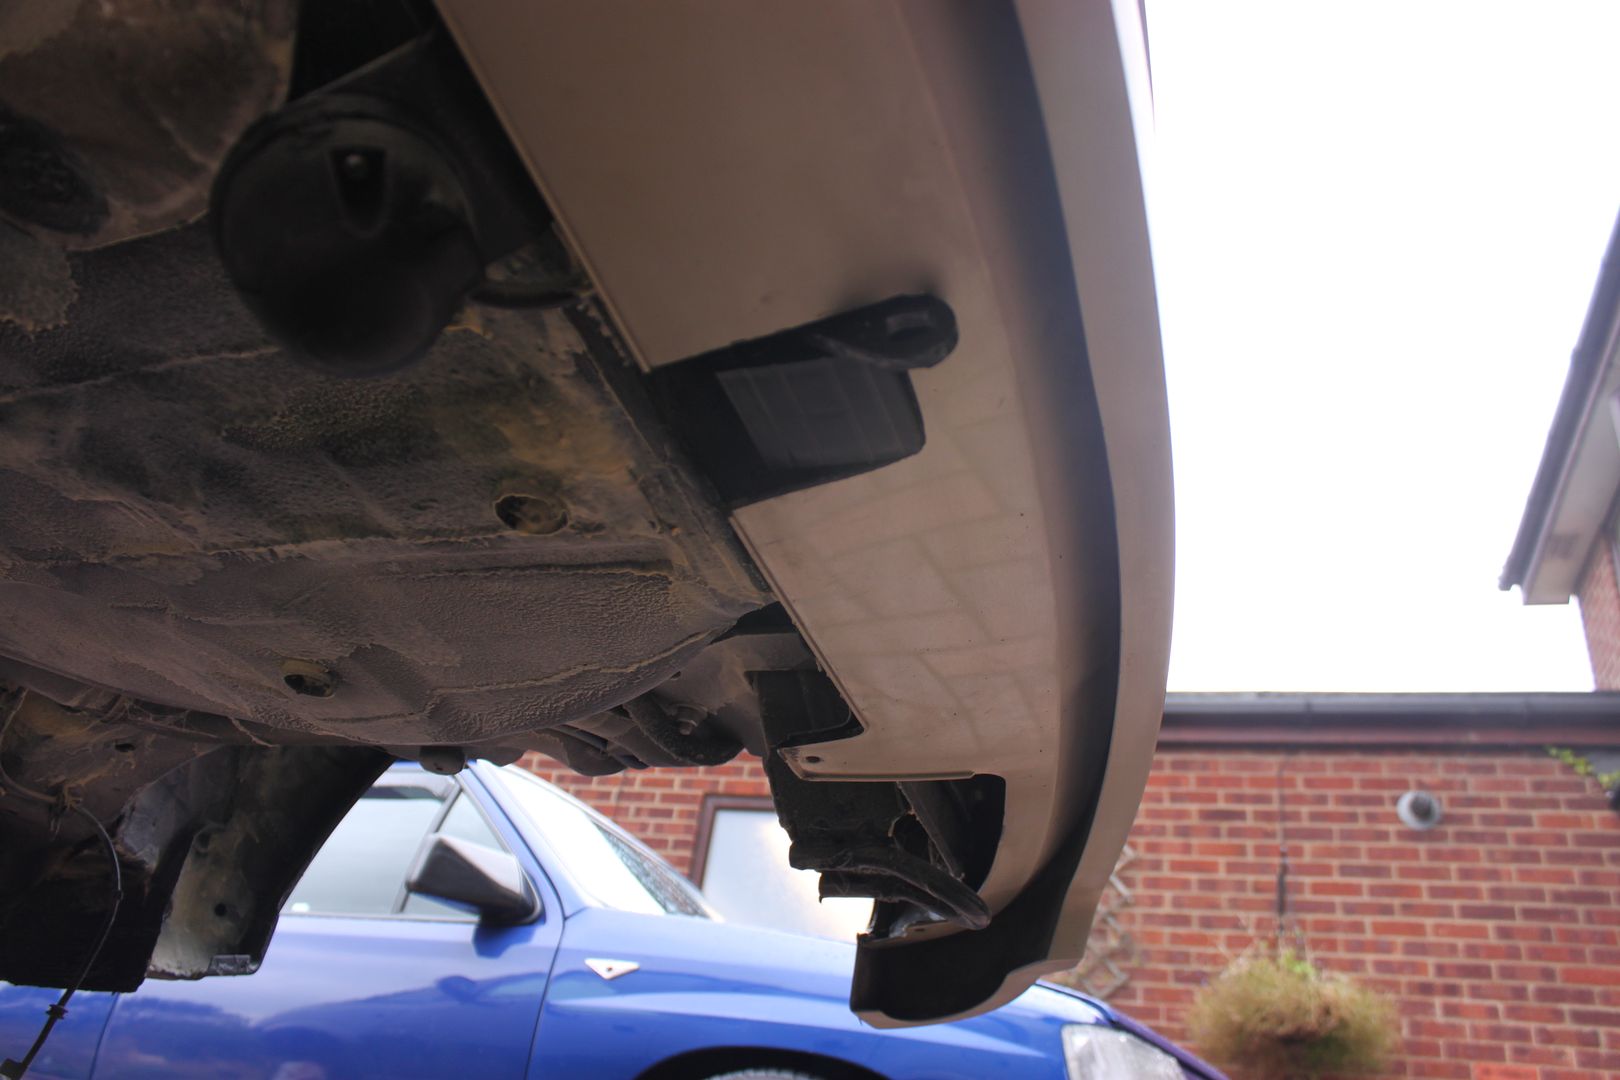
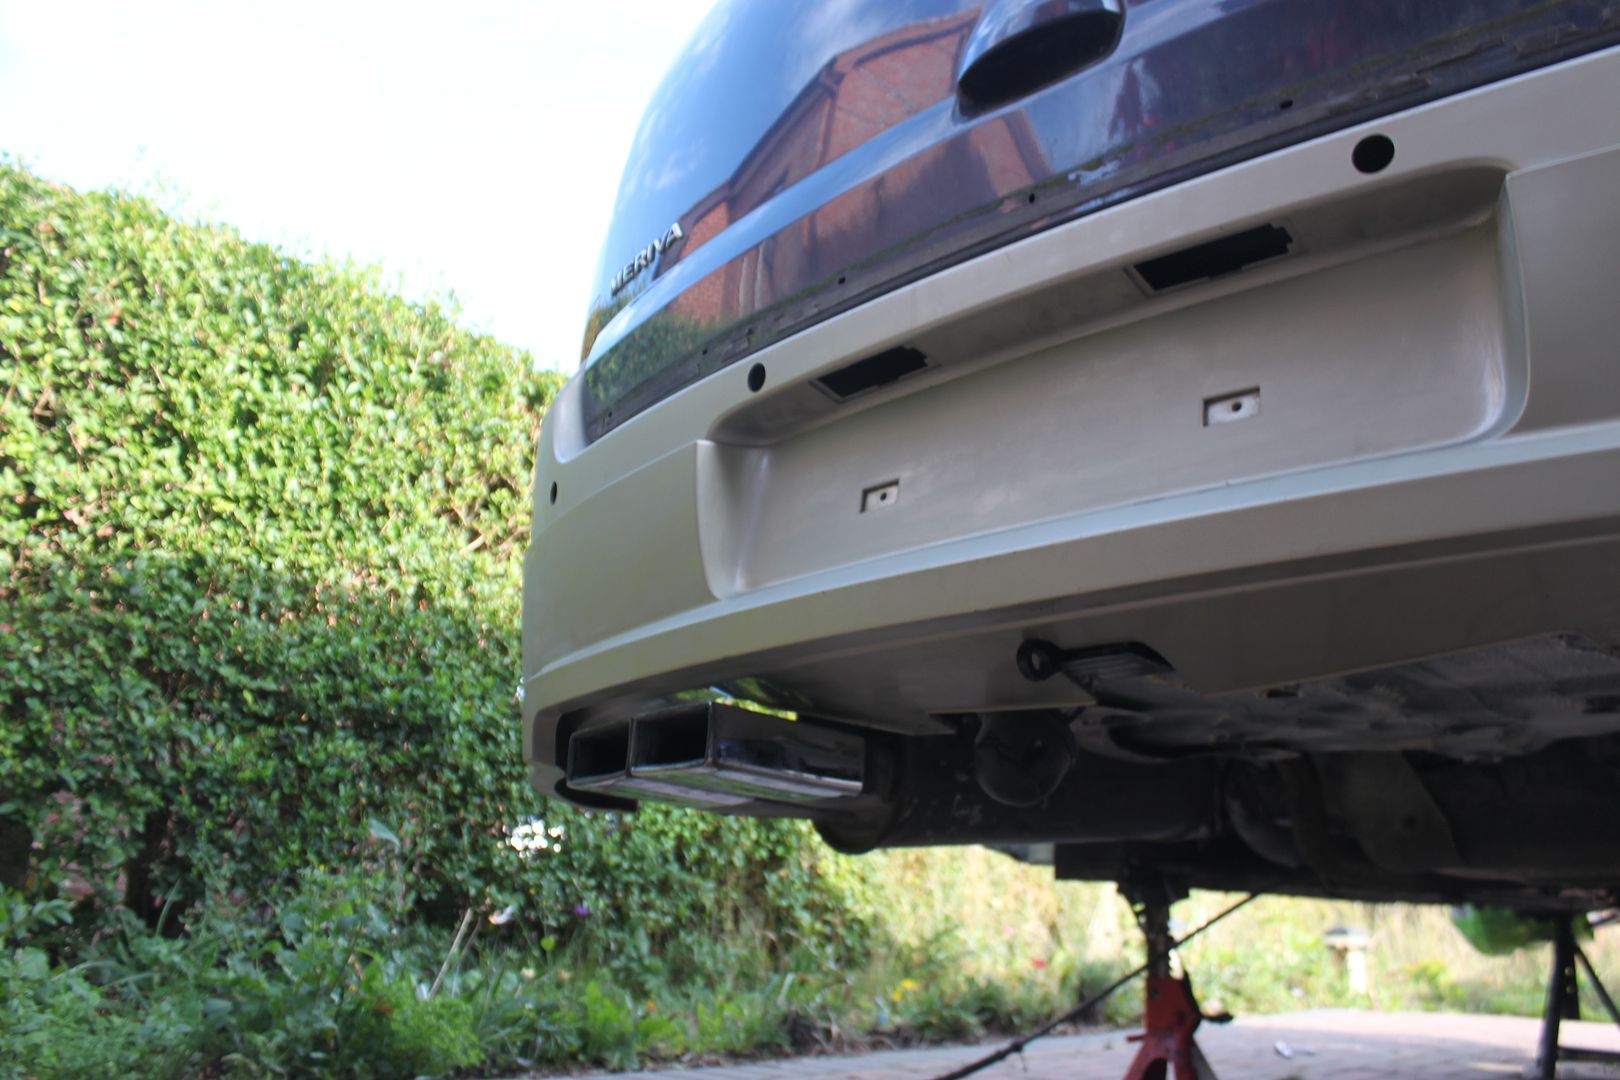
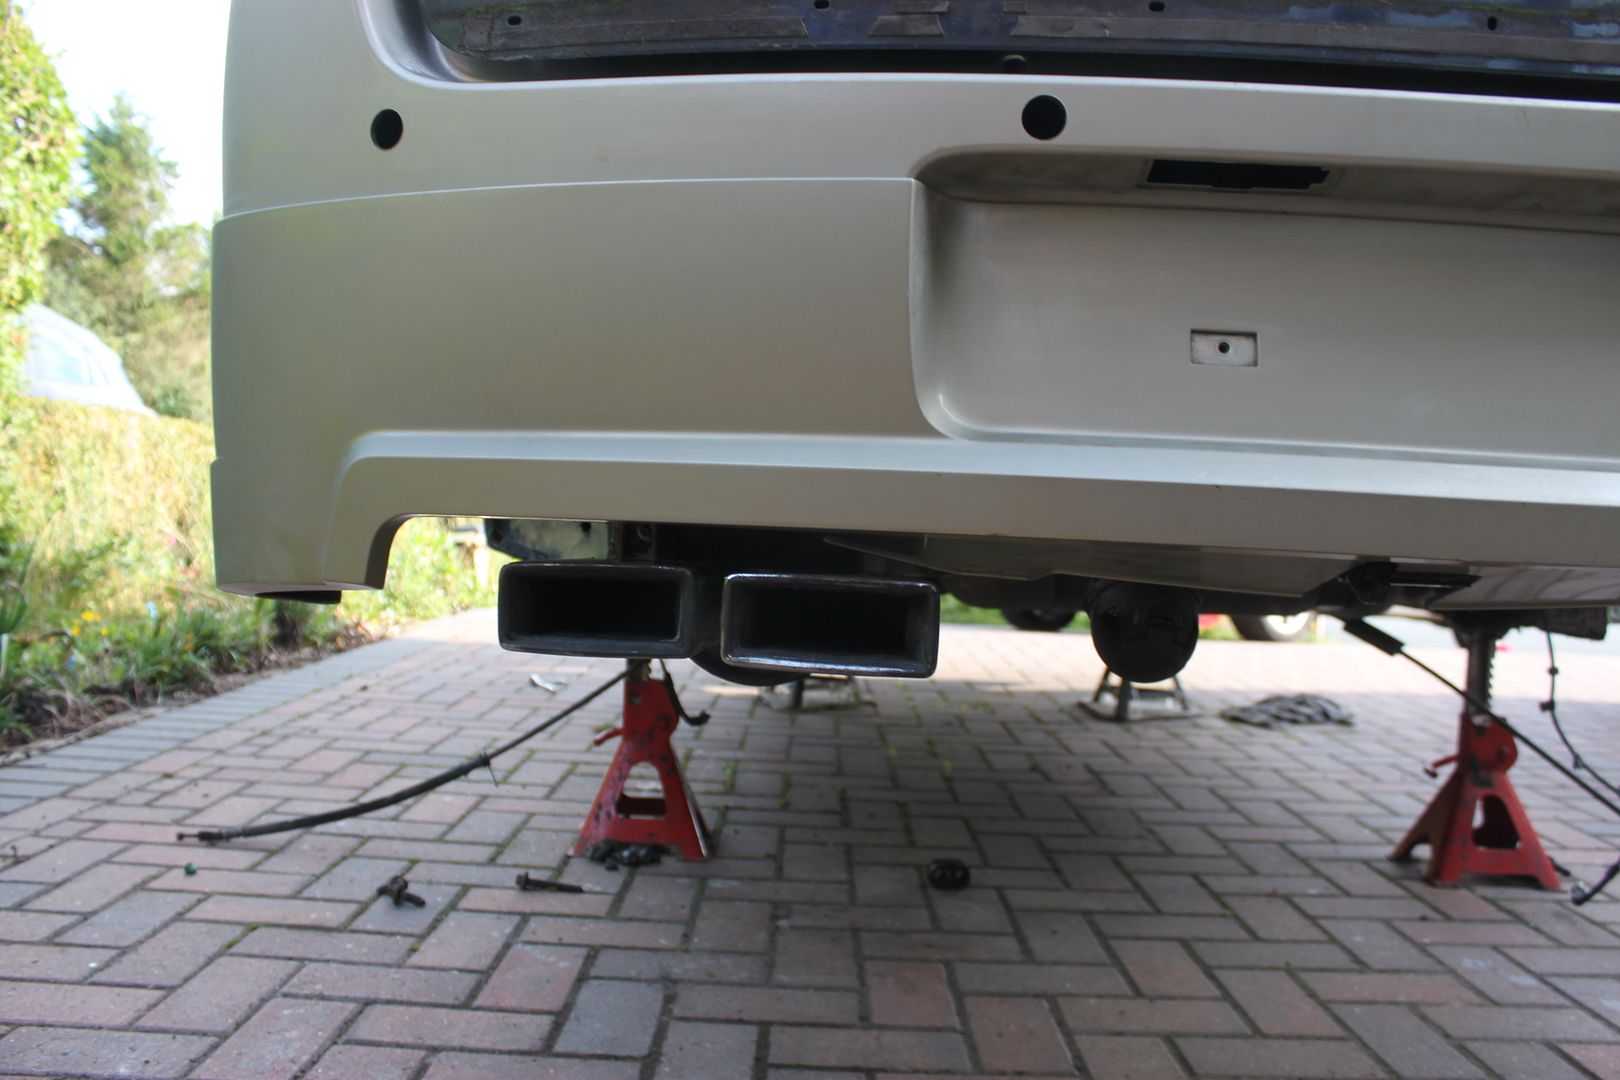
Then once the rain had run away I got the replacement bumper fitted and then trimmed to access the removable tow bar (which lives behind the little plastic dirt shield) ....
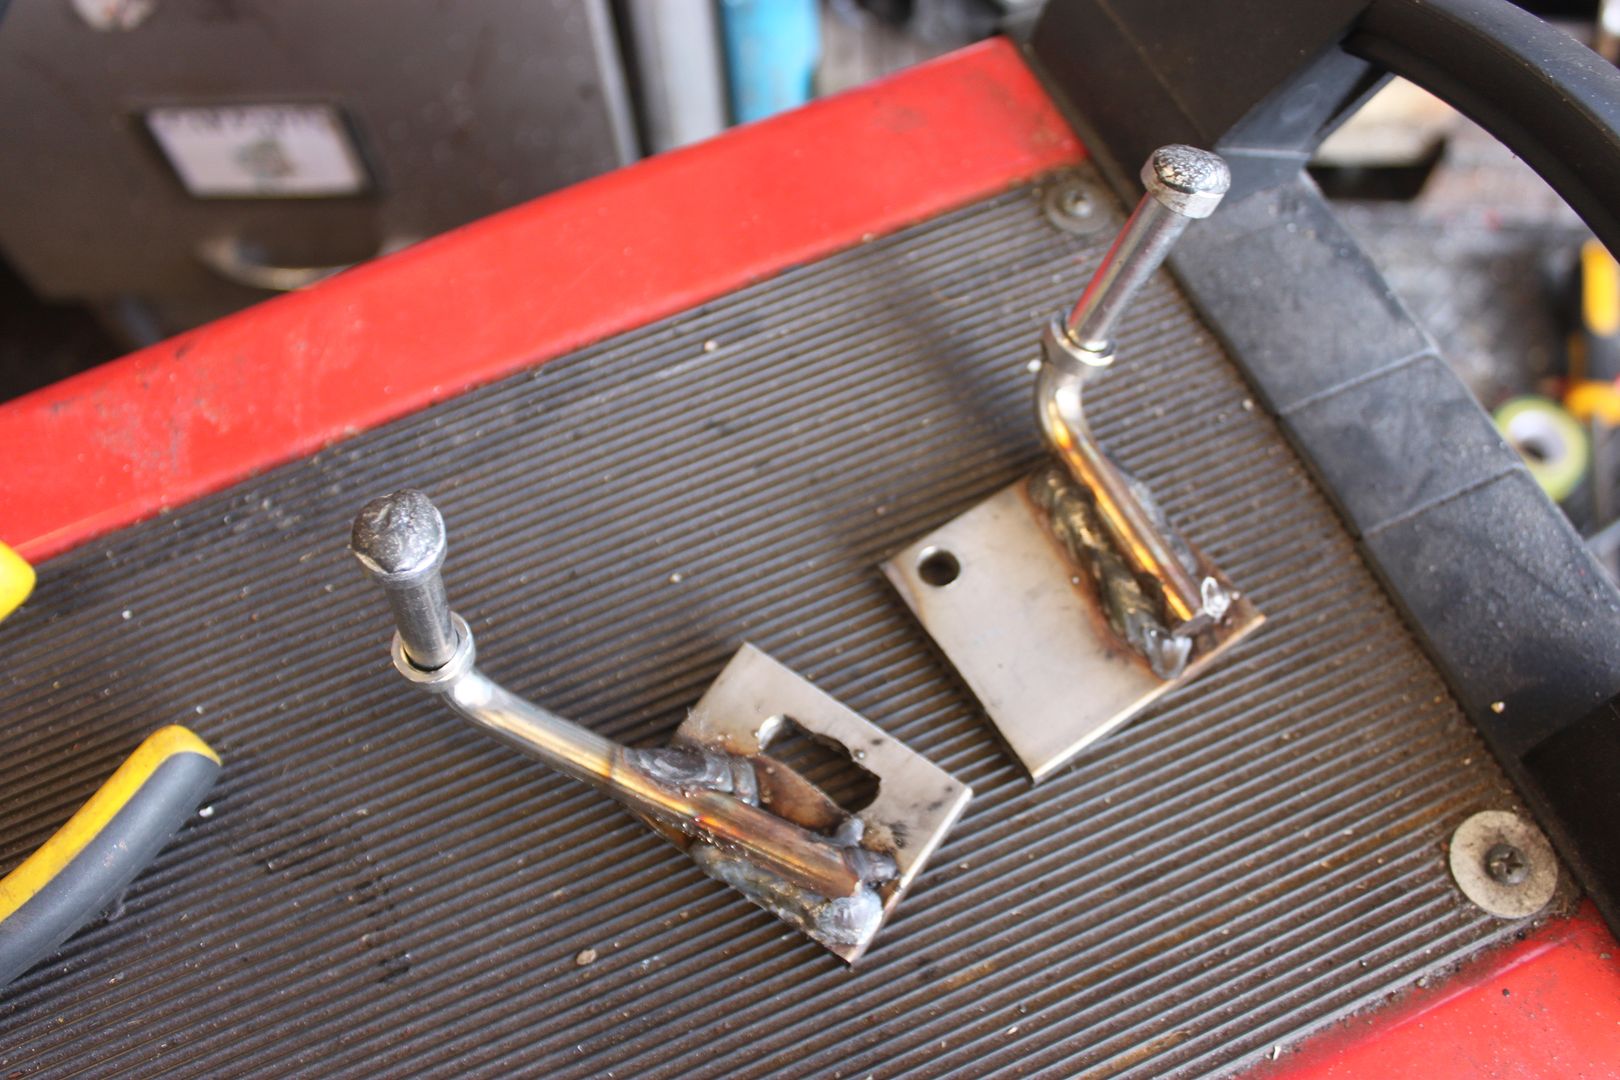
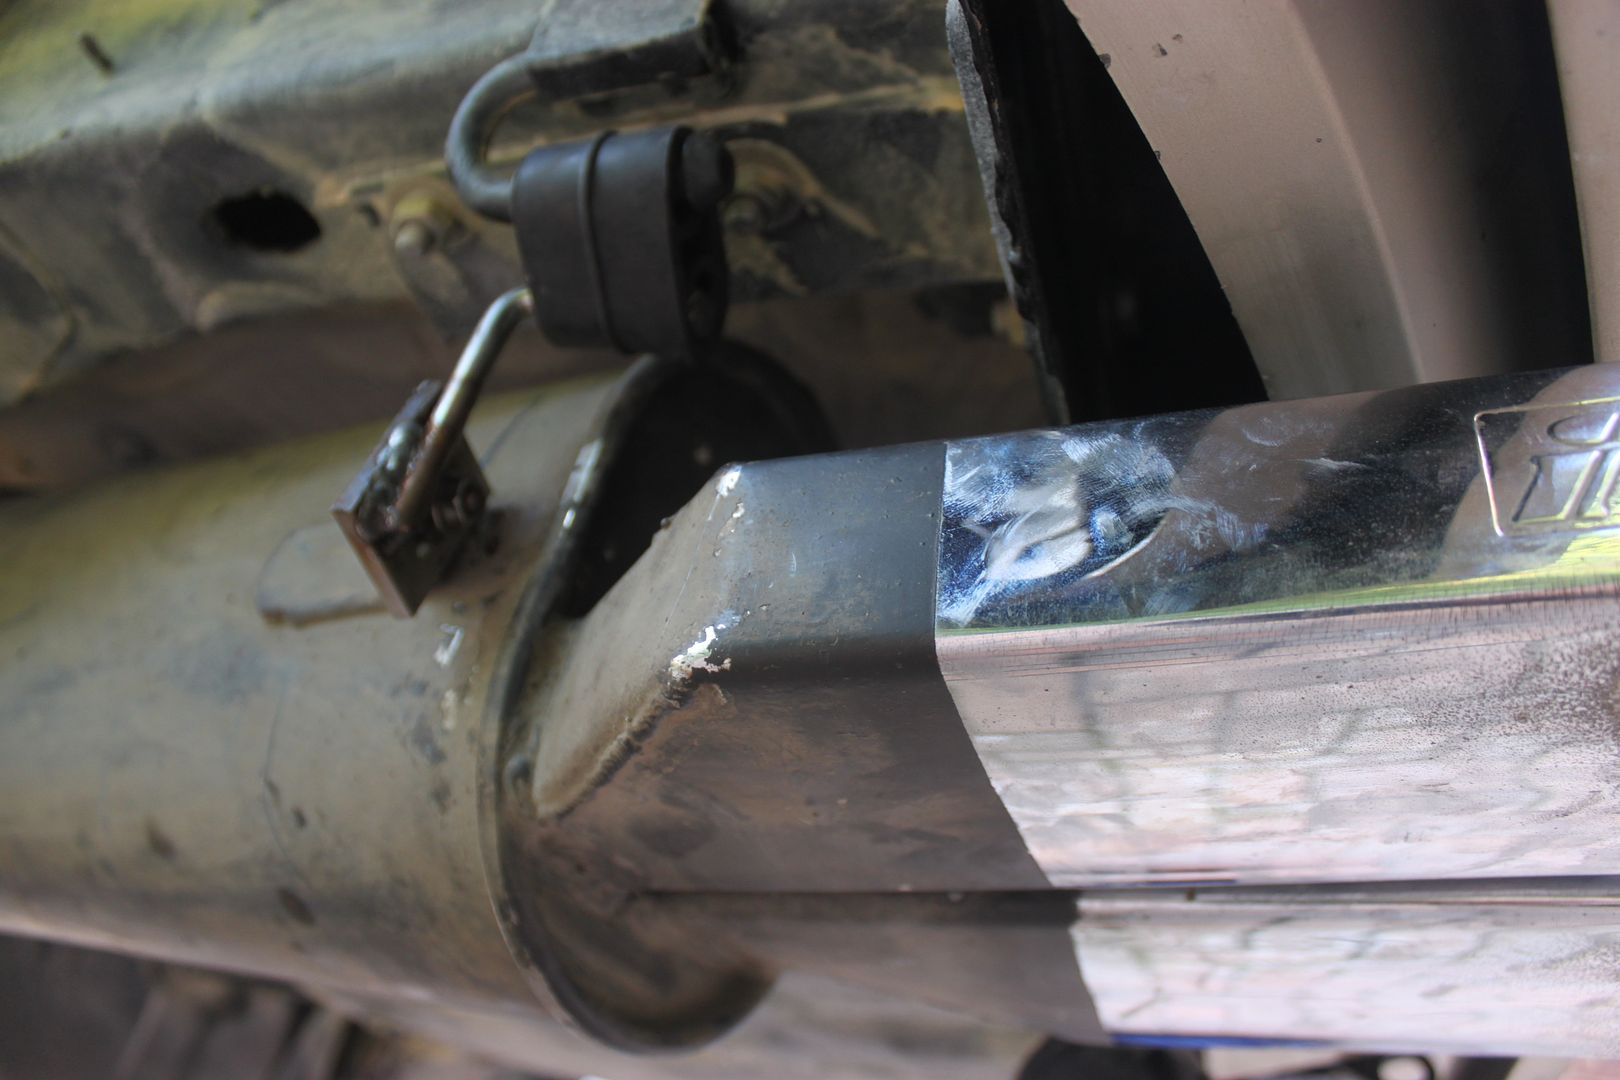
I then put in the rear kunifer brake lines ready for the rear beam tomorrow and also installed the rear Irmscher exhaust back box. The original brackets had done a runner so had to make up some replacements using stainless plate and stainless mig wire....
Which made the backbox fit like so...
Needs a clean...
The rear box is really only semi temporary until the mild steel middle section rusts away and starts blowing then the whole lot will be replaced with a stainless steel jobbie from the cat back.
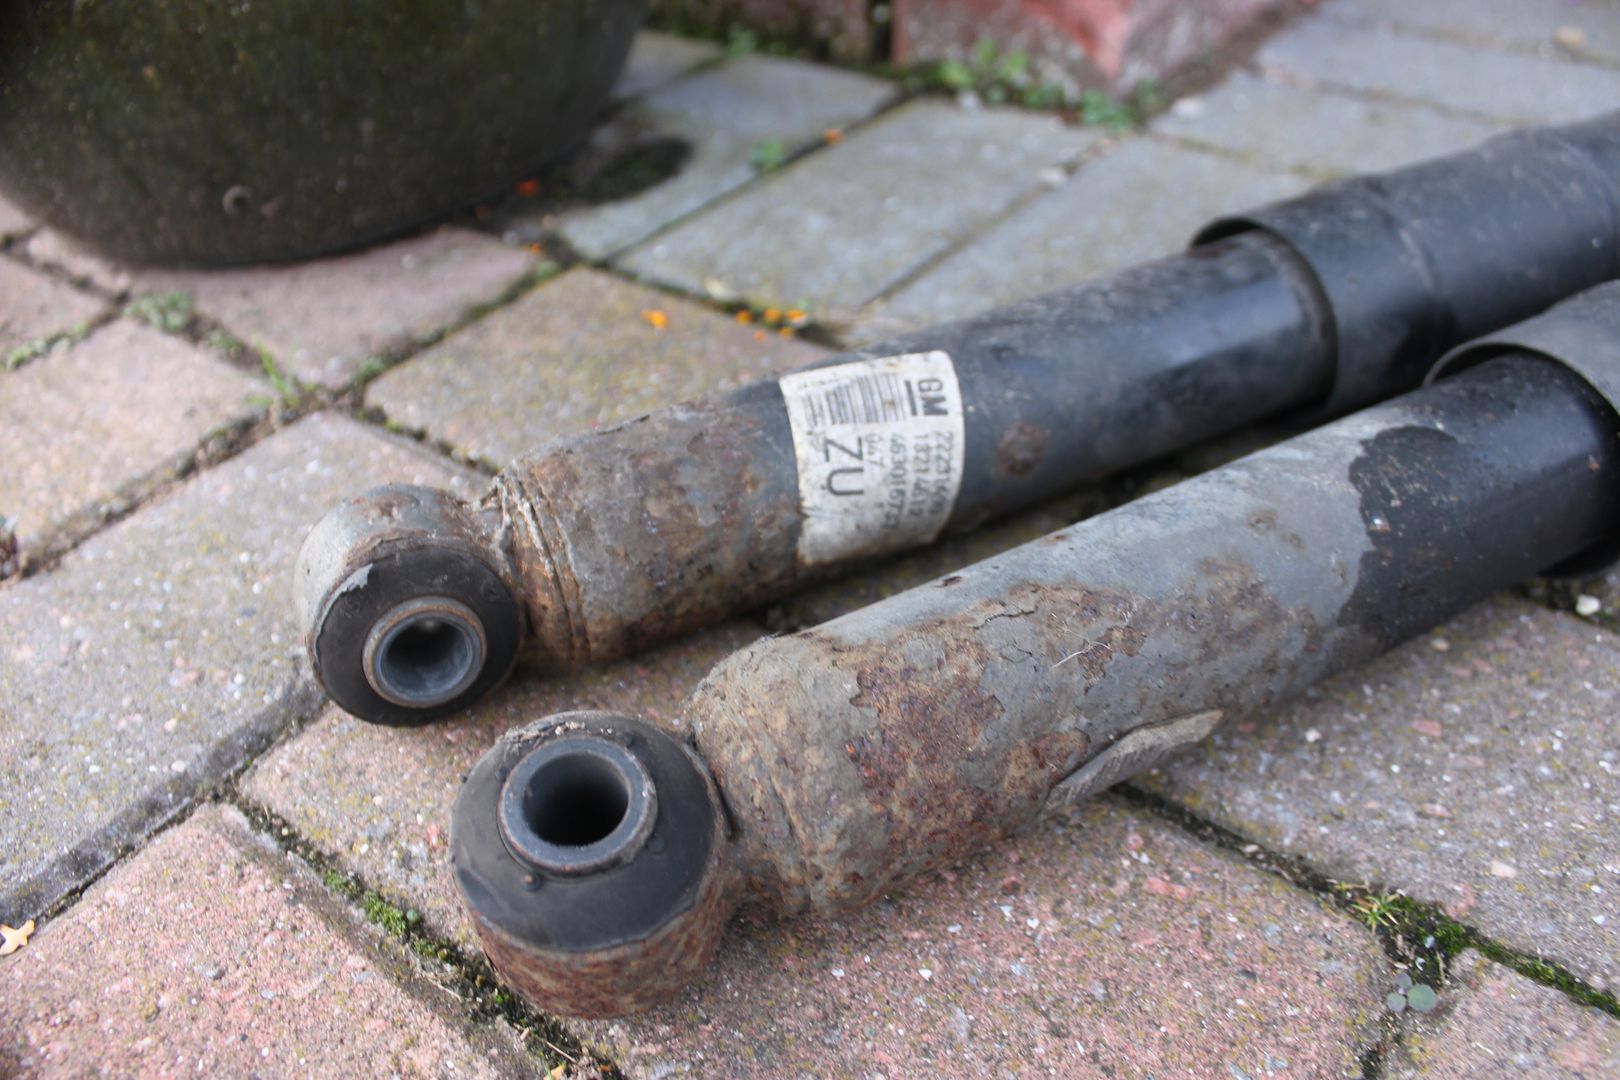
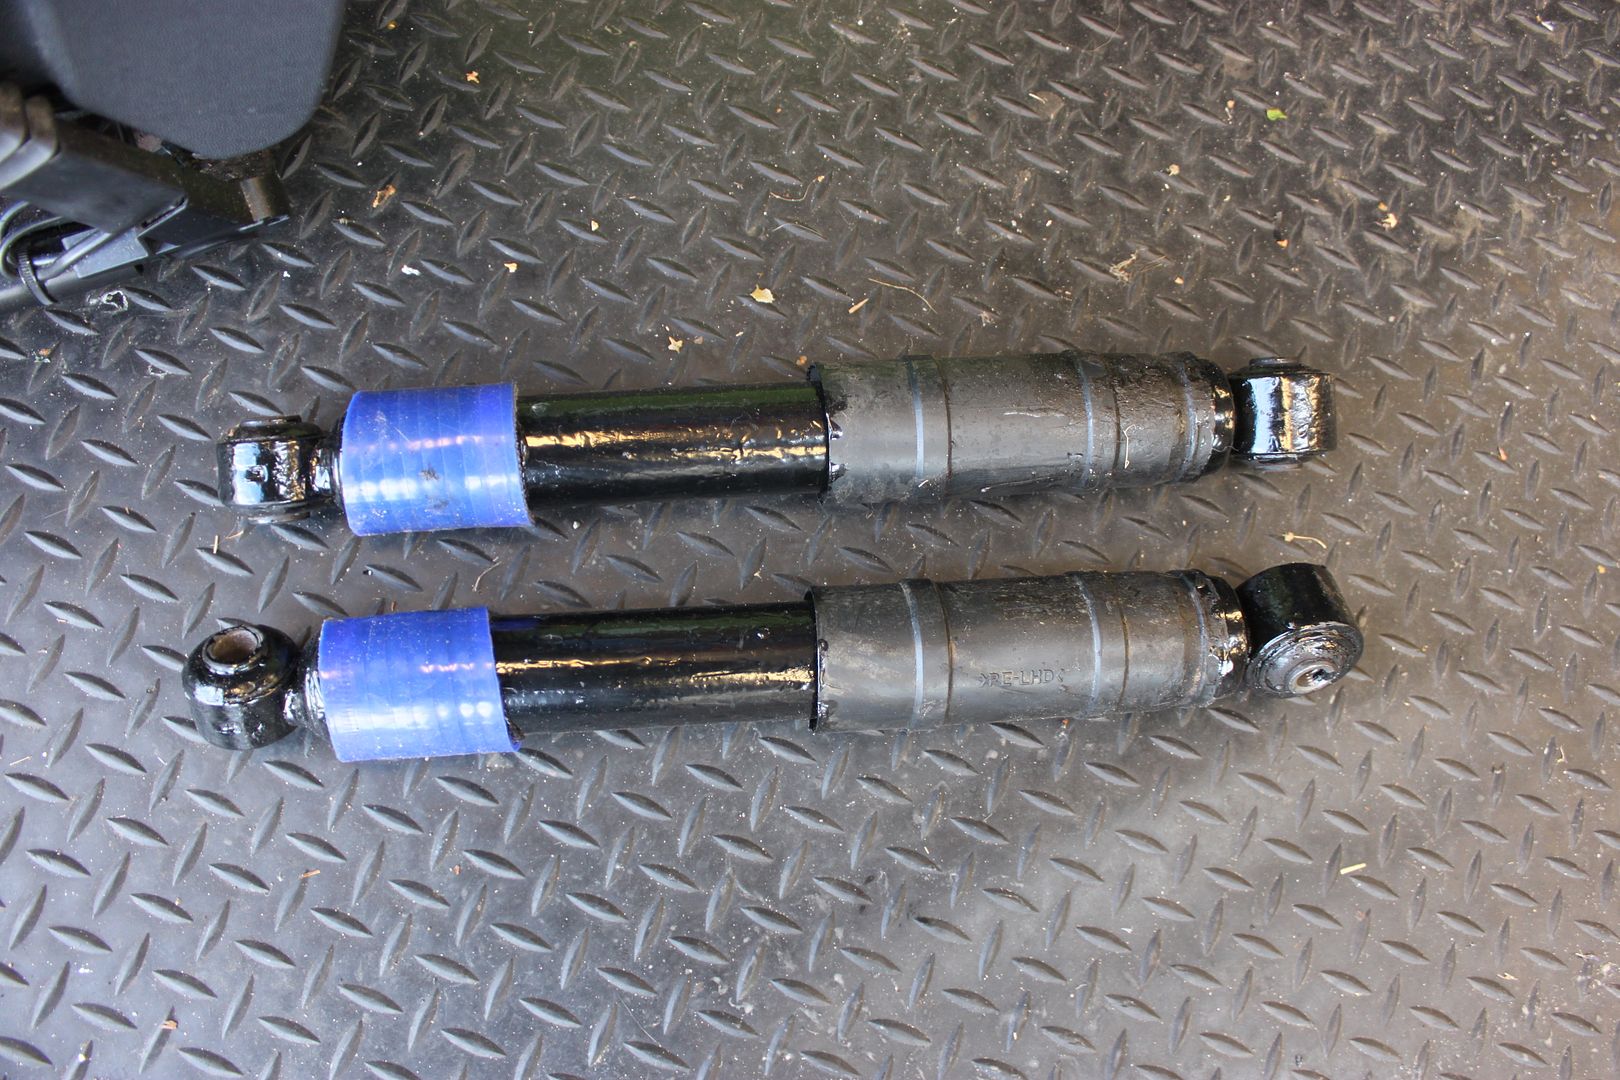
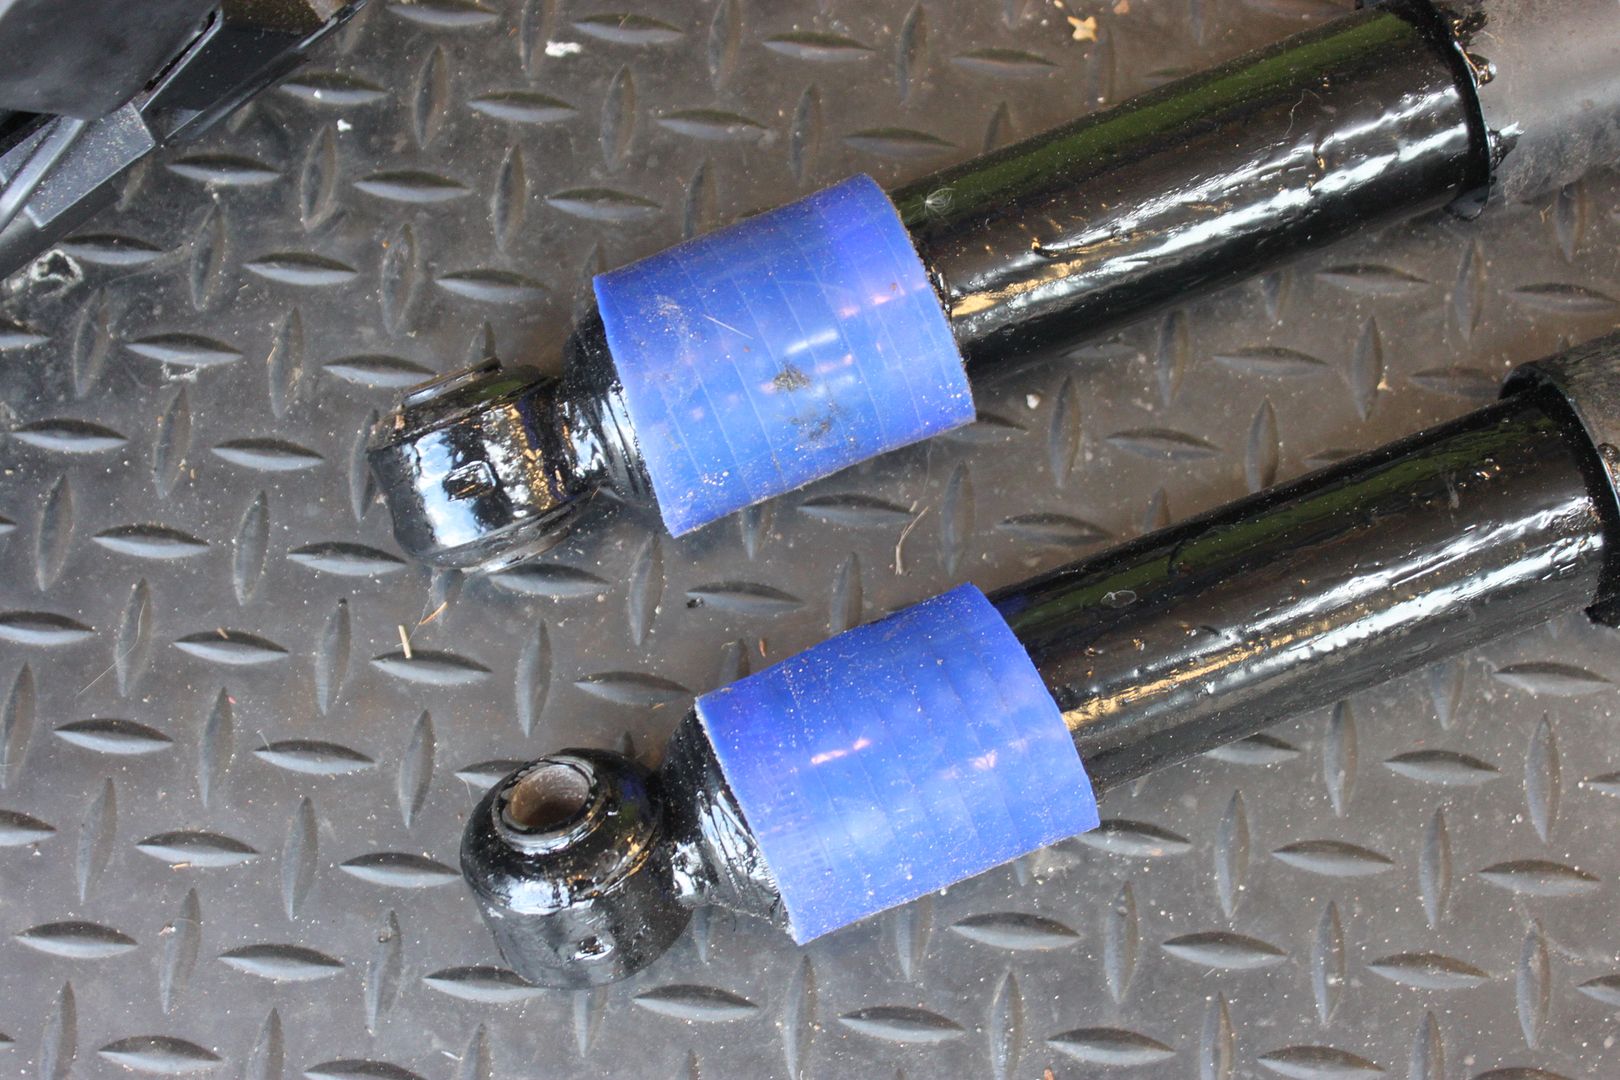
You may also recall that I removed some rusty rear dampers which seemed to have been attacked on mainly one side as they seem to be in the firing line of the front tyres.....
So once some replacements I had in stock were refurbed it was time for some protection....
Rear beam installation in the the morning and then time to bleed the brakes and clutch and check for leaks!
Joff
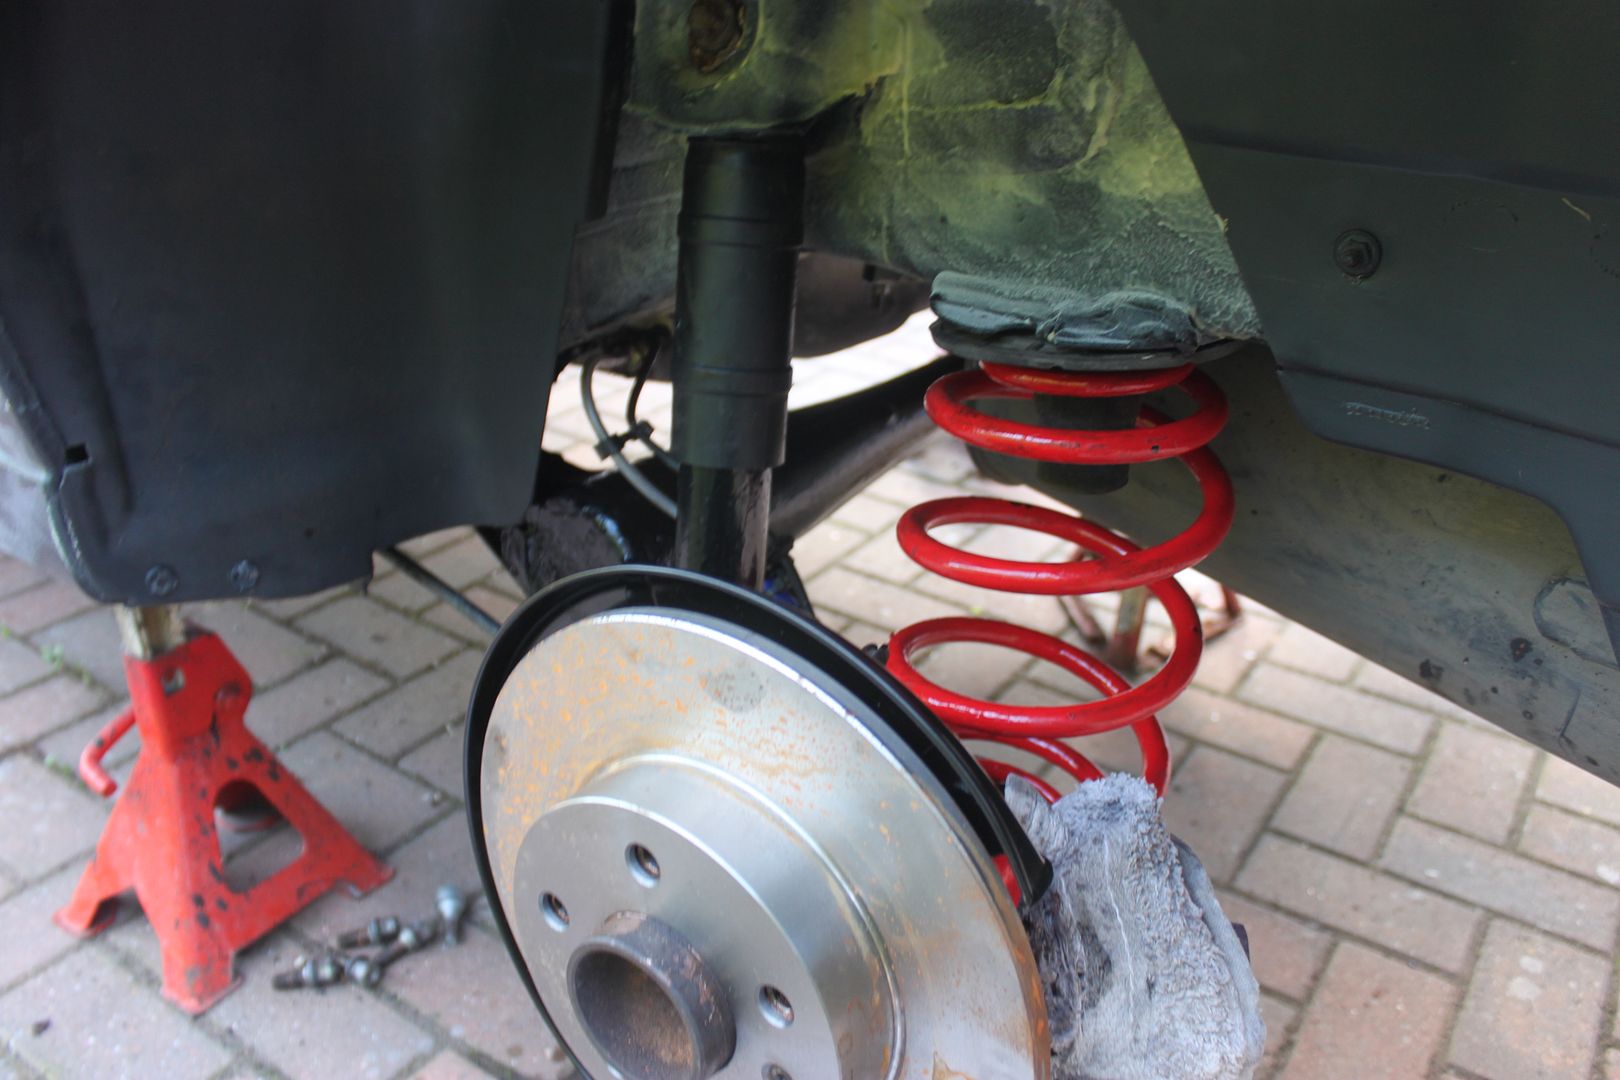
A frustrating Sunday in some respects...
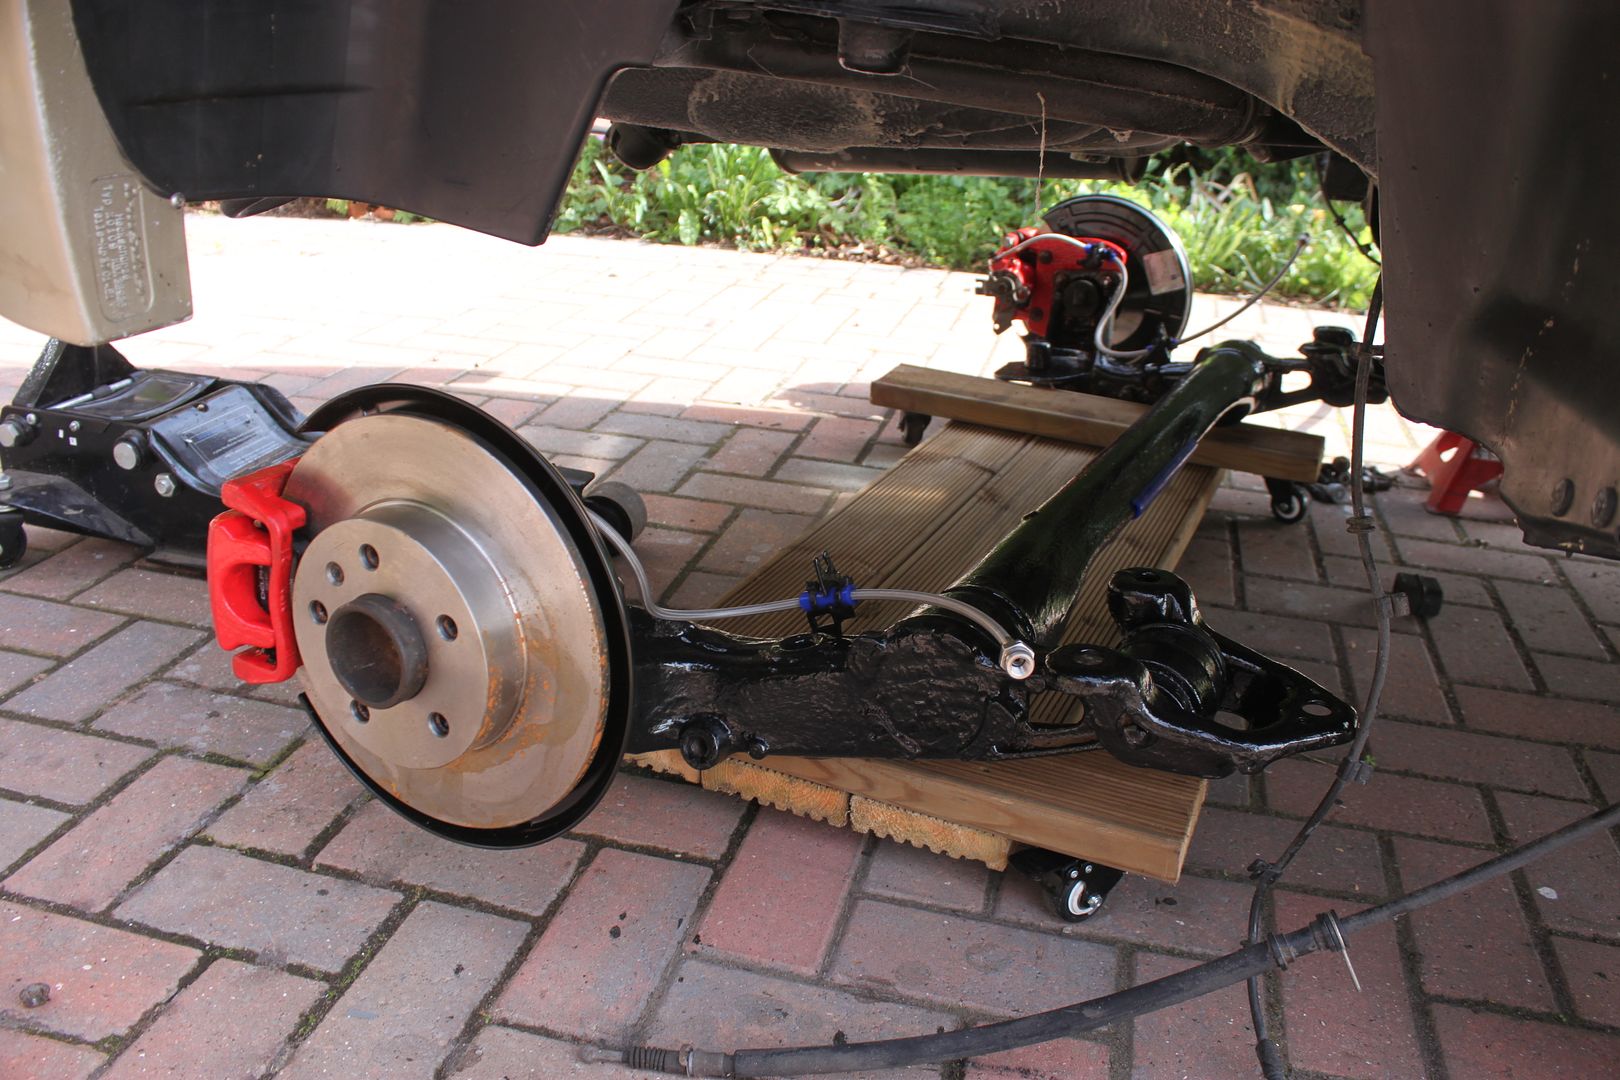
Got the rear beam out of storage and my piano dolly came in handy for move the beam around...
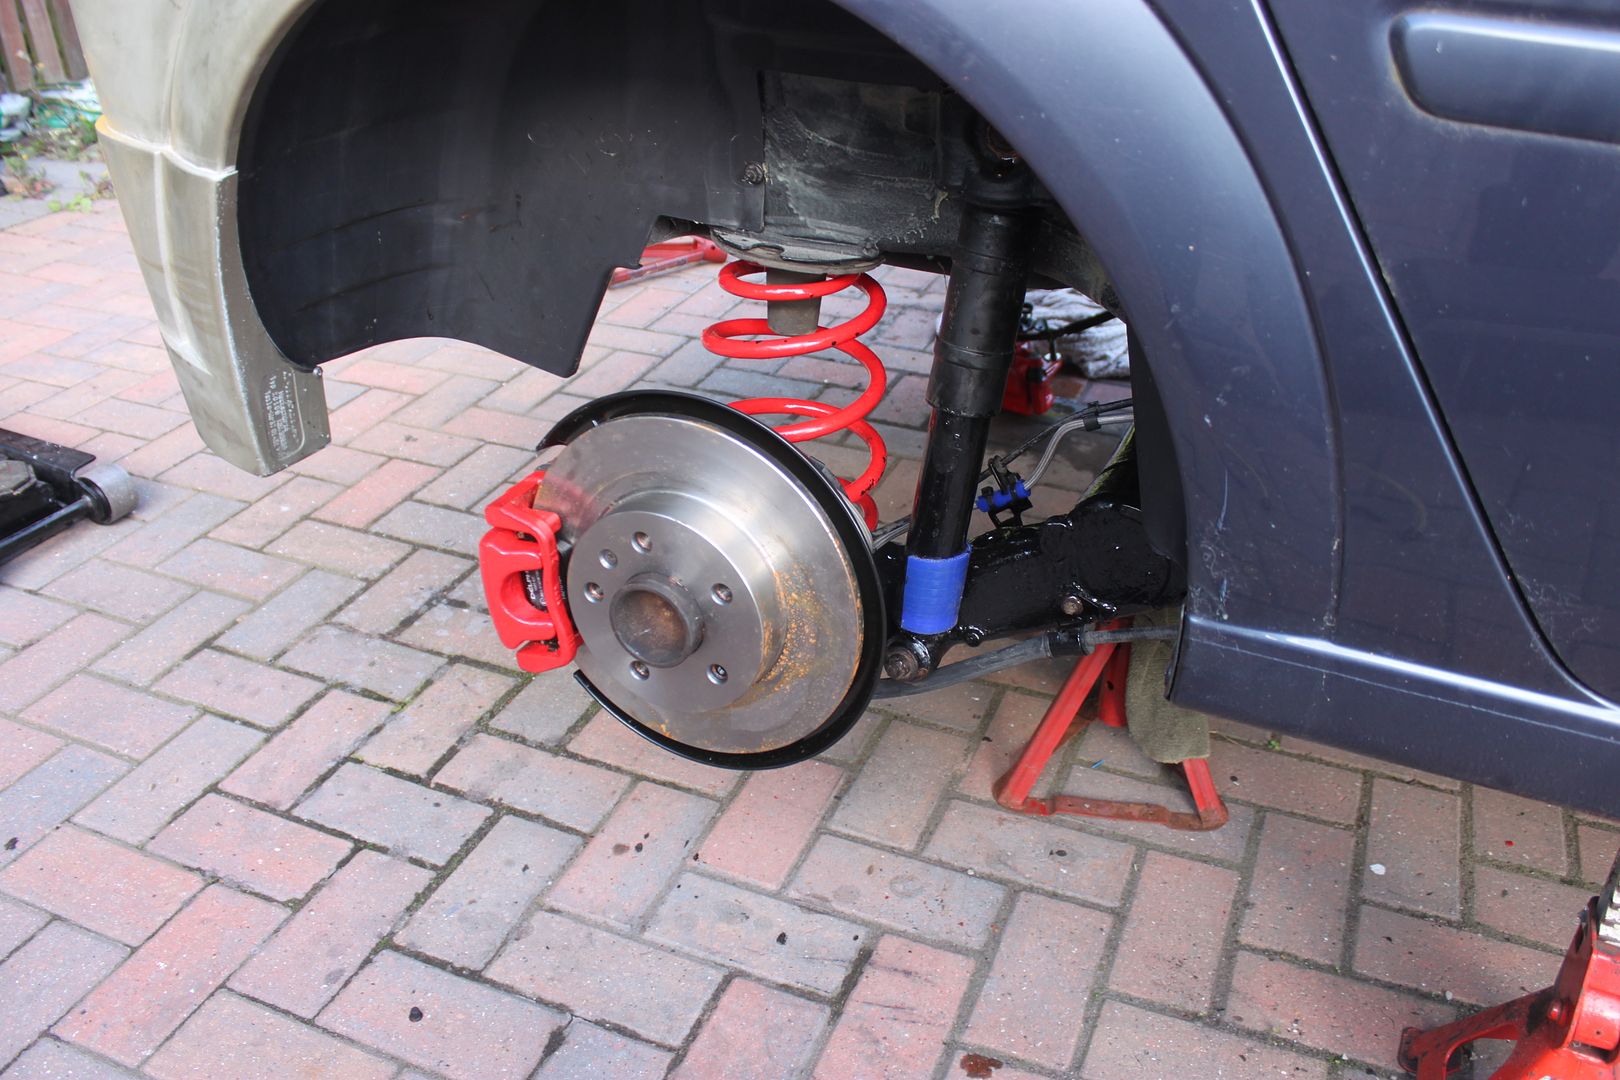
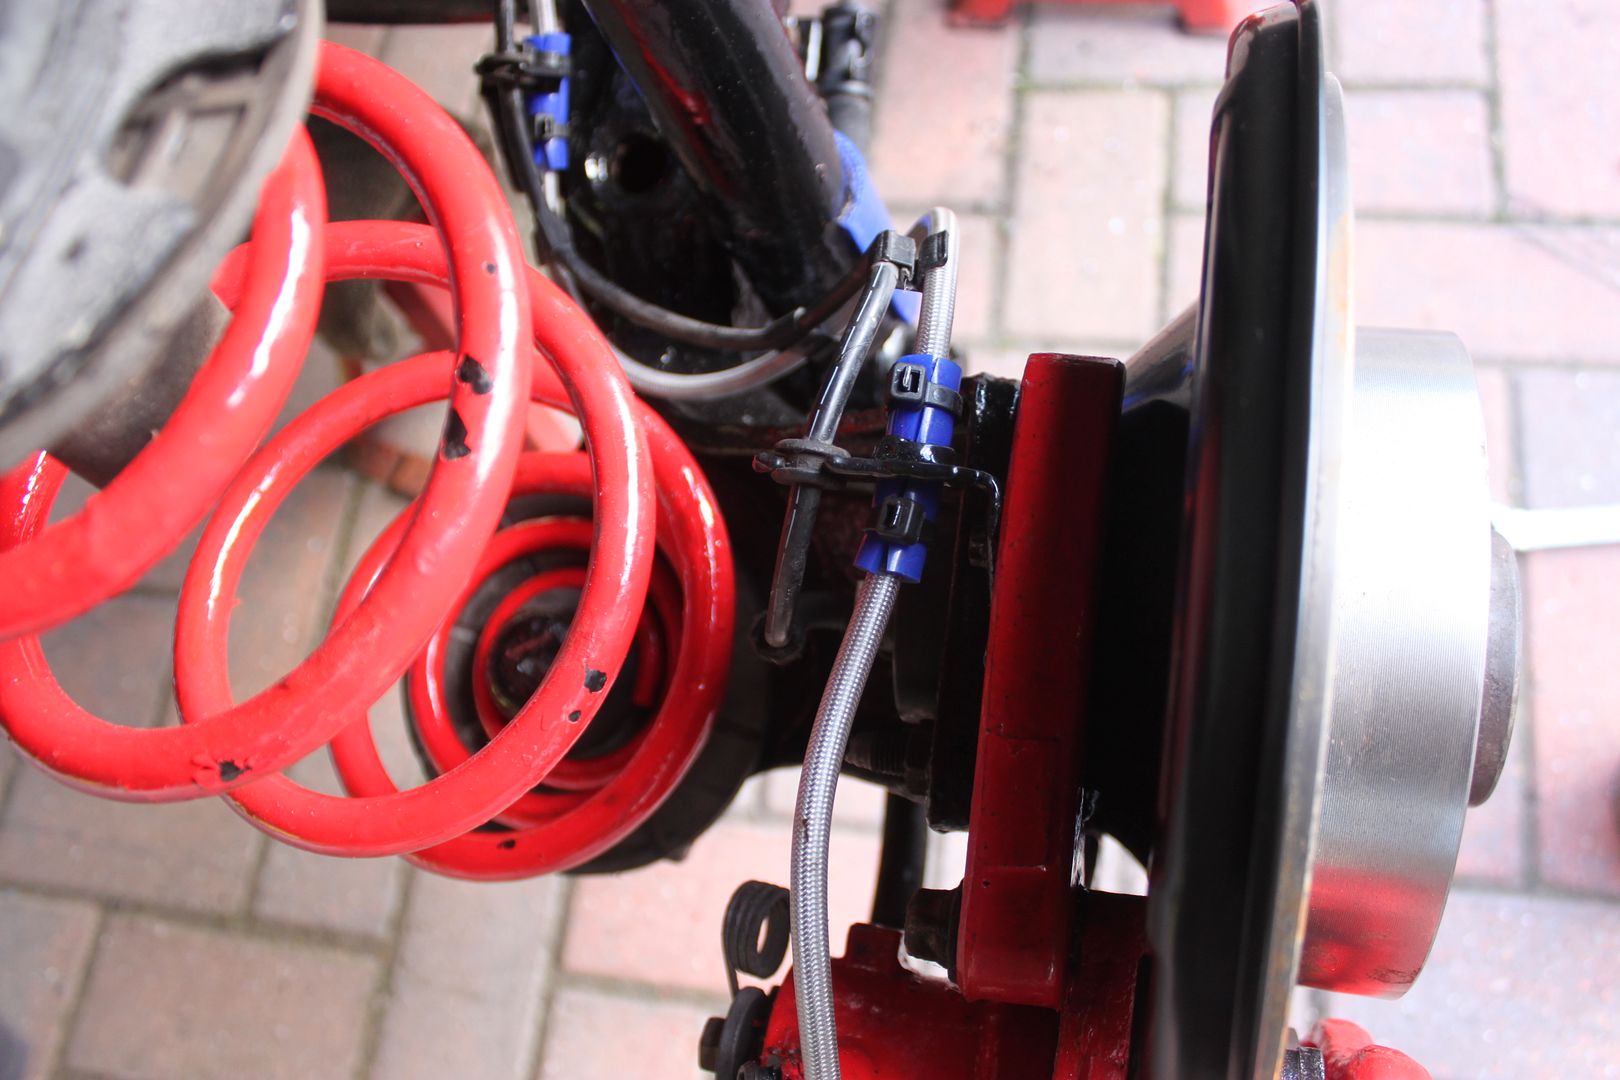
Got the beam reinstalled and all the ABS and brake pipes and cables reattached, the beam is complete with braided hoses which replace the part steel part rubber hoses which often rust out....
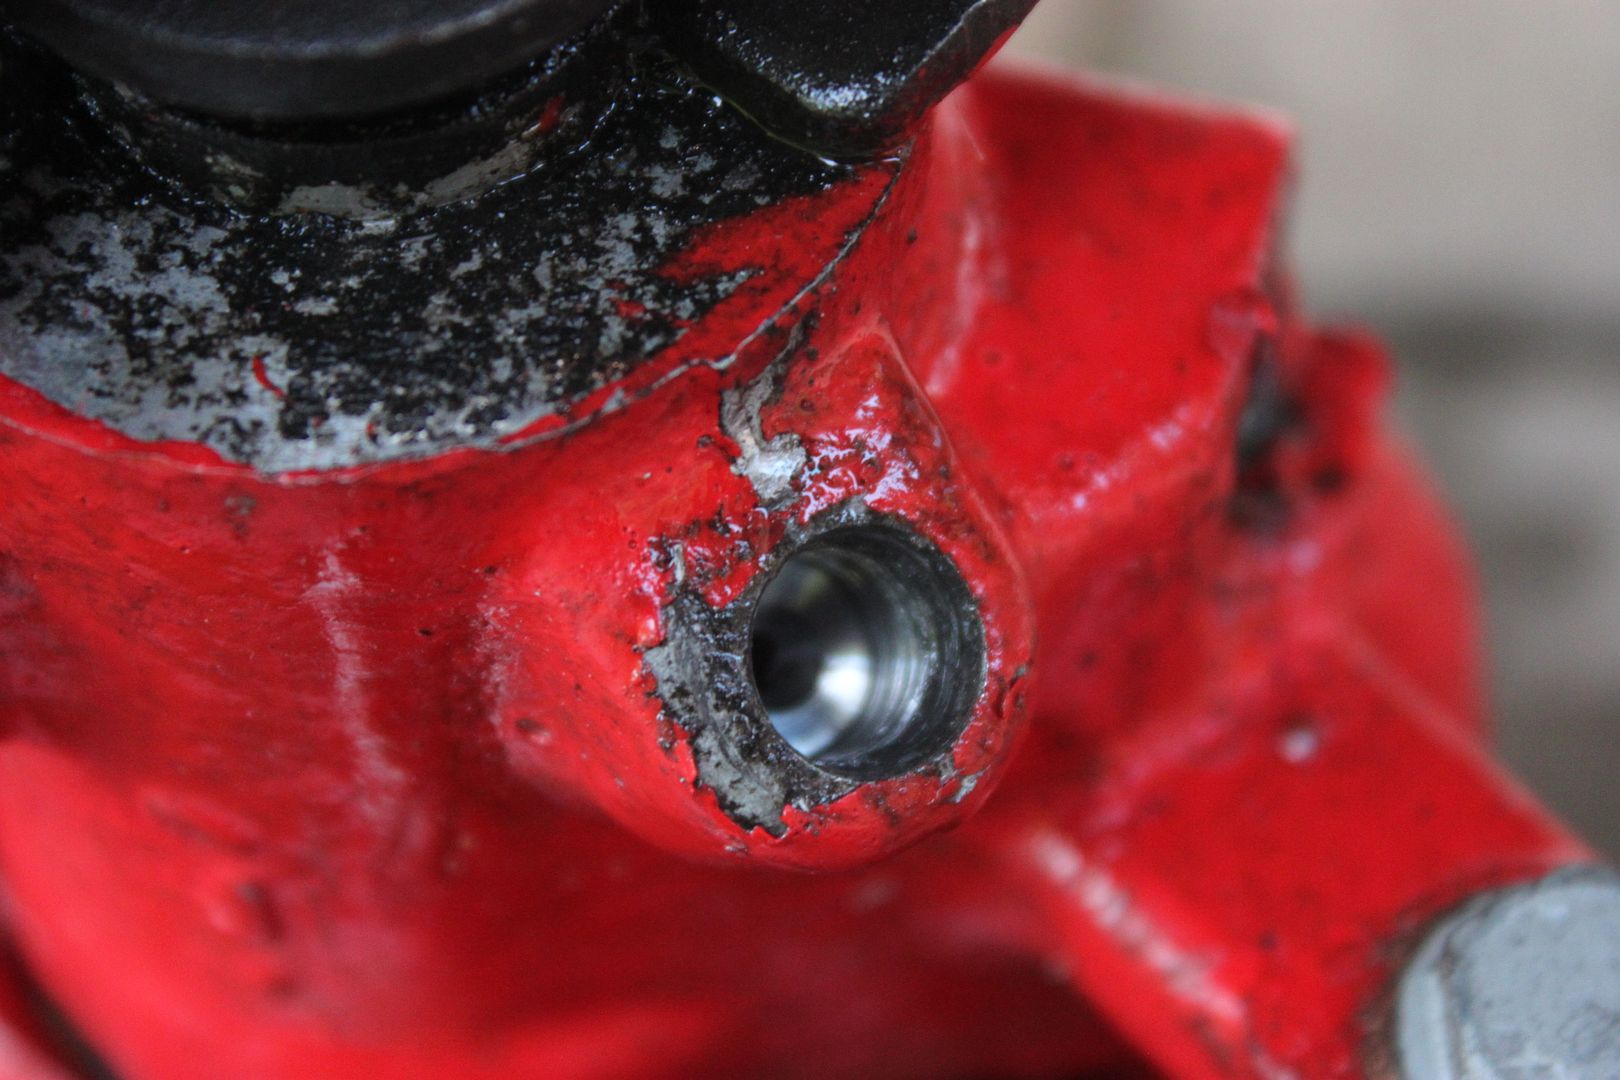
Then got the pressure bleeding kit on and started bleeding, starting at the offside rear, once bleed I got round to the nearside rear, which had leaked most of the brake reservoir fluid all over the floor - the bleed nipple seemed tight but was still leaking everywhere.
Once I had took the pressure off, mopped up and removed the caliper, it seems the threads have disintegrated within the caliper , so that's knackered !
Fortunately a brand new rear Lucas caliper is only £40 so that should be here later this week along with a new supply of brake fluid !
Joff
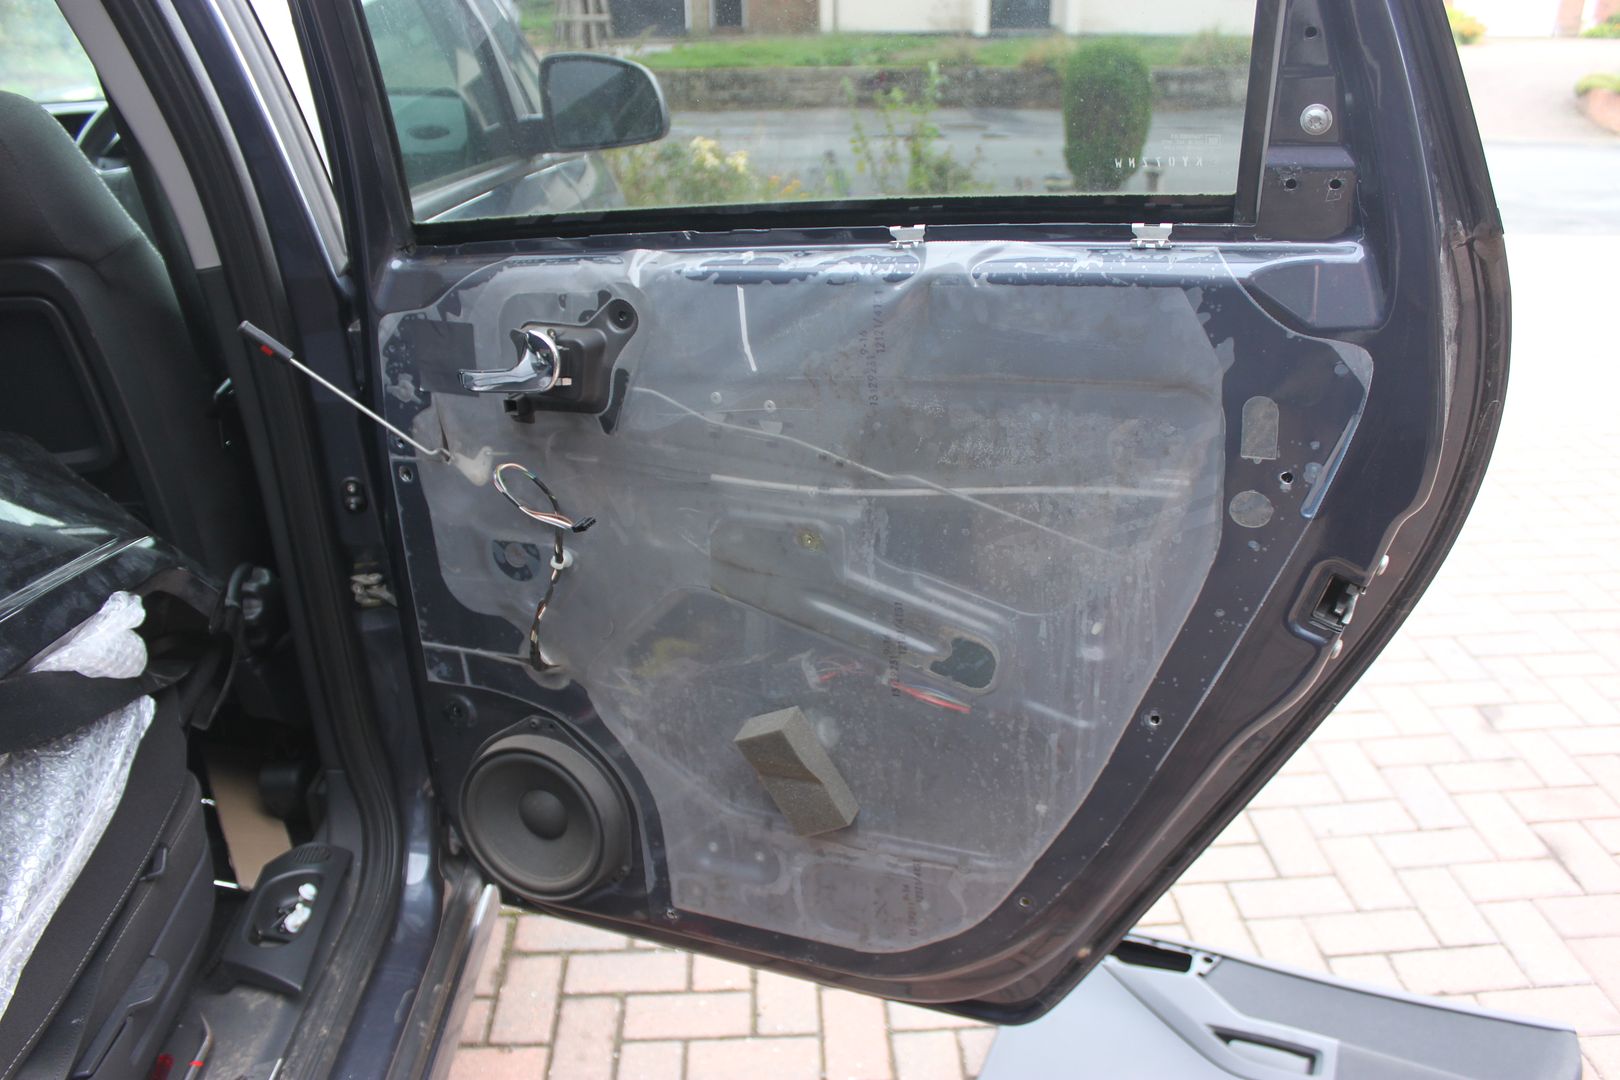
So whilst installing the rear beam I noticed something strange going on with the rear offside door.....
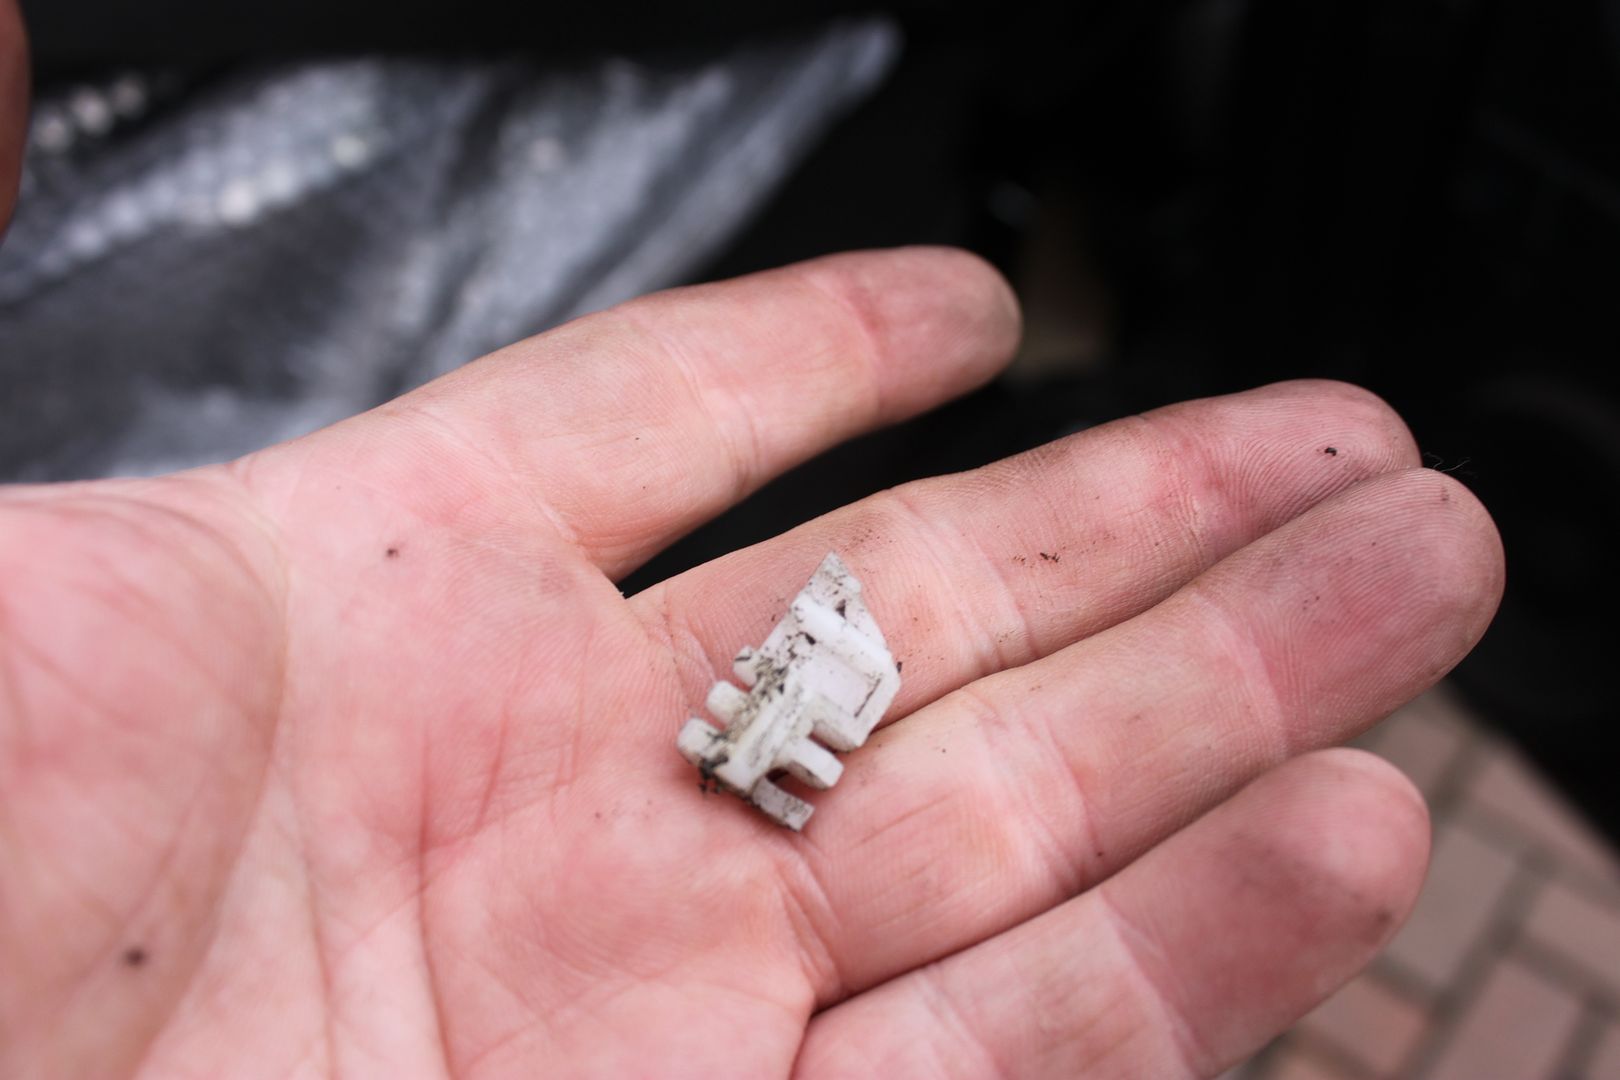
Notice the little white bit of plastic...
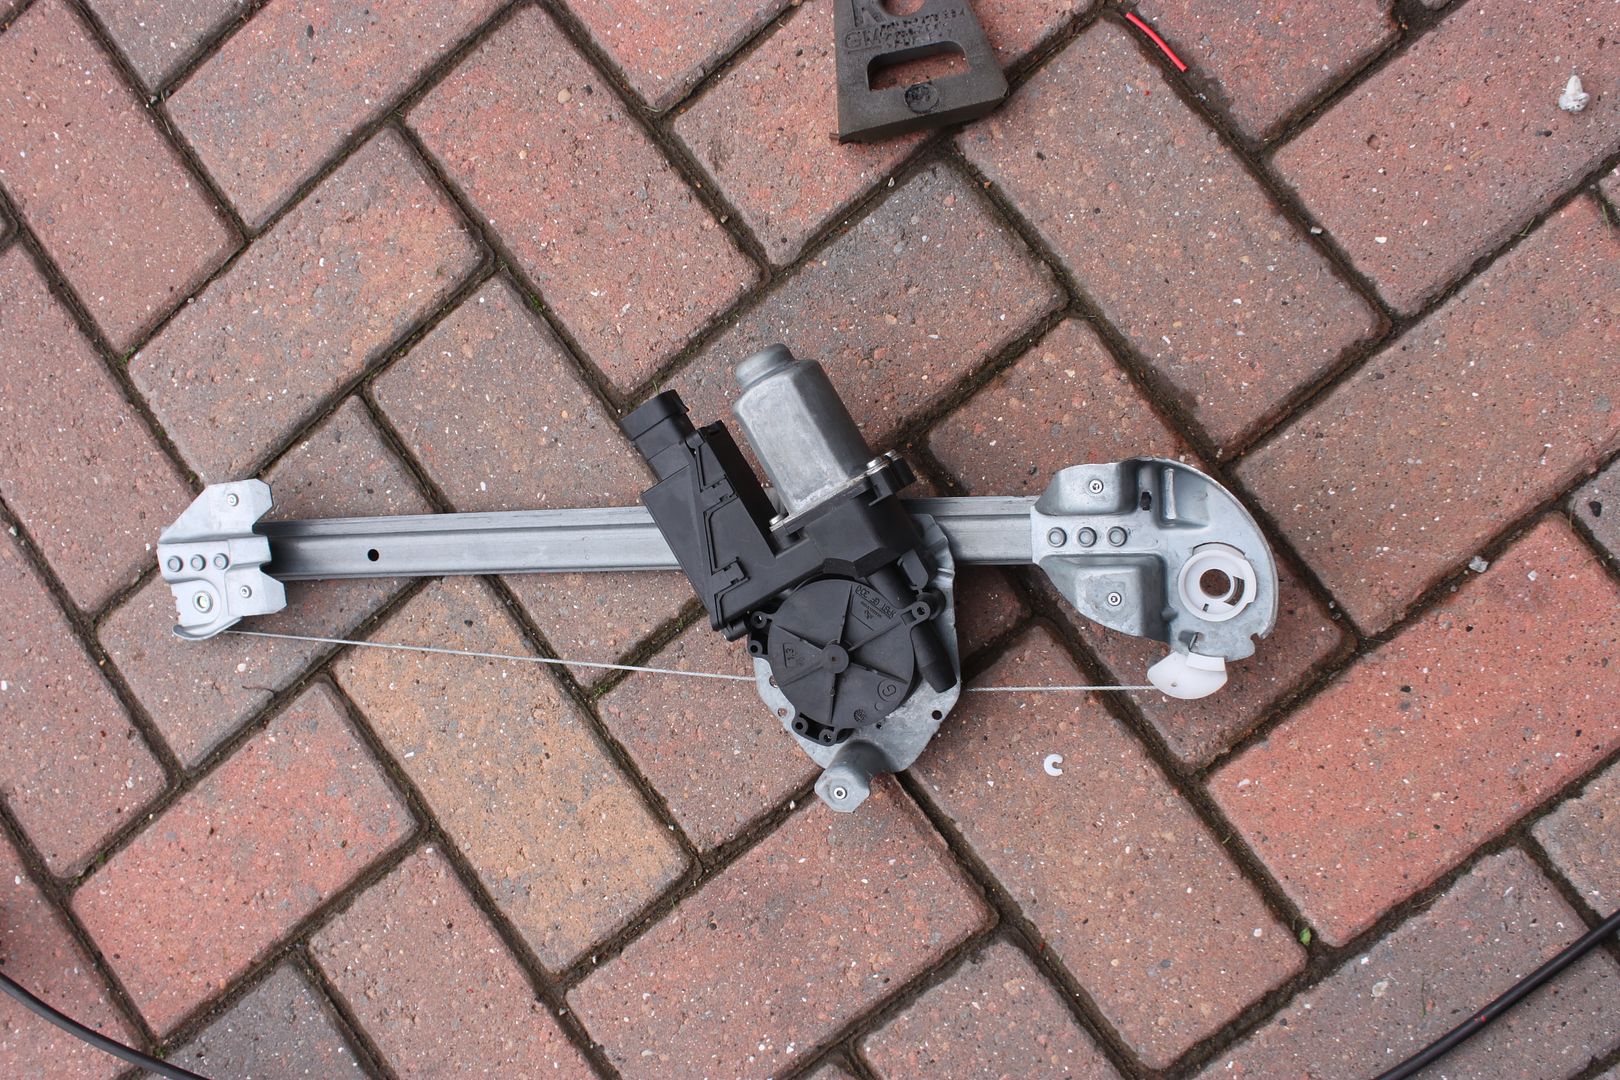
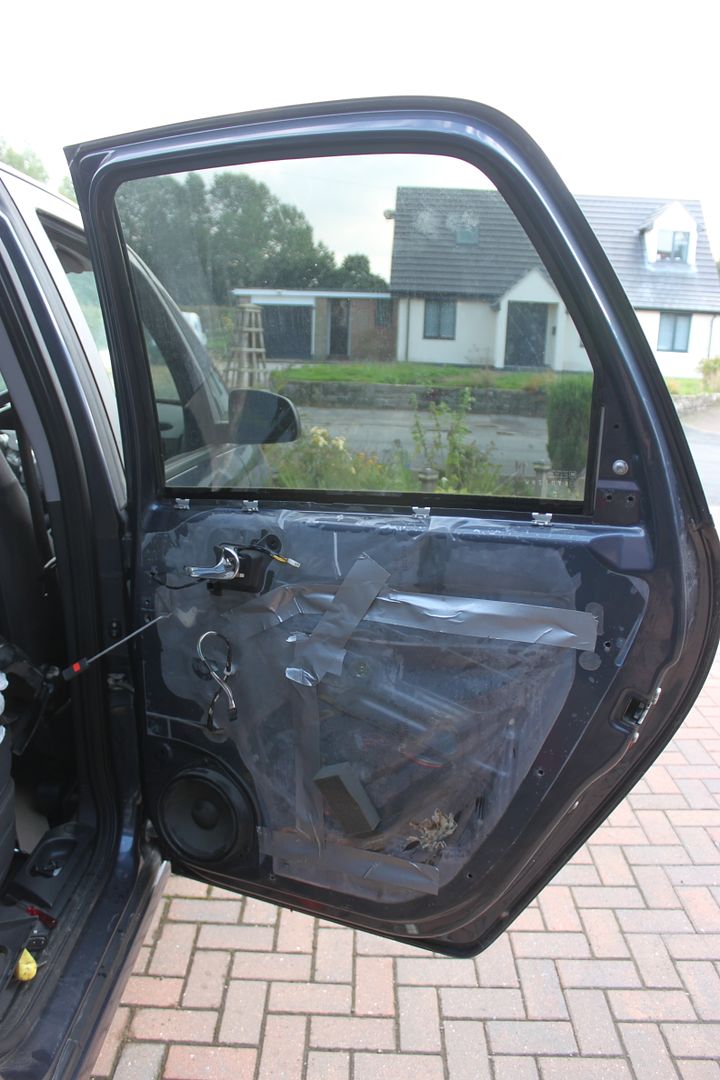
Which looks suspiciously like part of the window mechanism, the plastic slider that goes up and down, so it was time for a door strip down, which was already on the cards to put in waxoyl and change the door card to the VXR ones.
Good news (of sorts) is that no one has been here before (completely unmarked moisture barrier) so no bodges to have to sort out first....
Once peeled back , I extracted the plastic from the bottom of the door which looked like this...
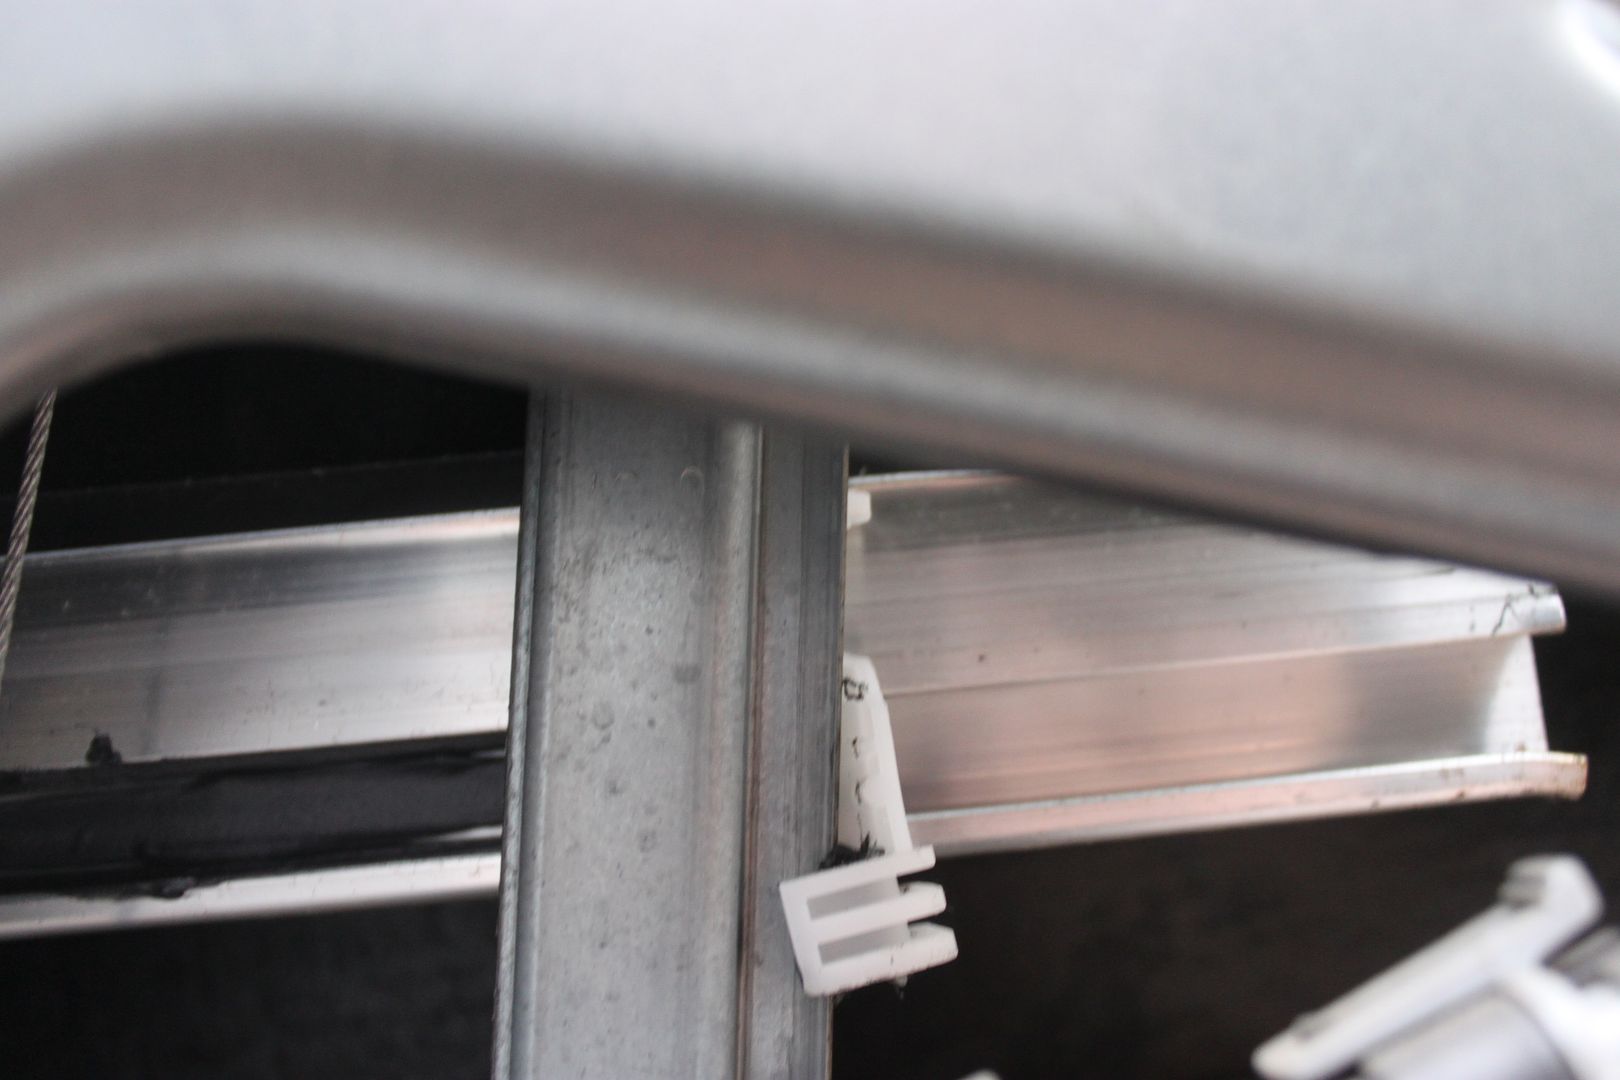
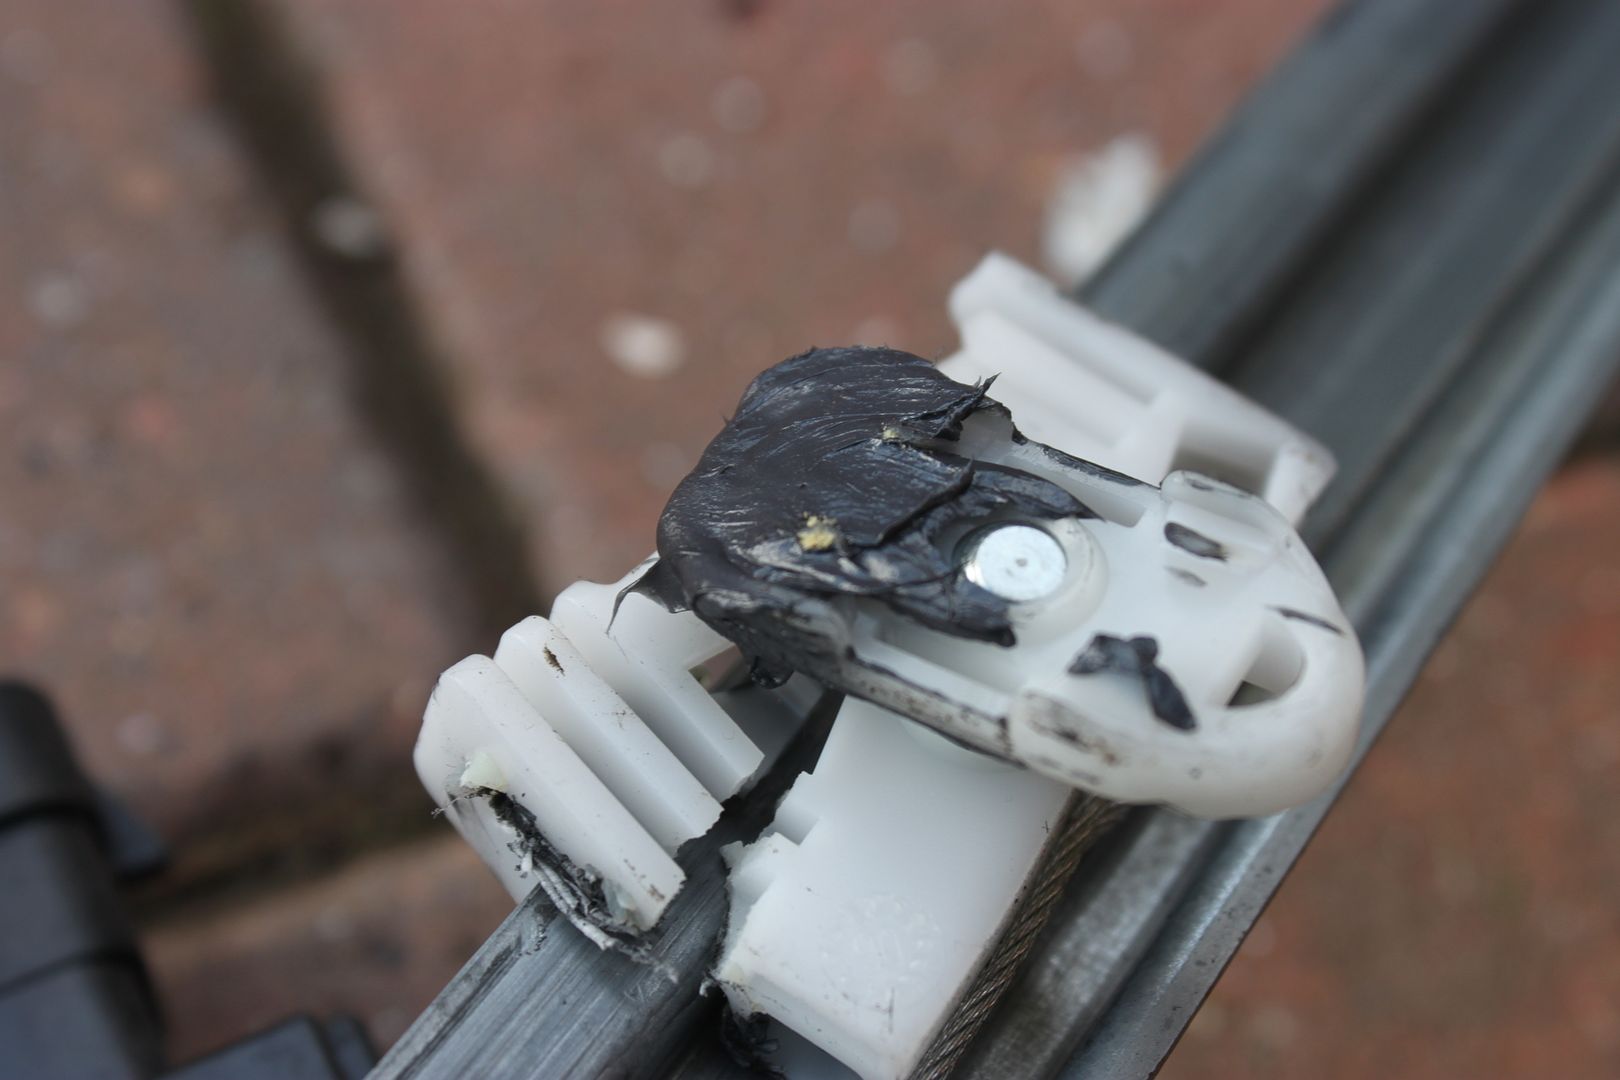
And it became apparent that the mechanism was just about holding on with a big crack in it....
So the drill came out and removed the pop rivets and the mechanism extracted and a view from the other side - caught just in time...
So dug out one of the spare mechanisms I have....
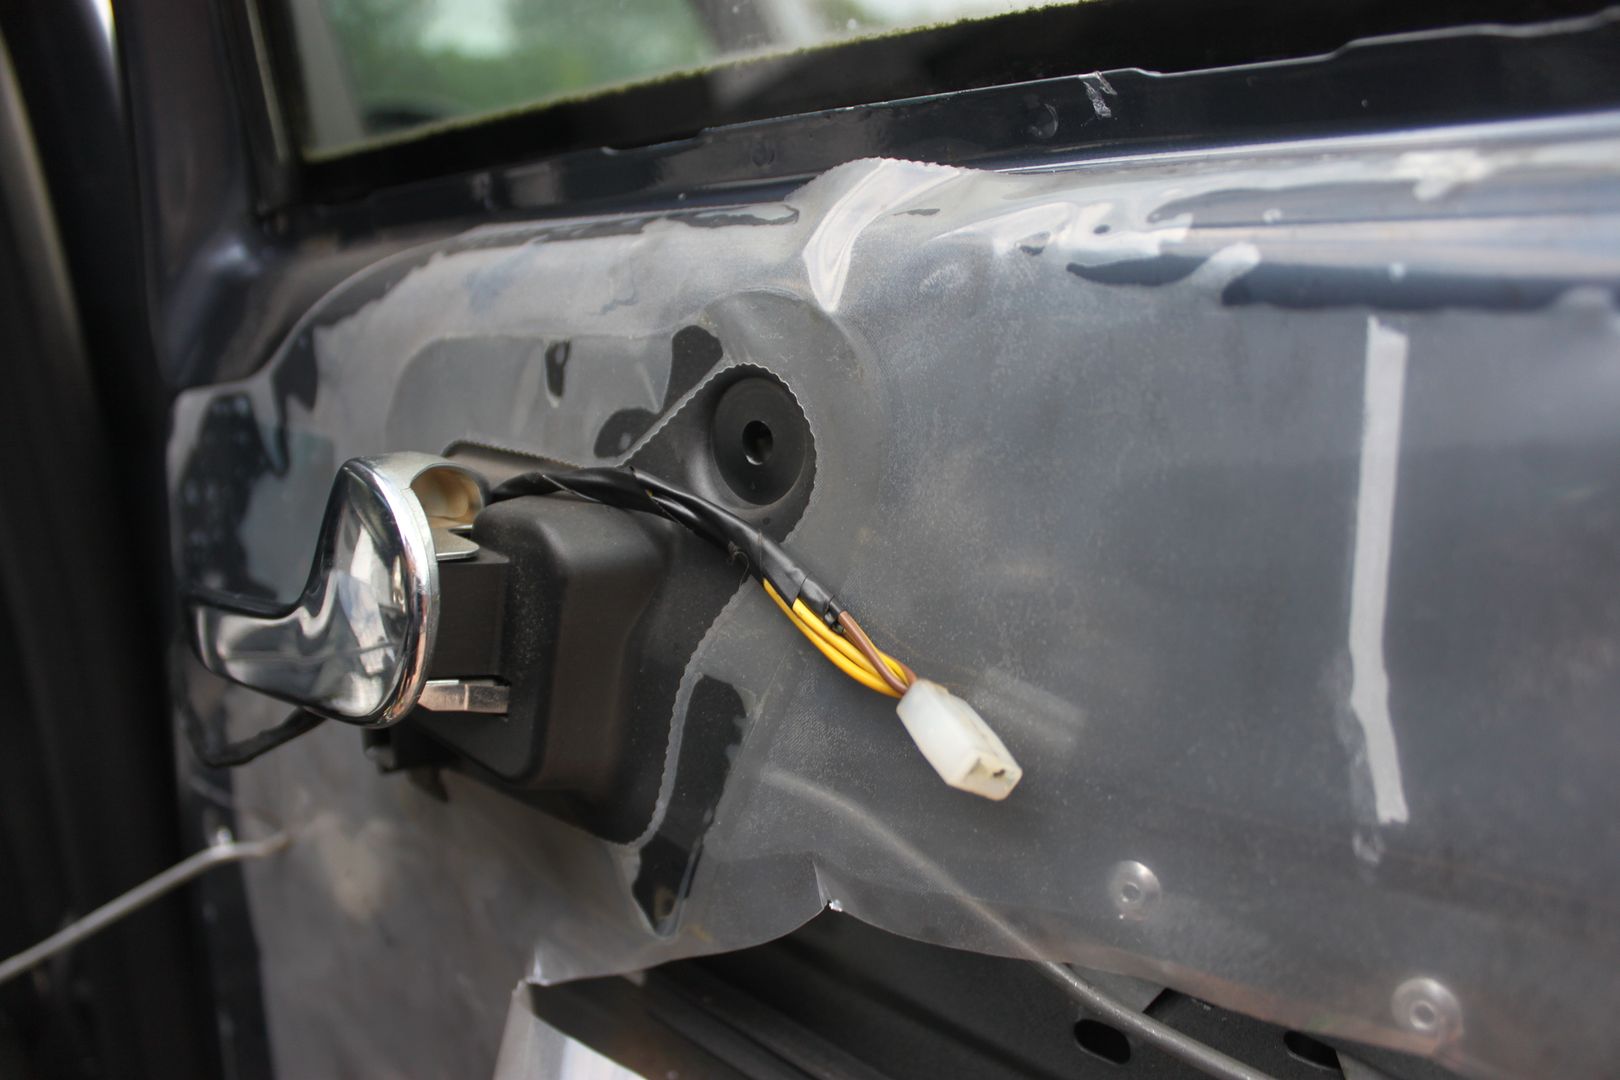
And replaced it back in the door, waxoyl was liberally sprayed in and the moisture barrier repaired...
Whilst in the door I took the opportunity to wire in the tweeters , which have space designed for them, just never fitted from factory for some reason?
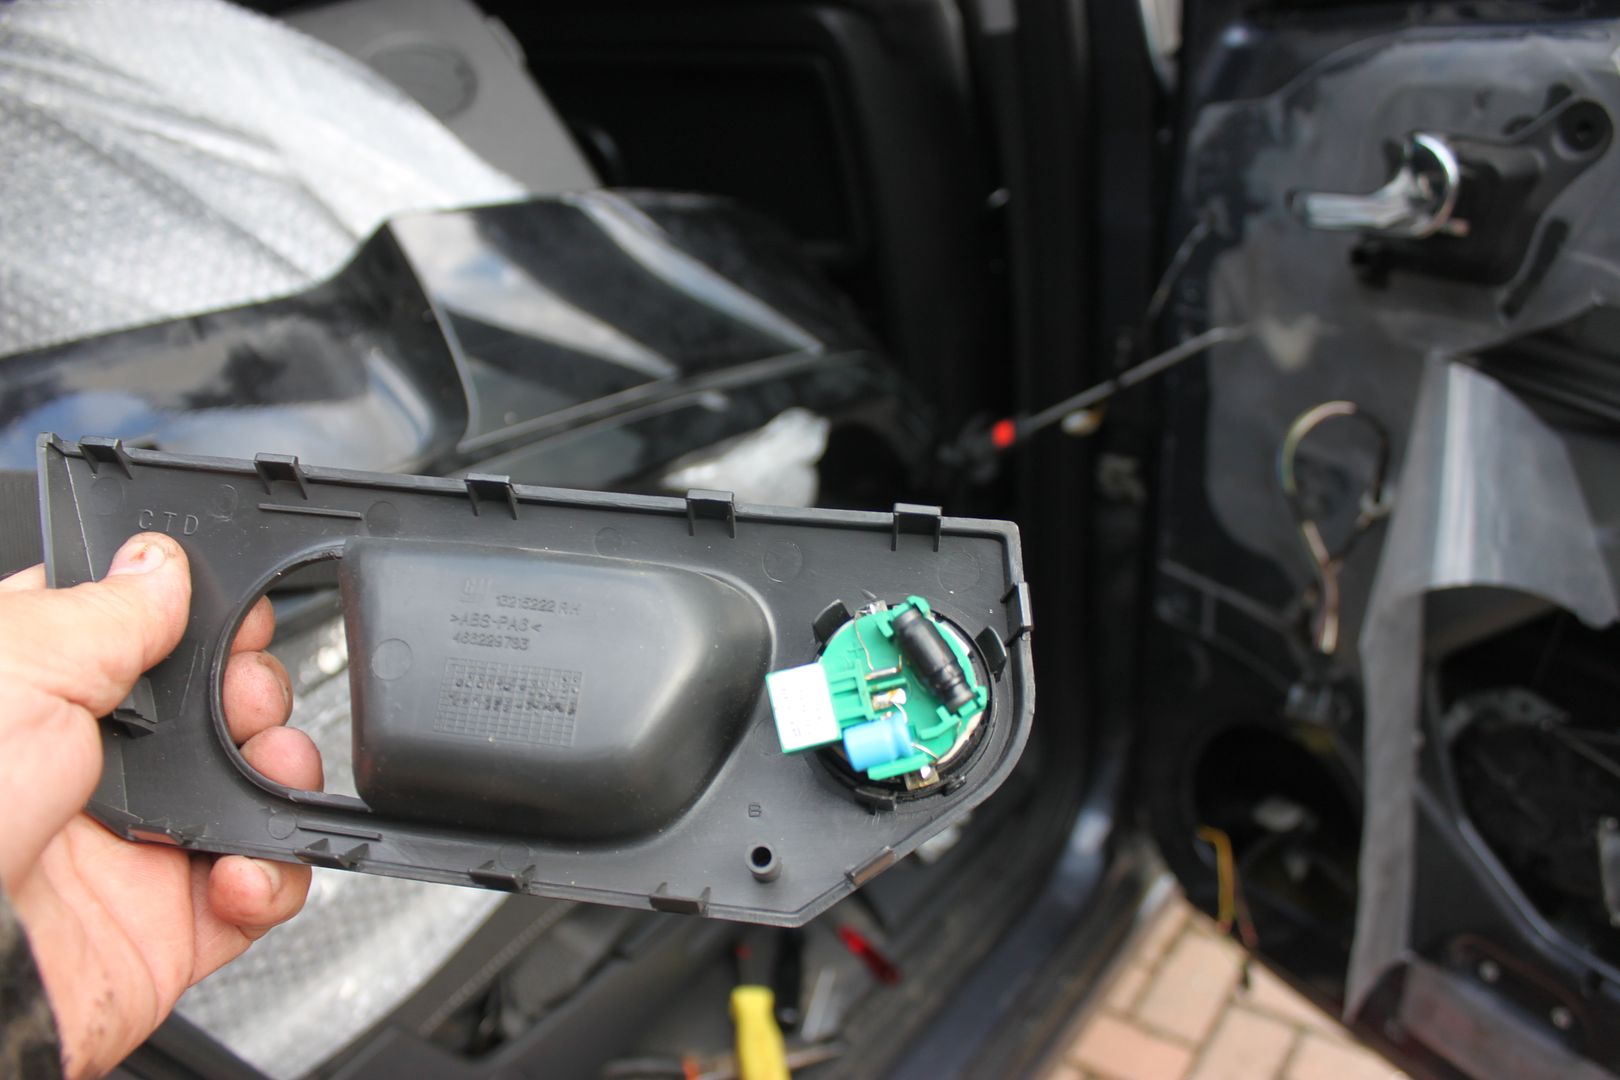
And the tweeters simply clip in here...
And lastly the new VXR door card was installed....
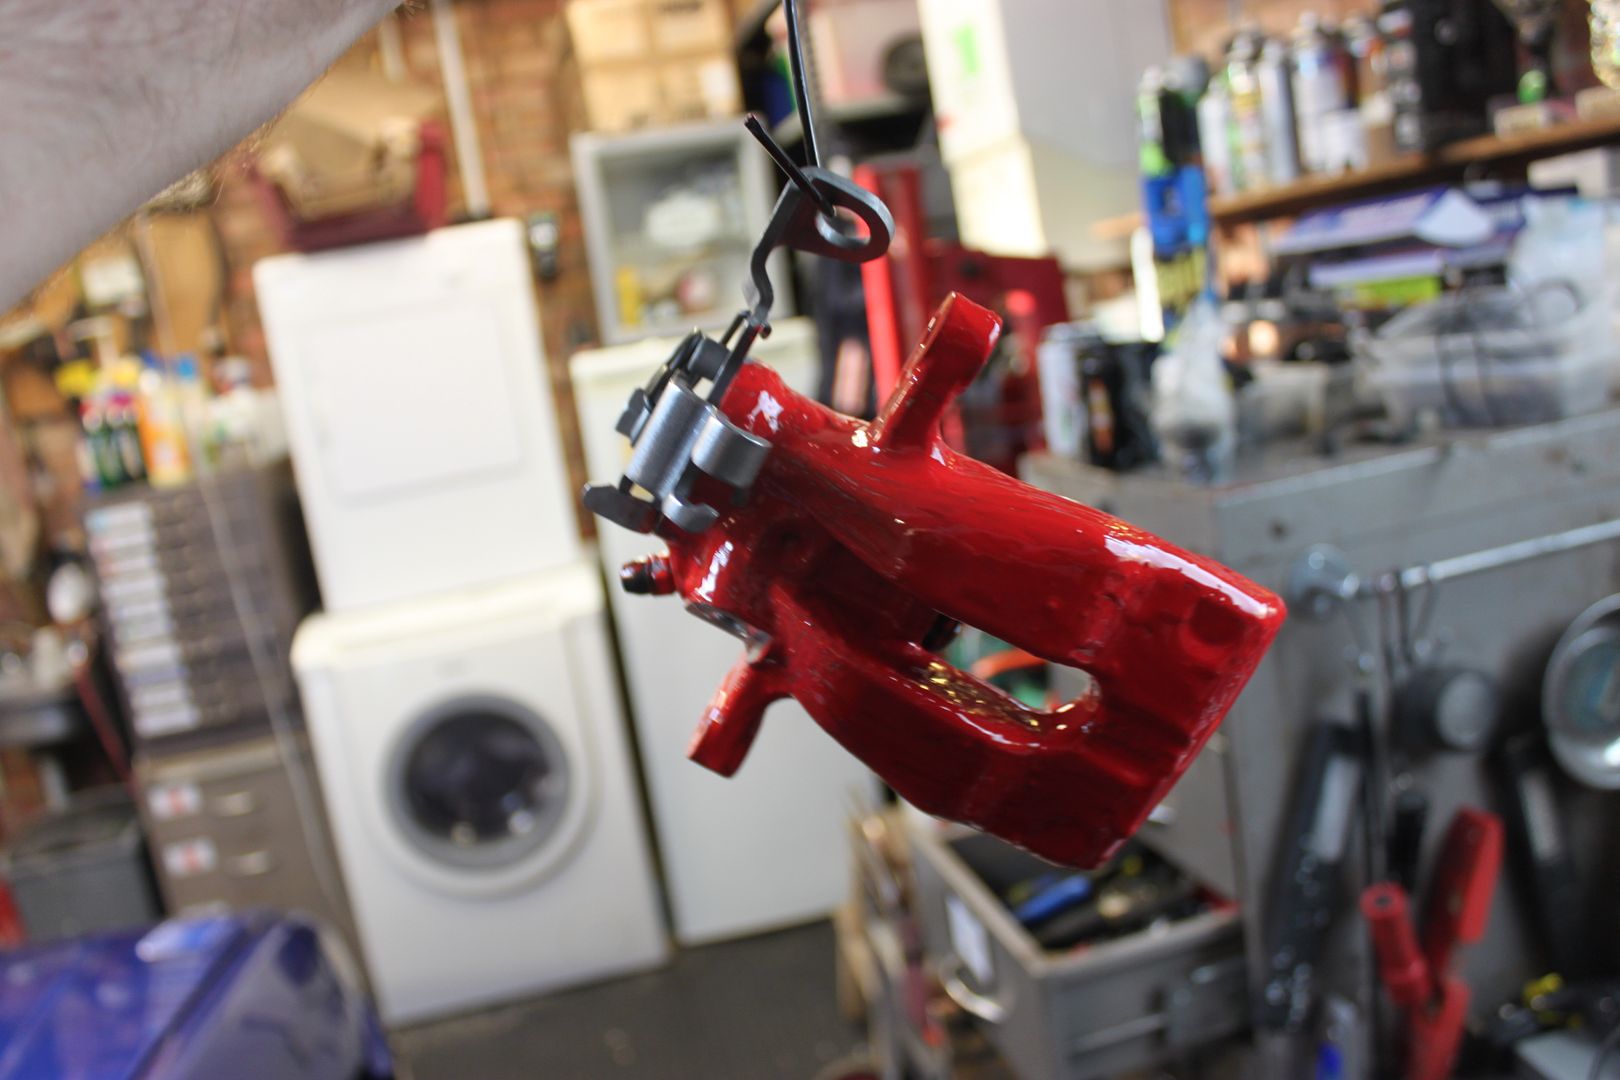
Good news on the brakes front, the new replacement rear caliper arrived today...
And was duly treated to the first coat of red...
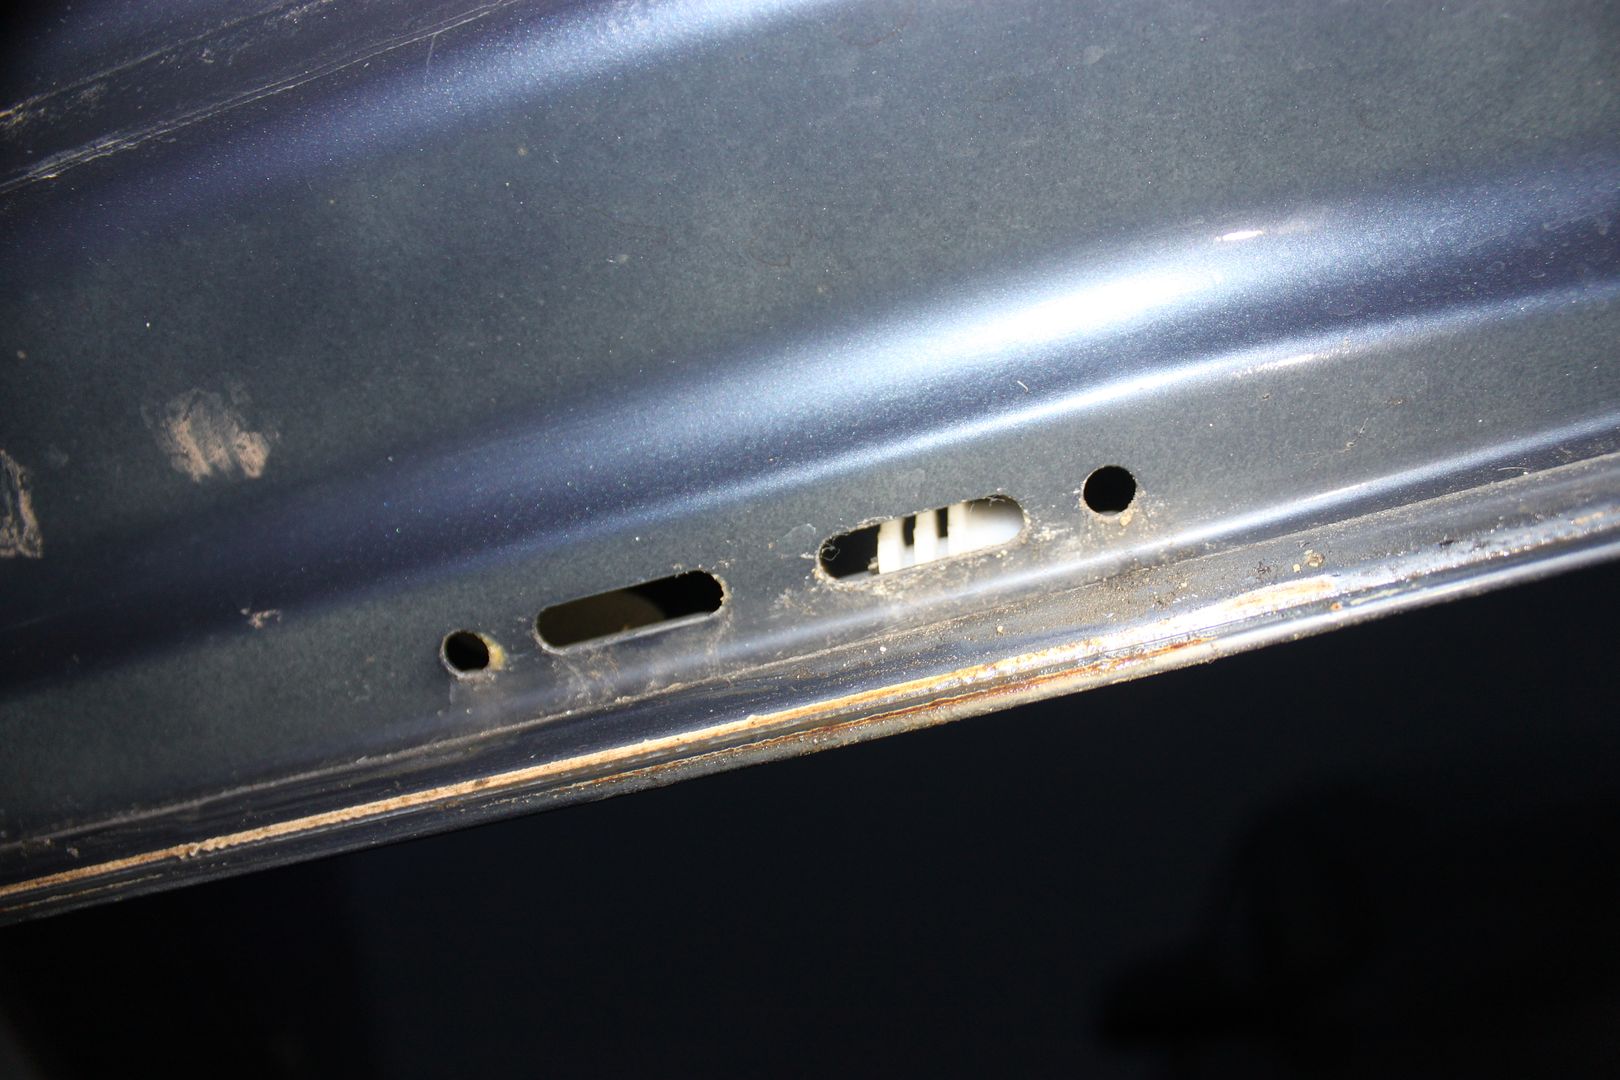
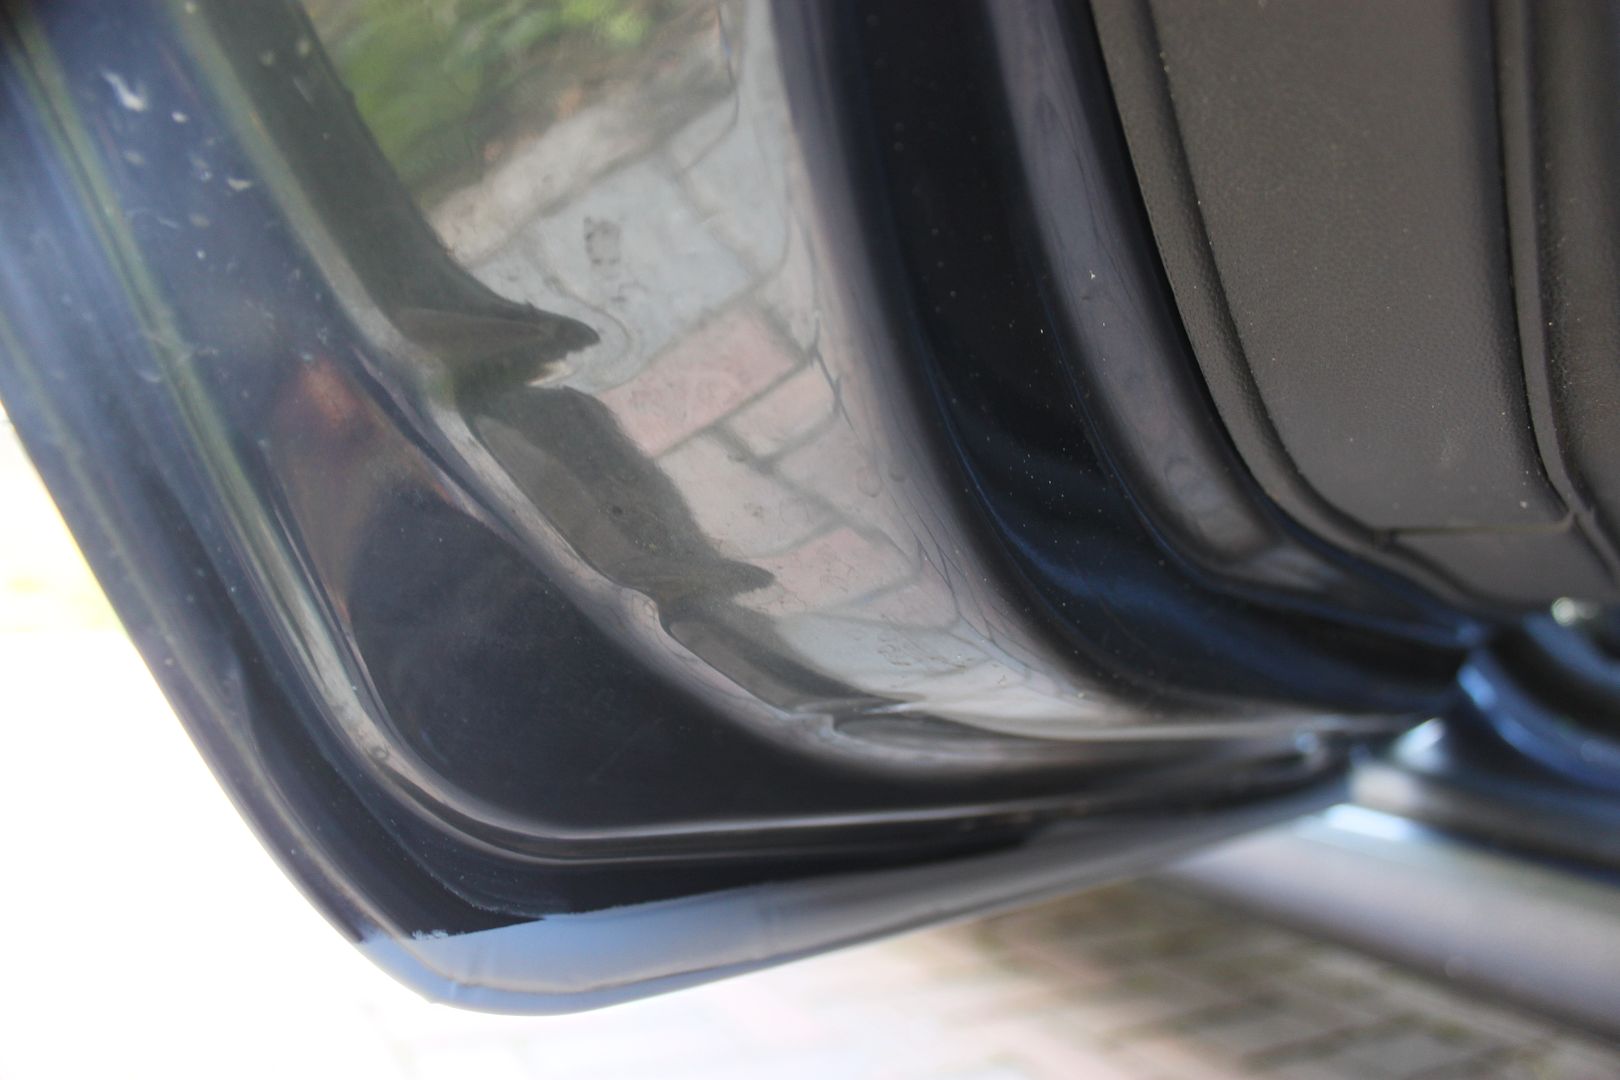
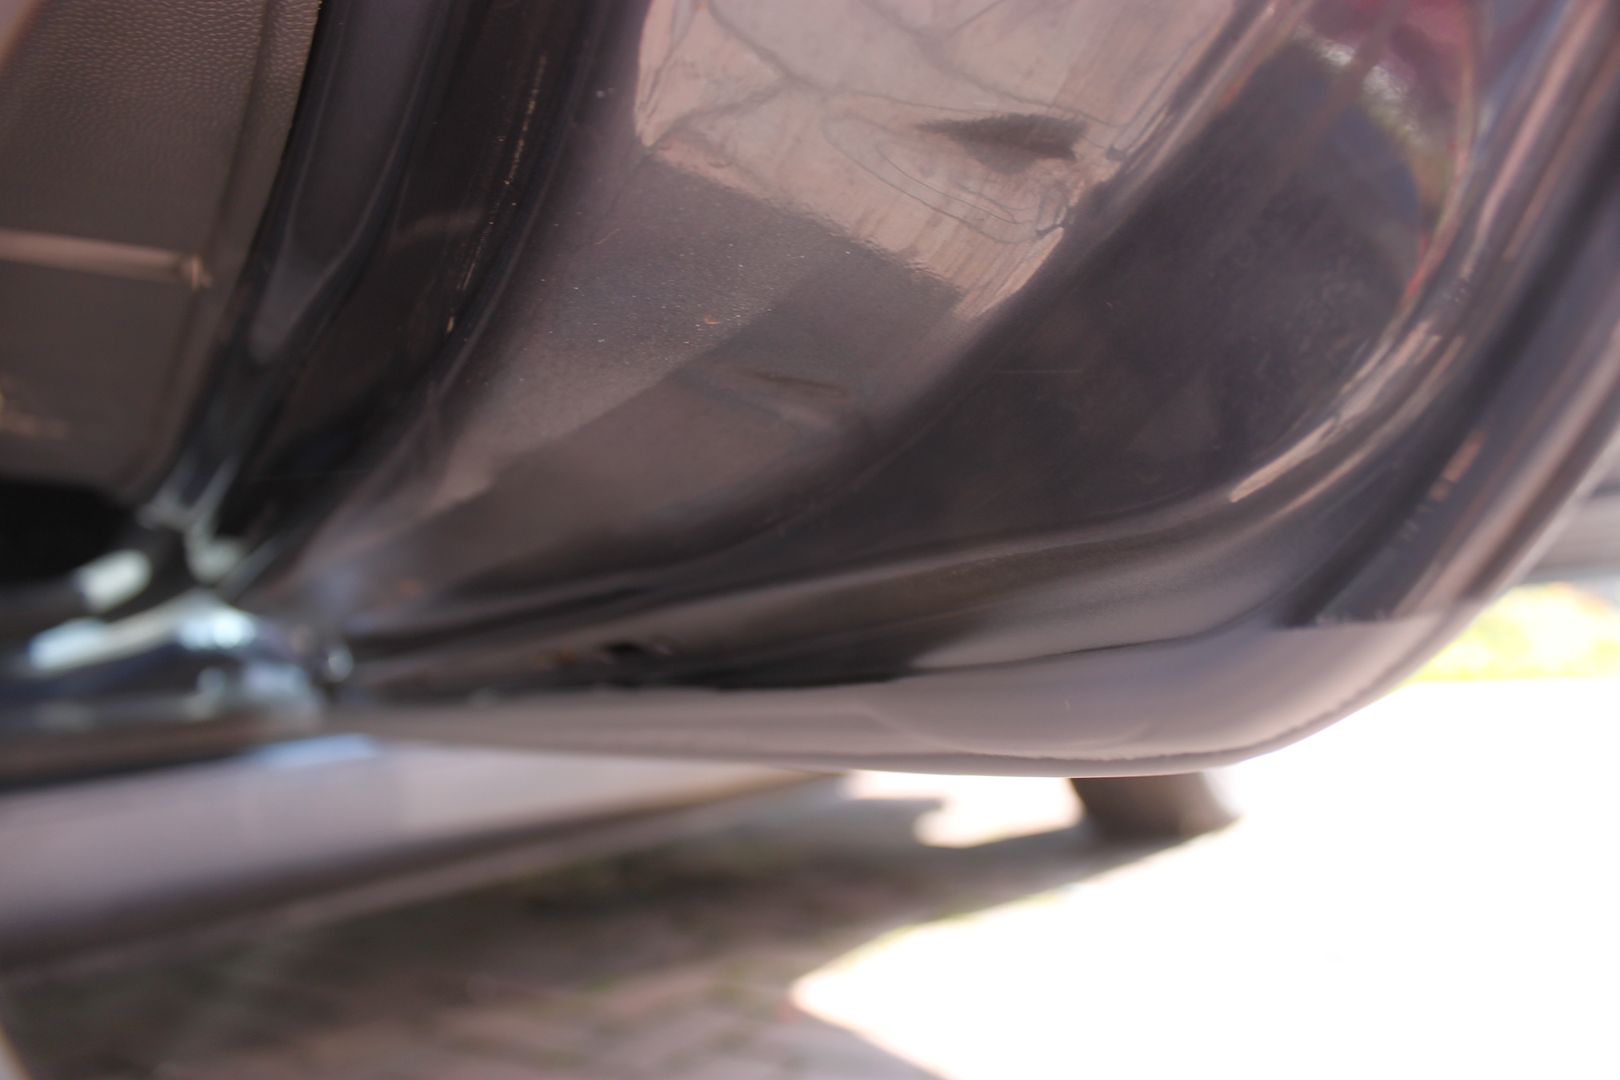
Some of the more eagle eyed among you may have noticed the rusty looking line on the edge of the lower door in this picture..
Indeed this is rust and is where the paint has rubbed off the door by rubbing on the lower rubber weather seal and the metal has started rusting. More annoying is that all 3 of the original doors on the car are like this - it seems the factory paint in this area is quite thin for some reason.
Fortunately its just very minor surface rust which will sand off and will need zinc primer and a fair few coats of normal primer on top . I may even try and get some clear vinyl wrap to line the lower edge of the door as a protective layer once the car has been for paint.
More updates at the weekend...
Joff
So today it was out with the dremel and a sanding attachment and I ground away all the little blebs of rust just forming on the bottom edge of the doors , then rubbed back with a bit of 240 and then 400 paper to get a nice smooth finish.
Next up was etch primer and then some normal primer on top and we now have some nice repaired doors...
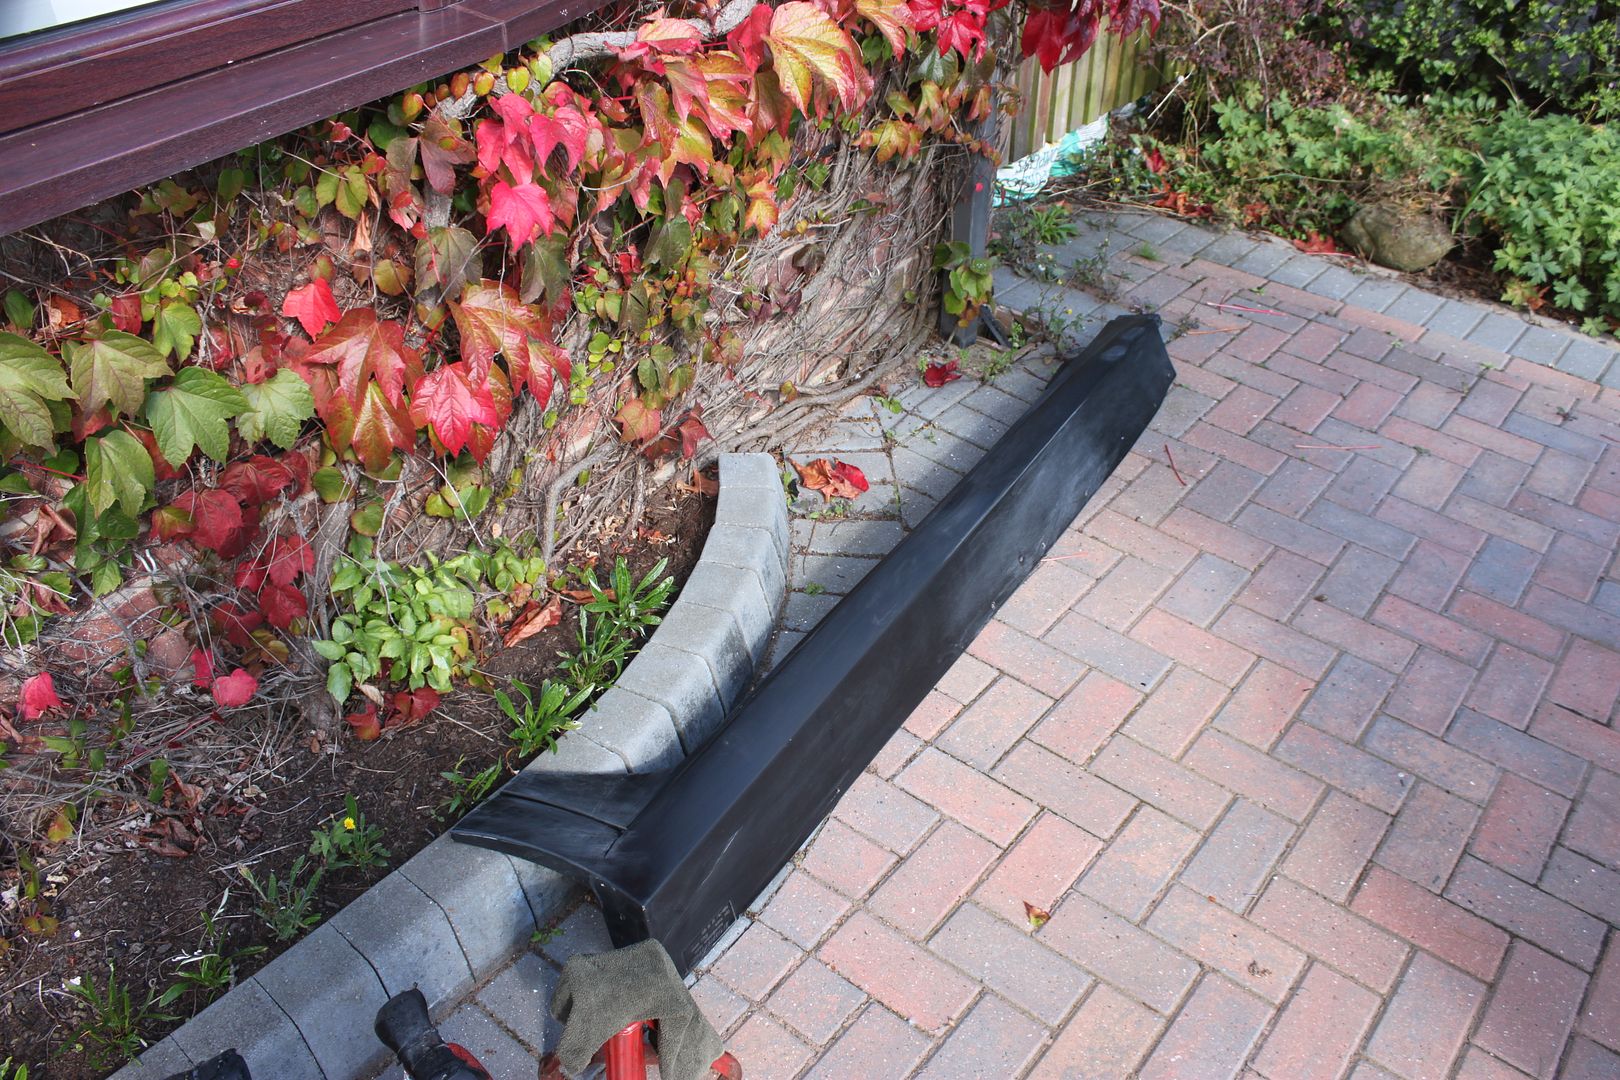
So the doors will need some paint on both sides when they go to the bodyshop shortly. Talking of bodyshop I started prepping one of the Irmscher sideskirts , just waiting to hear back from the bodyshop whether they want them loose or attached to the bodywork prior to painting.....
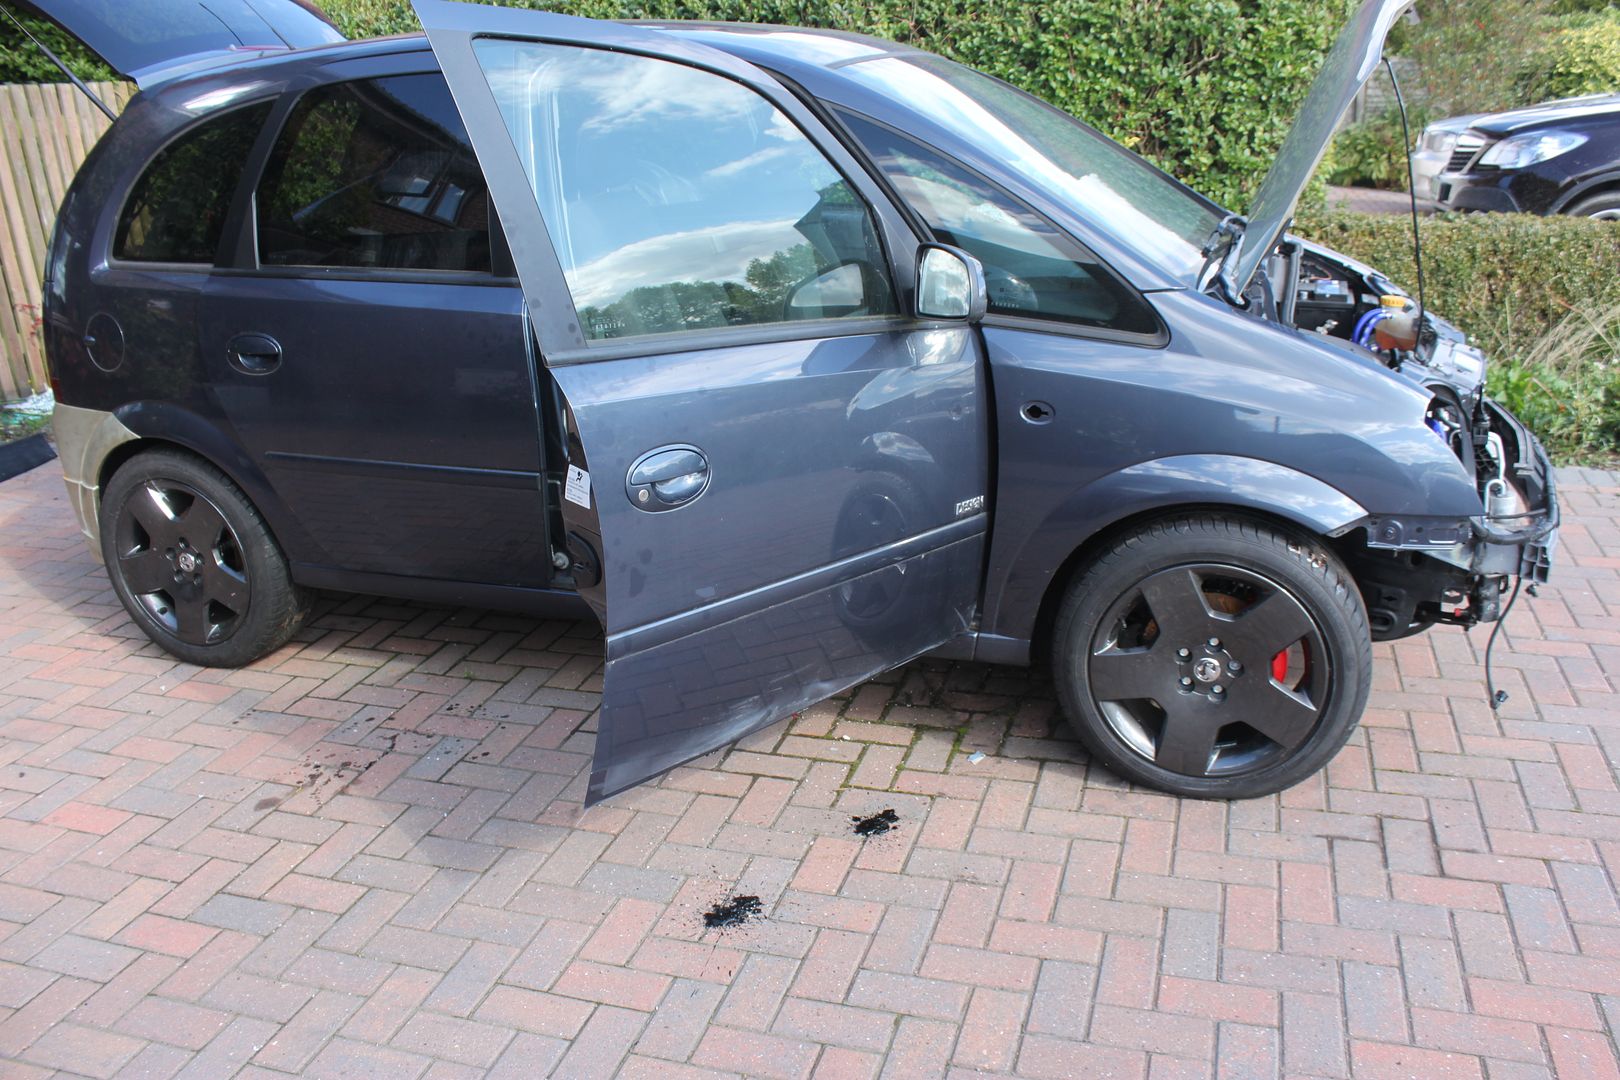
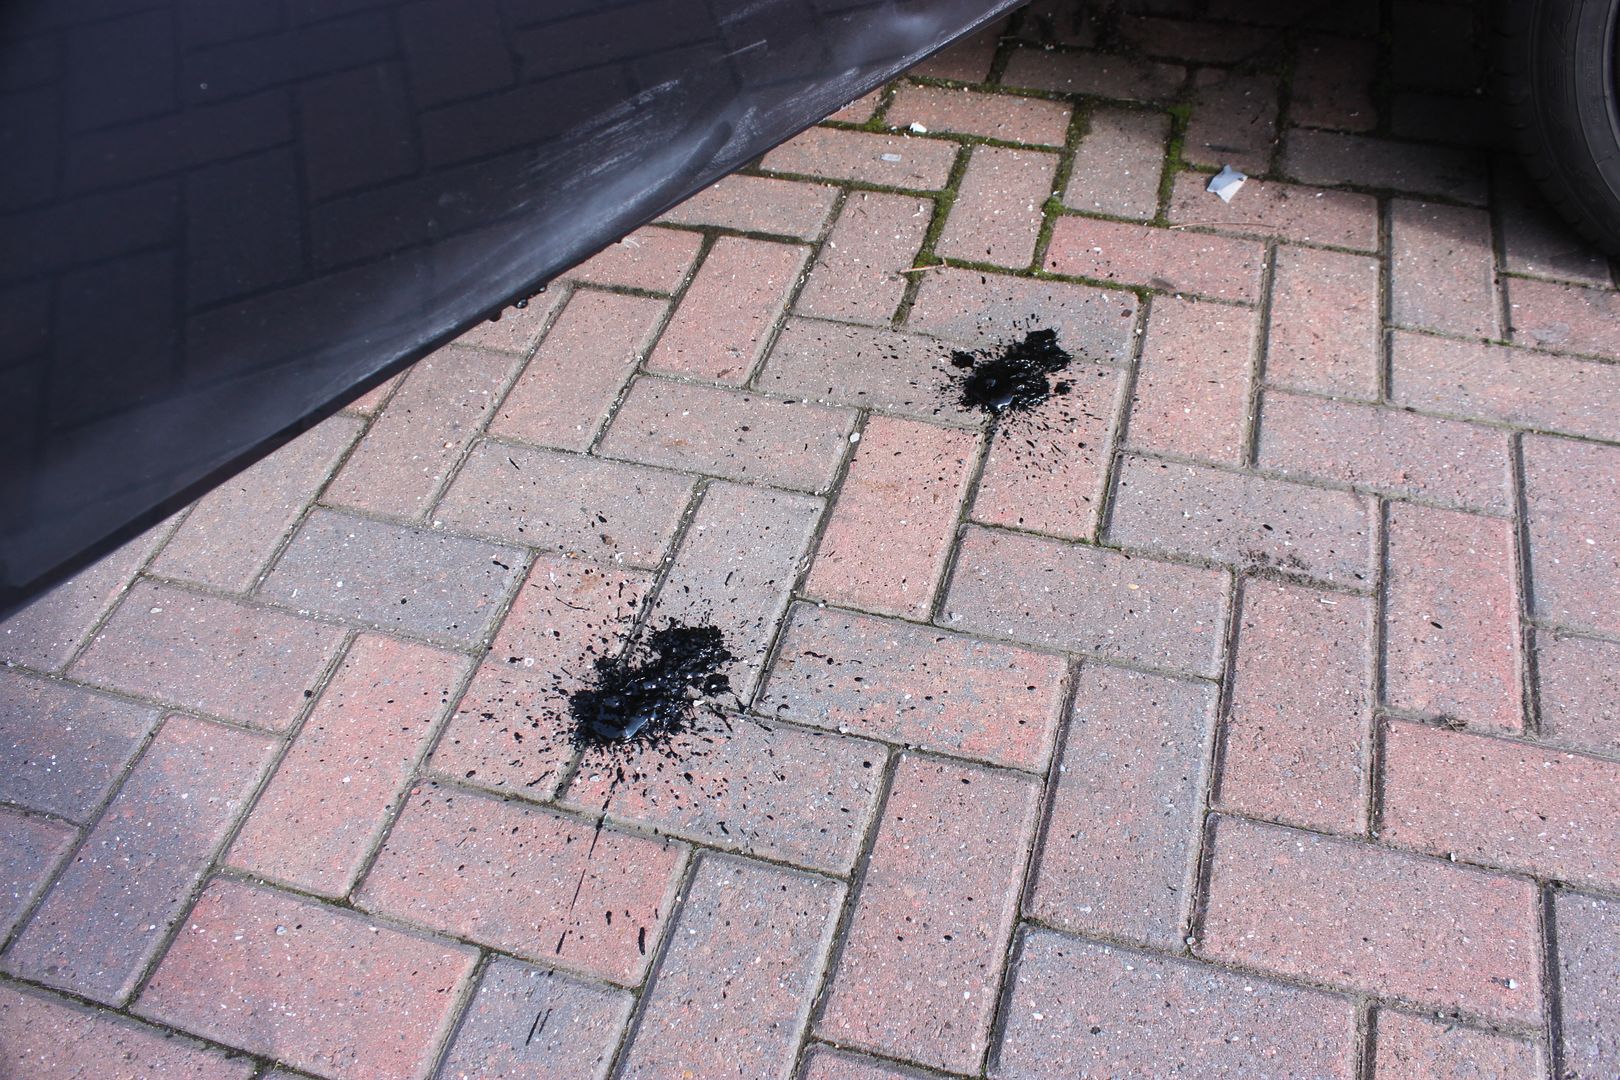
I left the doors open today in the full sun, and a while later noticed the car had done a cr@p on the drive (SWMBO was not impressed!)....
I think I may have overdone the waxoyl a tad earlier this week!
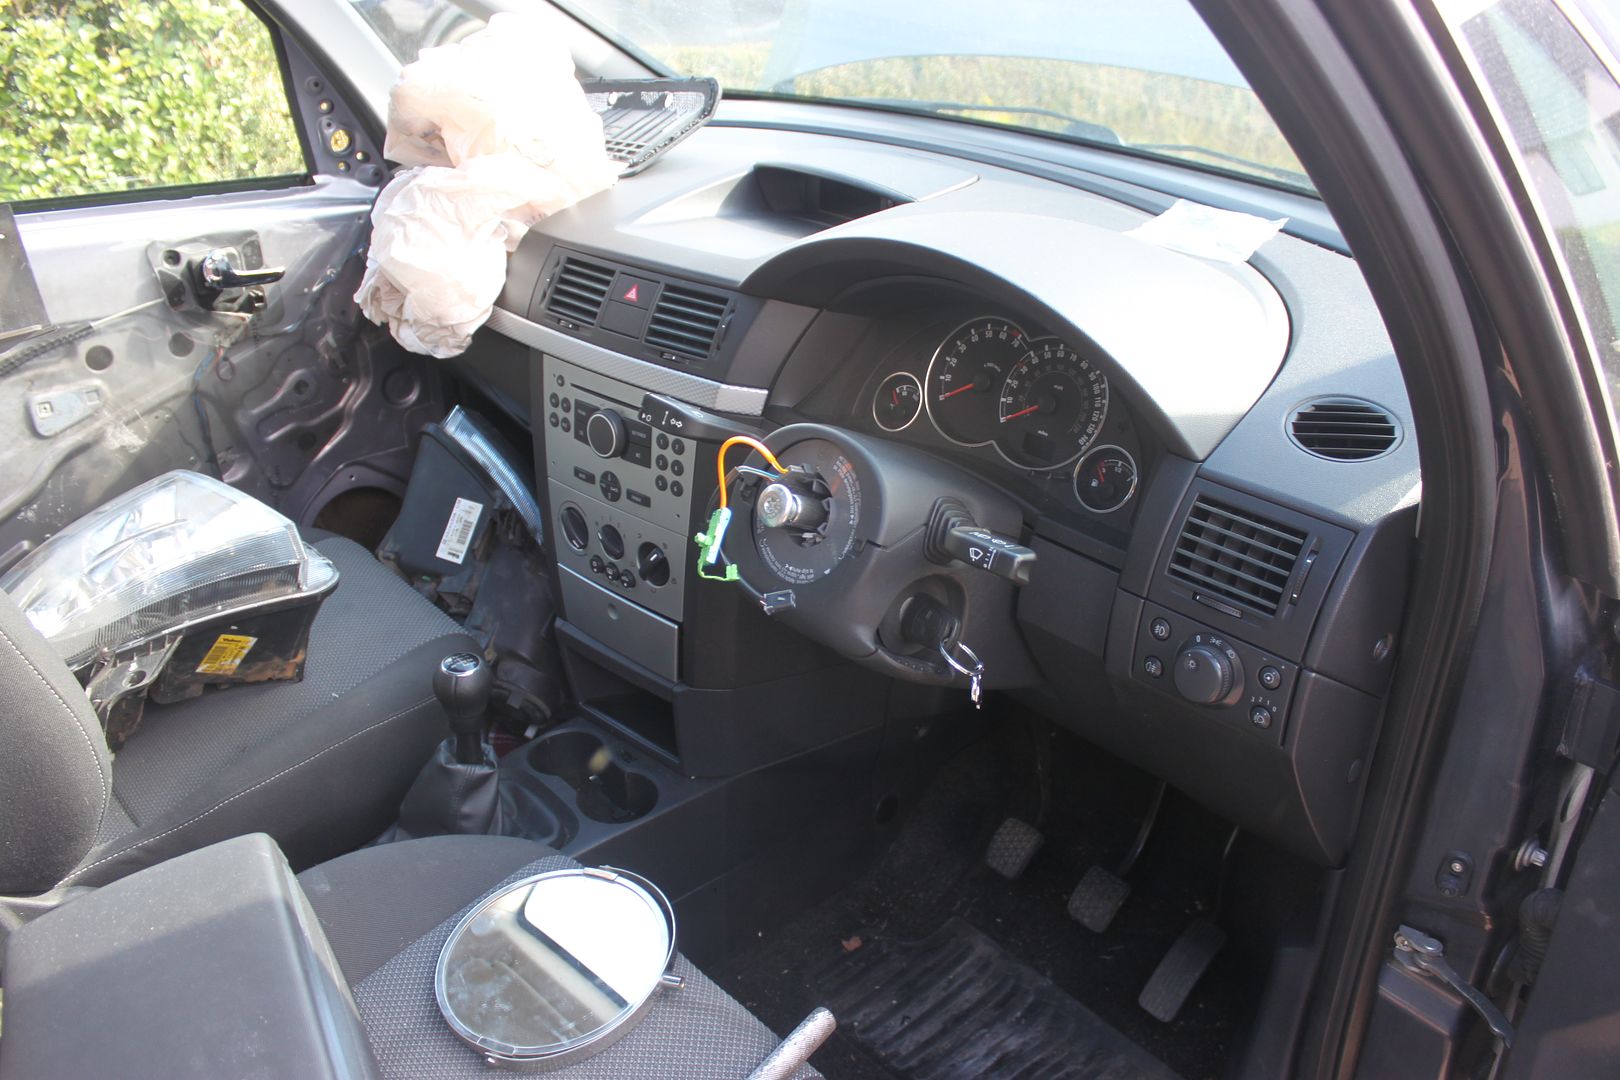
I started on the dash removal by taking off the steering wheel which had cracked leather - I have the original steering wheel from the VXP which has only done a few thousand miles which is in mint condition to go back in with the new dash....
Jobs for tomorrow are rebuilding the boot and surrounding trims, changing out the rear seats for the VXR ones and removal of the front seats ready to remove the dash.
Joff
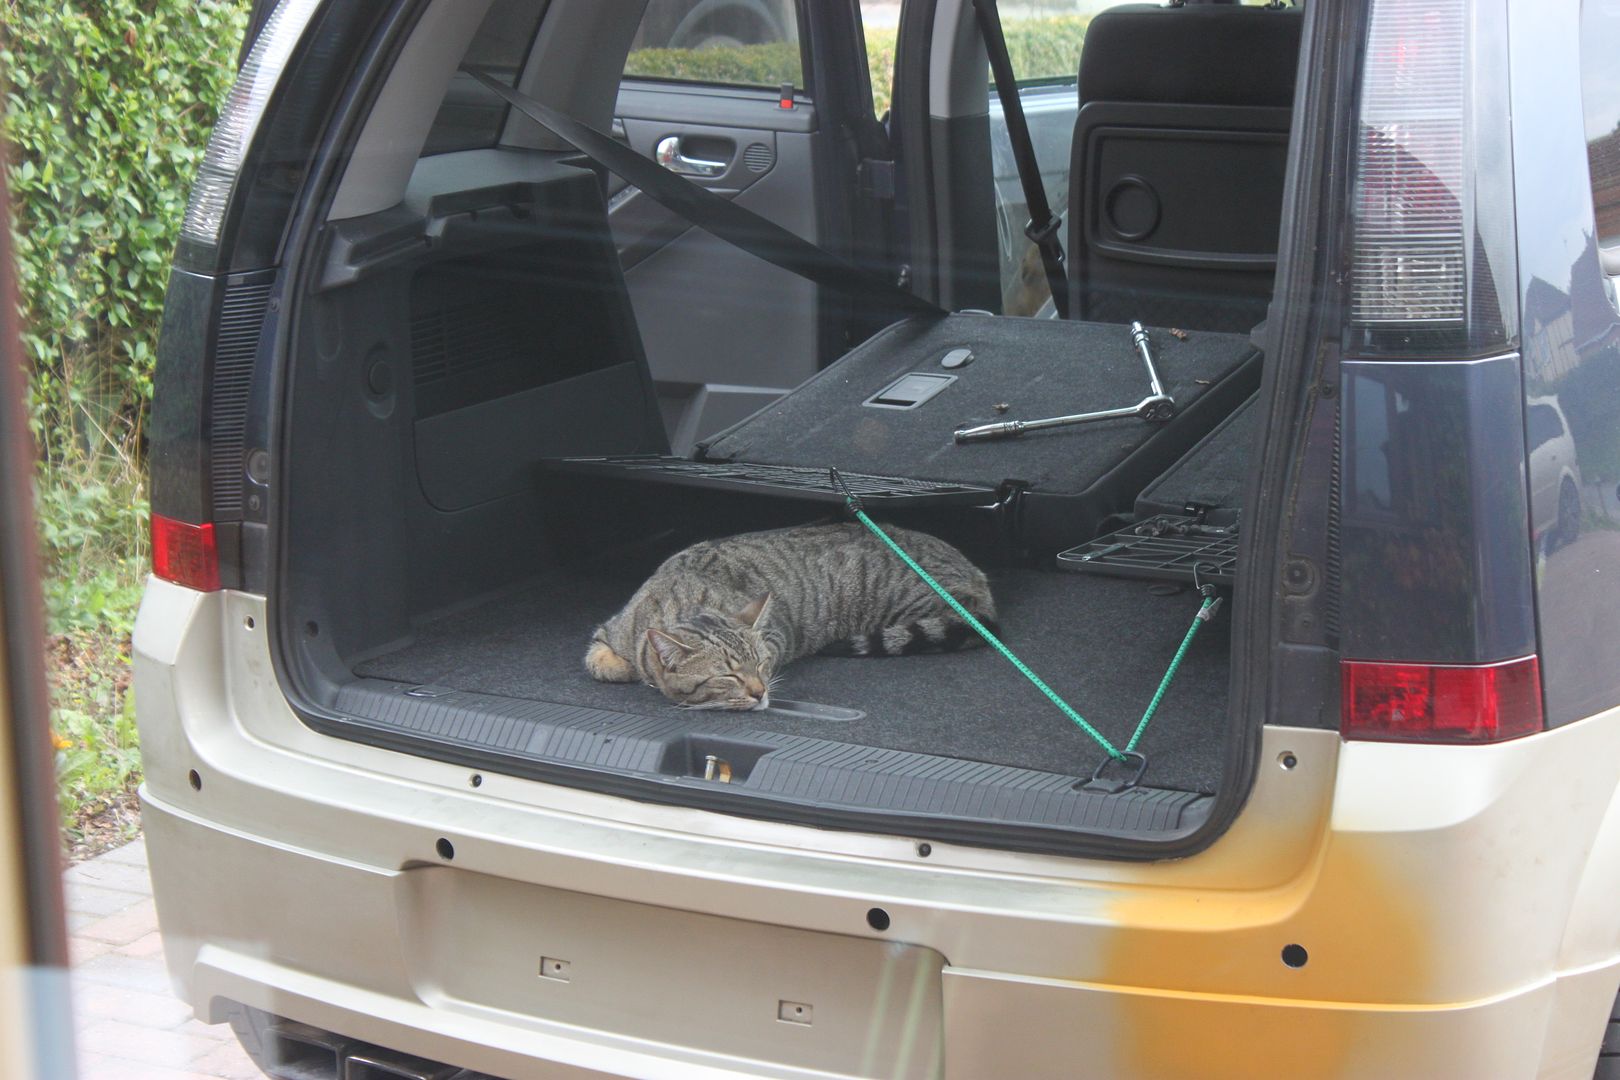
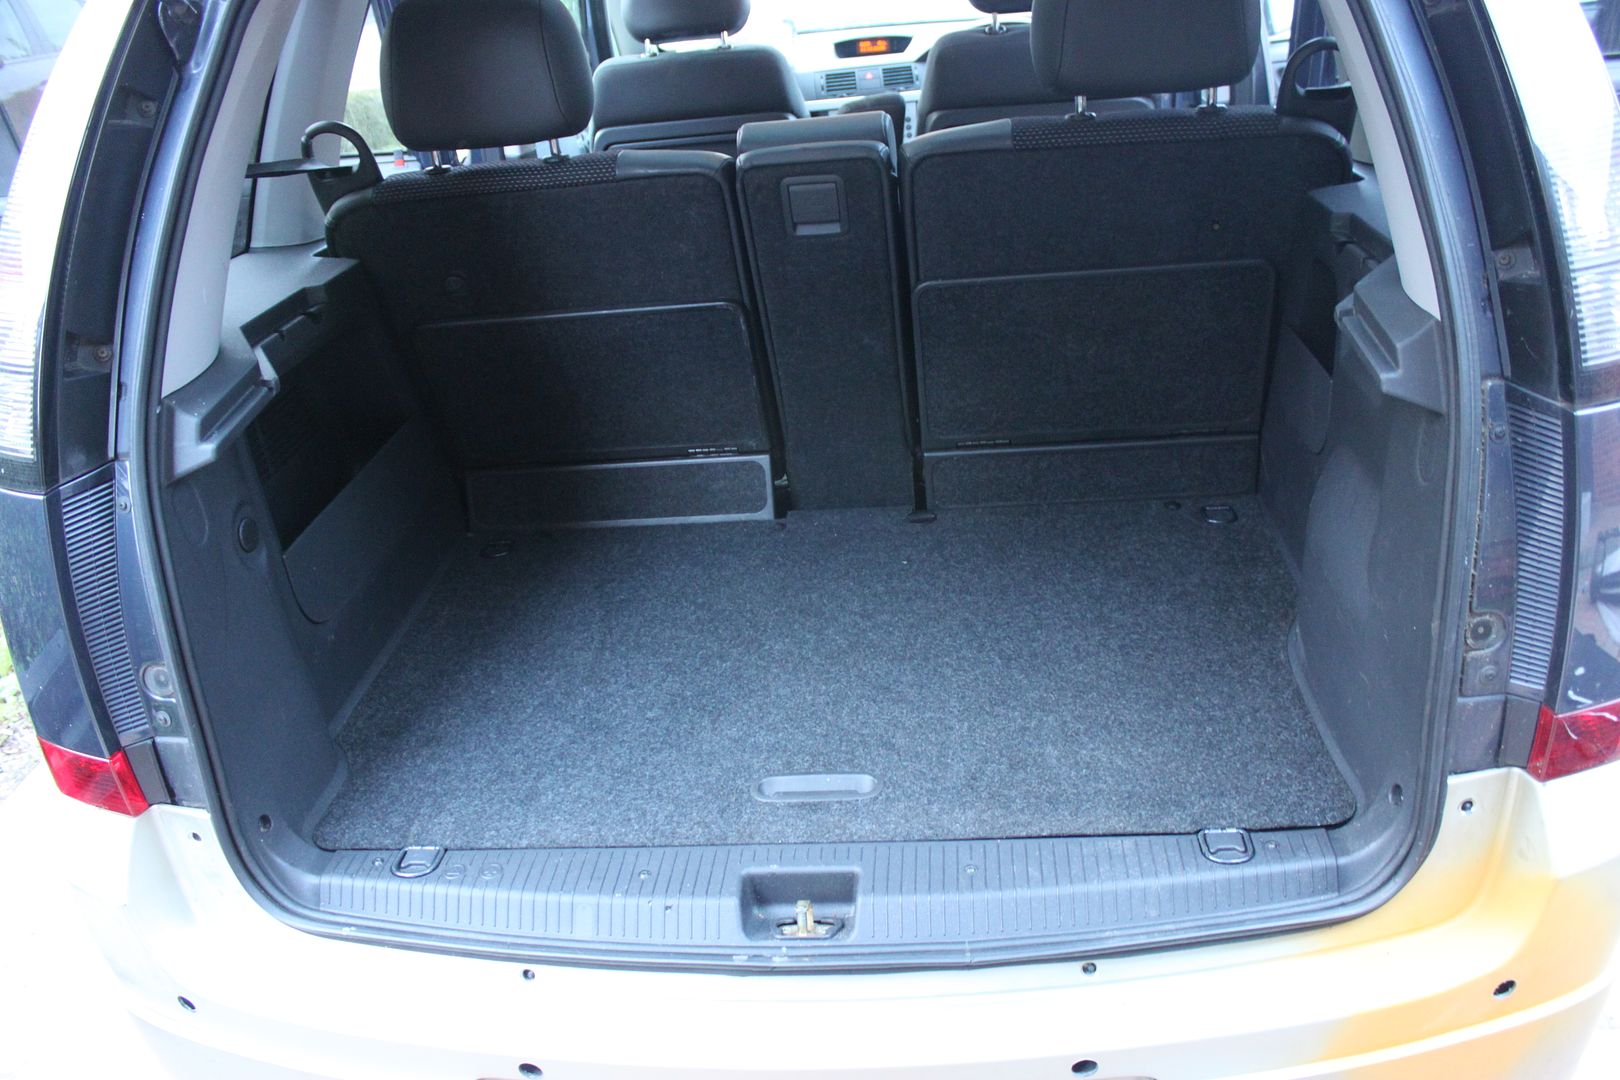
Started work today and put the boot and trims back together - Santa's little helper AKA Isaac the cat "helped" .....
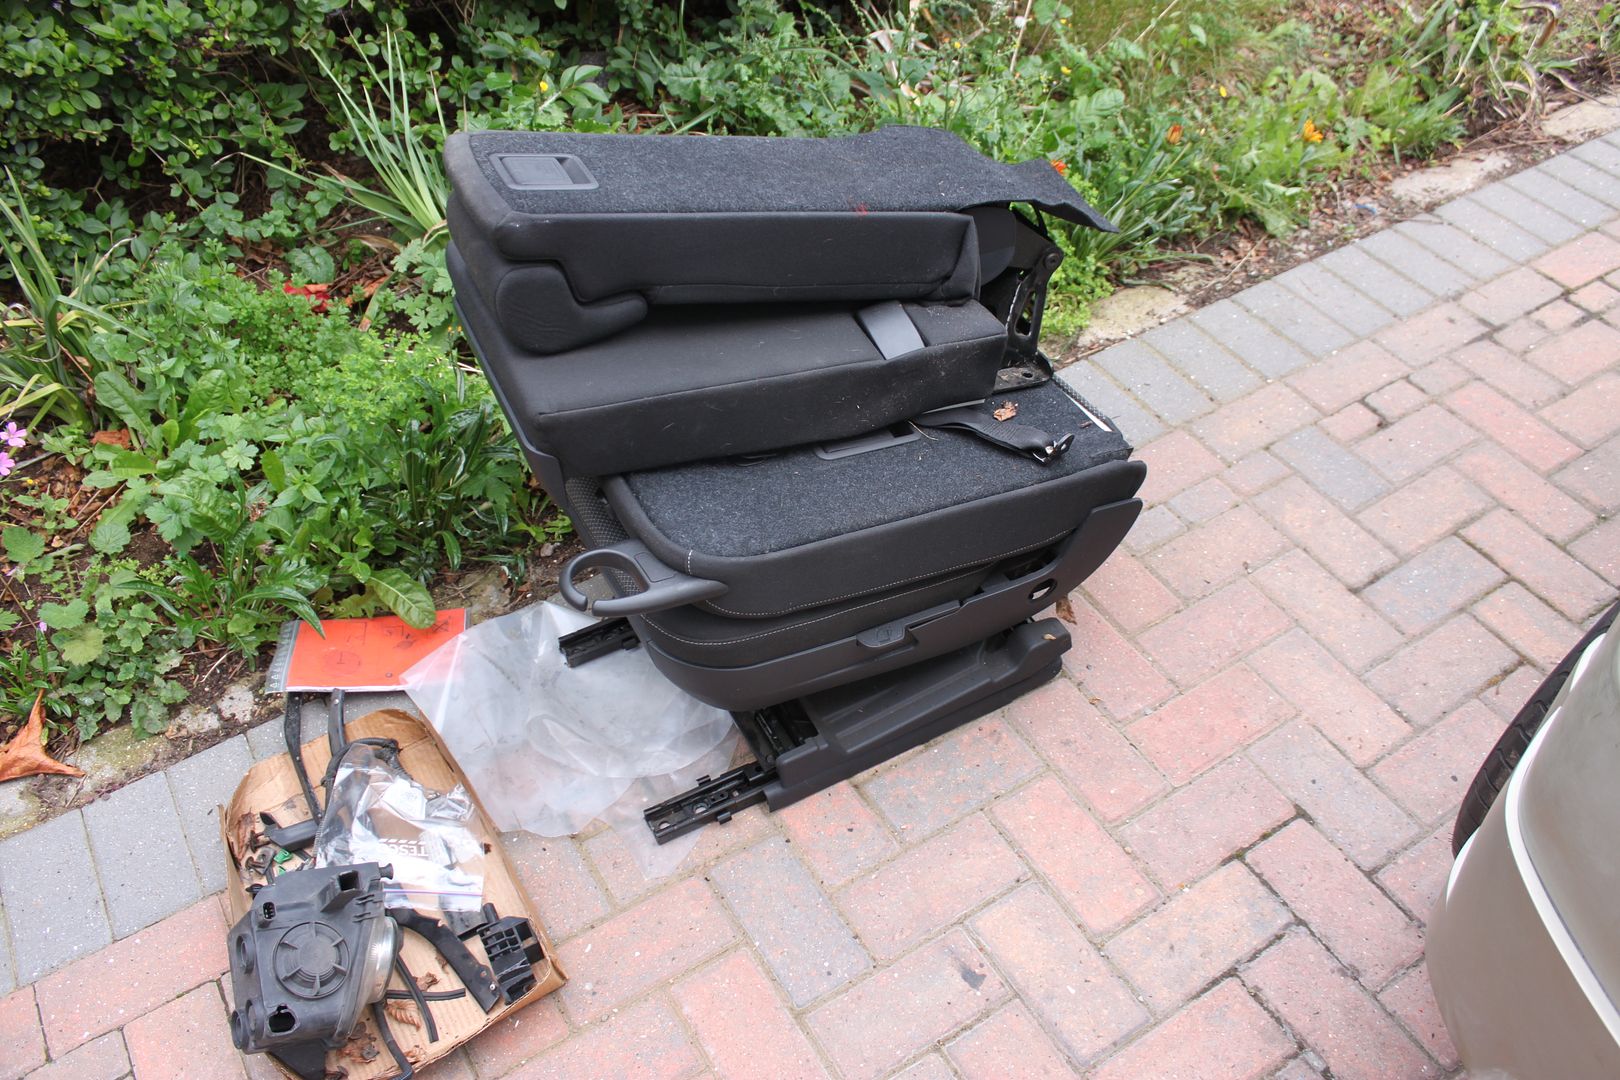
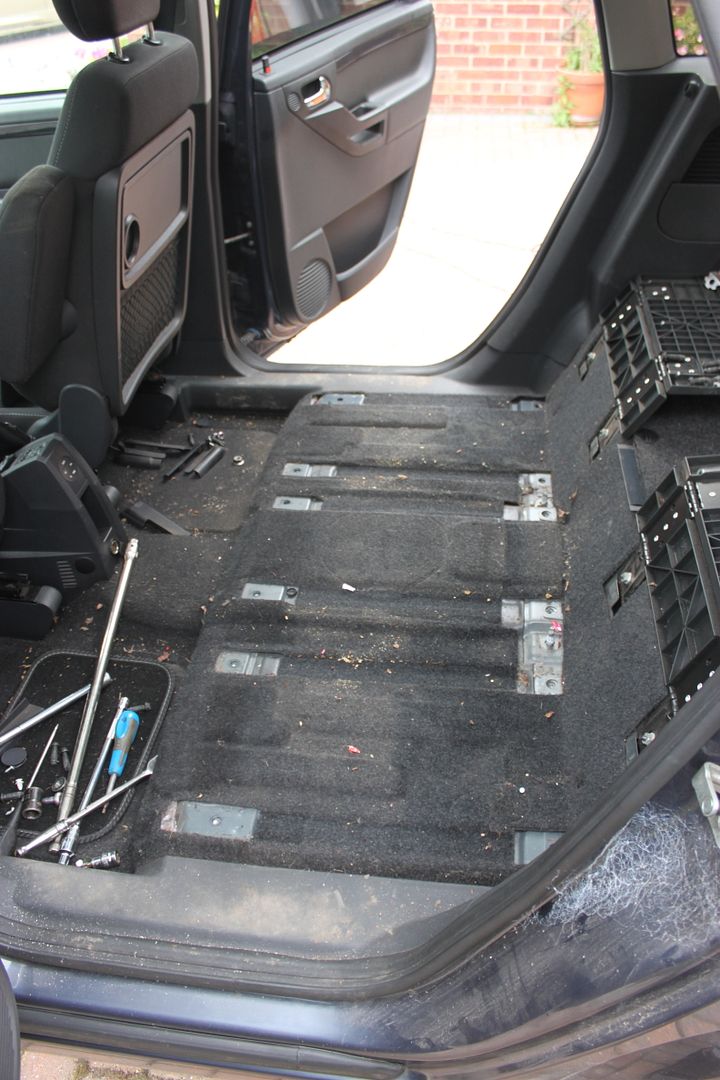
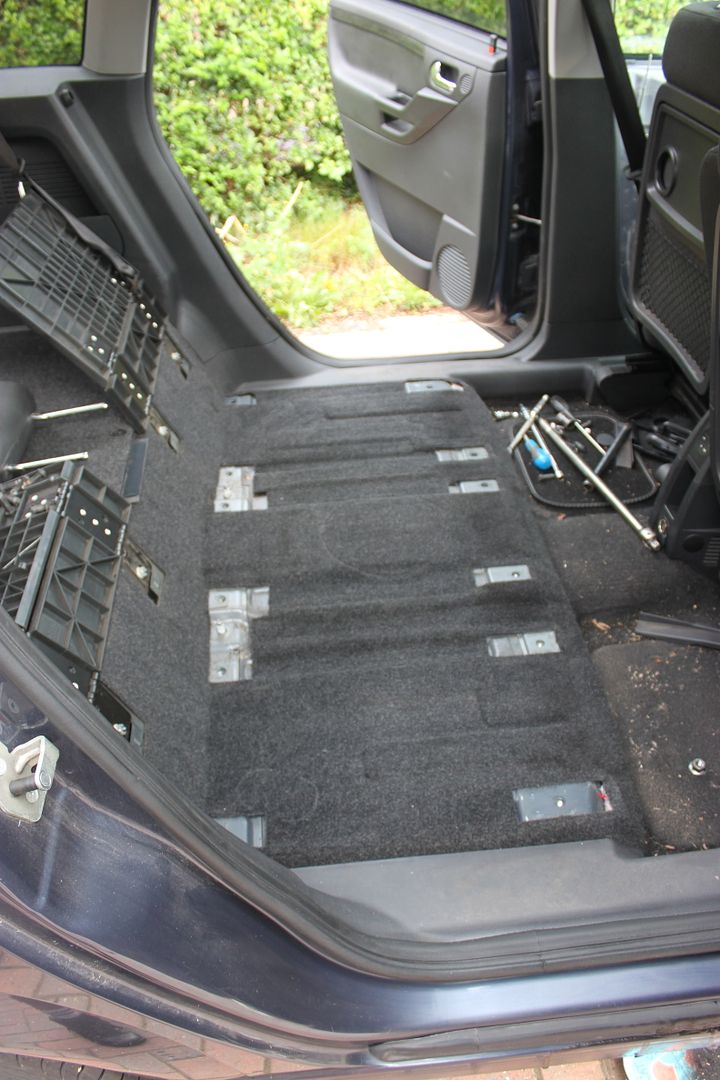
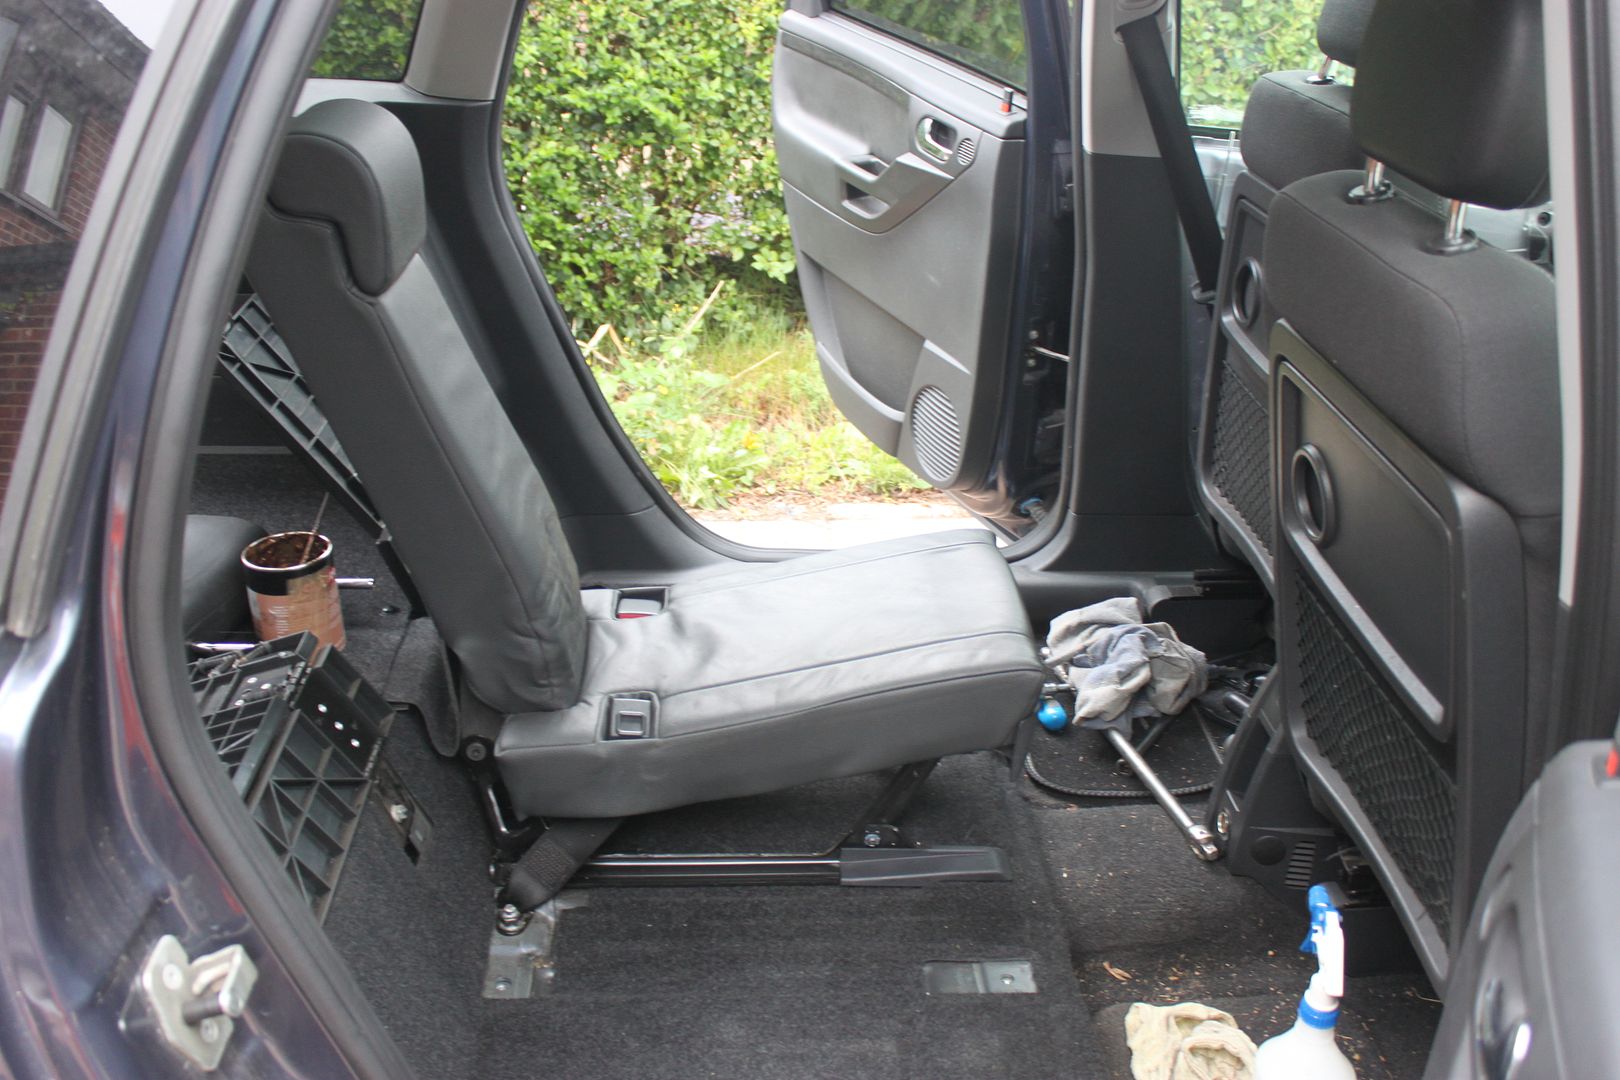
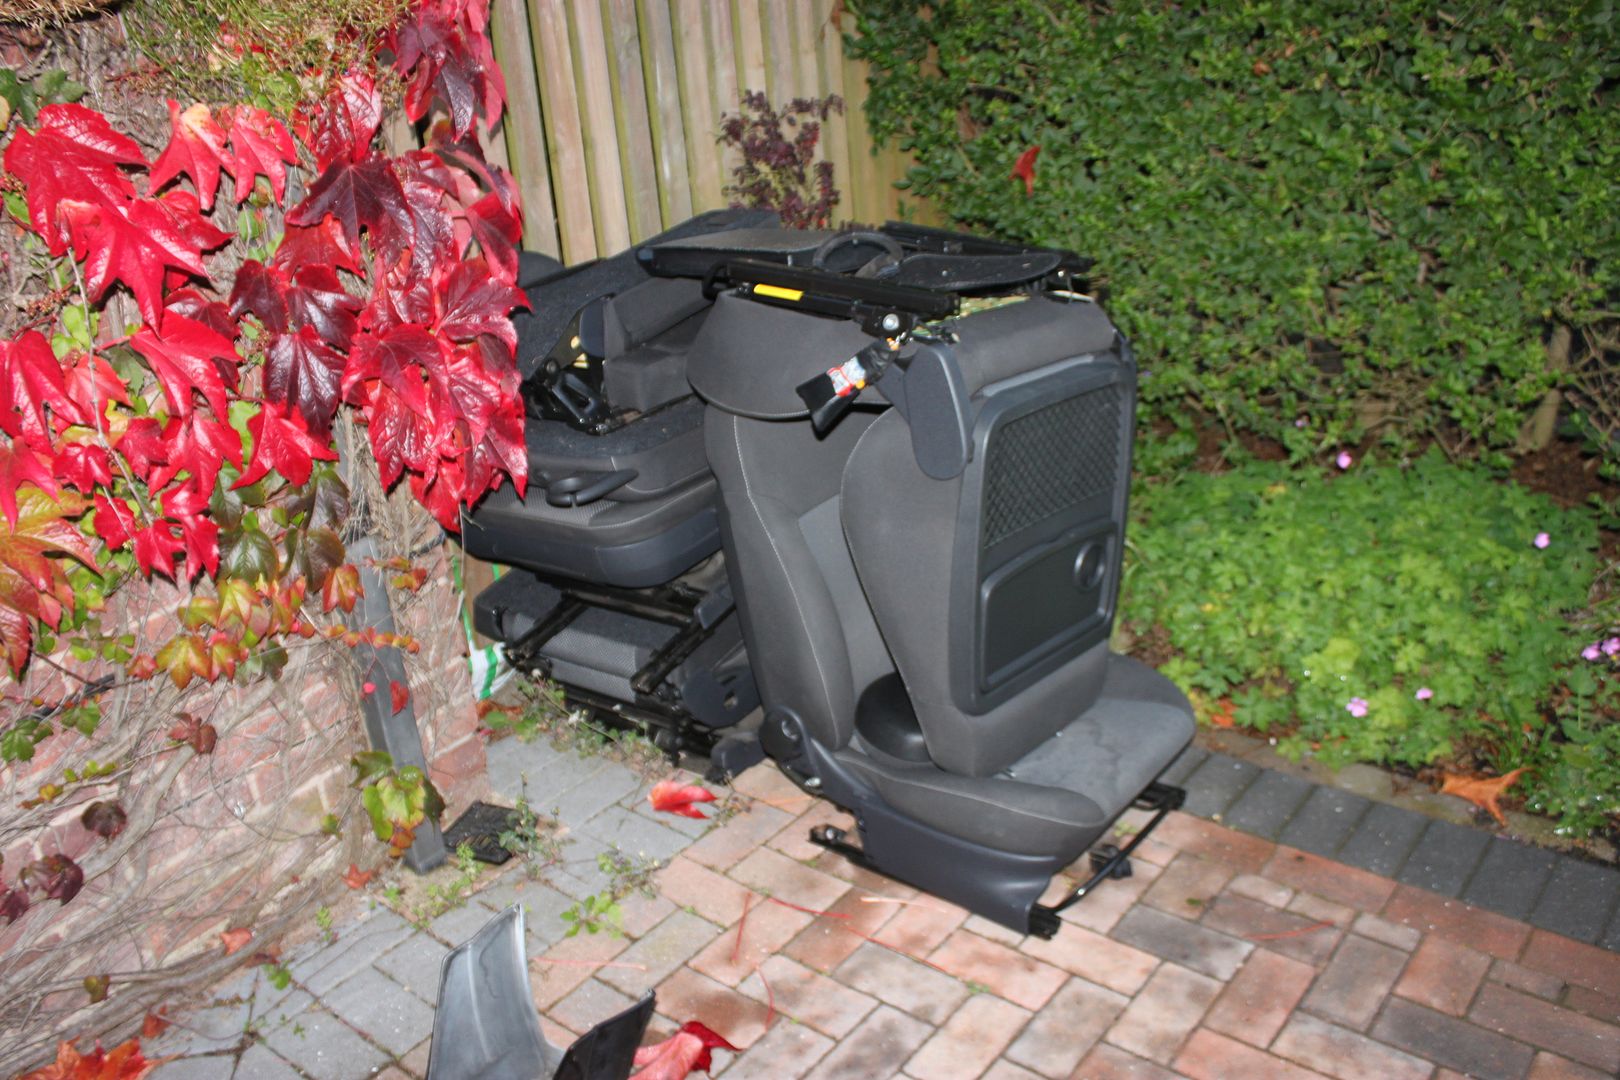
Started removing the old rear seats out....
Which left this crud behind, not too bad , I've seen a lot worse...
A quick whizz over with the hoover and some G101 on the sill trims and it was looking a lot better....
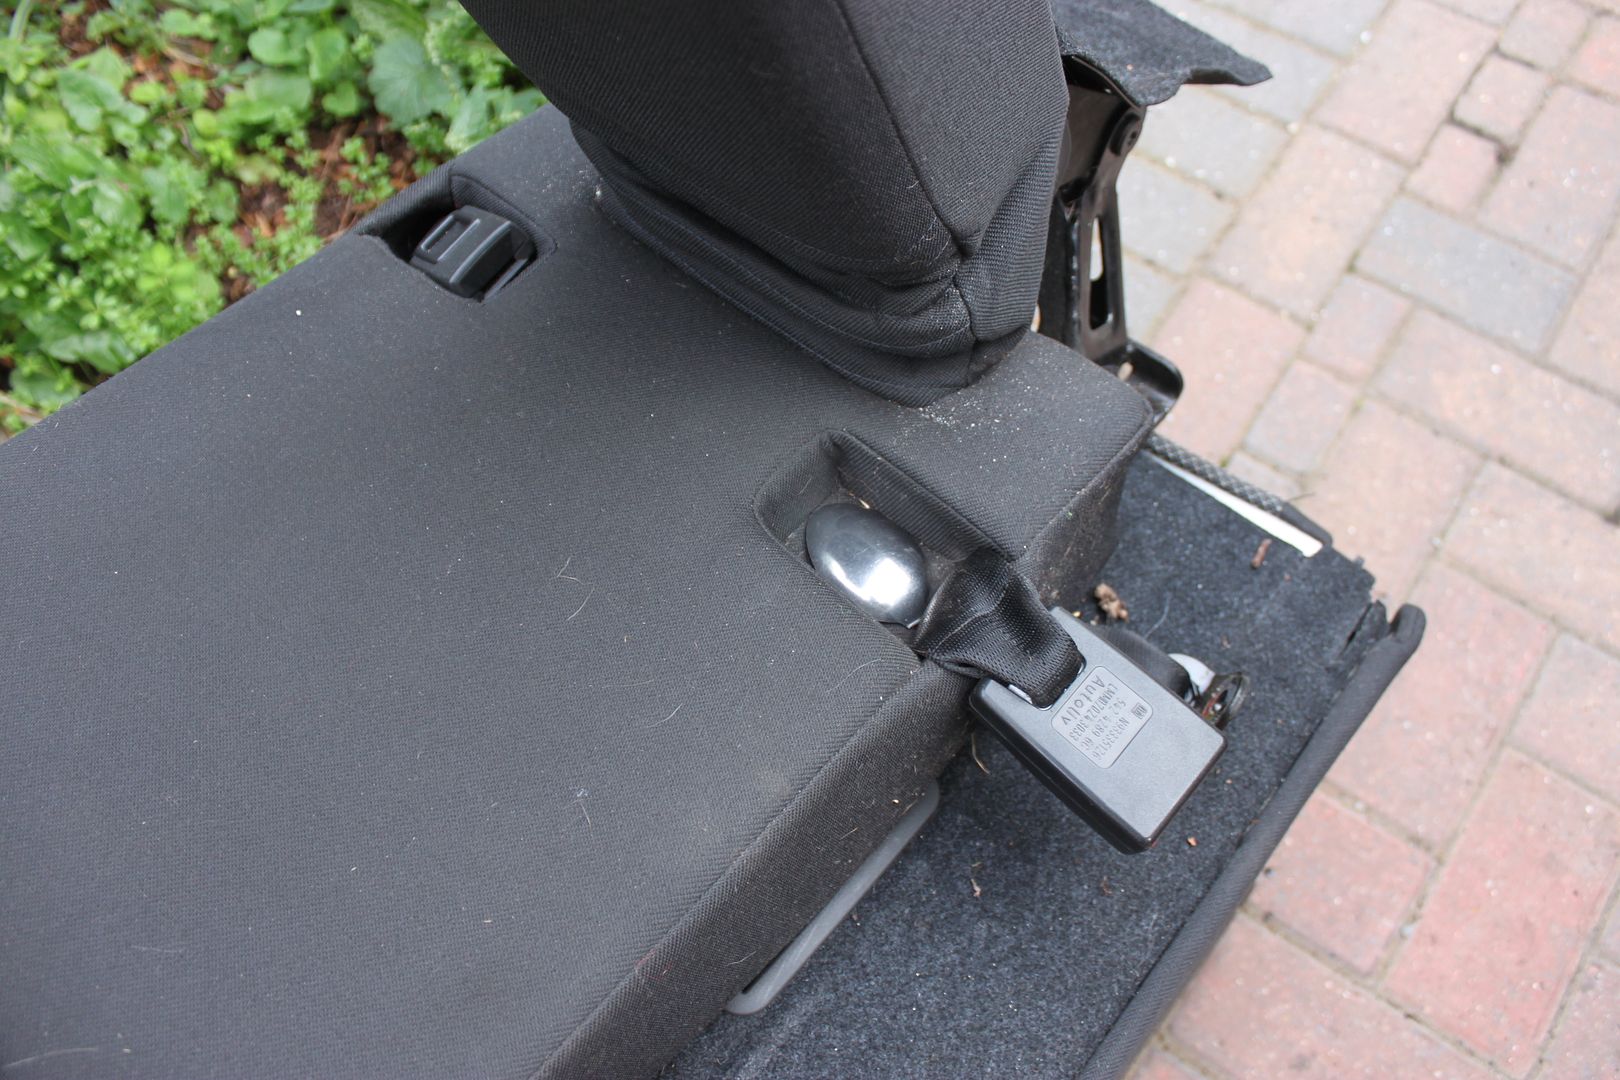
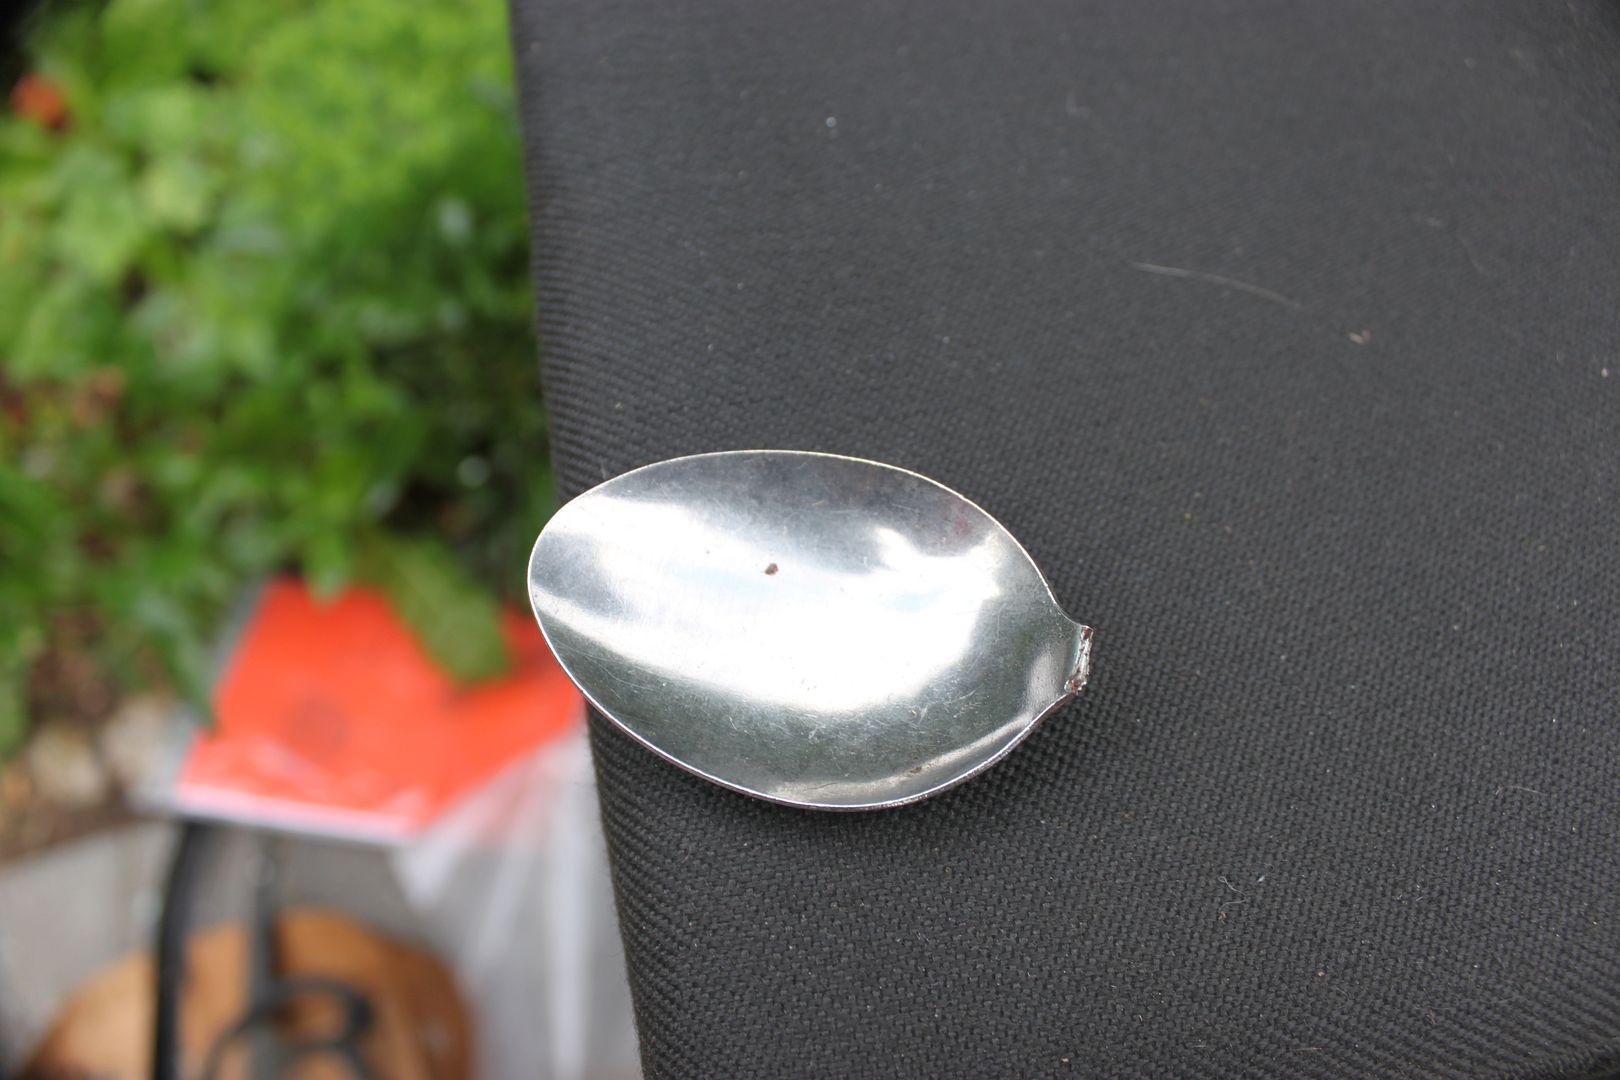
Needed to swap the seatbelts over from the centre seat, which is when I found this ....
A bit weird - a spoon head....
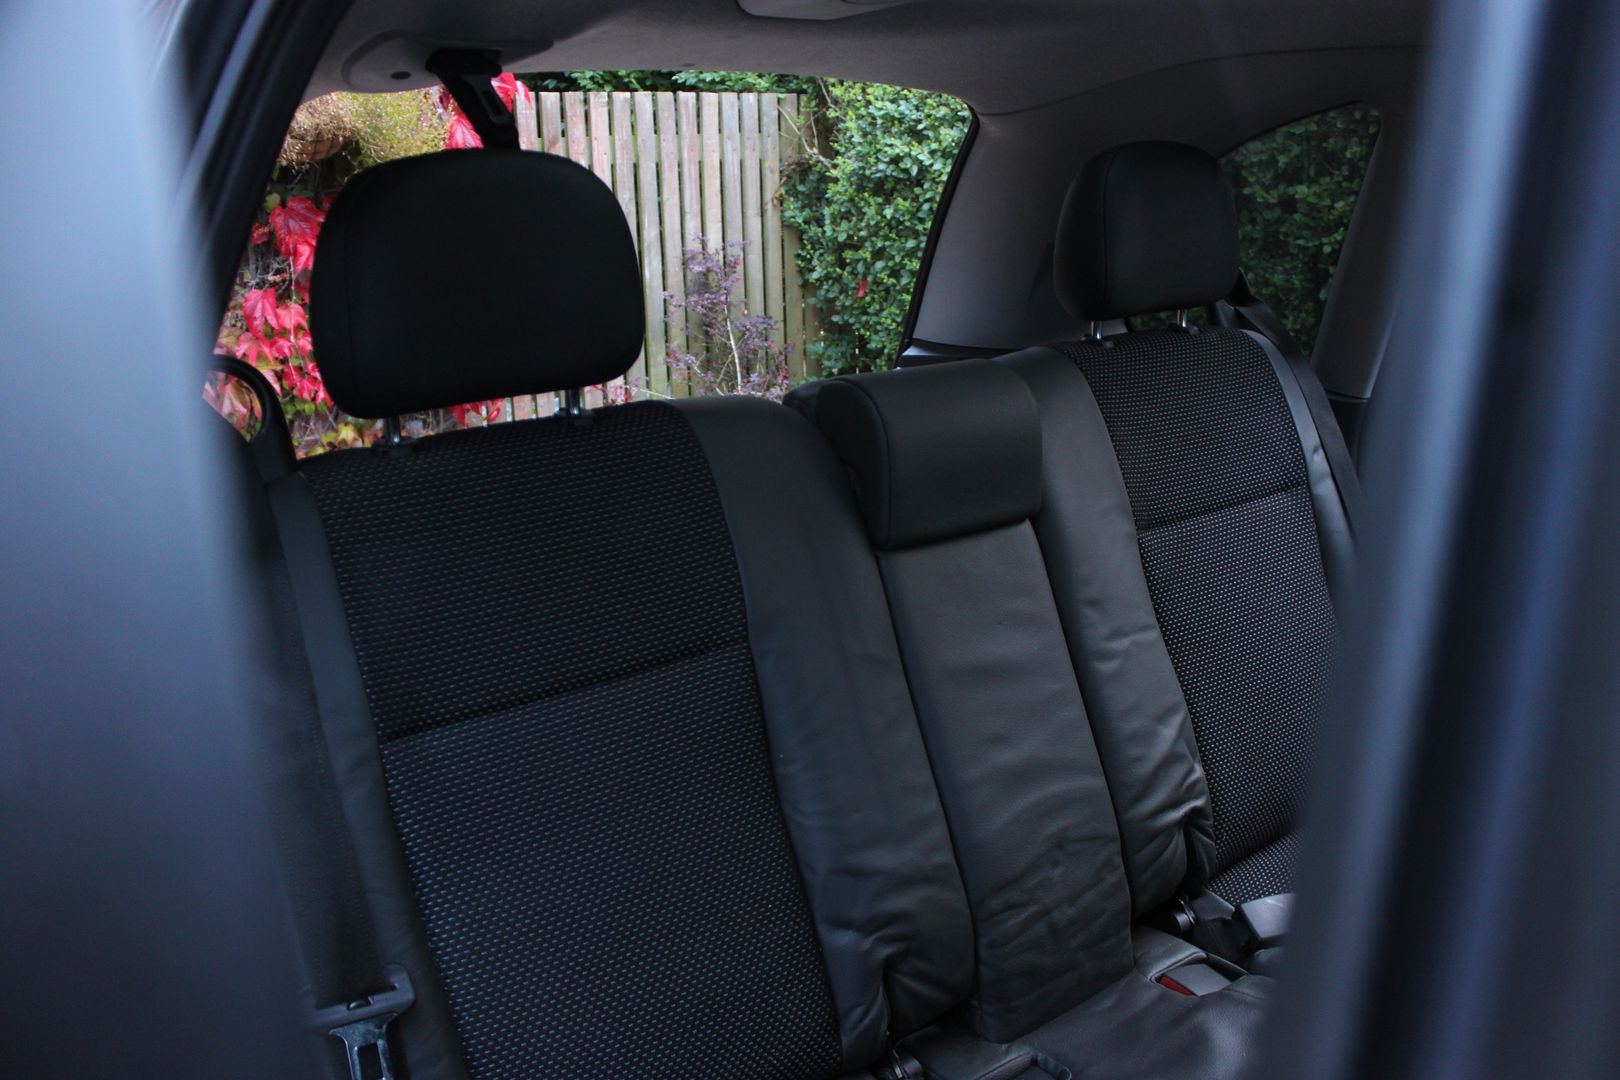
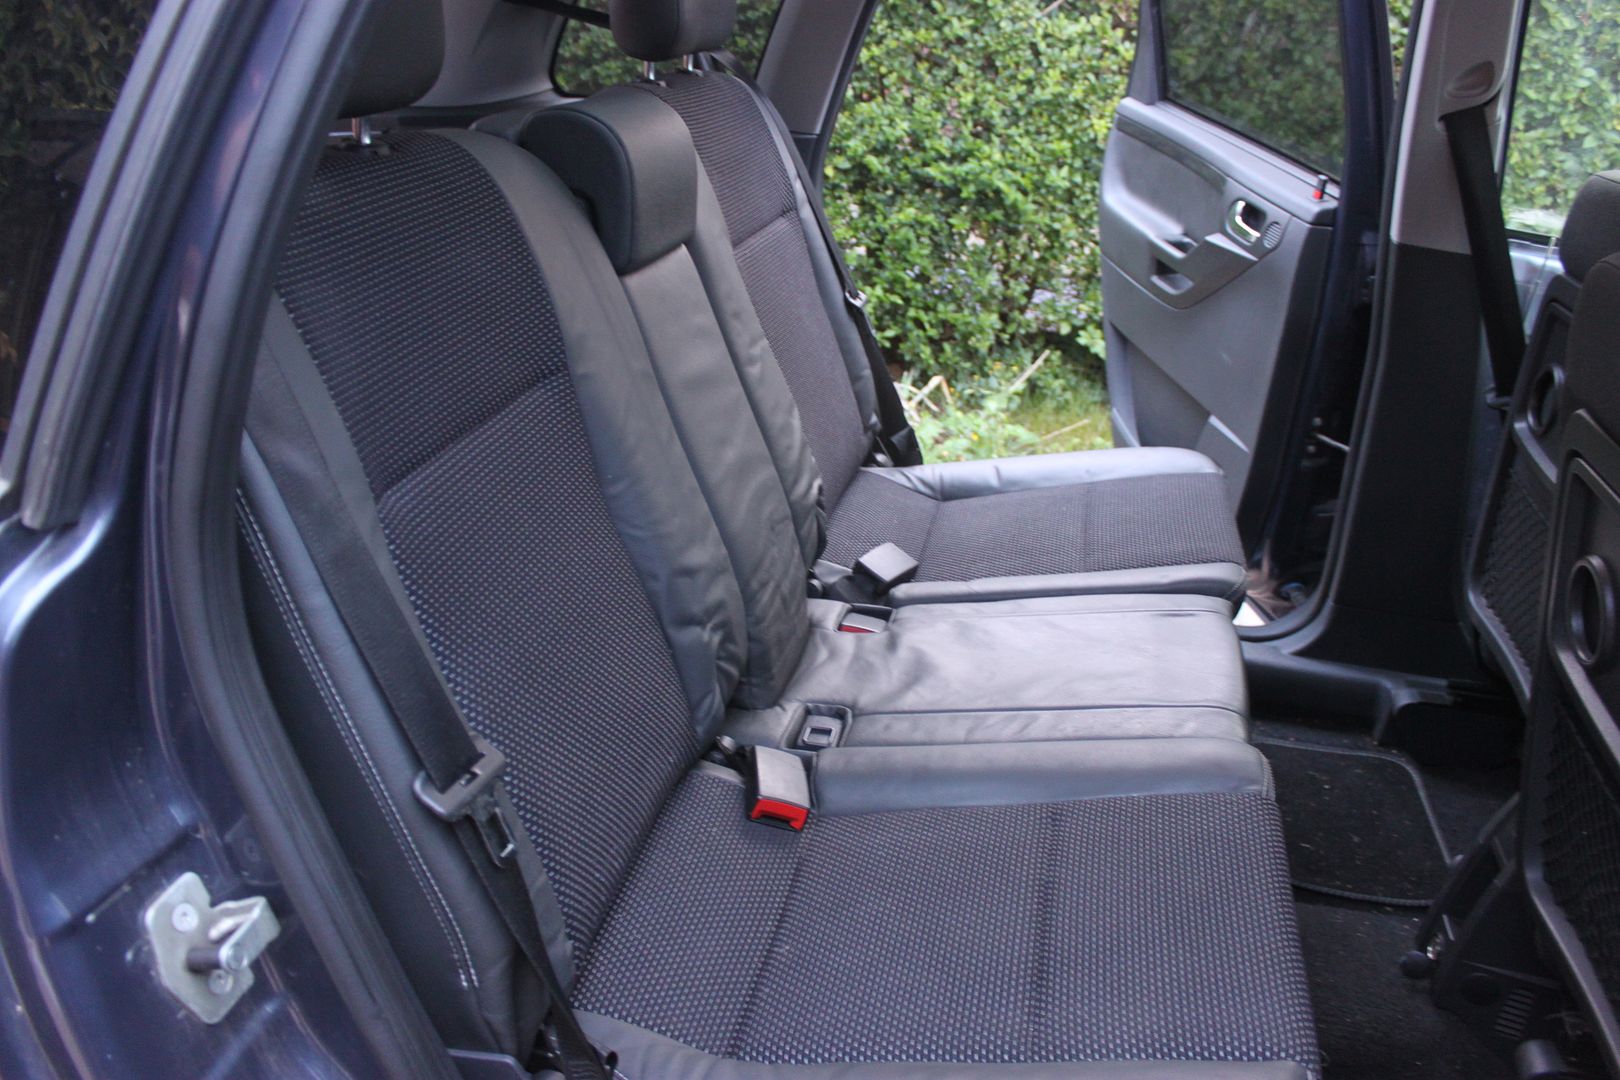
Anyway got on with installing the VXR rear seats...
They are a little wrinkled from being stored flat, but will straighten out once opened up.
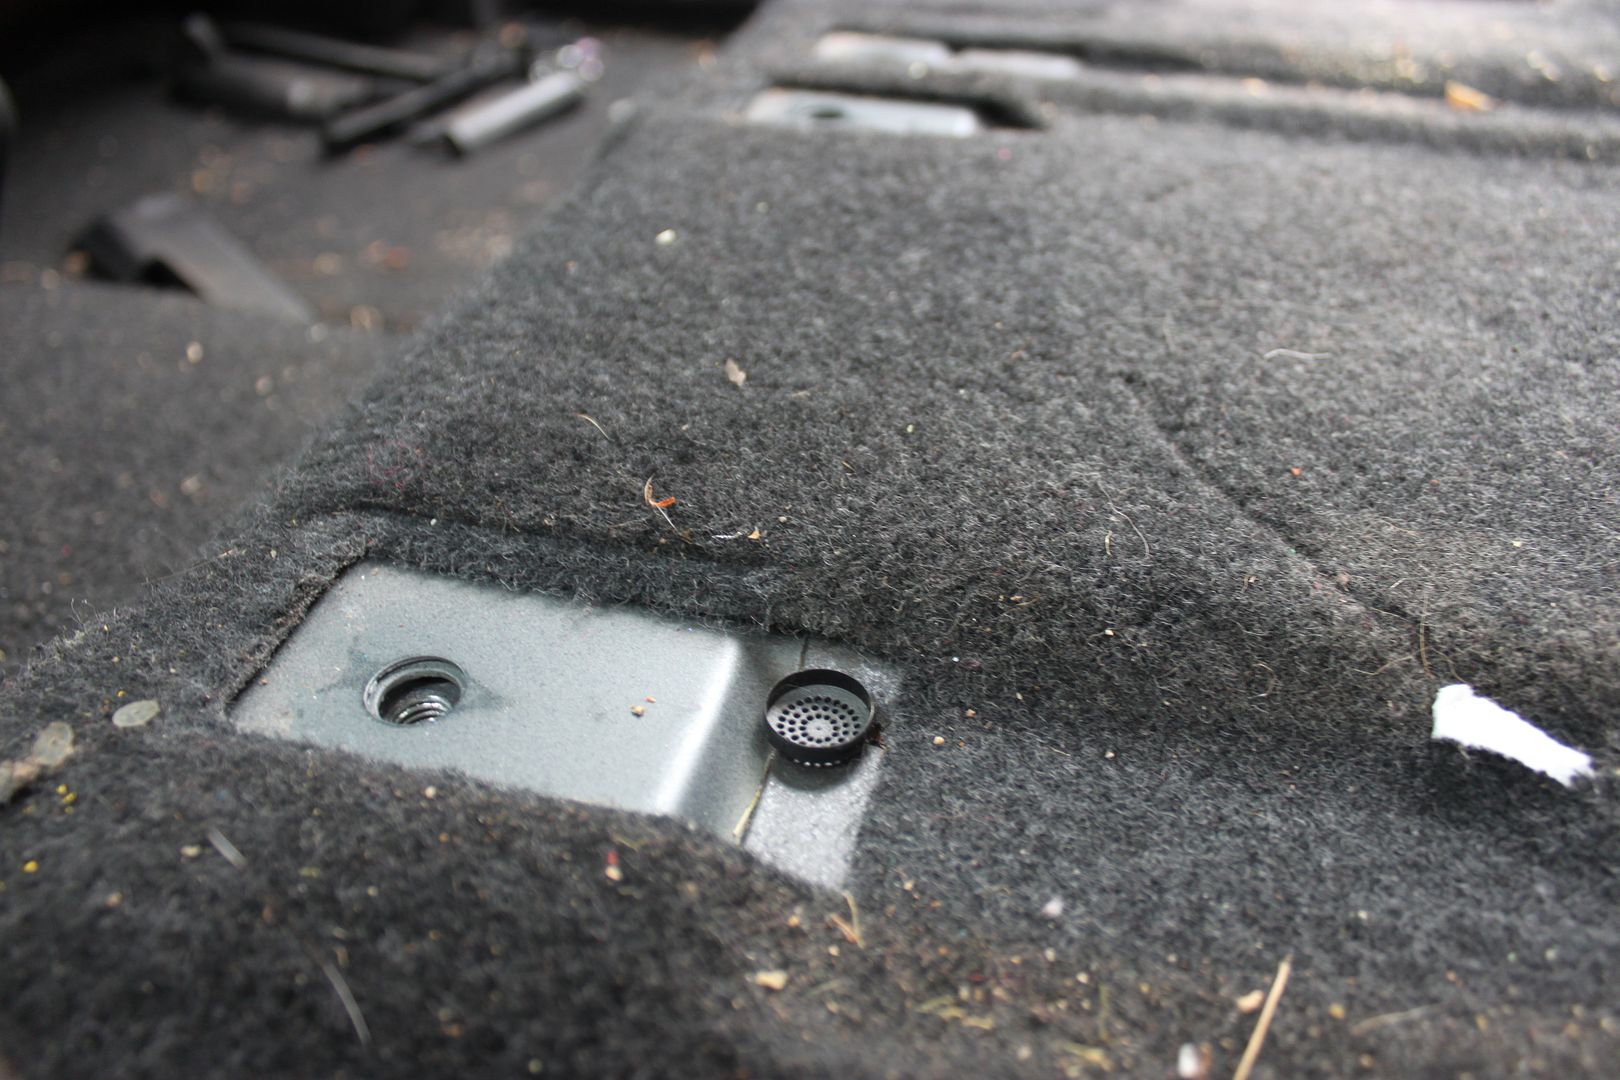
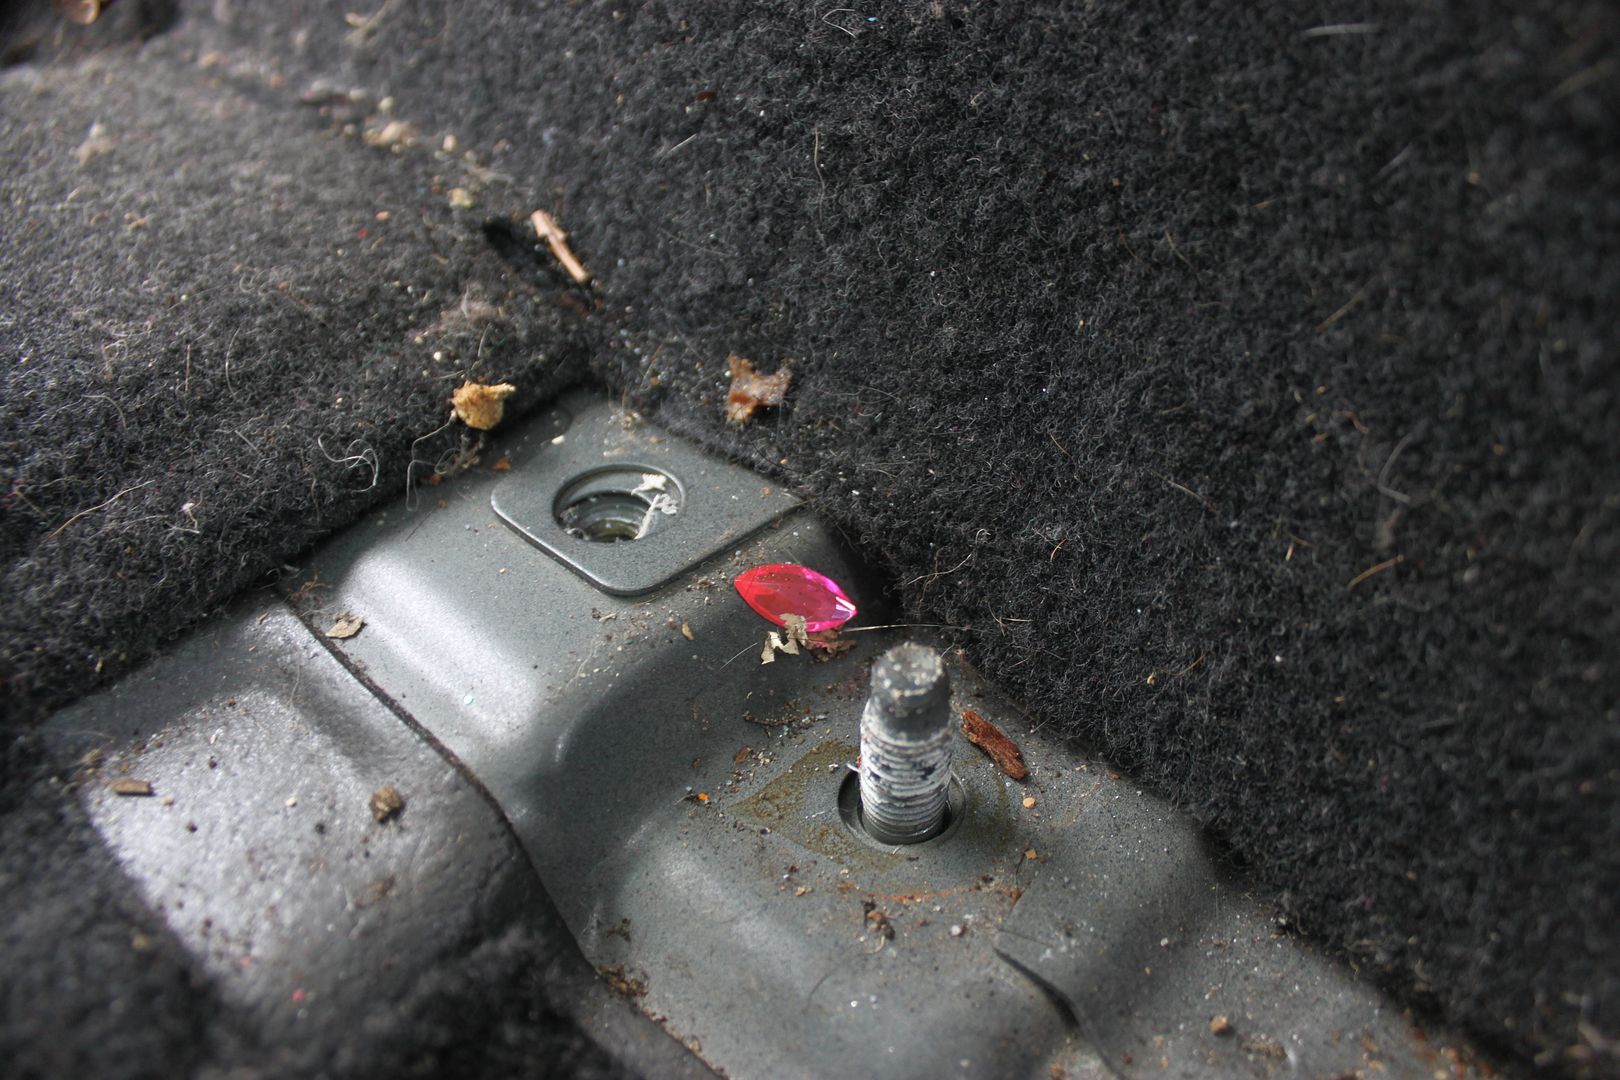
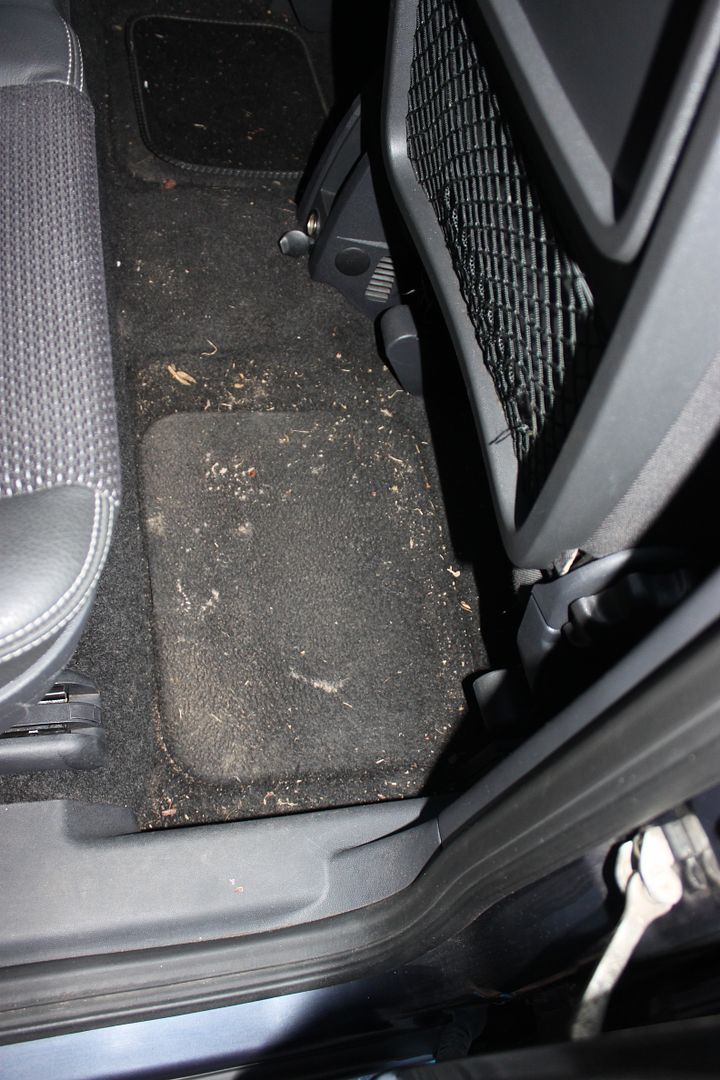
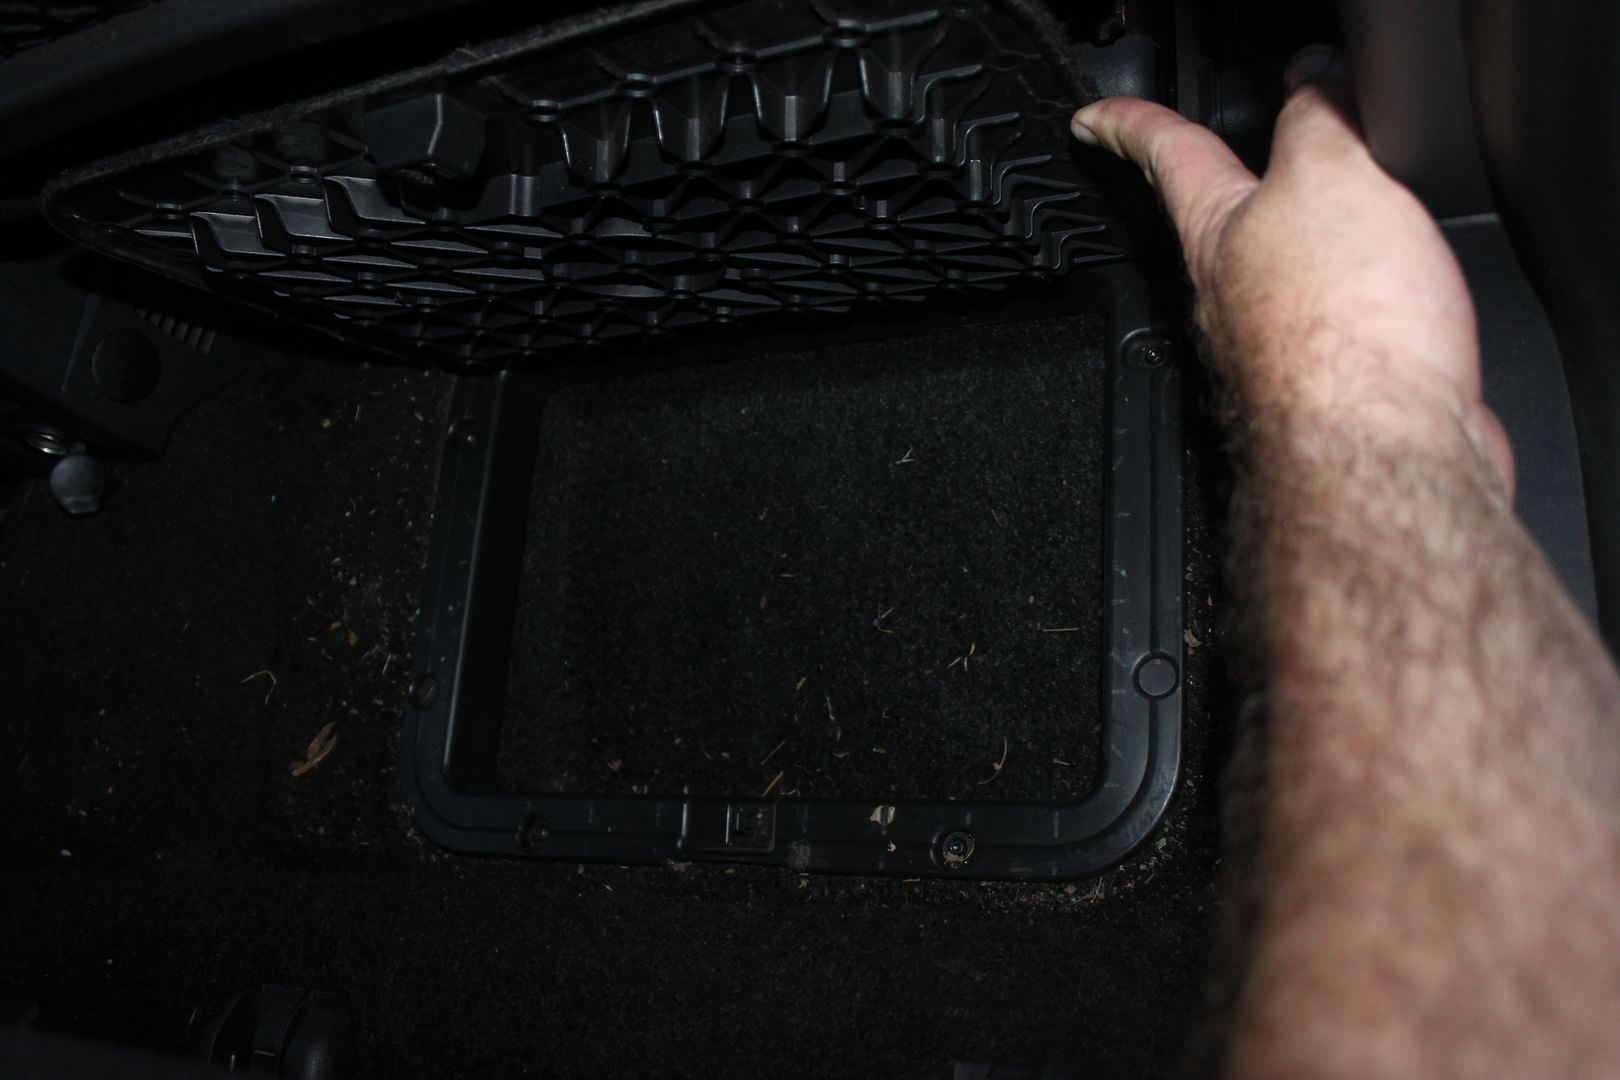
Whilst working on the seats I found this under the rear mats - same on both sides...
Its a little storage cubbyhole about 2 inches deep....
Never seen one on a Meriva before , neither the 53 plate or 59 plate Meriva's I have or the ones I have seen in the breakers yards have these floor storage areas.
The rear floor carpets will be wet vaxed once the front seats have been removed - a job for next week.
Joff

Yay its got a porn flap. You can hide your dirty mags in there...
Seats looks much better than before.
All I wanted was a Pepsi, just one PepsiFar from suicidalStill I get them tendenciesBringing back them memories
That I really miss when I reminisce
As its the wife's car best not eh?Originally Posted by Benn

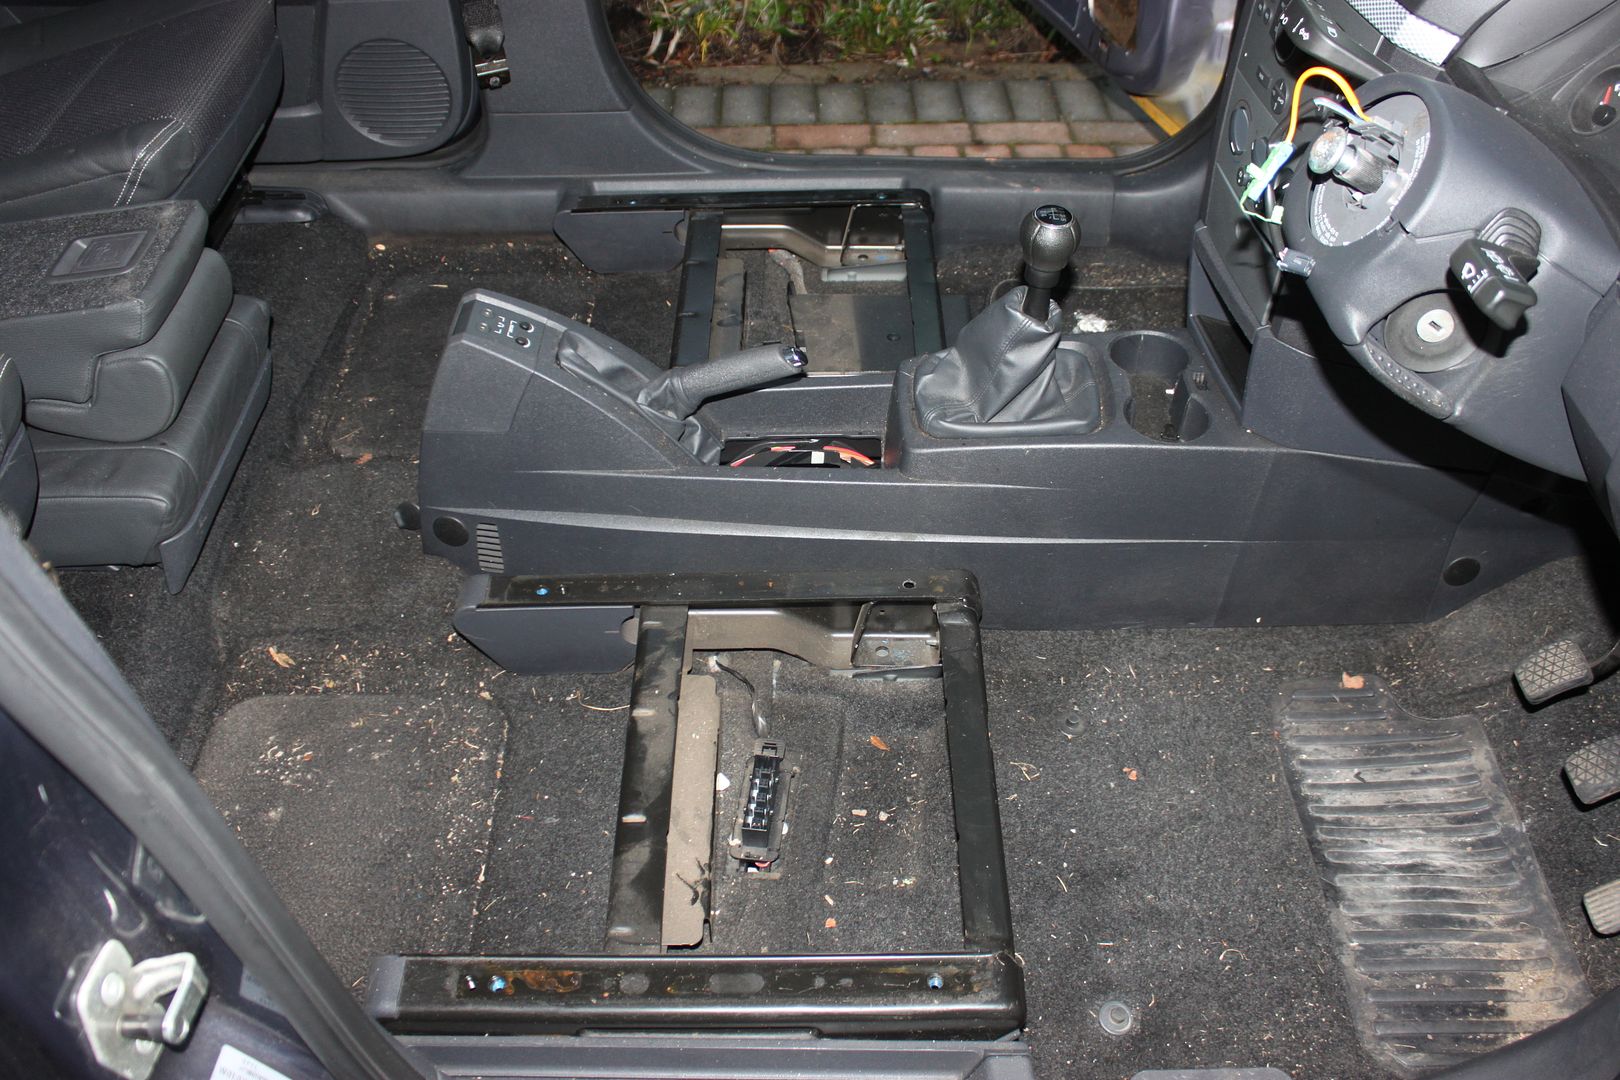
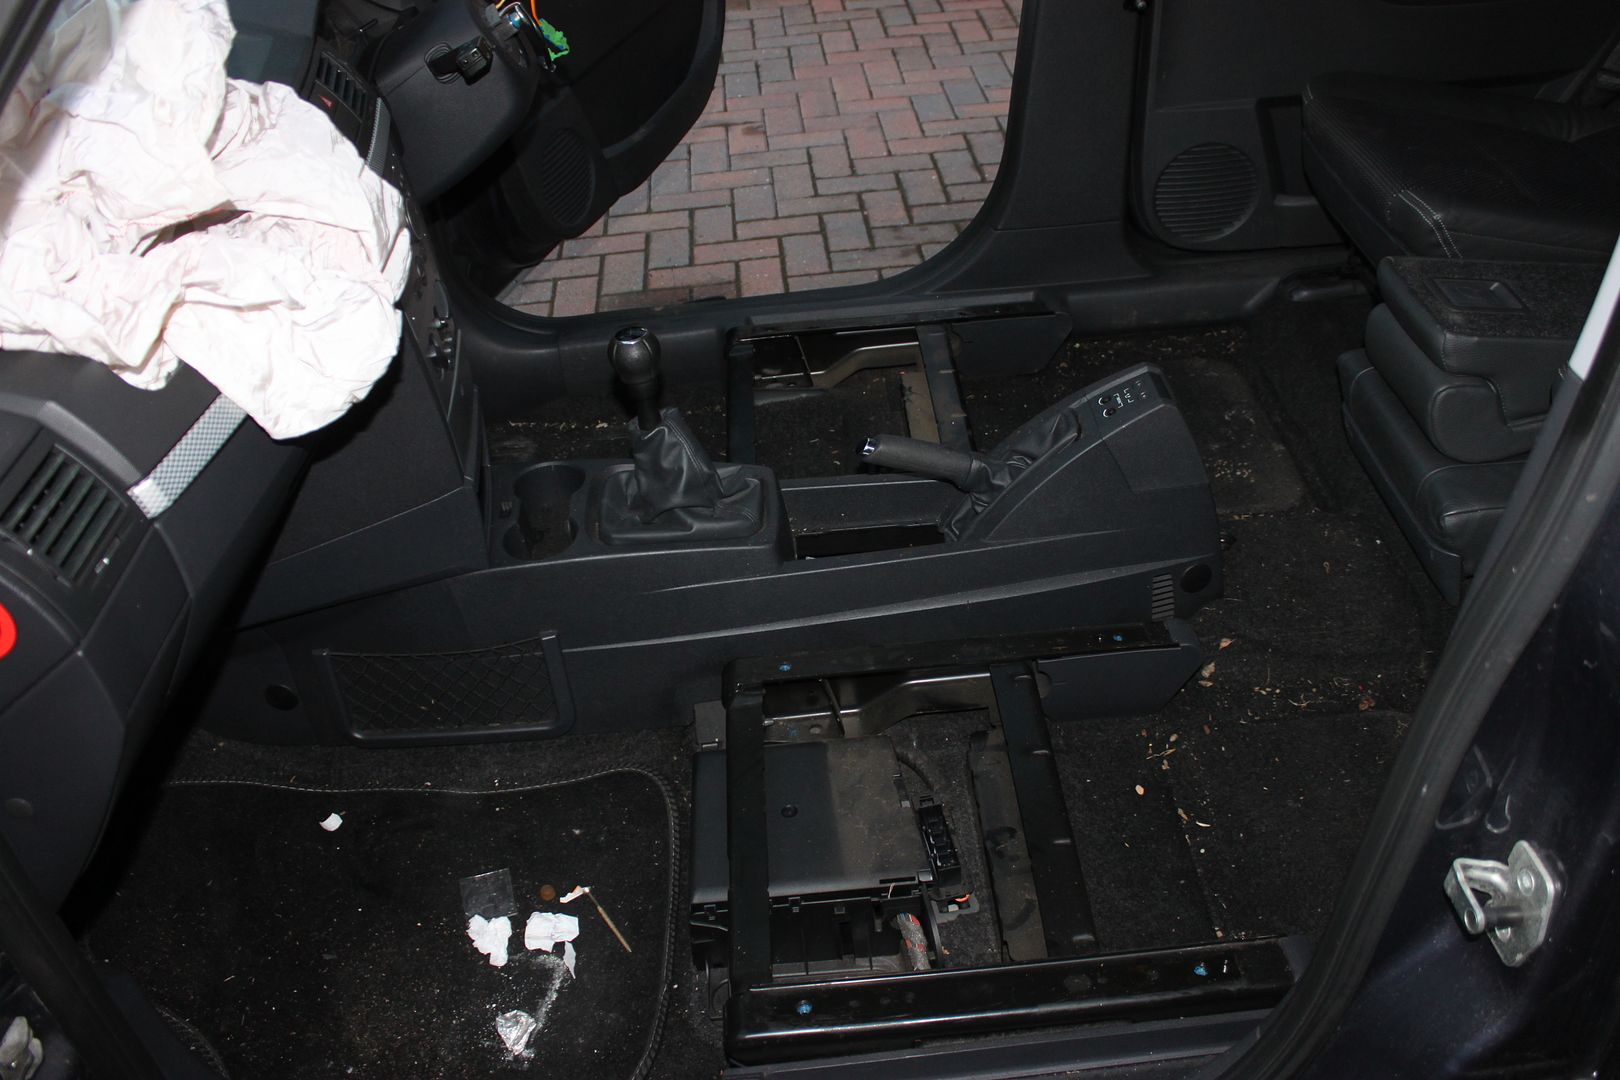
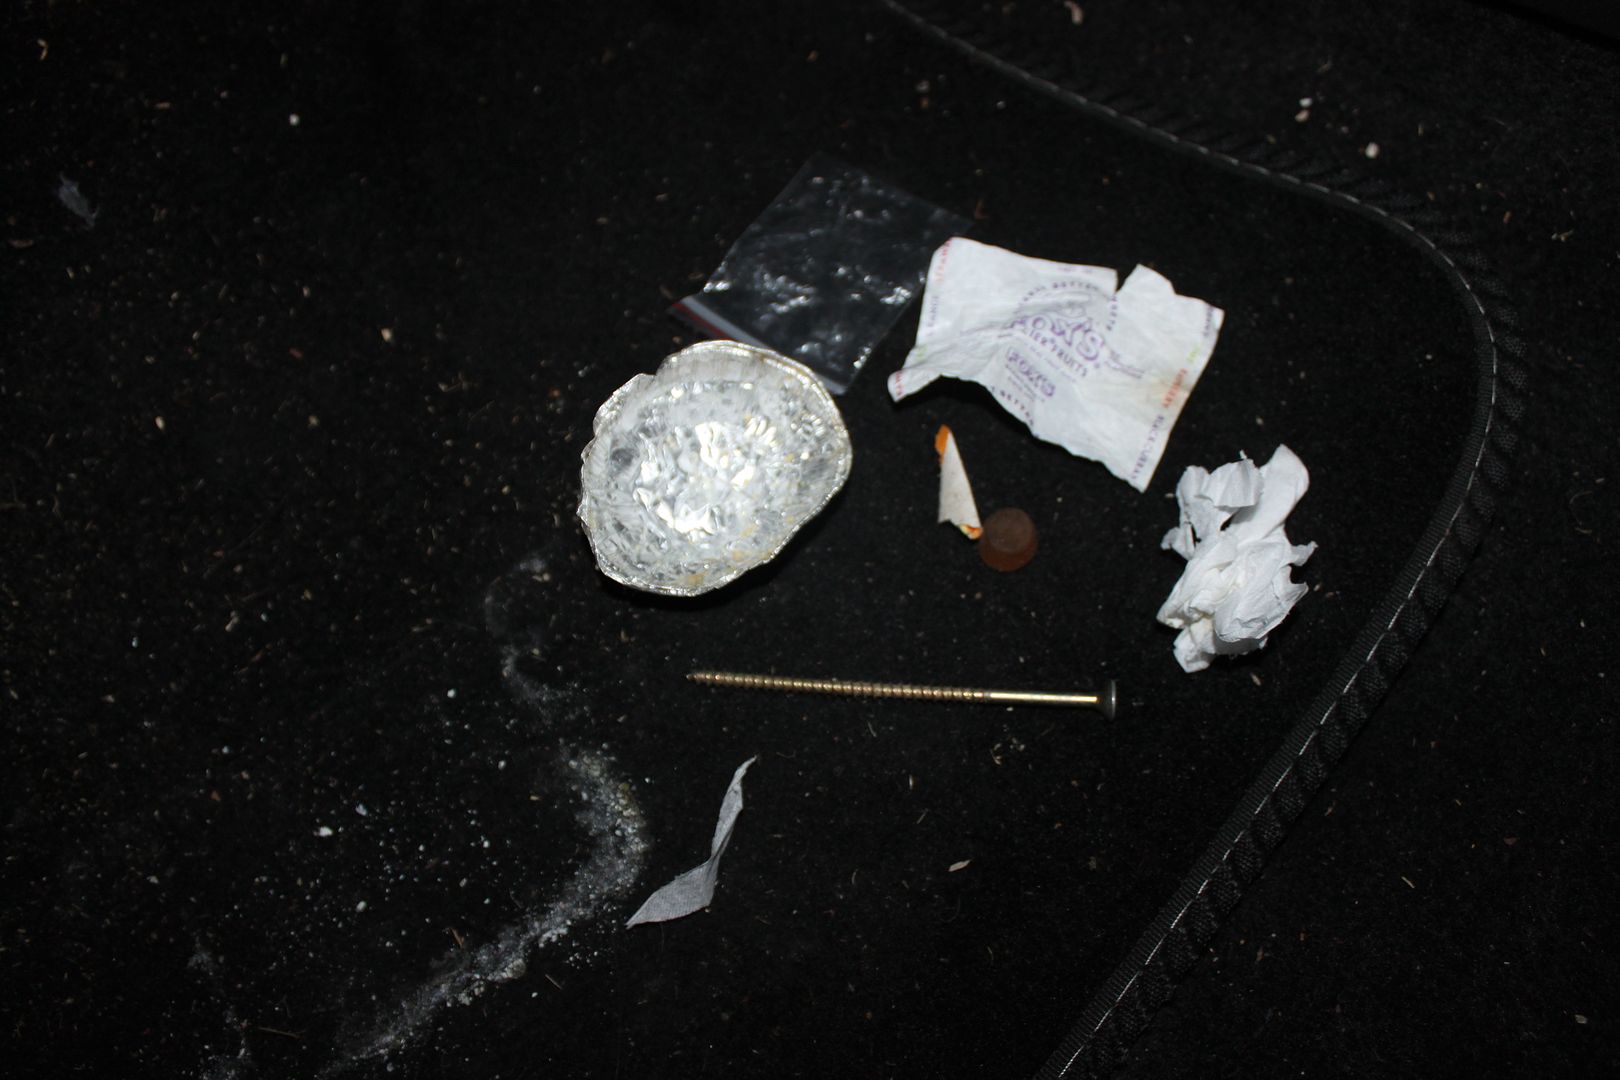
Removed the front seats today expecting to find a bounty of missing coins and lost jewellery.....
Unfortunatley apart from a lot of detritus I found the grand total of
- a 4 inch screw
- an empty mince pie case
- a foxes glacier mint wrapper
- a yellow midget gem (not tried for flavour!)
- a slightly used tissue
- a small plastic bag
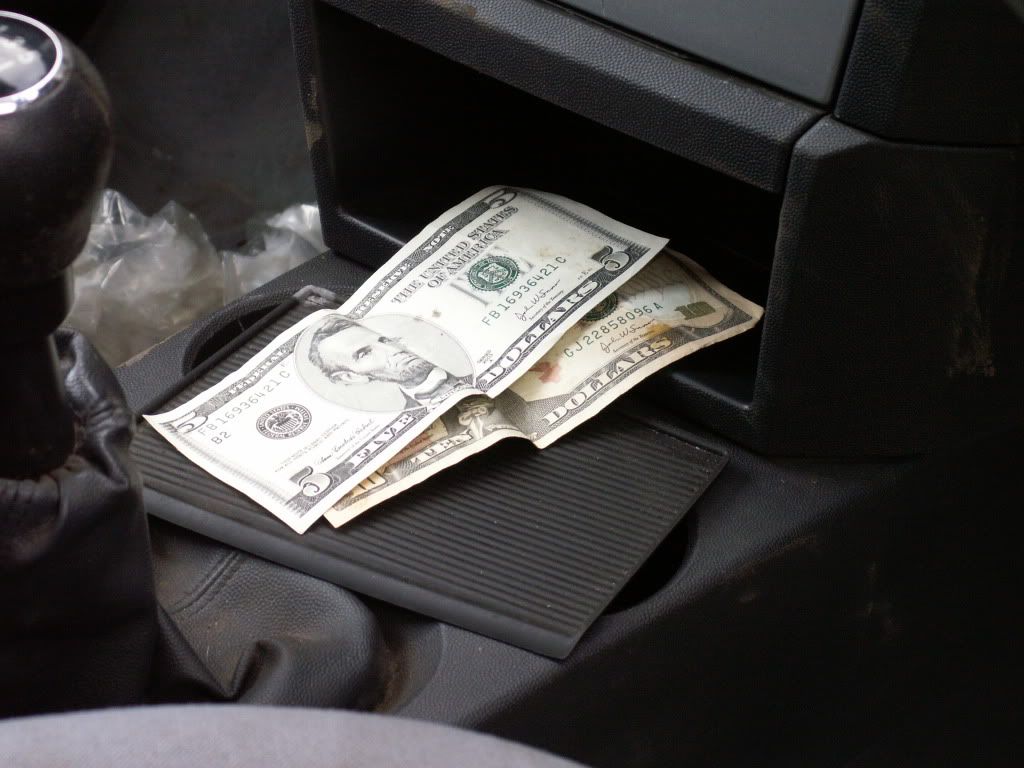
Not impressed - the last Meriva of the wife's I found US $15 dollars ...
Next up hoover and a wet vax
Joff
Ok then hide something the wife could enjoy..
All I wanted was a Pepsi, just one PepsiFar from suicidalStill I get them tendenciesBringing back them memories
That I really miss when I reminisce
Posting Permissions

 Reply With Quote