This How to shows you how to refurbish a set of ATE Calipers
I had a set of 308mm calipers that needed refurbishing from a Astra Coupe Turbo, however this "how to" can be applied to any of the ATE calipers that Vauxhall have employed on their various models.
IMPORTANT - If you are not a competent mechanic comfortable dealing with the braking system of a vehicle then hand this job over to some one else who is. Brakes are a critical component of a vehicle and if the correct procedures are not followed then serious or fatal injury could occur to both you and other road users.
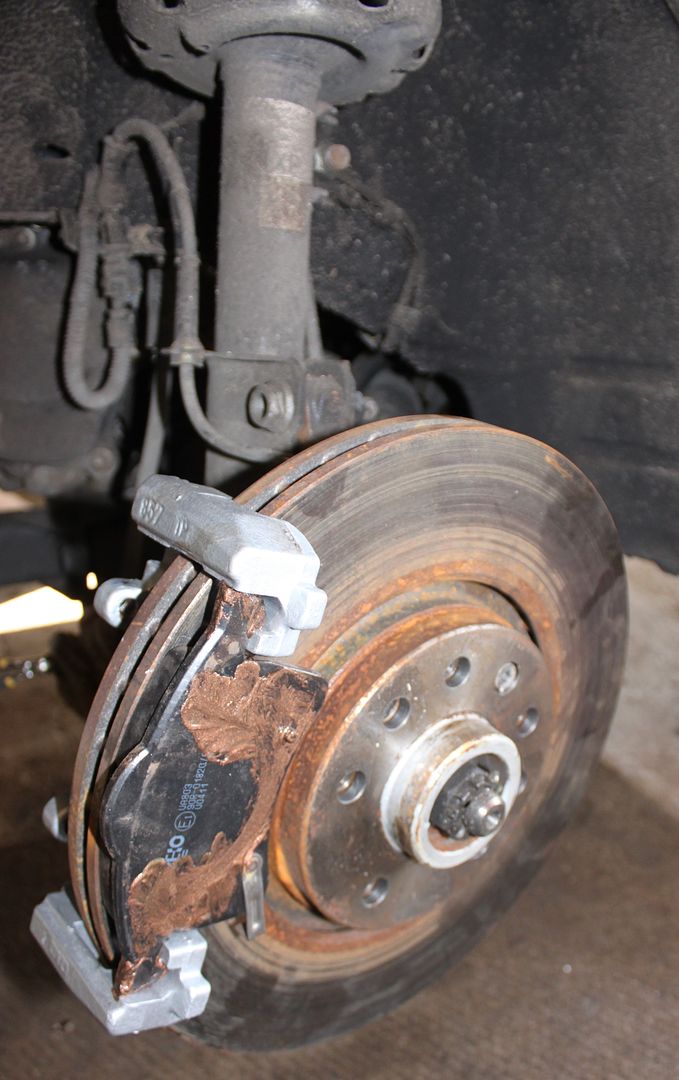
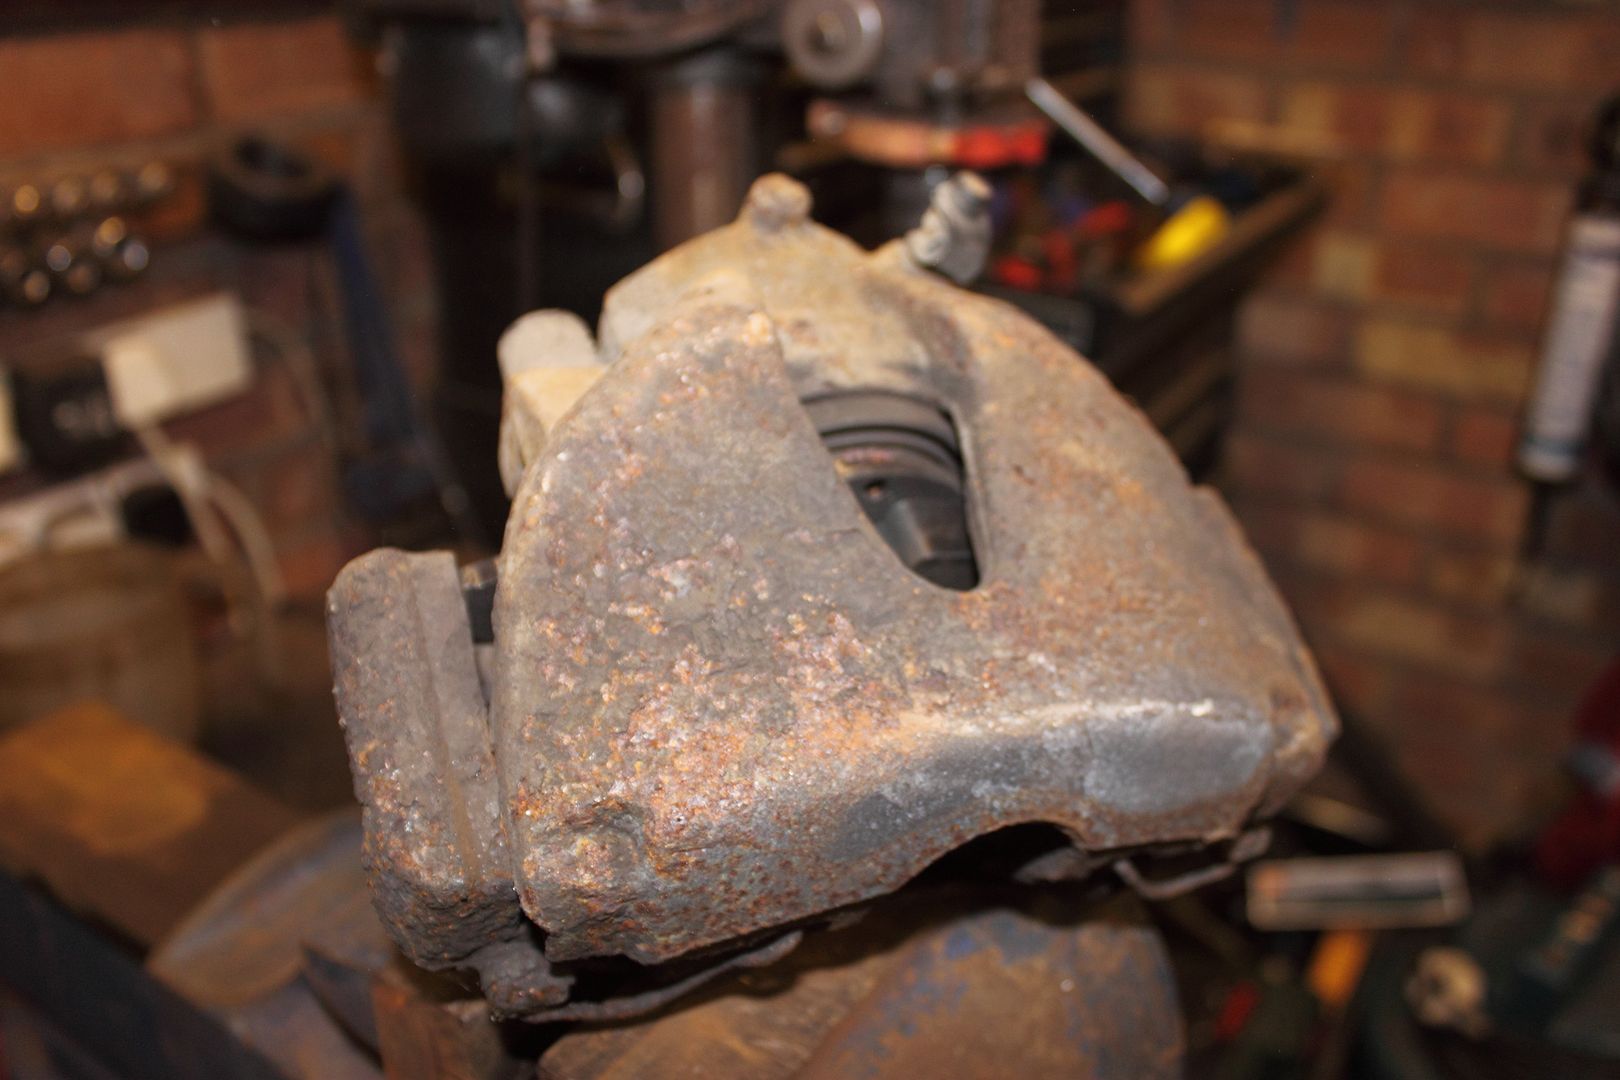
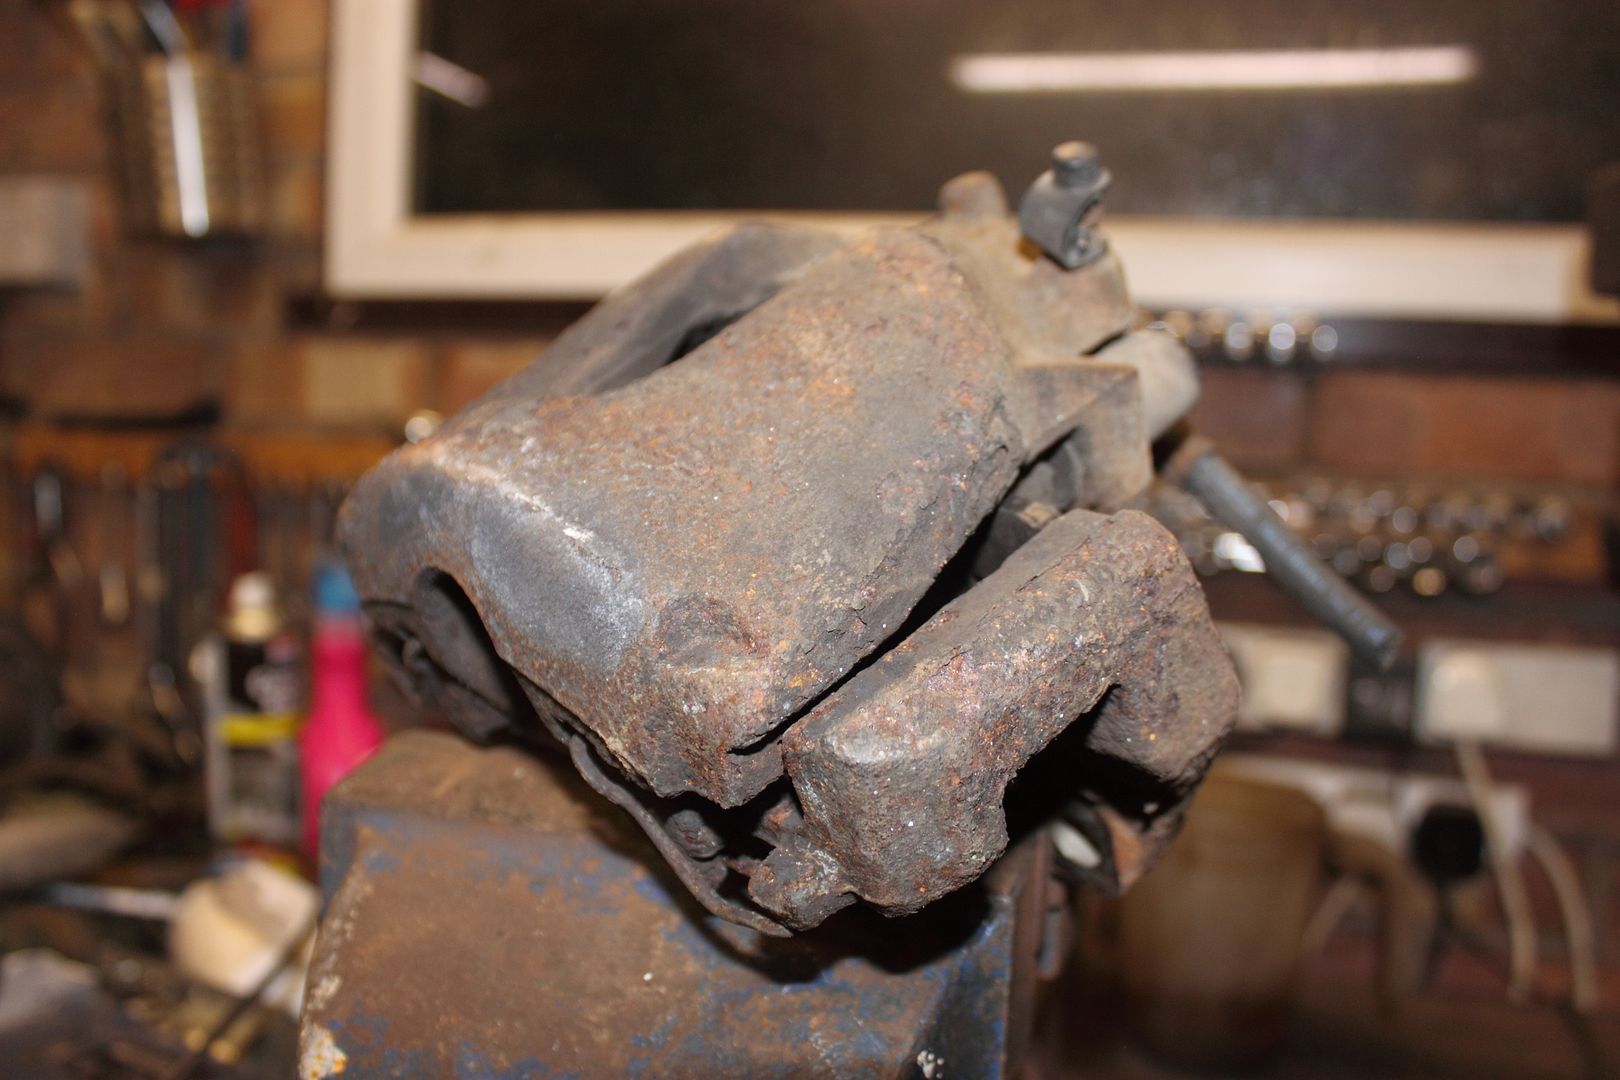
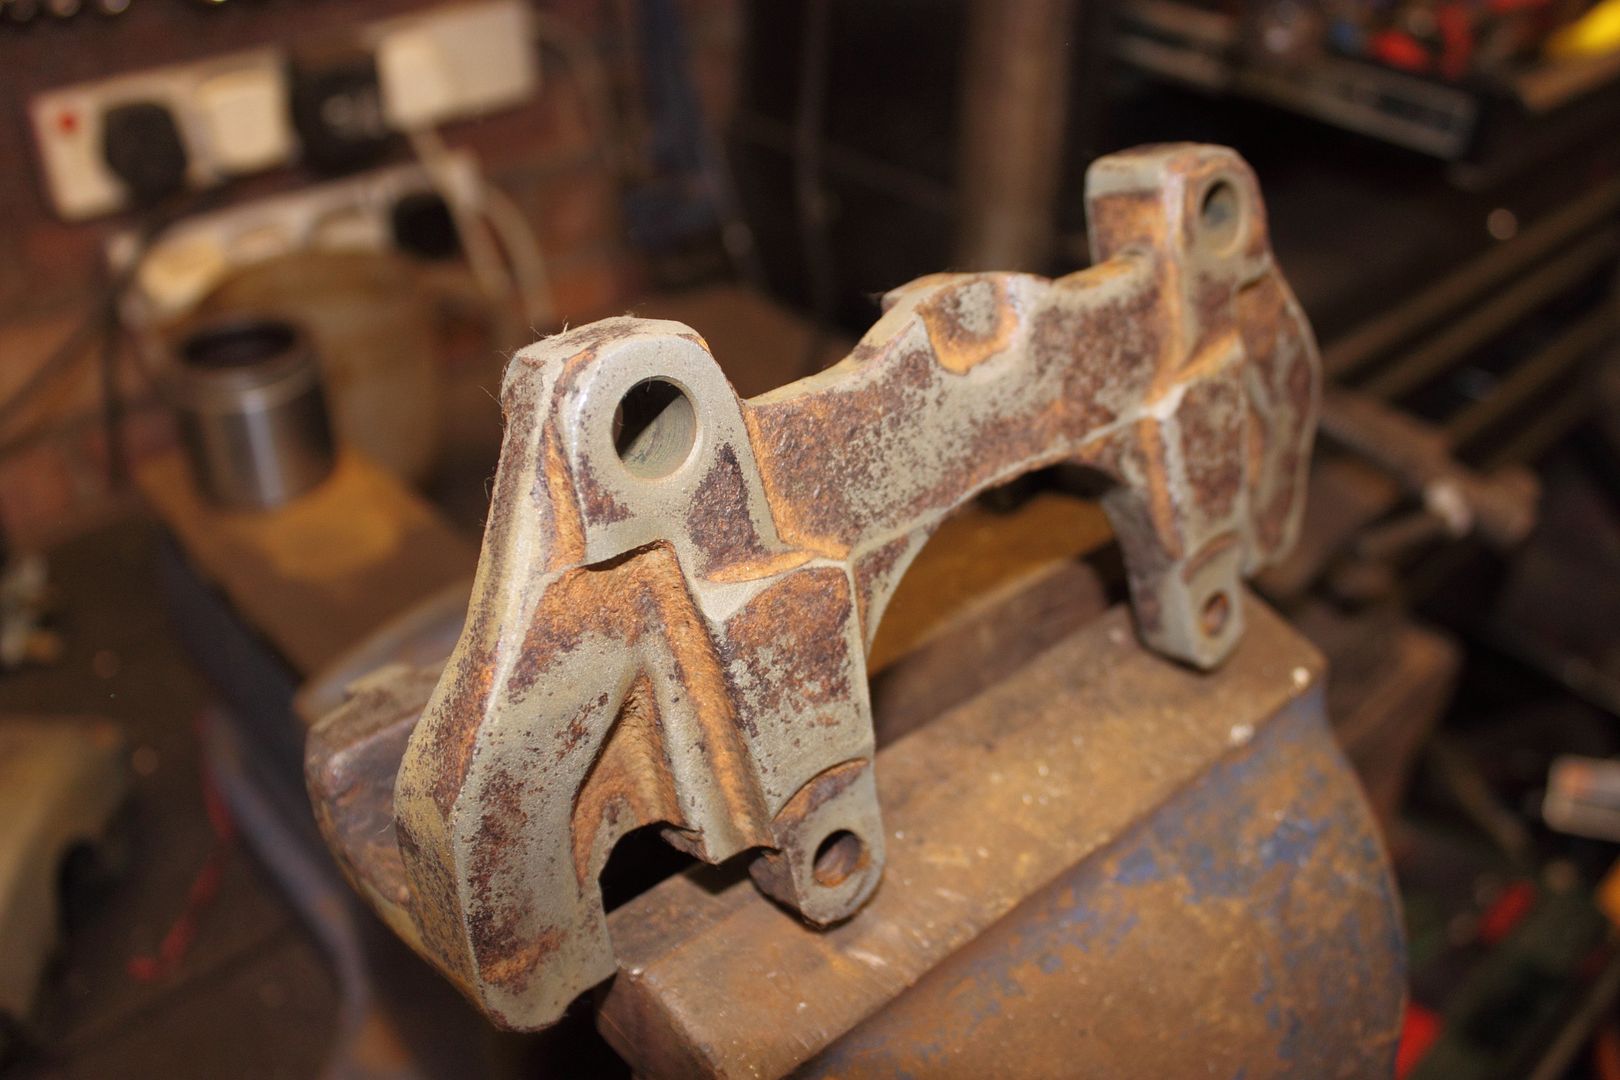
Right first off - I started with a set of cruddy 308mm Astra G calipers. Fortunately the calipers had brand new pads and the vehicle had brand new discs so it was just the condition of the calipers that concerned me.
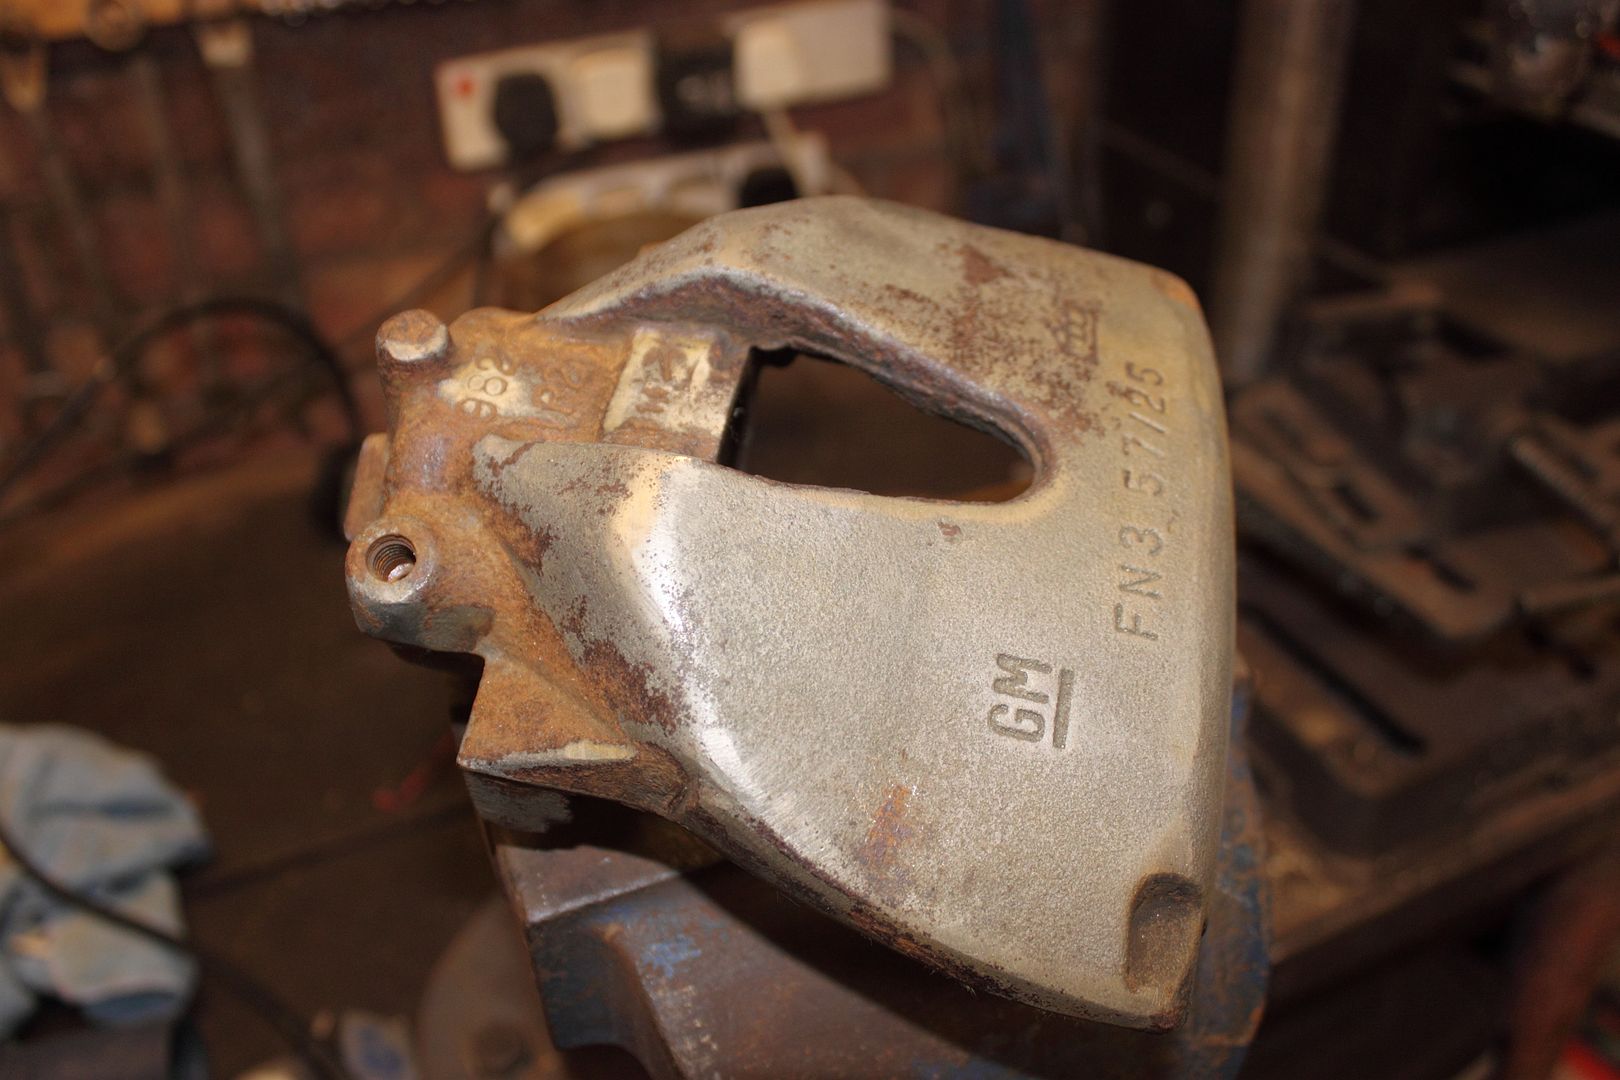
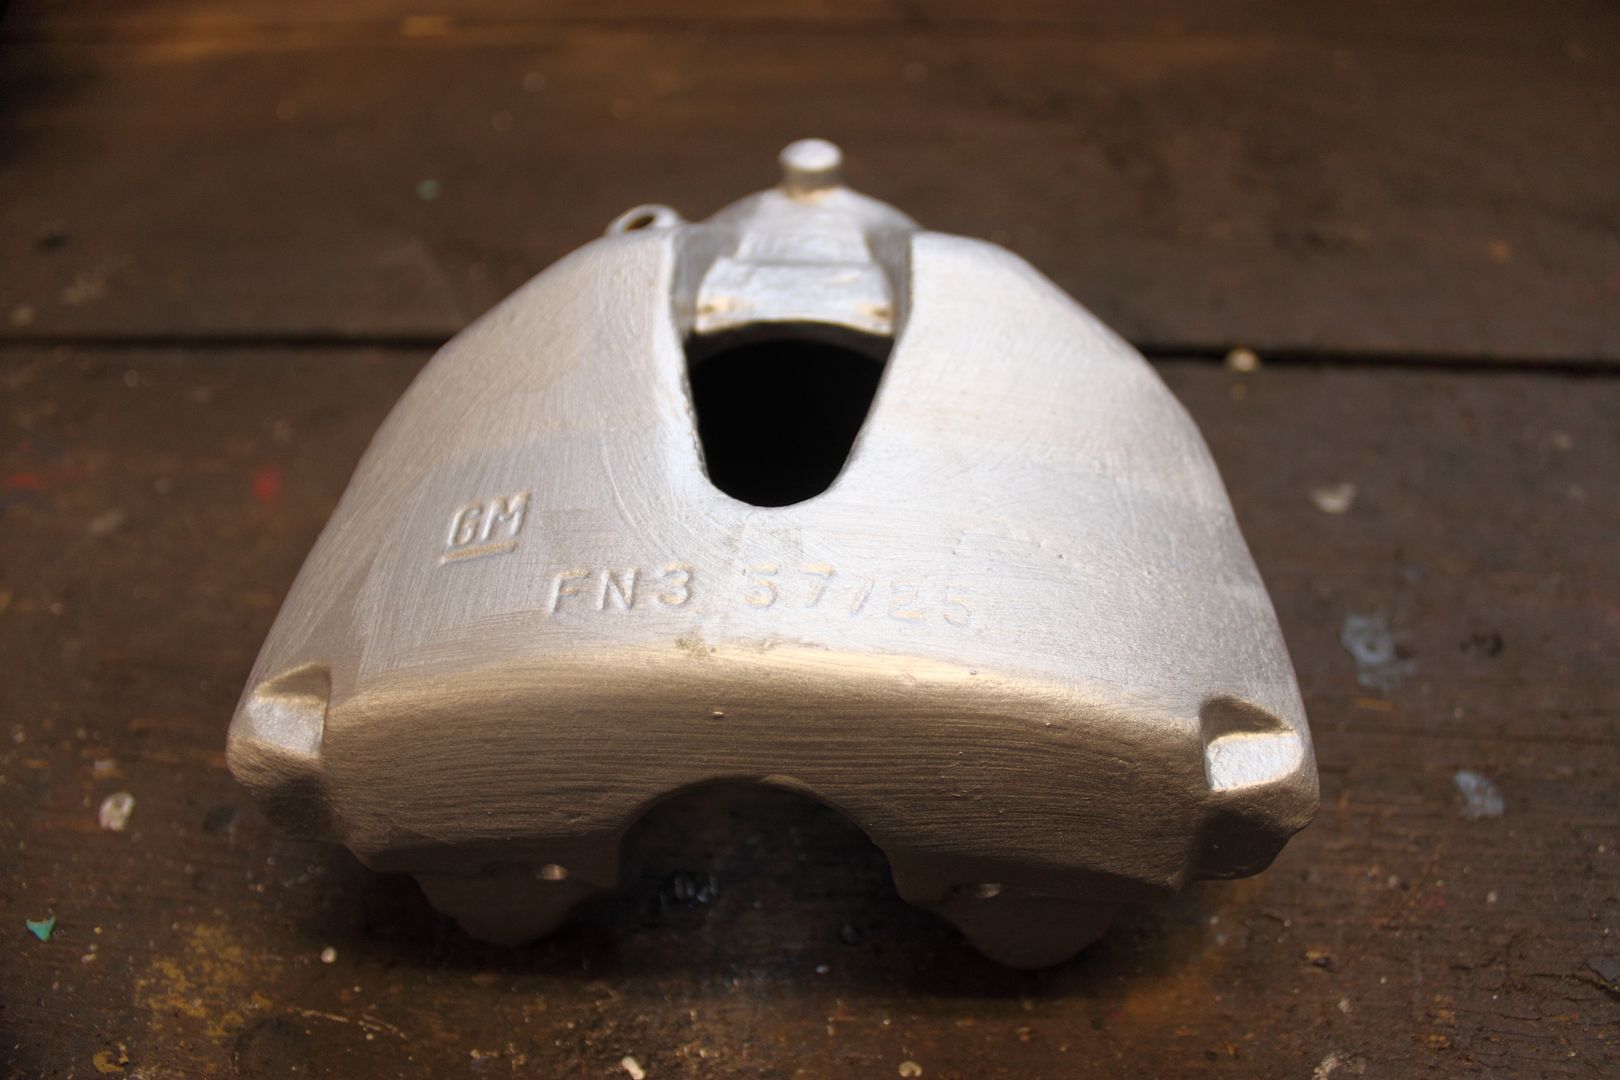
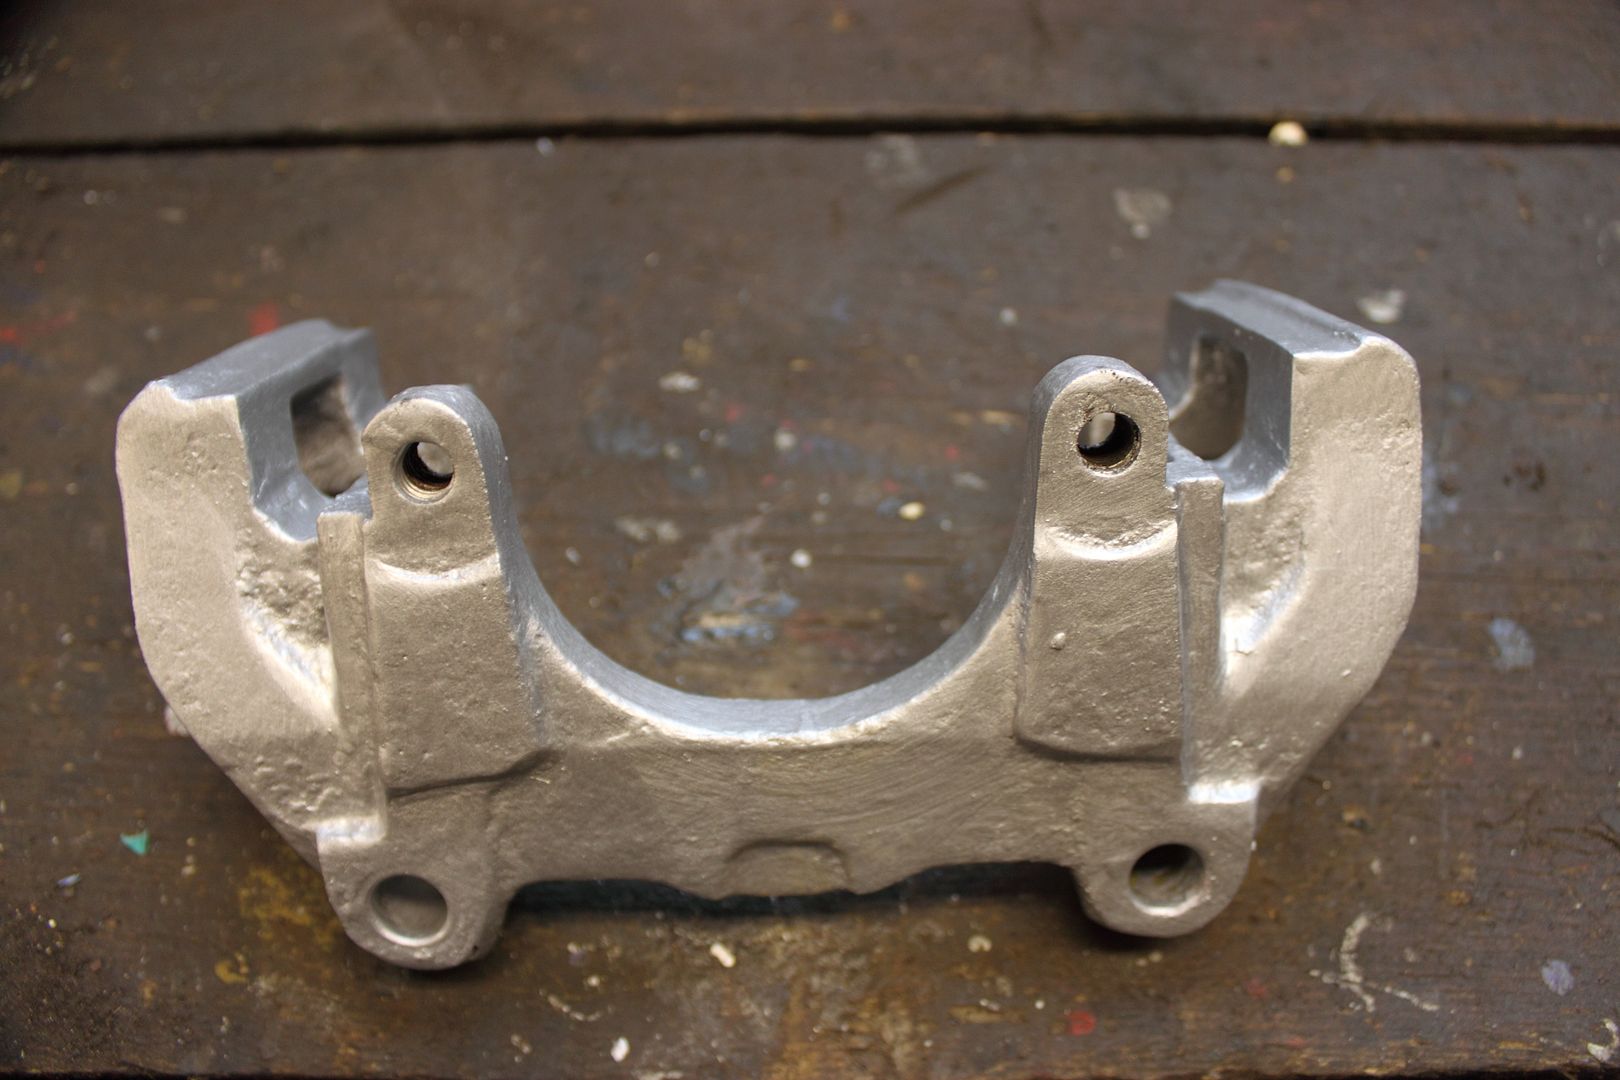
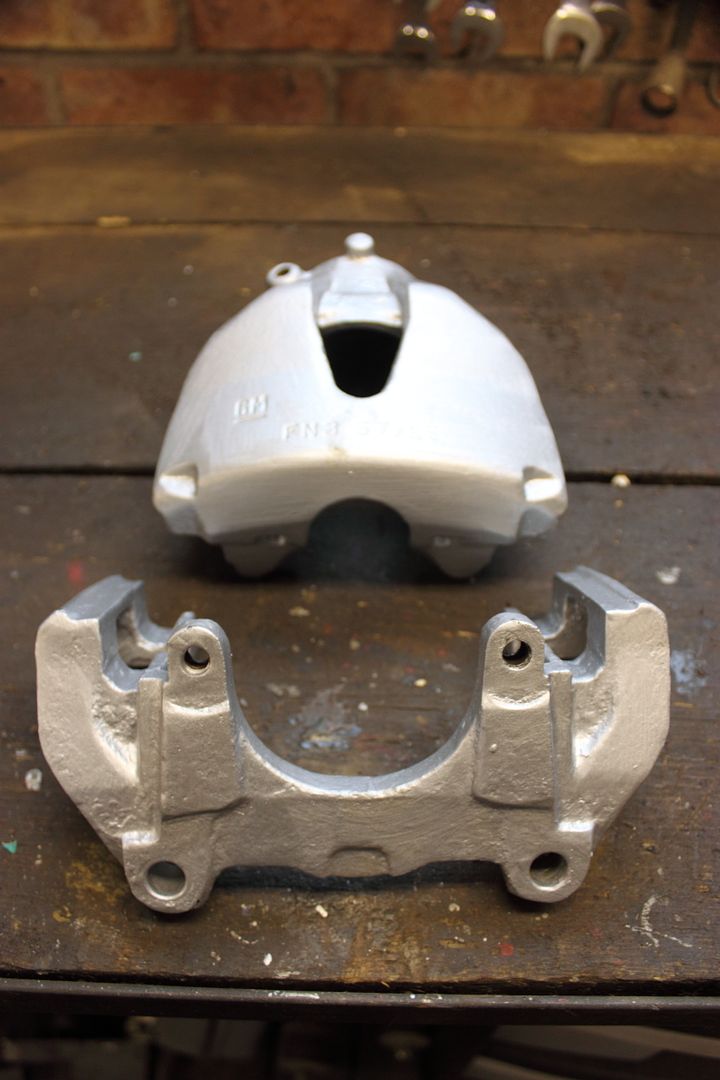
So I stripped down the calipers to the various components and gave them a wish with a flapper disc in my grinder, and also a going over with a wire wheel attachment in my drill . I then soaked them in my tub of vinegar for a few days to clean them up a bit and this was the results :-
If you have access to media blasting equipment (I don't) then you may get even better results!
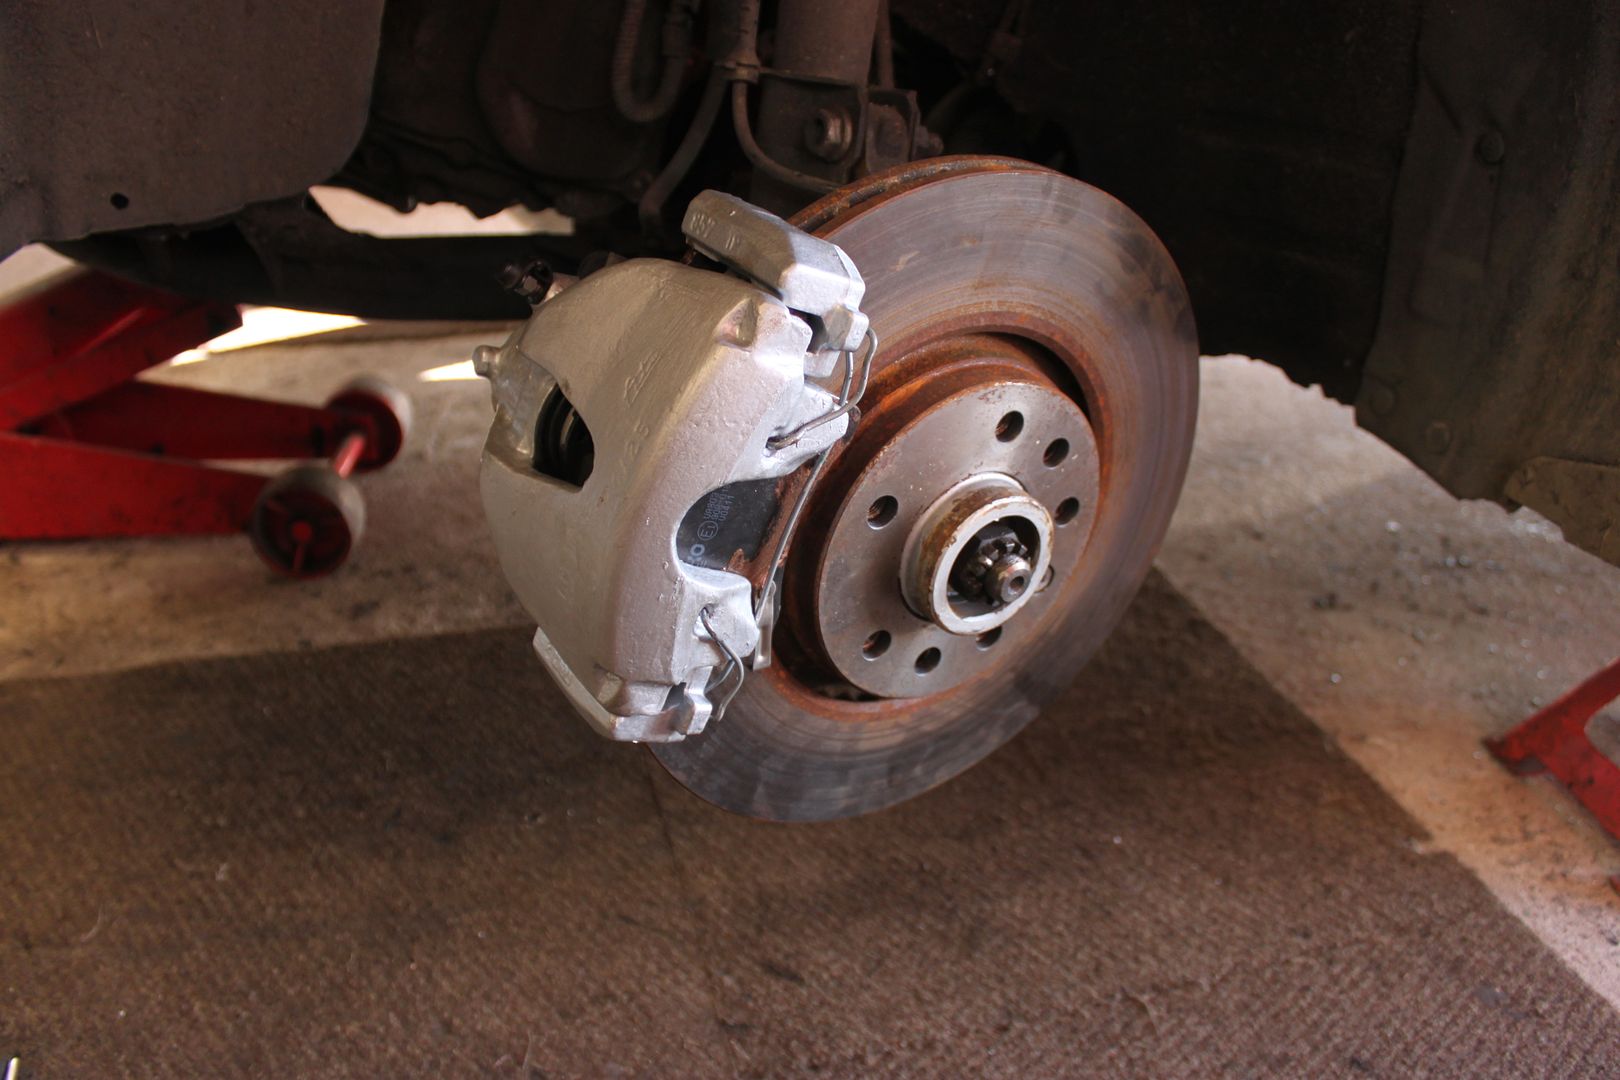
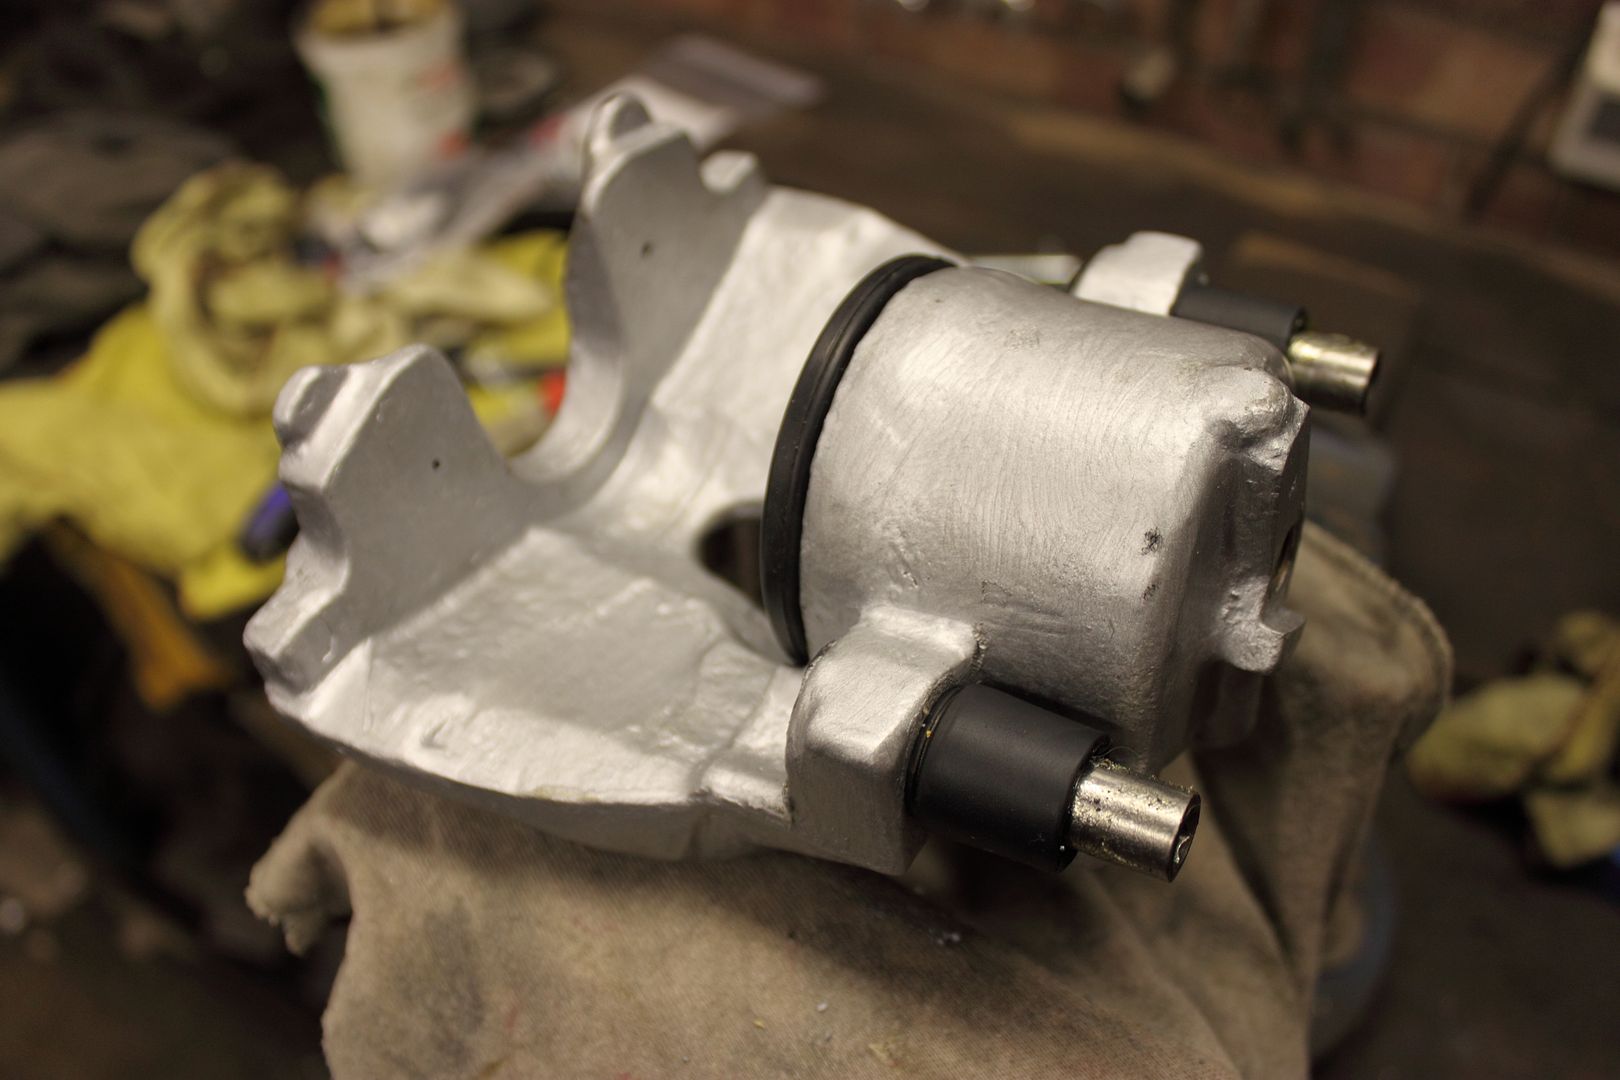
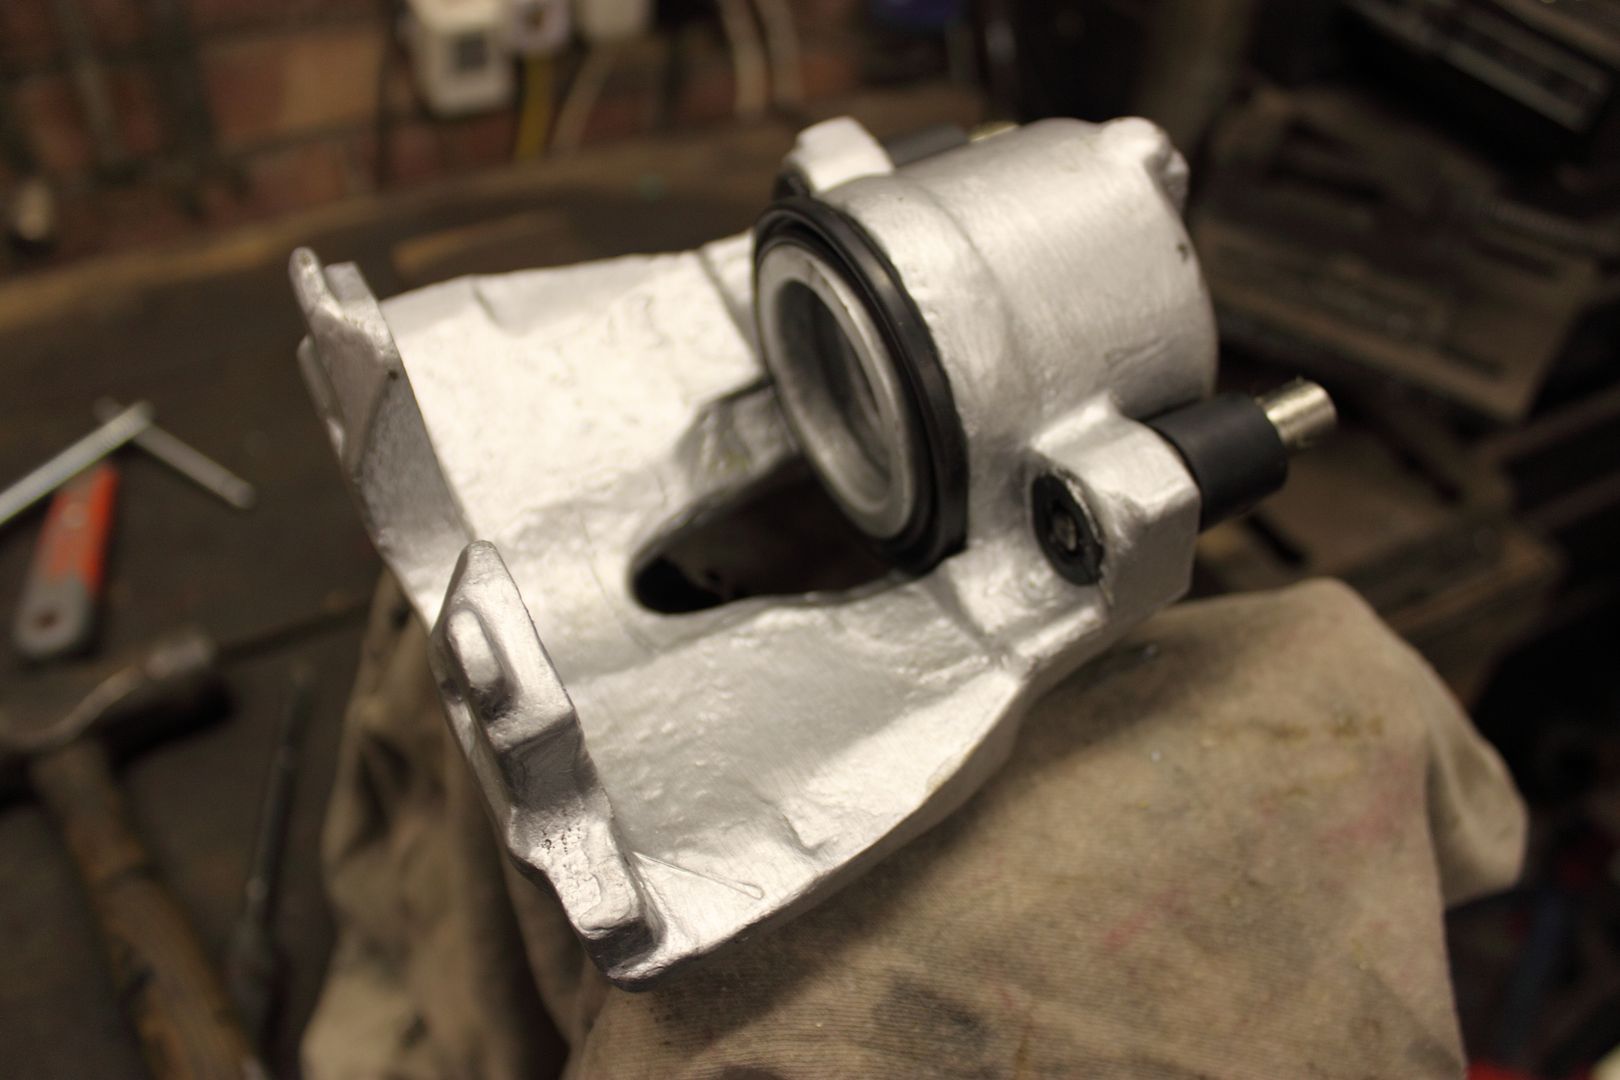
I then used some silver smooth Hammerite and gave the components a couple of even coats. You could use brake lacquer , spray them, or even have then powder coated. Just make sure you do not get any paint into where the piston sits as this will make it bind and binding brakes are not good!
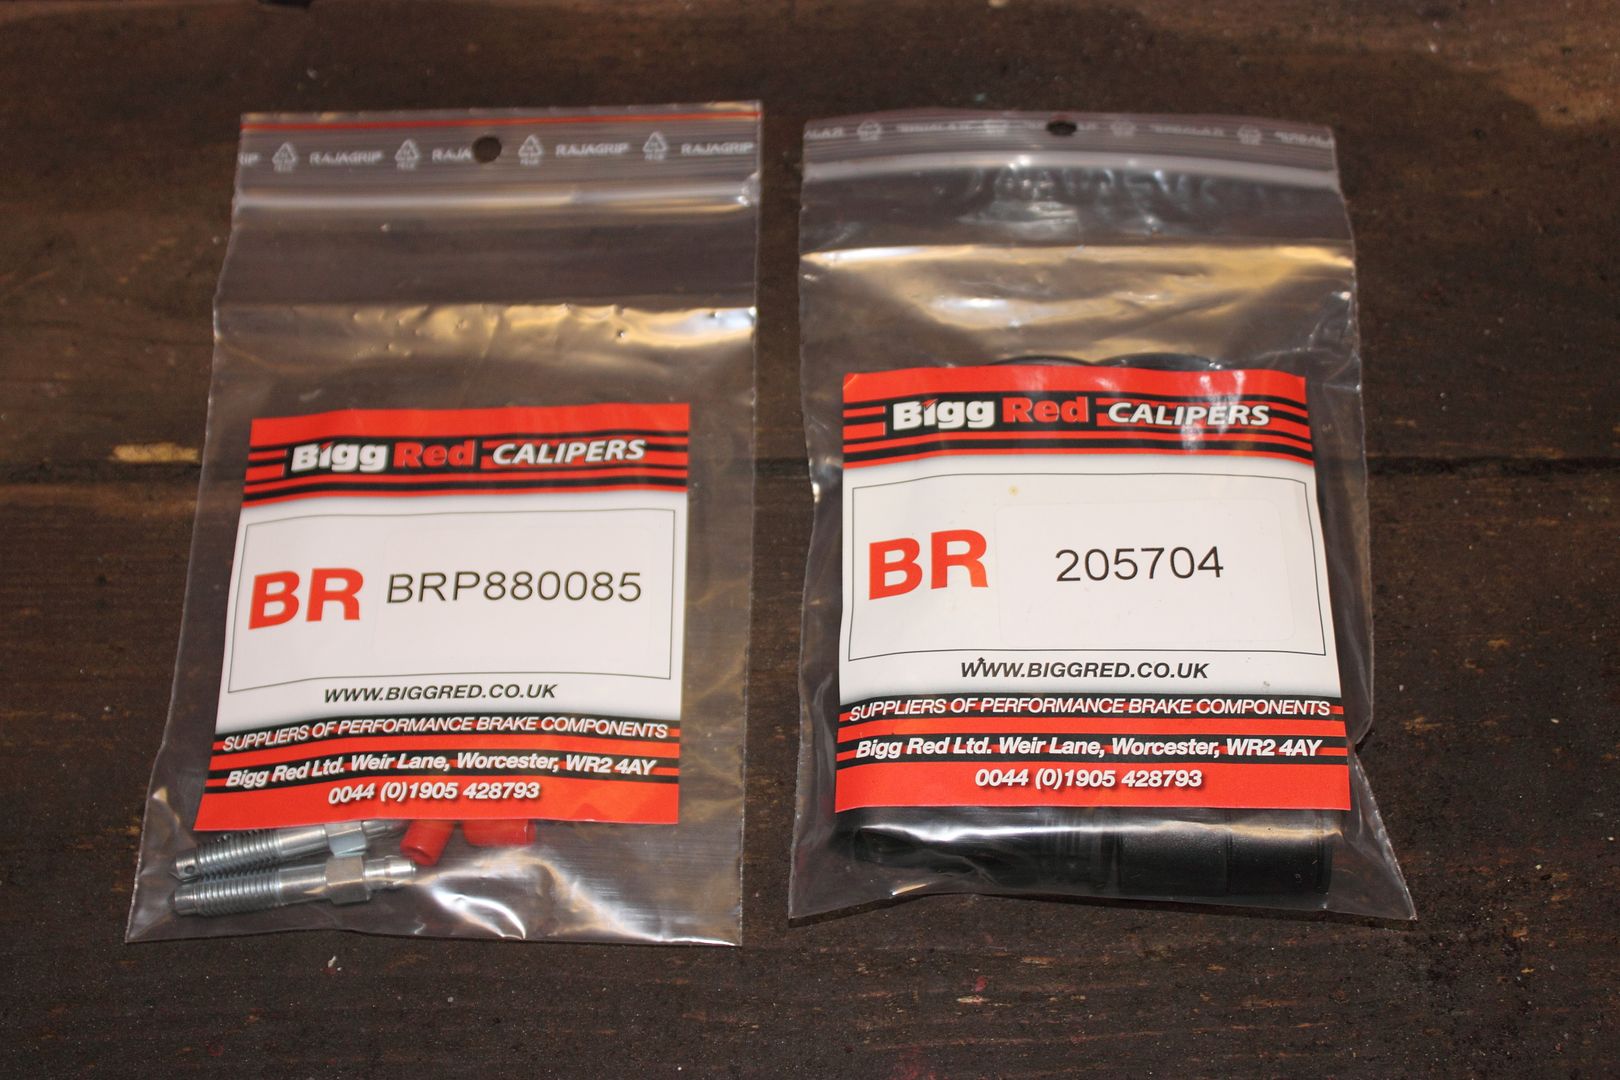
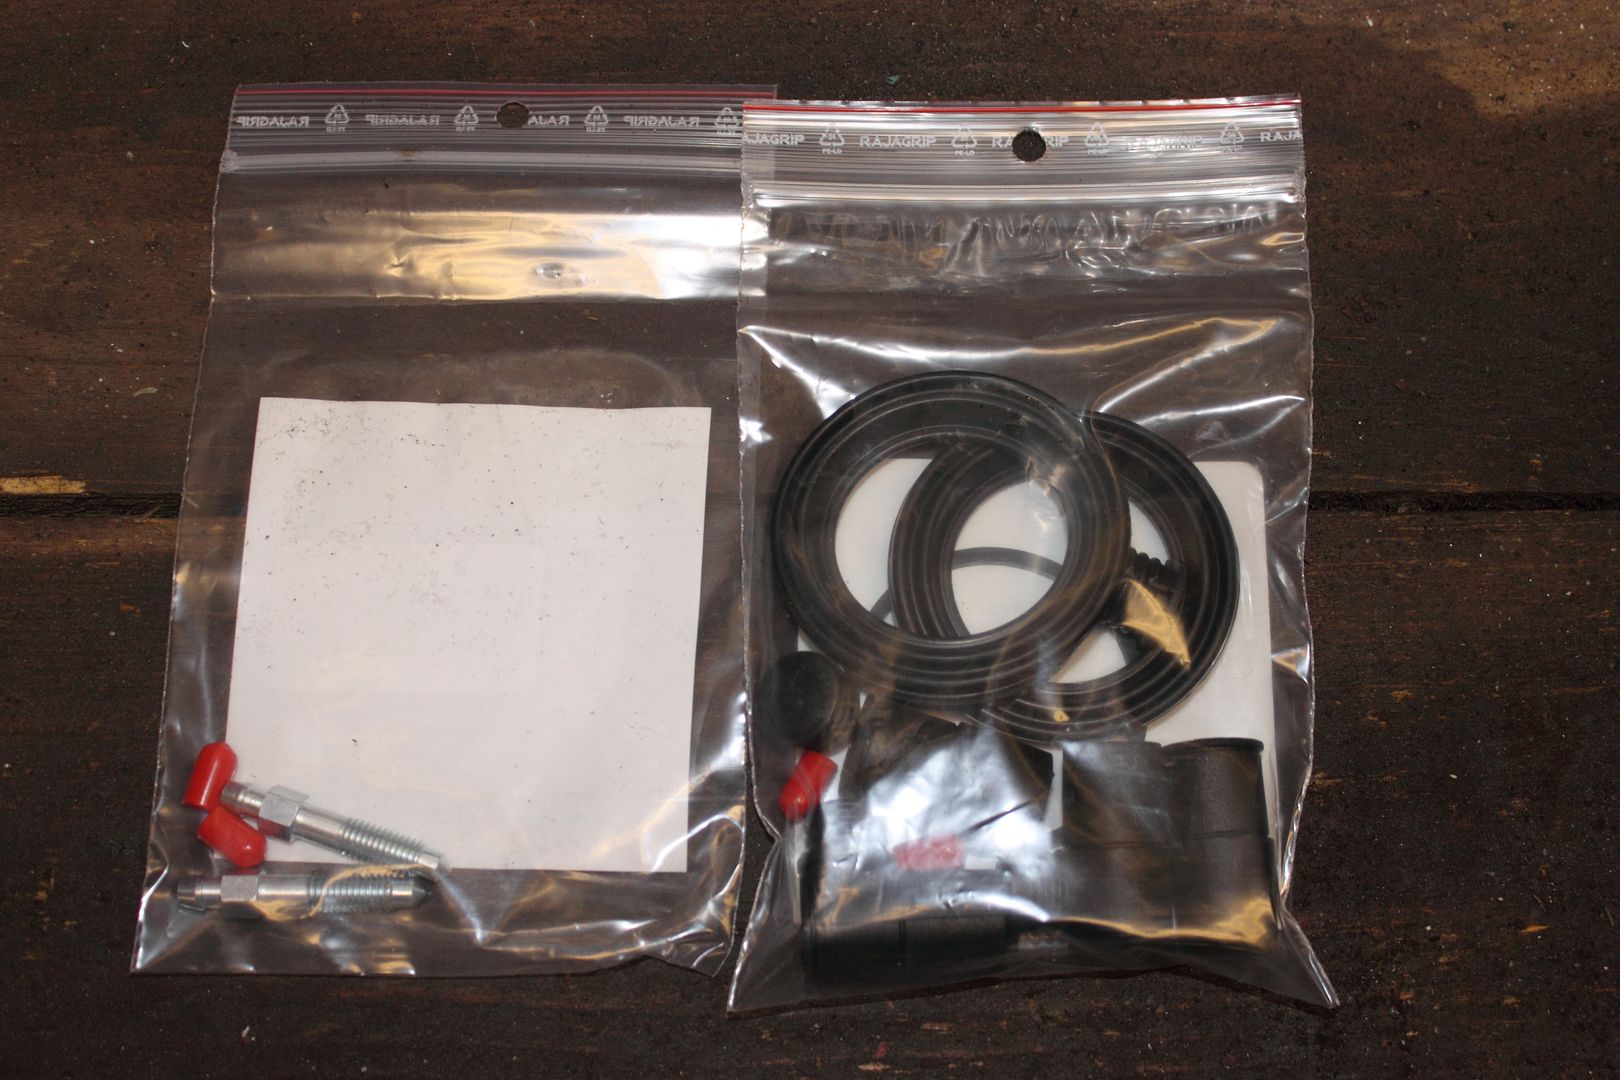
I then purchased a rebuild kit of Ebay for about £22 which I thought was good value - the parts from Vauxhall are about four times this !
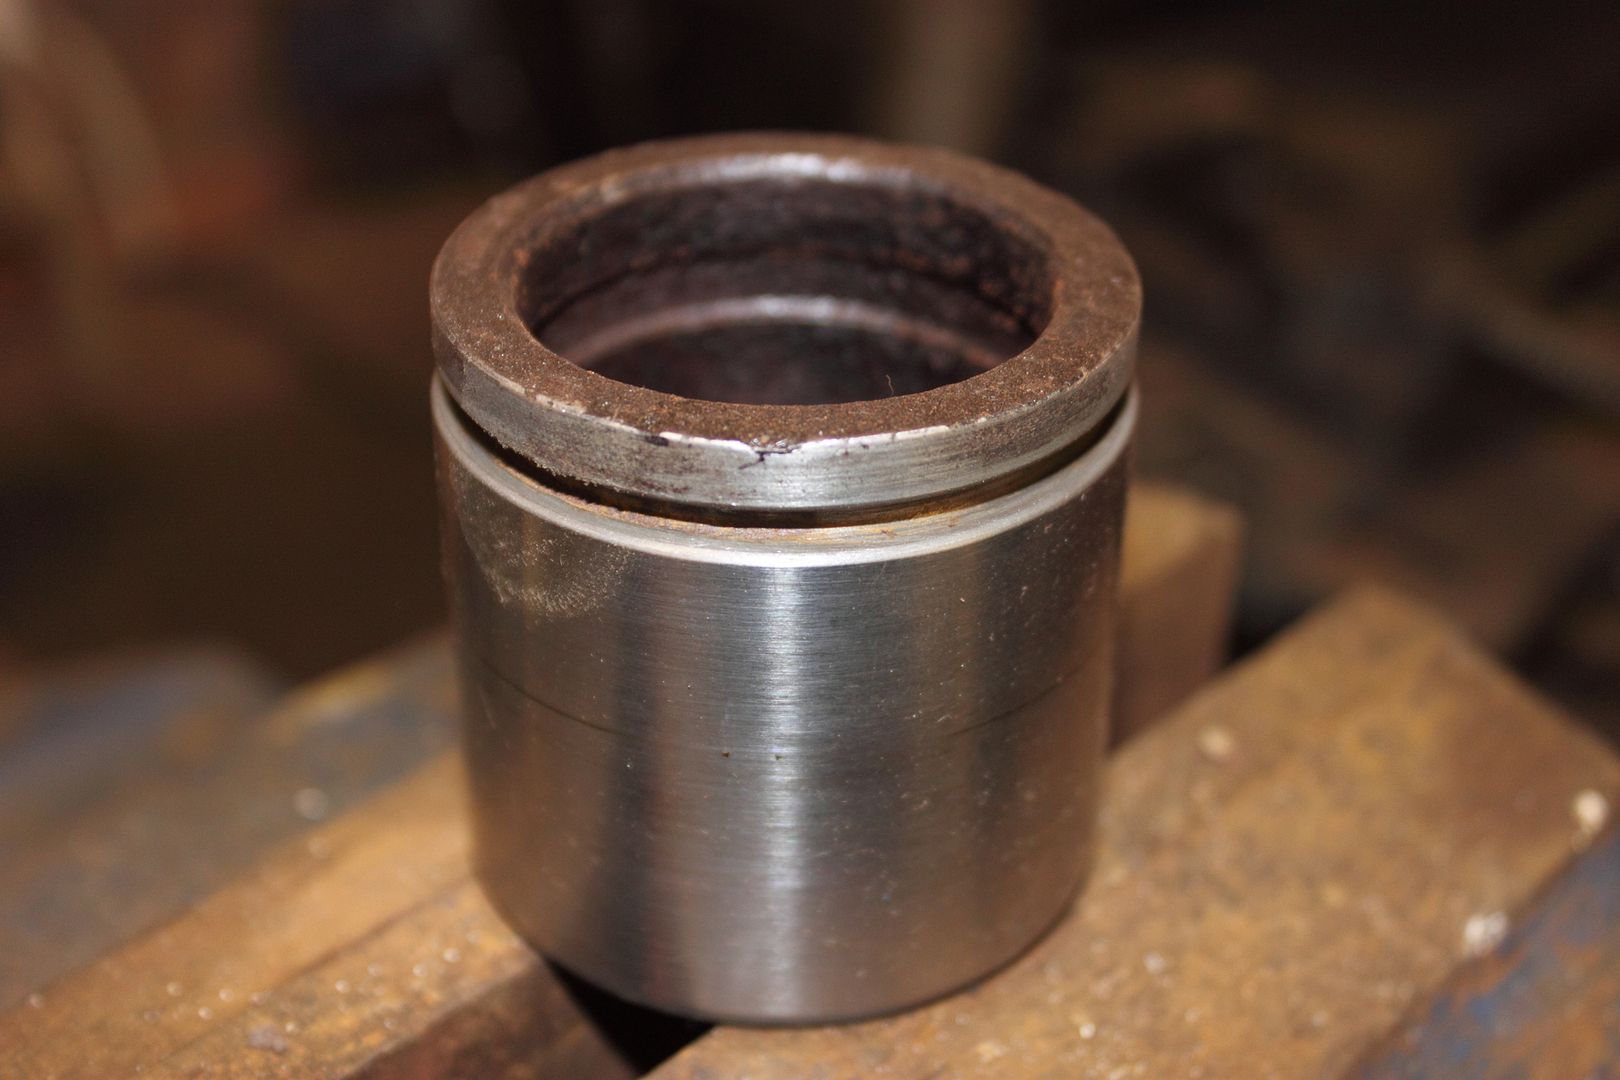
I then set about rebuilding the calipers. The slider bolts live in two rubber housing at each side of the piston, these just need pressing through. There is a rubber seal within the piston housing about 1/4 from the top, this needs replacing and then the piston dust seal needs putting on.
I found that is was easiest to put the seal about 1/4 from the bottom of the piston, then slide the piston (with a little oil or brake fluid as lubricant) into the cylinder about 1/3 of the way in. Then make sure the lower rubber lip of the dust seal sits in the recess around the cylinder. Finally, push the cylinder all the way down and the top edge of the seal should move up and pop into the top groove. Job sorted. Its a bit fiddly and took a couple of attempts to get right.
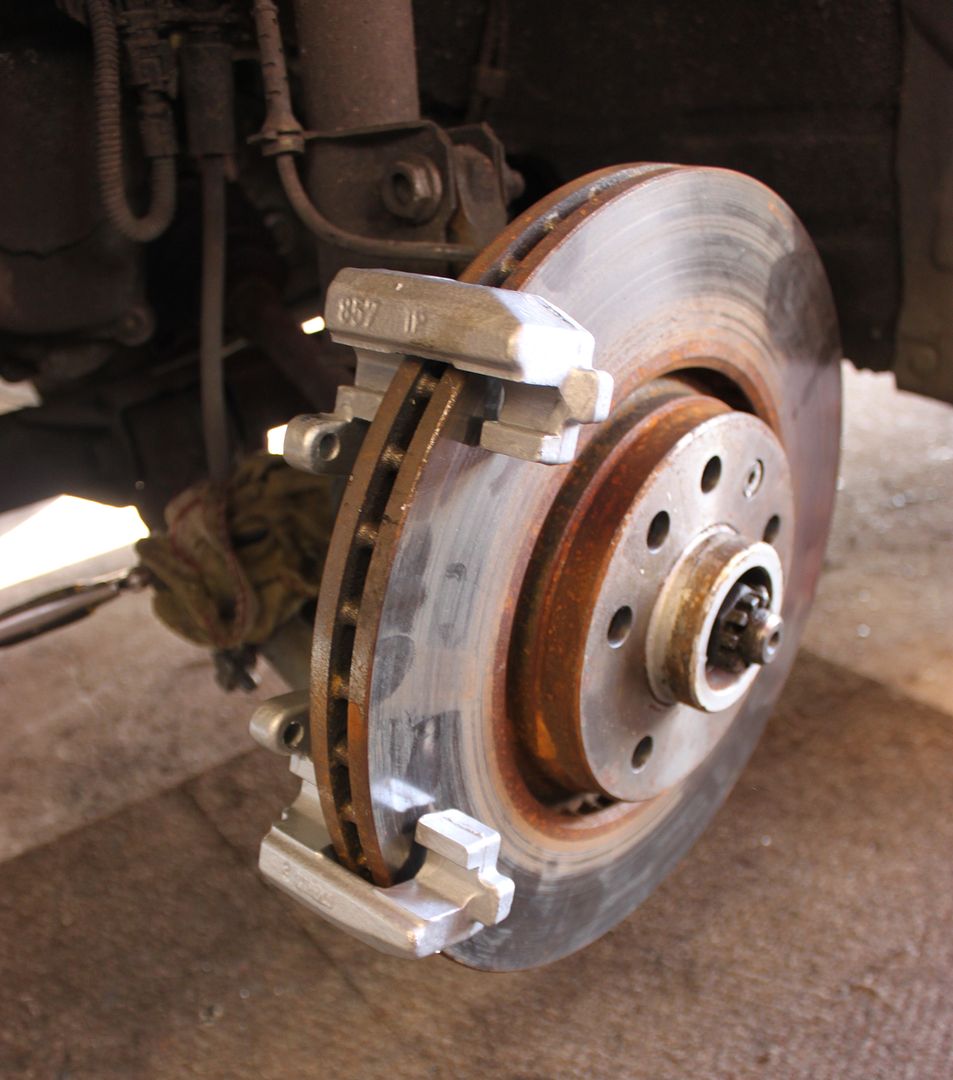
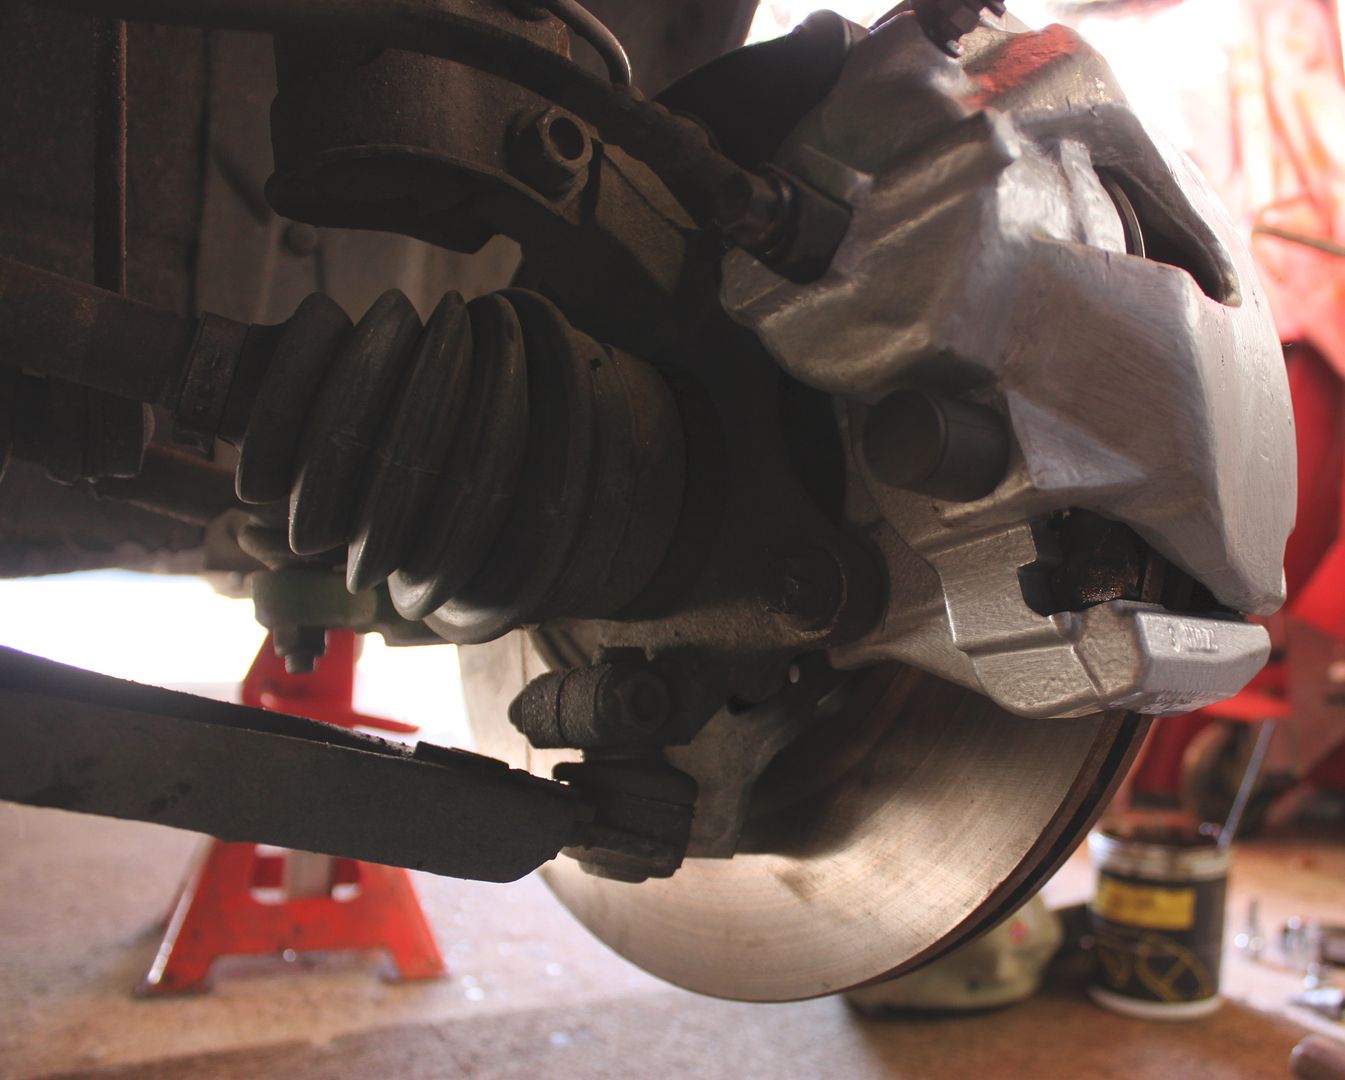
When fitting callipers make sure the bleed nipple is at the top of the calliper otherwise you will always have air in the system and a spongy pedal. It's easily done, and I have done it in the past and couldn't work out why I had a rubbish brake pedal !
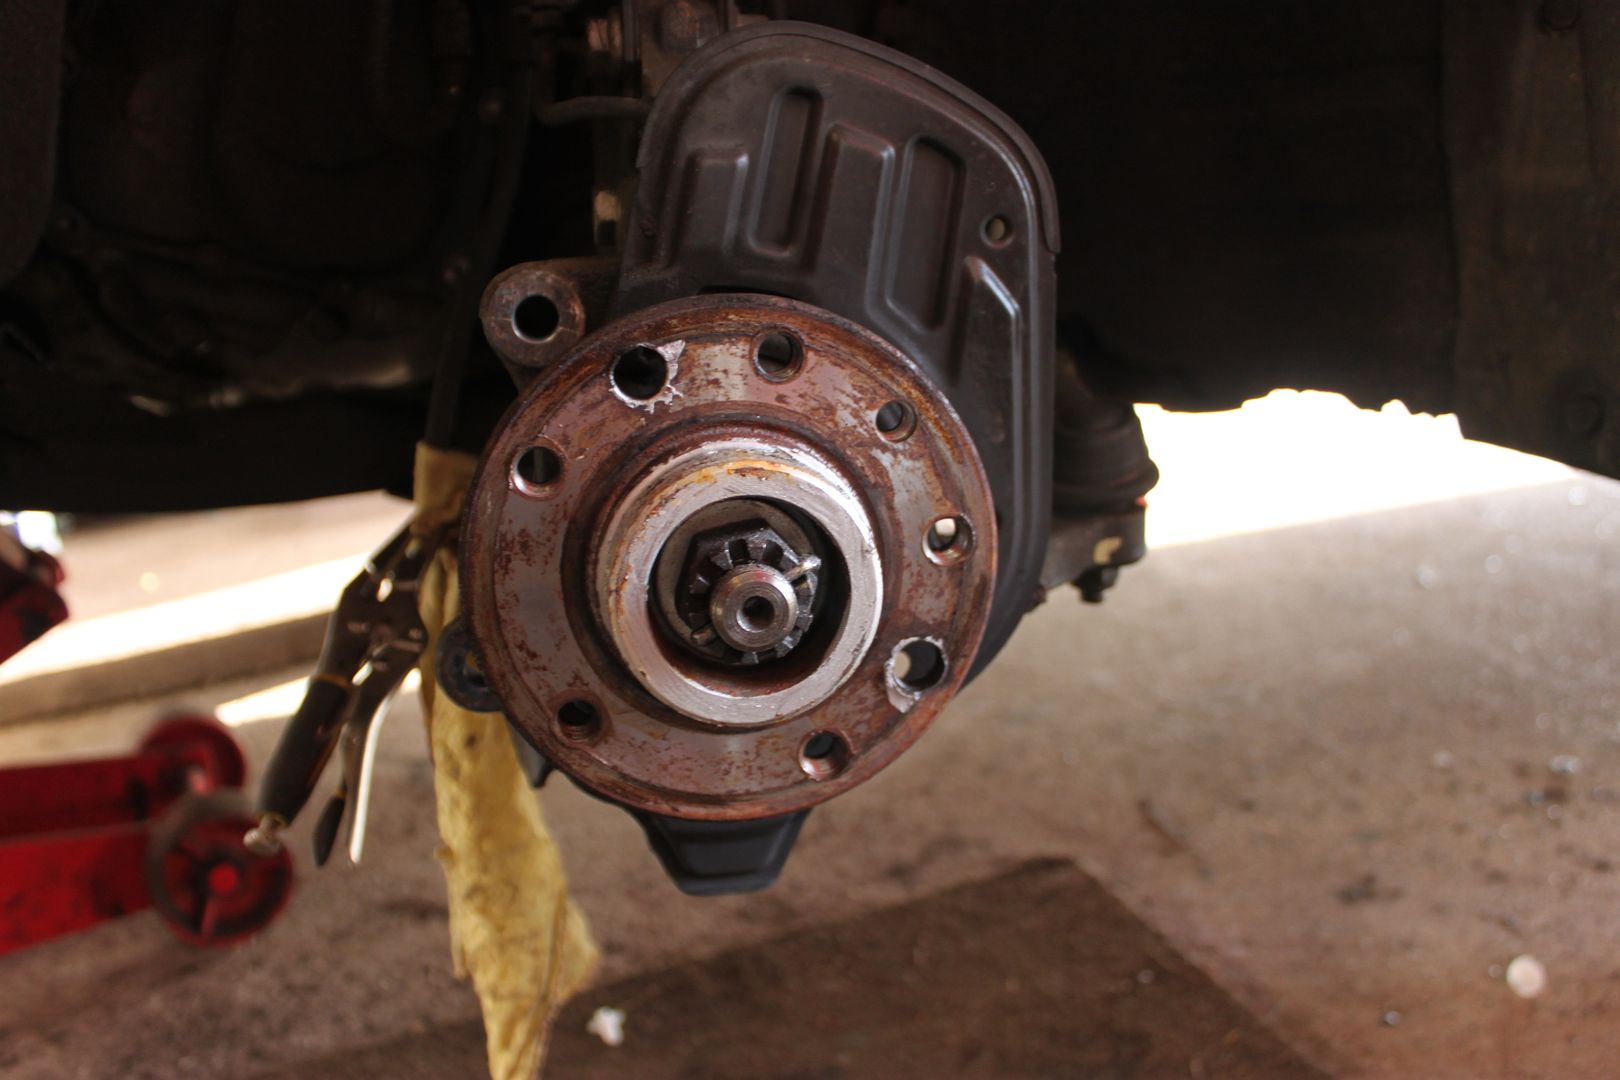
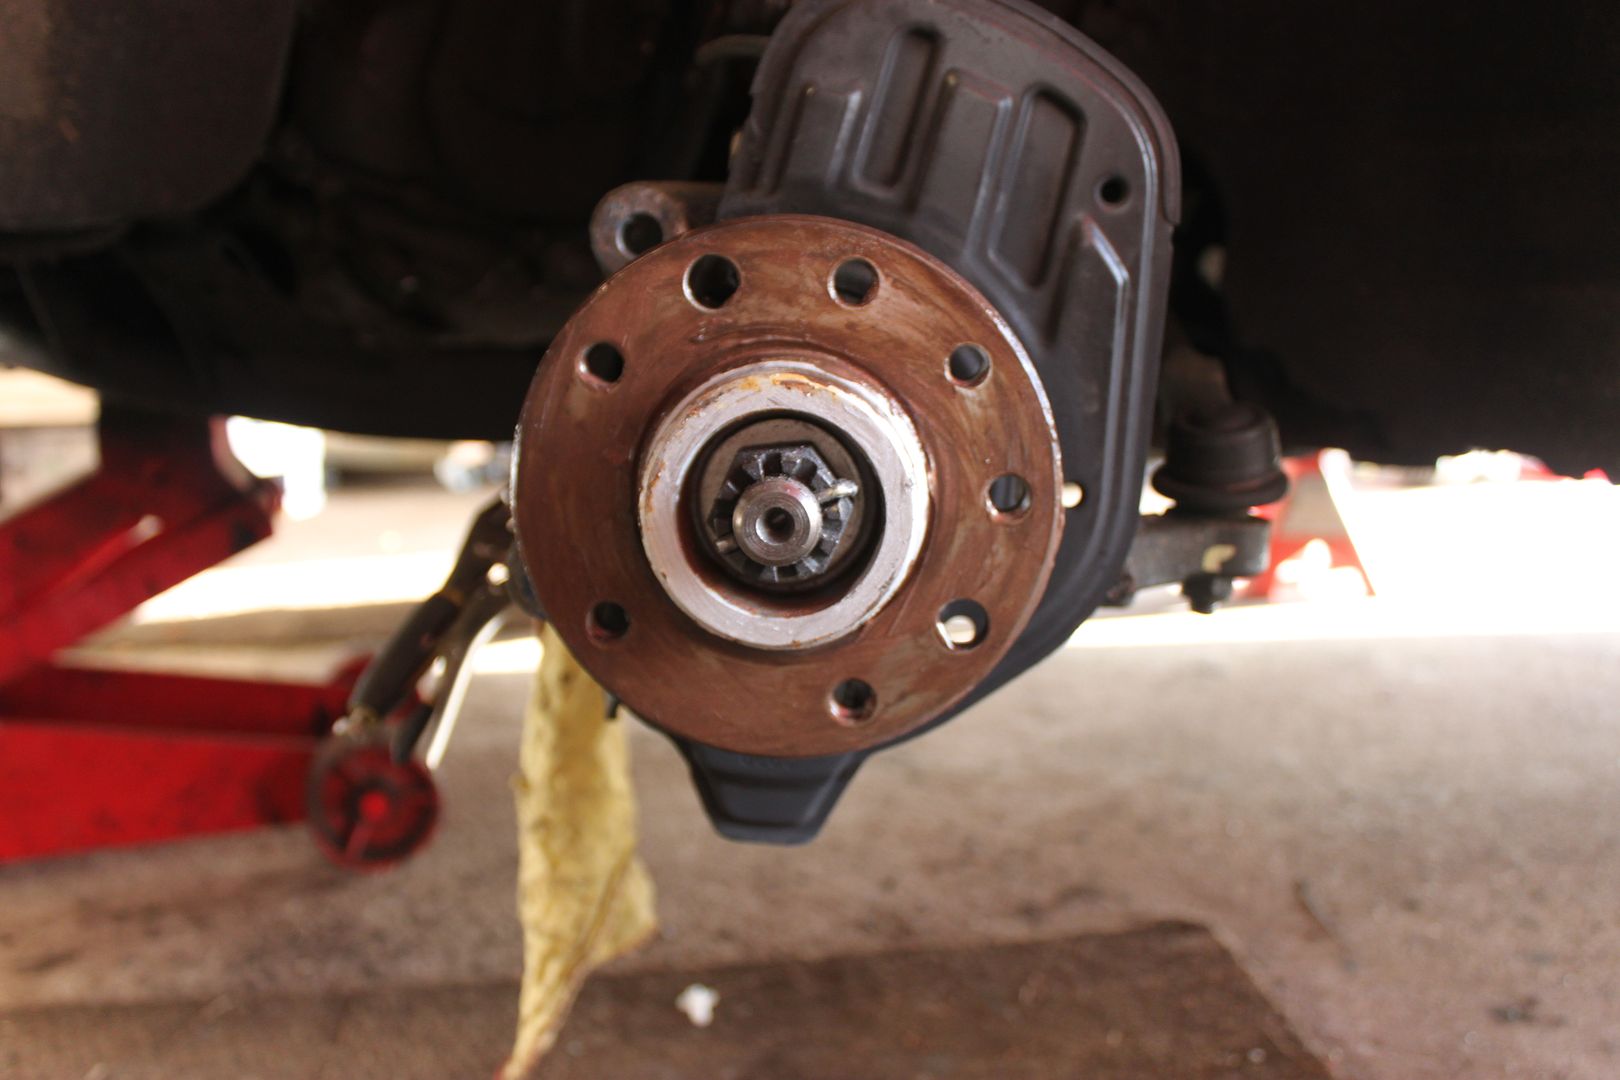
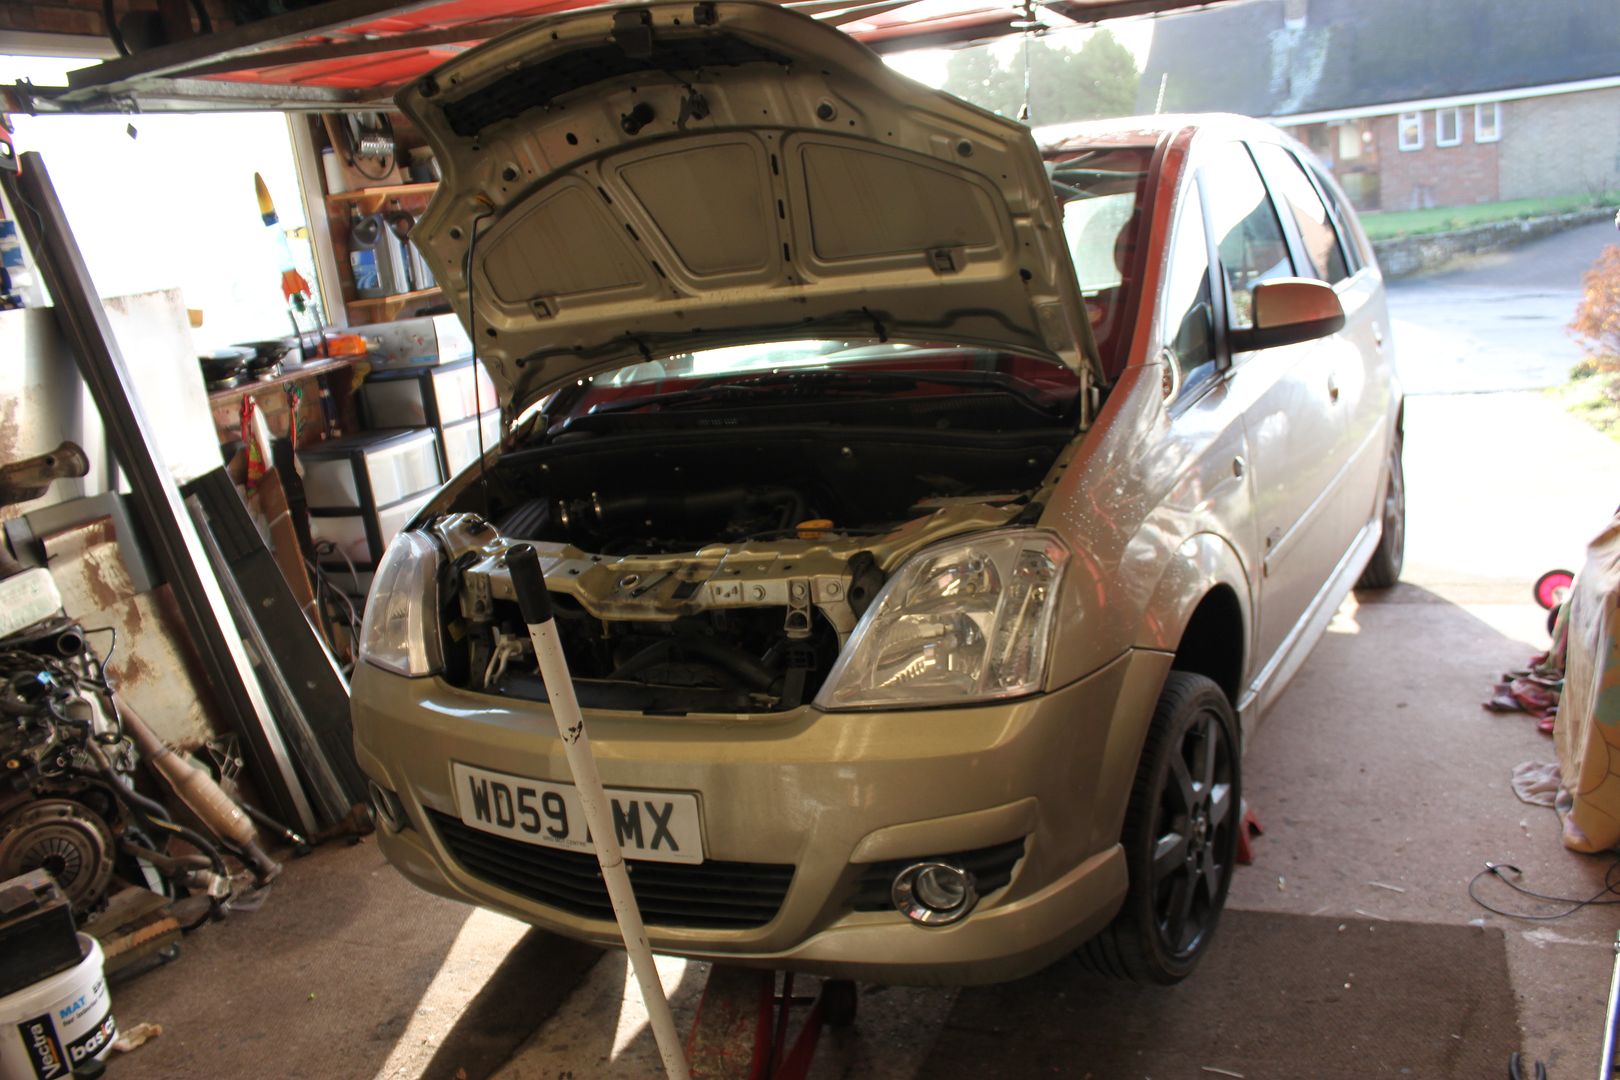
Next job is jack the car up and put the axle stands underneath for safety.
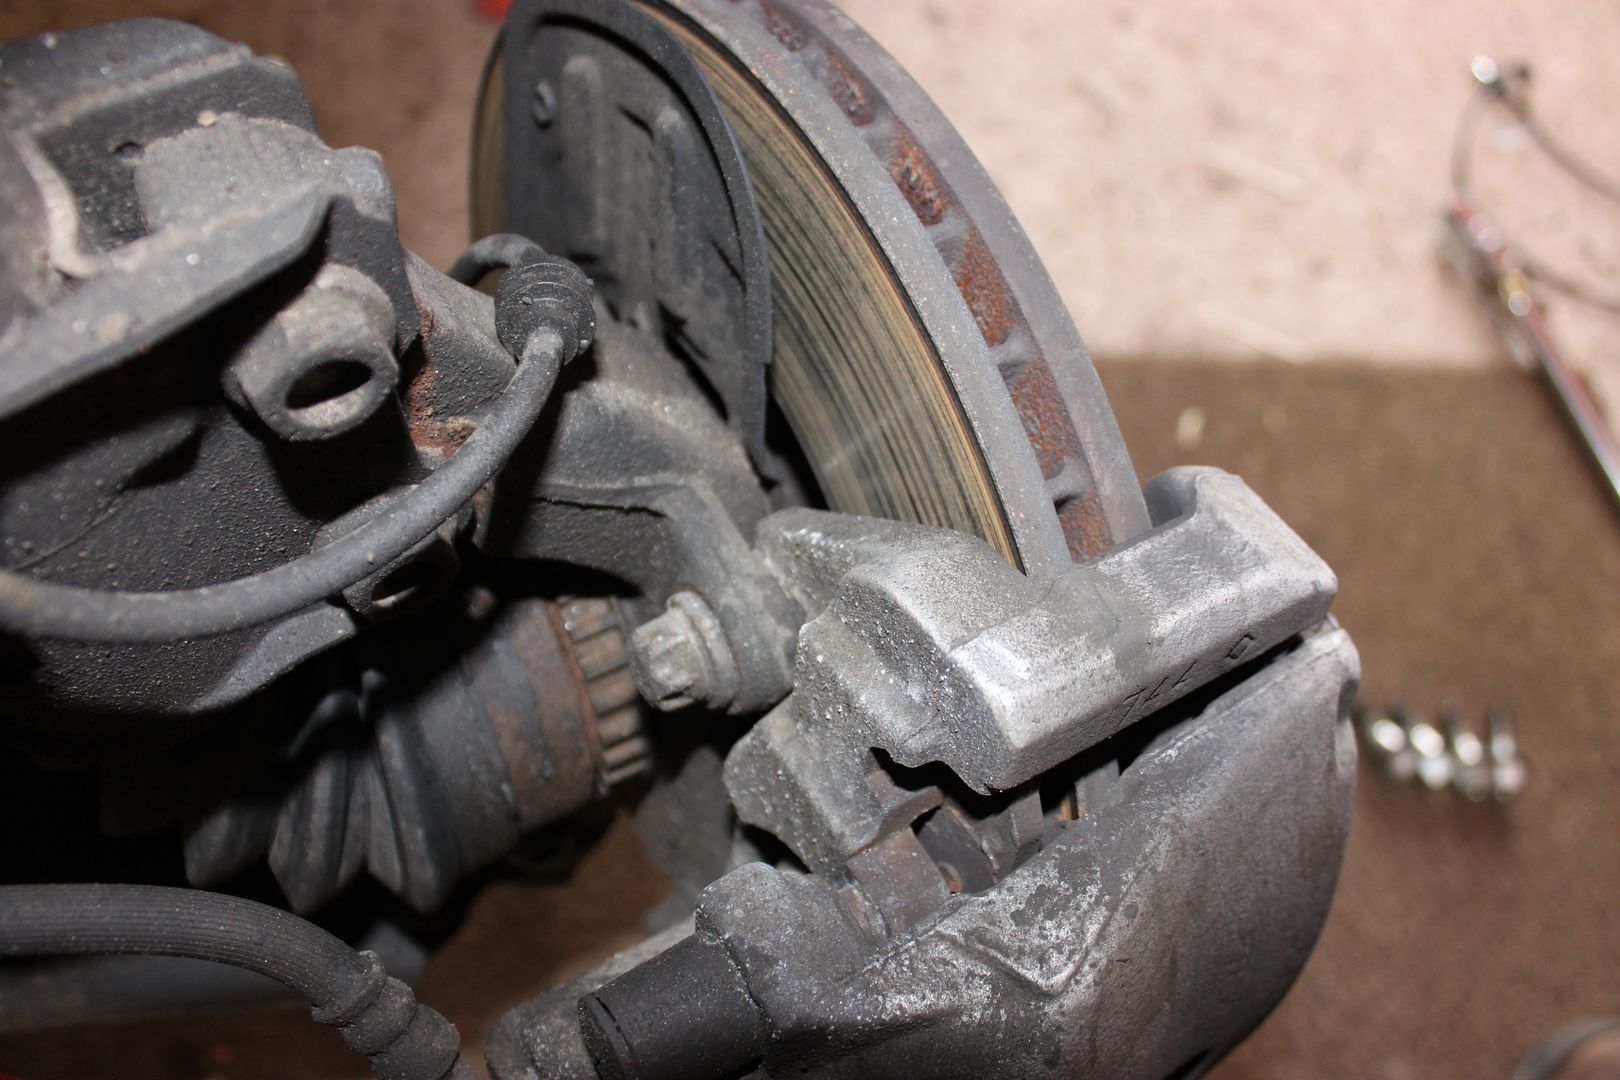
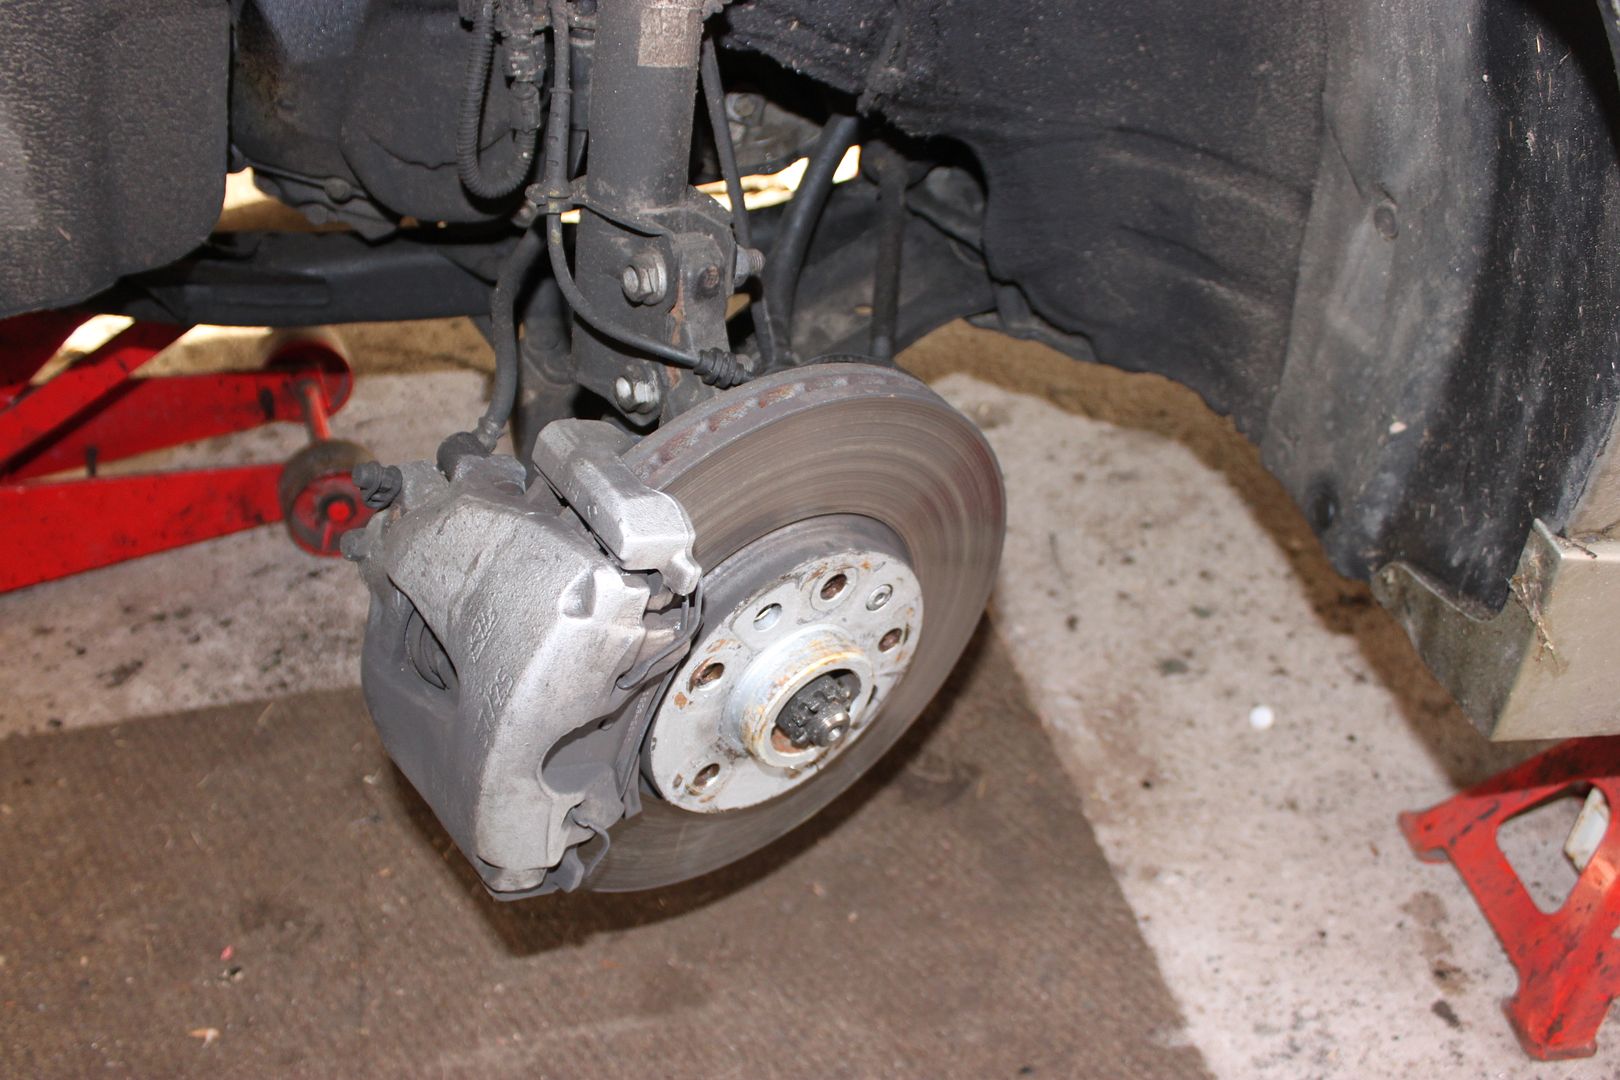
And start removing the standard 280mm brake cailpers and discs ...
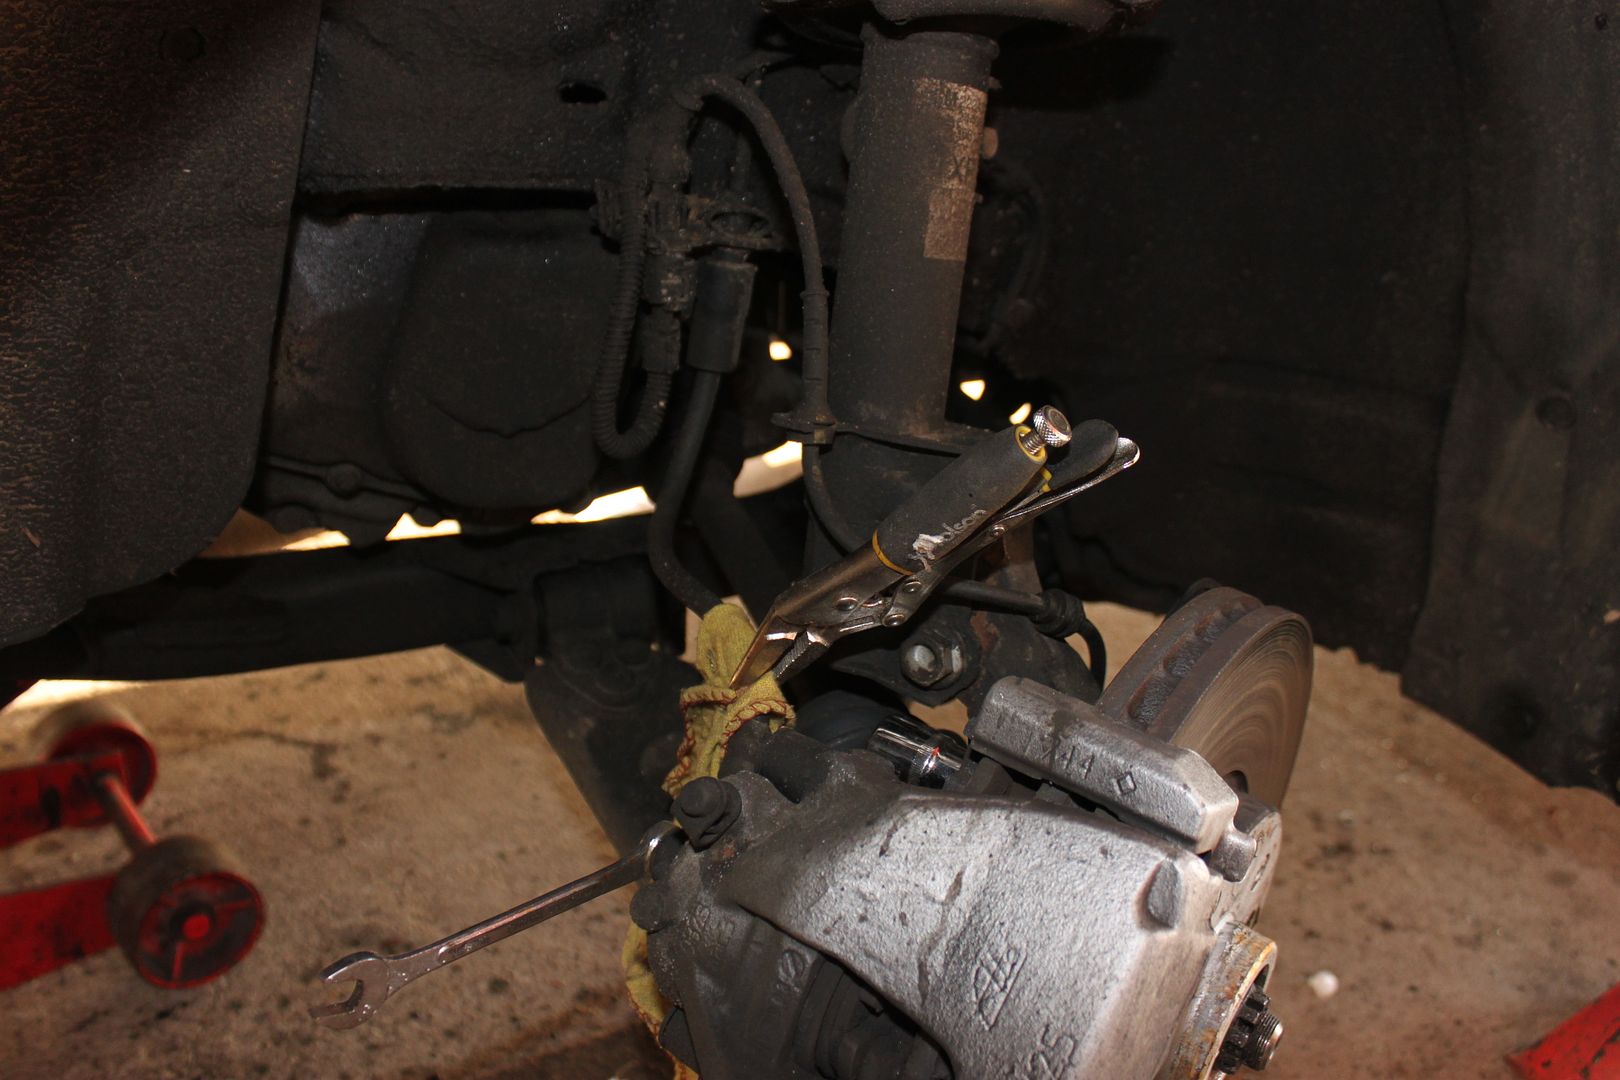
First job is to clamp the brake hose so you do not lose all the brake fluid out ...
Then crack the banjo bolt that holds the brake pipe to the caliper and remove. There will be a small amount of fluid loss from the hose and caliper so put a rag or cloth underneath before you undo the banjo bolt.
Continued below ..

 Reply With Quote