bump - that sounds pretty cool - any idea how/where I go about getting one?
Id prefer to have all locks on one fob mind - however this part of the project is still some way off...


bump - that sounds pretty cool - any idea how/where I go about getting one?
Id prefer to have all locks on one fob mind - however this part of the project is still some way off...
Tuesday 17/10/2006
My day off today although my ear ache is getting worse! Got my balance back but the drops I'm sticking in my ear is making the glaggy wax move about. Doc cant get it out and says drops need another day to work.
Suits me - another day off work - however need to keep an ear plug in my left ear which is v weird!
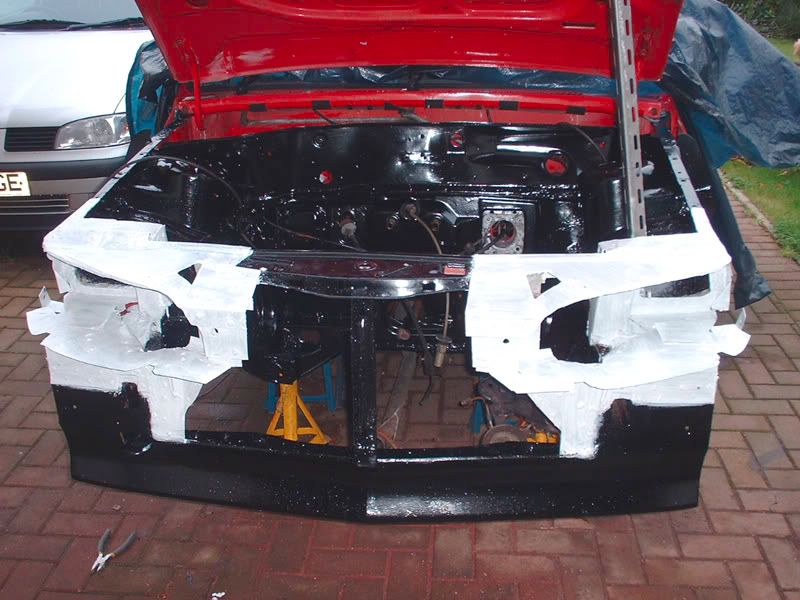
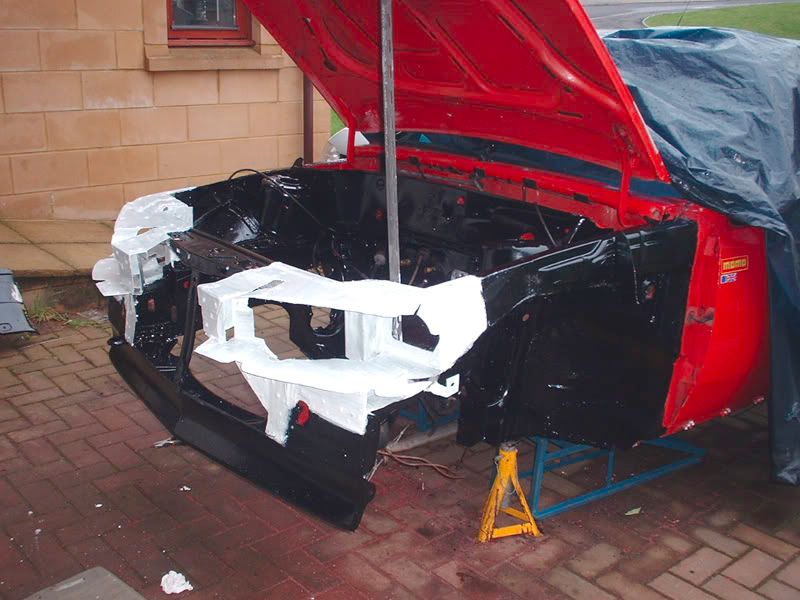
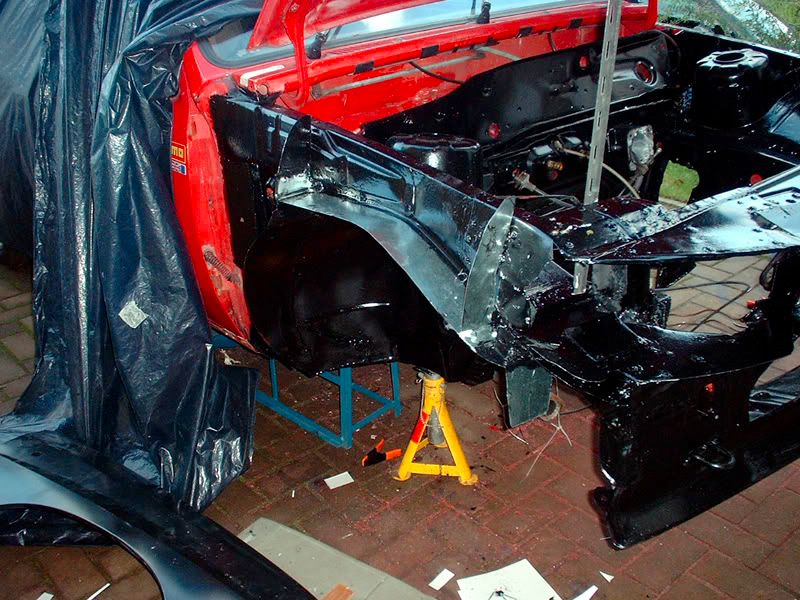
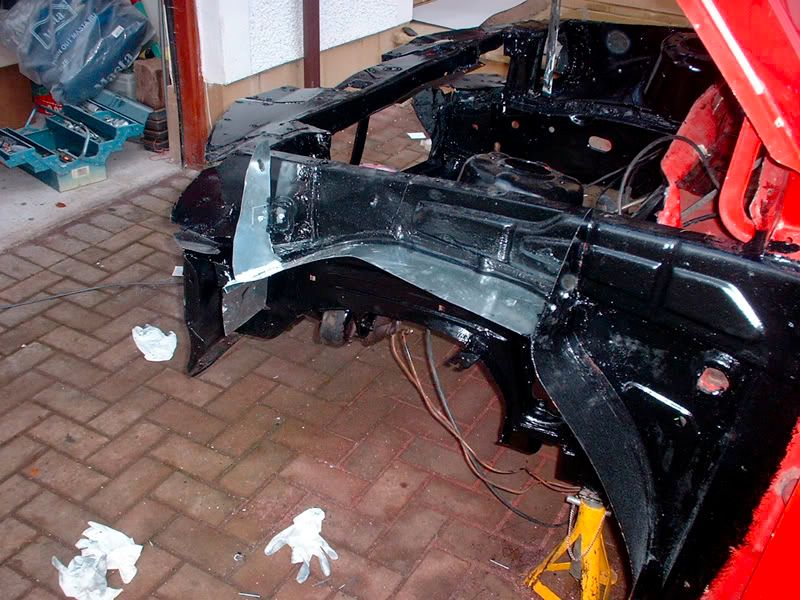
So - armed with one gammy ear, I headed back to the garage. Weather a little overcast but not raining - yet - so decide to start by applying another coat of paint to the engine bay. This takes a couple of hours and I give it a thorough covering using a stippling motion to ensure it settles flat. Once done I then paint the light housings with special metals primer.
The black area has come out really well - I just need to do the battery area however need to treat the drainage holes before I can do this so will leave till another day. The special metals paint takes about an hour to go off and can be repainted over after 4 hours - leaving me plenty of time to get on with other stuff - such as my boot.
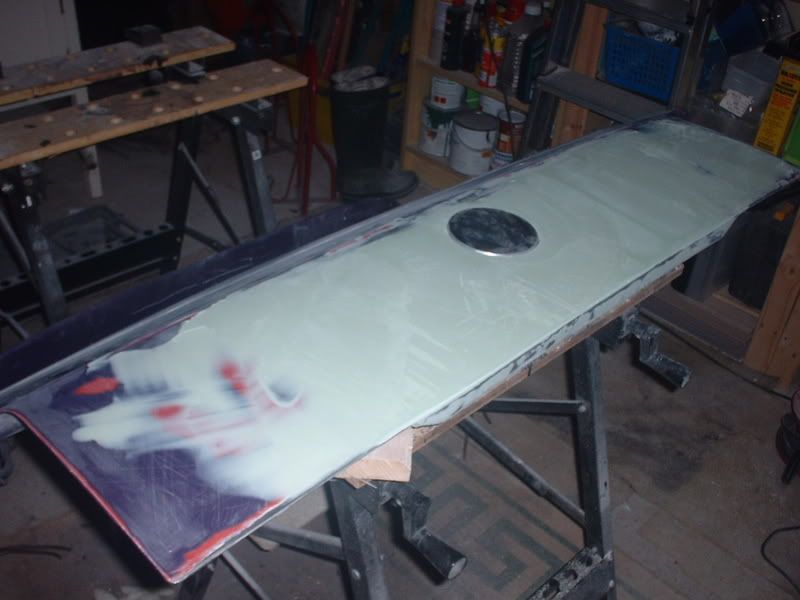
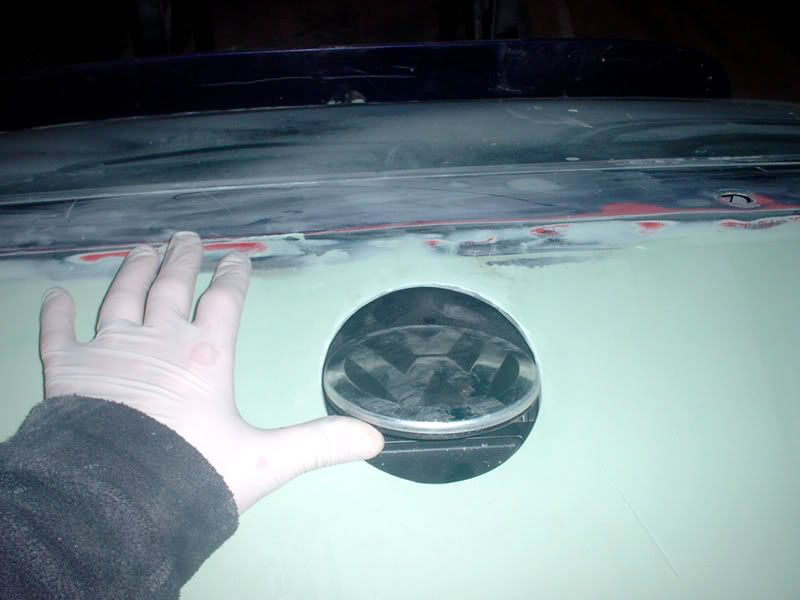
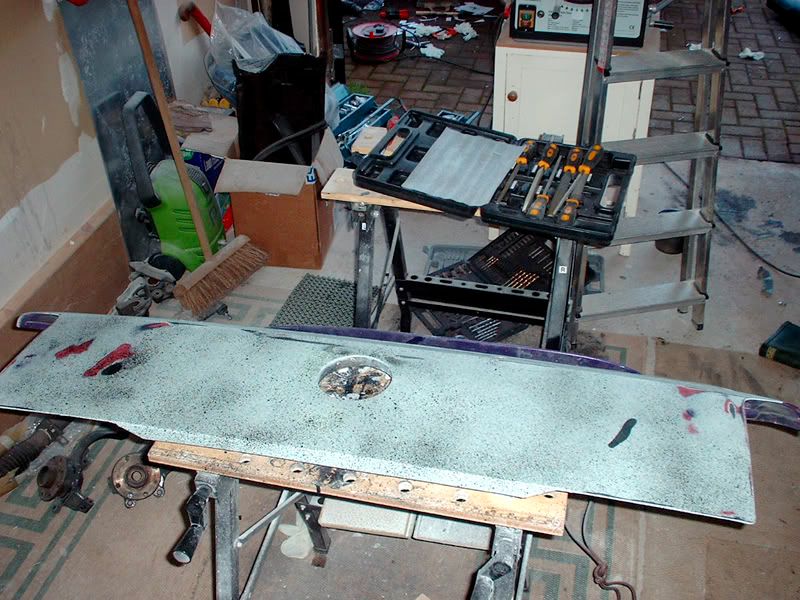
I gave it another couple of coats of filler sanding down in between coats and after a few hours hard sanding, its starting to level off. This pic shows the badg mechanism in place - its very tight but thats okay as it can be sanded back later -
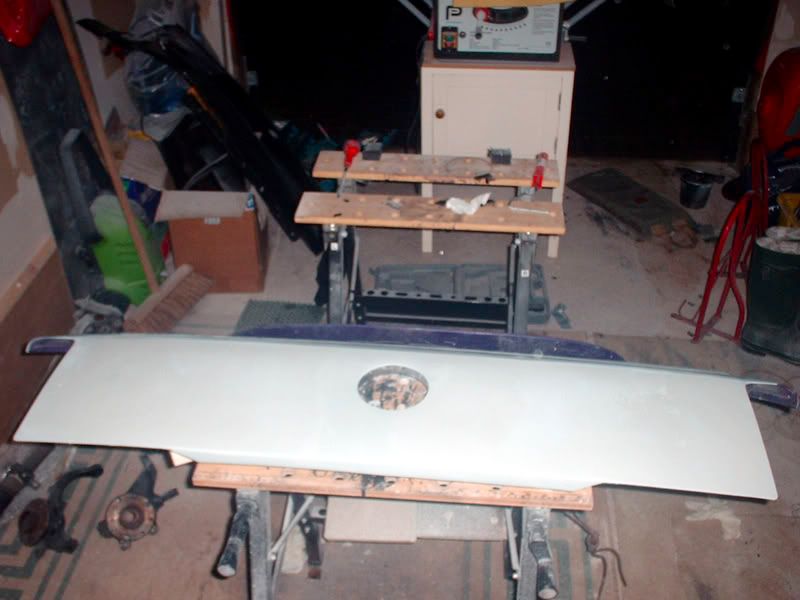
After a really good sanding back and smoothing with finer paper, I applied the 1st coat of primer to get a better idea of how it looked -
This looked really good and seemed to be very level however if you run the flat of your hand over it (using a jay cloth between palm and surface), you can been rises and falls in the filler - not many but enough to warrant further work.
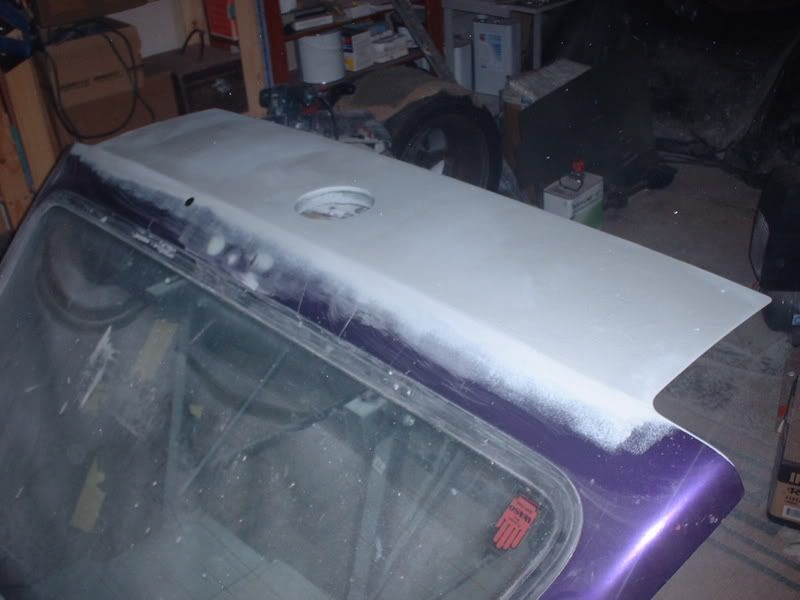
Once the primer has cured (overnight), I'll coat the whole area in a fine "speckle coat" of black paint (like an over spray of paint leaving a fine dotted finish on the area) and then sand this back using a large flat piece of wood with wet n dry on it. The low areas will not be removed and the specks will remain showing me where I need to build up the filler.
Tuesday 17/10/2006 - continued
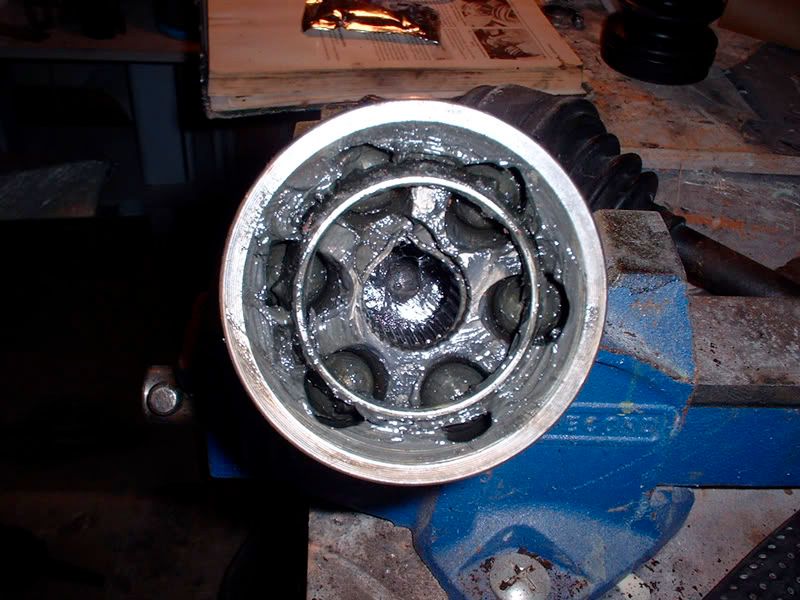
Whilst the primer was curing, I got on with trying to replace one of the inner cv boots on my replxacement GTE drive shafts.
I had a replacement boot and using the haynes manual successfully separated the cv joint allowing me to slide the old boot off. The boot itself wasnt worn or torn, it had just popped off the fat end and was spewing grease everywhere. I'd actually like to reuse this boot if I can (see post in technical re whether this is possible). Separating is fairly easy - just a c clip holding the 2 in place
Anyway - once apart I slipped the new boot on and then had to leave it because I dont have the metal securing rings (theres some in the post from a fellow Novaloader that will hopefully arrive tomorrow).
I then looked out the garage door and noticed it had started raining. That fine misty rain that really annoys you!
Oh - I also got my front knuckles back from the engineering place near me that fitted 2 new front bearings - appranatly when I asked if it went okay they laughed and said if I'd carried on using the car the bearings would have exploded within days! One sides bearings housing had melted in parts apparantly. Also got them to clean up and slacken off the track rod ends so i can replace with new ones. All in they charged me ?35 which I thought was a good deal.
Plan for tomorrow -
Weather is supposed to be crap all day so I'll do some more work on the boot, sort the cv boot if the straps arrive in the post and perhaps tidy up the garage.
Also need to go to the docs to get my ear sorted - hopefully!

Last edited by ade; 17-10-06 at 10:39 PM.
Here you are Ade. you just attach one of the bullets to your key ring and put the reciever in your boot lid with the relay, run a pwer feed and your away.
I have my occational uses.
cool! - a bit pricey but would be well classy!
I think that it would be worth the outlay. It would just add a nice touch to such a well thought out boot mechanism.


Ade, where's the pics?
*edit*
nevermind.
Last edited by wisewood; 18-10-06 at 03:45 PM.
- eyes wide shut!
Wednesday 18/10/2006
Anpther day off work - FINALLY got my ear sorted this morning - need to stop operating loud machinery without ear protection - anyway took the rest of the day off - they forecast sh1tey weather but infact it was glorious all day so thought I'd make the most of it...
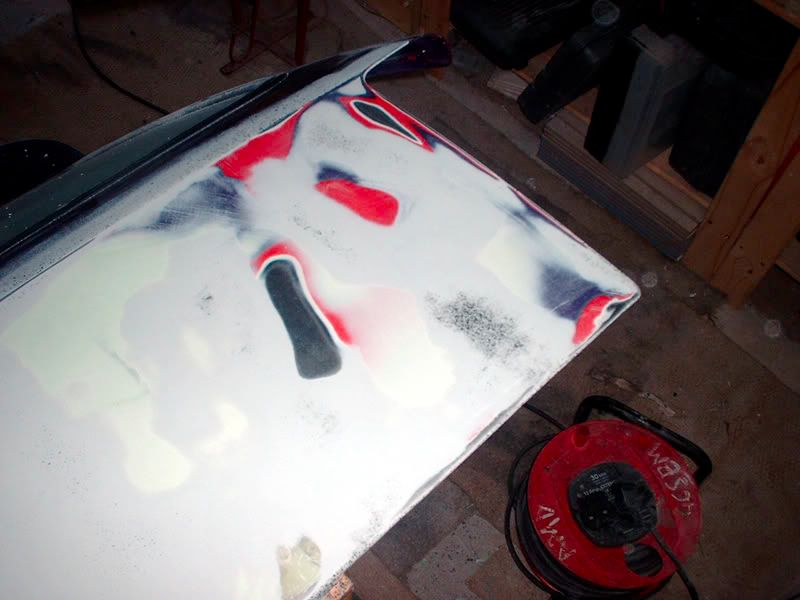
Started by applying the speckle coat to the boot -
Whilst this dried I painted up the other light housing I couldnt get done yesterday due to the misty rain and then started work on making some inner mud guards for the front wings.
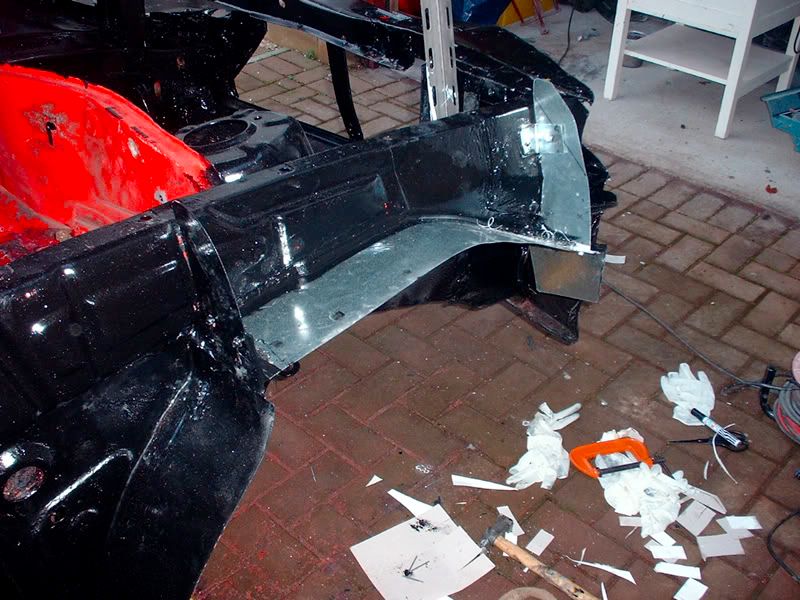
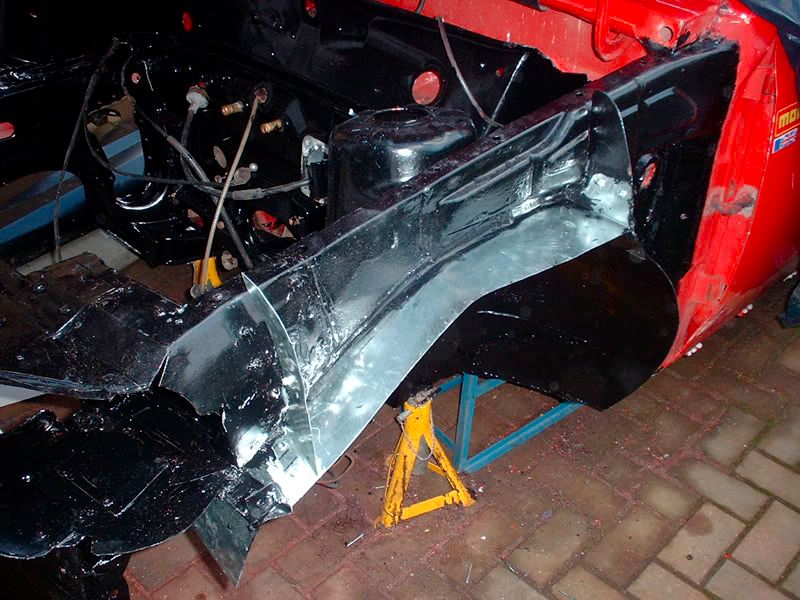
The idea is that behind the nova front wings is nothing except inner wing - and this leaves them prone to the elements from the wheels, mud, dirt getting behind the lights etc. So I decided to try and limit the amount of build up by fitting some splash guards. most modern cars have them now (usually great big plastic cowlings that hide all the moving parts).
I started by making a card template - the template can be used on both sides - I just need to reverse it. The splach guards will be rivetted to the underside of the inner wings and joined to the new inner guards at the back of the arch I had welded in a while ago. The front of the guard will bend downwards but not all the way - just enough to act as a drainage channel for water etc. At the top I'll then make a replacement guard that usually sits behind the lights on the nova. This will be attached to the front and attached the the inner wing at the front - efffectively making a box.
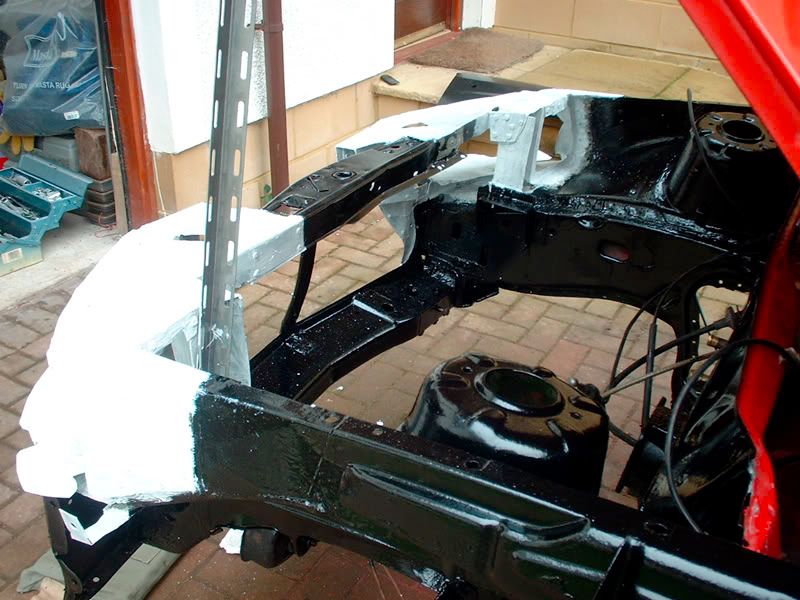
Heres some pics of both sides -
from underneath (looking up at the strut turret from underneath)
Theyre a nice snug fit at the front with about a 10mm gap between the wing and the edge to allow for air circulation, drainage etc.
I've used galvanised steel so theres no problems with rusting and the whole thing is sealed with sikaflex which is used on marine crafts so very water resistant.
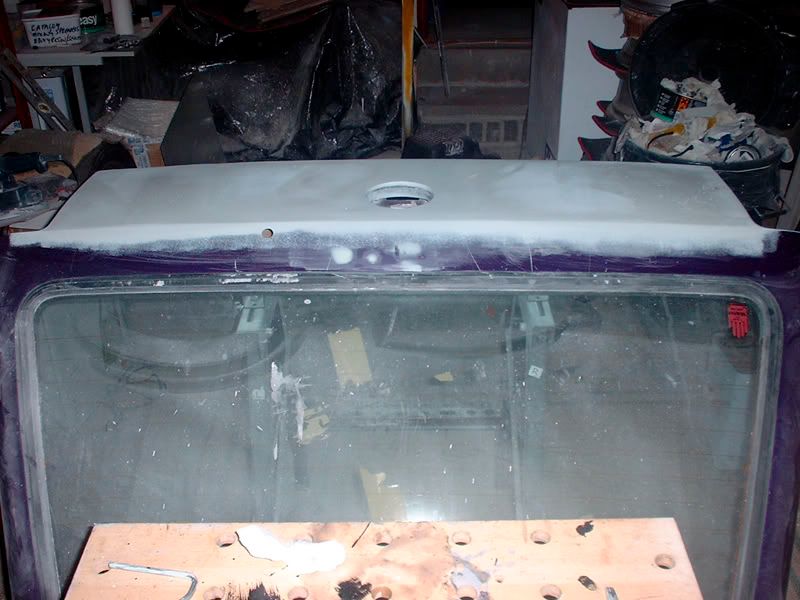
Once I'd finished this, I then moved on to the boot (again) - started by sanding down until the flat spots were shown like the one below -
Then skimmed these areas with filler and repeated the process again.
The boot is almost complete in terms of smoothing the rear panel - next task is to tidy up the area where the badge will go.
I then need to smooth the VW part of the badge and fit a Vauxhall badge. I was going to use Opel badges but they dont look right - theyre too small and the bigger ones have problems with the part of the lightening symbol that throws it all off centre.
Stopped for the evening after I realised I'd not eaten anything all day except 2 bacon sarnies in the morning and about 8 cups of decaf coffee (cant drink normal stuff - sends me barmy!)
what kind of filler is that? the one i used lucks completely different and of lower quality?
Posting Permissions

 Reply With Quote