Page 16 of 38 FirstFirst ... 6141516171826 ... LastLast
Results 151 to 160 of 372

Thread: Sport Project 1990 to 2016 (hopefully)

  1. #151
    Club Member Club Member
    Join Date
    Aug 2015
    Location
    Derby
    Posts
    439
    Post Thanks / Like
    Mentioned
    0 Post(s)
    Tagged
    0 Thread(s)

    Default

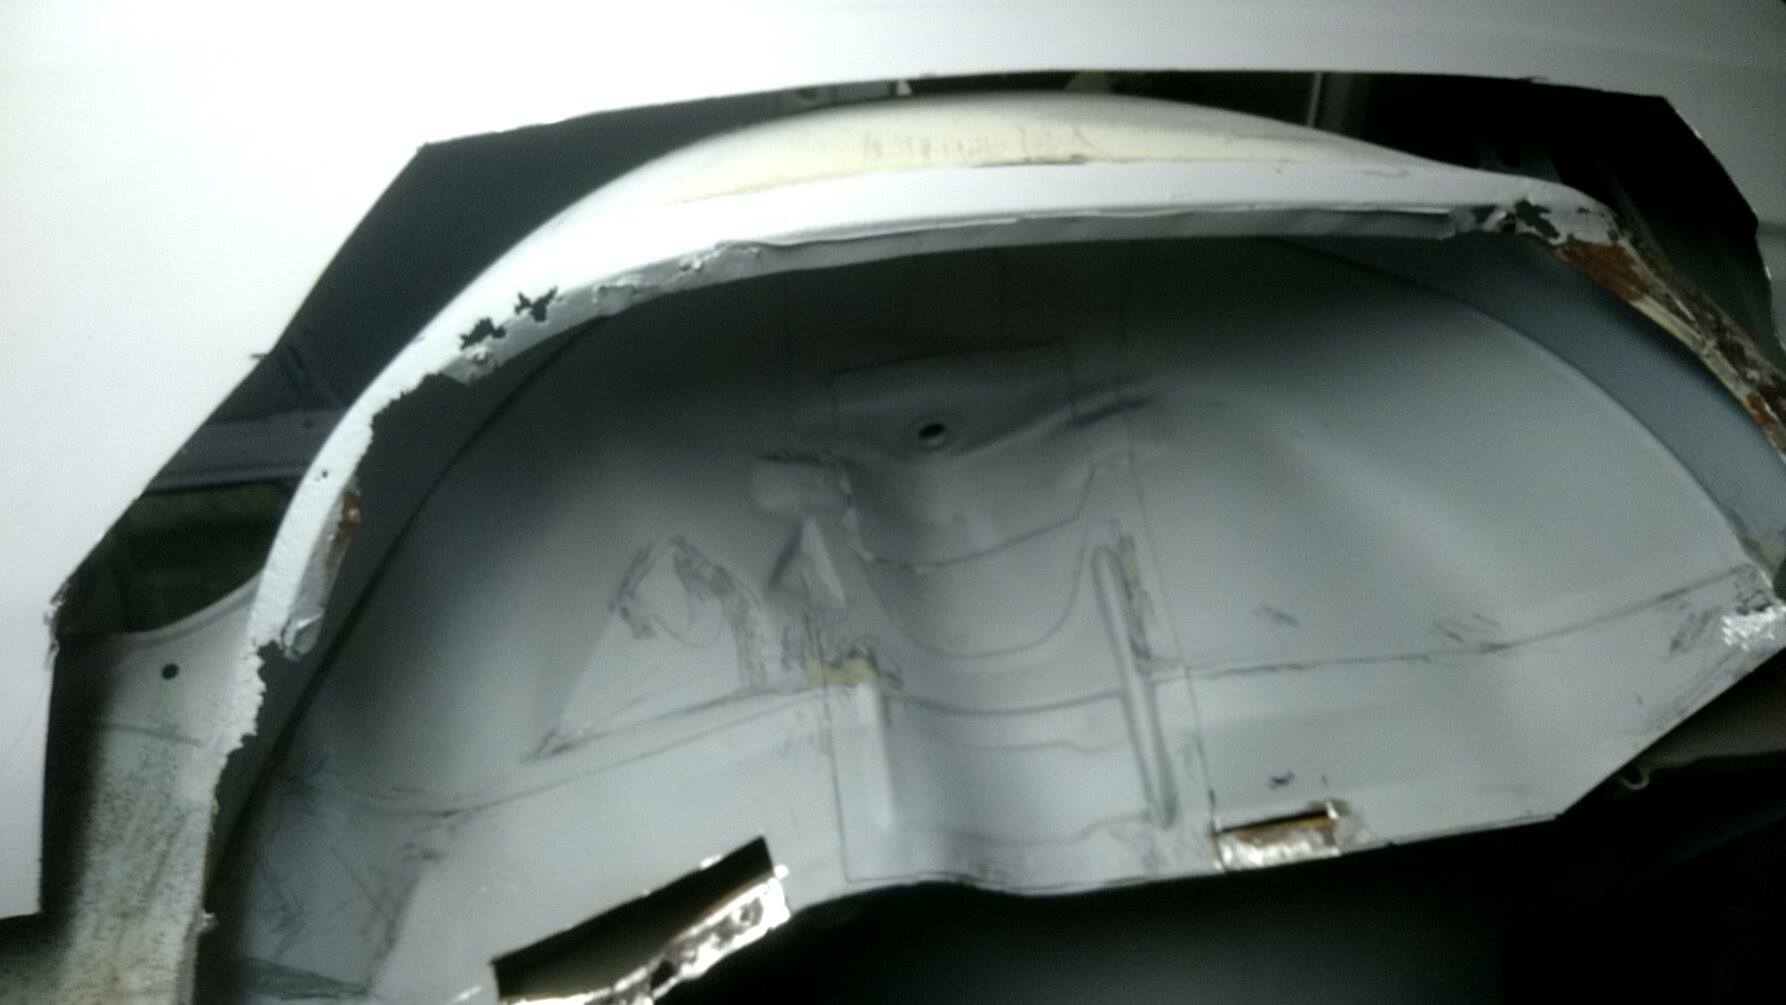
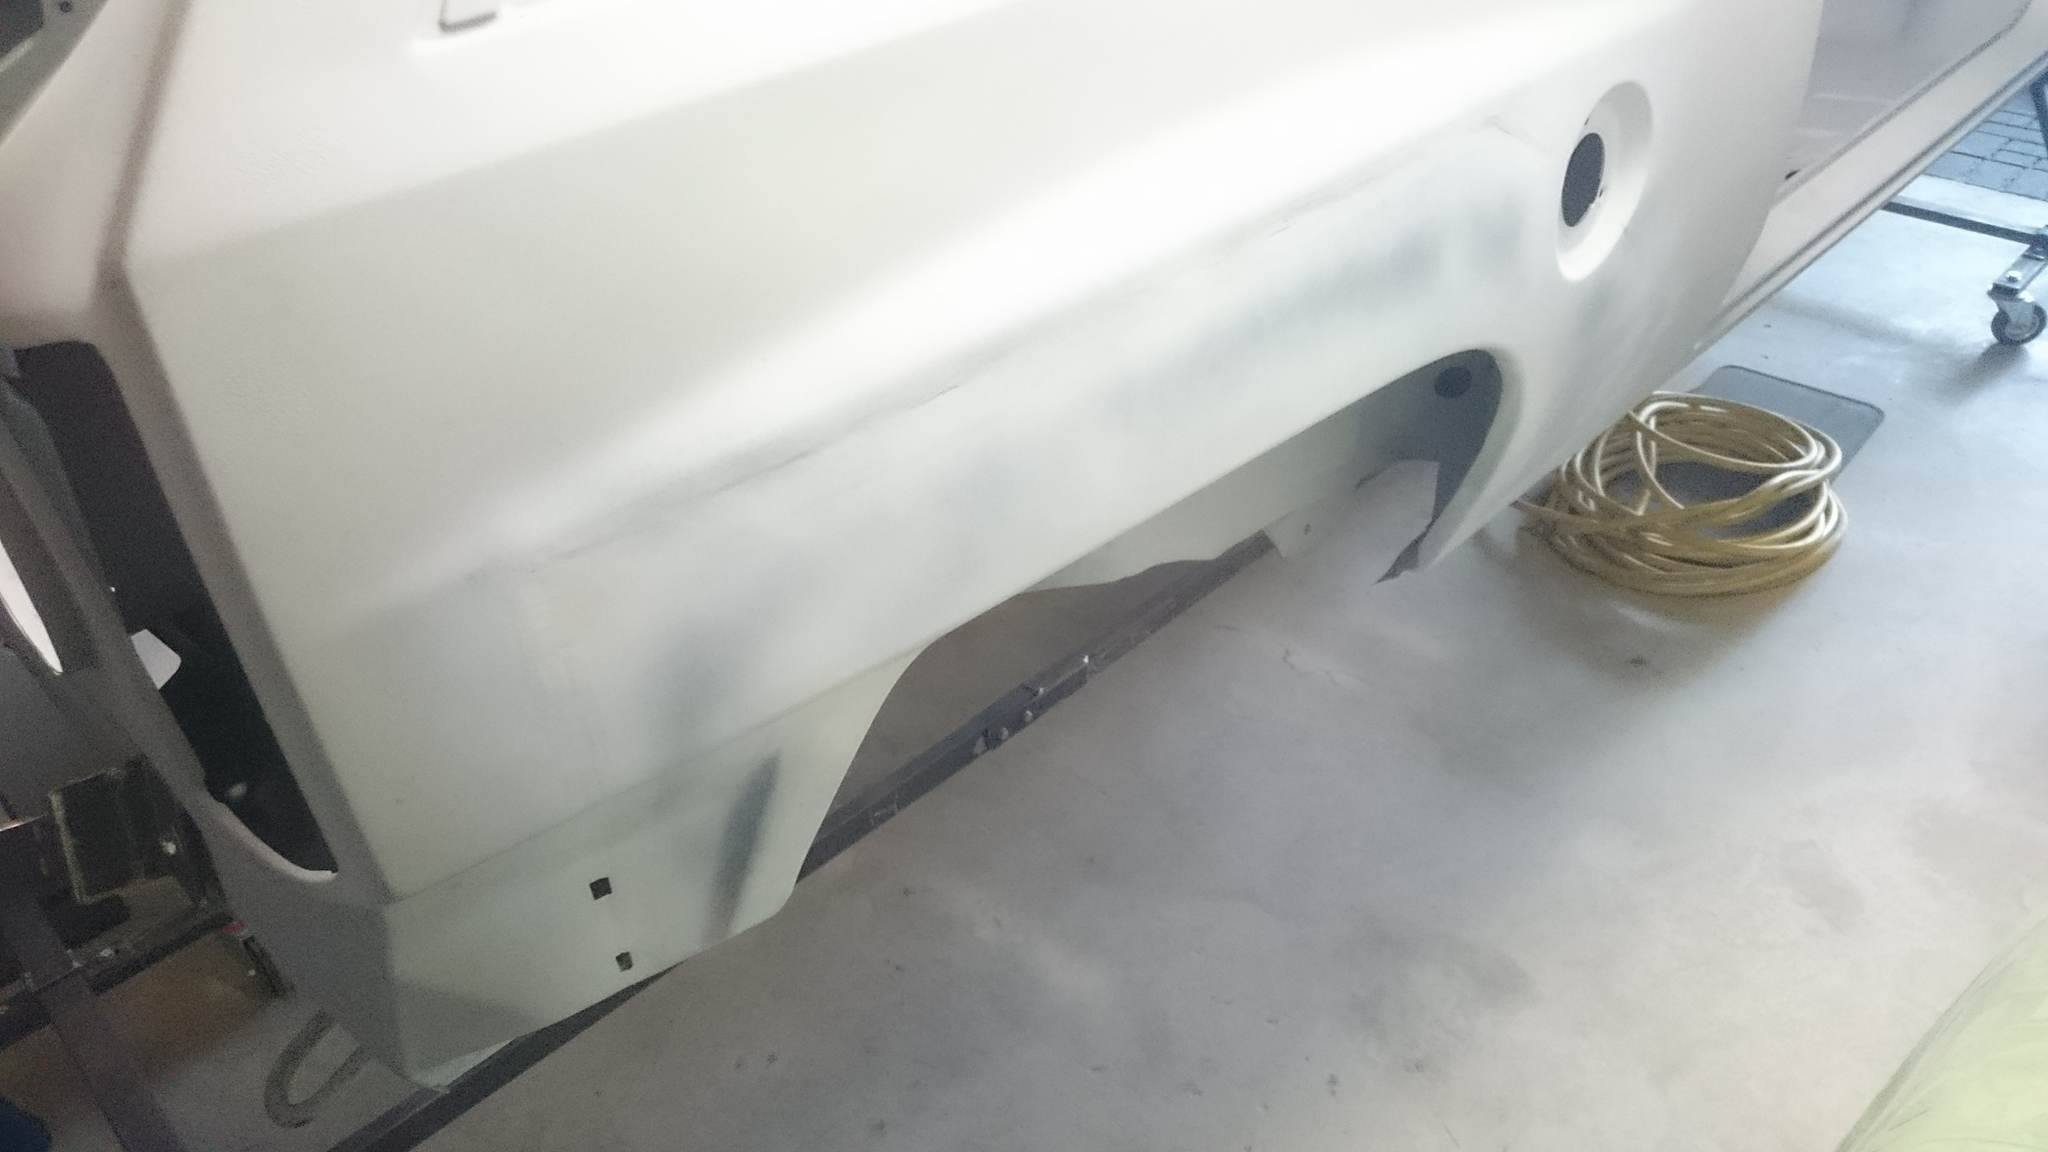
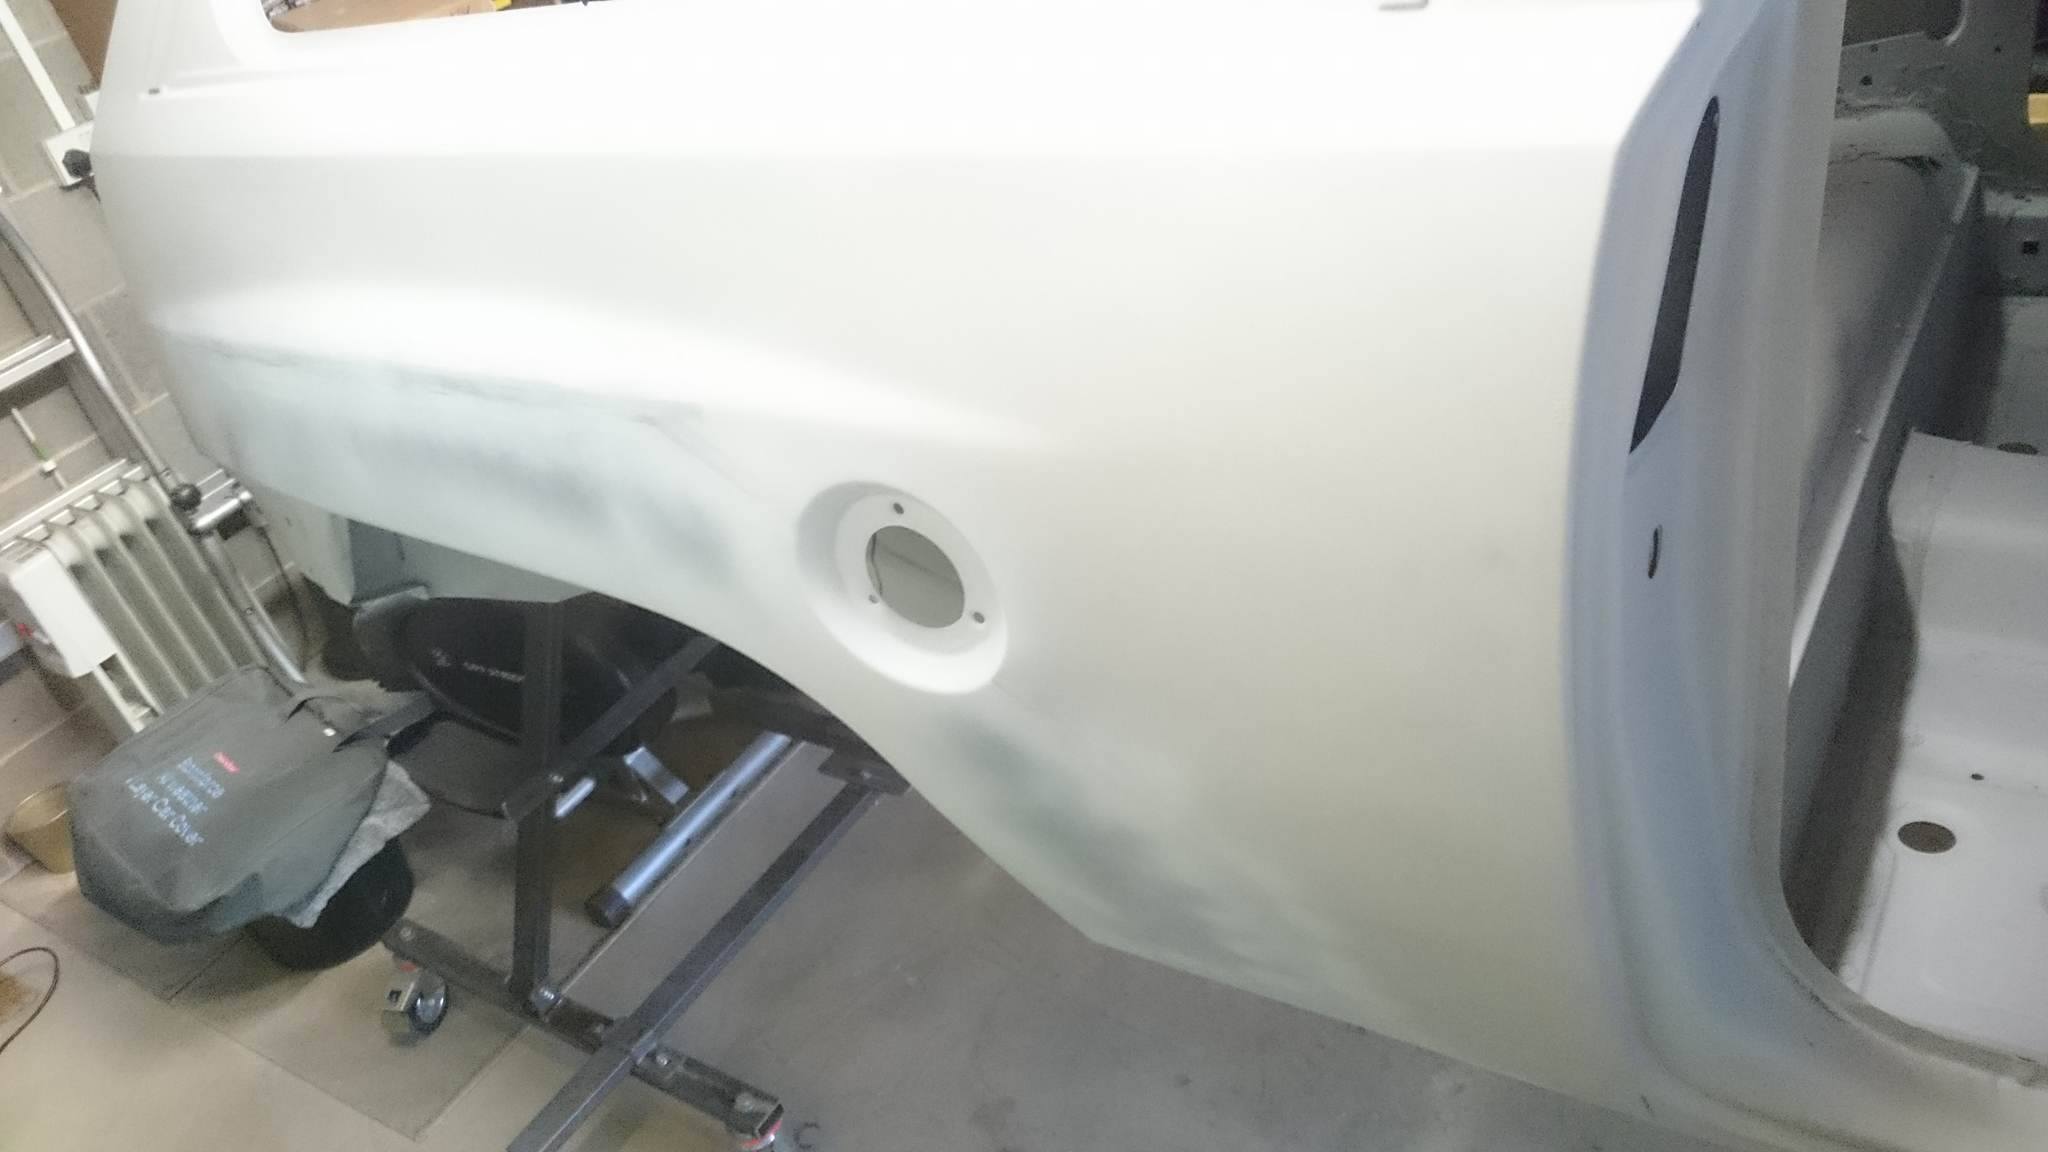
    So after a bit more of Will's attention today, the rear o/s quarter is probably the best it has been for 20+ years:


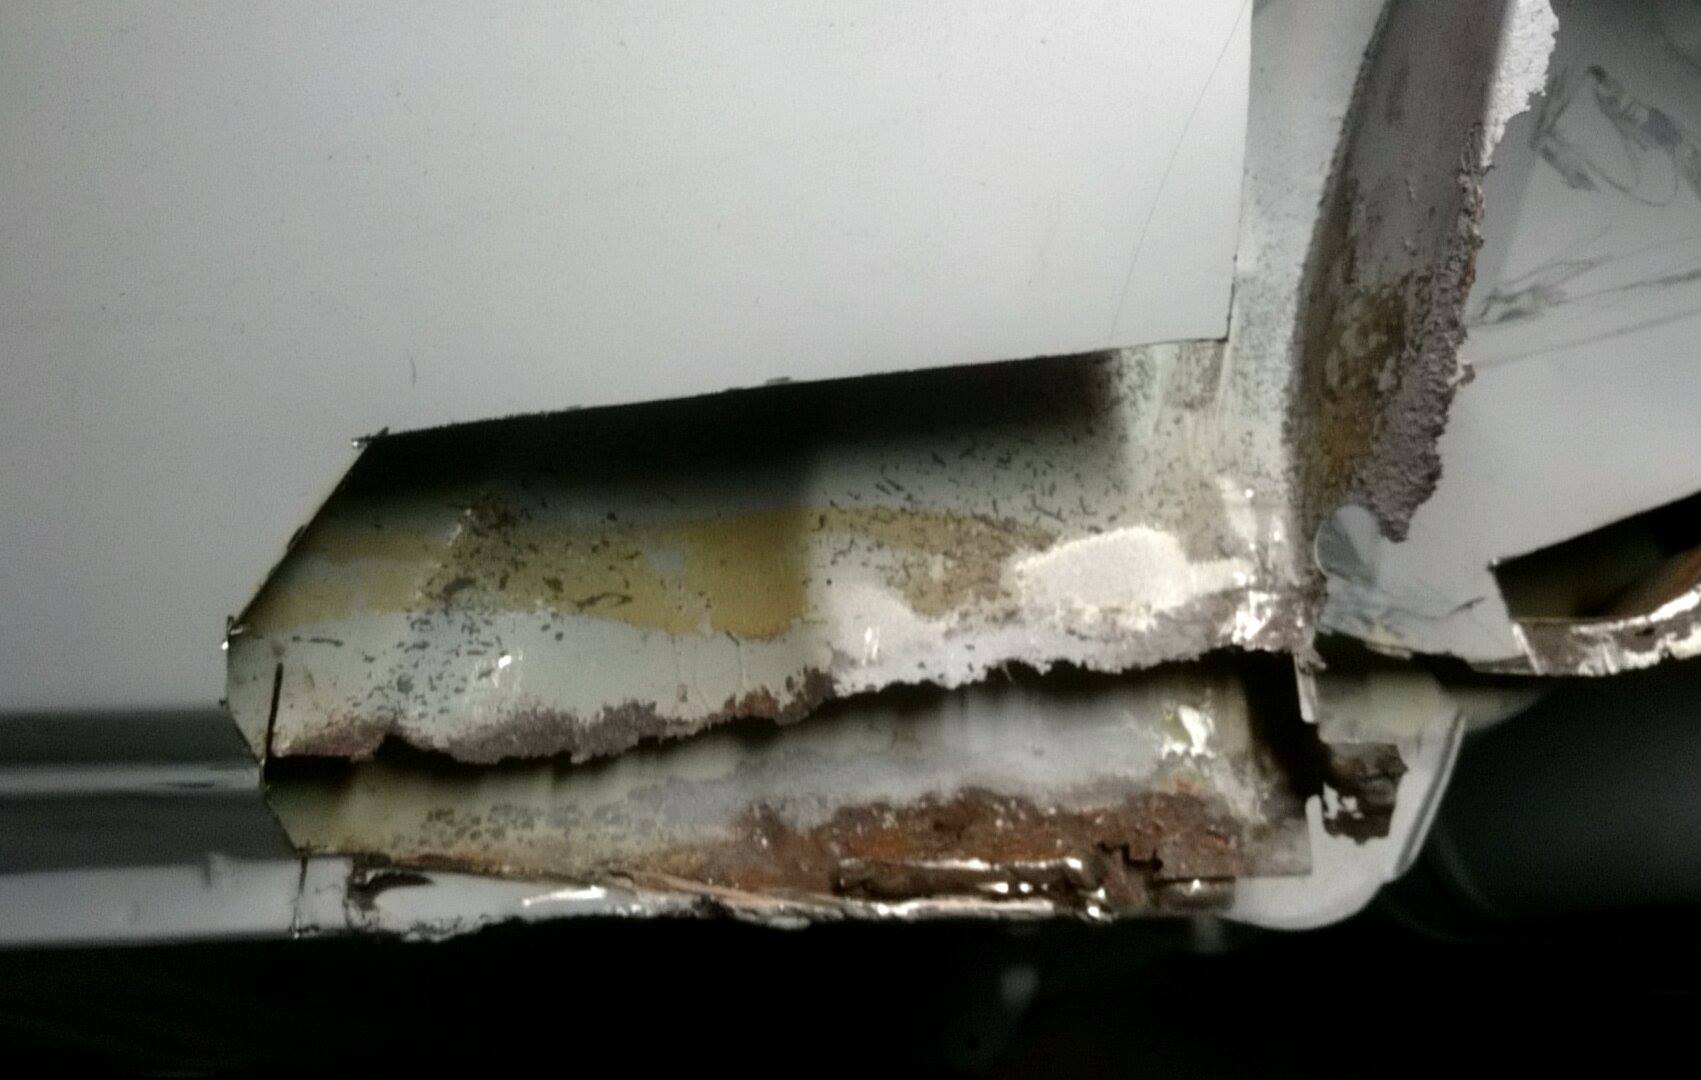
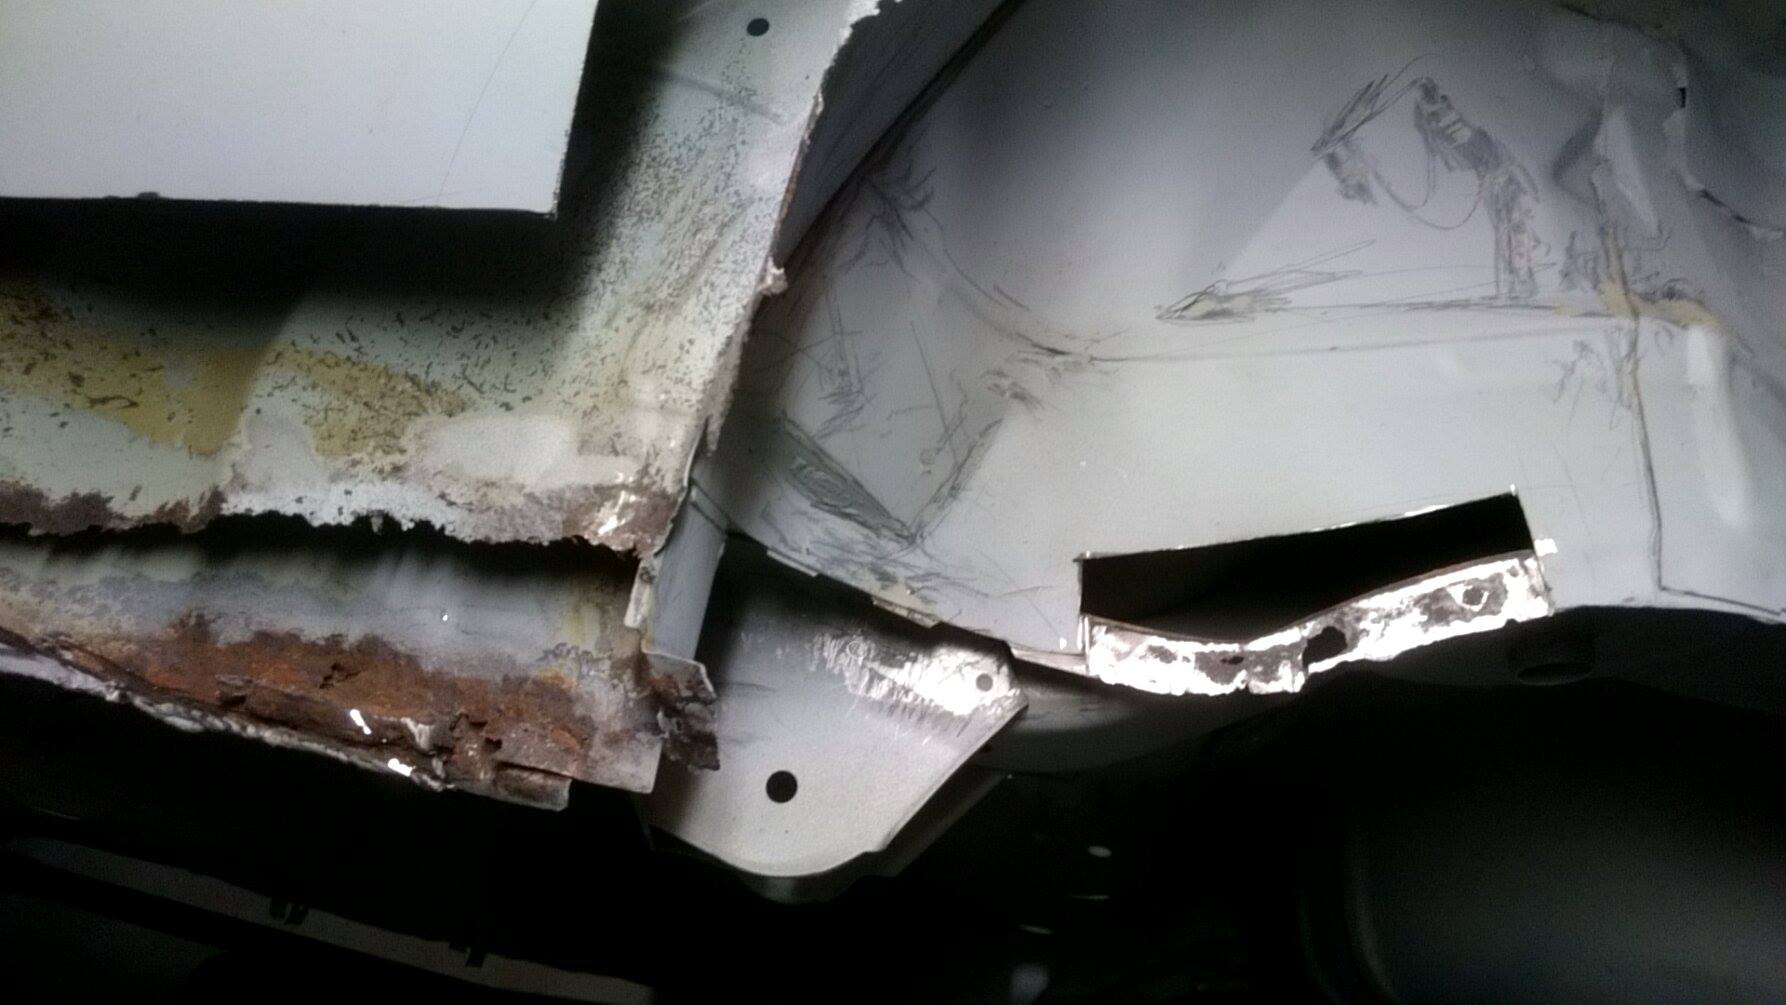
    I found some pictures from back in 1991 and even then the edges of the arches were showing signs of corrosion!

    I am stunned that this is just from welding/grinding and then a coat of etch primer - no filler yet. It really will need just the lightest skim - I did joke that with some paint and the decals, it wouldn't even need filler.

    Any recommendations for a filler?

    So, the next phase is the n/s rear quarter and sill, neither of which are as bad as this one was.

  2. #152
    Club Member Club Member
    Join Date
    Aug 2015
    Location
    Derby
    Posts
    439
    Post Thanks / Like
    Mentioned
    0 Post(s)
    Tagged
    0 Thread(s)

    Default

    Quote Originally Posted by kevster View Post
    That's a work of art...
    Thank you - guess you will like the latest pics then!

  3. #153
    Newbie Club Member
    Join Date
    Jan 2015
    Location
    Monyash
    Posts
    40
    Post Thanks / Like
    Mentioned
    0 Post(s)
    Tagged
    0 Thread(s)

    Default

    True craftsmanship there Tim - hats off to him !


  4. #154
    Senior User kevster's Avatar
    Join Date
    Oct 2003
    Location
    worthing
    Posts
    2,874
    Post Thanks / Like
    Mentioned
    0 Post(s)
    Tagged
    0 Thread(s)

    Default

    That's spot on that ! I likey alot

  5. #155
    Club Member Club Member
    Join Date
    Aug 2015
    Location
    Derby
    Posts
    439
    Post Thanks / Like
    Mentioned
    0 Post(s)
    Tagged
    0 Thread(s)

    Default

    Pictures to follow but a bit more progress. The offside is now complete - all welding/fabricating on that side is finished and after some primer and seam sealer, now working on the nearside for the first time. Again, it looks like we can save most of the sill so have used the front end of my replacement to repair that end. It will be more of the same on the rear arch quarter although the inner and outer won't need as much replacing. The rear end of the sill where it meets the quarter has had a pretty naff repair so that will be the biggest bit. Oh, and the battery tray repair is now finished and seam sealed and aimed for a factory look which seems to be sealer at either side but not in the middle of the bulkhead?

    We actually started to think and talk about painting which was great. I have my Epoxy 121 which the underside will be coated with and then the Raptor. We are hoping to get that done with the shell on the jig then get it on the rear beam/wheels and off the jig to then replace the front lower panel. Still off target but perhaps paint and then the rebuild will still be before winter.


    Last edited by slimtater; 14-05-16 at 03:38 PM. Reason: Pics added

  6. #156
    Club Member Club Member
    Join Date
    Aug 2015
    Location
    Derby
    Posts
    439
    Post Thanks / Like
    Mentioned
    0 Post(s)
    Tagged
    0 Thread(s)

    Default

    And some real nasty bits to sort:


    Gave the shell a reminder what it is like to have wings!


  7. #157
    Club Member Club Member
    Join Date
    Aug 2015
    Location
    Derby
    Posts
    439
    Post Thanks / Like
    Mentioned
    0 Post(s)
    Tagged
    0 Thread(s)

    Default

    Did I really think the nearside would be easier? Hmmmm......


    I am sure Will will work his magic on this again but a few more hours than we perhaps hoped. Put a bit of a dampener on an otherwise happy day - my two new doors arrived from Europe thanks to Steve!

  8. #158
    User
    Join Date
    Jan 2004
    Location
    Ash vale, Hampshire
    Posts
    1,471
    Post Thanks / Like
    Mentioned
    0 Post(s)
    Tagged
    0 Thread(s)

    Default

    Looks very familiar that last pic mine was just as bad, but I'm sure your fabricator will have it sorted better then new.
    Nick

  9. #159
    Club Member Club Member
    Join Date
    Aug 2015
    Location
    Derby
    Posts
    439
    Post Thanks / Like
    Mentioned
    0 Post(s)
    Tagged
    0 Thread(s)

    Default

    The plan as it stands...

    So, if you are up to speed with this thread, you will know where the shell is at. To get it ready to go for paint, the plan is to do/finish the following:


    • Rear n/s quarter inner and outer repairs including the area around the rear sill/jacking point
    • Some localised repairs to the n/s sill
    • Repairs to the inner arch - where the small sections have been cut out
    • A few more local repairs and tidy up
    • Filler/Dolphinglaze where needed - will be very minimal!
    • Prep the underside/inner arches for some paint - brush stripe coat around seams and edges with Epoxy 121 followed by a spray coat of the same
    • Full underside/inner arches coated with Upol Raptor (tinted polar white)
    • Off the full jig and mounted on the castor base section (a sort of trolley affair) to allow us to....
    • ....remove and replace the lower front panel


    Sounds straight forward but as the project has shown, there are no such words!

    The shell will then go off for a full interior/exterior paint job and plenty of cavity wax such as Dinatrol. The optimistic side of me hopes that will be July/August time so no Billing 2016 for C67 and the 25th anniversary date night may have to wait...
    Last edited by slimtater; 29-05-16 at 12:27 PM.

  10. #160
    Club Member Club Member
    Join Date
    Aug 2015
    Location
    Derby
    Posts
    439
    Post Thanks / Like
    Mentioned
    0 Post(s)
    Tagged
    0 Thread(s)

    Default

    So as a change from the work on the shell, I decided to get the original seats out and have a look. I hadn't got a whole day/weekend so I knew I couldn't spend hours stripping and cleaning so I thought I will have a look and work out what needs doing. You may remember in the earlier pictures that the rear seat was still in the car albeit folded down to clear the cage. The front seats had been out of the car for probably 15 years, maybe longer as the car had race seats fitted. The original fronts had been stored in the roof space of a garage but didn't look great:


    Both fronts and the back were in the same condition and all as I have done is give them a dry brush and the vinyl/plastic a wipe down. The "after" looks a bit better:


    The rear whilst a bit faded doesn't look too bad:


    I now need to plan what to do with them but given the going rate for good ones of these, I may need to work from what I have. I do have some good replacement black plastic bits, seatbelt holder so I can replace bad with good. I may try some of the dry foam spray cleaner first as that's quite gentle. I have a steam cleaner with upholstery fittings which is another option - ideally a proper upholstery cleaning/vac may be needed but I was keen to avoid too much moisture getting in the foam.

    I have "irons in fire" for new daytona/brown trim (I have already seen the daytona fabric) but these seats in my mind aren't bad enough to warrant a full re-trim at this stage.

Posting Permissions

  • You may not post new threads
  • You may not post replies
  • You may not post attachments
  • You may not edit your posts
  •