Page 19 of 38 FirstFirst ... 9171819202129 ... LastLast
Results 181 to 190 of 372

Thread: Sport Project 1990 to 2016 (hopefully)

  1. #181
    Club Member Club Member
    Join Date
    Aug 2015
    Location
    Derby
    Posts
    439
    Post Thanks / Like
    Mentioned
    0 Post(s)
    Tagged
    0 Thread(s)

    Default

    Quote Originally Posted by totalnova View Post
    Always like seeing progress on this, at the rate your going you'll be ready for the show season next year easy.
    Cheers for that - I was originally aiming for this August but that was way too ambitious seeing how much work was required. The plan is to have it in paint in September and then a nicely paced build back up over winter. Fortunately my garage is heated and has a dehumidifier and once the shell is off the jig and painted, there will be a fair bit more space as the panels (doors, boot etc) take up SO much room!

  2. #182
    Club Member Club Member
    Join Date
    Aug 2015
    Location
    Derby
    Posts
    439
    Post Thanks / Like
    Mentioned
    0 Post(s)
    Tagged
    0 Thread(s)

    Default

    So the weekend was hectic but the end result was still achieved. Can't thank "Will the Welder" enough as I now have a nicely painted underside of the Sport. I used Facebook Live to provide some realtime spraying updates and took plenty of pictures but here is a taster as I cannot work out how to upload the Facebook Live stuff:


    Learnt a few things over the weekend as well which may help people doing similar:

    Firstly, prep and masking take 90% of the time and painting about 10% - plan that in!

    The Rustbuster Epoxy 121 gives a bit of a shock when you open it - one half is greenish and the other is like white Philadelphia cream cheese and fairly solid (despite being warm) and you think a) it will never go white and b) how will it mix? We used a bit of thinners to help mixing and then a bit more prior to painting - probably a bit more than the suggested 15% but it helped. Also, if you have a removable filter in your gravity gun paint holder, take it out. Once sorted, it goes on really well.

    It says you don't need to do anything prior to painting over it unless it has fully cured but we did 320 grit then scotch to get rid of all the sheen - well worth it as the Raptor stuck far better.

    I got a pre-tinted kit of Raptor complete with a Schutz gun (Sealey) and that gave two problems. Firstly, the tint means there isn't enough space in the bottle to add the 250ml of hardener so you end up having to decant to mix. Secondly, the gun was a rubbish fit and we ended up having to tape it in place - not sure whether it was the bottle, gun or length of the pick-up pipe that caused this. ALSO SHAKE WELL BEFORE ADDING THE HARDENER, NOT JUST AFTERWARDS AS IT MIXES THE TEXTURE AND COLOUR FAR BETTER!

    The issue with the Schutz gun actually did us a favour. We did all the thick places using this before then adding a bit of thinners and trying through the gravity gun. This gave a brilliant finish that reminded me of a white AND BETTER version of the factory finish where there are thick and thin sections. The advantage of this though is that it is almost seamless and the Raptor has created what feels almost like a plasticised yet tough continual coating.

    Had to make tough decisions as well. I had managed to get some new floor drain plugs but only 10 genuine ones and in the later style. I had the originals and they were in poor shape and took a lot of cleaning up. Ideally I wanted to keep them all black rather than painted in and therefore difficult to move. I managed to get 5 for the wheel-well cleaned up nicely and they will go in later. With the rest, we put them in after the Raptor and went over them again very lightly. This was enough to give them a consistent colour yet they can still be removed and are still genuine looking:

    Last edited by slimtater; 25-07-16 at 08:51 PM.

  3. #183
    Senior User Club Member 7ova's Avatar
    Join Date
    Dec 2007
    Location
    Today or tomorrow?
    Posts
    2,742
    Post Thanks / Like
    Mentioned
    0 Post(s)
    Tagged
    0 Thread(s)

    Default

    Looking great keep the photos coming

  4. #184
    Club Member Club Member
    Join Date
    Aug 2015
    Location
    Derby
    Posts
    439
    Post Thanks / Like
    Mentioned
    0 Post(s)
    Tagged
    0 Thread(s)

    Default

    A few more including the inside of the wings that we did with Raptor - all helps keep the rust away!


    Also got my Kunifer/Cunifer/Cupro-nickel (whatever its called) brake lines and unions today so we can make up new sets. Just be a bit easier doing this whilst on the jig.

  5. #185
    User
    Join Date
    Jan 2004
    Location
    Ash vale, Hampshire
    Posts
    1,471
    Post Thanks / Like
    Mentioned
    0 Post(s)
    Tagged
    0 Thread(s)

    Default

    Looks so so clean, you could eat your dinner off it.

  6. #186
    Senior User Iain's Avatar
    Join Date
    Sep 2004
    Location
    East Midlands
    Posts
    13,604
    Post Thanks / Like
    Mentioned
    0 Post(s)
    Tagged
    0 Thread(s)

    Default

    This is a piece of art.

  7. #187
    Club Member Club Member Jonesfach's Avatar
    Join Date
    Feb 2014
    Location
    Wrexham
    Posts
    573
    Post Thanks / Like
    Mentioned
    0 Post(s)
    Tagged
    0 Thread(s)

    Default

    Absolutely brilliant work. A great example how to do it properly- would like to foot the bill though as the paint job so far must have cost a fair few nicker...

  8. #188
    Senior User Iain's Avatar
    Join Date
    Sep 2004
    Location
    East Midlands
    Posts
    13,604
    Post Thanks / Like
    Mentioned
    0 Post(s)
    Tagged
    0 Thread(s)

    Default

    Quote Originally Posted by Jonesfach View Post
    would like to foot the bill though as the paint job so far must have cost a fair few nicker...
    This is why I love the Nova community. A genuine offer to pay for the paintjob on someone else's build, purely out of respect. Very thoughtful.

  9. #189
    Club Member Club Member
    Join Date
    Aug 2015
    Location
    Derby
    Posts
    439
    Post Thanks / Like
    Mentioned
    0 Post(s)
    Tagged
    0 Thread(s)

    Default

    Quote Originally Posted by Iain View Post
    This is why I love the Nova community. A genuine offer to pay for the paintjob on someone else's build, purely out of respect. Very thoughtful.
    Yeh that's what I read as well - very kind......


    ....but don't worry too much about the cost. If it helps future projects, I can give a bit of a break down of key bits:

    The shell was originally soda blasted and primed in Epoxy 421 paint which cost around £1000

    The Epoxy 121 white mastic paint was about £60 from recollection
    (2.25ltr chassis pack). The tins didn't look much but we managed to do the whole underside with two good coats through the gravity gun with a bit of extra thinners.

    The Raptor kit (including 4 litres of tinted Raptor, gun and mask) was about £90 and that was enough for a thick (schutz gun) coat in the vulnerable areas then two coats over with the gravity gun. We still have 1 litre/bottle left over and we will use that when the front lower panel is swapped as there was no point doing that bit.

    All the sundry bits such as Scotch, 320, masking tape/paper, plastic sheet where at cost but probably would total about £50. The large rolls of masking plastic are well worth the £15-20 as they can effectively line a DIY booth.

    The labour? Not sure yet as Will has being doing all the work in his own time ( hopefully at mates rate 
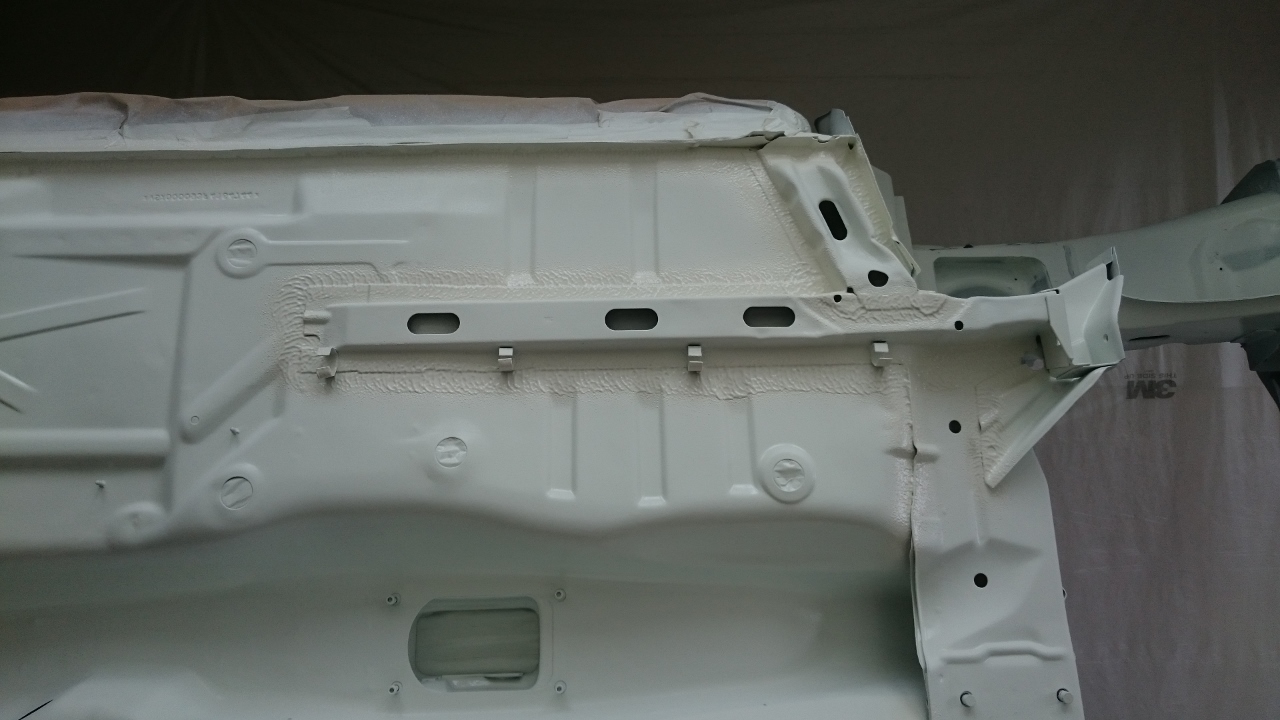
) so once he has finished all his bits, including prep for main paint, we will sort. I am pretty sure this will keep total costs for the shell work under about £5k - the quote for the equivalent work at Retropower was around £14k from memory but that included everything from strip down to returning a perfect painted shell. If you can do stuff yourself and use brilliant and skilled mates, it helps A LOT!
    Last edited by slimtater; 28-07-16 at 10:48 AM.

  10. #190
    Club Member Club Member Jonesfach's Avatar
    Join Date
    Feb 2014
    Location
    Wrexham
    Posts
    573
    Post Thanks / Like
    Mentioned
    0 Post(s)
    Tagged
    0 Thread(s)

    Default

    Slip of the tongue hey!

Posting Permissions

  • You may not post new threads
  • You may not post replies
  • You may not post attachments
  • You may not edit your posts
  •