^
Power tools mean you do less work


^
Power tools mean you do less work
Continuing on from yesterday...
I had a spare few hours in the early afternoon to try get some stuff done.
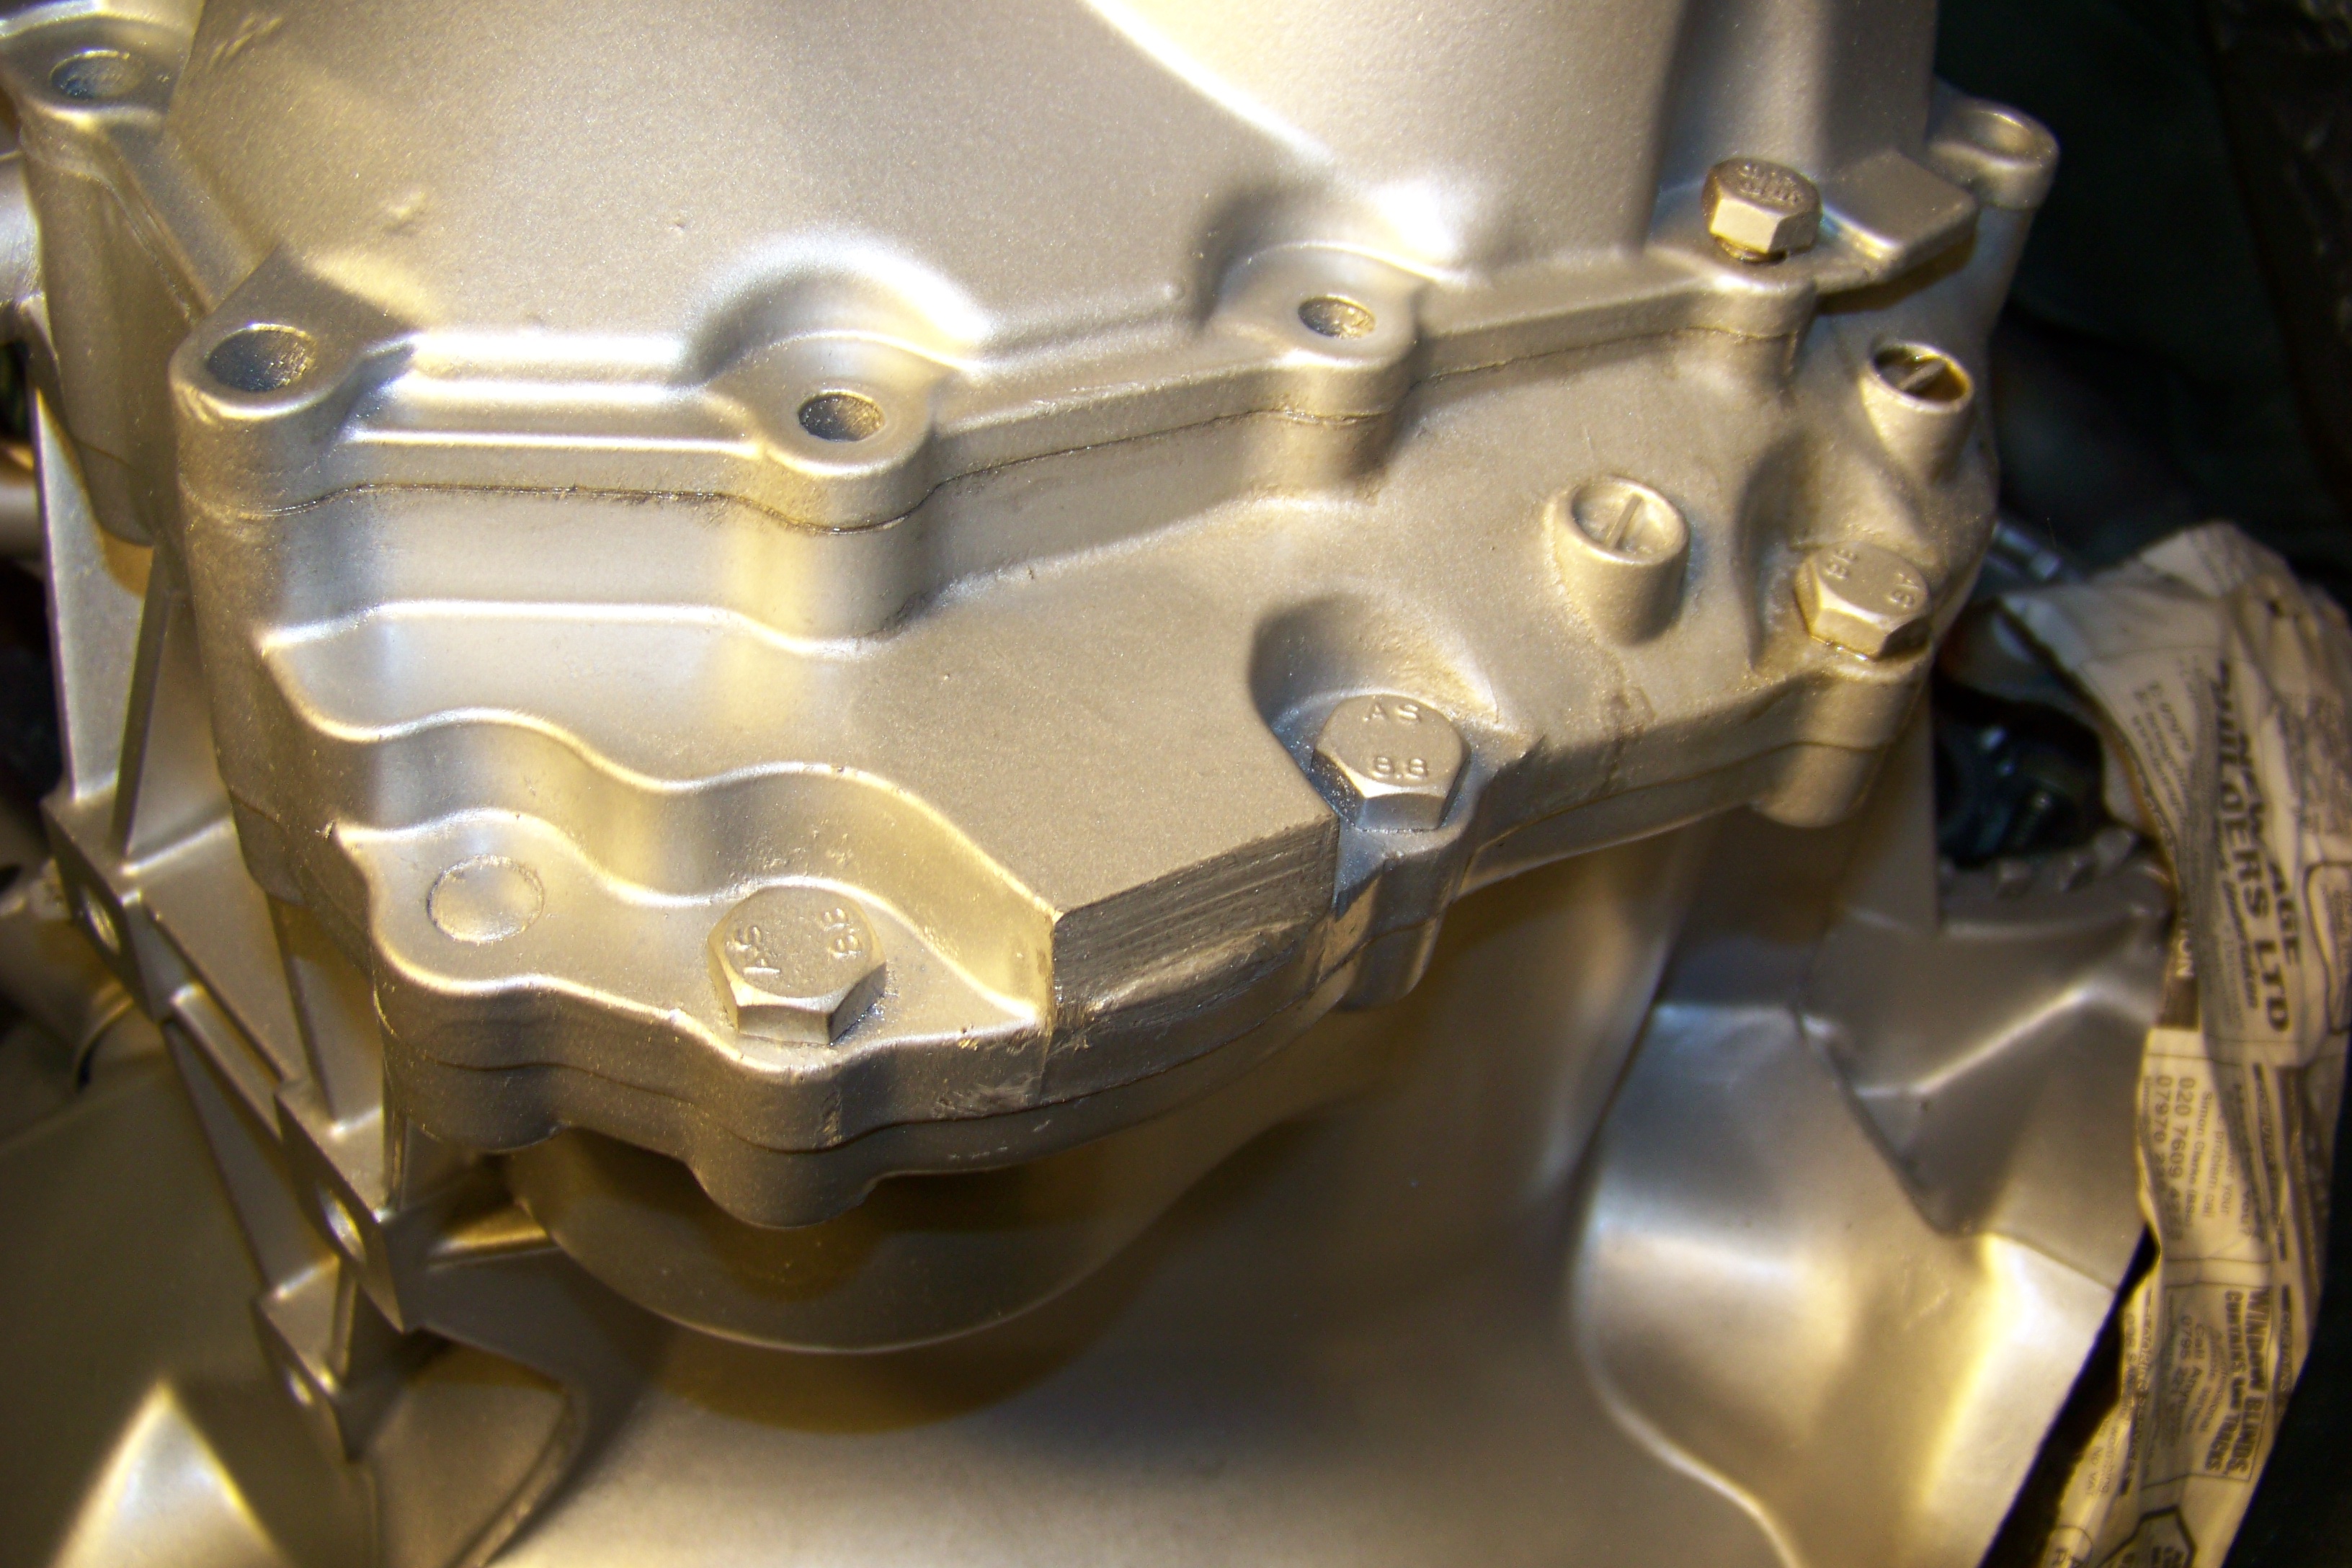
First up was cutting off the lug on the gearbox. Whipped out the diamond metal cutting wheel (This bad boy again... not made from diamond)
A few minutes and 25,000 rpm later it was off
I took it right back as far as I could. I then gave it a quick rub down and coated that bit in Hammerite too.
I then took the bolt which I was going to use as a sump bolt for the diff pan and chopped that to size. Great thing is that the hex head is 19mm just like the oil sump bolt so one socket for both.
I then wanted to give the diff plate some oil resistant lacquer to protect the paint as I had left it as a matt black.
All that is left is the gearbox seals and I think I'll need to organise driving down to the other side of the Thames to hand over the LET to be put together.

Last edited by Nova_Tek; 23-05-20 at 10:05 PM. Reason: Image rehosting
UPDATE
After working 9 days straight, today was a day off... Kinda woke up a bit late
I got these in the post
Fly wheel cover
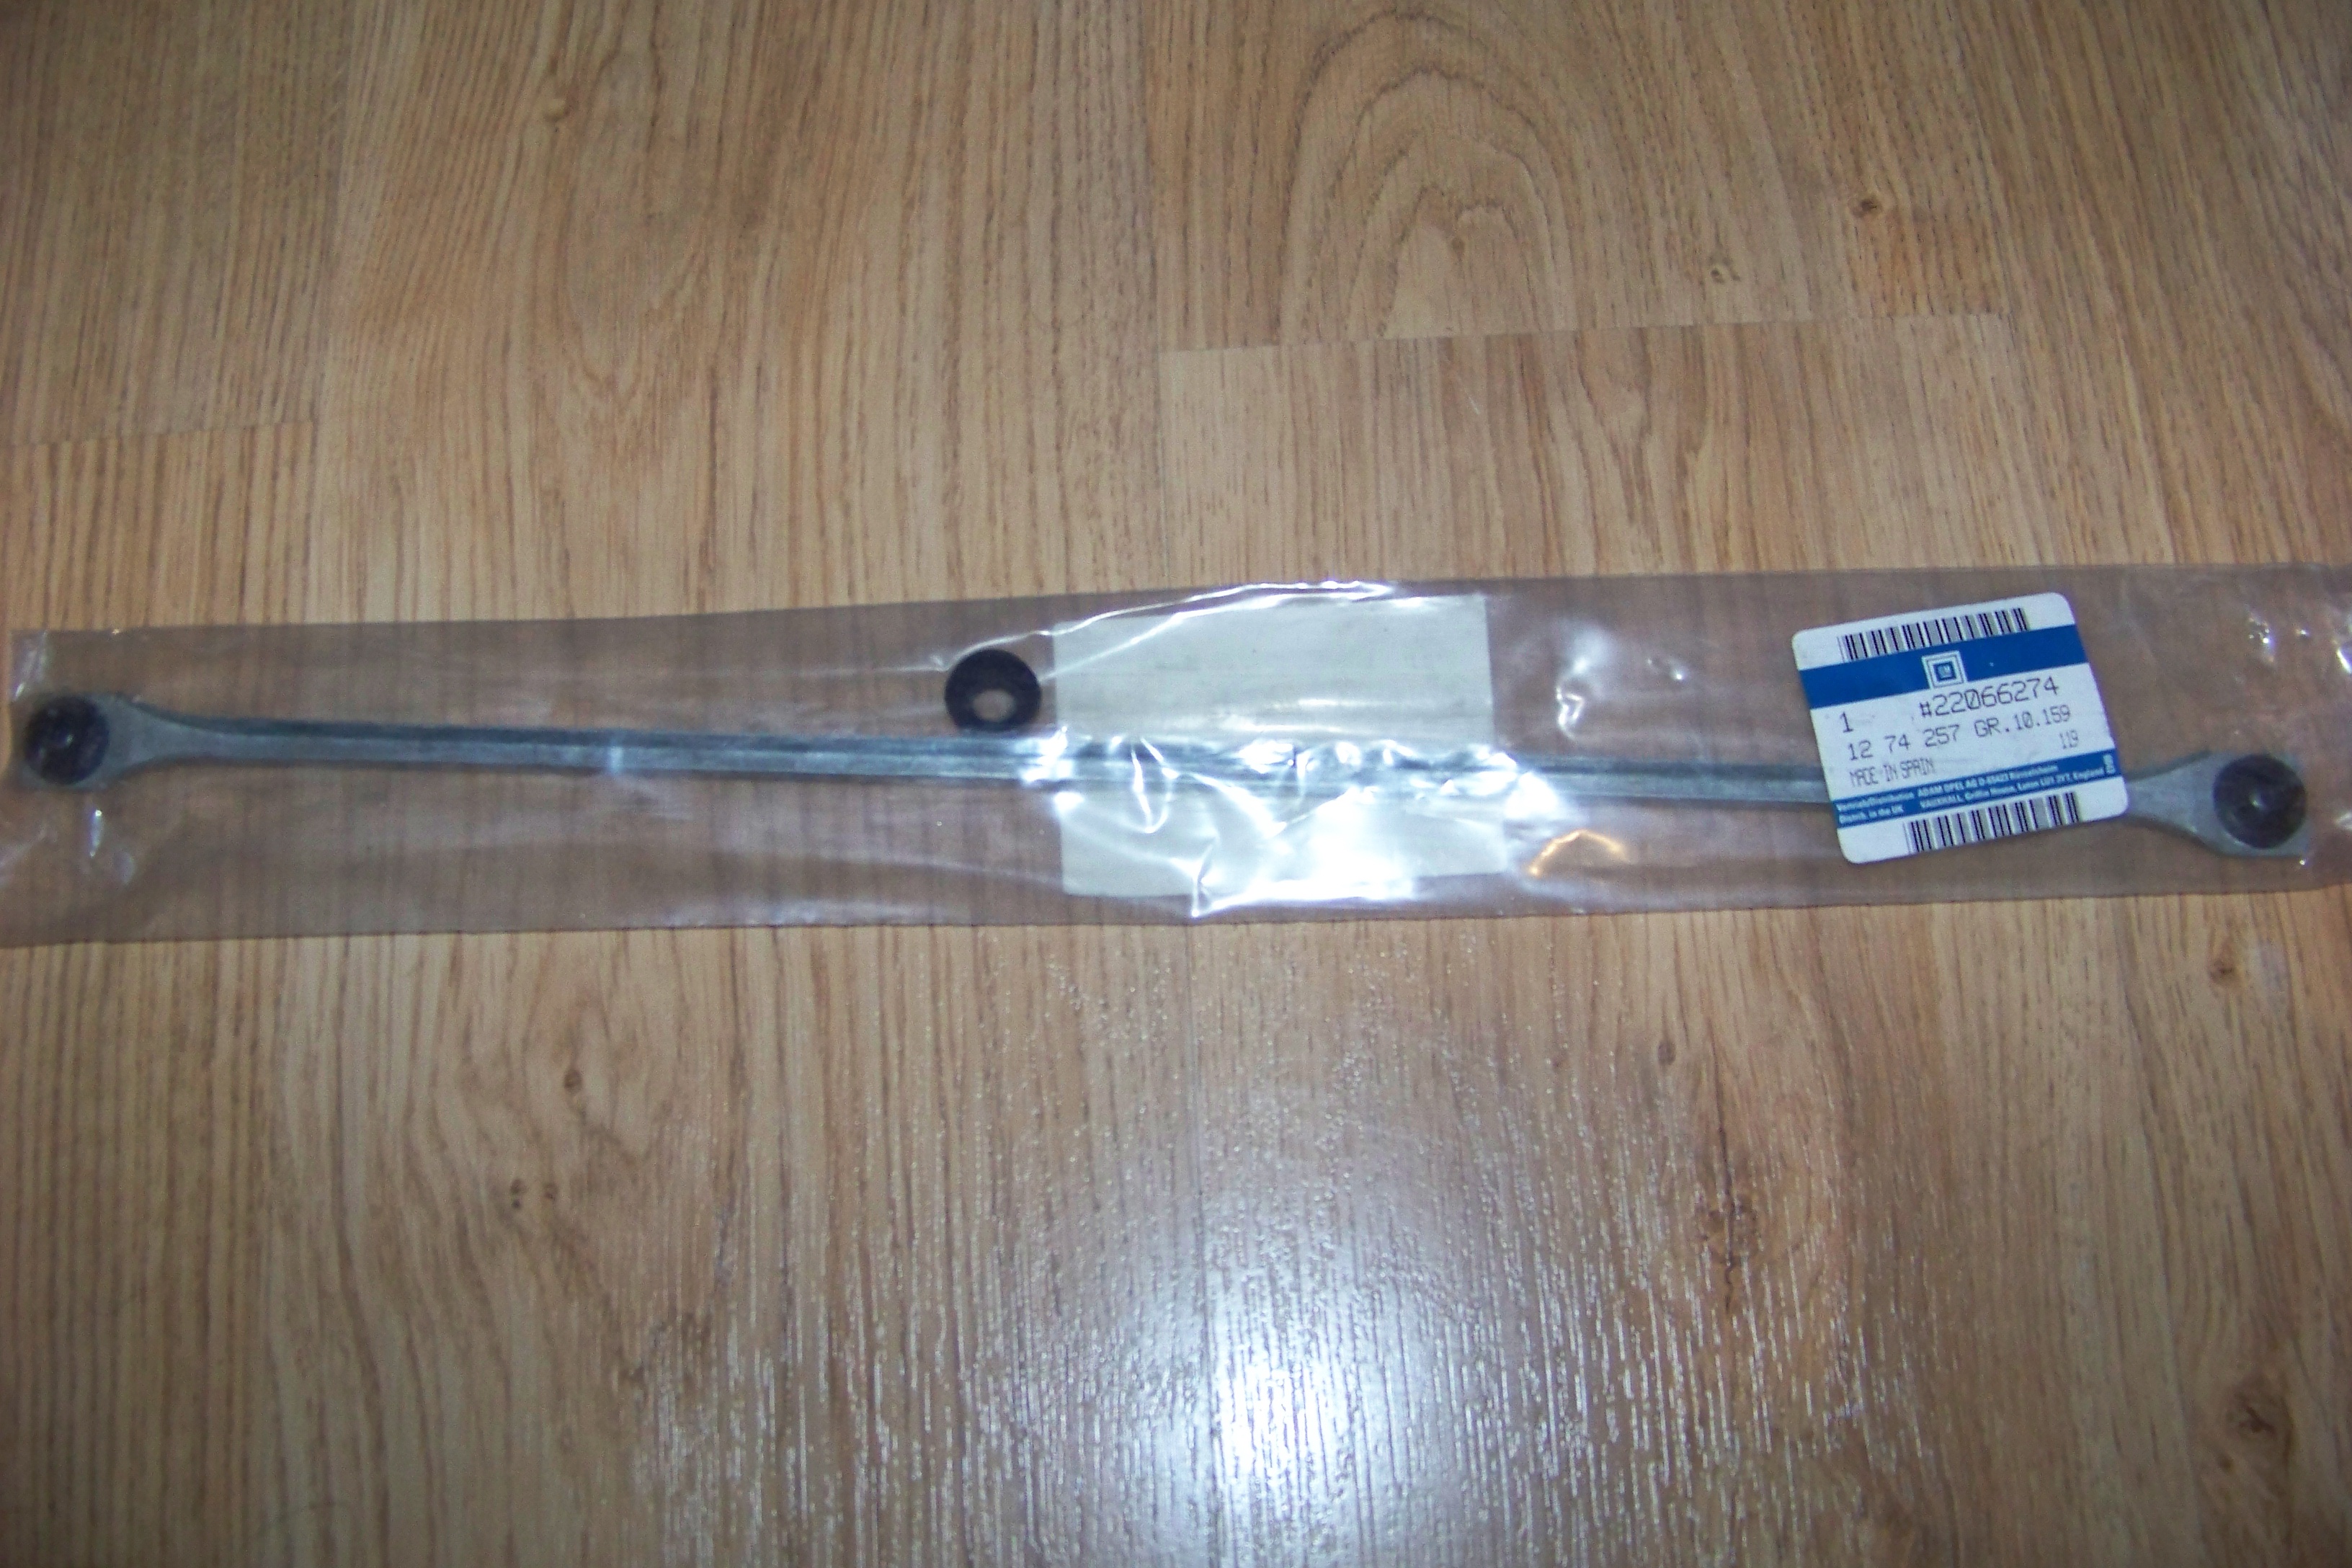
Long wiper linkage as mine was too worn to hold on to the ball joint
Then made a trip to my second home.... Vauxhall!
Got what I've been looking for... oil filter pick up
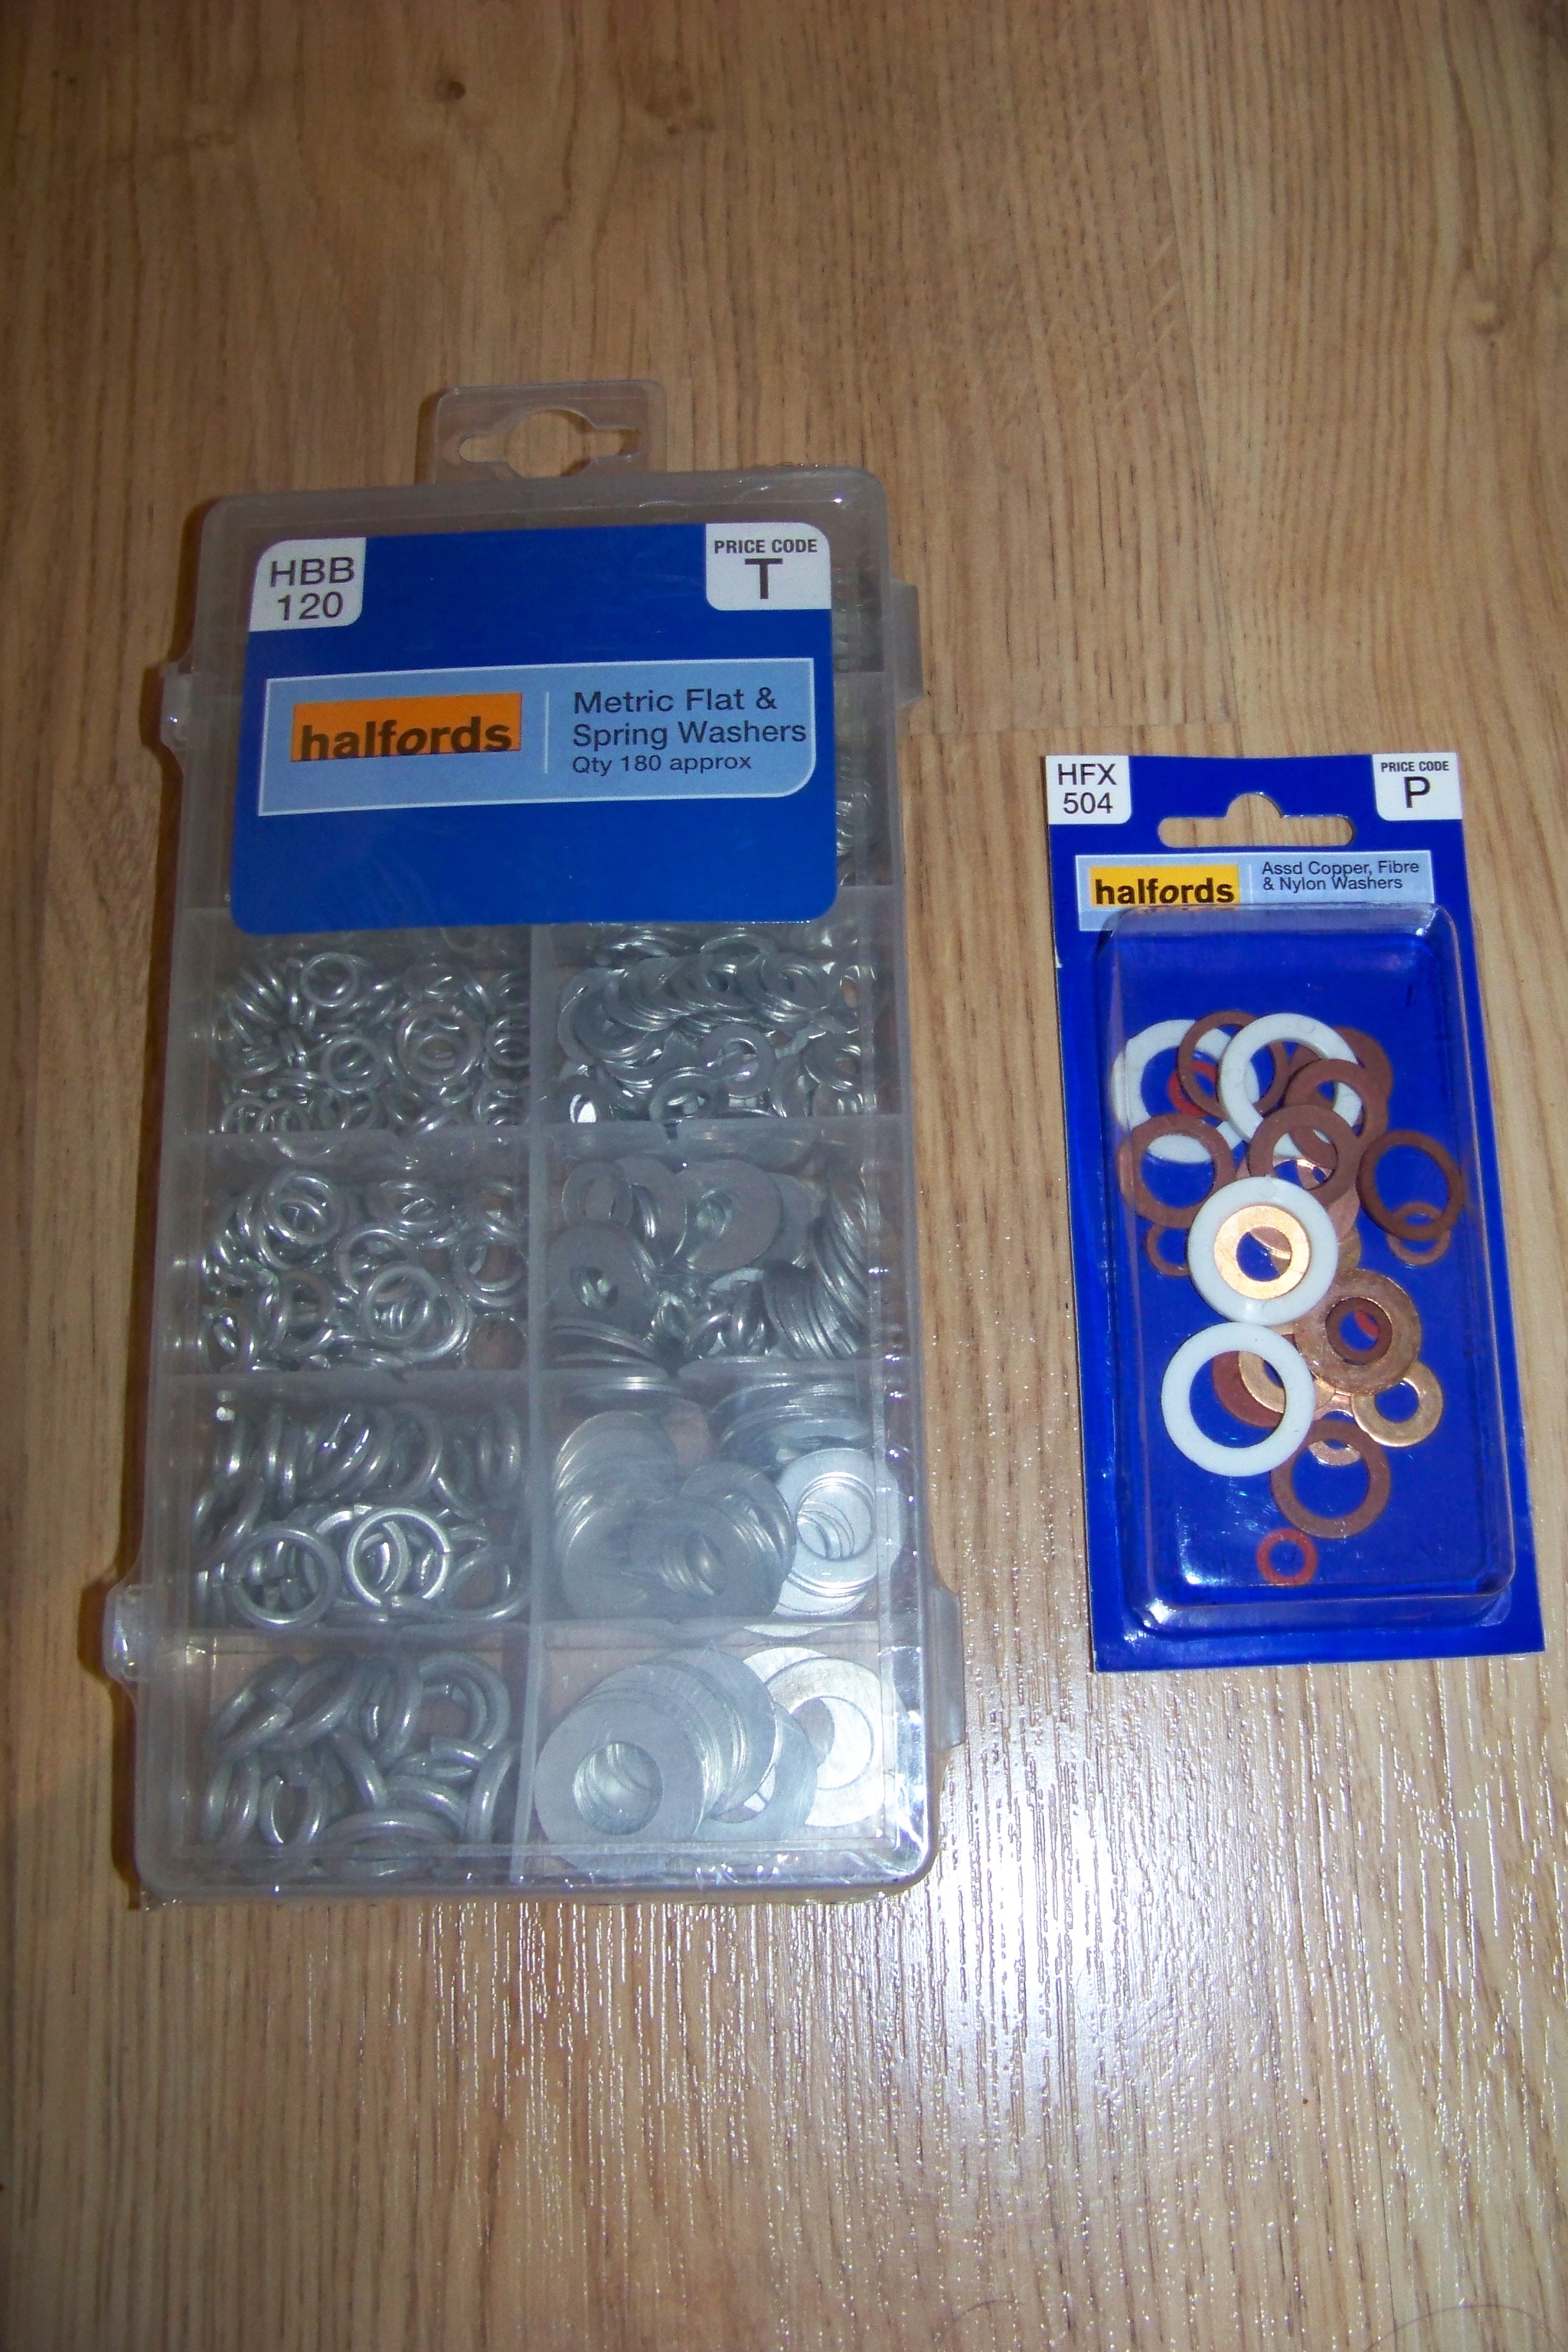
Then went over to Halfords to get some washers with the trade card.
Smaller pack was £3.99 and the large washer pack was £9.99. Got the lot for £7 on trade
Gave the wiper linkage a coat of black to stop it from rusting and for it to make the rest of the linkage that I sprayed up before. Just need the weather to ease up so I can sort stuff out.

Last edited by Nova_Tek; 23-05-20 at 10:19 PM. Reason: Image rehosting

Wiper bit wont rust, but good work.
All I wanted was a Pepsi, just one PepsiFar from suicidalStill I get them tendenciesBringing back them memories
That I really miss when I reminisce
Cheers Benn, I know they don't rust as such but they still go manky and dirty which is why I painted it.
Here it is anyway all dry
Got these in the post also... some misc M6 & M7 hex bolts
Sun came out so I jumped into the garage to get the gearbox gaskets on... started off with the cluster and forgot to take a picture. I then did the end plate gasket and made sure I took a picture
I then moved on to the selector housing gasket and forgot to take a picture again, typically remembering that I didn't as I was doing up the bolts
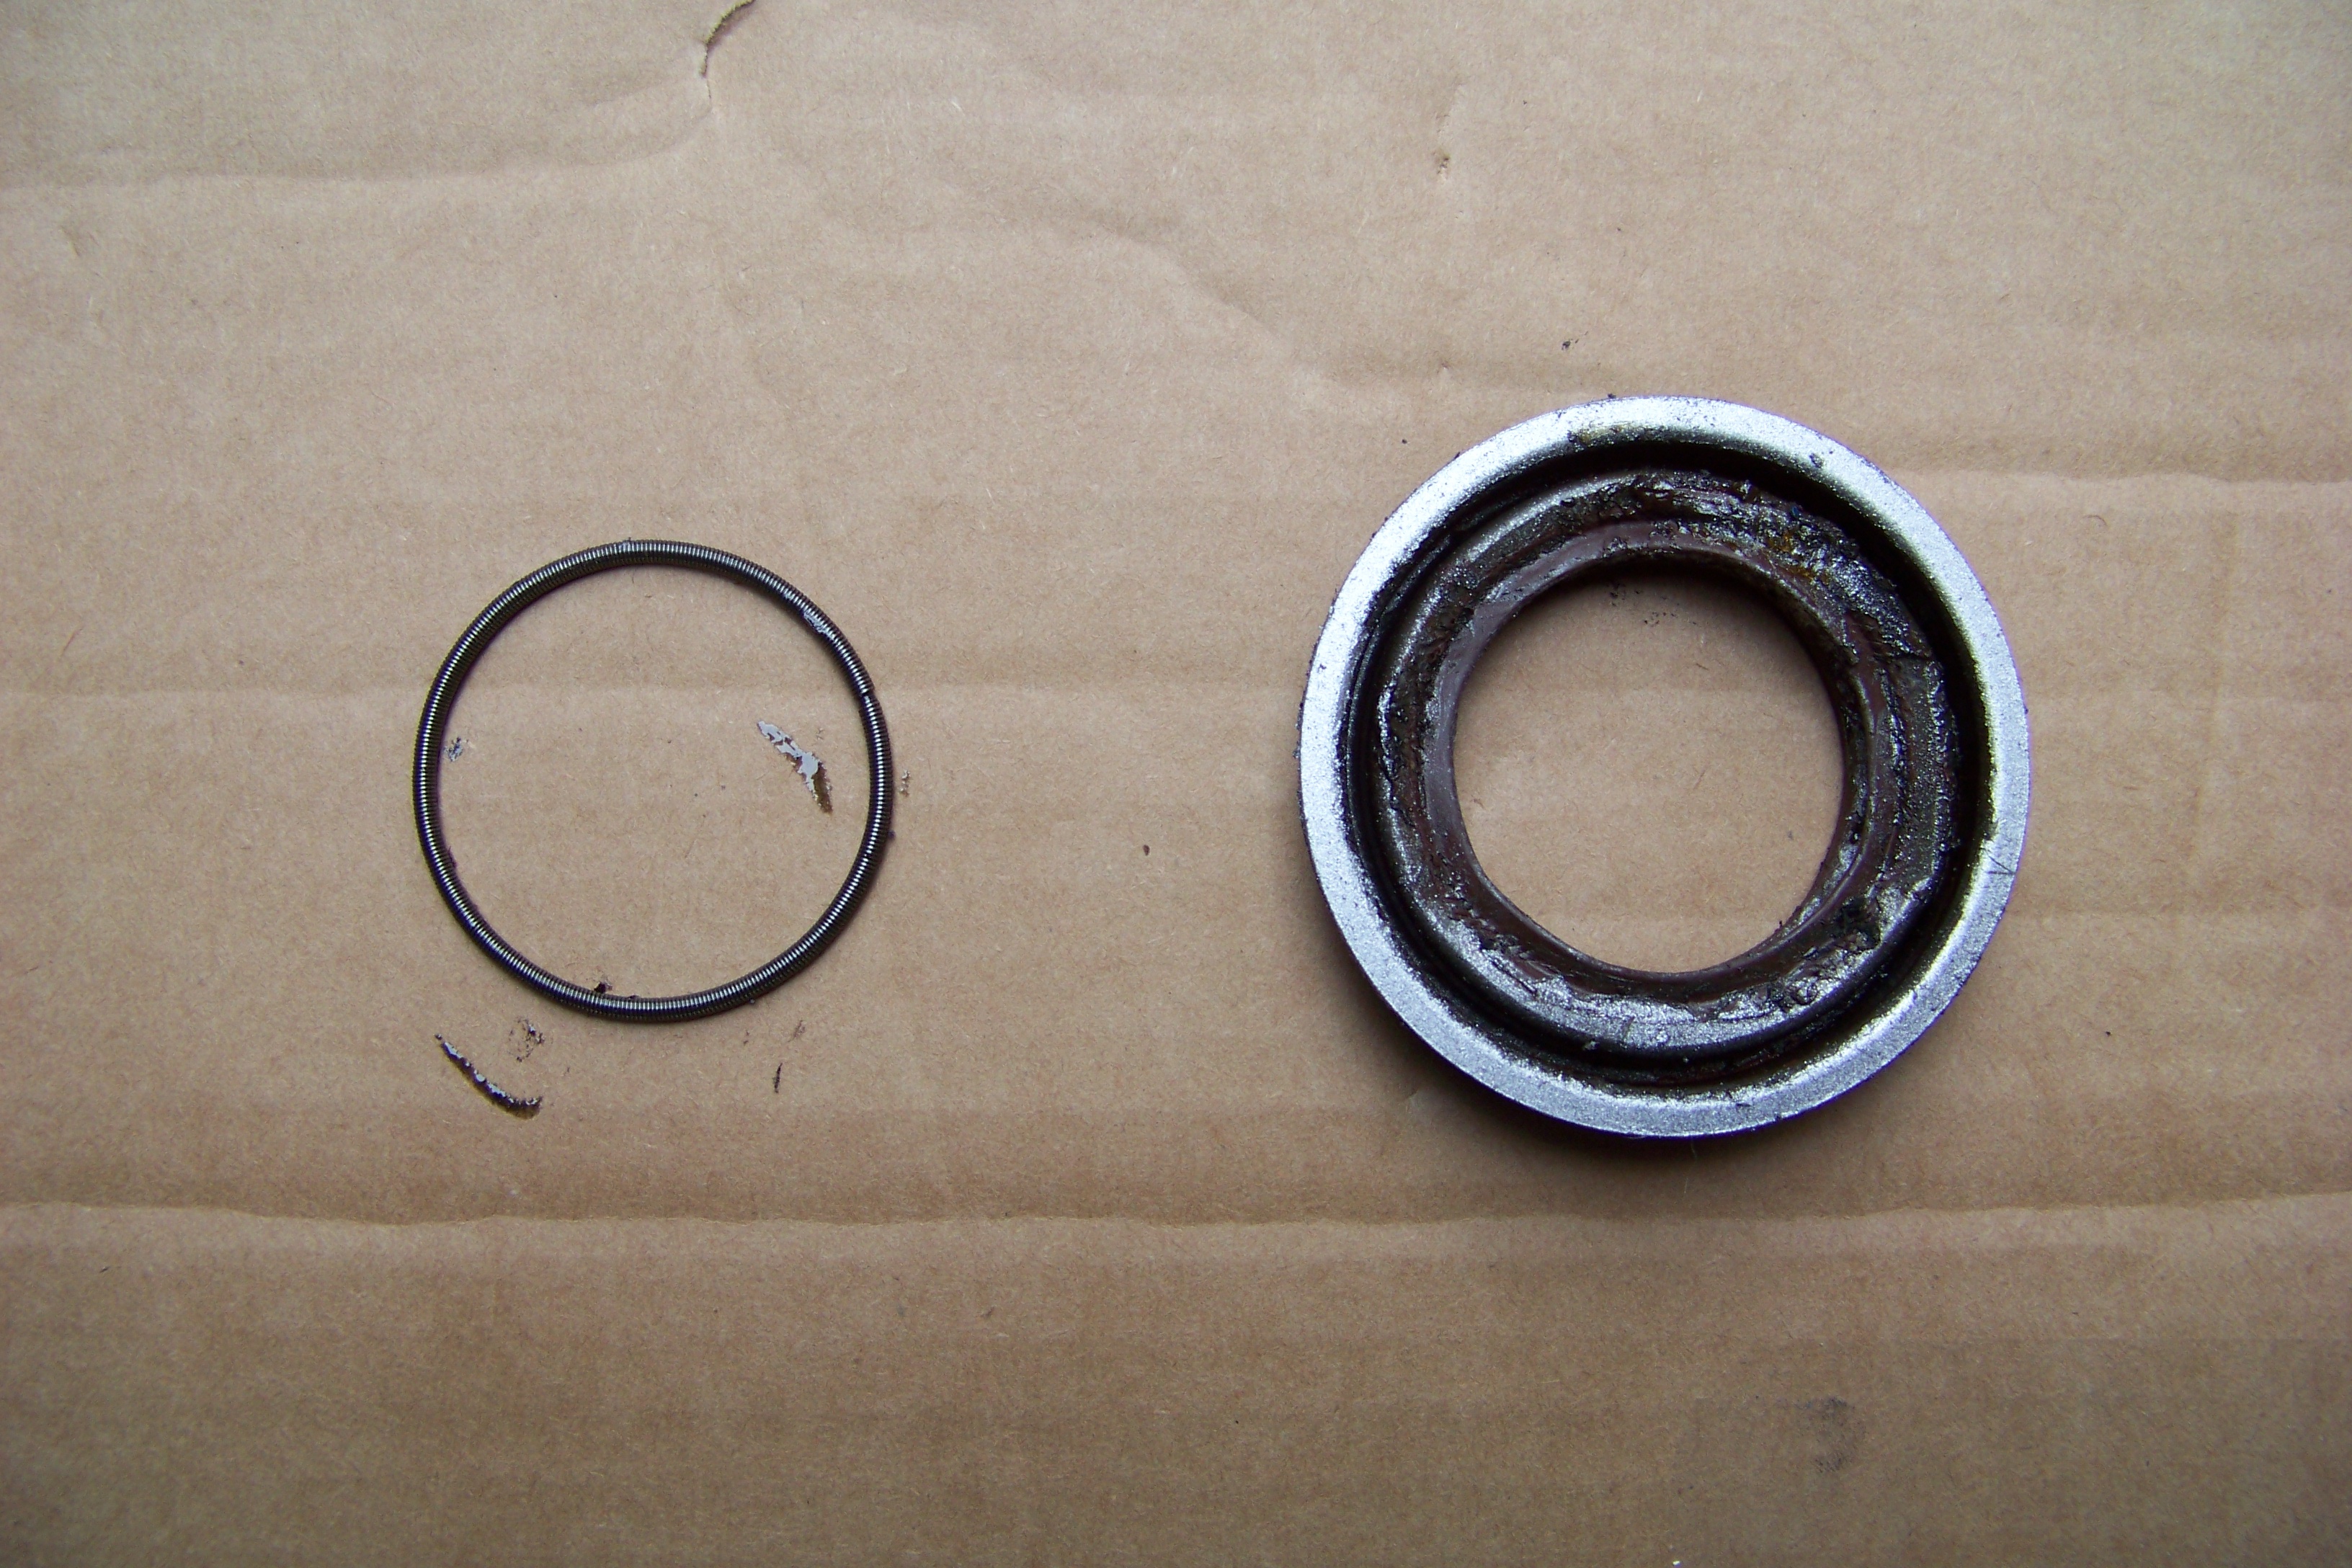
Wanted them to dry completely before I turned it upside down to do the diff cover... so I moved on to the seals. Thought I was on to a winner when trying to remove the o-ring seal but I only took of the metal ring
Then came out the hammer. I tried to prise it out with the hammers forks underneath the seal with another hammer persuading it off. I felt it started to give but it didn't budge hmm.....
One bent hammer
And one half chewed up seal
Then started the thunder and hail. Off I went in.
Is there not a better way to take these out apart from butchering them?
I also realised that the oil filter pick up screw I got yesterday is not the right one... it is the correct one for the LET but won't work with my sandwich plate. It's too short for it to actually fix the sandwich plate to the pump and give enough thread for the filter to screw on to, but too long to use the sandwich plate's own extender pick up thread. I should've got a non-oil cooler pick up screw like off a SEH or XEV etc.
Shall have to order one.
Last edited by Nova_Tek; 23-05-20 at 10:17 PM. Reason: Image rehosting

I remove the shaft seals from behind with a punch and they come out fairly easily, although not overly useful unless you're willing to take them out/drop the diff out.
There's a spring behind the rubber part so make sure that hasn't fallen off into the gearbox casing during your butchering.
I had my mate change the diff recently, totally forgot to tell him to get the seals off ( I was at work so wasn't involved with it). I know that these seals no matter where they are, pretty much need to get ripped out for them to come off but this one didn't shift with all that force. May need to make up some sort of pulling device.
UPDATE
Another couple hours of free time today so I decided to have another go at removing the seals.
Raided the garage to see what I could find to help me... then found my trusty crow bar
Just managed to fit it into the hole and gave it a few whacks with the hammer (a different one ). Then removed the crow bar and put the hammer underneath the seal. A couple jerks and off it popped
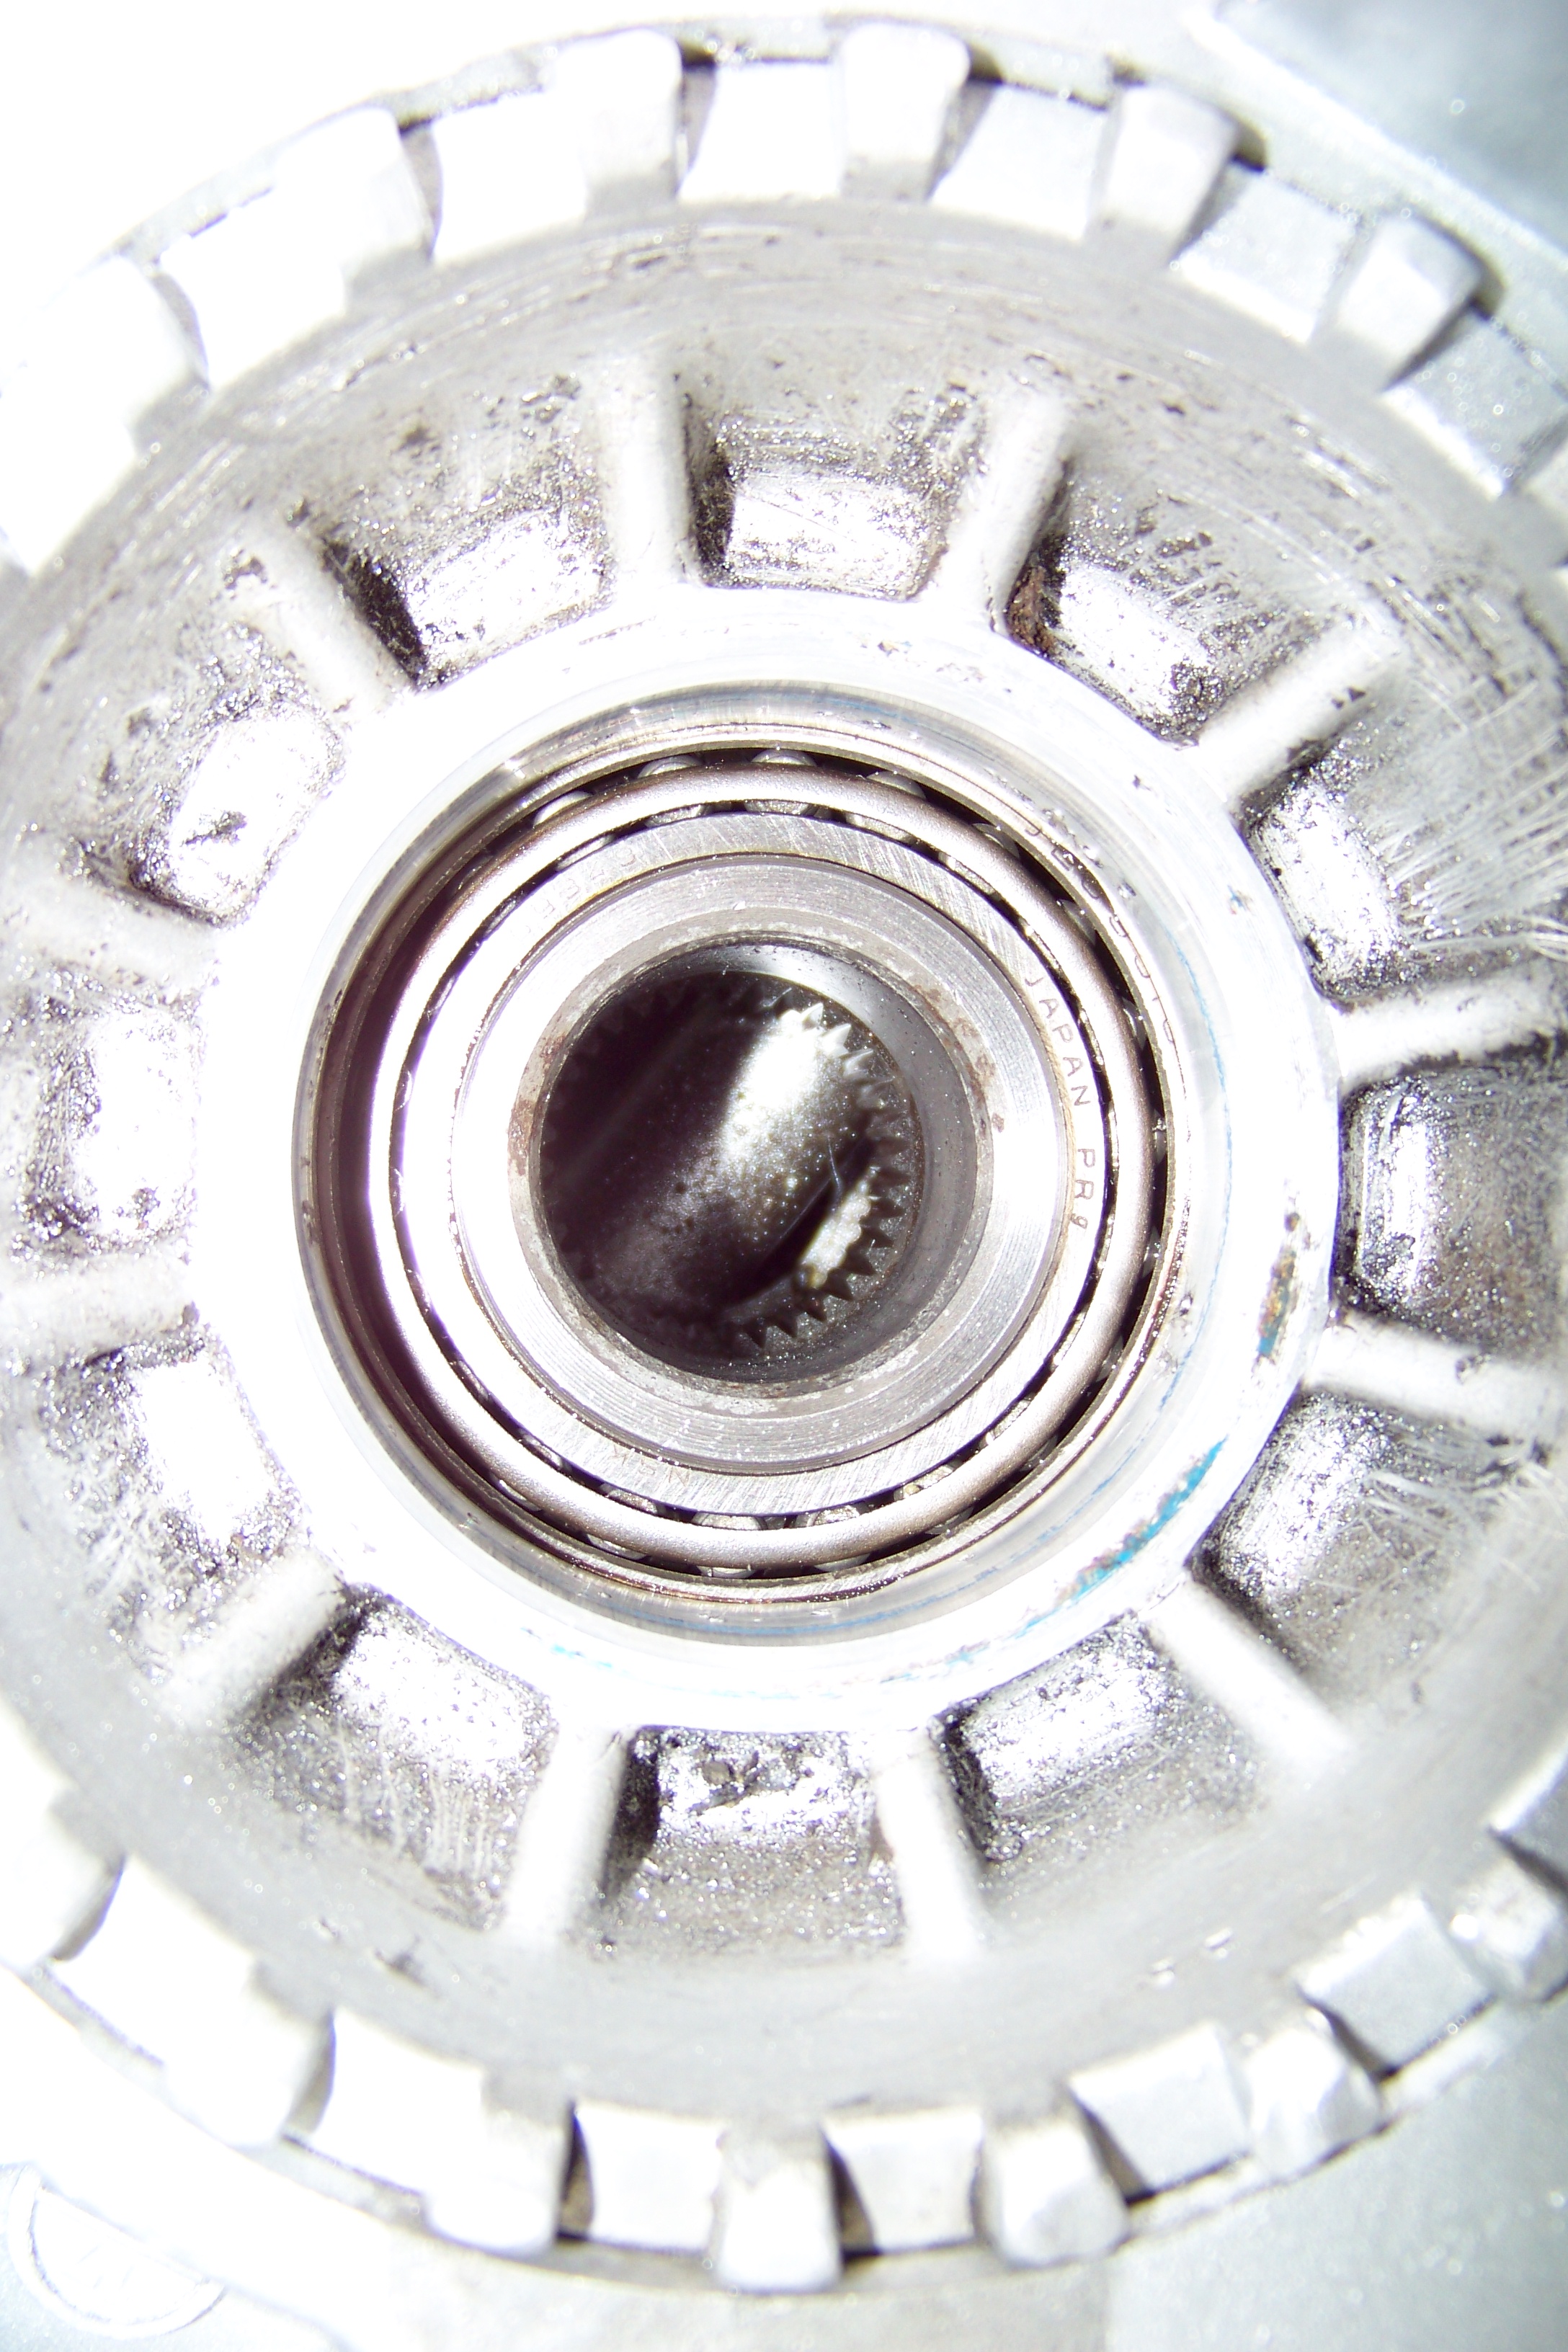
Cleaned up the area
and gave the bearings a good covering/packing of LM bearing grease.
The seals I took off had a bit of gasket type sealant around it so I did the same with the new ones. Took out my largest socket to 'persuade' the seal in and ended up butchering it
Got the other one out and tried to use a different tactic... nope still messed it up. Need a much bigger socket in order to uniformly apply pressure around the outer most edge and not the middle of the metal section of the outer part of the seal (which is what had bent while trying to fit it). So contacted the ebay seller that I got the seals off to see if I can buy some more.
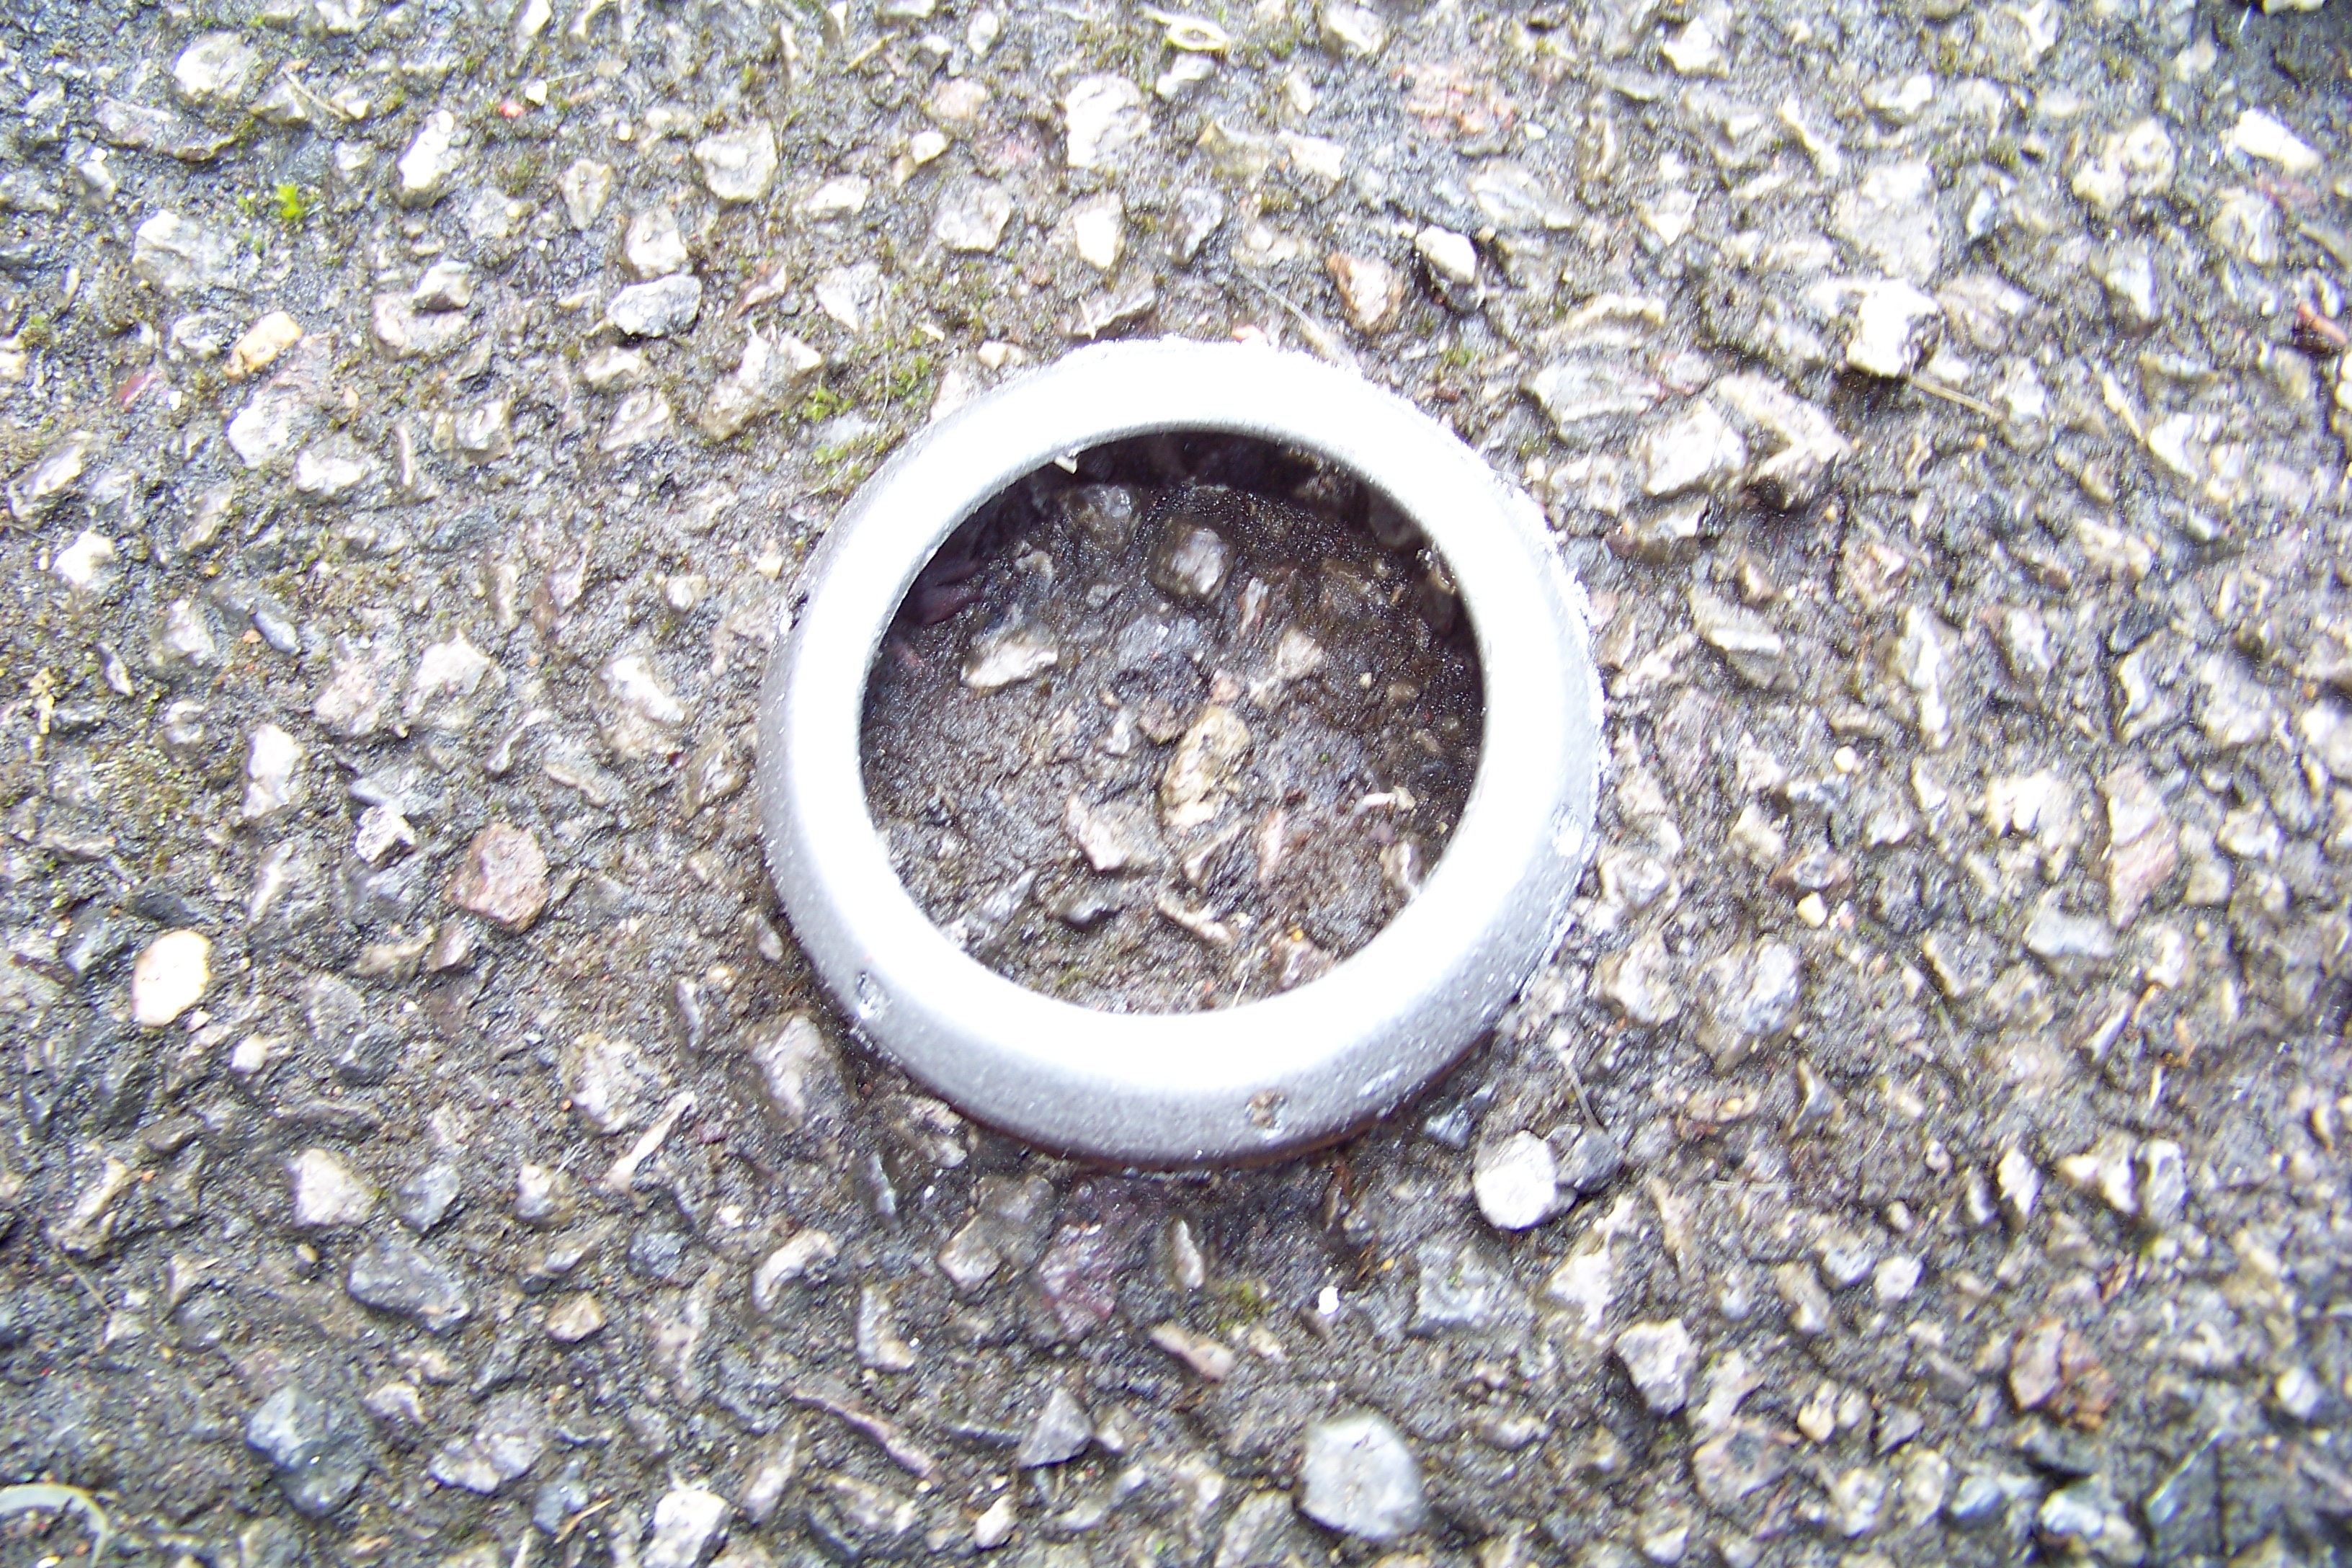
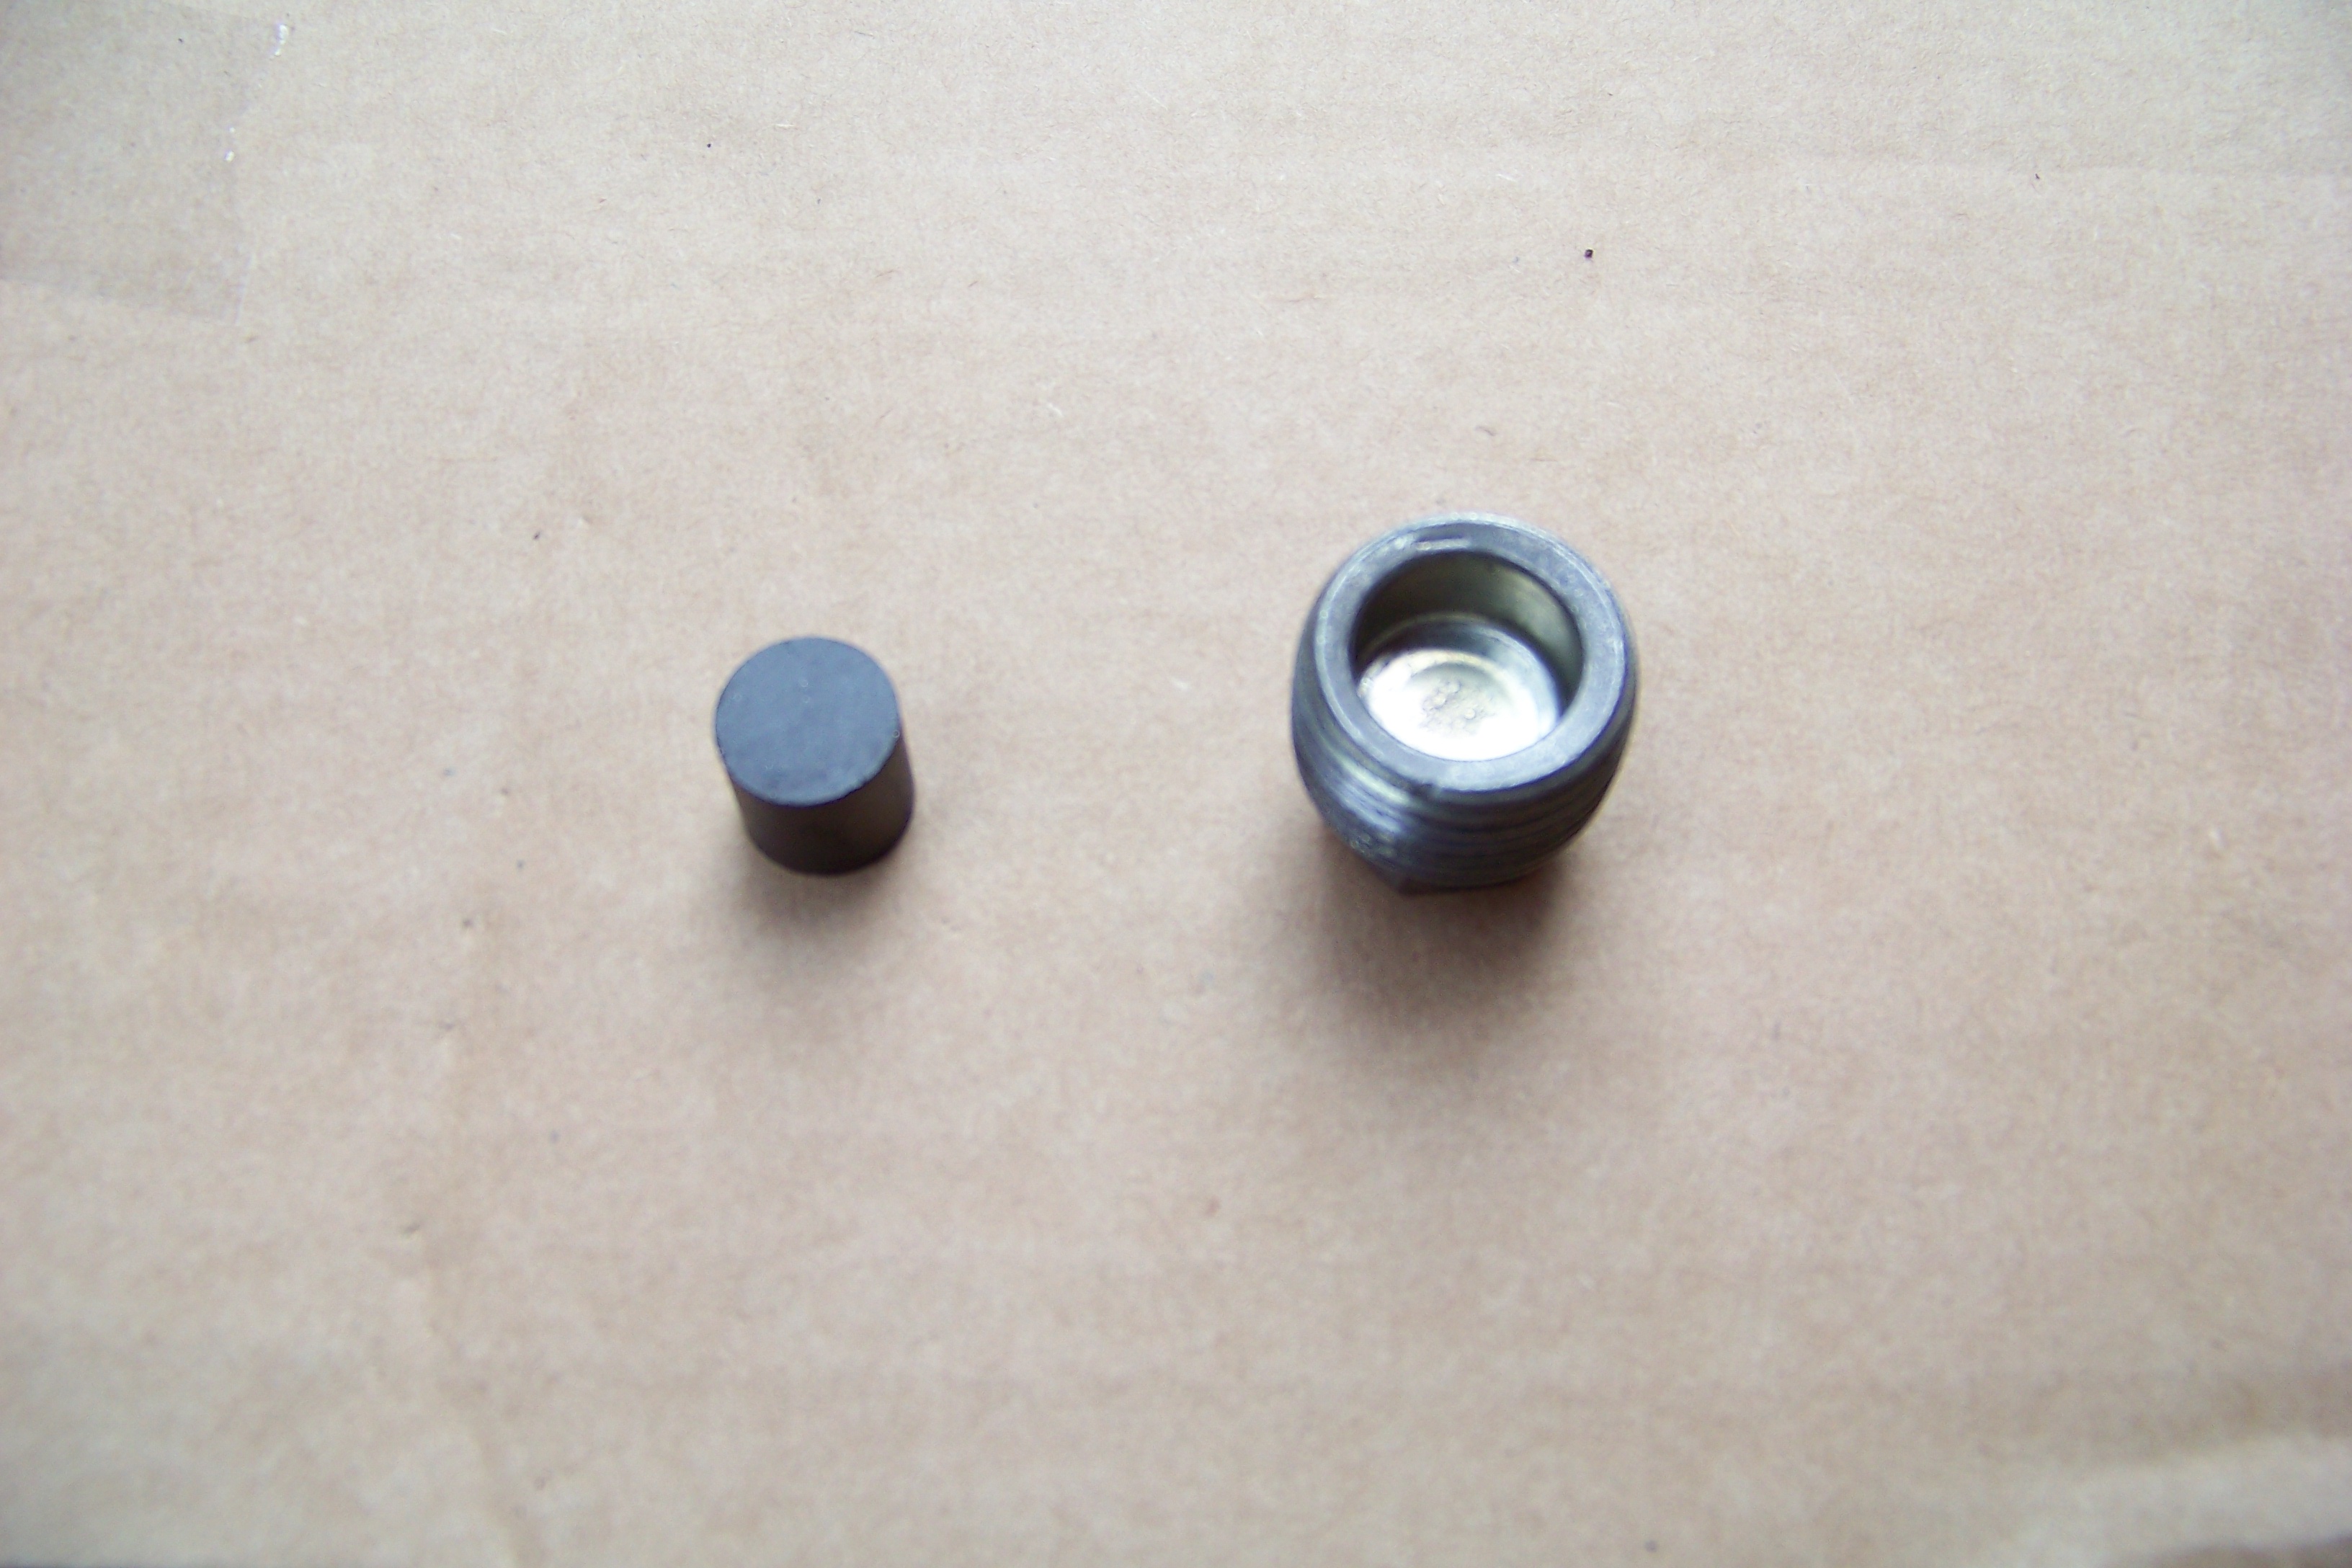
I then removed the diff oil filler plug to clean it up and found this inside it
Tis a magnet! IIRC this isn't standard issue right? Either way I kept it and gave it a good clean. So I've gone and delayed myself due to butchering the new seals so will be getting that sorted in the week when the new ones arrive.
On the look out for a quality scuttle cover as I hate the standard noisy, thin, cheap cover that covers the heater blower motor.
Last edited by Nova_Tek; 23-05-20 at 10:22 PM. Reason: Image rehosting
That's the level plug, filler is the breather on the top. Never seen one with a magnet on before.. Wont really do much being up there either... Seals are a night mare too fit. I use a bit of 2.5" exhaust tubing to tap them home.
Make a scuttle cover, they are easy as.
All I wanted was a Pepsi, just one PepsiFar from suicidalStill I get them tendenciesBringing back them memories
That I really miss when I reminisce
I use a 30something mm socket to fit the seals,acting as a drift.
I also fill mine via the selector housing hole,much easier imo.
Posting Permissions

 Reply With Quote