Etch primer promotes adhesion. Making primer and or paint grip and stick better.
If your undersealing straight over the top it really wont matter.


Etch primer promotes adhesion. Making primer and or paint grip and stick better.
If your undersealing straight over the top it really wont matter.
All I wanted was a Pepsi, just one PepsiFar from suicidalStill I get them tendenciesBringing back them memories
That I really miss when I reminisce

think i still will etch before the underseal, at least its two more coats after the metal.

Taking off the underseal in the front arches took me ages so I know your pain! Good work tho dude - keep it up!

great project

Good progress dude, something I have been meaning to do for a wile on the Nova, get her bulletproof underneath.
That comma underseal, is it any good?
thanks guys.
yeh id recomend it tek, id say its the best stuff in a rattle can. can put it on fairly thick and it dries with a firm slight rubbery texture.
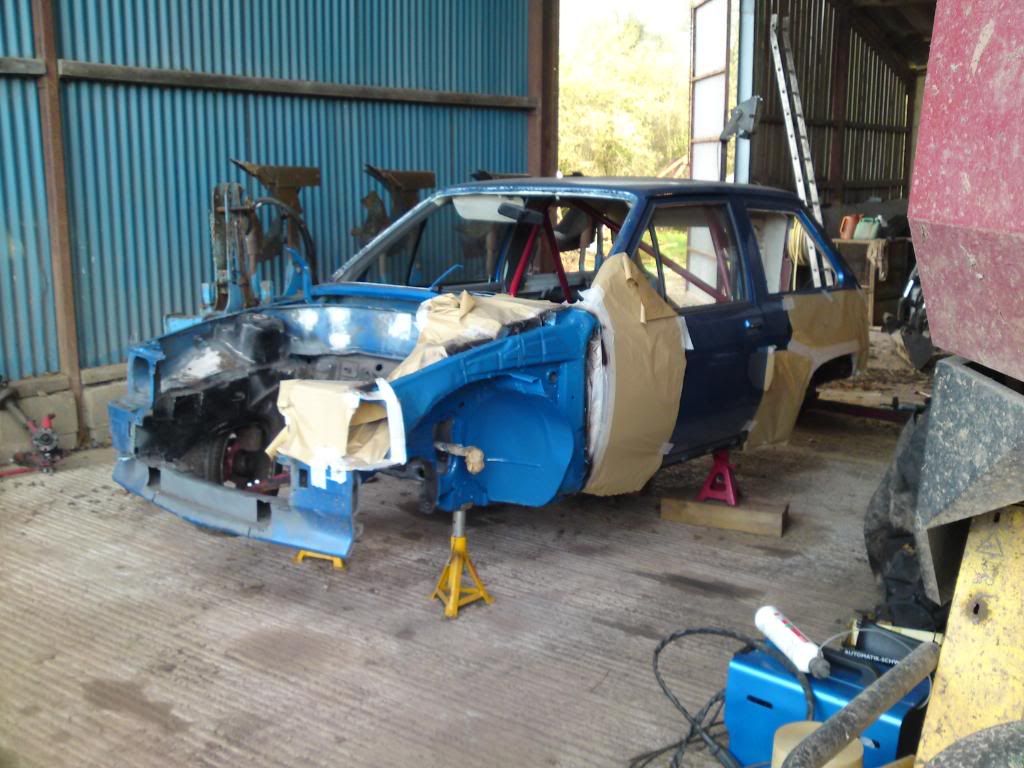
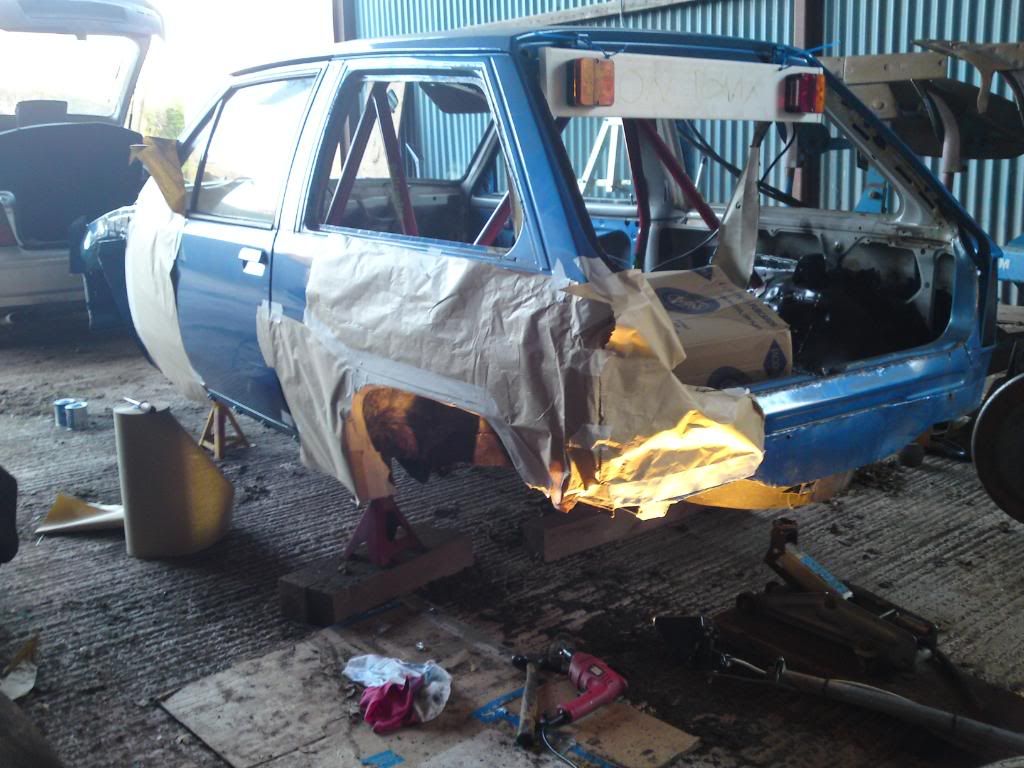
great work mate keep it up.I took off all my underseal last year.It took me ages and i was layed under it on axle stands so really can appreciate how much graft your putting into it.I found a hot air gun and an inch wide chisel were the best to remove it.Good luck.
Andy
Nice sounds like what I'm looking for, I want it to be dry rather then sticky/tacky. I've used Waxoyl Schultz in a rattle can (black can) that's also good and gives a slight lumpy finish bit like stone chip protection. Gonna keep the underside black anyway. Don't think I'm gonna striip off the original stuff, just gonna clean it up well and inspect the underside and inside of the car for rot with a screwdriver and hammer. Any areas that need buliding up will be done so and then a full coat over with protection and waxoyl in all holes.
Last edited by Nova_Tek; 02-12-09 at 09:23 PM.
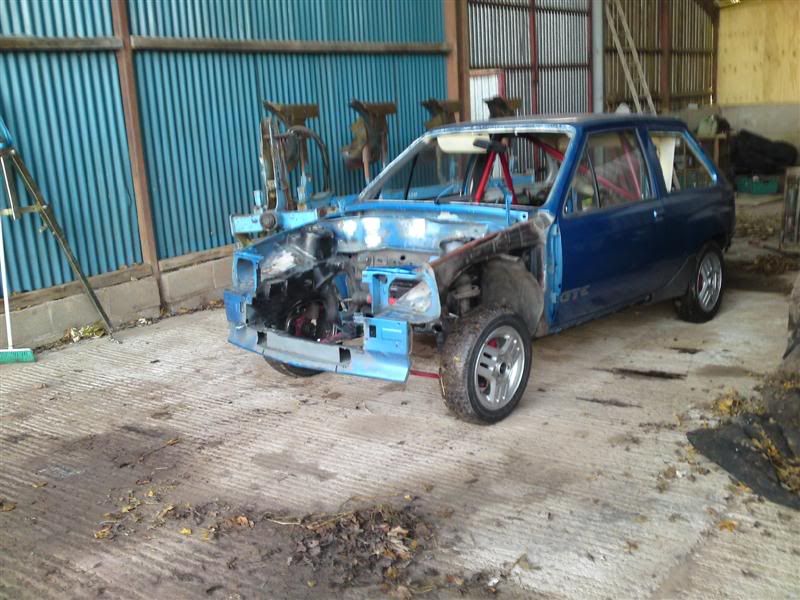
back again, the car now has been moved over to a friends farm due to complaints from neighbours about my genny. the progress has been alot better as i have more space and power on tap, unlike genny.
just like the previous arch i stripped it all down to bare metal, etch primed,seam sealed,undersealed and hammerited.
with the urge to get it done and back to my garage, this arch only took me 2 days compared to 2weeks like the other one..
have near enough completed the n/s/r arch. have only got to hammerite it and it will be done. i gave up on the o/s/r arch today as my bulb blew in my light i was using and the temperature was 1.5degrees!! will go out there tomorrow and hopefully get it done.
have then only got the underside to sort then.
Nice progress dude. The underside is the hard bit
Posting Permissions

 Reply With Quote