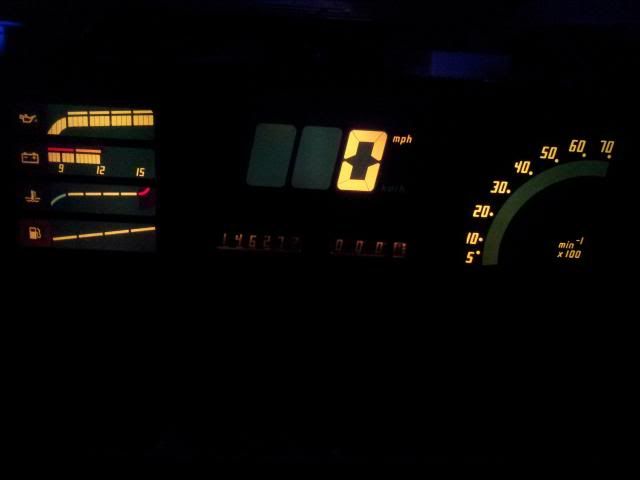
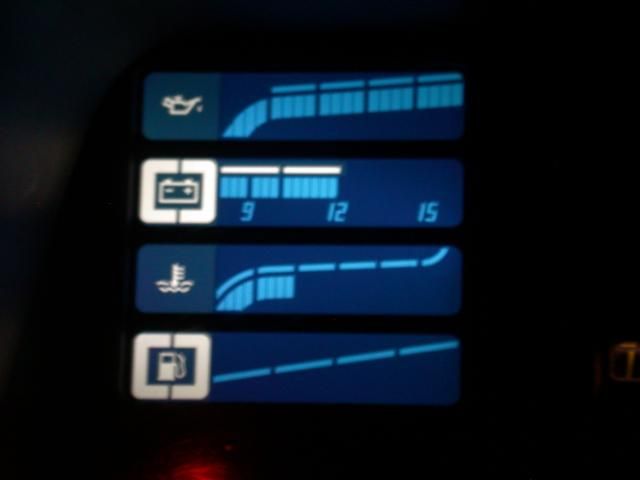
This guide shows you how to change your Astra mk2 GTE digital dash from standard lighting:
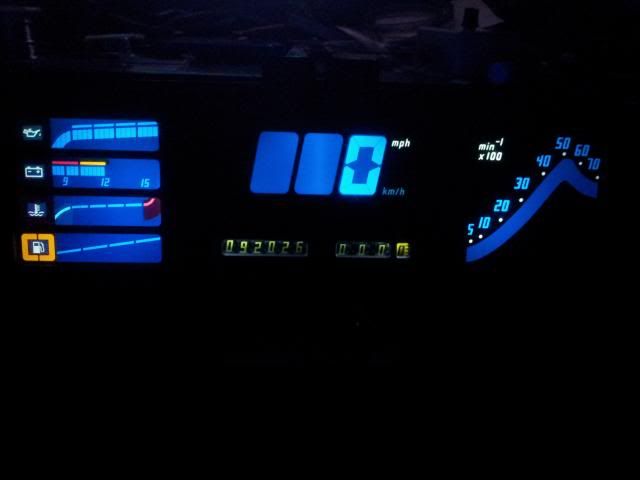
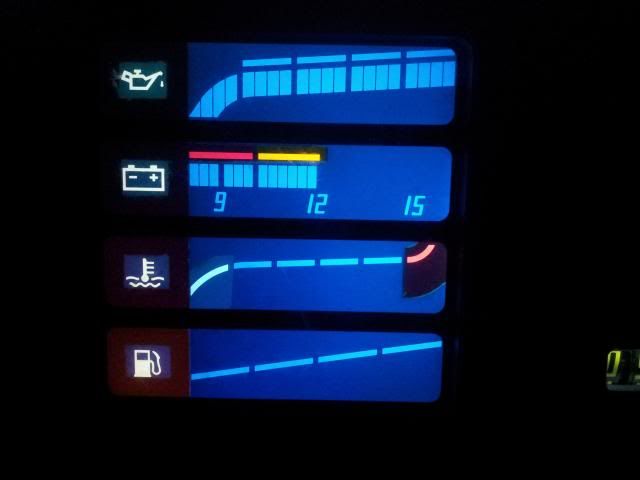
To this or any other colour you choose:
What you will need for the colour change:
Dremal Multi or similar with a wide sanding head, a precision diamond head and a cutting disc head
A flat blade and various Phillips/crosshead screw drivers
Coloured gels of your choice (self adhesive used in this guide)
A hobby knife
Sharp scissors
A white LED torch
Black marker pen
What you need for the LED conversion:
Dremal Multi or similar with cutting disc head
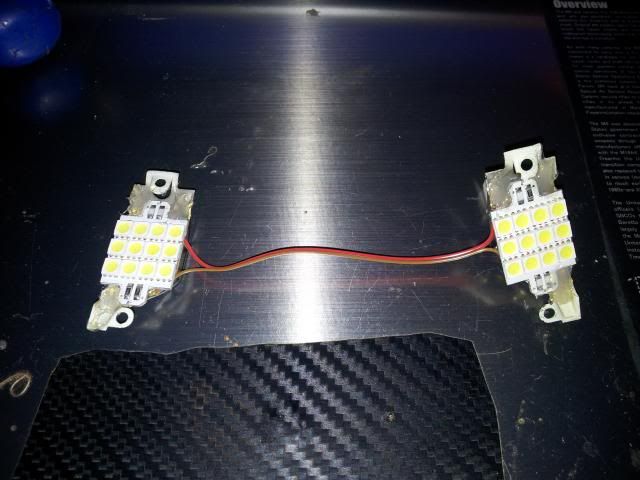
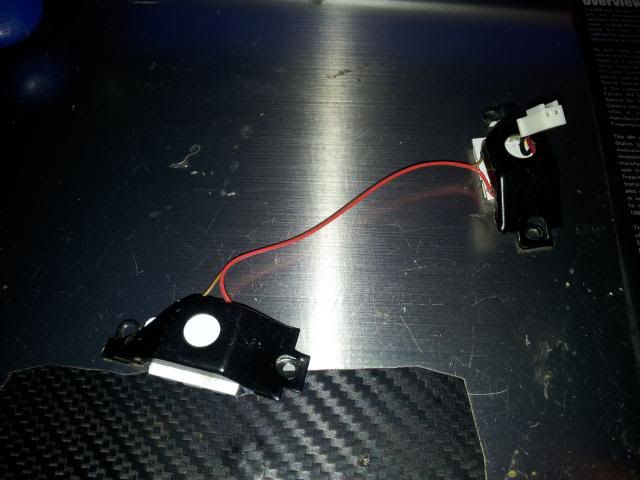
Hot glue gun
Thin gauge wiring
Soldering iron and solder
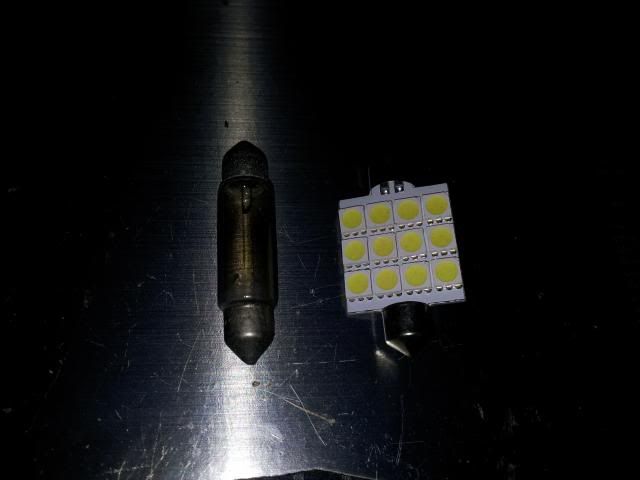
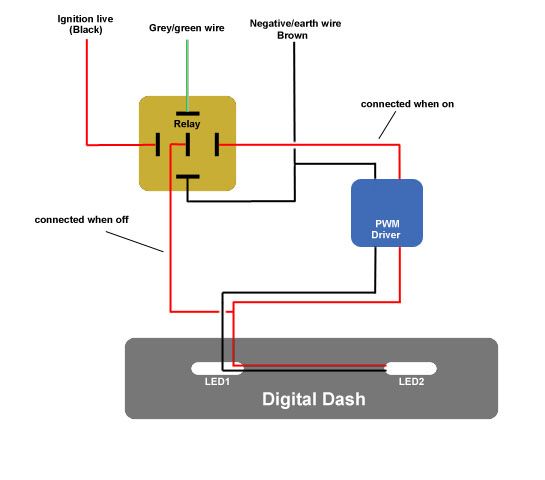
2x 42mm festoon LED conversion bulbs (the kind used for interior lighting in the cabin)
Small 2 pin plug
A PWM 12v driver (optional)
A 12v 5-pole relay with holder (optional)
Getting started:
The first thing to do is remove the white back plate from the body, it's held in by 4 security screws on the edge:
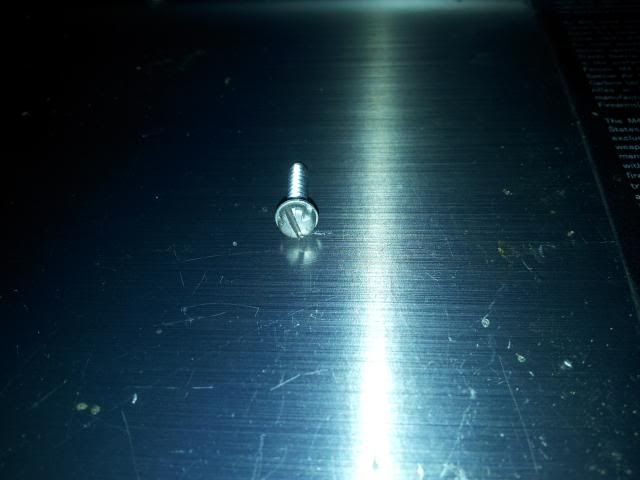
Grab your dremal with the cutting disc and cut a grove into the 4 screws so you can use a flat blade screwdriver on them:
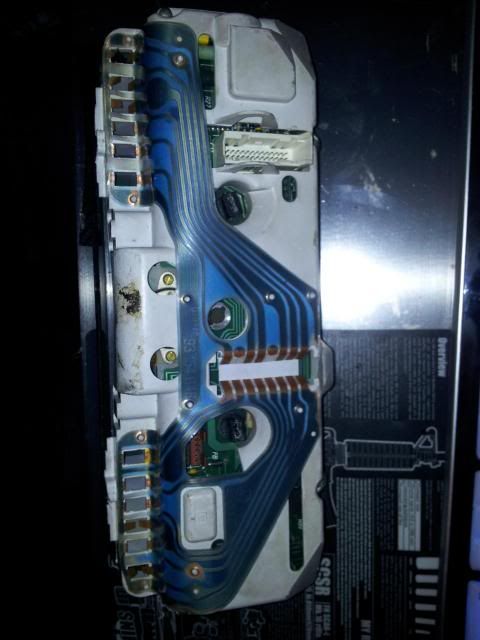
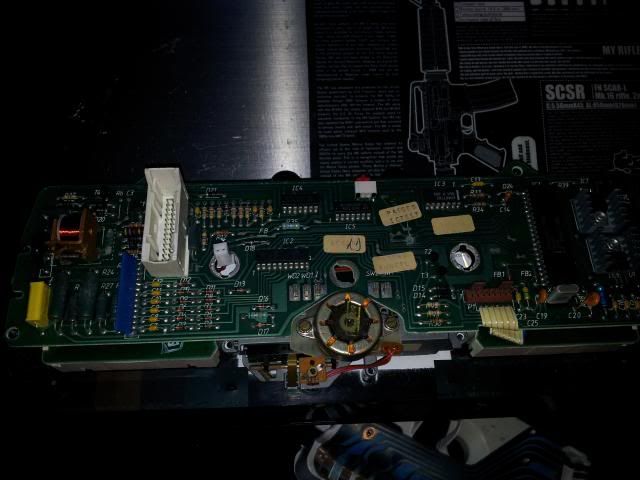
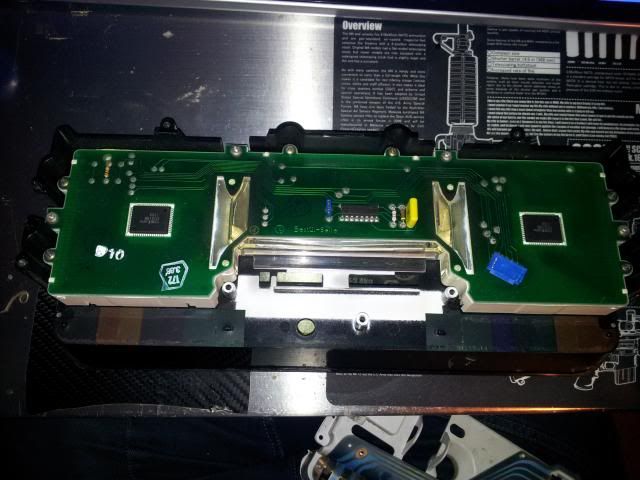
Remove the screws and the back plate, you should have this in front of you:
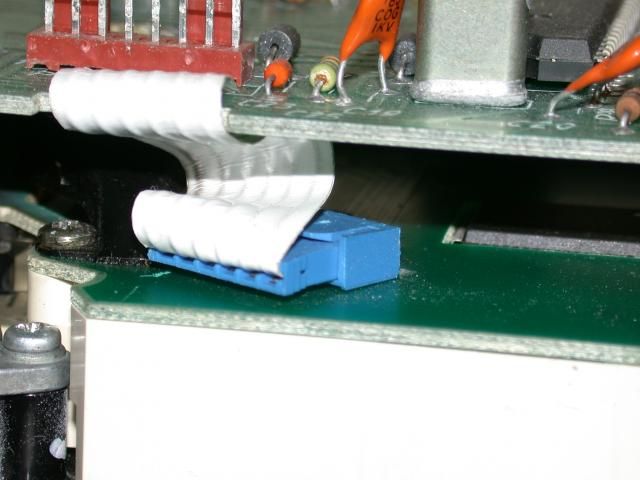
Find the ribbon cable and connector that connect the top circuit board with the bottom board, carefully wiggle it free:
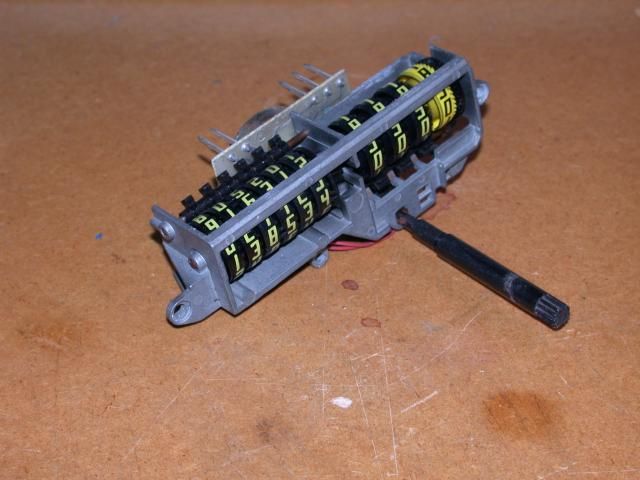
Grab the top board and in a see-saw motion pull it upward (it's only held on at this point by 5 pins for the odometer), once free using a small phillips screwdriver remove the 3 screws holding the odometer assembly in:
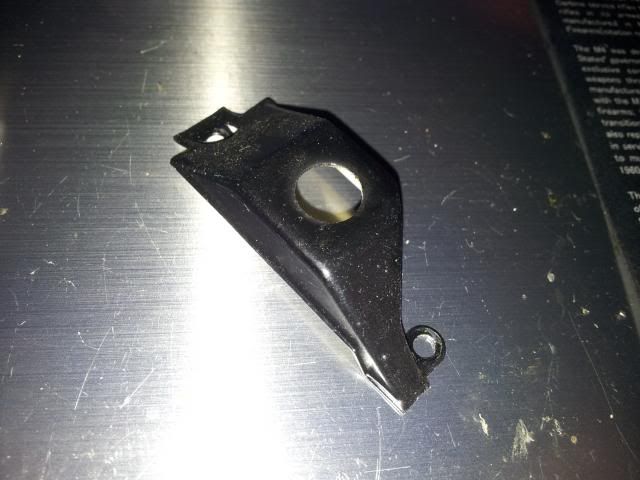
Remove the two black metal bulb holders with the small phillips screwdriver
Now you are at the bottom circuit board, remove the 4 large screws holding the assembly to the front panel with the large phillips screwdriver:
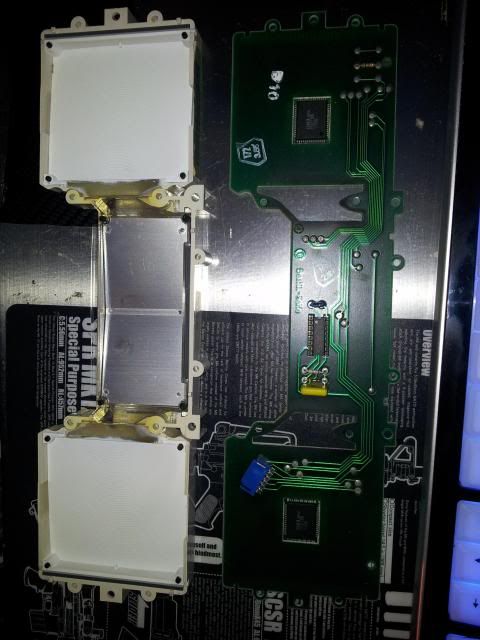
Lift the assembly out, grab the small phillips screwdriver and remove all remaining screws, then gently pull the board from the LCD casings:
You now have the 3 seperate LED modules, start with the speed output which is the narrow middle one - it's the easiest. In this guide I concentrate on the rev counter and gauge modules.
Rev counter:
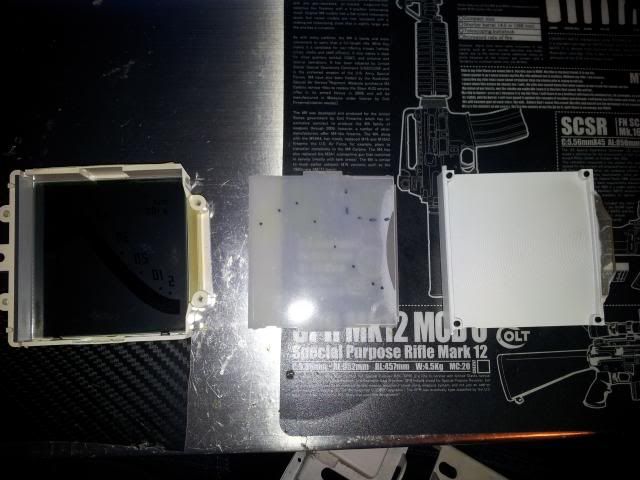
Pull the plastic light diffuser out of the housing (right section in image):
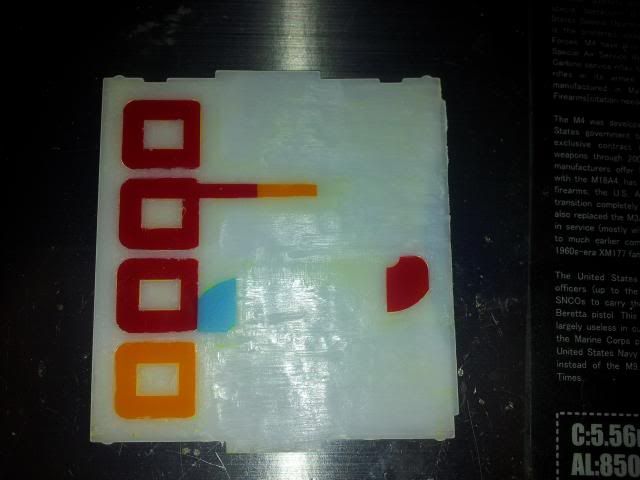
The middle part is the part you need to alter to change the colour, in the image it's clear but that's because I have already modified it. Your one will be yellow, this yellow filter needs removing with the dremal and the wide sanding head. Be gentle with the sanding head and slowly remove all the yellow until you are left with a frosted white plastic panel.
At this stage if you want a pure white light simply reassemble the module and move onto the nextIf you want colours you will need to grab your coloured gels and scissors. I highly recommend you buy adhesive gels so they can't shuffle/dislocate inside the housing.
The method I use involves you grabbing the housing with the LCD panel (be very gentle), placing the now-white filter in place and shine your white LED torch through the LCD panel so you can see the rev counter pattern. Use the marker pen to mark out where you would like colours (for example if you wanted blue revs, numbers but white dots then mark the dots).
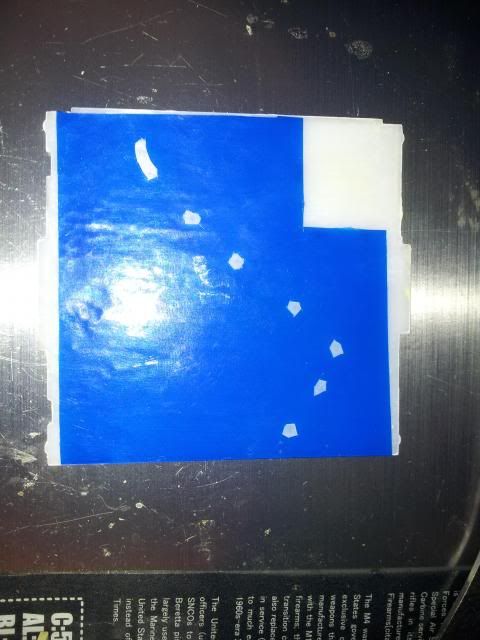
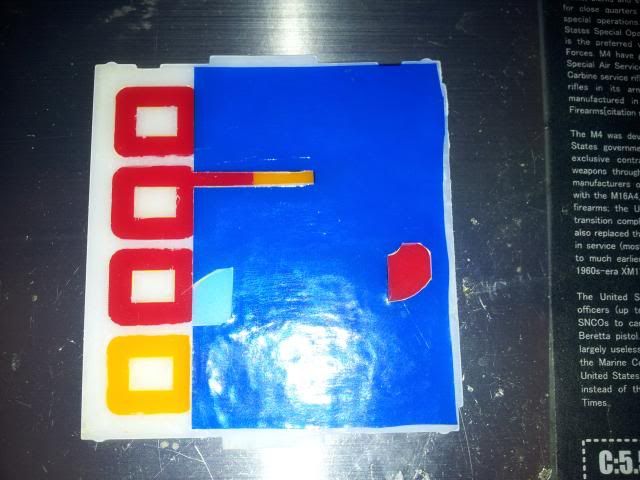
Now remove the filter, grab the coloured gel and cut a section out that will cover the entire filter. Attach it to the filter and then shine the LED torch through it, the sections you marked out should be visible. Using the knife cut these sections out, when you have finished you will have something like this:
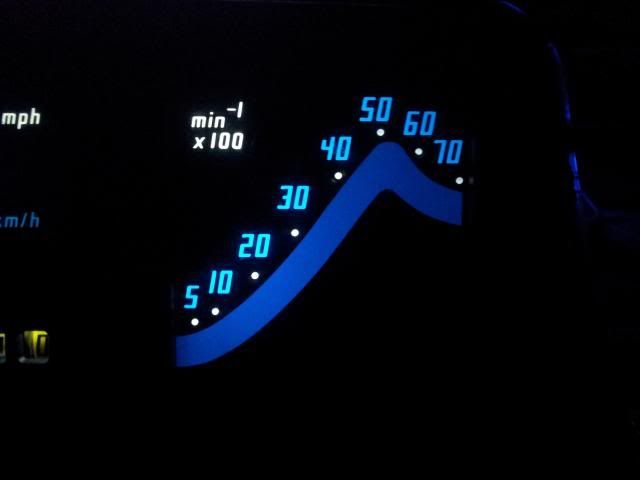
It will produce a result like this (under LED lighting):



 Reply With Quote

 looks really good


 acetate gel sheets going to try this myself looks really good