Page 1 of 41 12311 ... LastLast
Results 1 to 10 of 408

Thread: Nova Saloon Build

  1. #1
    User
    Join Date
    Jun 2002
    Location
    Sussex
    Posts
    930
    Post Thanks / Like
    Mentioned
    0 Post(s)
    Tagged
    0 Thread(s)

    Default Nova Saloon Build

    Well; new nova build on the go. Hopefully sort it for the summer...

    Couldn't resist a bargain 500quid cally T last summer so had to buy it.
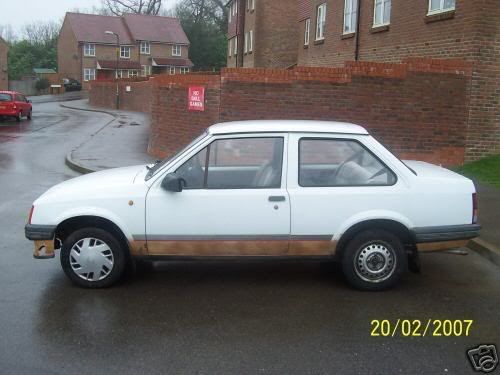
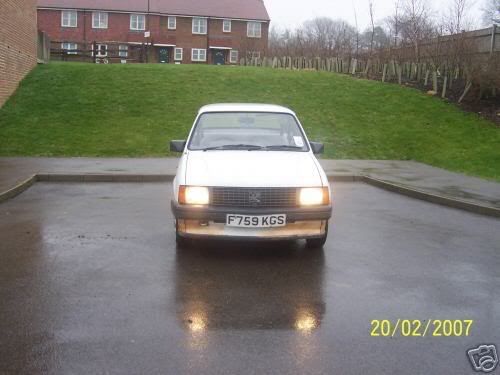
    I've now been the owner of this saloon for 3 weeks which I couldn't resist buying either. Cheap at 50quid and from only a couple of miles away..
    Here it is in all its glory...


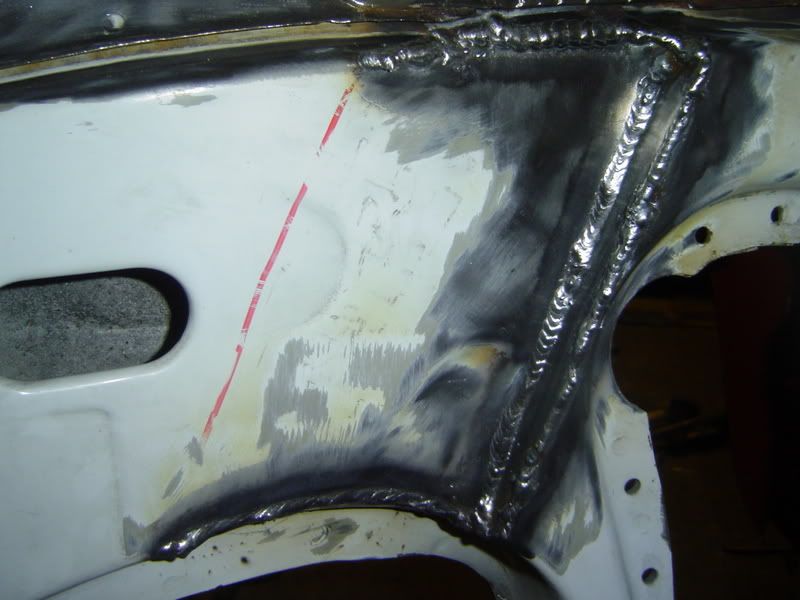
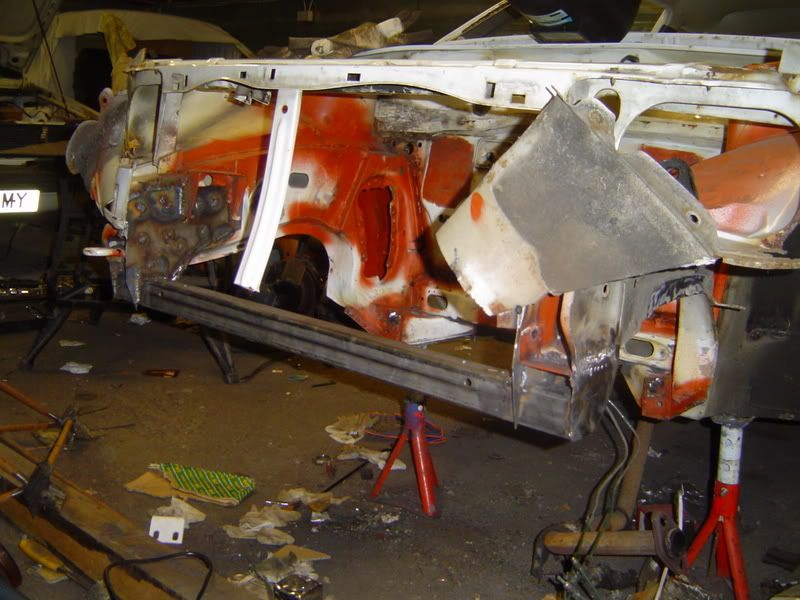
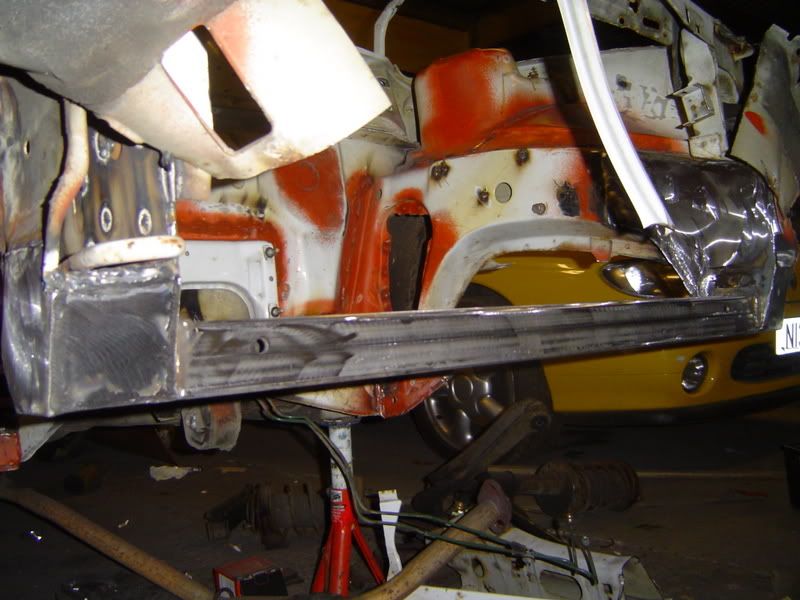
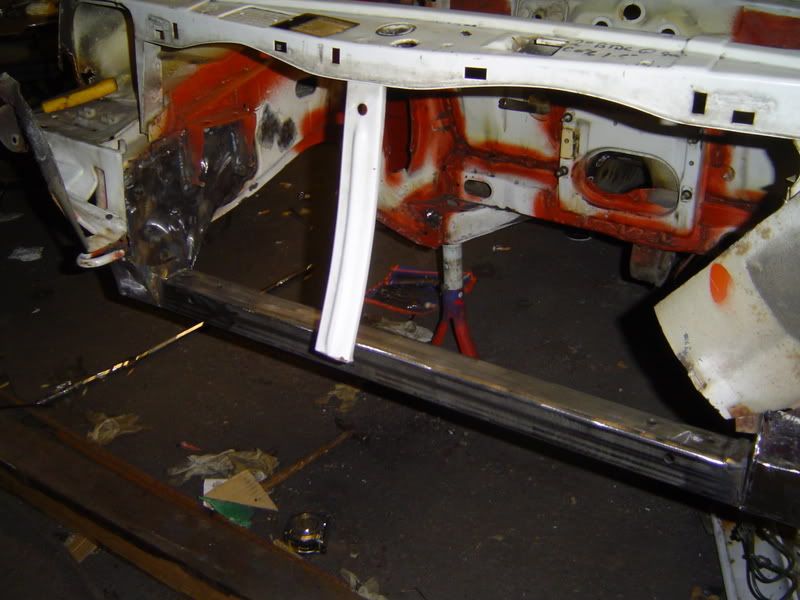
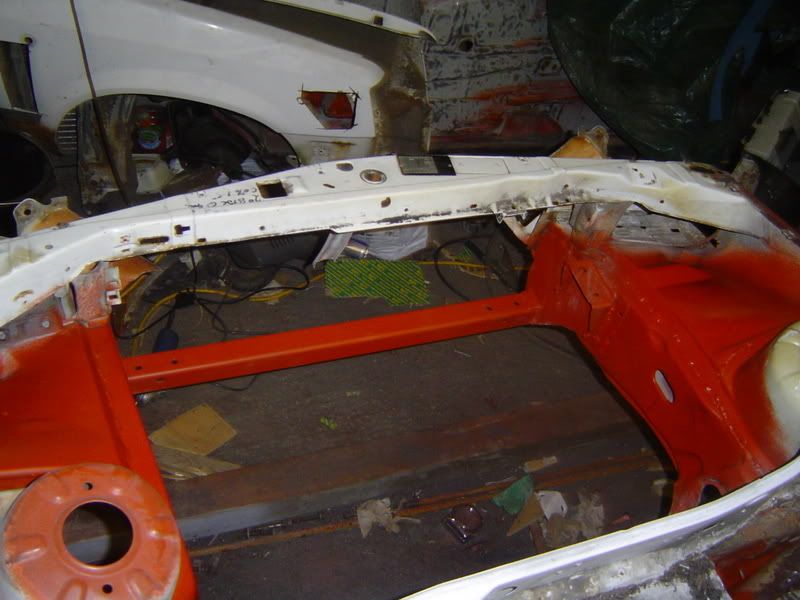
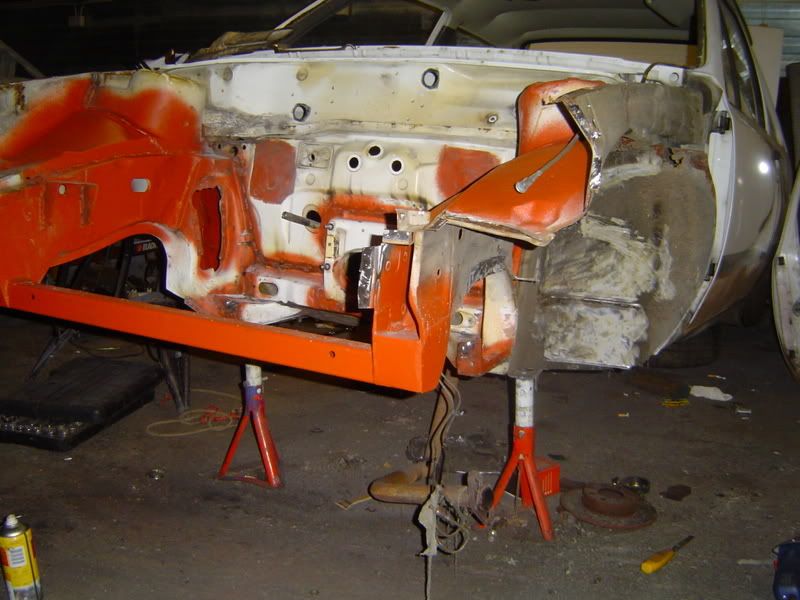
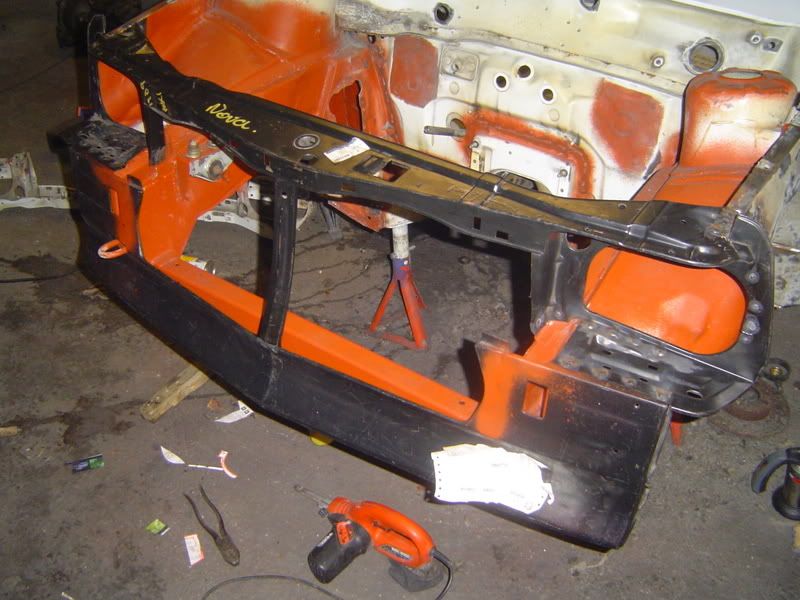
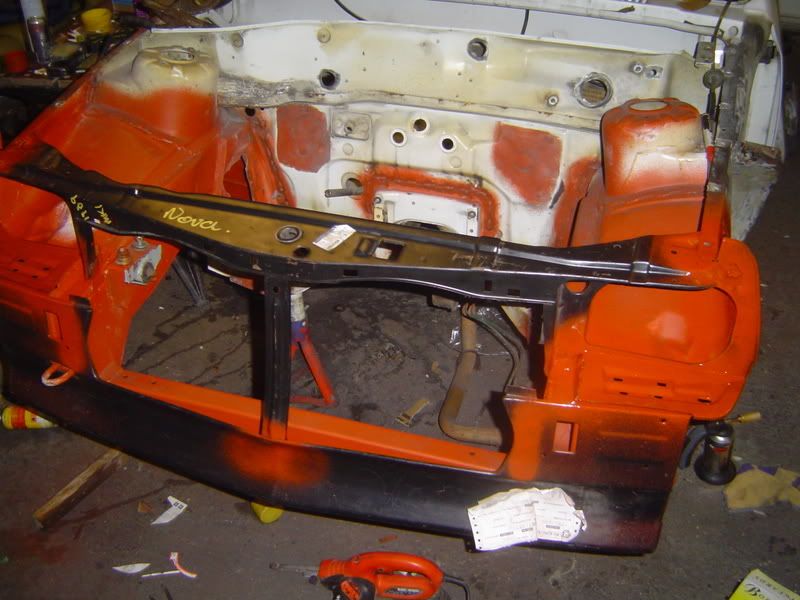
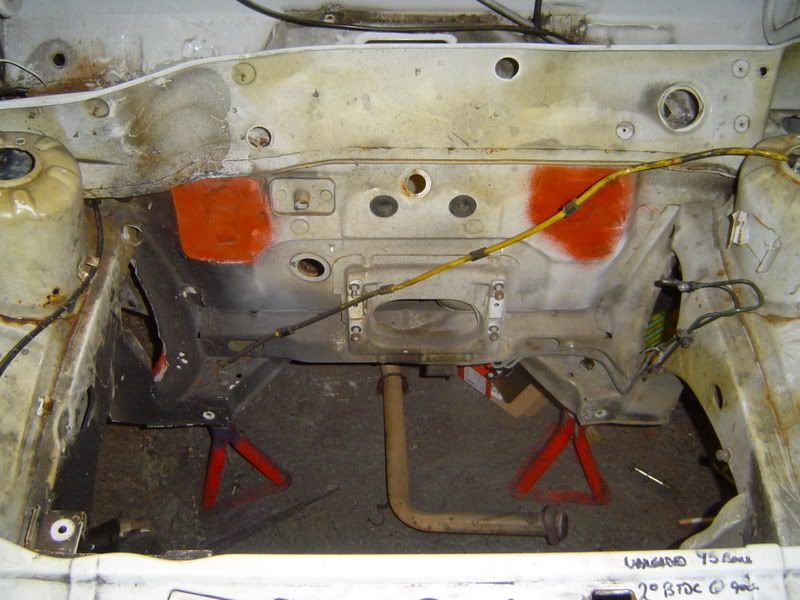
    So started off getting the engine out. Took the wings off to be chucked, chucked the seats and most the interior aswell.


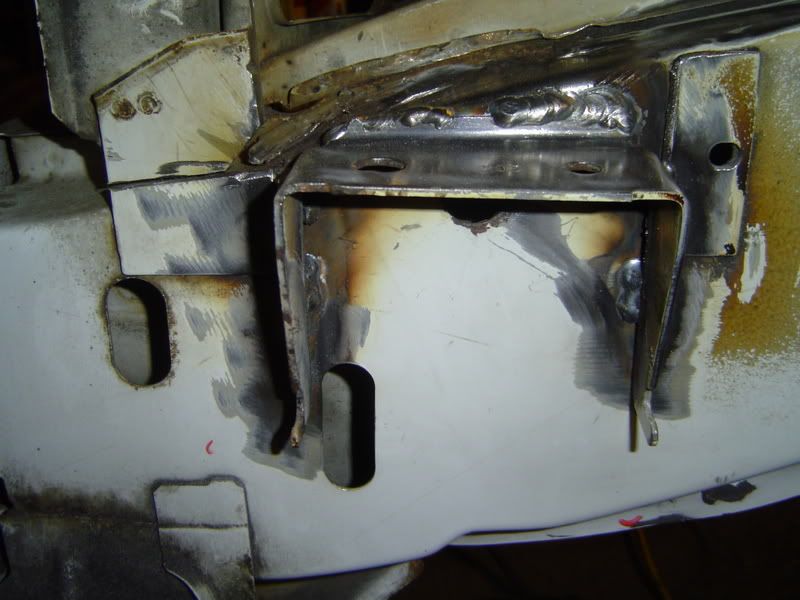
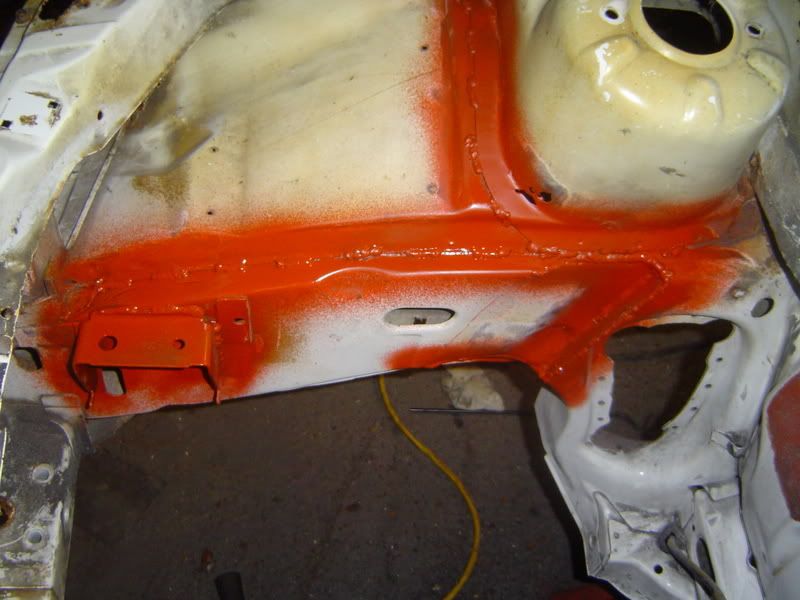
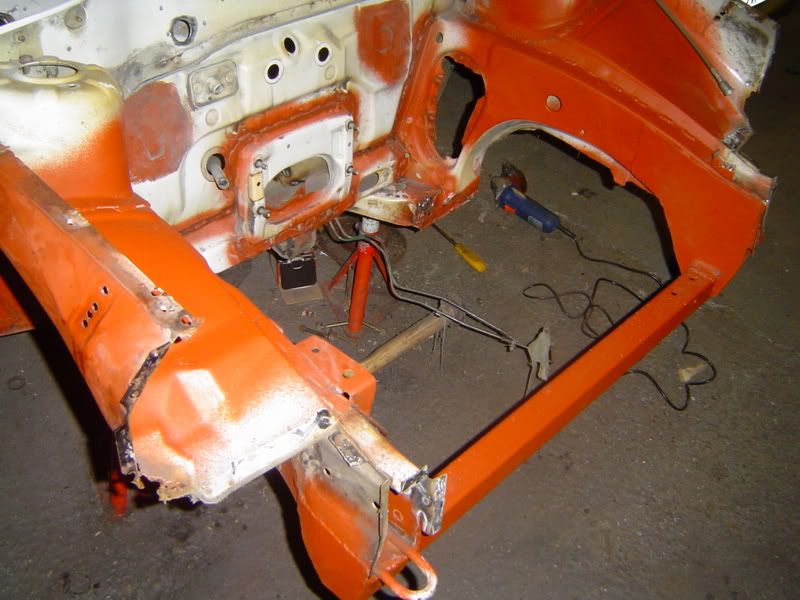
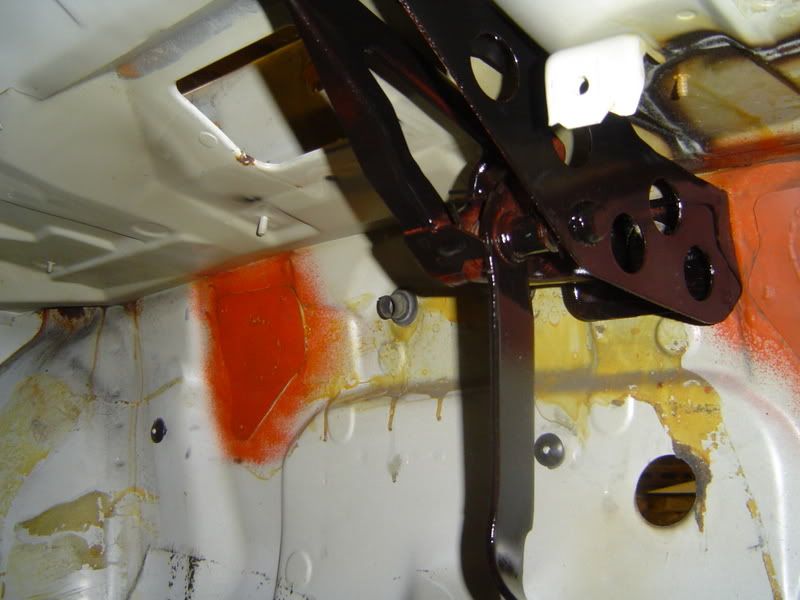
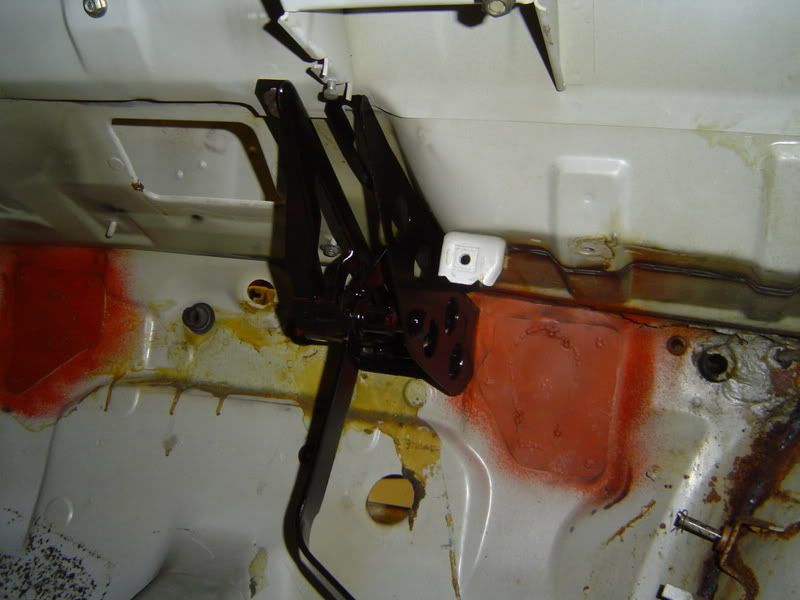
    As I intend to use a corsa pedel box, I plated over the holes that the pedel box mounts too, and also modded the clutch pedal so that it is fully supported again.

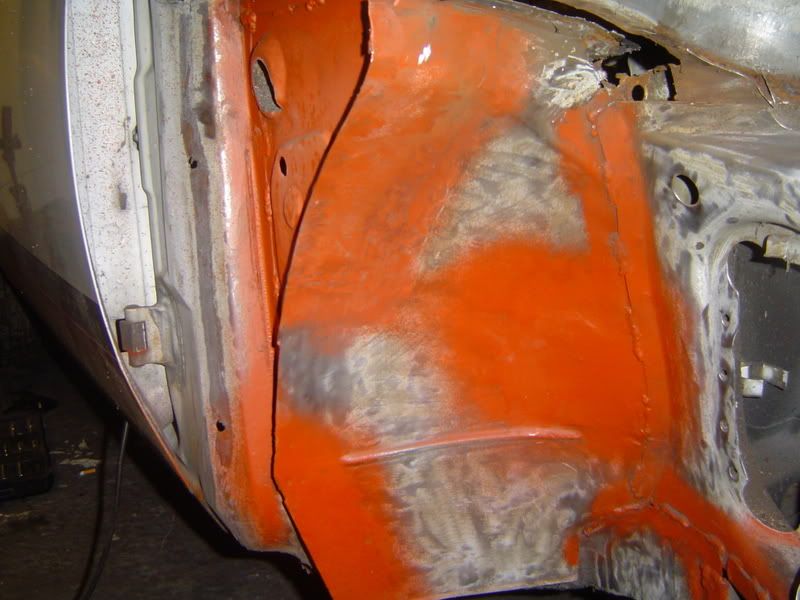
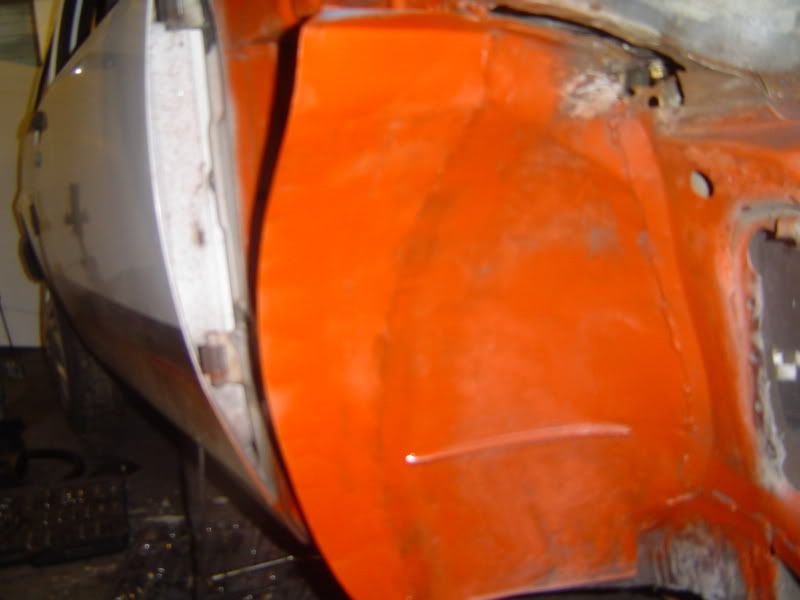
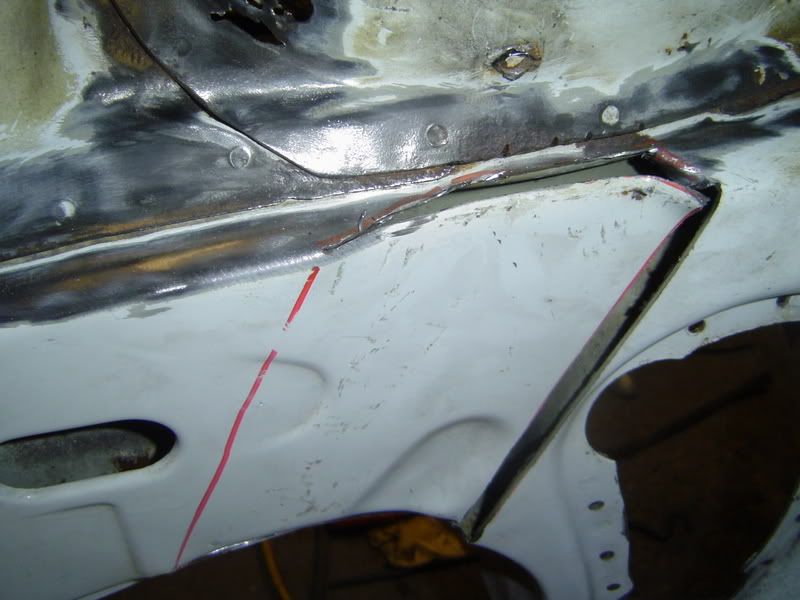
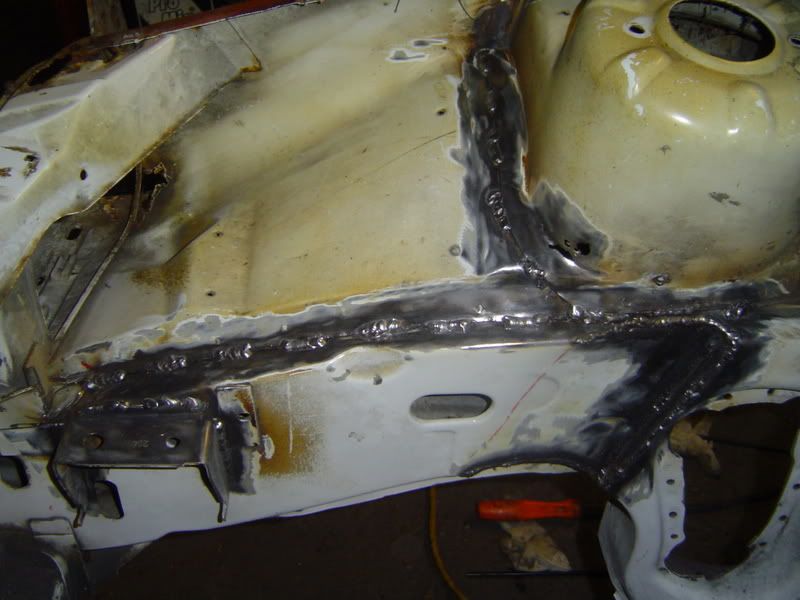
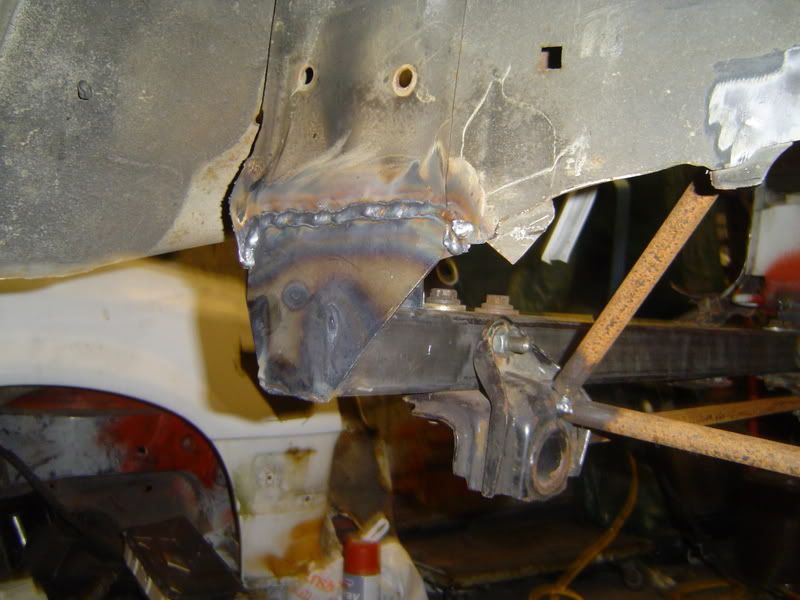
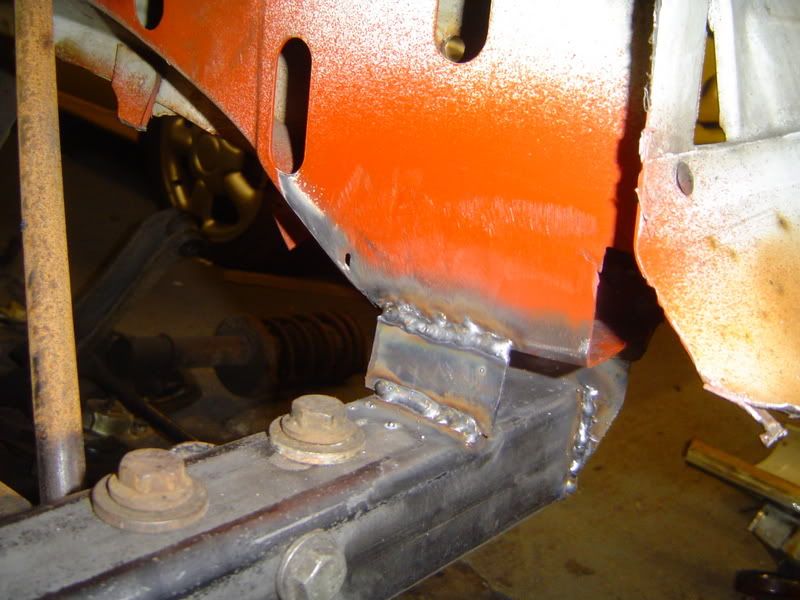
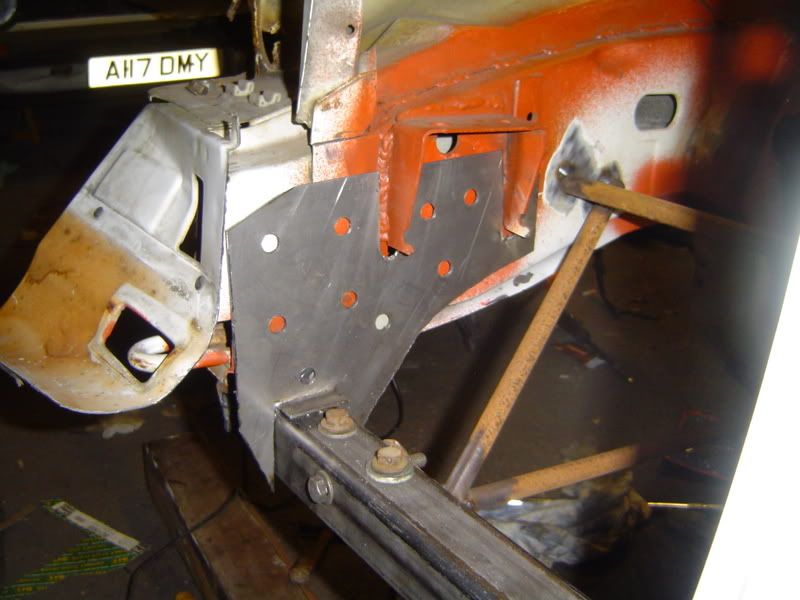
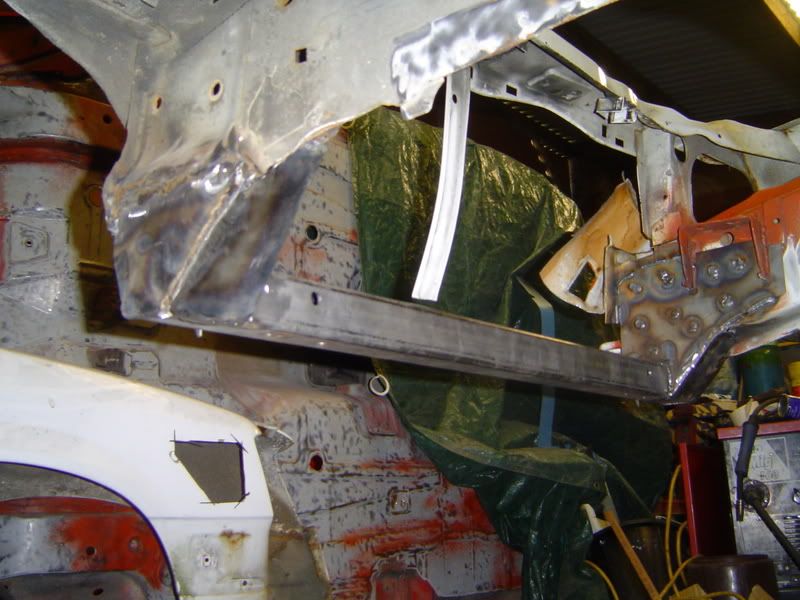
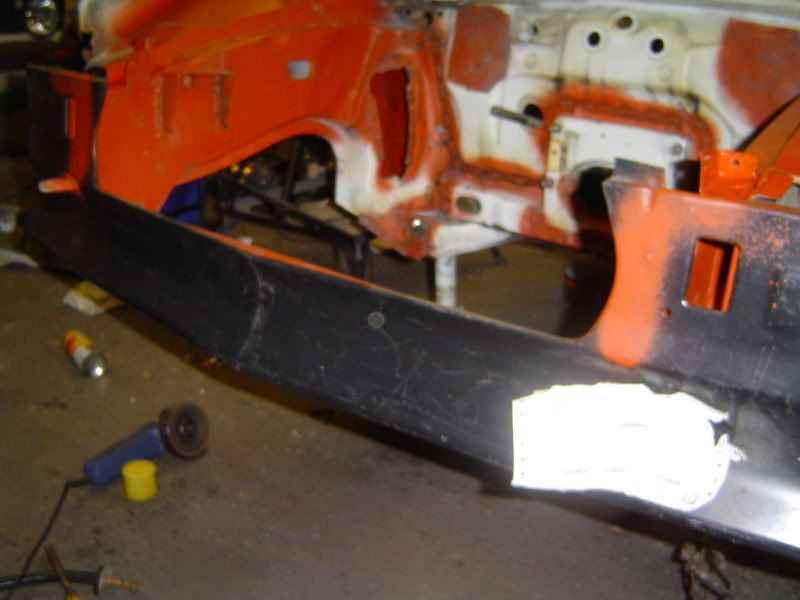
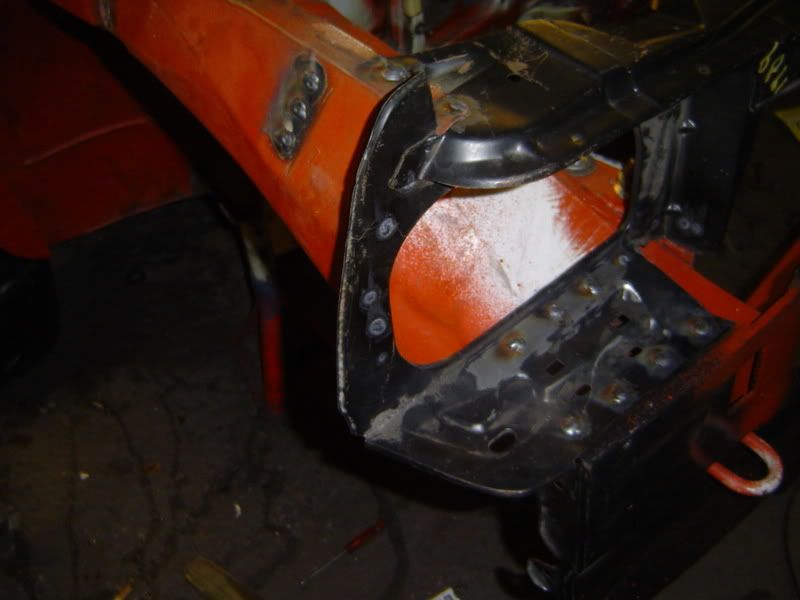
    There has been a replacement battery tray welded onto of old rot, which must have been done a while ago, but it will all need chopping out and replacing soon..


  2. #2
    User
    Join Date
    Jun 2002
    Location
    Sussex
    Posts
    930
    Post Thanks / Like
    Mentioned
    0 Post(s)
    Tagged
    0 Thread(s)

    Default

    Stripped back the inner wings of all underseal etc, then welded up the seams, and cut out any patches of rust and plated it up. The wing bit that sticks out was too far gone, so had top be chopped out and replaced with one I cut out..


    Next up was getting the O/S mount in the right place (lowering 1.5") and sorting the alternator bit, as well as a small rot hole on the tuirret and a bit of stich welding..


    All welded


  3. #3
    OMG! WTF? BBQ :) Lee's Avatar
    Join Date
    Jun 2005
    Location
    Newbury
    Posts
    16,724
    Post Thanks / Like
    Mentioned
    0 Post(s)
    Tagged
    0 Thread(s)

    Default

    Look forward to this Austin, its always a pleasure watching what you come up with!

    Whats that crap down the bottom of the doors??

  4. #4
    User
    Join Date
    Jun 2002
    Location
    Sussex
    Posts
    930
    Post Thanks / Like
    Mentioned
    0 Post(s)
    Tagged
    0 Thread(s)

    Default

    The Front Pannel was in pritty bad condition, and the bits where the tie bars bolt on to were well gone.

    So with fitting a decent size intercooler in the front in mind, I decided to weld in a bit of 50mm box instead, but try and keep the lower front pannel part.. So I got the brackets bolted up (10mm ower) and welded some bracking to them, so I couild cut the pannel off, and everything would stay in the same place..


    little bit of repare work before offering up the bar...

    Well thats all for now, quite a bit more to add at the moment,. shall hopefully do that tomorrow..

  5. #5
    User
    Join Date
    Jun 2002
    Location
    Sussex
    Posts
    930
    Post Thanks / Like
    Mentioned
    0 Post(s)
    Tagged
    0 Thread(s)

    Default

    That brown stuff is some sort of primer. God knows what the guy who I bought it off was thinkin! Shall be having a go at spraying the whole car, so we shall see how it ends up!

  6. #6
    Senior User kevster's Avatar
    Join Date
    Oct 2003
    Location
    worthing
    Posts
    2,874
    Post Thanks / Like
    Mentioned
    0 Post(s)
    Tagged
    0 Thread(s)

    Default

    nice one dude !!!!!!!!! you could of cleaned it

  7. #7
    Senior User kevster's Avatar
    Join Date
    Oct 2003
    Location
    worthing
    Posts
    2,874
    Post Thanks / Like
    Mentioned
    0 Post(s)
    Tagged
    0 Thread(s)

    Default

    loveing the timeing on the slam

  8. #8
    User
    Join Date
    Jun 2002
    Location
    Sussex
    Posts
    930
    Post Thanks / Like
    Mentioned
    0 Post(s)
    Tagged
    0 Thread(s)

    Default

    Welded plates at the far end of the bar each side with 2mm sheet after bolting the box section down. Then added some small plates on the inner part which will be double skinned with the larger plates I cut out to stregthan the whole joint up.


    I then boxed out the front and rear faces of the guttet bits then sorted them ready for some primer; just to cover it for now.


  9. #9
    User
    Join Date
    Jun 2002
    Location
    Sussex
    Posts
    930
    Post Thanks / Like
    Mentioned
    0 Post(s)
    Tagged
    0 Thread(s)

    Default

    Next off was to chop off the old slam pannel part. Used a proper spot weld drill which was so good, it was off in a couple of minutes.


    Got a GM lower front pannel to replace the original with, so finish off the main chassis leg stich welds which I couldn't get to before, and then welded the lower pannel on.


    The areas around the headlamps needed a bit of plating, so sorted them and got on to fitting the other GM panel I got for the top. All went together nicely. Then gave it a bit of primer.


    Last edited by Austin_Nova16; 27-03-07 at 12:01 AM.

  10. #10
    User Club Member andybishop's Avatar
    Join Date
    Nov 1999
    Location
    Stoke-on-Trent
    Posts
    784
    Post Thanks / Like
    Mentioned
    0 Post(s)
    Tagged
    0 Thread(s)

    Default

    Looks like its going to be another awesome build again!! Can't wait to see more progess!

Posting Permissions

  • You may not post new threads
  • You may not post replies
  • You may not post attachments
  • You may not edit your posts
  •