Page 1 of 9 123 ... LastLast
Results 1 to 10 of 88

Thread: Cowps GTE - G37 HNT

  1. #1
    Junior User
    Join Date
    Nov 2014
    Posts
    54
    Post Thanks / Like
    Mentioned
    0 Post(s)
    Tagged
    0 Thread(s)

    Default Cowps GTE - G37 HNT

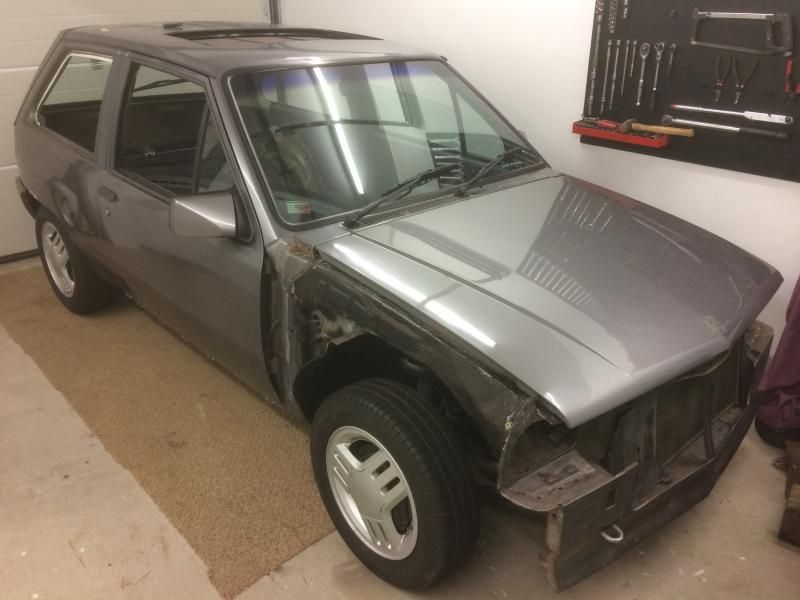
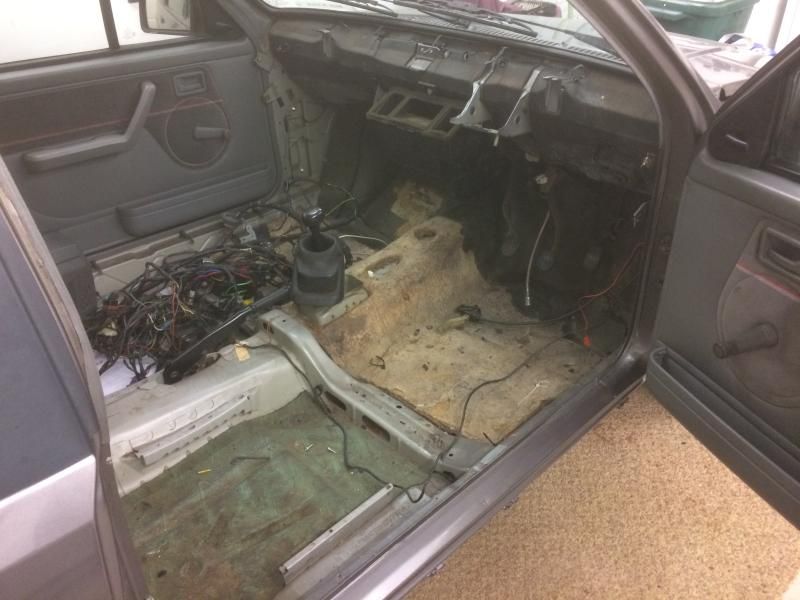
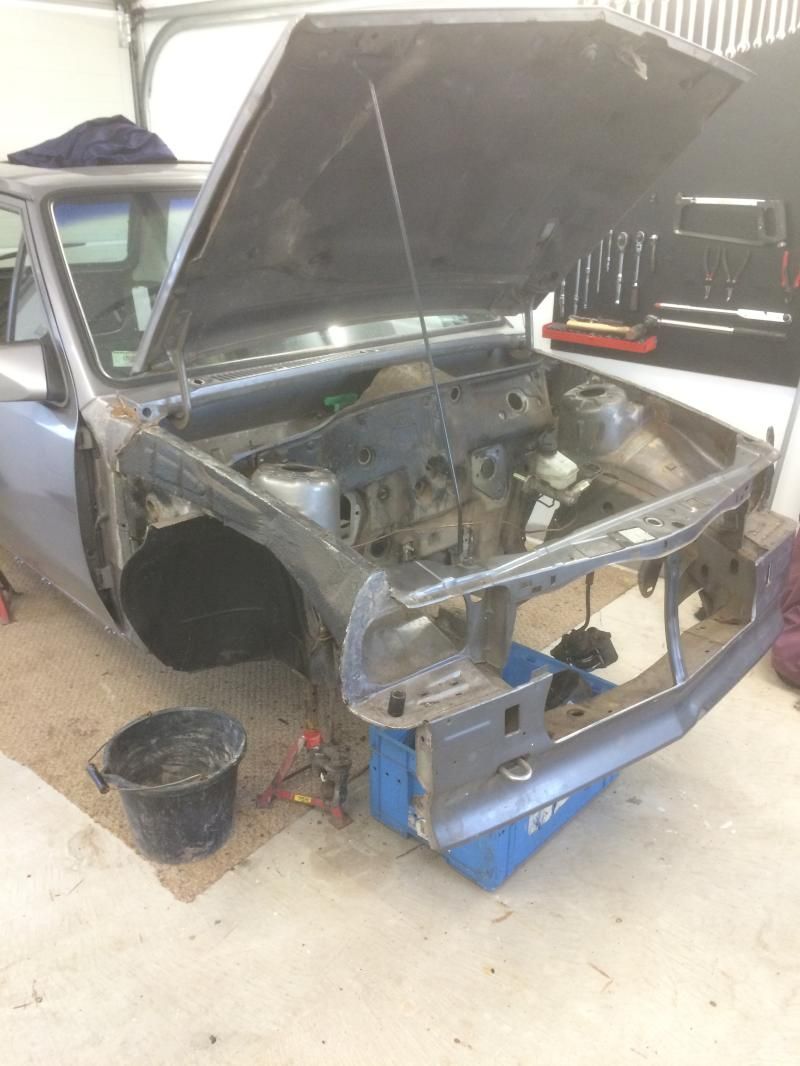
    After buying the GTE 2 month ago I finally made a start today stripping it out.

    The plan is to go bare shell rebuild. I have been sourcing panels for the last few months and got most of what I need, mostly gm ones.

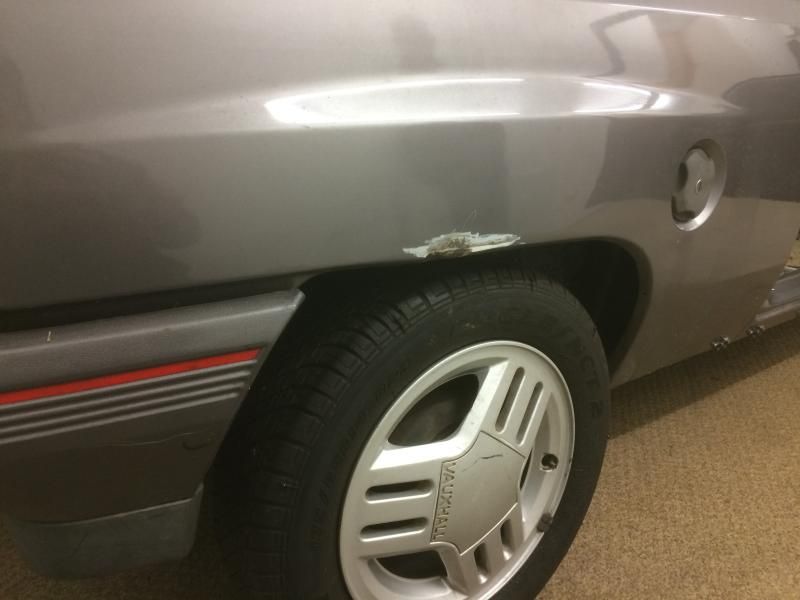
    It was advertised on eBay as mint, it isn't and wasn't happy when I travelled 250 miles to pick it up and was presented with this, needless to say I payed nowhere near the asking price!

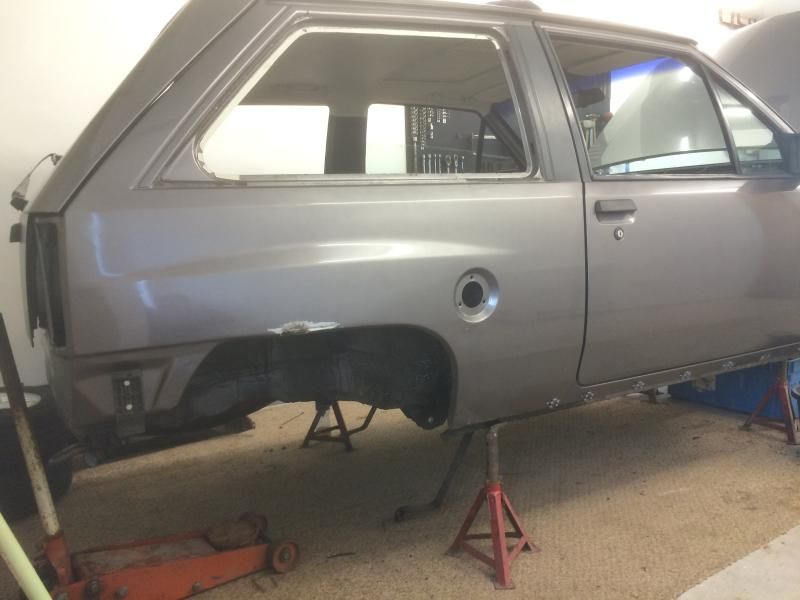
    As it stands at the moment:


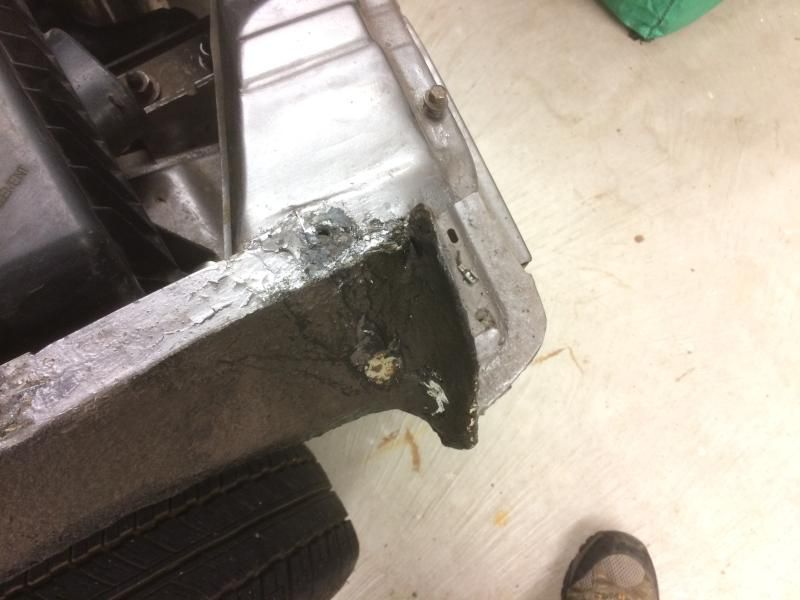
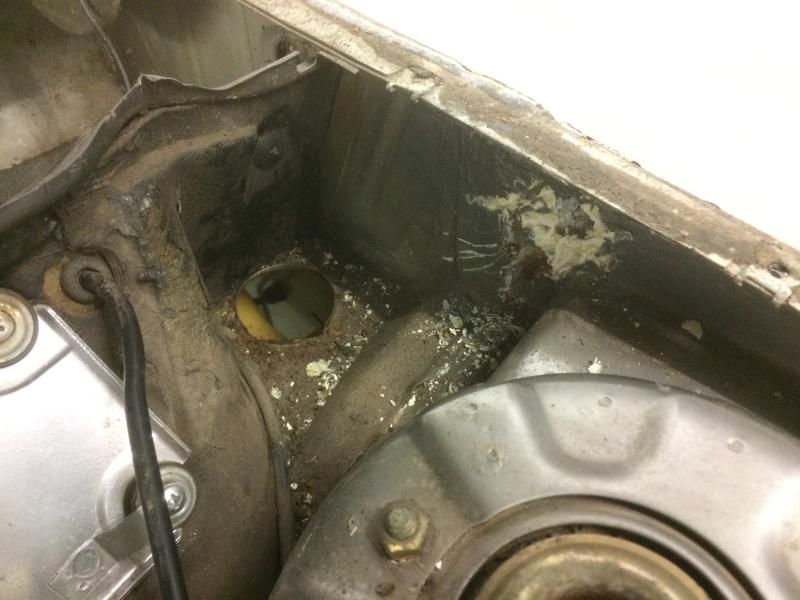
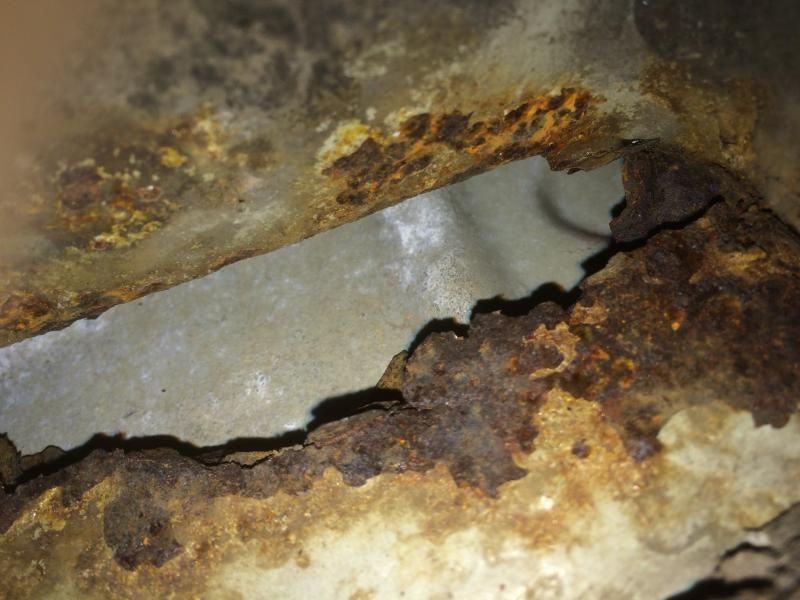
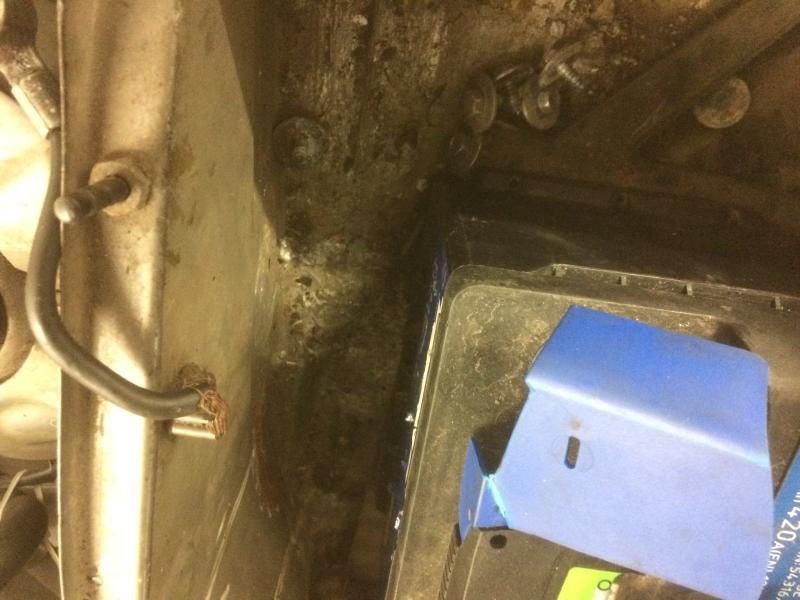
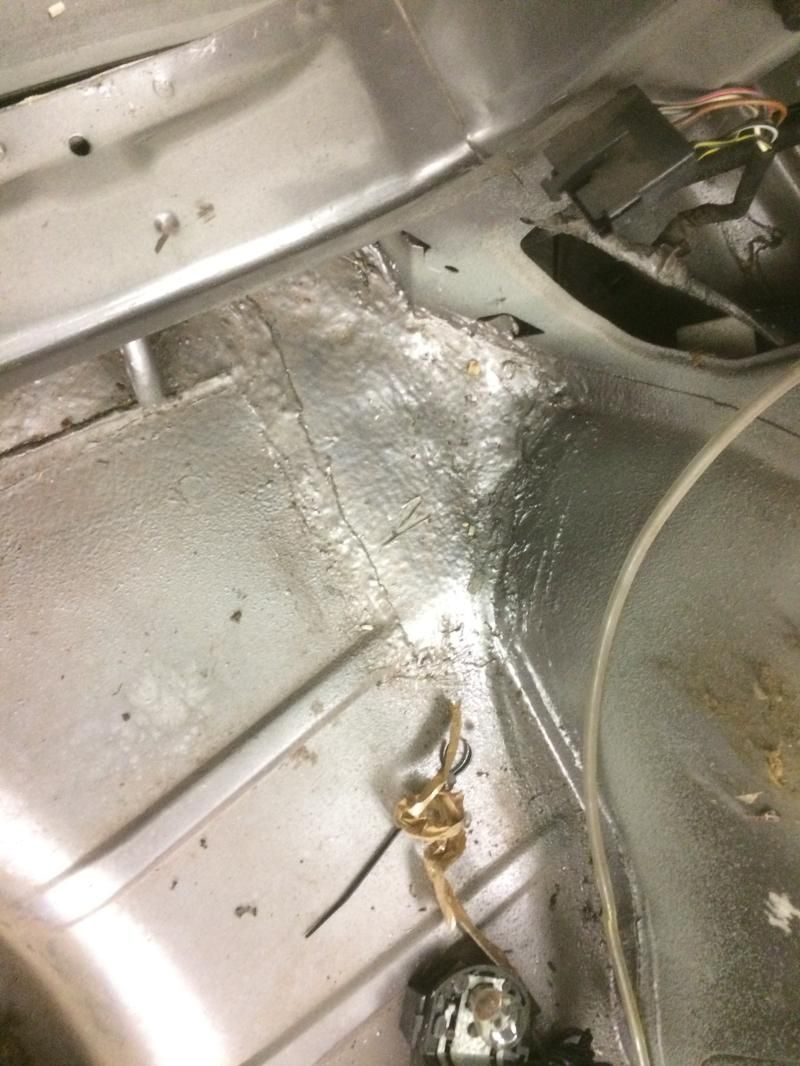
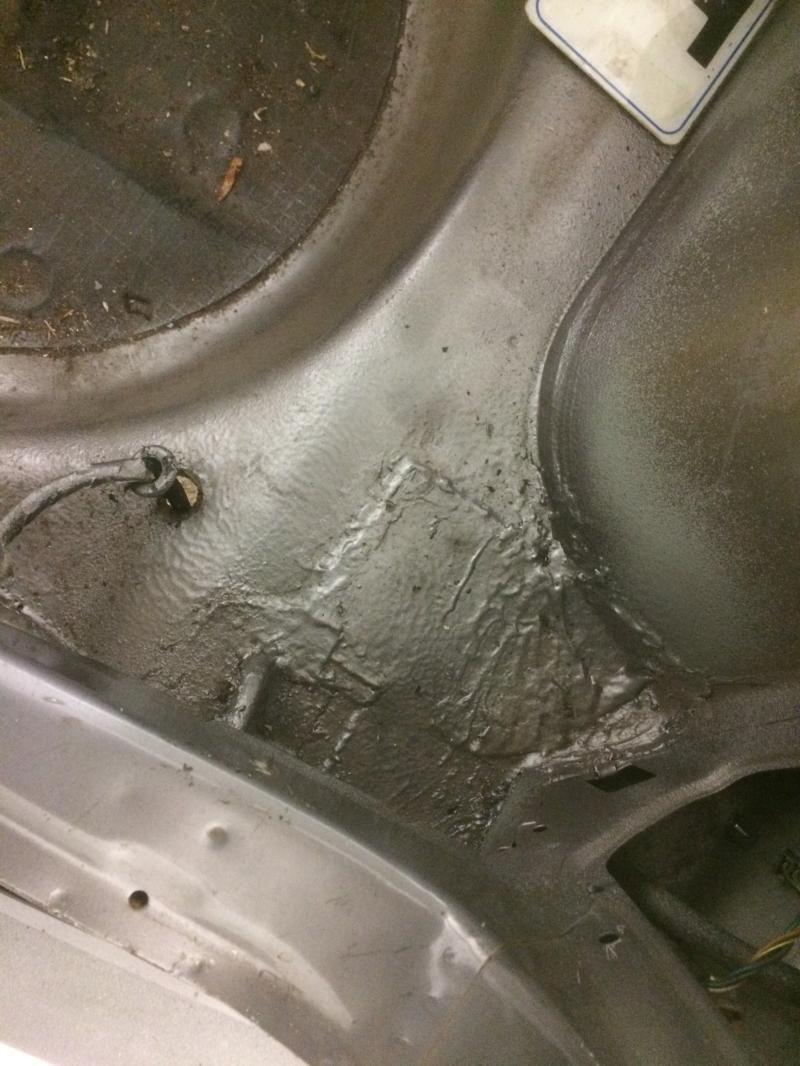
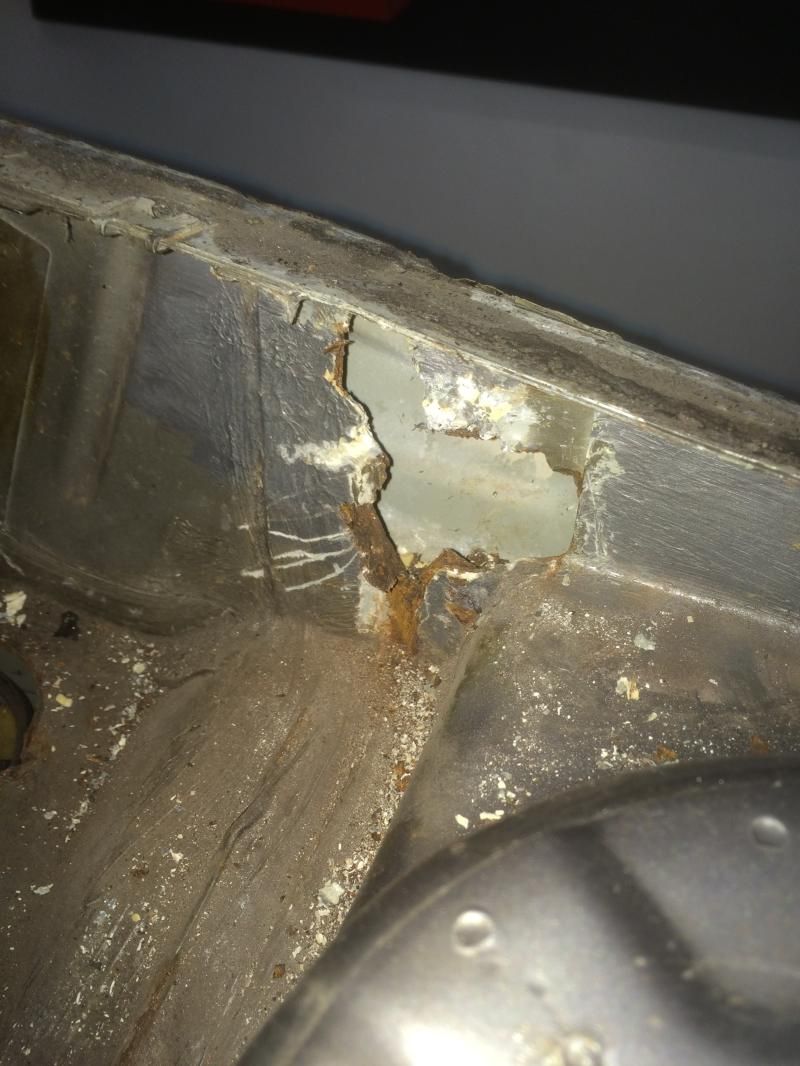
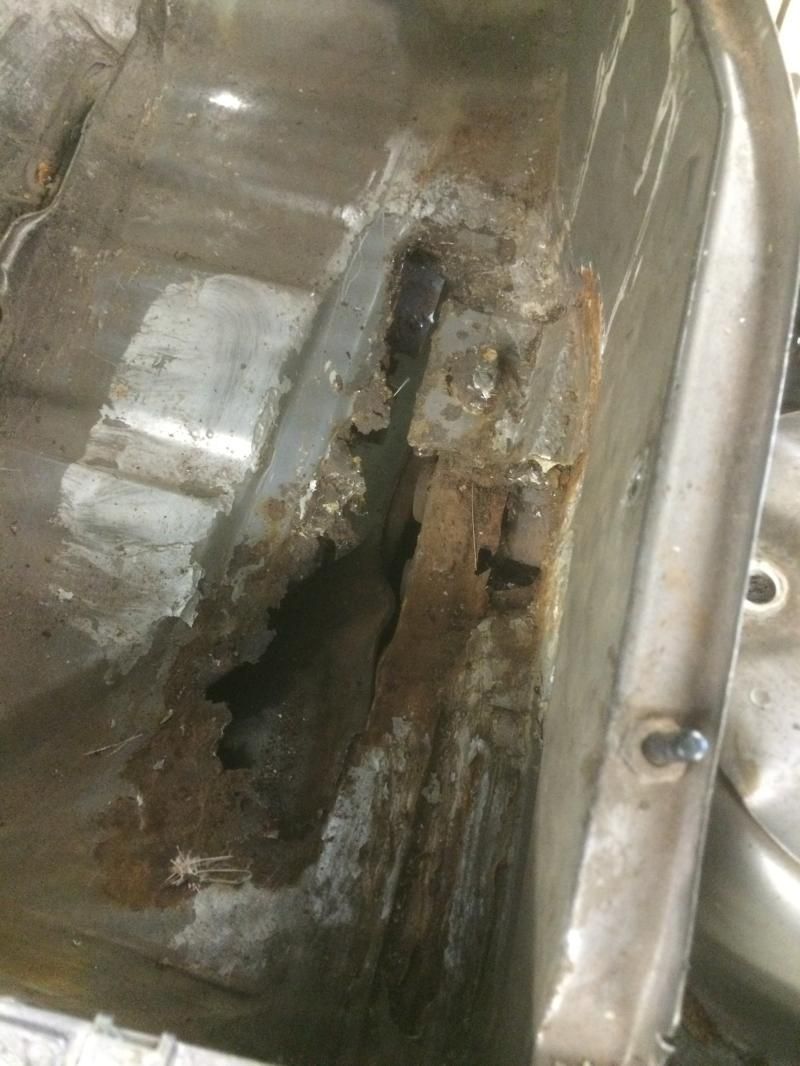
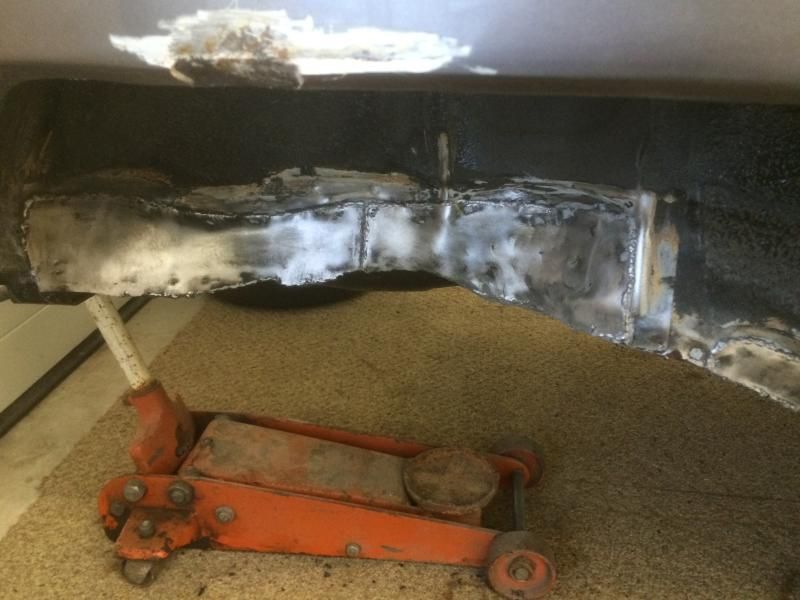
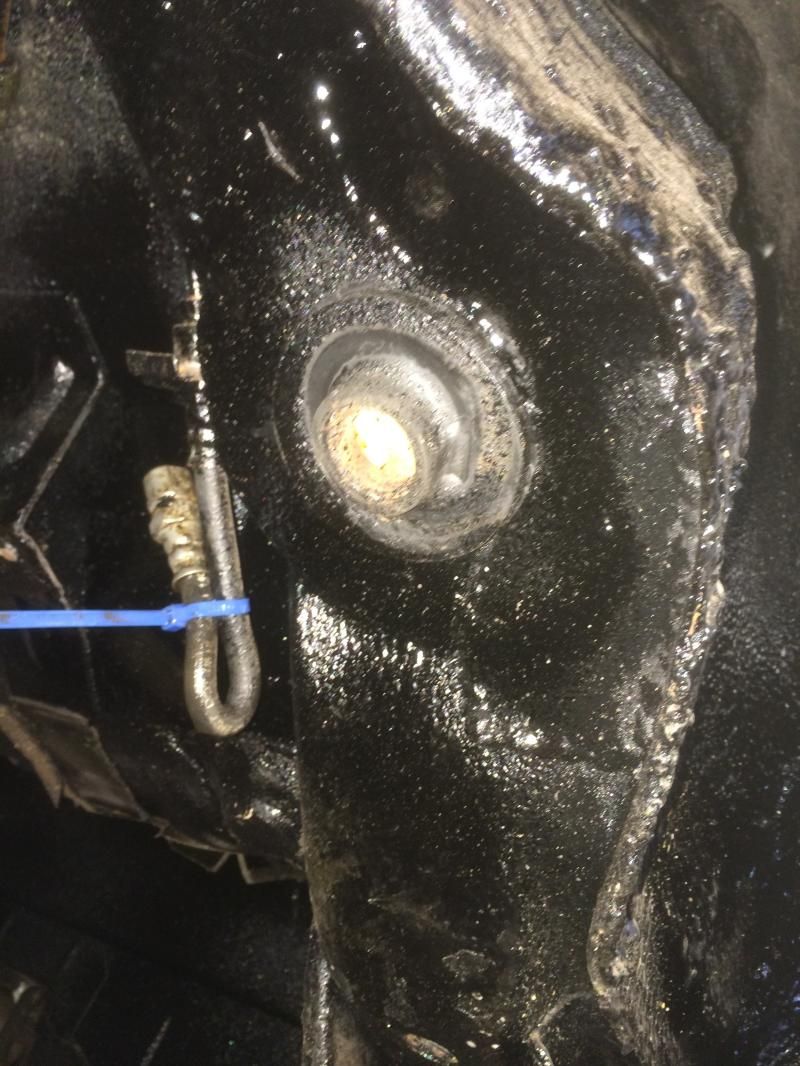
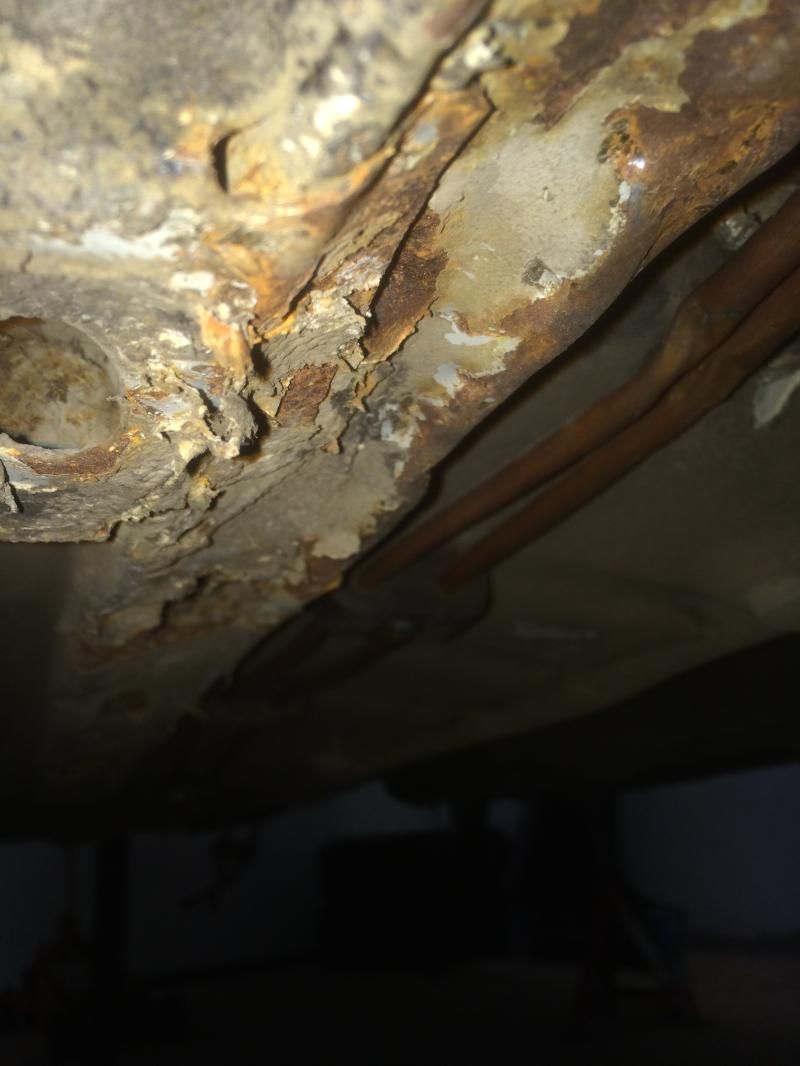
    Some pics of the rot/previous attempts of repairs!

    A bit of filler build up on inner wing


    Something going on with pas side inner wing


    Drivers side strut top in wheel arch, passenger side is good


    Some fibreglass in battery tray


    Patches in boot


    A little bit of filler in rear arches but there not too bad


    So next steps are to take running gear out and get it to a bare she'll, then start the dreaded job of taking all the undersell off!

  2. #2
    Club Member Club Member dgbnova#1's Avatar
    Join Date
    Nov 2012
    Location
    birkenhead
    Posts
    3,838
    Post Thanks / Like
    Mentioned
    0 Post(s)
    Tagged
    0 Thread(s)

    Default

    Looks nice mark there all standard ish trouble spots not a fan of fiberglass repairs just makes re doing them a dusty job
    Not that bad though I will show you some of the basket cases I've welded !!!


    if you need anything give me a shout can sort you out and Chris still doing runs up and down weekly so can get stuff to you easy enough

  3. #3
    Junior User
    Join Date
    Nov 2014
    Posts
    54
    Post Thanks / Like
    Mentioned
    0 Post(s)
    Tagged
    0 Thread(s)

    Default Cowps GTE - G37 HNT

    Spot on, cheers David, back chassis legs are in a sad state, could do with finding a shell to cut some better ones out of. One of the biggest ball aches is its been fairly well stripped in the past for welding and the clown that's put it back together ain't used the original screws/bolts in a lot of places, most of the interior is held together with b&q self tappers!

  4. #4
    Junior User
    Join Date
    Nov 2014
    Posts
    54
    Post Thanks / Like
    Mentioned
    0 Post(s)
    Tagged
    0 Thread(s)

    Default

    Also need a main loom as someone has cut a bodged some aftermarket fuse box in it.

  5. #5
    User
    Join Date
    Aug 2013
    Posts
    104
    Post Thanks / Like
    Mentioned
    0 Post(s)
    Tagged
    0 Thread(s)

    Default

    Got a sun roof if you need one text me 07919024001

    Looks good though pal, look forward to updates

  6. #6
    Senior User Rickyb's Avatar
    Join Date
    Apr 2007
    Location
    blackpool
    Posts
    3,057
    Post Thanks / Like
    Mentioned
    0 Post(s)
    Tagged
    0 Thread(s)

    Default

    Looks sweet keep the pics coming.
    Rick

  7. #7
    Newbie
    Join Date
    Mar 2013
    Location
    Louth, Lincolnshire
    Posts
    34
    Post Thanks / Like
    Mentioned
    0 Post(s)
    Tagged
    0 Thread(s)

    Default

    Good to see another GTE getting sorted, I am getting closer and closer to starting a thread for mine

  8. #8
    Junior User
    Join Date
    Nov 2014
    Posts
    54
    Post Thanks / Like
    Mentioned
    0 Post(s)
    Tagged
    0 Thread(s)

    Default

    Cheers lads, will be back on it at the weekend, hopefully get it stripped down to a bare shell.

  9. #9
    Junior User
    Join Date
    Nov 2014
    Posts
    54
    Post Thanks / Like
    Mentioned
    0 Post(s)
    Tagged
    0 Thread(s)

    Default Cowps GTE - G37 HNT

    A bit more progress made this weekend, it's pretty much stripped down now, just brake pipes to drop off once it's on its side and then doors, boot, and bonnet to take off.


    Tried taking sound deadening off the bulkhead but it's gone brittle and think it's going to end up coming off in bits so have give up on that for now and started digging to see what has been covered up with fibreglass, filler and under seal!!

    Some findings so far,

    Behind l/h strut top


    Battery box


    Some previous typical lay on top patching in rear wheel arch


    Patching on spring platform on rest chassis legs


    The bit that annoys me must is the a**e hole that made this mess at the r/h front chassis leg


    Plan of attack at the moment is to start on the front, battery box, and both side strut tops, thinking if drilling off the inner wing flitch panels to get better access to rot, then new front panel.

    Got most panels I need (well what I can get)

    -Rear quarters (1 gm, 1 pattern??)
    -Rear inner wheelarche repair panels (klokkerholm)
    -Full boot floor (gm)
    -Tailgate skin (gm)
    -Back panel (gm)
    -2 sills, however don't think I need them (klokkerholm)
    -2 front wings (gm, thanks to Dave Buttler )
    -Battery tray repair panel (klokkerholm)
    -full front panel (gm)
    -rear spring platform plates (klokkerholm)

    Could really do with a couple of decent rear chassis legs out of a donor, will continue looking.

  10. #10
    Club Member Club Member dgbnova#1's Avatar
    Join Date
    Nov 2012
    Location
    birkenhead
    Posts
    3,838
    Post Thanks / Like
    Mentioned
    0 Post(s)
    Tagged
    0 Thread(s)

    Default

    Just one mate tailgate skin ?this is not worth doing IMO plenty of tailgates to use
    And your battery tray looks ok just add the minimum into it looking at that

    looks ok though

Posting Permissions

  • You may not post new threads
  • You may not post replies
  • You may not post attachments
  • You may not edit your posts
  •