Always wear eye protection with nitro mors trust me it aint nice!
H+S over with/
Nice work mate,coming along well


Always wear eye protection with nitro mors trust me it aint nice!
H+S over with/
Nice work mate,coming along well

It did occur to me to wear some but couldn't find my goggles. I can imagine it must hurt just as bad as carb cleaner in ones eye
worse
Don't be a fag. Sack up! I thought you was 'ard Andy.Originally Posted by Andy
It stings, but so does having your bell end bitten.
Update
Well, ish of an update.
Spent most of the morning checking over the SR as it was gonna go in for it's MOT. So the plans I had/wanted to get sorted for my car got shoved aside.
Good news is that the SR passed the MOT no issues what-so-ever so my efforts weren't in vein.
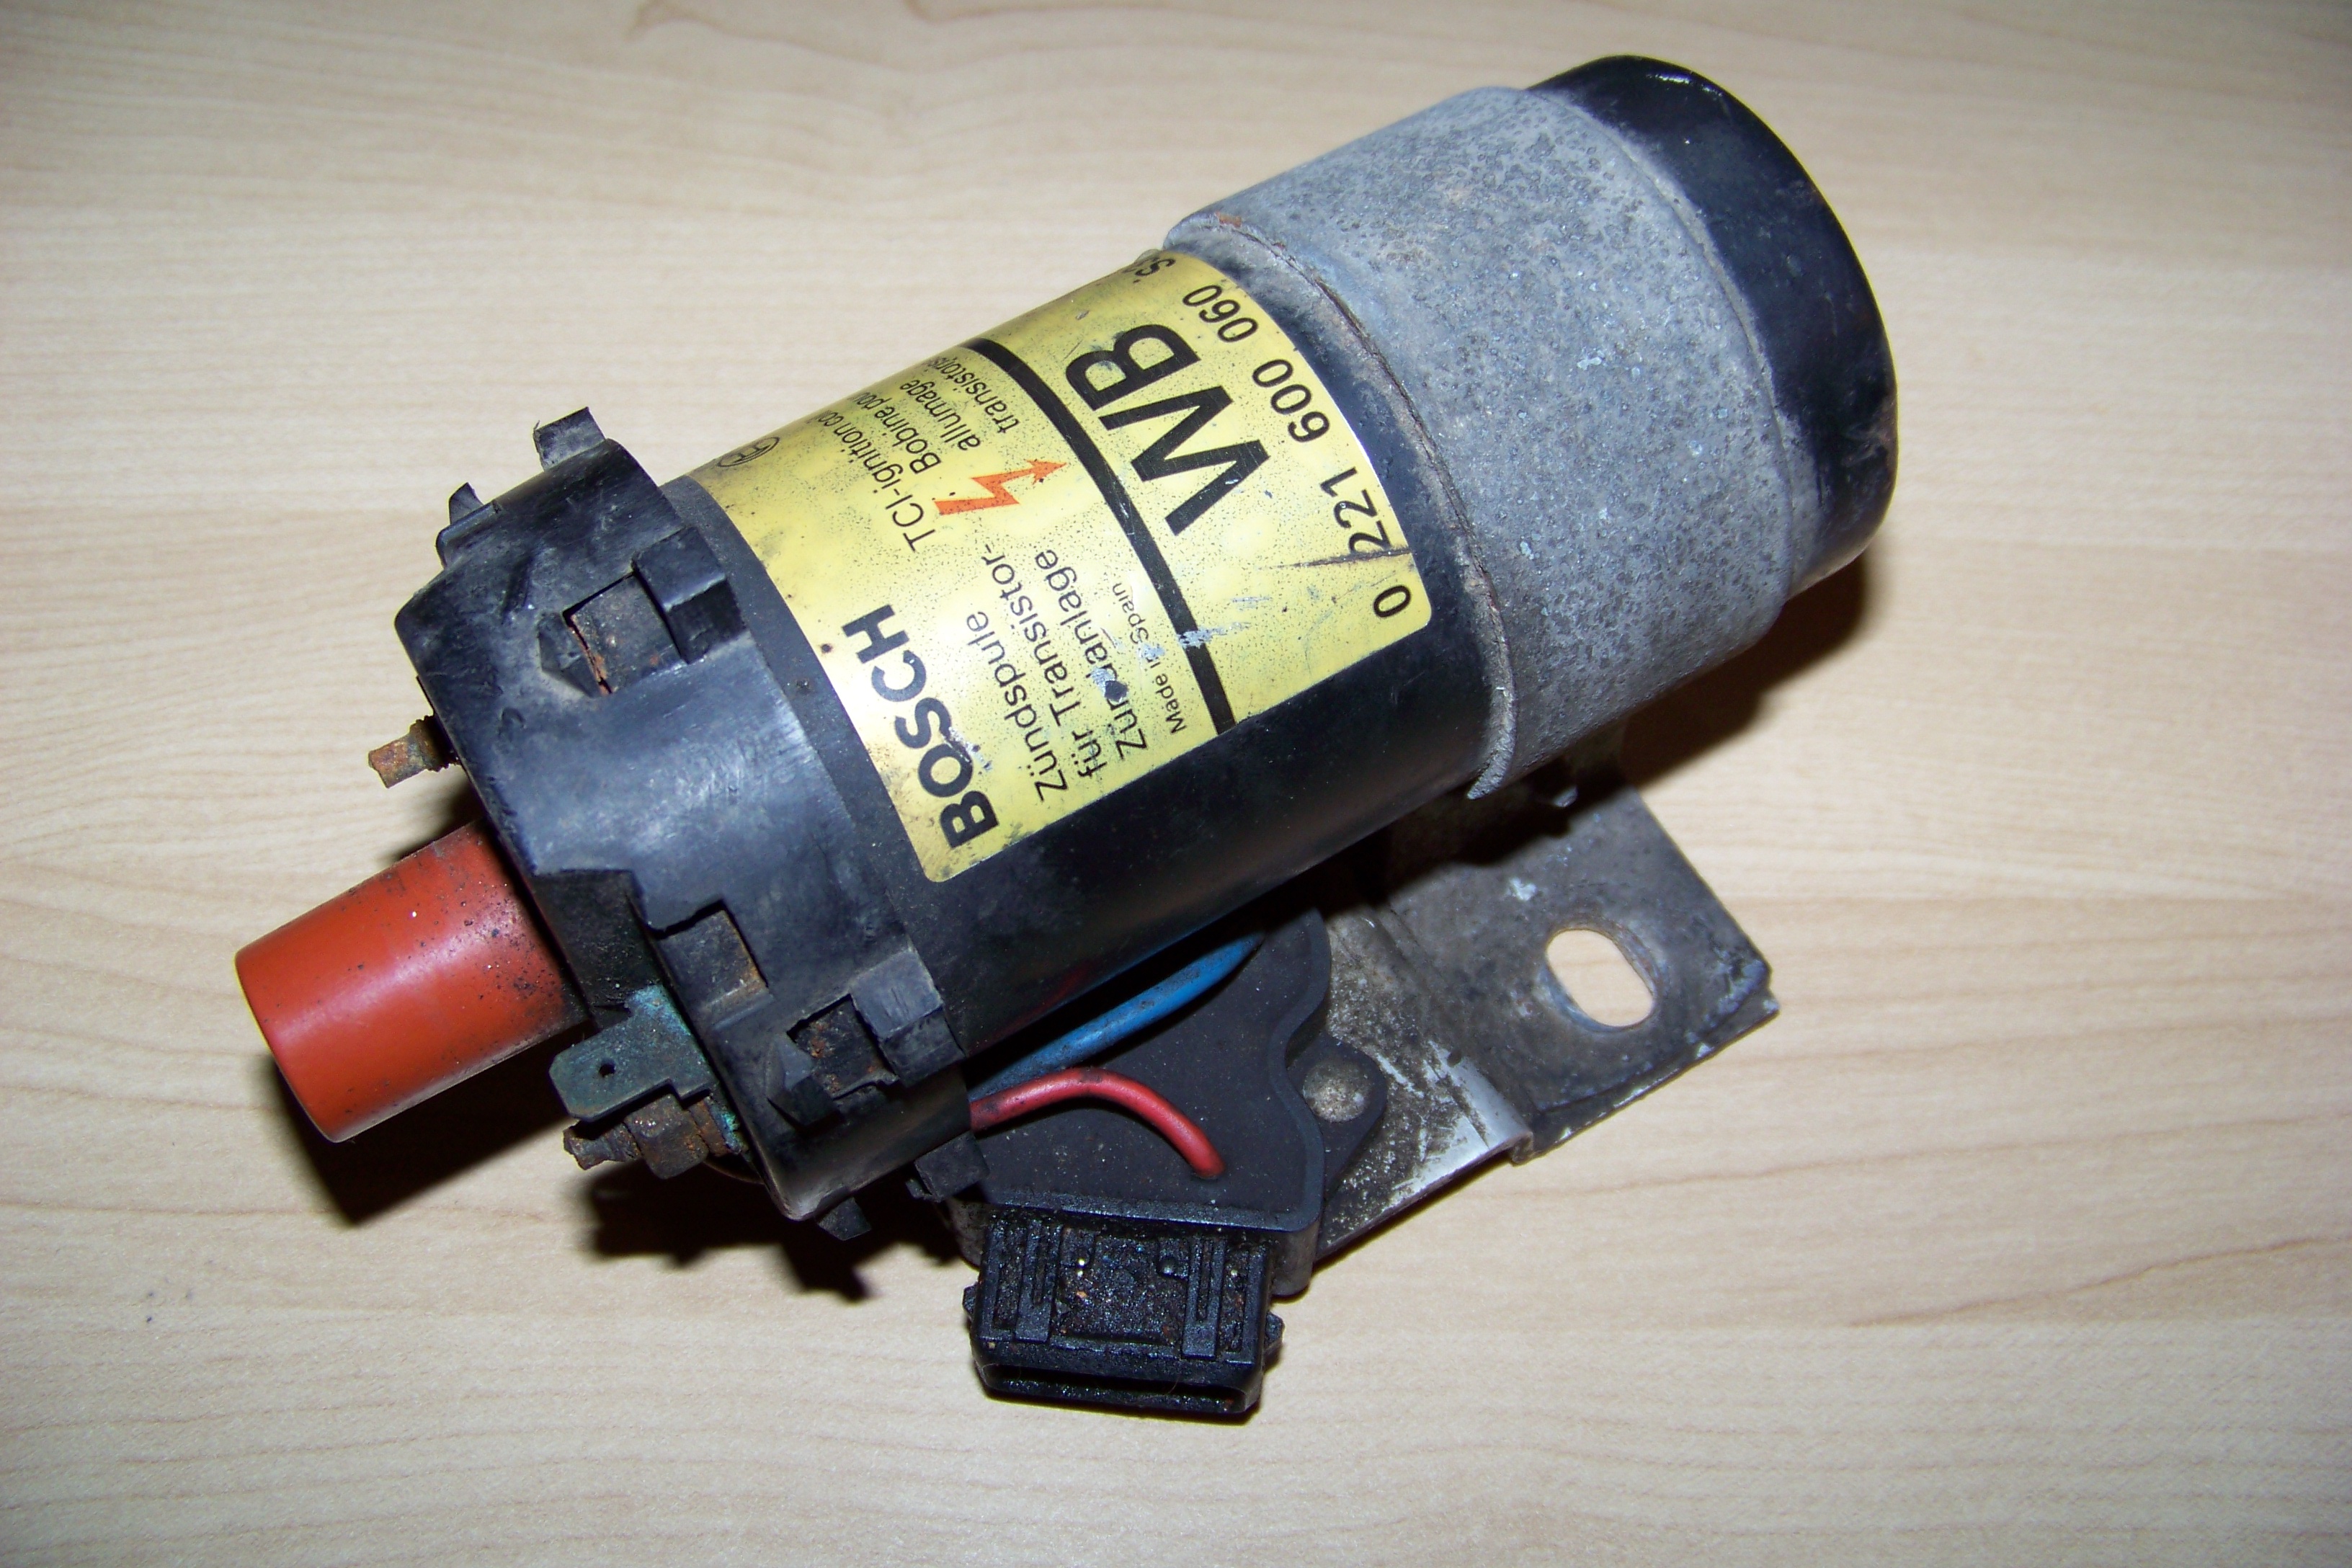
I did however receive my coil.
As with all the other engine parts in this project, it'll need a good clean up and a lick of paint. But will have to wait till Wednesday to get it sorted.
Sods law, times that I am absolutely free I have nothing to do and times that I got sh*t loads of stuff to sort out I'm not free. Really wish I could just have like a week off and just sort all this stuff out
Last edited by Nova_Tek; 16-05-20 at 09:44 PM. Reason: Image rehosting
Update
Another small one but an update none-the-less.
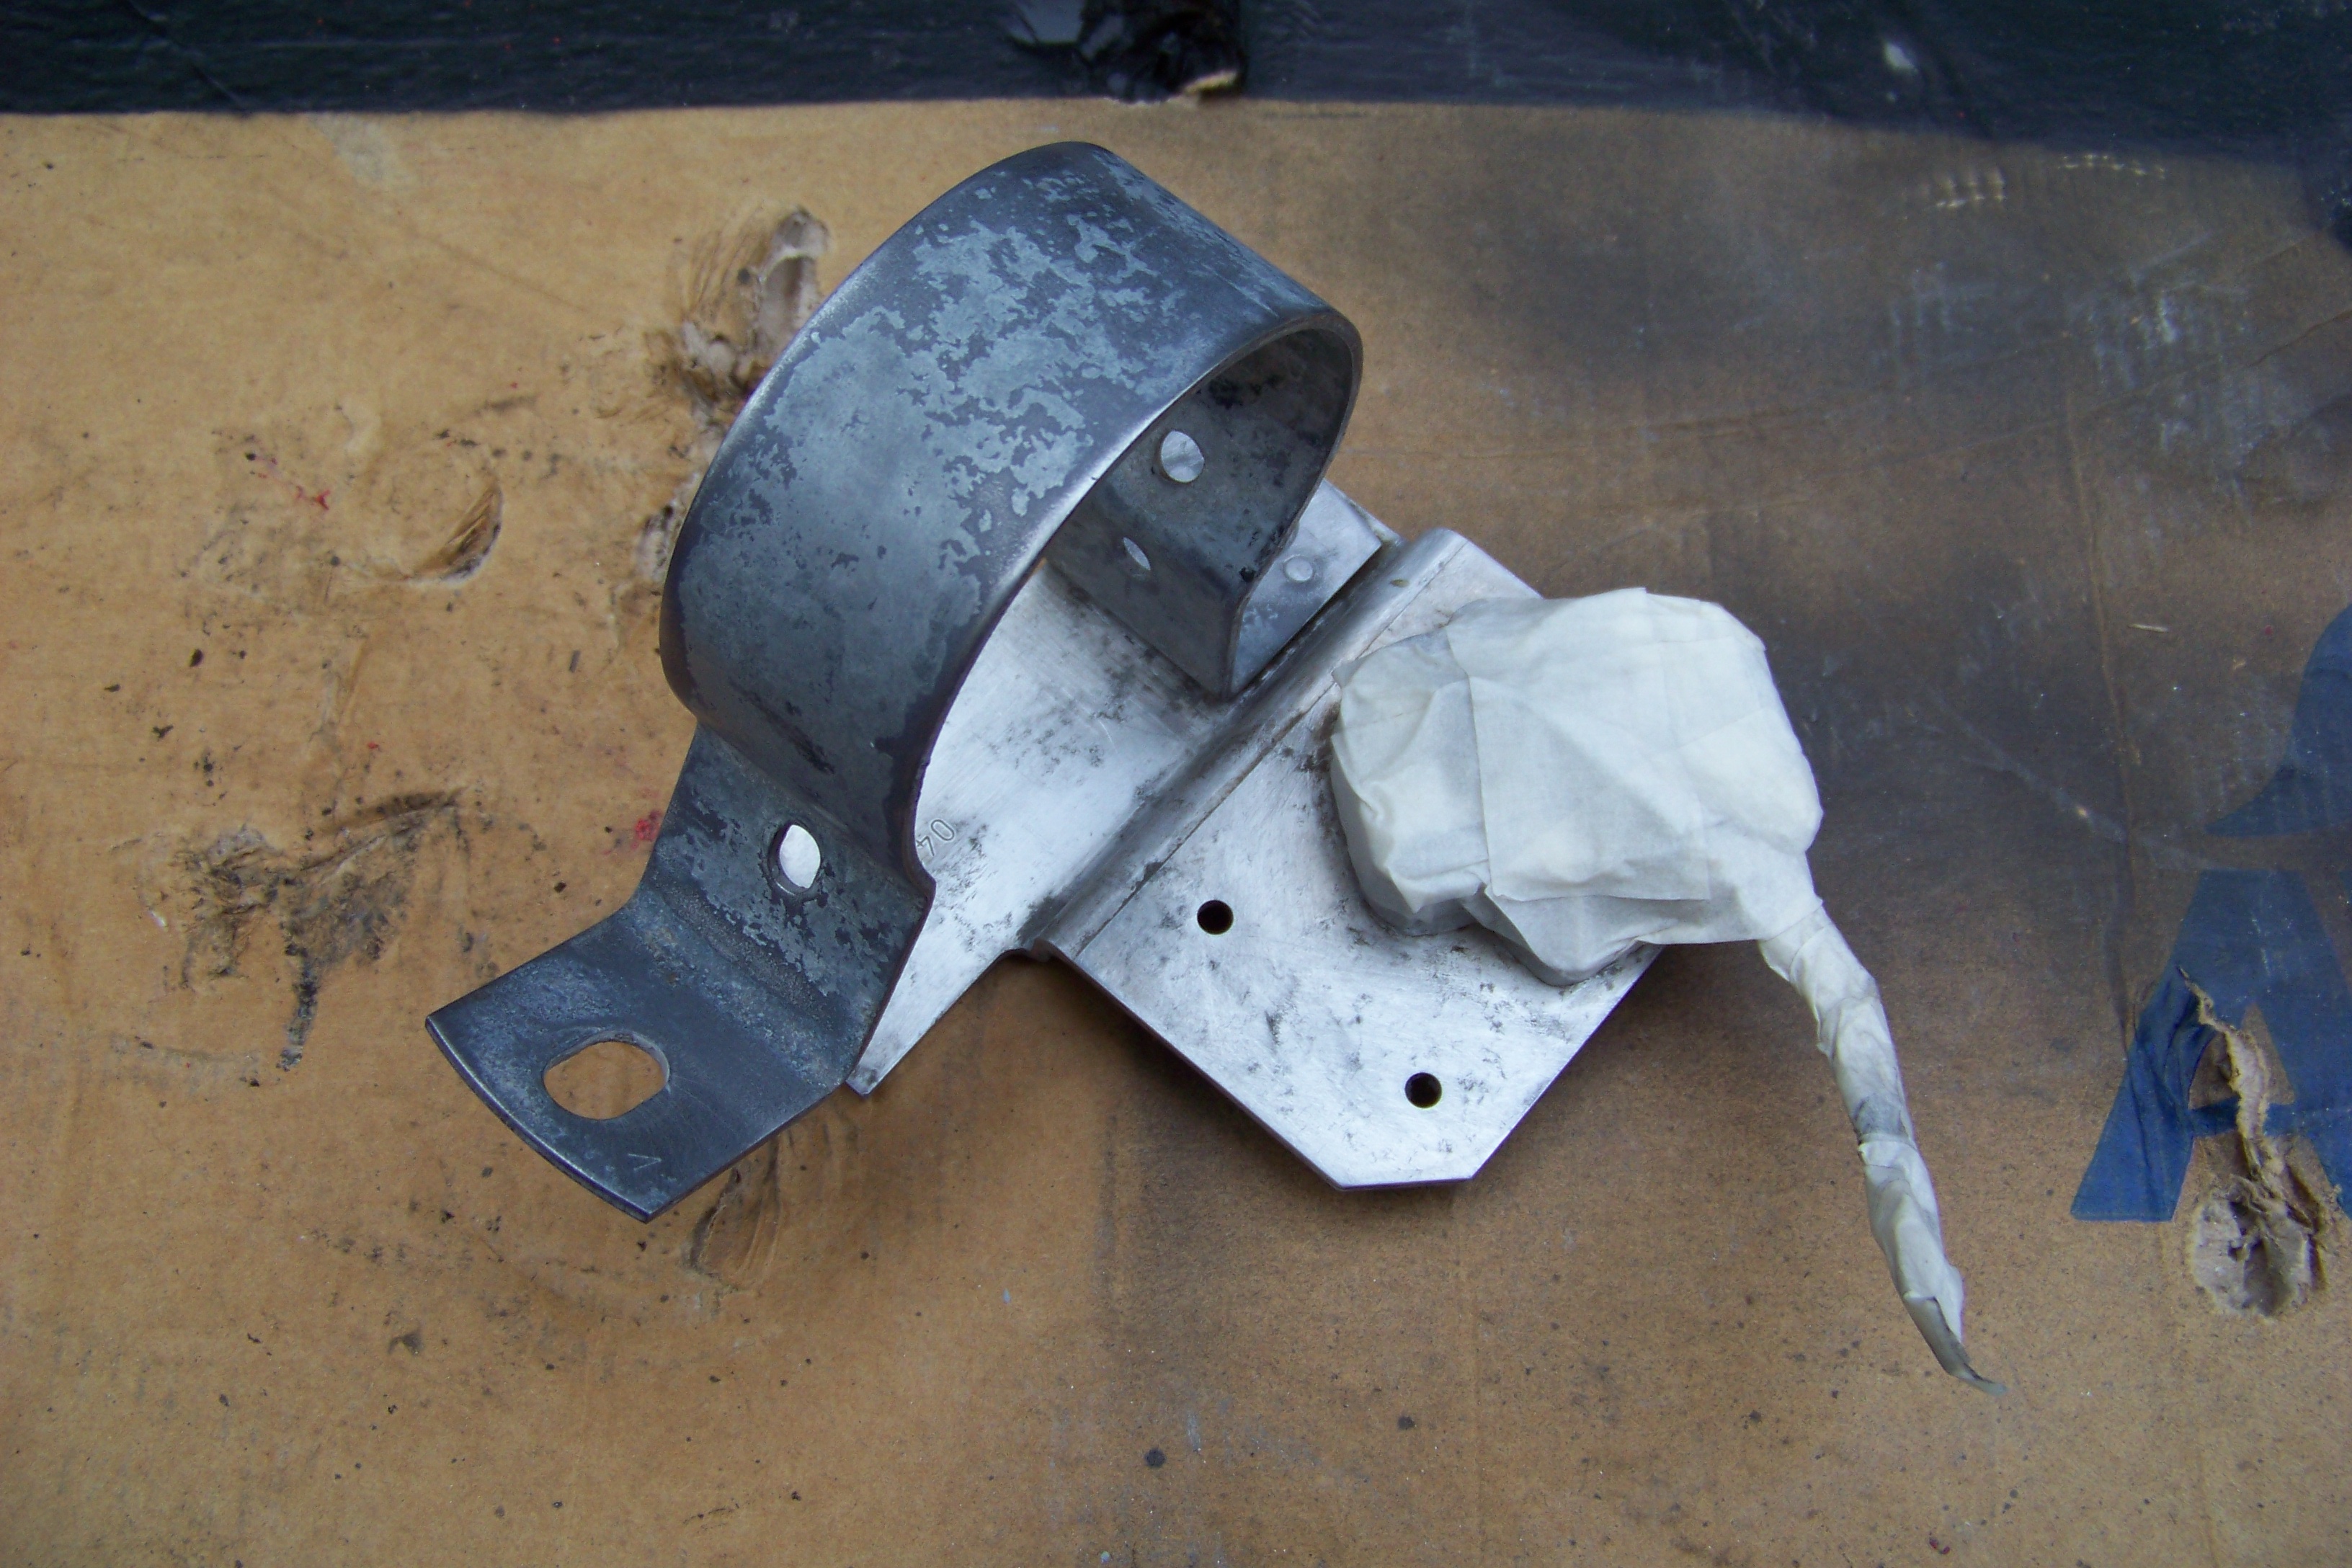
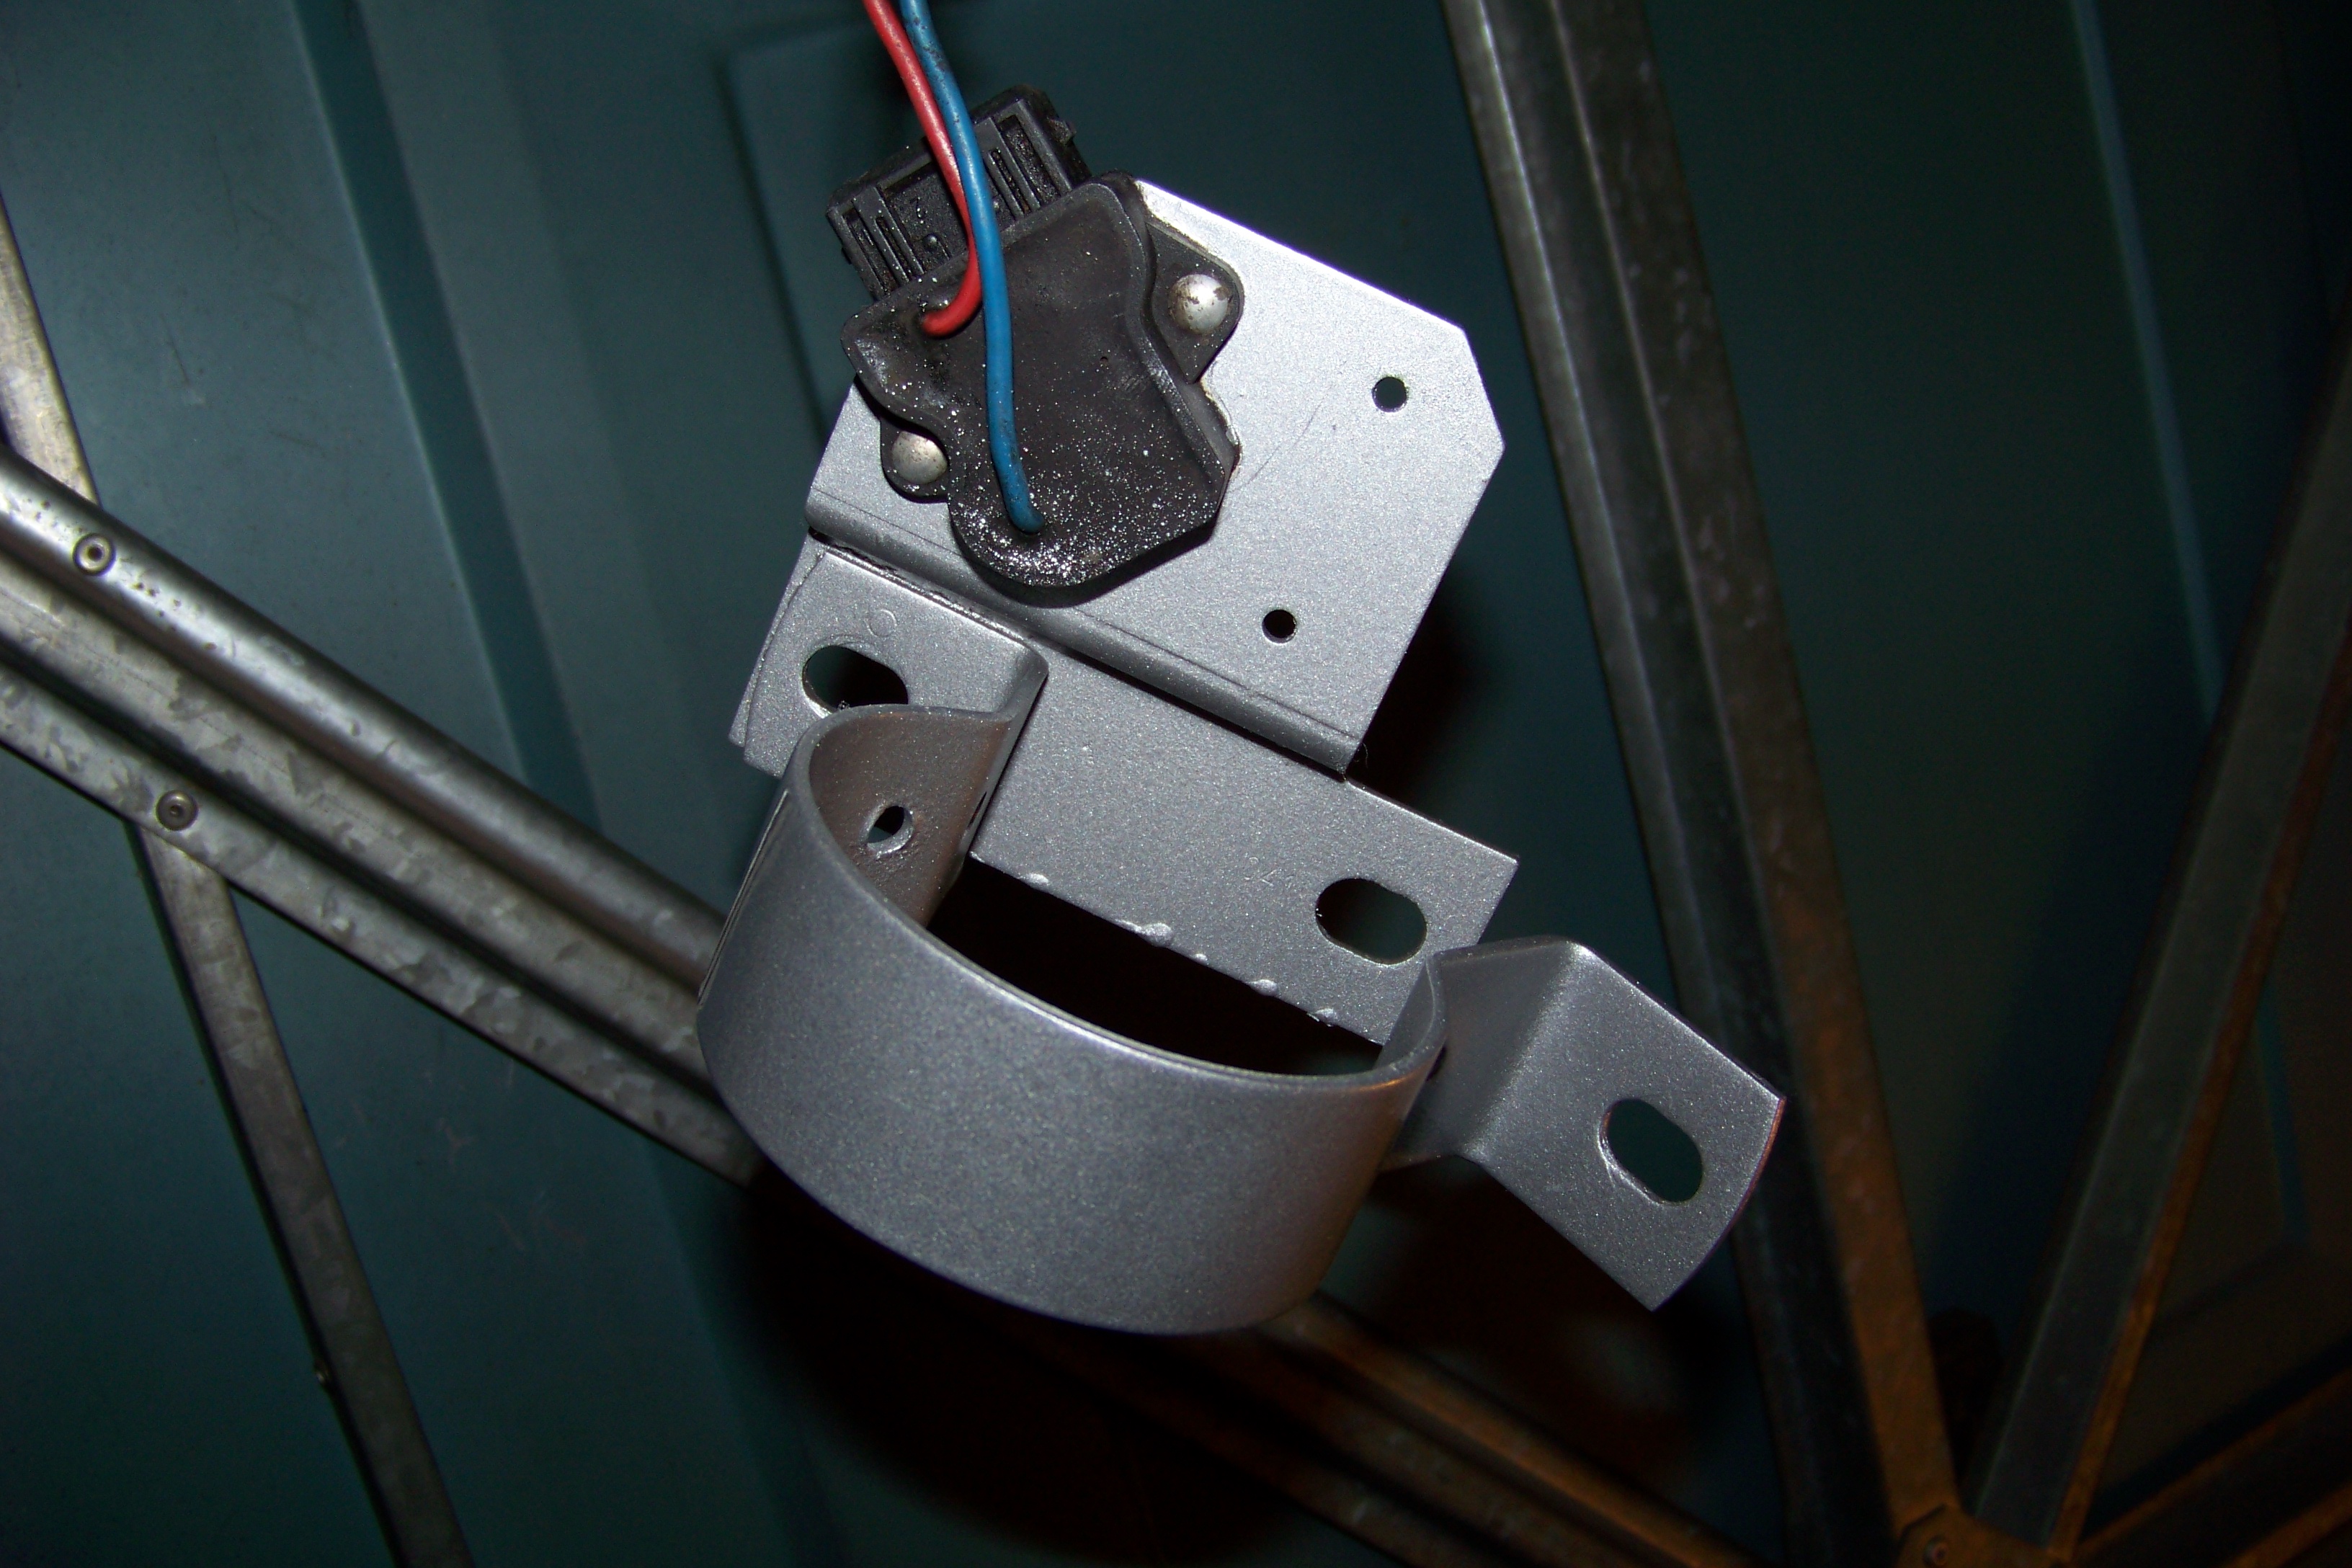
As I had received the coil the other day and with my never ending efforts to make everything look mint I couldn't resist not sorting out the tatty looks of the coil. I took it apart and stripped it down of dirt and corrosion.
Gave it a few coats of Hammerite and let that dry... (it's still drying! Hammerite takes ages to dry!)
I also cleaned up the coil and all the screws, washers and connectors on it (no pics I'm afraid). I will get pics of that when I reassemble the coil and it's cradle.
I then moved on to the oil pick up pipe. As the sump has been cleaned and painted and looks top notch I had to get the pick up pipe to match.
Took a while as the oil was caked on. But some elbow together with a good old brillo pad shifted all the crap and got it looking sweet. Just need to get some carb cleaner and flush the gauze as there are a few tiny particles caught in it.
I then took a break and remembered that I ordered a gearbox reverse switch for the SR. Went and grabbed that, had lunch and did a few more things.
When I got back I decided to do a bit more work. Popped into the garage and got cracking with the boot popper solenoid. I managed to get the wires to it a few updates ago but hadn't had the chance to secure it in place.
First I offered it up next to the boot latch and marked out where I was going to drill the holes for the retaining bar. Drilled those holes out and screwed the bar into place and then the solenoid to it. As the boot popper kit had a connecting rod supplied I removed the old connecting rod, removed the latch off the boot and measured up how much rod was needed. I did this by using a length of electrical wire and mocked up the length. I then cut the new connecting rod to size, checked the fit and bent it on to the solenoid. I thought it was gonna be a nightmare to get right but I got it in one thankfully. I then drilled a second hole to secure the solenoid properly and refitted everything.
Et VoilÃ*, a perfect fit. The boot lock pulls the solenoid fully out and the solenoid when activated will pull it fully to open. Absolutely no play in the connecting rod when open or closed
I then grabbed the inlet manifold and started stripping hoses and what not off it to prepare it for paint tomorrow. Will be treating it to some silver VHT paint, so to save time I decided to strip and mask it now. Unfortunately I didn't take pics but all that will be done tomorrow.
Last edited by Nova_Tek; 16-05-20 at 10:13 PM. Reason: Image rehosting

Dude that weld cleaned and sealed up.
You might find that popper burns out, as they dont have much power in the pull. I've gone few a few. The proper ones are a bit better.
All I wanted was a Pepsi, just one PepsiFar from suicidalStill I get them tendenciesBringing back them memories
That I really miss when I reminisce
I will be sorting that weld out. Gold hammerite may do the trick.
Hopefully it won't burn out, I bought it as it's meant to be a proper popper, didn't wanna use the central locking solenoid. We'll see how it goes.
Top work there
As Benn said, get the weld on the lock blank in the tailgate, primmed and sealed up with seam sealer
Posting Permissions

 Reply With Quote