Page 53 of 111 FirstFirst ... 343515253545563103 ... LastLast
Results 521 to 530 of 1104

Thread: Project: Gold Snowplough Turbo

  1. #521
    Gold Club Member# 001 Club Member Nova_Tek's Avatar
    Join Date
    Jul 2002
    Location
    Hertfordshire..... Builds: ......... Snowplough'd LET
    Posts
    8,107
    Post Thanks / Like
    Mentioned
    0 Post(s)
    Tagged
    0 Thread(s)

    Default

    Update

    Another small one...

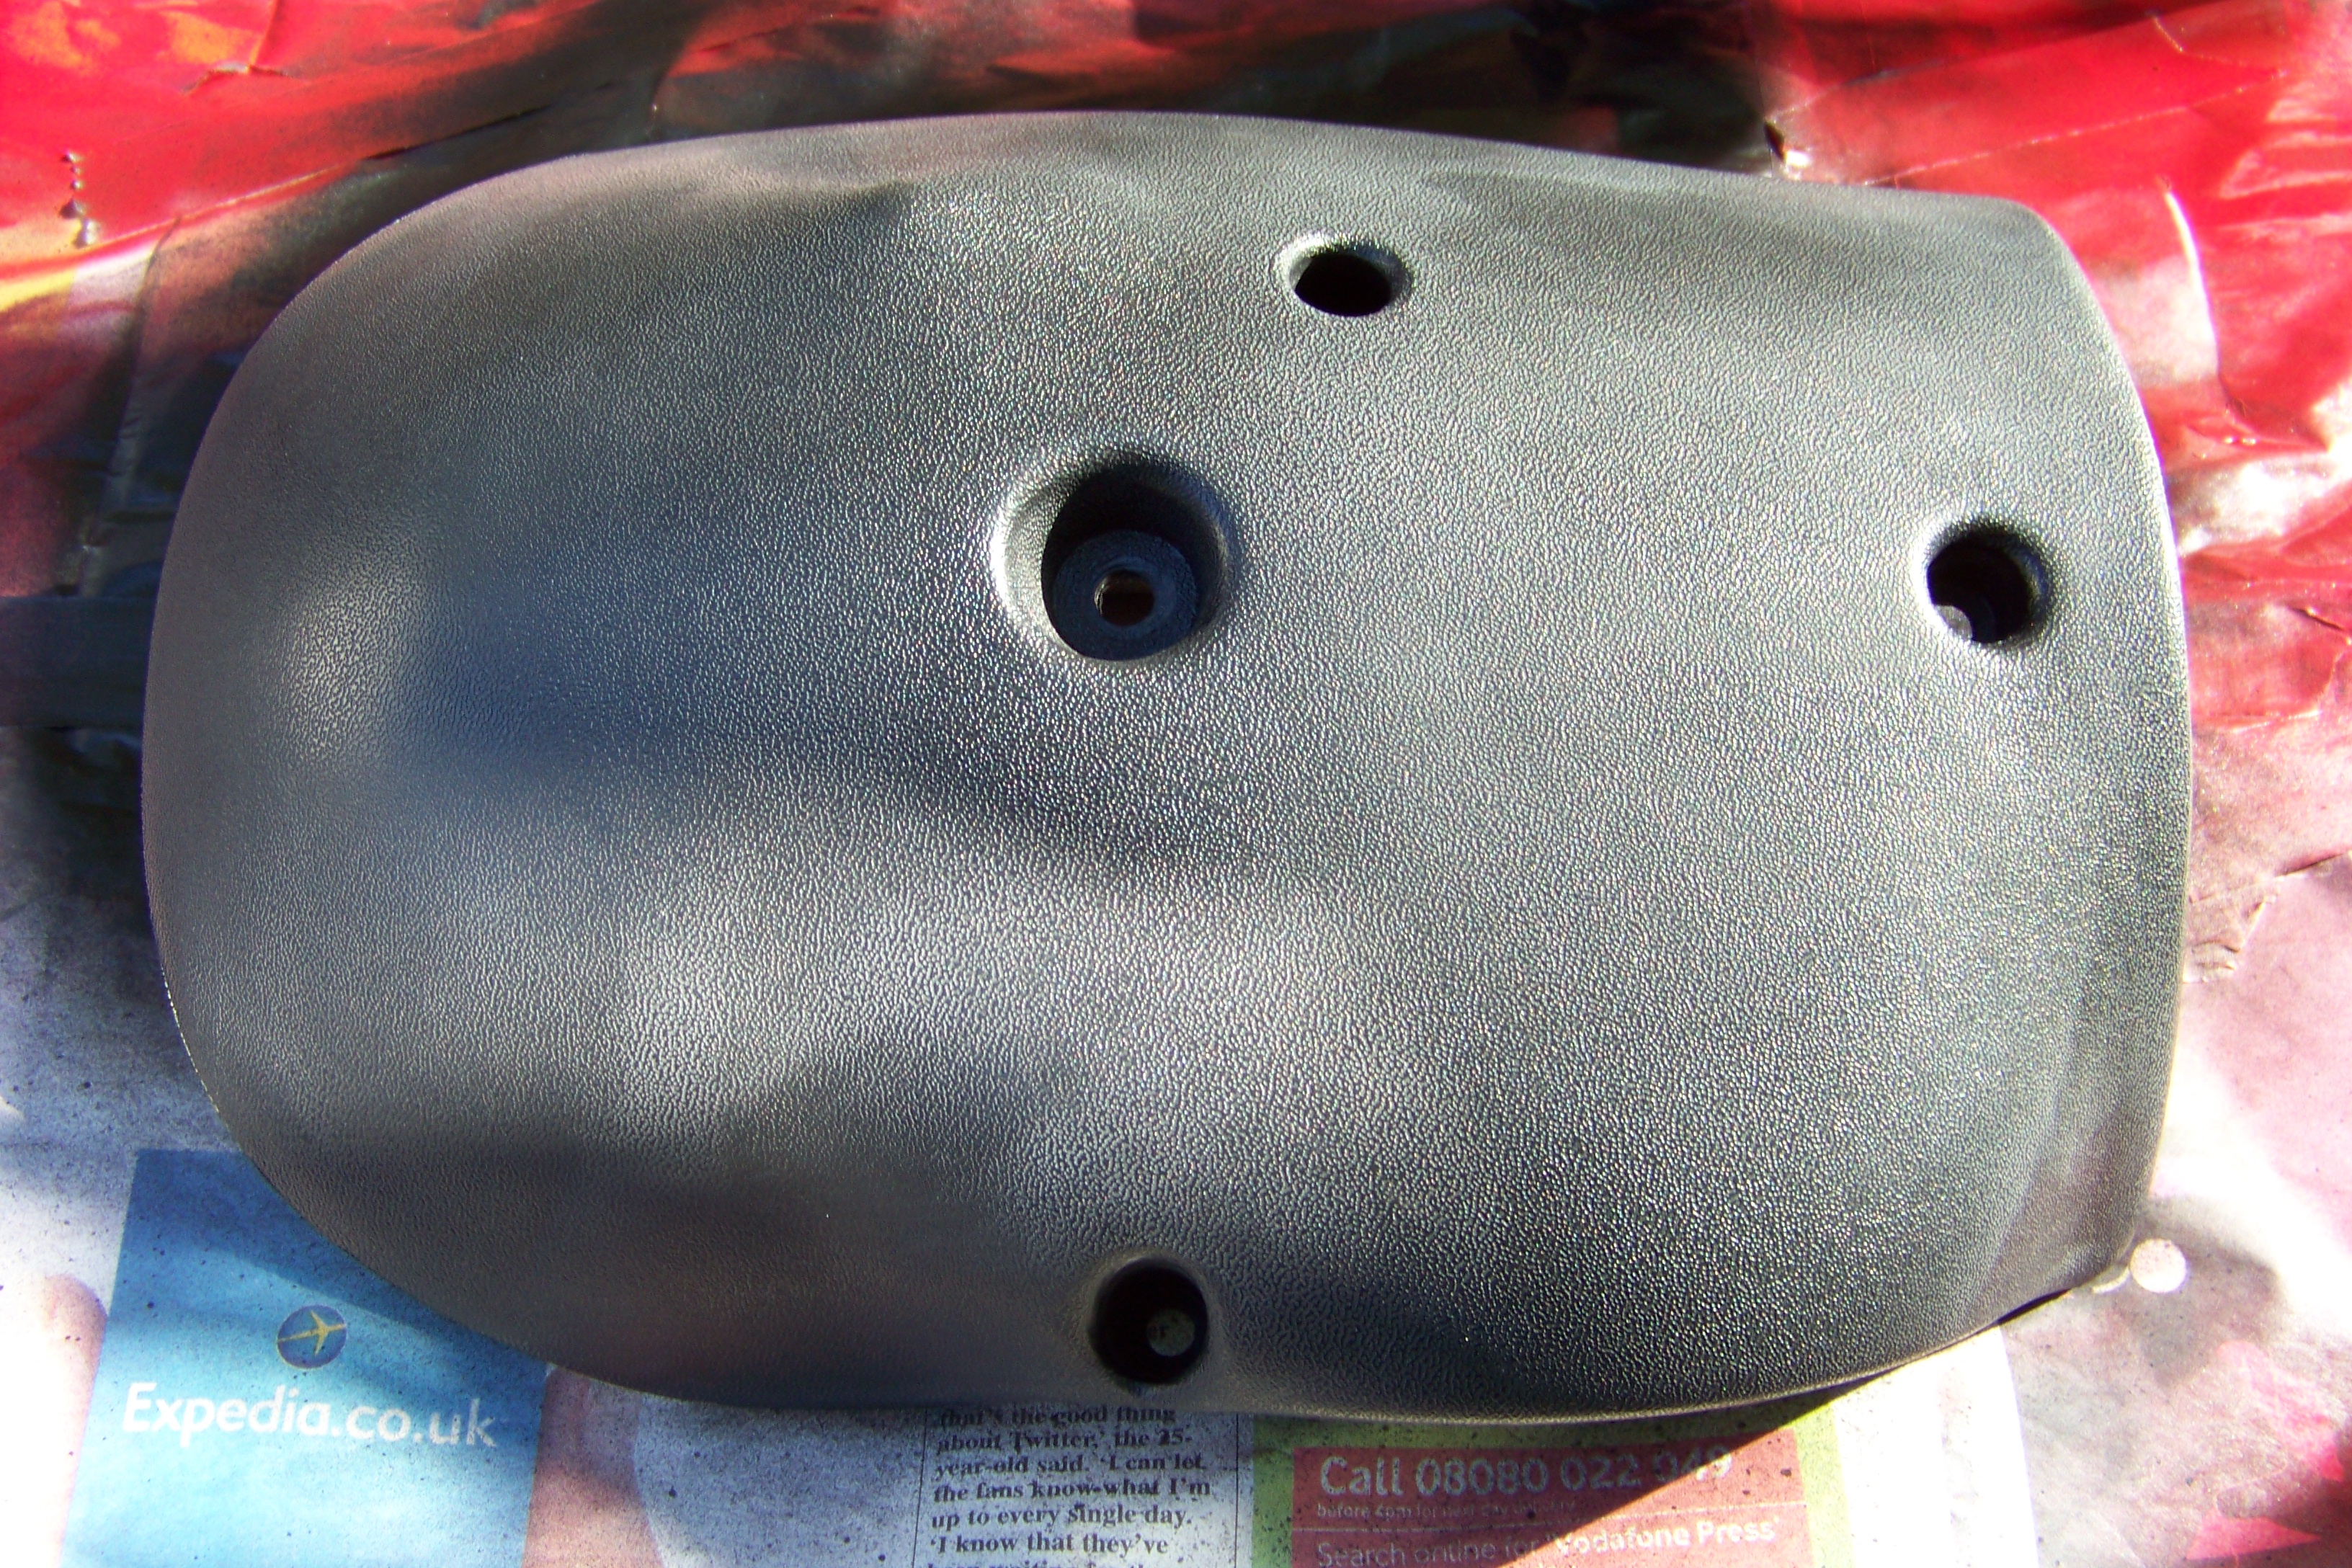
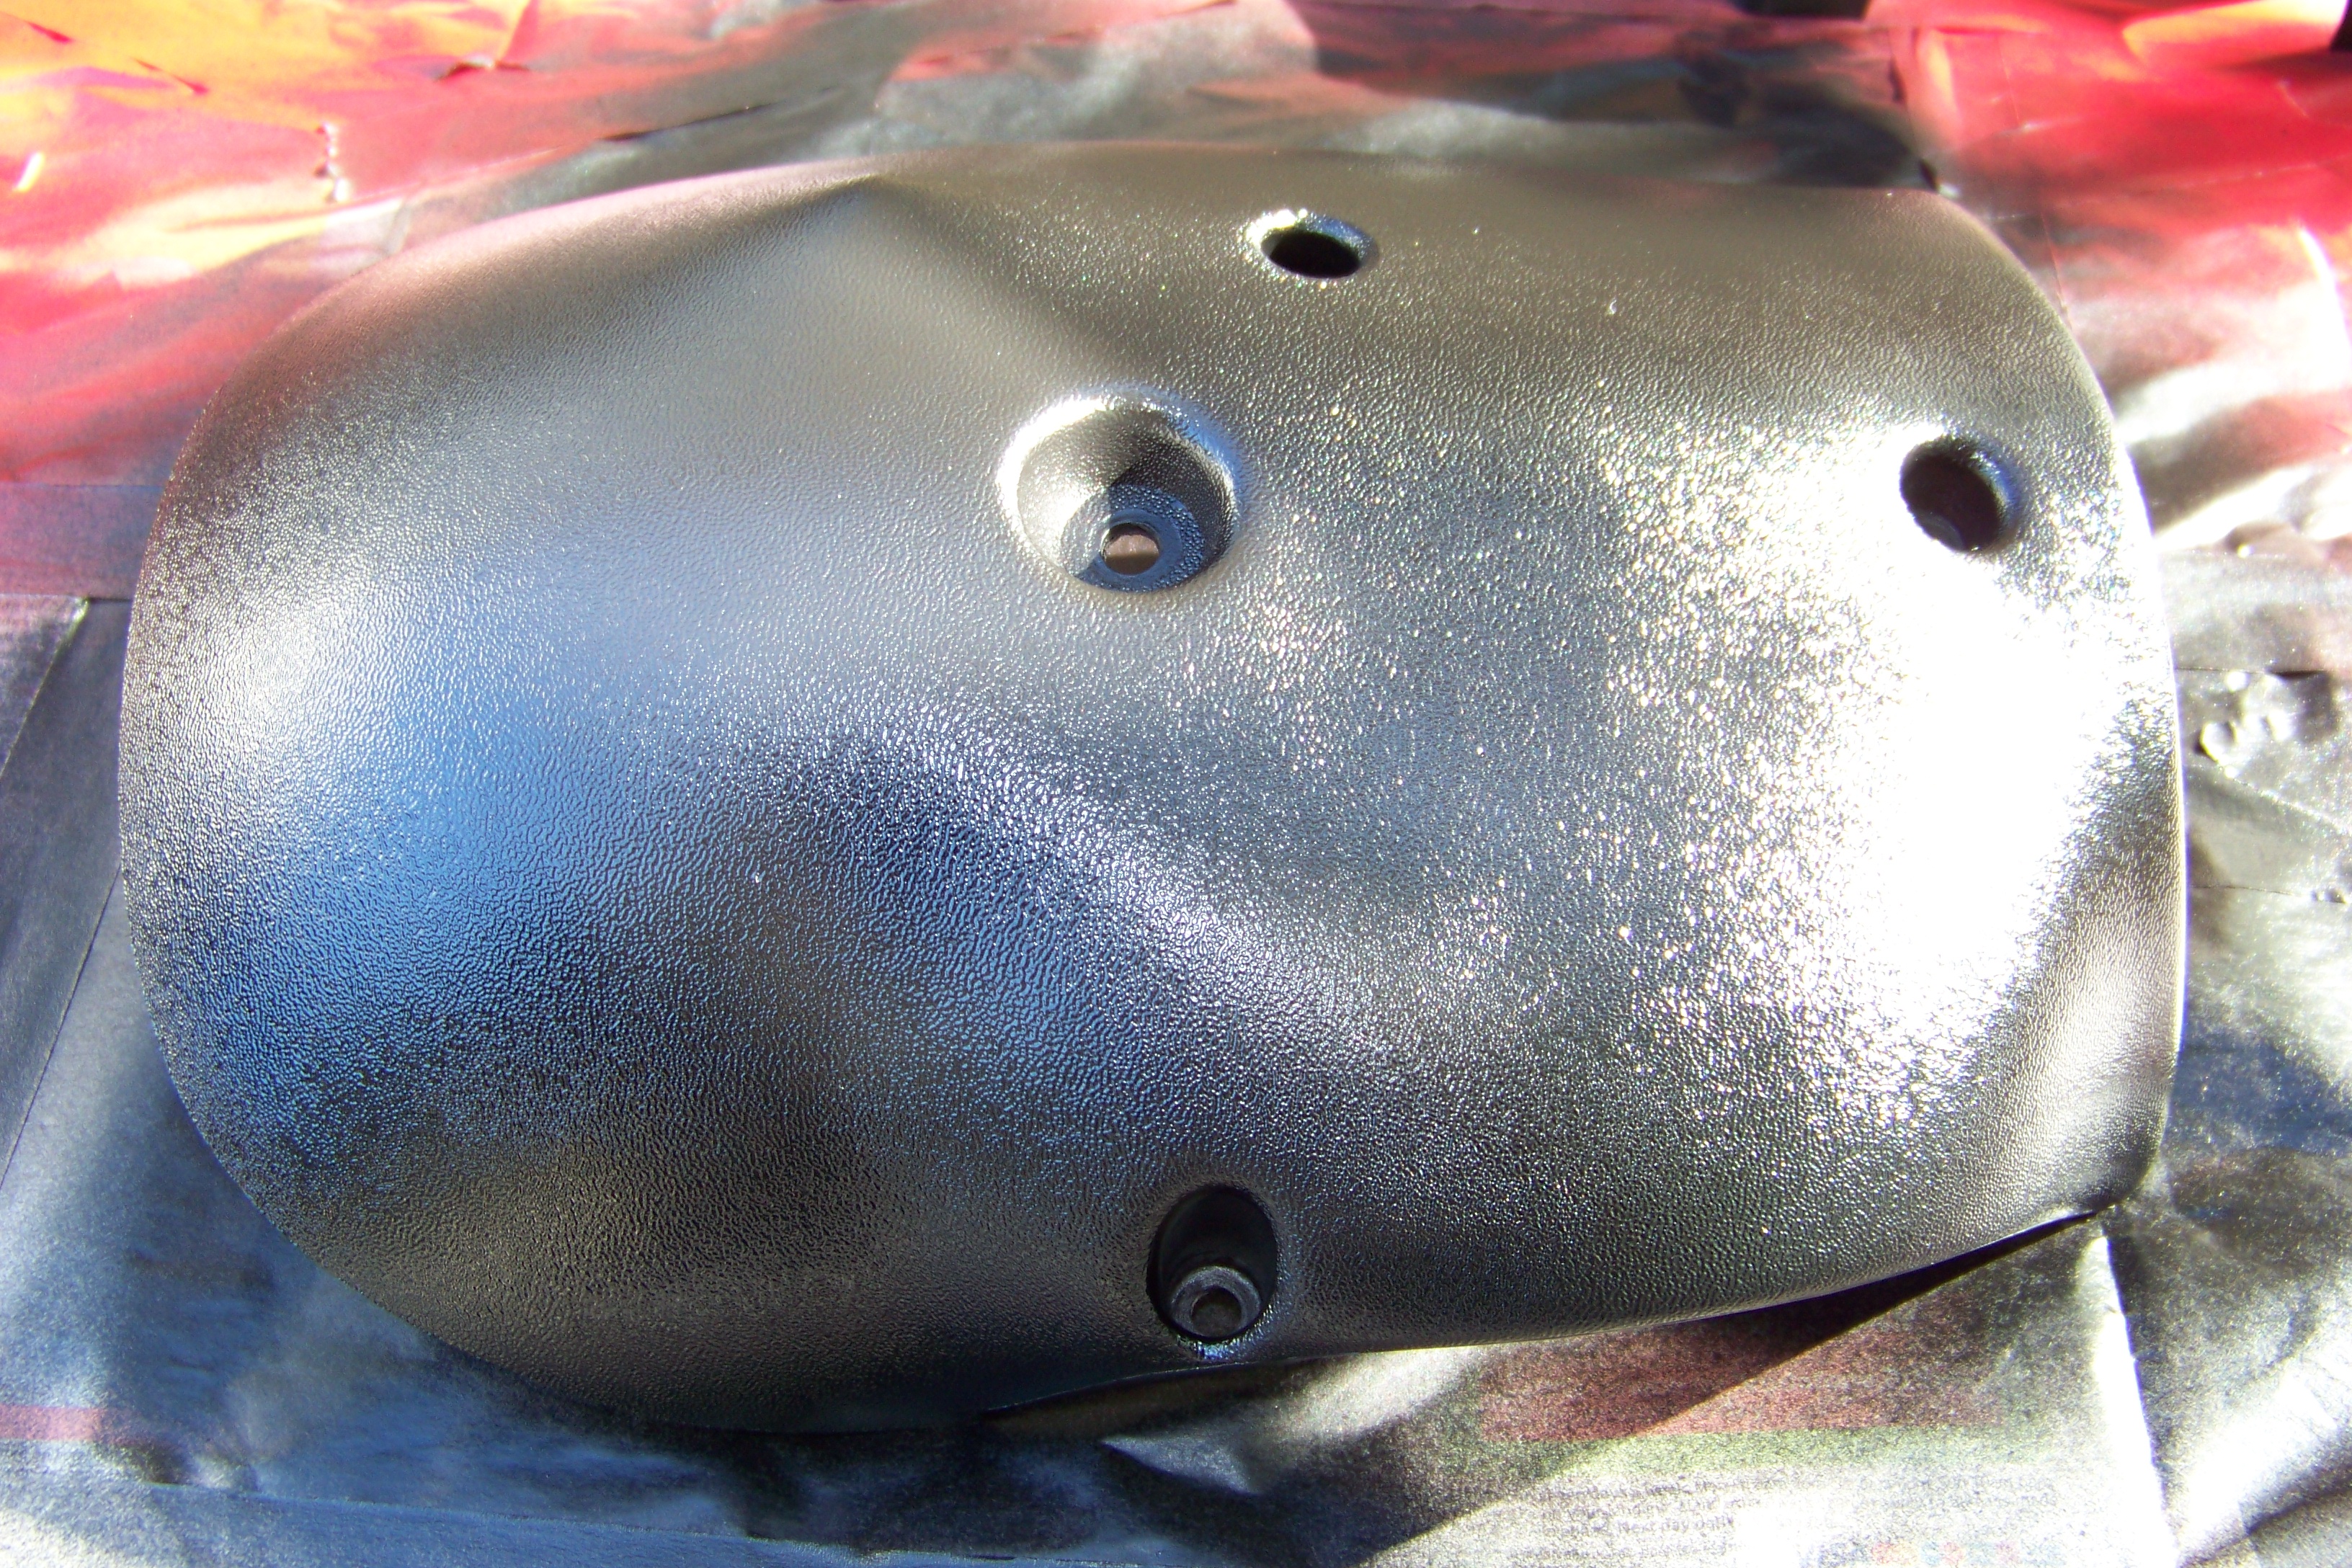
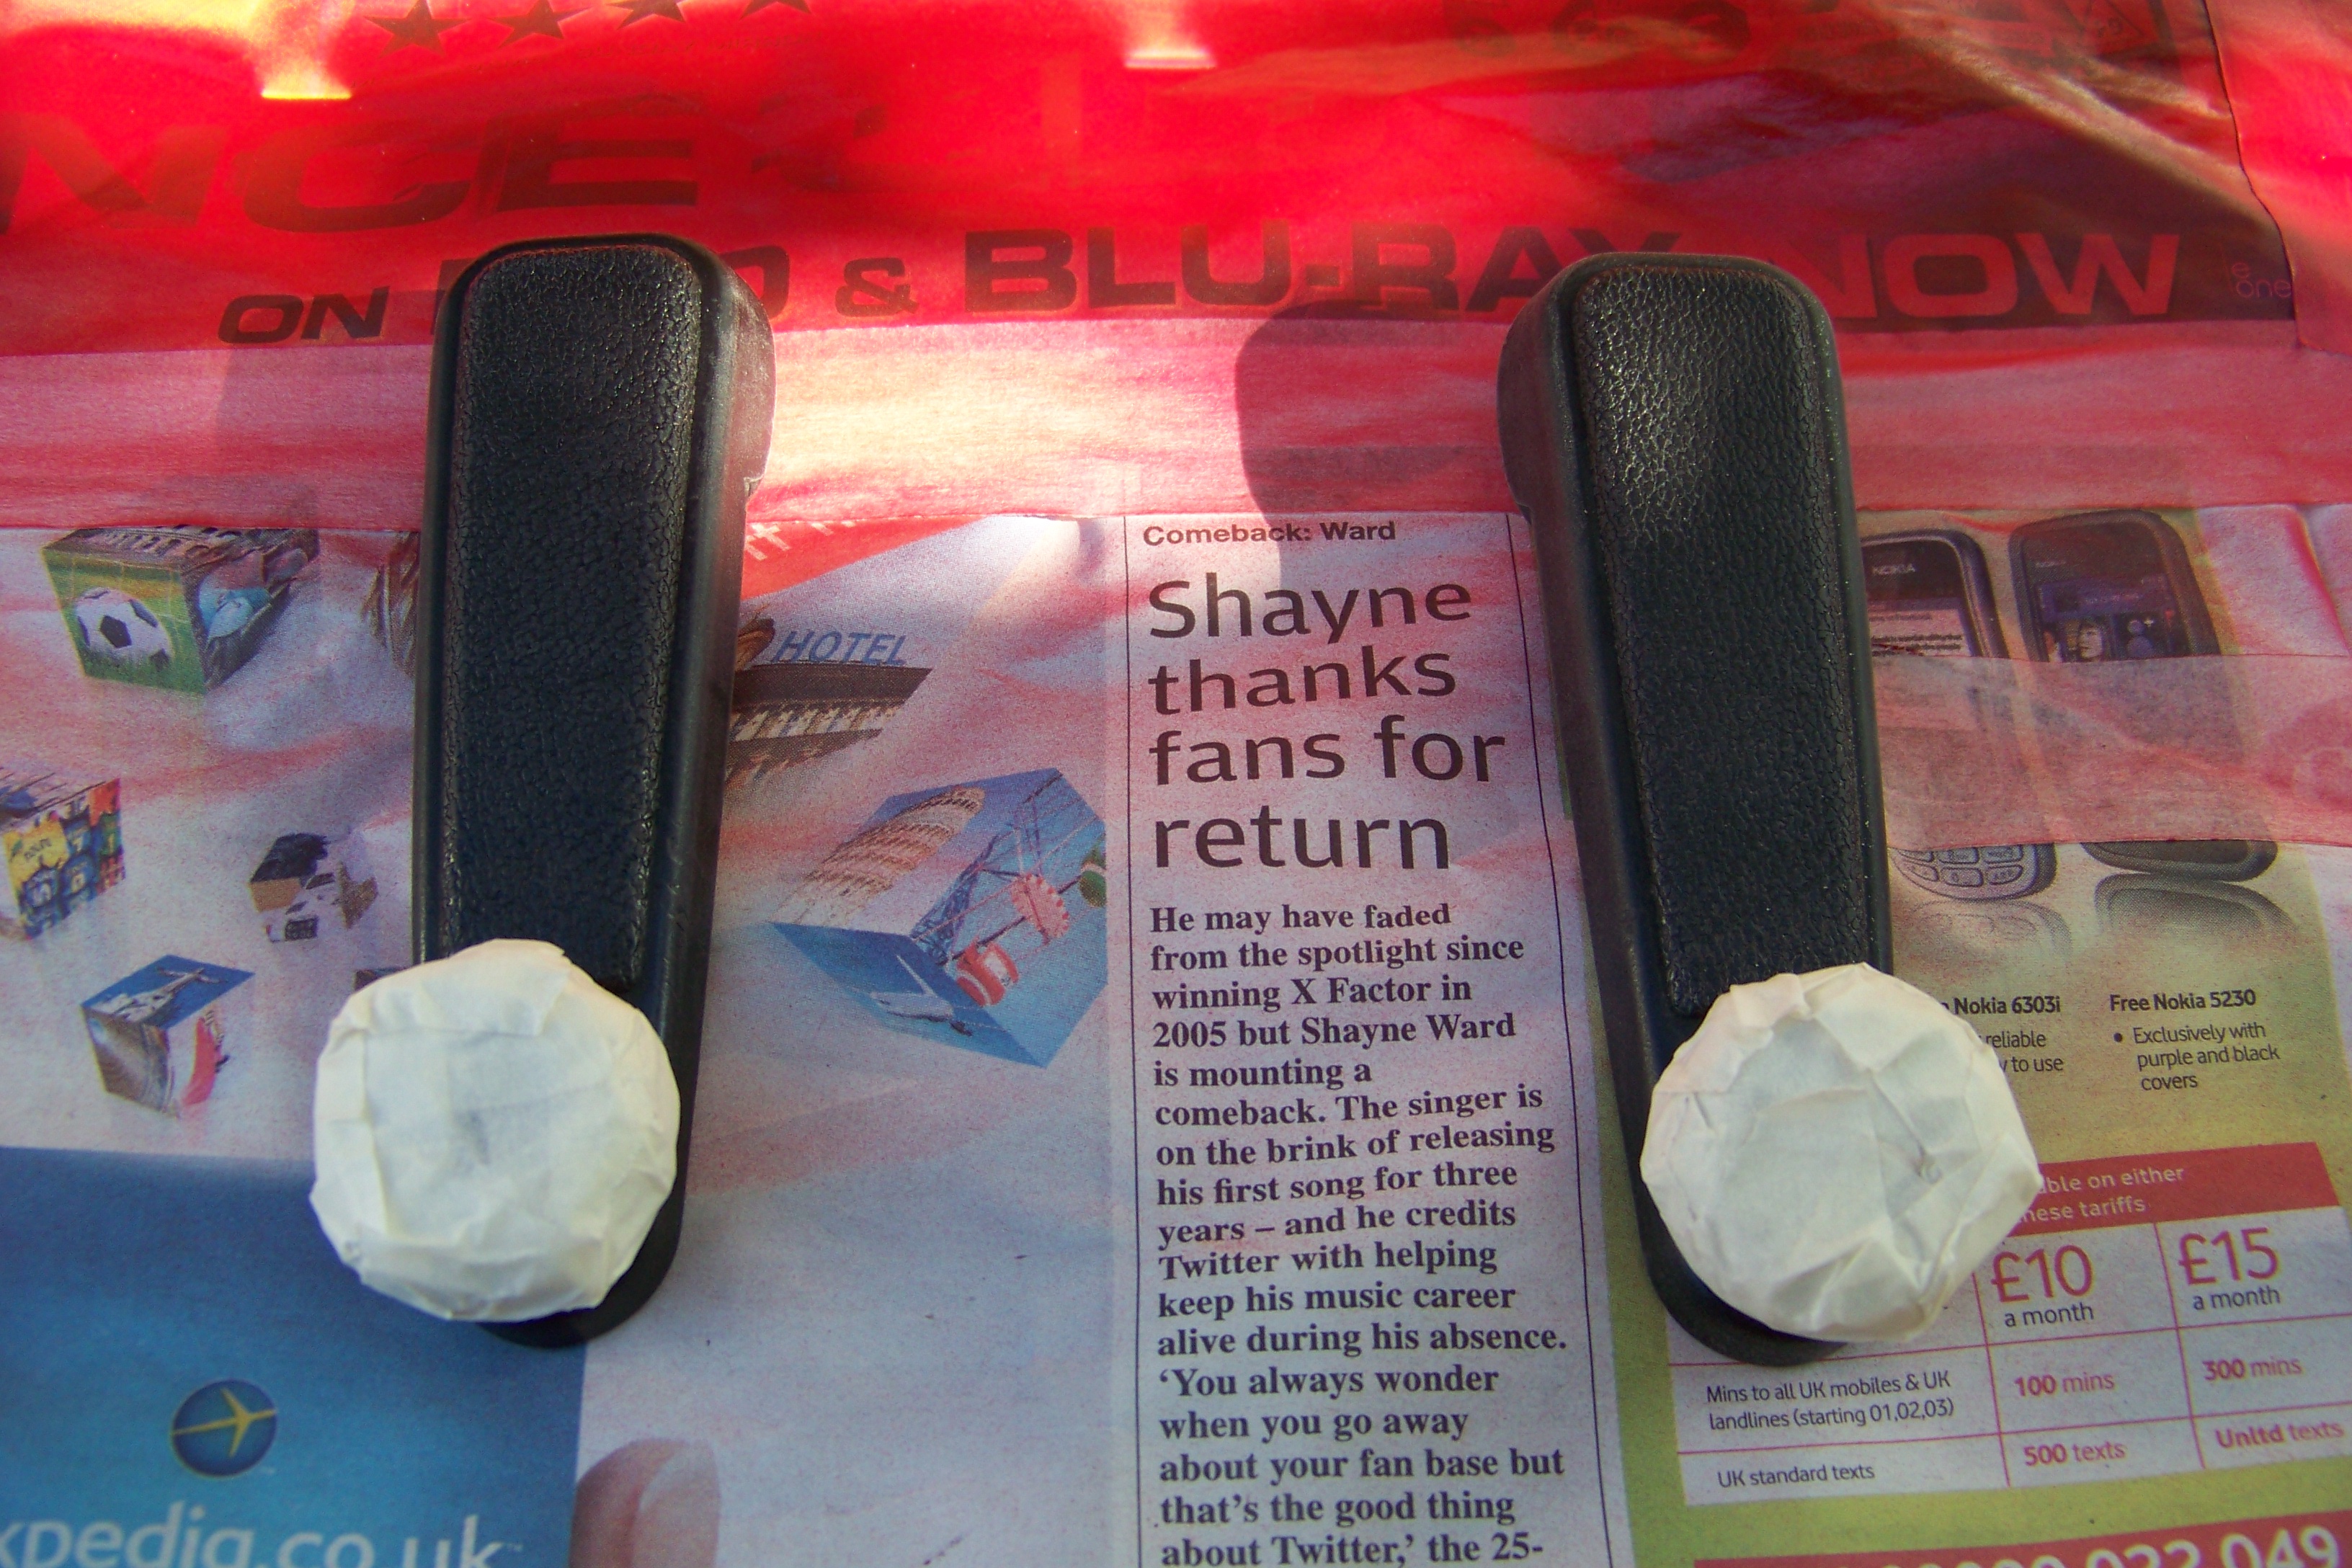
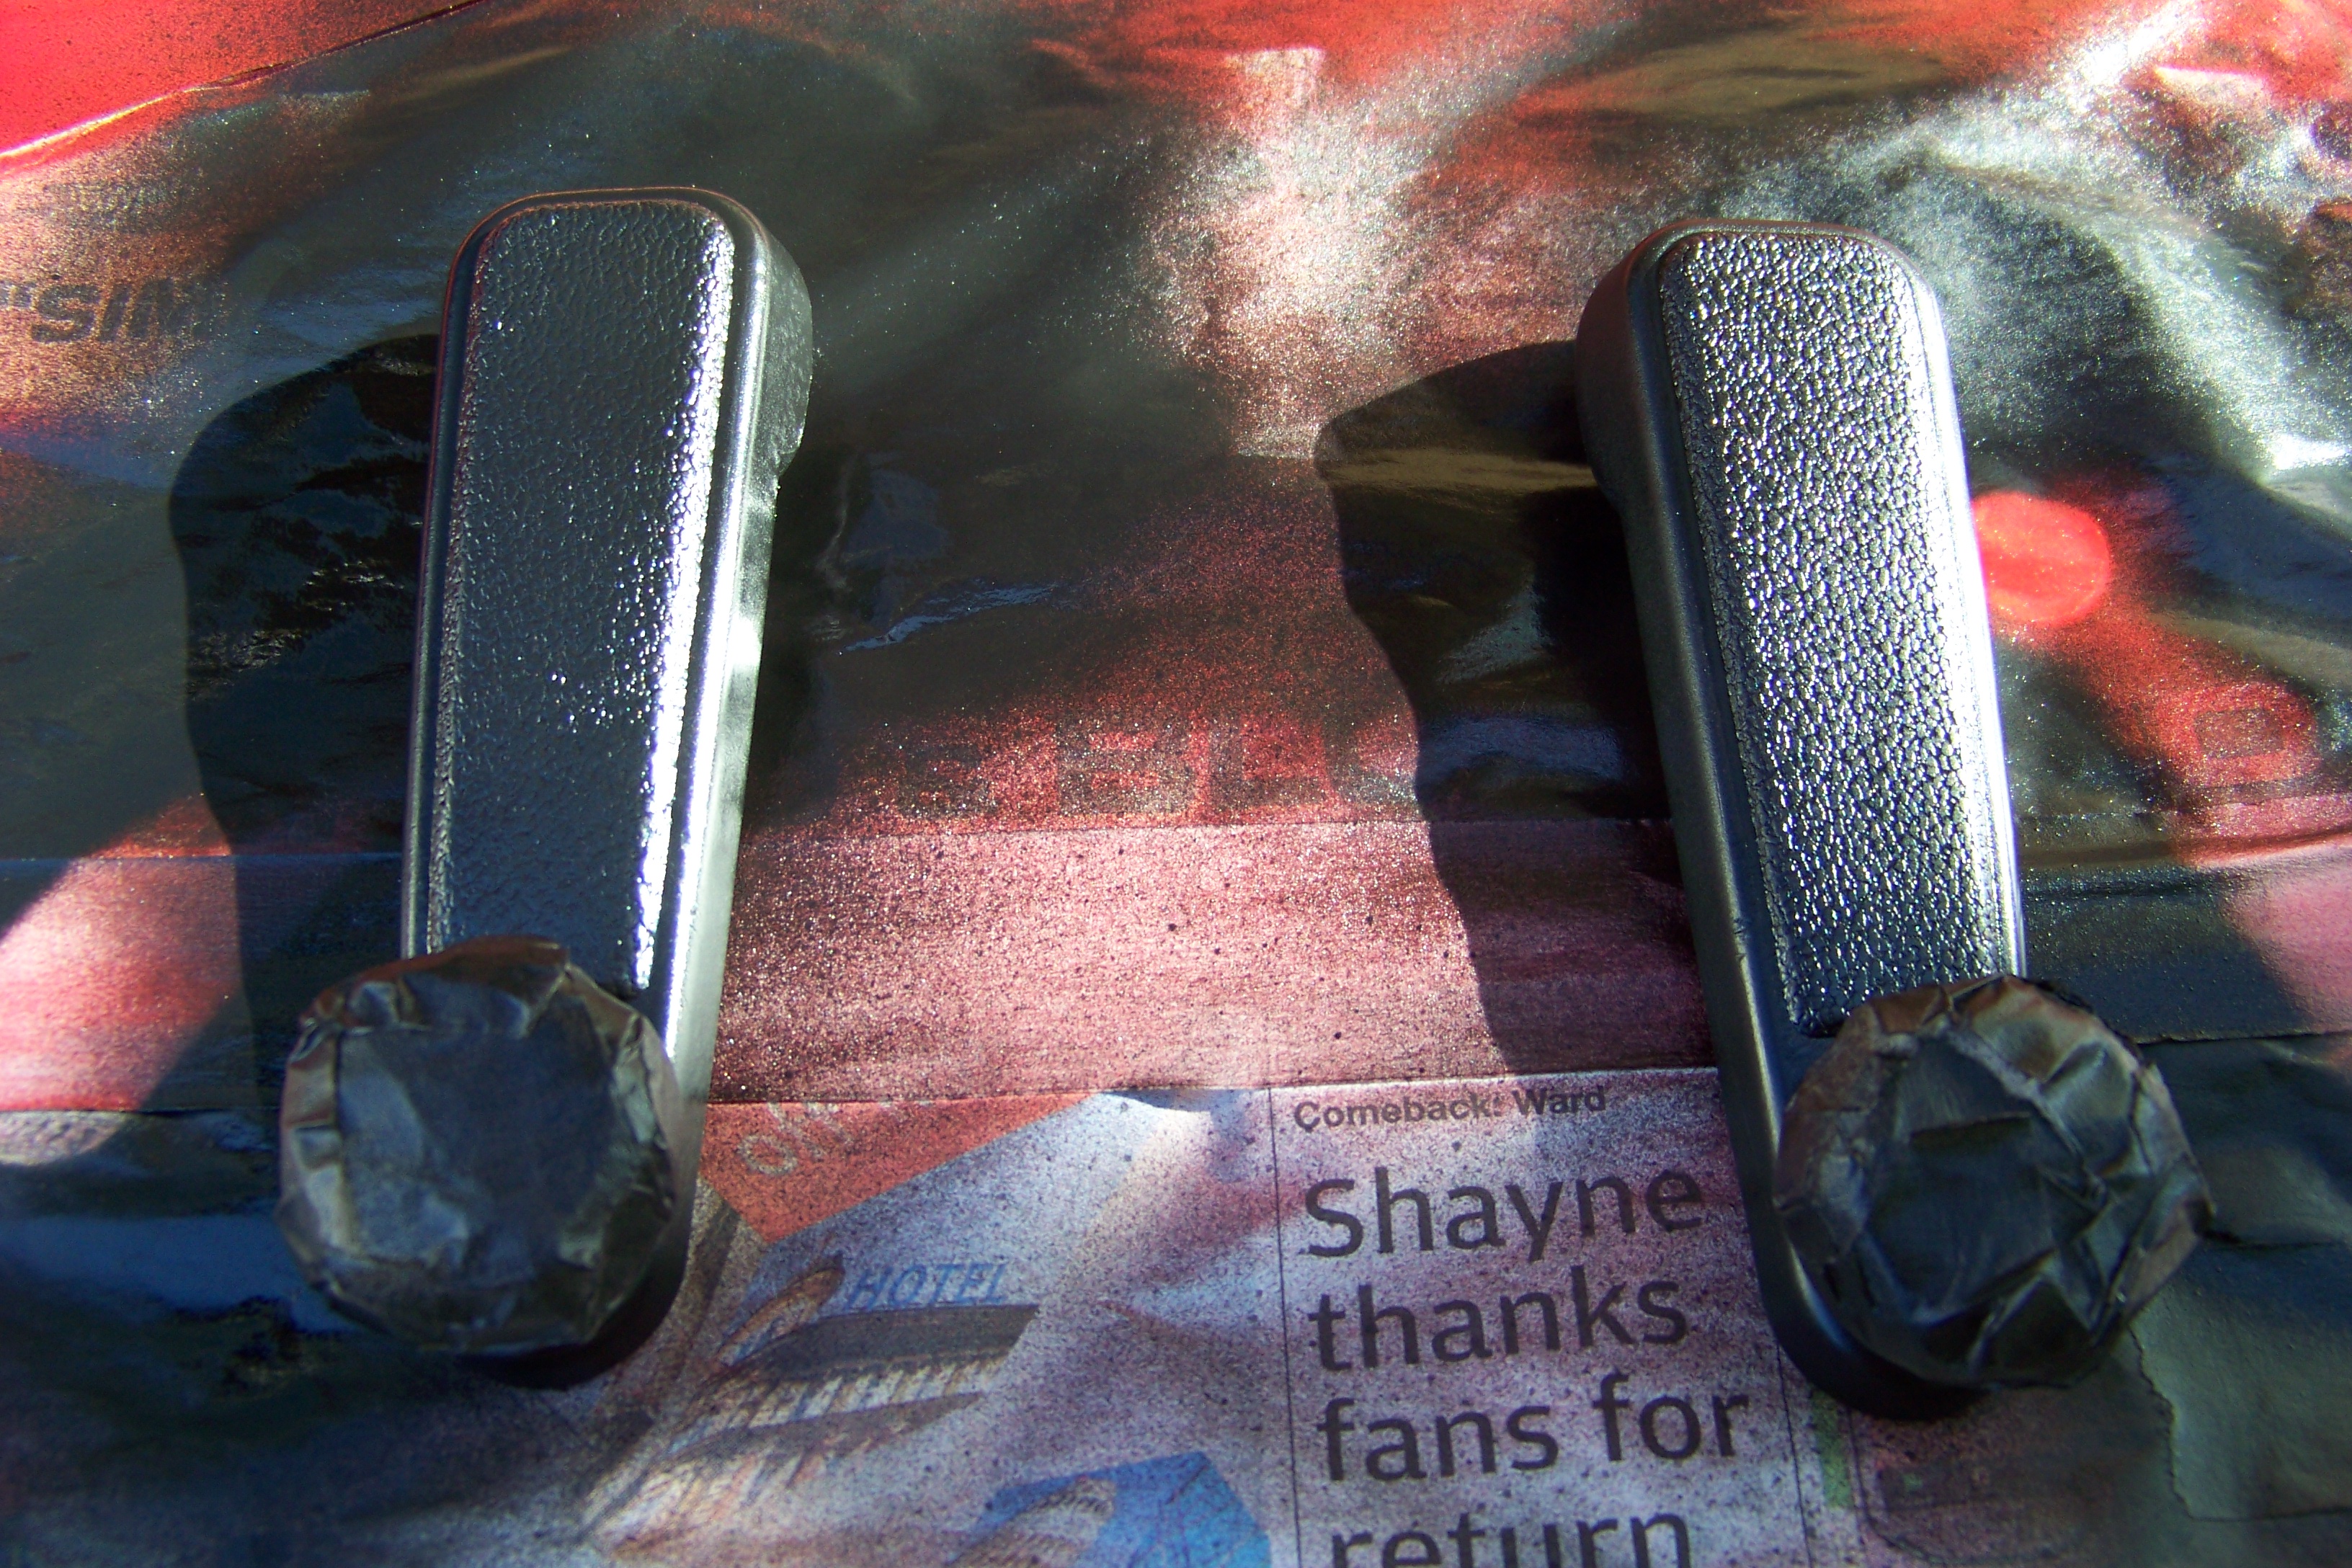
    Popped back to the Nova and finished off wiring the siren, beeper and fitted the nightmare that is the blower motor cowling. I then wrapped up all the wires.

    All that is left is to wrap up the alarm loom behind the dash, which would finish of the internal wiring bit of the project... yay!


    Once that's sorted I'll be going over the current loom in the bay to wrap up areas that need it. I'll be using the self amalgamating tape to keep the bay loom water tight.

    That is all for now.

  2. #522
    Club Member Club Member brucer's Avatar
    Join Date
    Apr 2007
    Location
    Old Radnor, Powys
    Posts
    2,803
    Post Thanks / Like
    Mentioned
    0 Post(s)
    Tagged
    0 Thread(s)

    Default

    the small bits are what make the big bits happen, keep it up.

  3. #523
    Gold Club Member# 001 Club Member Nova_Tek's Avatar
    Join Date
    Jul 2002
    Location
    Hertfordshire..... Builds: ......... Snowplough'd LET
    Posts
    8,107
    Post Thanks / Like
    Mentioned
    0 Post(s)
    Tagged
    0 Thread(s)

    Default

    They sure do

  4. #524
    Gold Club Member# 001 Club Member Nova_Tek's Avatar
    Join Date
    Jul 2002
    Location
    Hertfordshire..... Builds: ......... Snowplough'd LET
    Posts
    8,107
    Post Thanks / Like
    Mentioned
    0 Post(s)
    Tagged
    0 Thread(s)

    Default

    Update

    I've been working on the Nova over the past few days and finished up the alarm wiring, got all that wrapped up and in place. I've started trying to trial fit/put back all the electronic equipment.

    First up was the stereo. This was difficult! The stereo would go in but a lot of the wires would be squeeeeeezed in. So had to do minor re-routing of the wires to allow the stereo to fit without obstuction. Managed to get that sorted.

    Then moved on to the centre dash panel. I cleaned up the vent control (the slide panel) took off the clear plastic bit and cleaned it up. It cleaned up real well, it sparkles quite literally.

    Arranged the switch wiring and hooked them up, then put it in place.

    Then wired up the dash speakers to the crossovers and put in the passenger sill kick plates.

    Gave the inside a good vacuum and left it there.

    I know there aren't any pics but there wasn't anything to photography just plenty of swearing, neck aches, eye aches and fitting back. It's almost done.

    Weather permitting, I should hopefully be able to hook up the boot popper but I really need to find a battery to test all this stuff

  5. #525
    Gold Club Member# 001 Club Member Nova_Tek's Avatar
    Join Date
    Jul 2002
    Location
    Hertfordshire..... Builds: ......... Snowplough'd LET
    Posts
    8,107
    Post Thanks / Like
    Mentioned
    0 Post(s)
    Tagged
    0 Thread(s)

    Default

    Update


    Today was another lovely day. Yesterday was very nice but I was at work so couldn't do anything.


    Had lunch at midday and made preparations in the back garden. The other day I made a start on my brothers spark plug cover, but it was a rather windy day and I kept getting dust on the fresh paint, which was a nightmare. I thought I'd finish that off first. I know I should be working on the Nova but promised my bro I'd do him a favour


    I then moved on to some bits off the Nova. I had a 2/3 empty can of satin black, thought I'd put it to good use and get the steering cowling and keep fit window winders re-coated.

    Here's how they were


    The cowling was very dusty from all the filler dust during it's time at the bodyshop, so I got out some warm water soapy water and a sponge and cleaned it up.


    There was a small crack on the top half of the cowling, so I glued it back and rubbed it down with some wet and dry.


    Did the same for the bottom half


    As it dried


    Left the cowling in the sun to harden and moved on to the winders. I gave them a rub down too, and masked up the rubber knobs (ooh err !)


    Gave them a couple coats of paint and they were good as new


    This is how the cowling looks now that it's dried


    After all that hard work, I went and had some lunch and a bit of a rest. When I got back I popped into the garage to do some more work. I started removing the headlining.


    The grab handles proved to be a nightmare, lost 2 of the plastic pins that secure it. I tried using a long nail to be able to pull it back out but the nail was going into the pin but not pushing the pin outward. Such a pain. Not fret though... IIRC I have a few spare pins, so as long as I don't lose too many from the rear grab handles, I should be ok.


    To be continued...
    Last edited by Nova_Tek; 16-05-20 at 07:00 PM. Reason: Image rehosting

  6. #526
    Senior User
    Join Date
    Jul 2008
    Location
    Unknown
    Posts
    9,635
    Post Thanks / Like
    Mentioned
    0 Post(s)
    Tagged
    0 Thread(s)

    Default

    i spray in my house when its windy

  7. #527
    Gold Club Member# 001 Club Member Nova_Tek's Avatar
    Join Date
    Jul 2002
    Location
    Hertfordshire..... Builds: ......... Snowplough'd LET
    Posts
    8,107
    Post Thanks / Like
    Mentioned
    0 Post(s)
    Tagged
    0 Thread(s)

    Default

    Don't wanna risk overspray on the furniture to be honest, rents won't be pleased at all, nor would I tbh

  8. #528
    Gold Club Member# 001 Club Member Nova_Tek's Avatar
    Join Date
    Jul 2002
    Location
    Hertfordshire..... Builds: ......... Snowplough'd LET
    Posts
    8,107
    Post Thanks / Like
    Mentioned
    0 Post(s)
    Tagged
    0 Thread(s)

    Default

    No update unfortunately, I've been covering other colleagues at work so I'm half way through my 6 day week.

    Just wanted to see if anyone has had experience with these bottom pulleys. Are they worth the money, are there better ones about? http://cgi.ebay.co.uk/TXAUTOSPORT-C2...ht_5026wt_1141

    I've got a short day on Friday so maybe I'll be able to spend some time working on the Nova then

    But atm, I'm totally knackered

  9. #529
    Gold Club Member# 001 Club Member Nova_Tek's Avatar
    Join Date
    Jul 2002
    Location
    Hertfordshire..... Builds: ......... Snowplough'd LET
    Posts
    8,107
    Post Thanks / Like
    Mentioned
    0 Post(s)
    Tagged
    0 Thread(s)

    Default

    Update

    I've been continuing on with the installation of electrical goodies after sorting out all the stuff which was present.

    Next up was to extend the wires from the rear wiper plug, normally found at the back of the toggle switch, to the wiper stalk as I want to control the rear wiper and jet from there.

    I cut, crimped and plugged the extended wire to the back of the stalk but haven't tested it yet as I need a battery

    I got that out of the way and moved on to running the wires for the boot popper. The will be running from the toggle switches to the right of the steering wheel (where you find the foglight switches etc), back behind the dash, up the A pillar, run through the cavity between the roof skin, past the B pillar, past the rear glass and into the inside of the boot.

    I found some curtain cord to help feed the wires through (please excuse the pic quality).

    Fed it from just above the door down the A pillar out to the footwell.


    Then took it back behind the dash round to where I wanted it and organised/secured the wires.

    I then took the other end of the wires and fixed it to the curtain cord and pushed it through until I got to the rubber boot, which the rear washer jet and wiper motor wires feed through. Another good outcome of me feeding through the wires was that I got back all the plastic bungs that secure the grab handle to the car

    I pulled off the rubber boot and pulled the wire through


    At this point I thought 'wow... this has been really easy!'

    Spoke too soon...

    The next step was an utter ballache. Getting the wires through the rubber boot proved to be difficult, and took more time than feeding it from the A pillar and back.

    After lots of finger ache, b, f and c words, I managed to grab it and pull it through. Sigh of relief.


    I pulled the cables all the way through and refit the rubber boot.

    Next bit was easy, fed through the remaining wire down the inside of the boot lid and pulled it out. I was going to solder the wires together but the boot popper had bullet connections from the factory, so I decided to keep them and fitted the ends of the new wires with the female bullets and sleeves.


    It's now a mater of removing the connecting rod from the boot latch, cut it to size and bend it for it to fit the popper and then secure the popper into place.

    I called it a night though and left it for another day as the garage was getting cold, and had also blown a bulb.

  10. #530
    Gold Club Member# 001 Club Member Nova_Tek's Avatar
    Join Date
    Jul 2002
    Location
    Hertfordshire..... Builds: ......... Snowplough'd LET
    Posts
    8,107
    Post Thanks / Like
    Mentioned
    0 Post(s)
    Tagged
    0 Thread(s)

    Default

    Update

    A hectic day today,

    Typically, I get into work and get a call from the courier company that my 'package' has arrived. Typically no one is at home at that moment as they had literally just stepped out (but I can guarantee that if someone was at home they wouldn't turn up).

    Anyway, told the geeza to wait 5 mins and someone would turn up. Dad turned up and received the package and left it round the side of the house.

    Got home after much anticipation and there it was... the LET!

    I couldn't just leave it there so had to get it in the garage... somehow.

    After much elbow with the aid of my bro, managed to get it in the garage safely. Phew well glad as it weighed a fair bit.

    So now it's about getting the very final bits needed (inner cv's etc) and decide/get some cost on parts to freshen up the internals before it goes in. But before all that even more importantly... what colour to paint the engine and bits

    No pics as of yet but will grab some when I'm free.

    I'm working all weekend, sods law, and won't have much free time to work on the Nova (was off last week for 5 days, typical!). But now it's just a case to get things back in and move towards getting the Nova running again.

    Can't wait

Posting Permissions

  • You may not post new threads
  • You may not post replies
  • You may not post attachments
  • You may not edit your posts
  •