Mine didn't, but then it never included a fitting kit in the ad! so i would imagine yours will if thats what it says..Originally Posted by Nova_Tek


Mine didn't, but then it never included a fitting kit in the ad! so i would imagine yours will if thats what it says..


As I had bought some acoustic cloth I thought I'd start on the rear shelf and the side panels. These were previously re-finished in black acoustic cloth but they have been subjected to sunlight and have badly faded.
Side panels
Rear home made stealth shelf, again faded quite badly
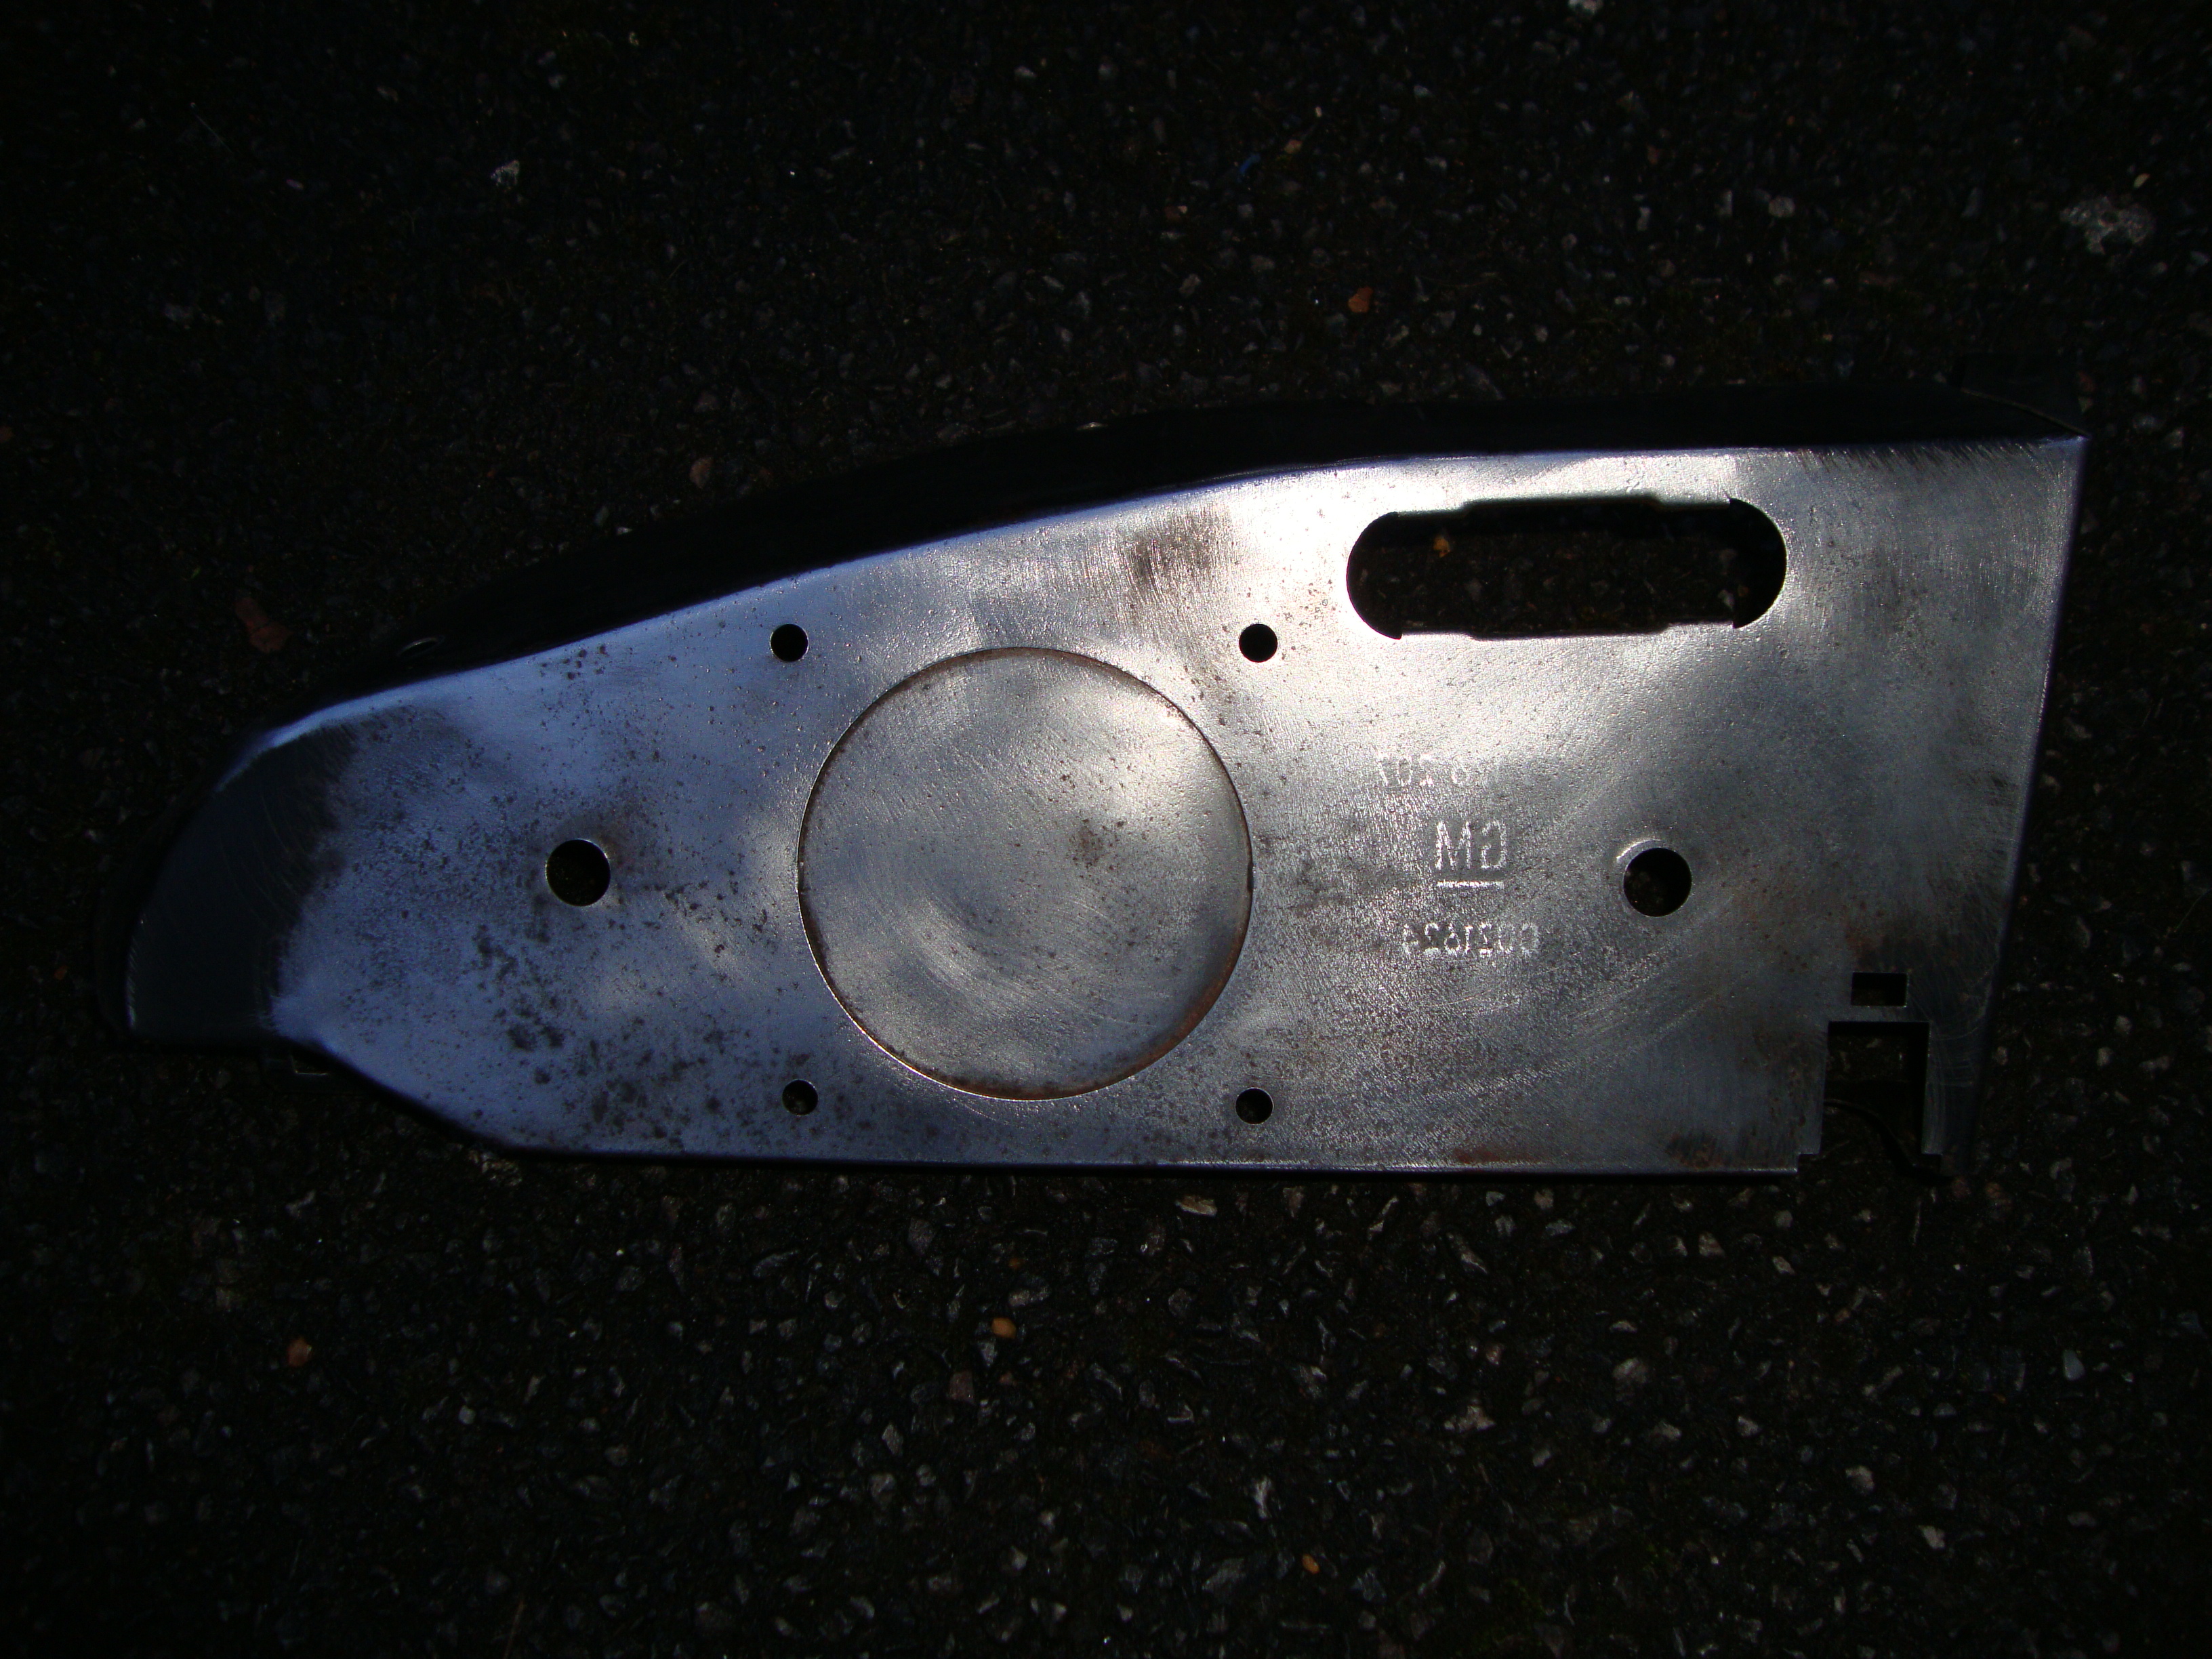
I originally glued the acoustic cloth onto the carpeted side panels. I removed the plastic trim from the panels and proceeded to remove the acoustic cloth. Some areas of the original carpet glued to the metal frame started to come off. On further inspection it looked like there was some corrosion on the panel. I removed the original carpet from the panel and found another area of a Nova that rusts.
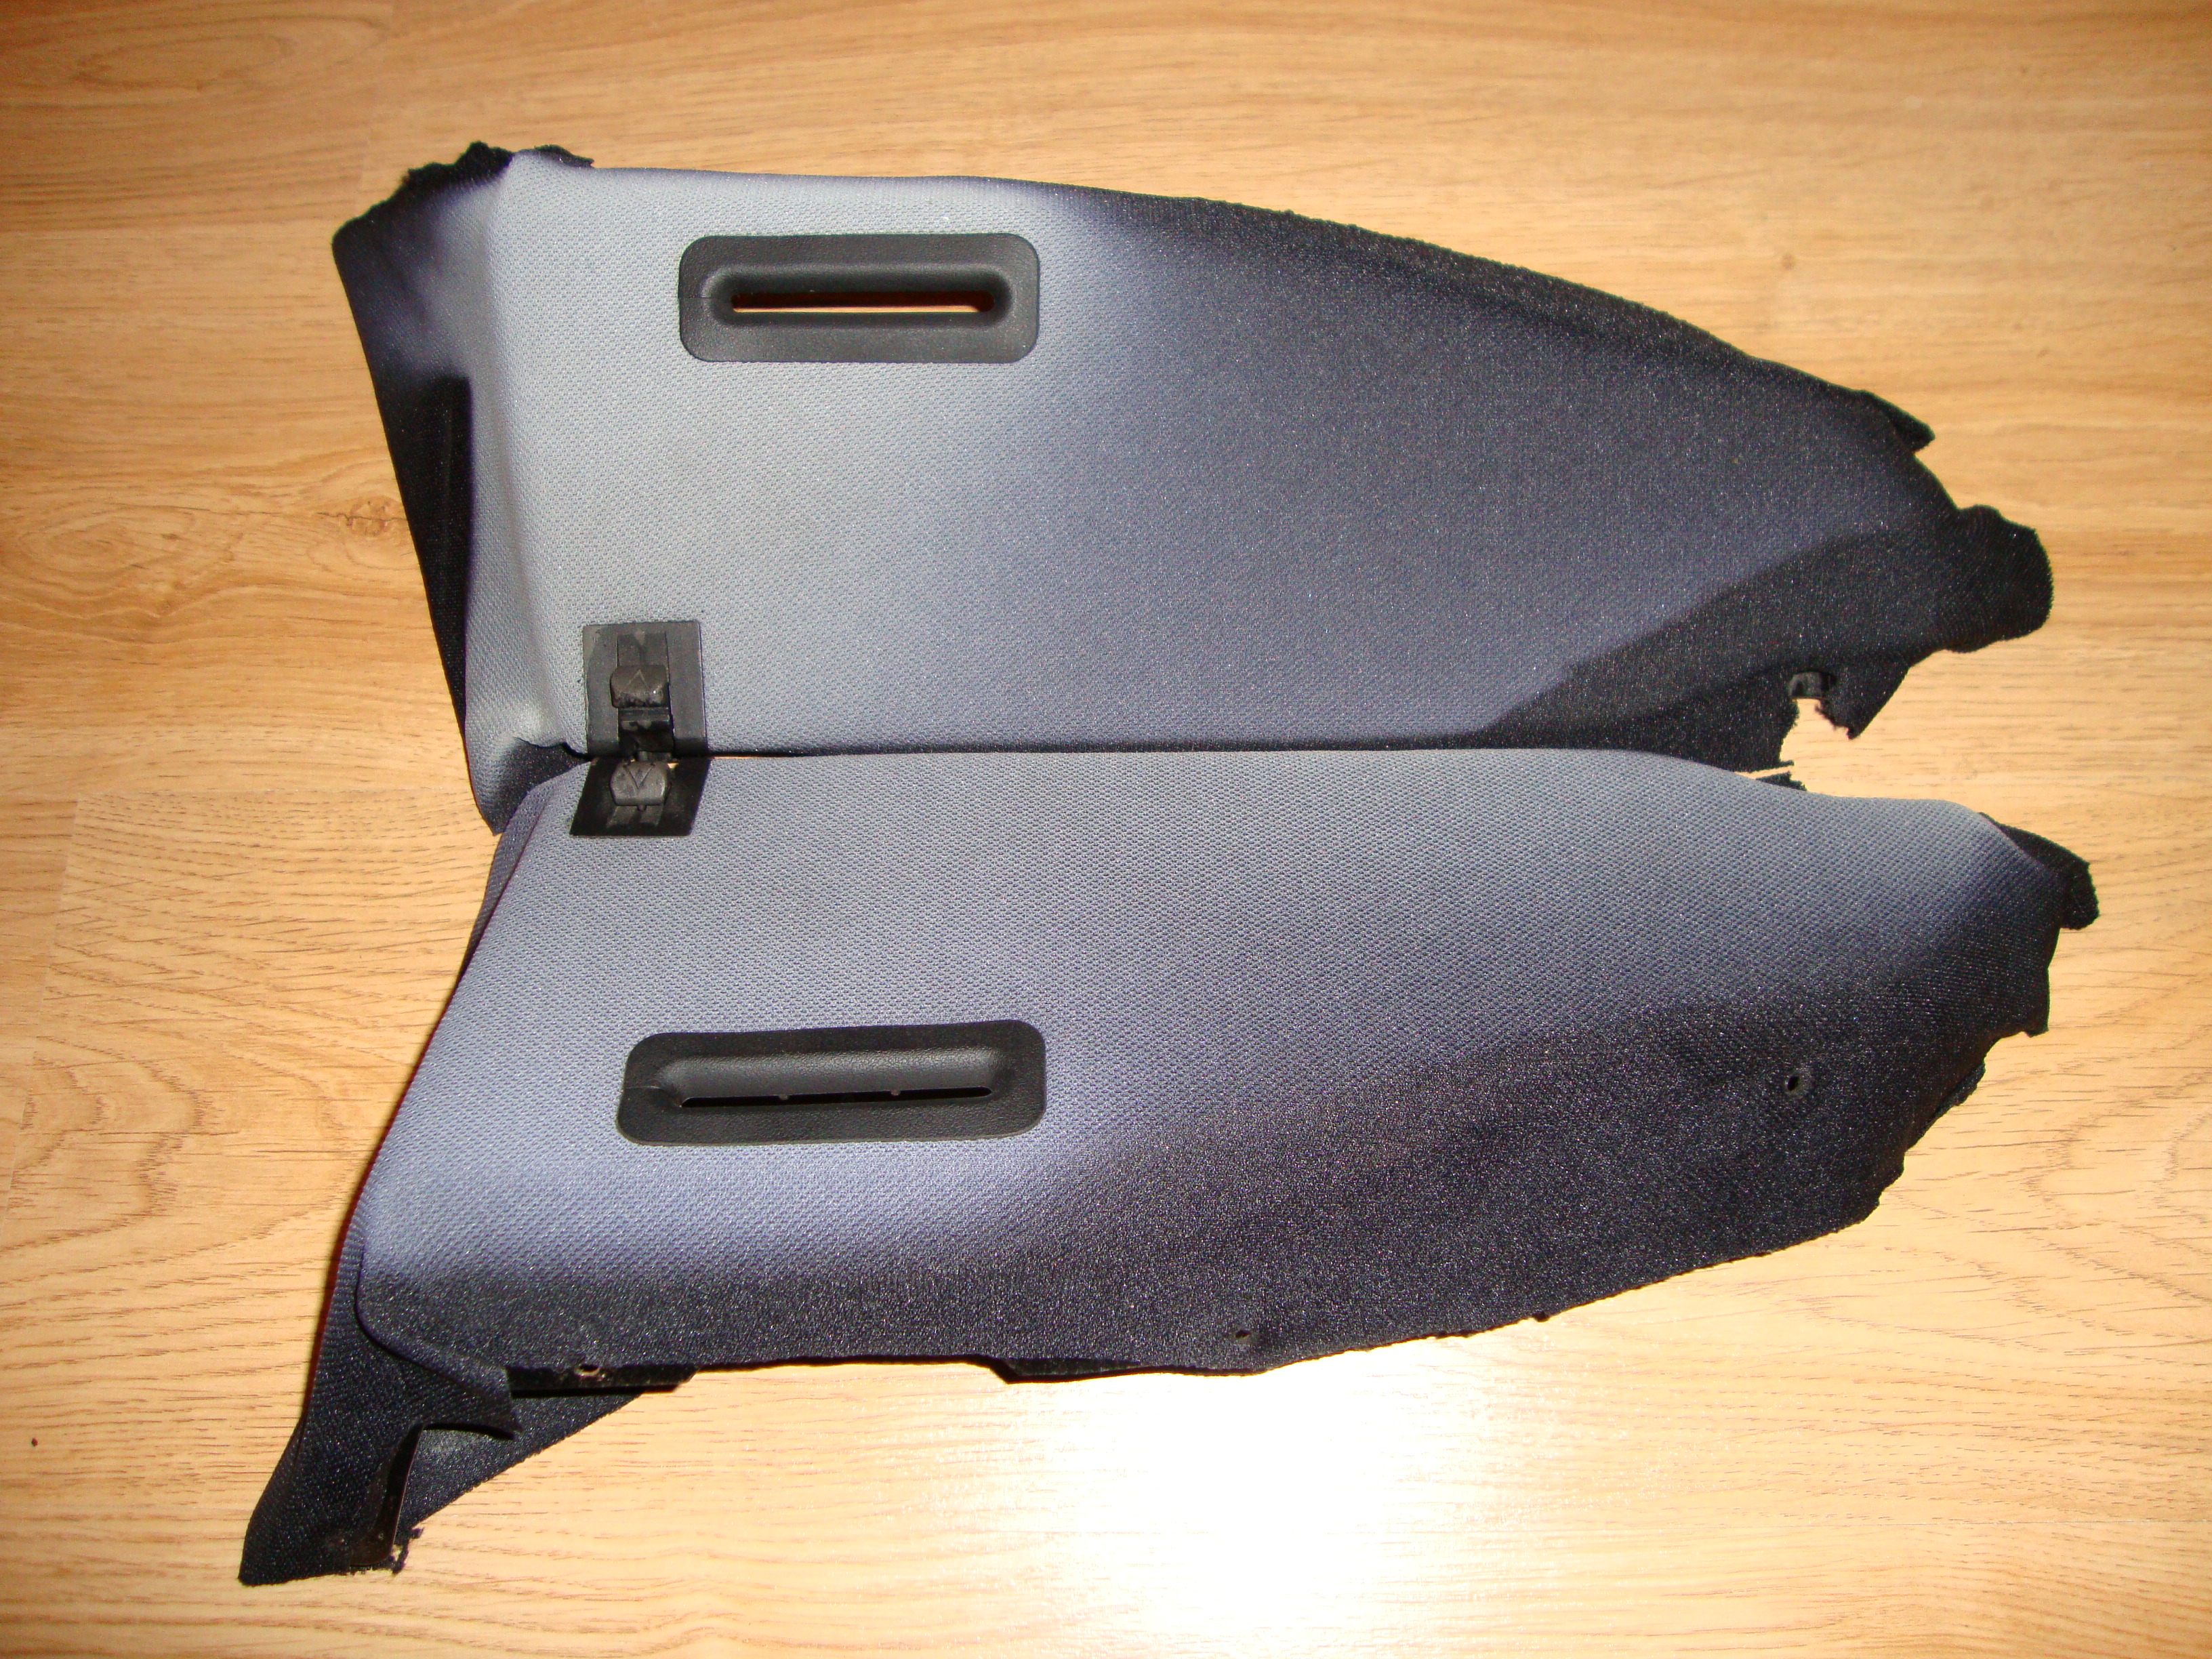
^ Up top - the metal side panel (rather rusty), below that - the original carpet trim, bottom - acoustic cloth which has faded
I couldn't retrim the panel when I knew it was that rusty. So I took it to the garage, took out my trusty drill and wire brush and proceeded to remove that surface corrosion.
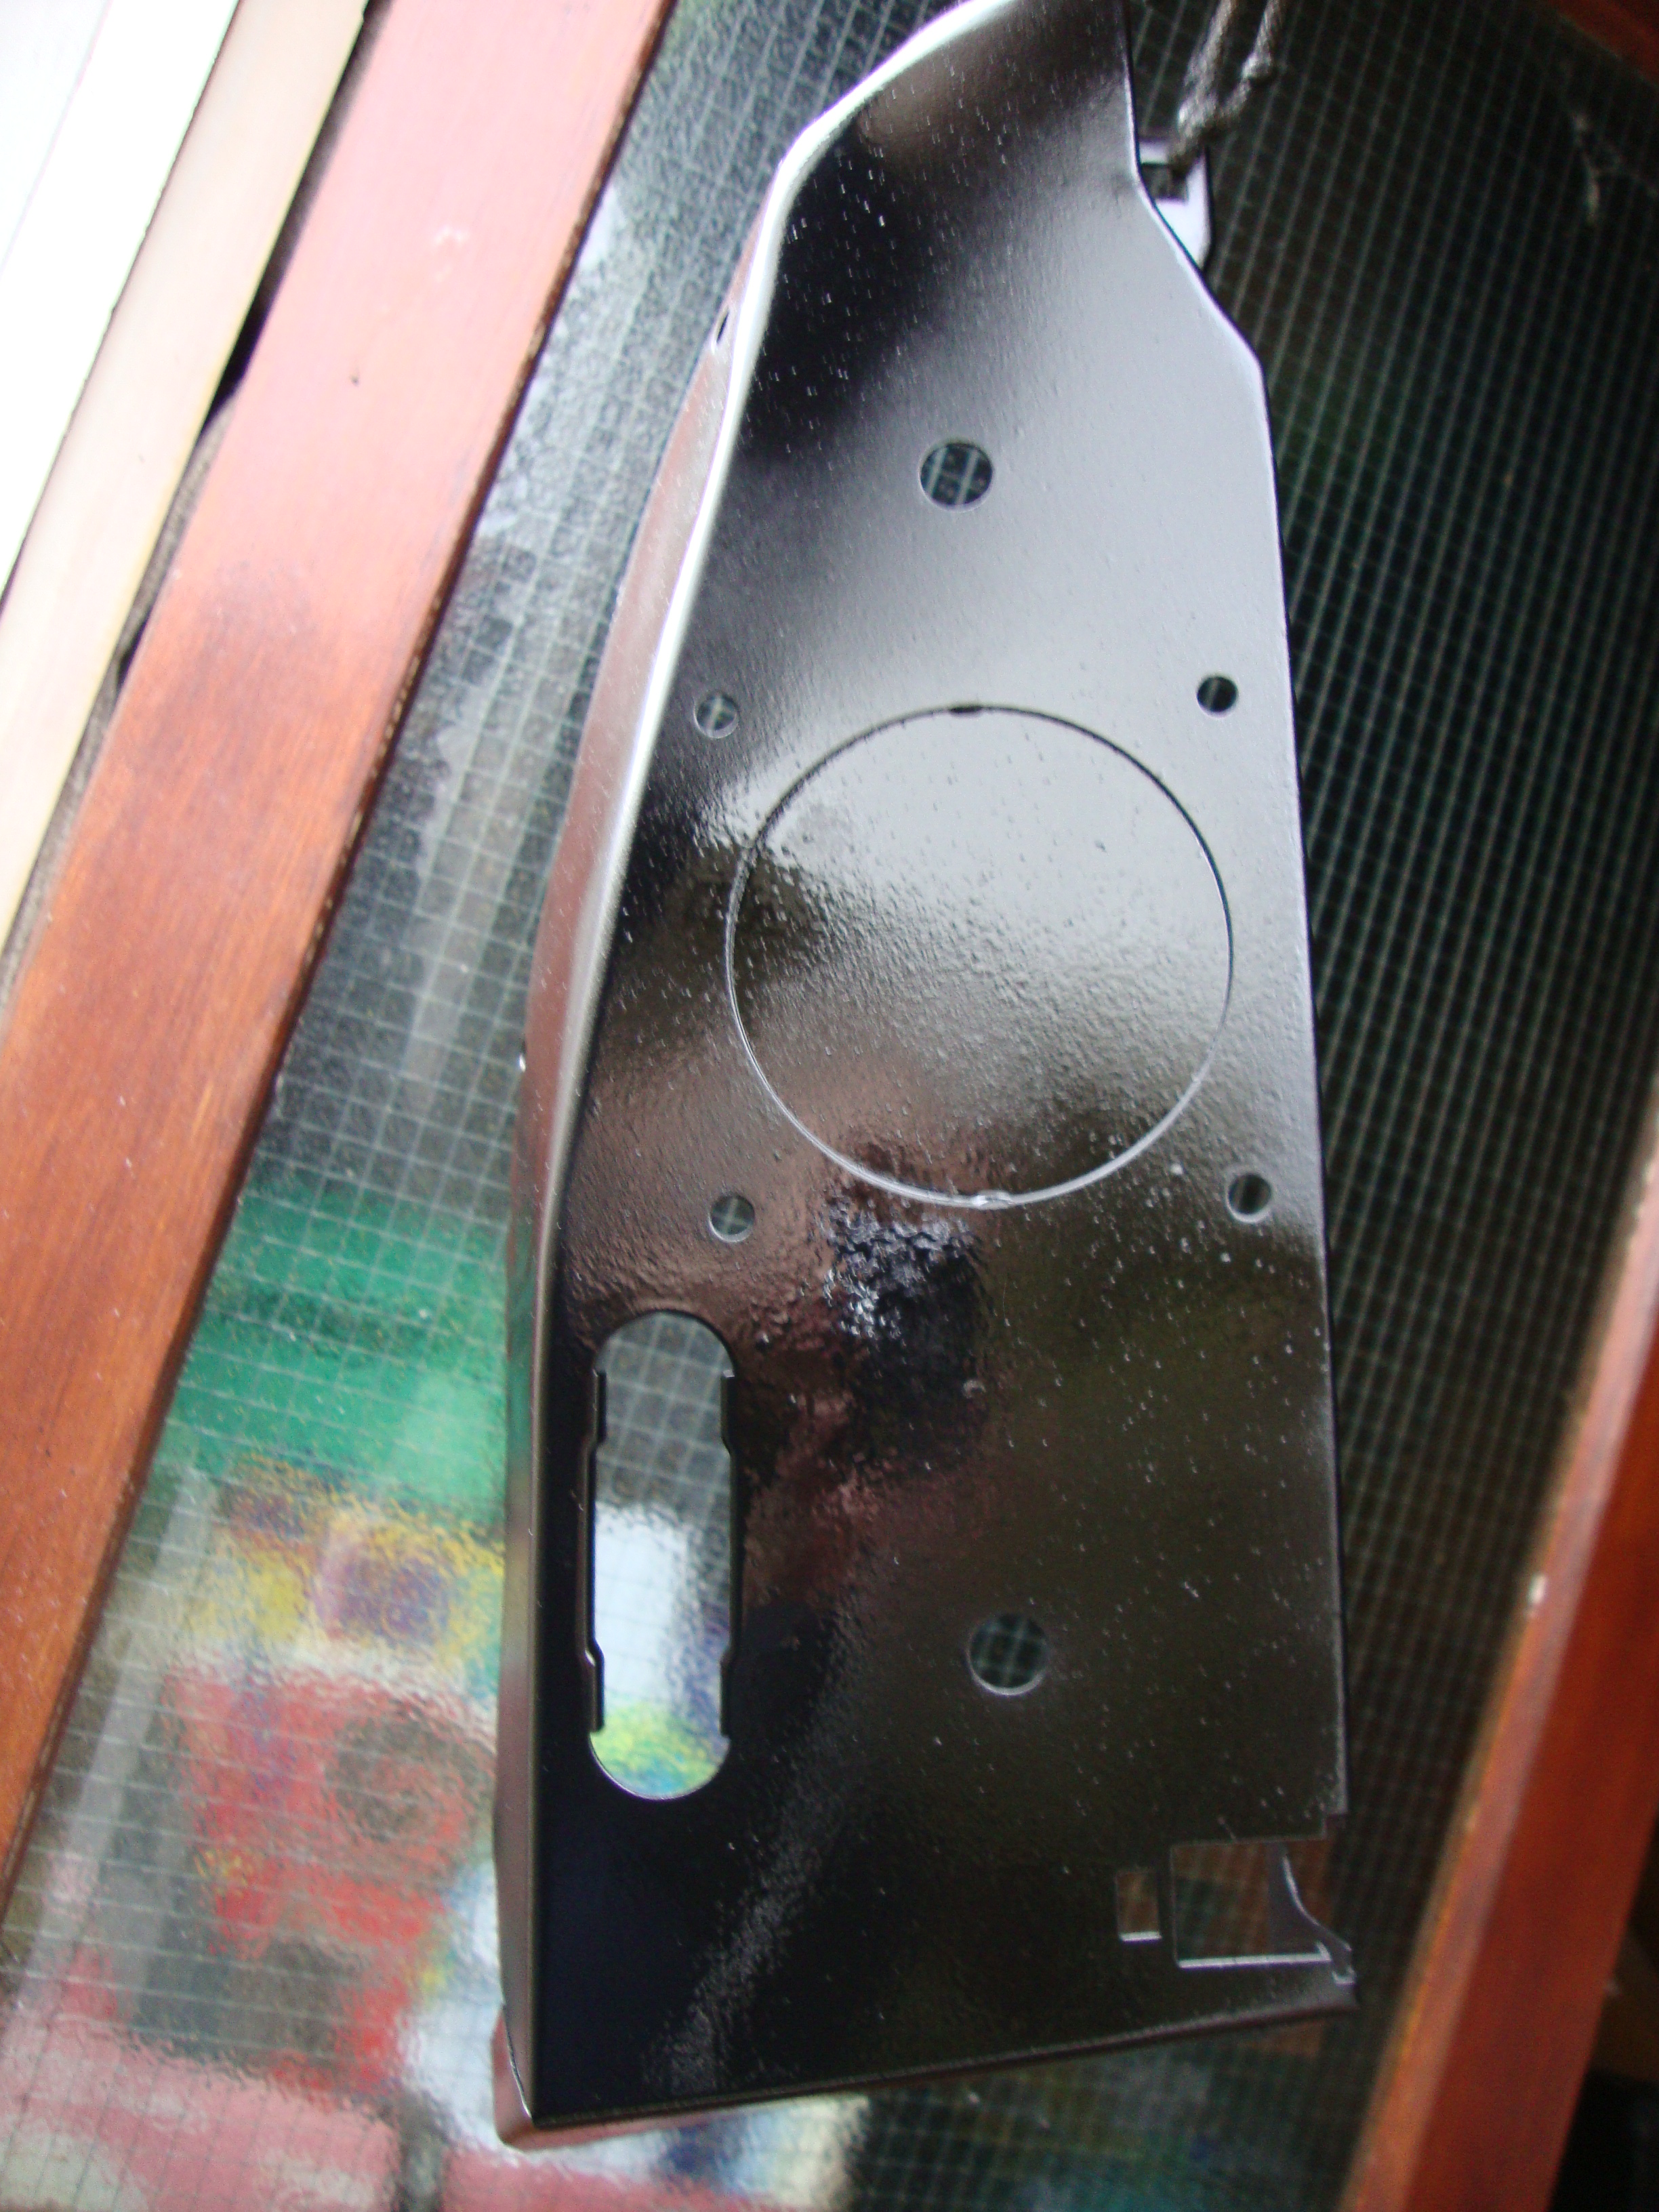
I found an almost finished can of primer. So I decided not to be wasteful and made sure I put it to good use and finished it off
By this time dinner was ready. So I hung up the panels in the garage to dry and retuned once it did for a coat of filler primer.
Once that had dried I had a look through the cupboard and found a couple cans of black paint about a 1/4 full. So I used them and gave the panels a coat.
Also forgot to mention that I paid a visit to Vauxhall to ask about the driver door window strip. Luckily they still have the parts available and after parting with £17 I bought one. Should be arriving this weekend. My passenger one is mint but the driver one had split and looked about as straight as a circle!
Tomorrow should see the glovebox, rear shelf, and panels retrimmed.
Last edited by Nova_Tek; 07-05-20 at 10:58 PM. Reason: Image rehosting
UPDATE
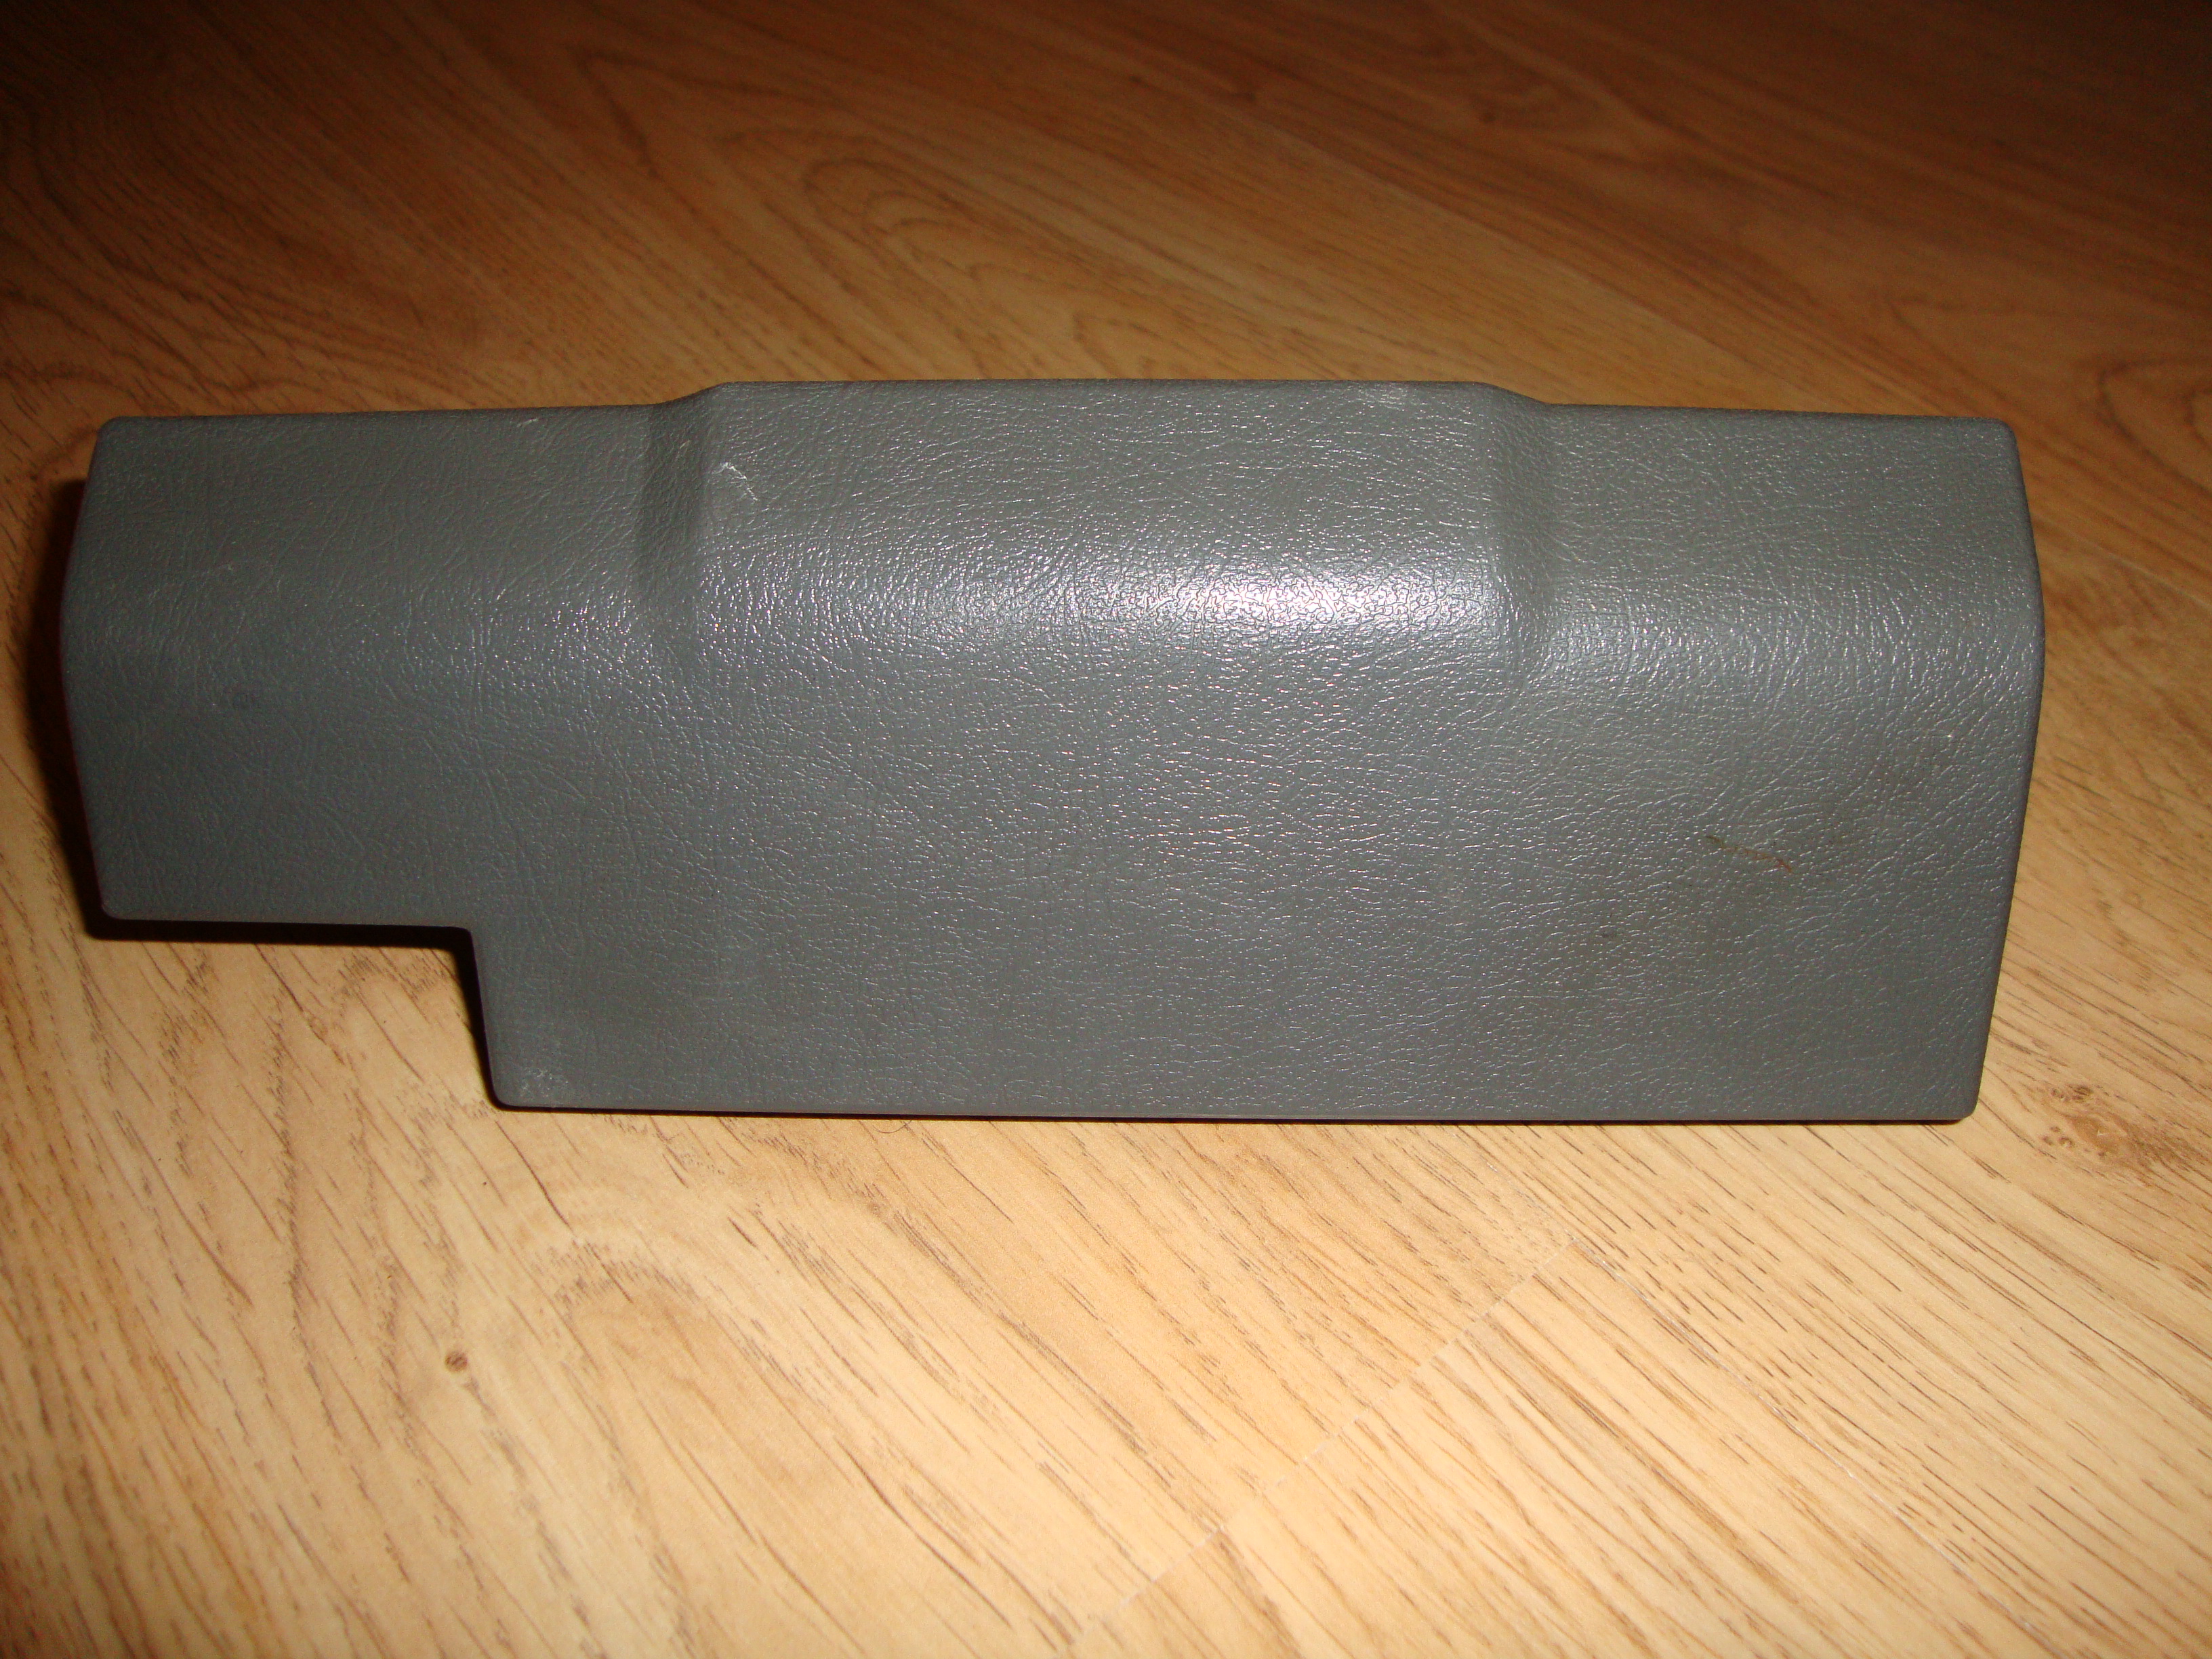
I got home and remembered that my replacement ash tray was grey and my dash is black. I grabbed that, headed off to the garage to prepare it for paint.
Rubbed it down with 800-1000 wet n dry and gave it a coat or two of plastic primer
Raided the paint cupboard but didn't find any stain black So I left the ash tray to dry and tomorrow I'll go grab some satin black.
As the rear trim panels had dried I took them in and got all the bits together for them to be retrimmed.
Acoustic cloth, spray glue and velcro for the rear shelf.
As the rear trim panels started to rust, when I took off the original fabric it also ripped off the rust and paint. I had to clean the back of the fabric in order for them to adhere to the metal panels. Quickly ran to the garage, got out the wire brush and brushed all the crap off them.
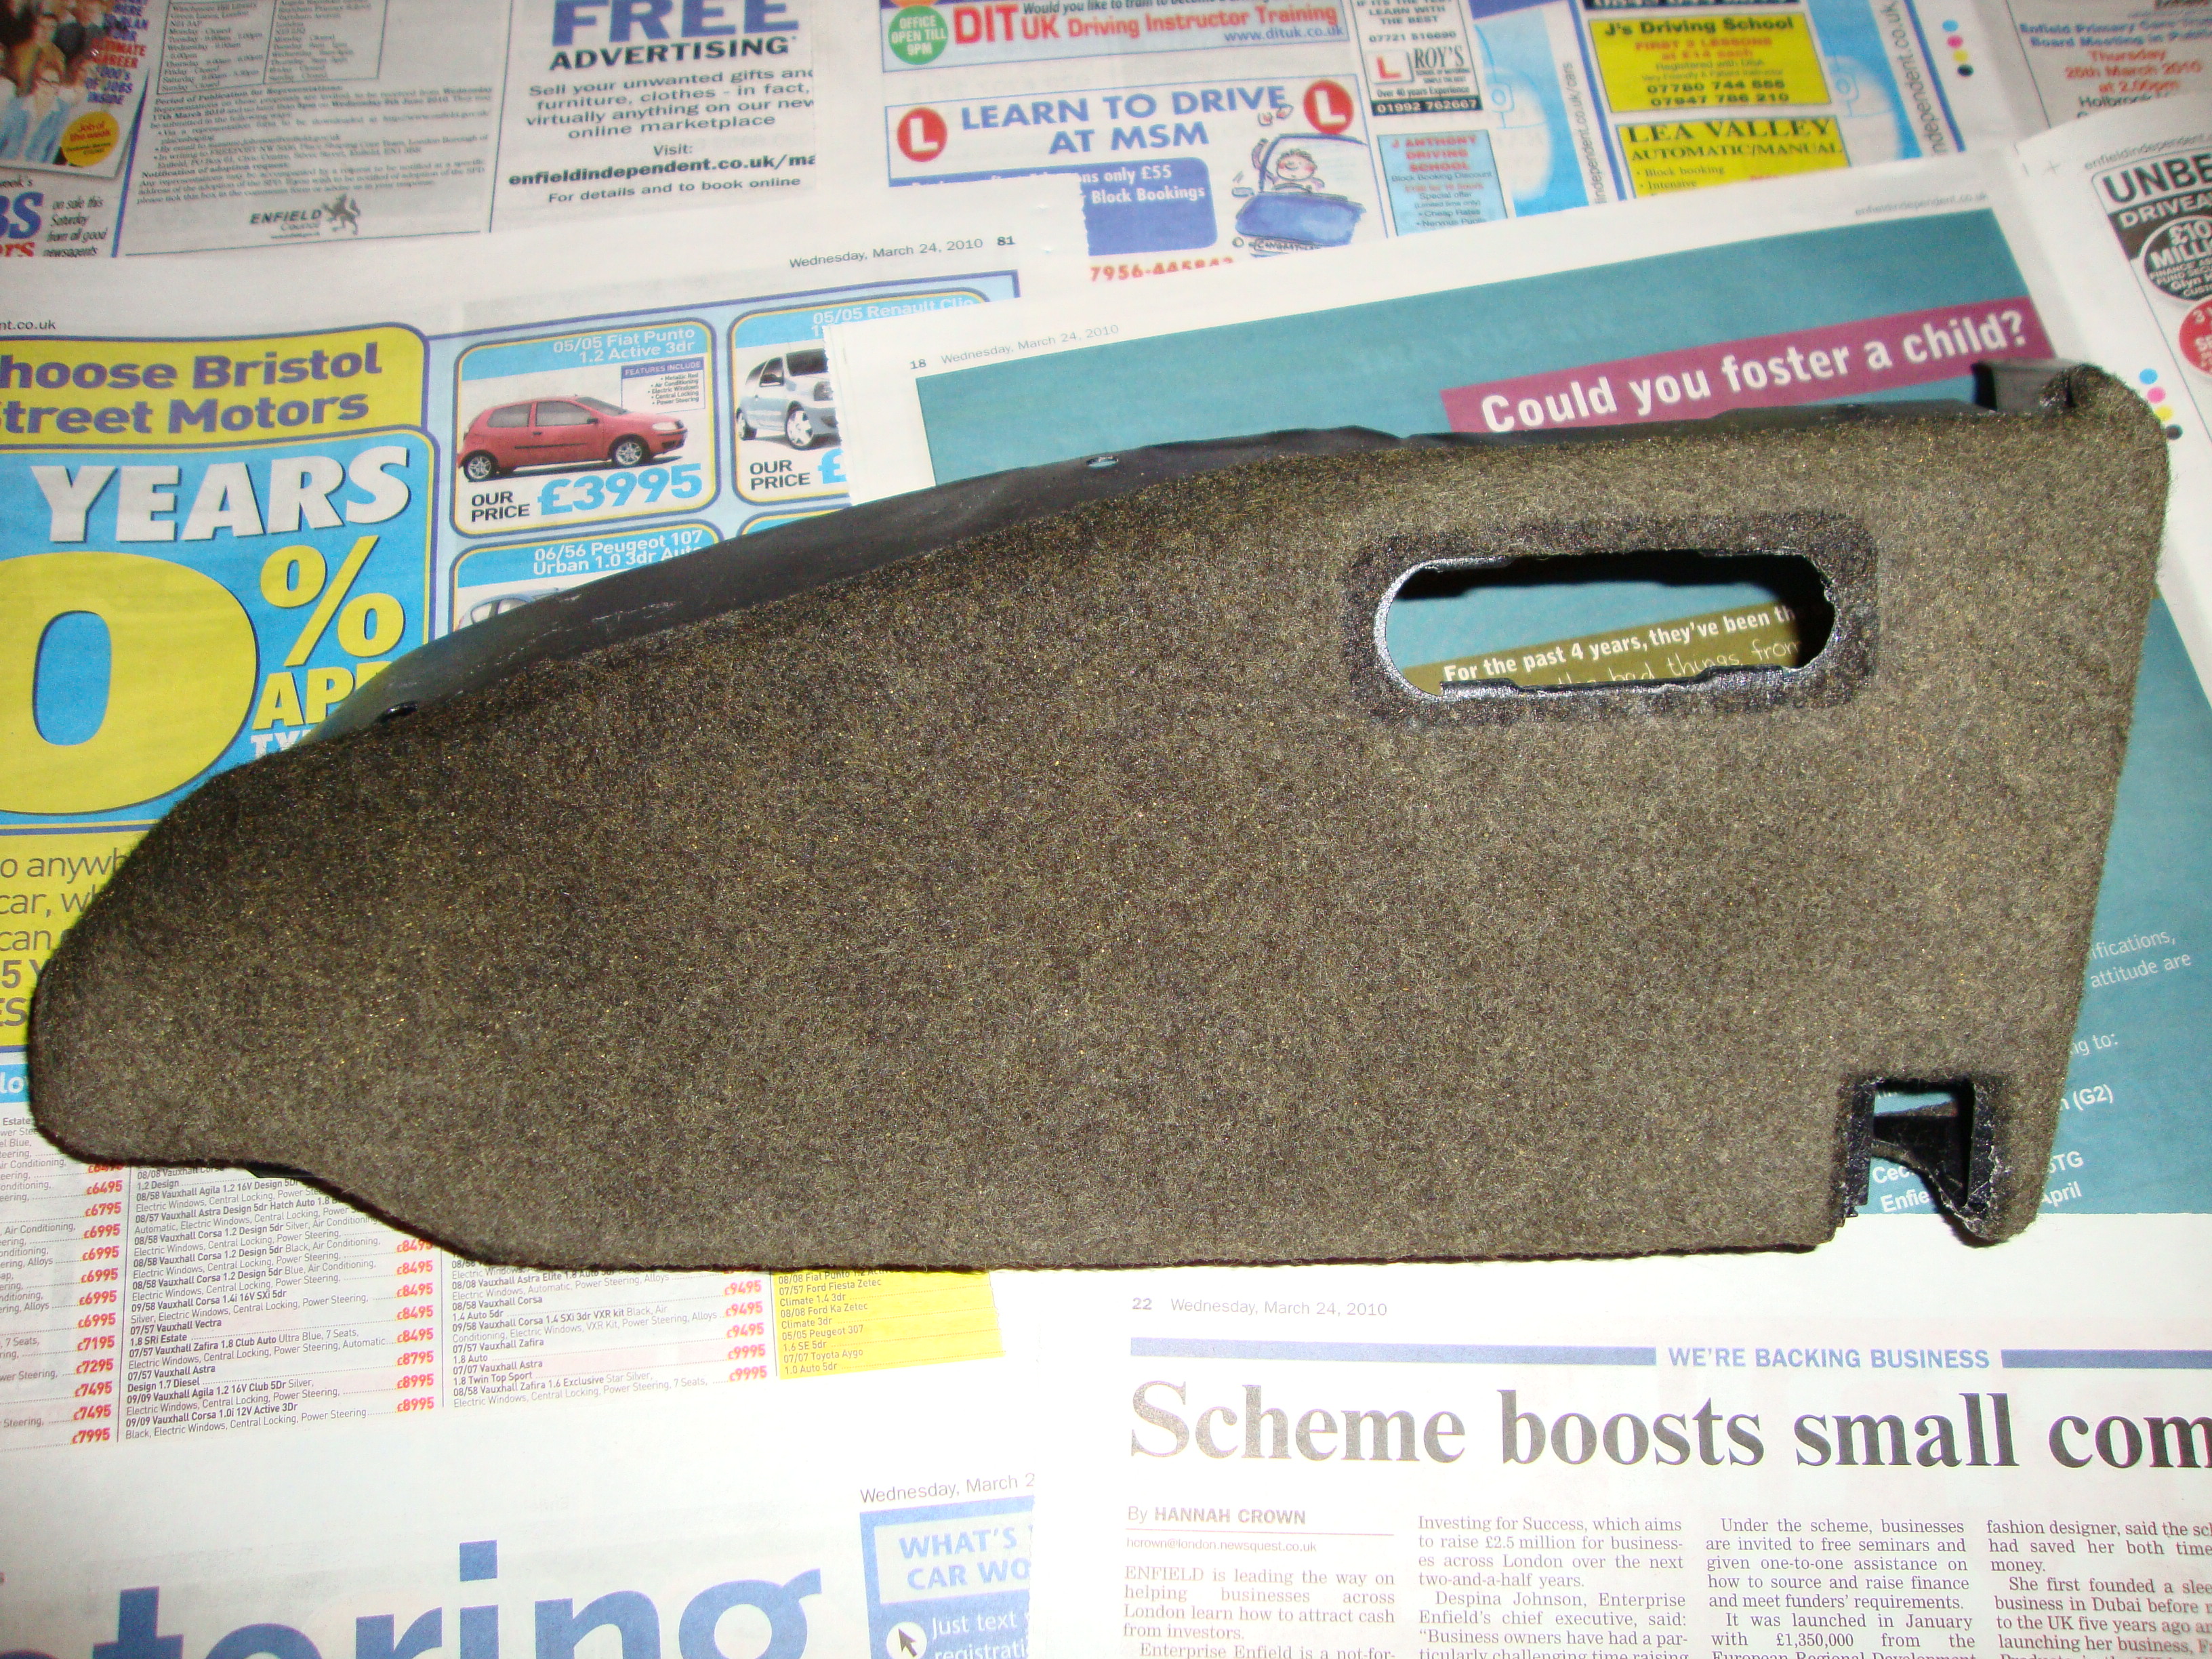
Got back in and started to cut out some new cloth using the original fabric. First I cut making sure I left a border around the original size and then trimmed further until I got to this point
Once cut, I was left with a bit of a dilemma. Should I put back the original fabric then the new cloth on top, or should I just skip the original fabric and stick the cloth directly to the panles... After lots of thinking I opted to stick the original stuff on then the new stuff over. Reason for this was that the new cloth, although foam lined, it was a bit thin. So I glued back the original fabric cover.
I then got the cut out cloth and glued it on top. I took a hell of a lot of adjusting and fettling to get it to sit right especially at corners where it would crease.
One side covered but holes for the plastic trim not yet cut out
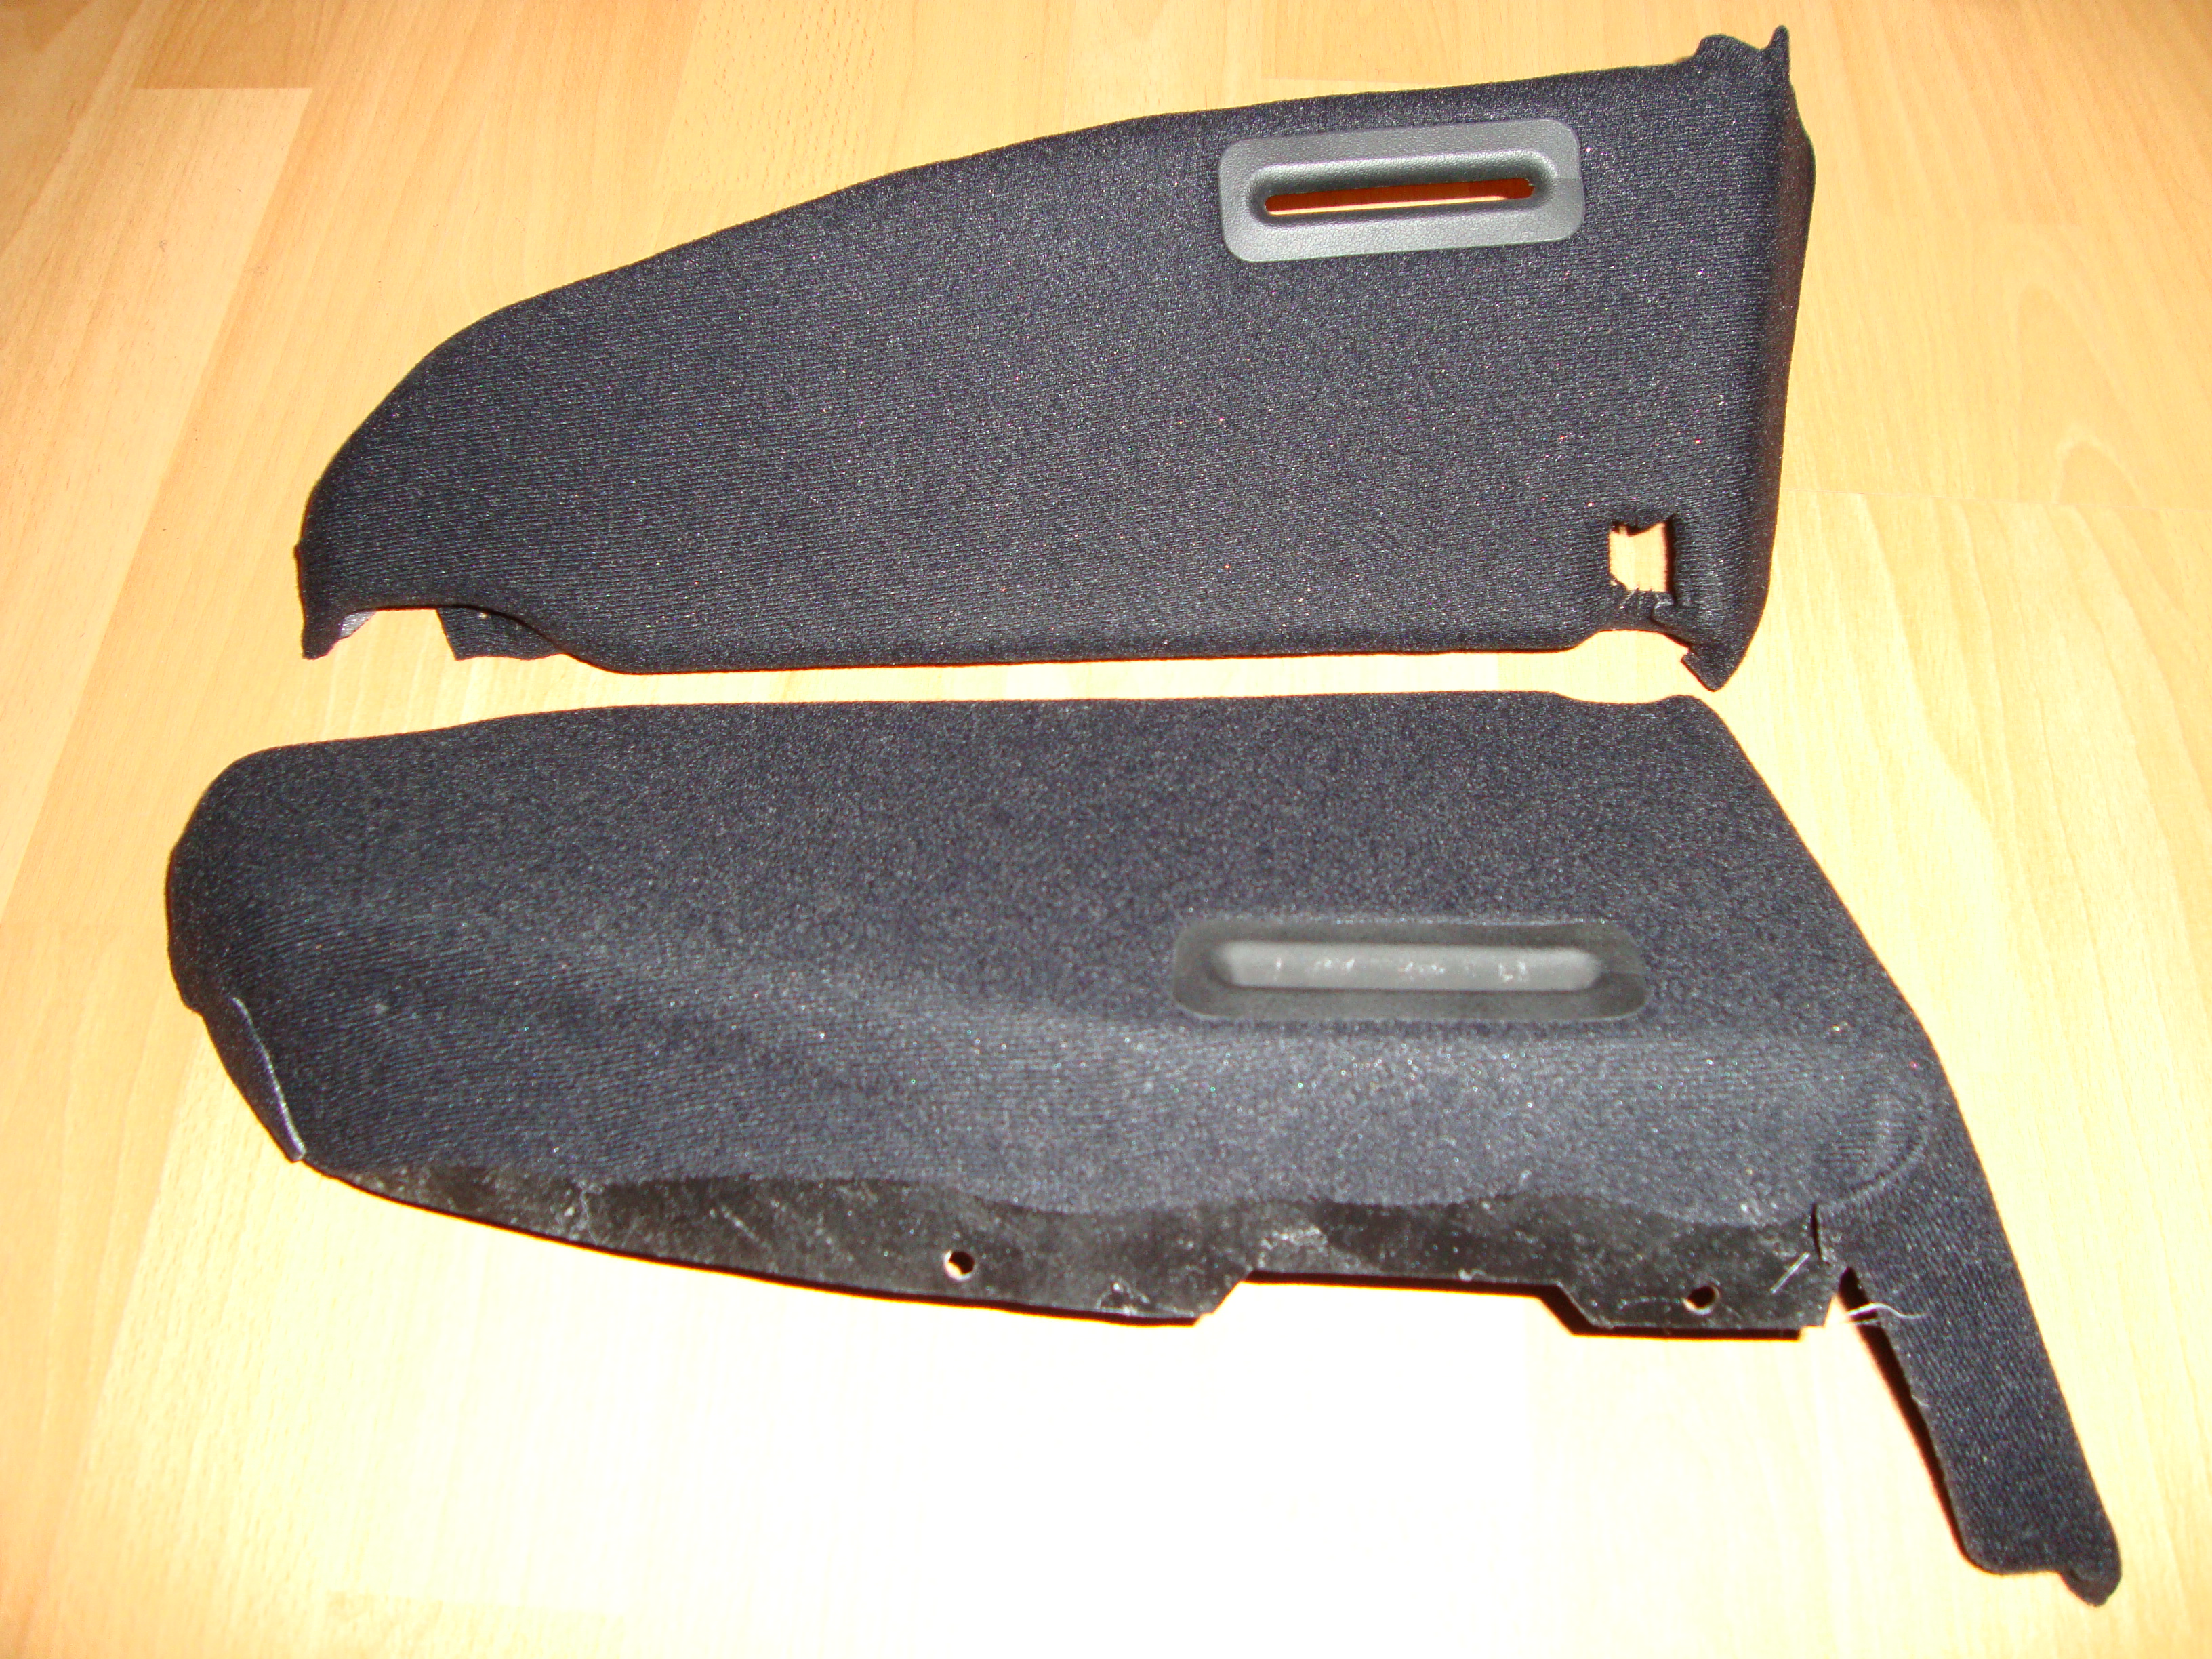
I then cut out the holes for the plastic trim. some of the trim I didn't refit as they need a lick of paint, but the seat belt slot trim was in mint condition. I moved on to the next panel and did the same.
Here's how they stand
They look even better in the flesh but it was a fiddly job and my fingers are all sticky with this damn spray glue
Last edited by Nova_Tek; 07-05-20 at 10:59 PM. Reason: Image rehosting
UPDATE
Nipped out to Halfords to get some paint and wet n dry. Came home and continued on with the rear panels.
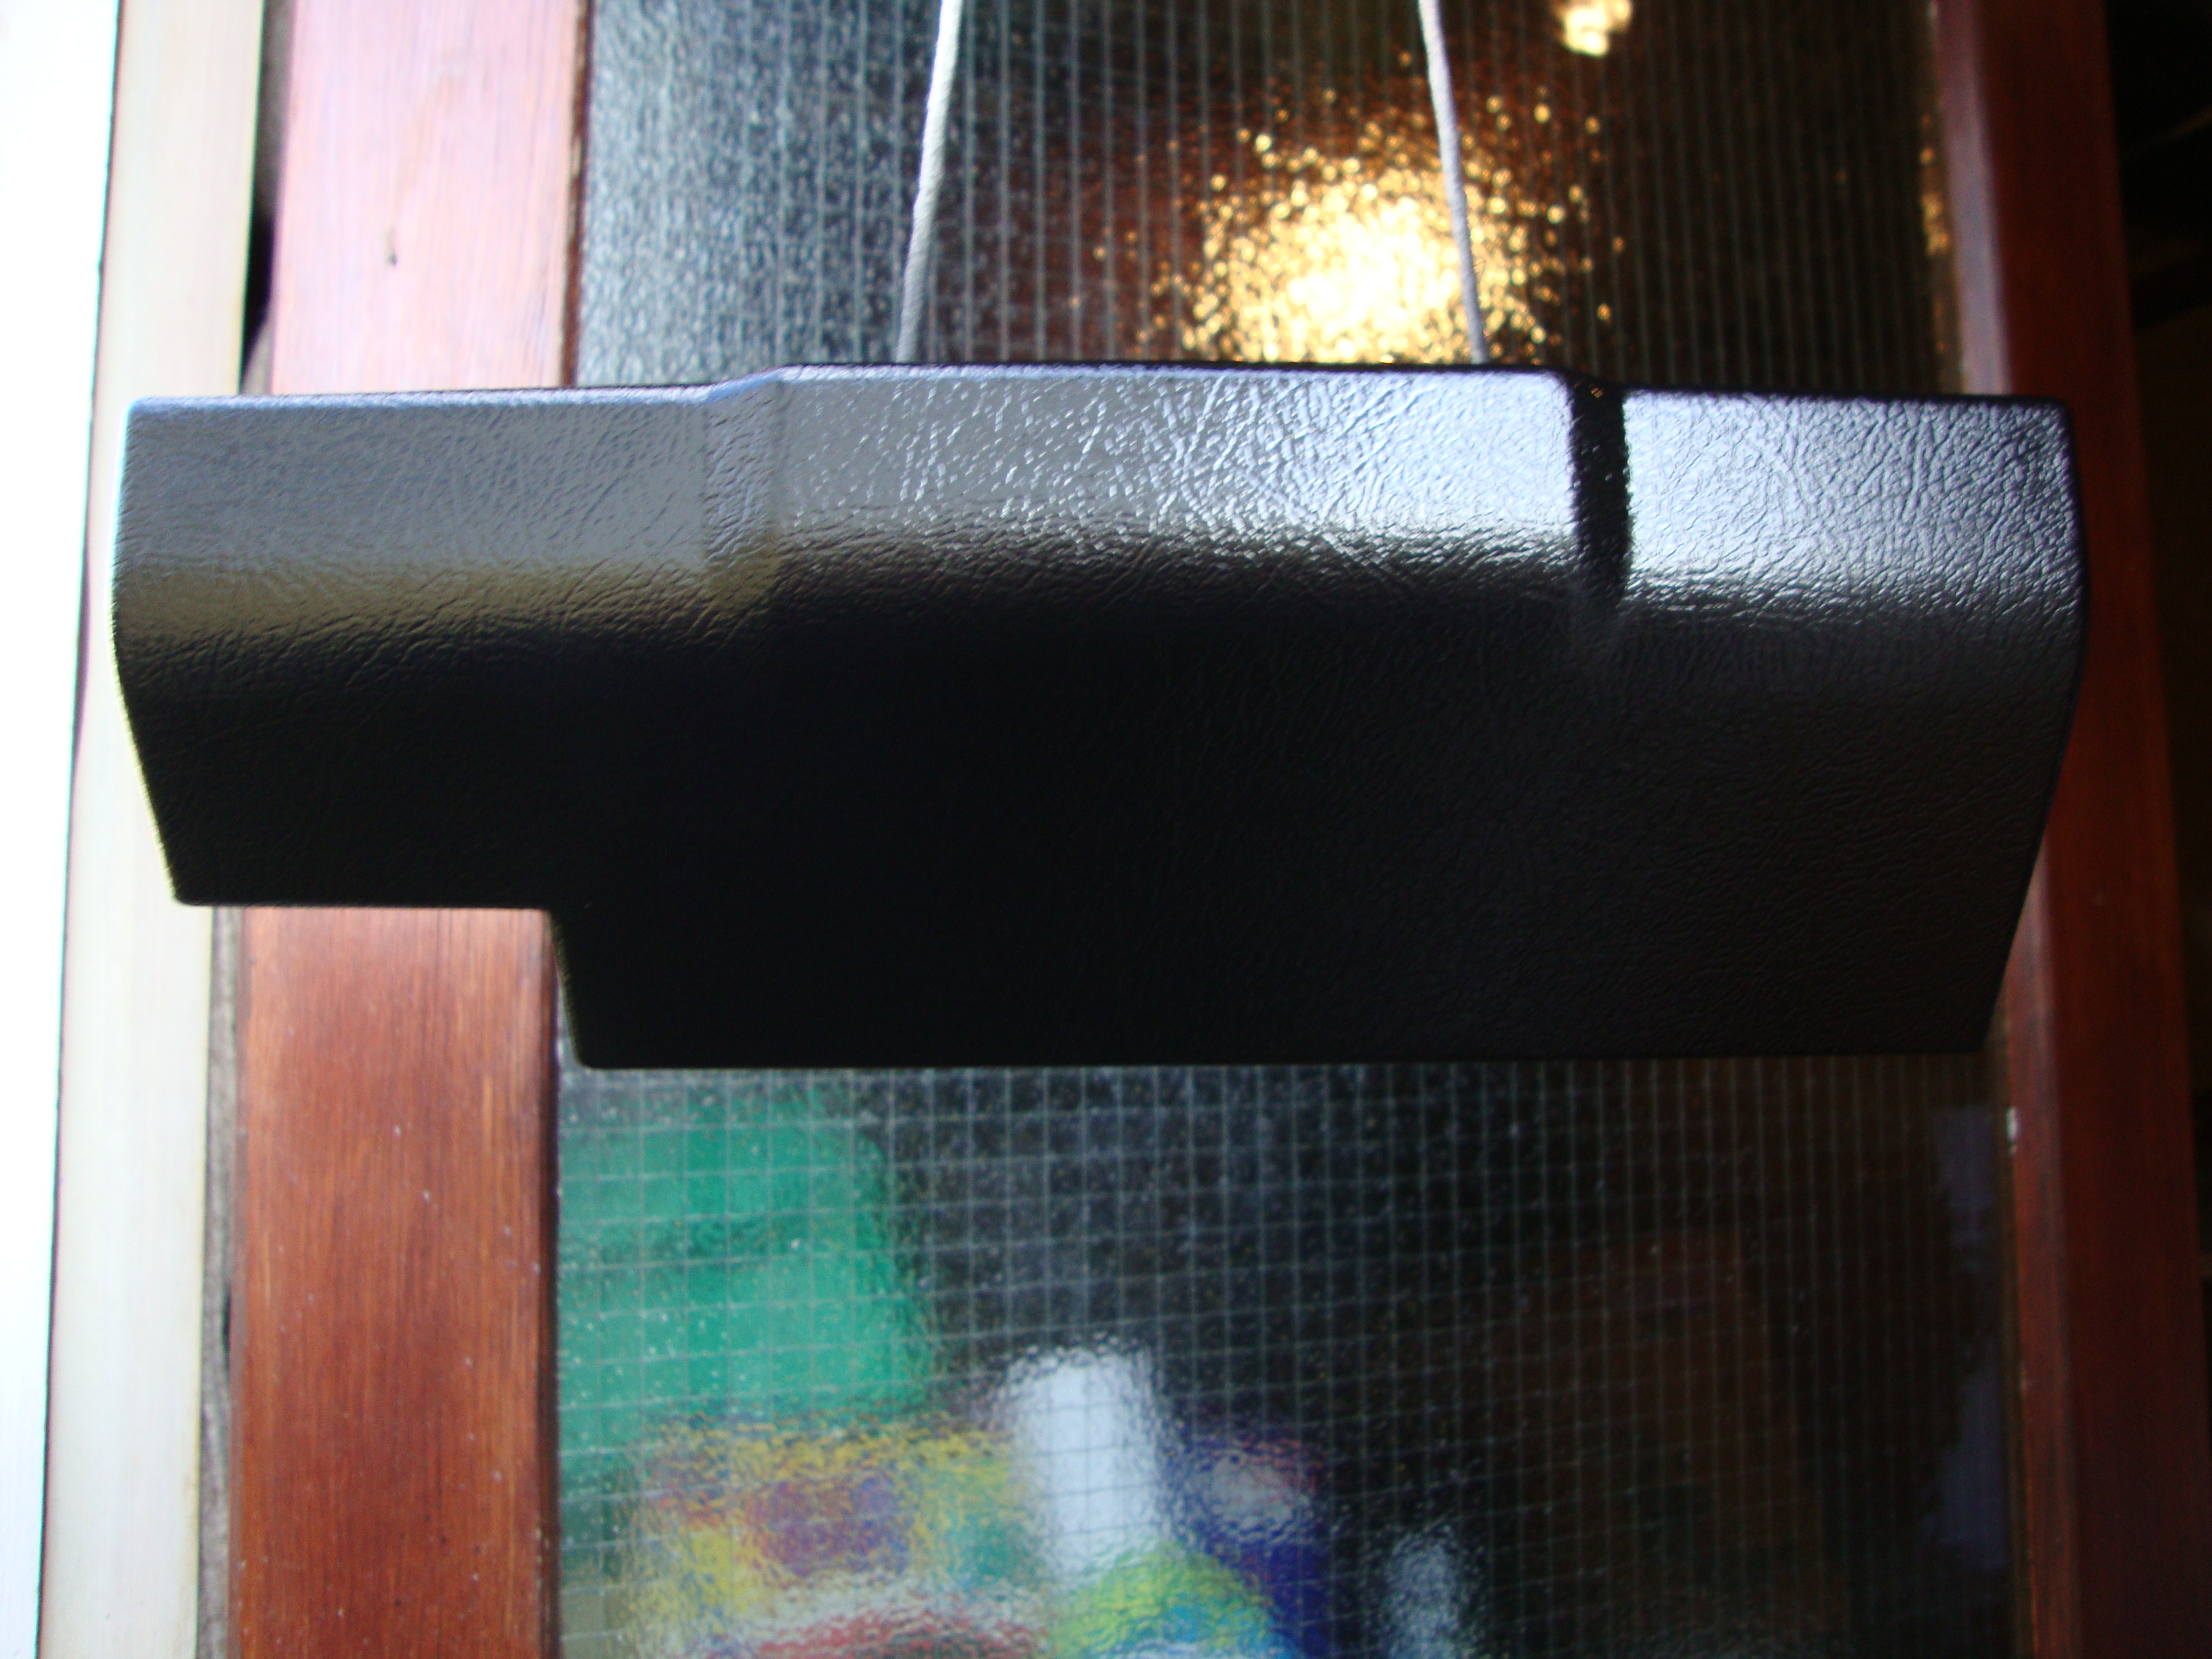
I first started on the ash tray. Gave it a few coats of satin black
While that was drying I masked up the rear panel plastic trim ready for some plastic primer and paint.
Coat of plastic primer
Let that dry... then gave it a couple coats of satin black
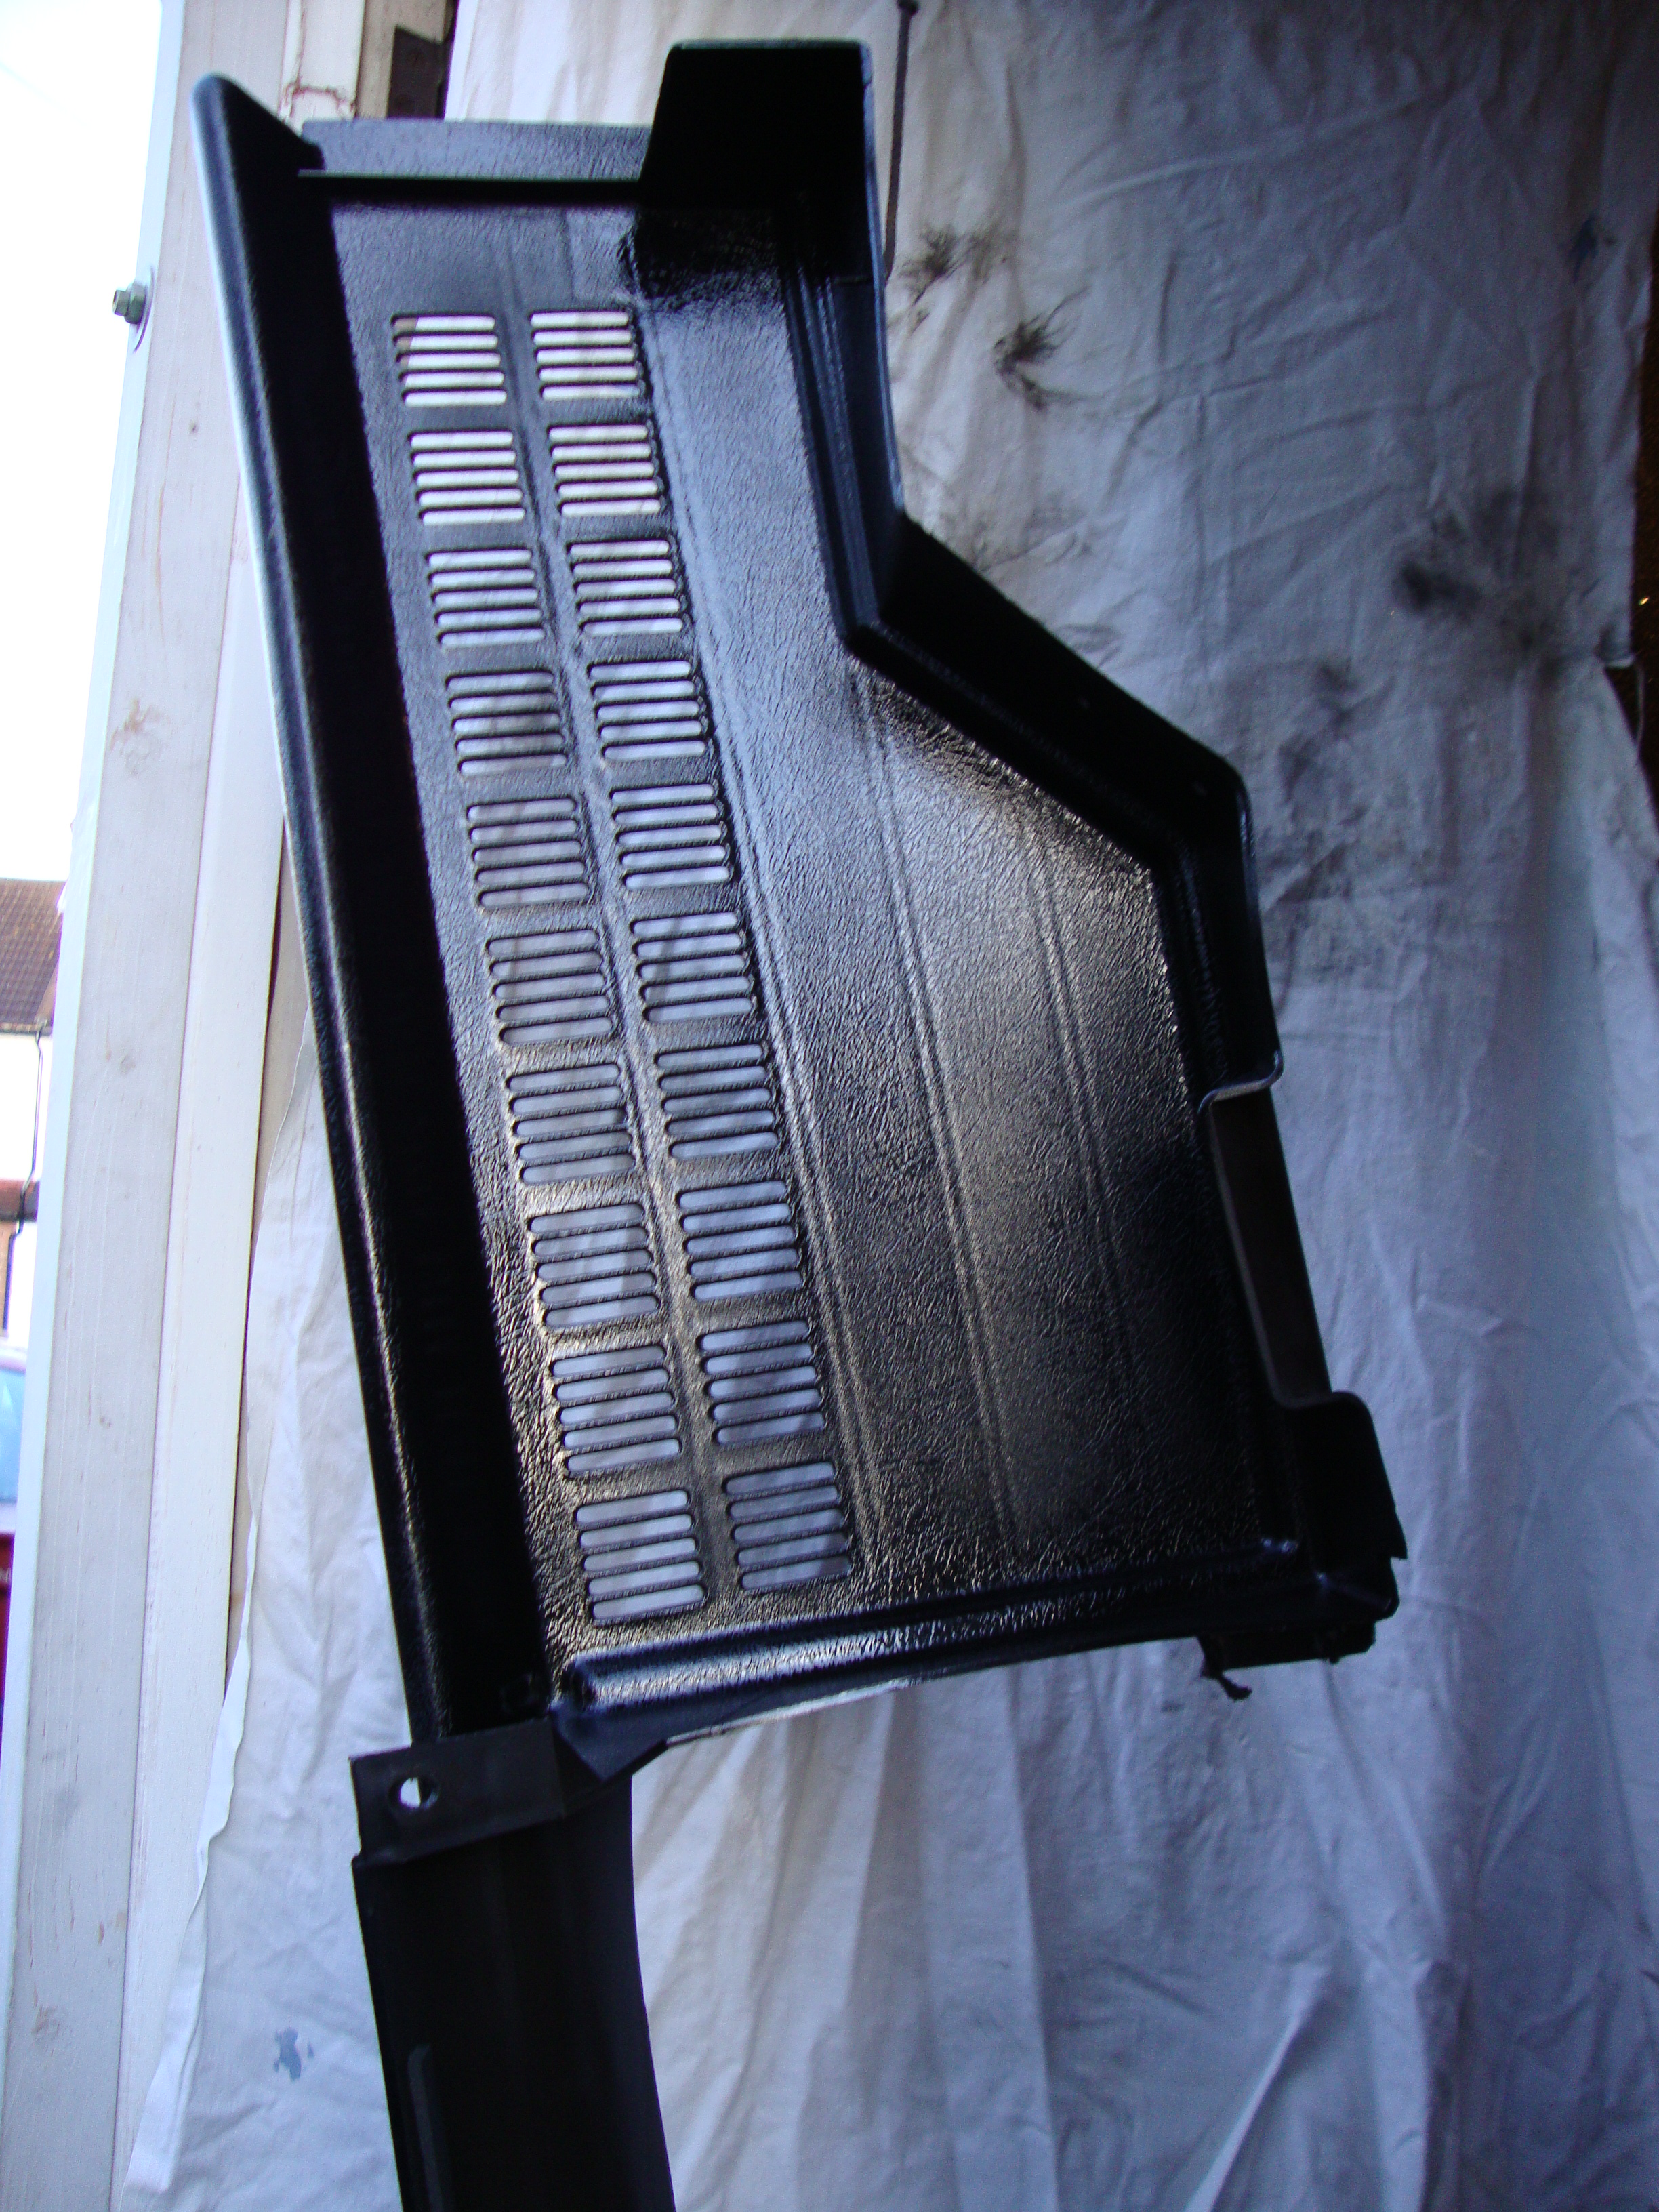
Whilst they were all drying I clocked my parcel shelf in the corner. I originally sprayed the dash and parcel shelf many years ago and the paint was still in good condition. As I had the satin black out I thought I'd freshen it up by giving it a few more coats.
I left all the bits in the garage to dry for a while. The ash tray and smaller plastic bits dried so I took them in to finish off the rear panels
It was a right ball ache trying to fit the larger clips which secure the rear shelf to the rear panels, but i managed it in the end and the outcome is lovely
I thought I'd try be smart and use the reverse side of the old rear shelf cover, which I made about 5 years ago. The rear side was not faded and looked new. When I offered it up on the shelf and put the two retrimmed side panels next to it, the fabric was very different and therefore would look pants. So I decided to make a new cover for the rear shelf using the leftover fabric (was gonna use the leftover stuff to do the inside of the glovebox).
I first added some more velcro to the backside of the shelf, then measured up the fabric by placing the shelf over it making sure it would come up to the velcro.
Got a bit hungry, so went and made a sandwich!
To be continued...
Last edited by Nova_Tek; 08-05-20 at 11:05 AM. Reason: Image rehosting

good work on the retrimming!
How durable is the painted dash? I was going to get mine flocked but the black looks decent. Be cheaper too.
What was the deadline you gave the bodyshop?
good work on the retrimming!
How durable is the painted dash? I was going to get mine flocked but the black looks decent. Be cheaper too.
What was the deadline you gave the bodyshop?
Very durable. I originally never used plastic primer, used normal satin black paint and I painted it whilst in the car
I was thinking about flocking but I'm in no rush. TBH you could probably get a really nice fabric (like the one in the pics above) and cover the dash in it.
I gave the bodyshop till beginning of next week (12th April) to have it done. Let's see if they do it.
Last edited by Nova_Tek; 07-05-20 at 11:00 PM.
its something ill definately be considering, looks good.
hope they get cracking on it for you. whats the first thing you'll be doing to it?
To what?... Engine? Interior?
Sorry man, had a late night and only just got up. Things aren't making a great deal of sense at the mo
Posting Permissions

 Reply With Quote