Howdy all, hope everyone is well. It's been a few months I know, but I deliberately left updates to be done in bulk otherwise they'd be one photo posts and a bit boring!
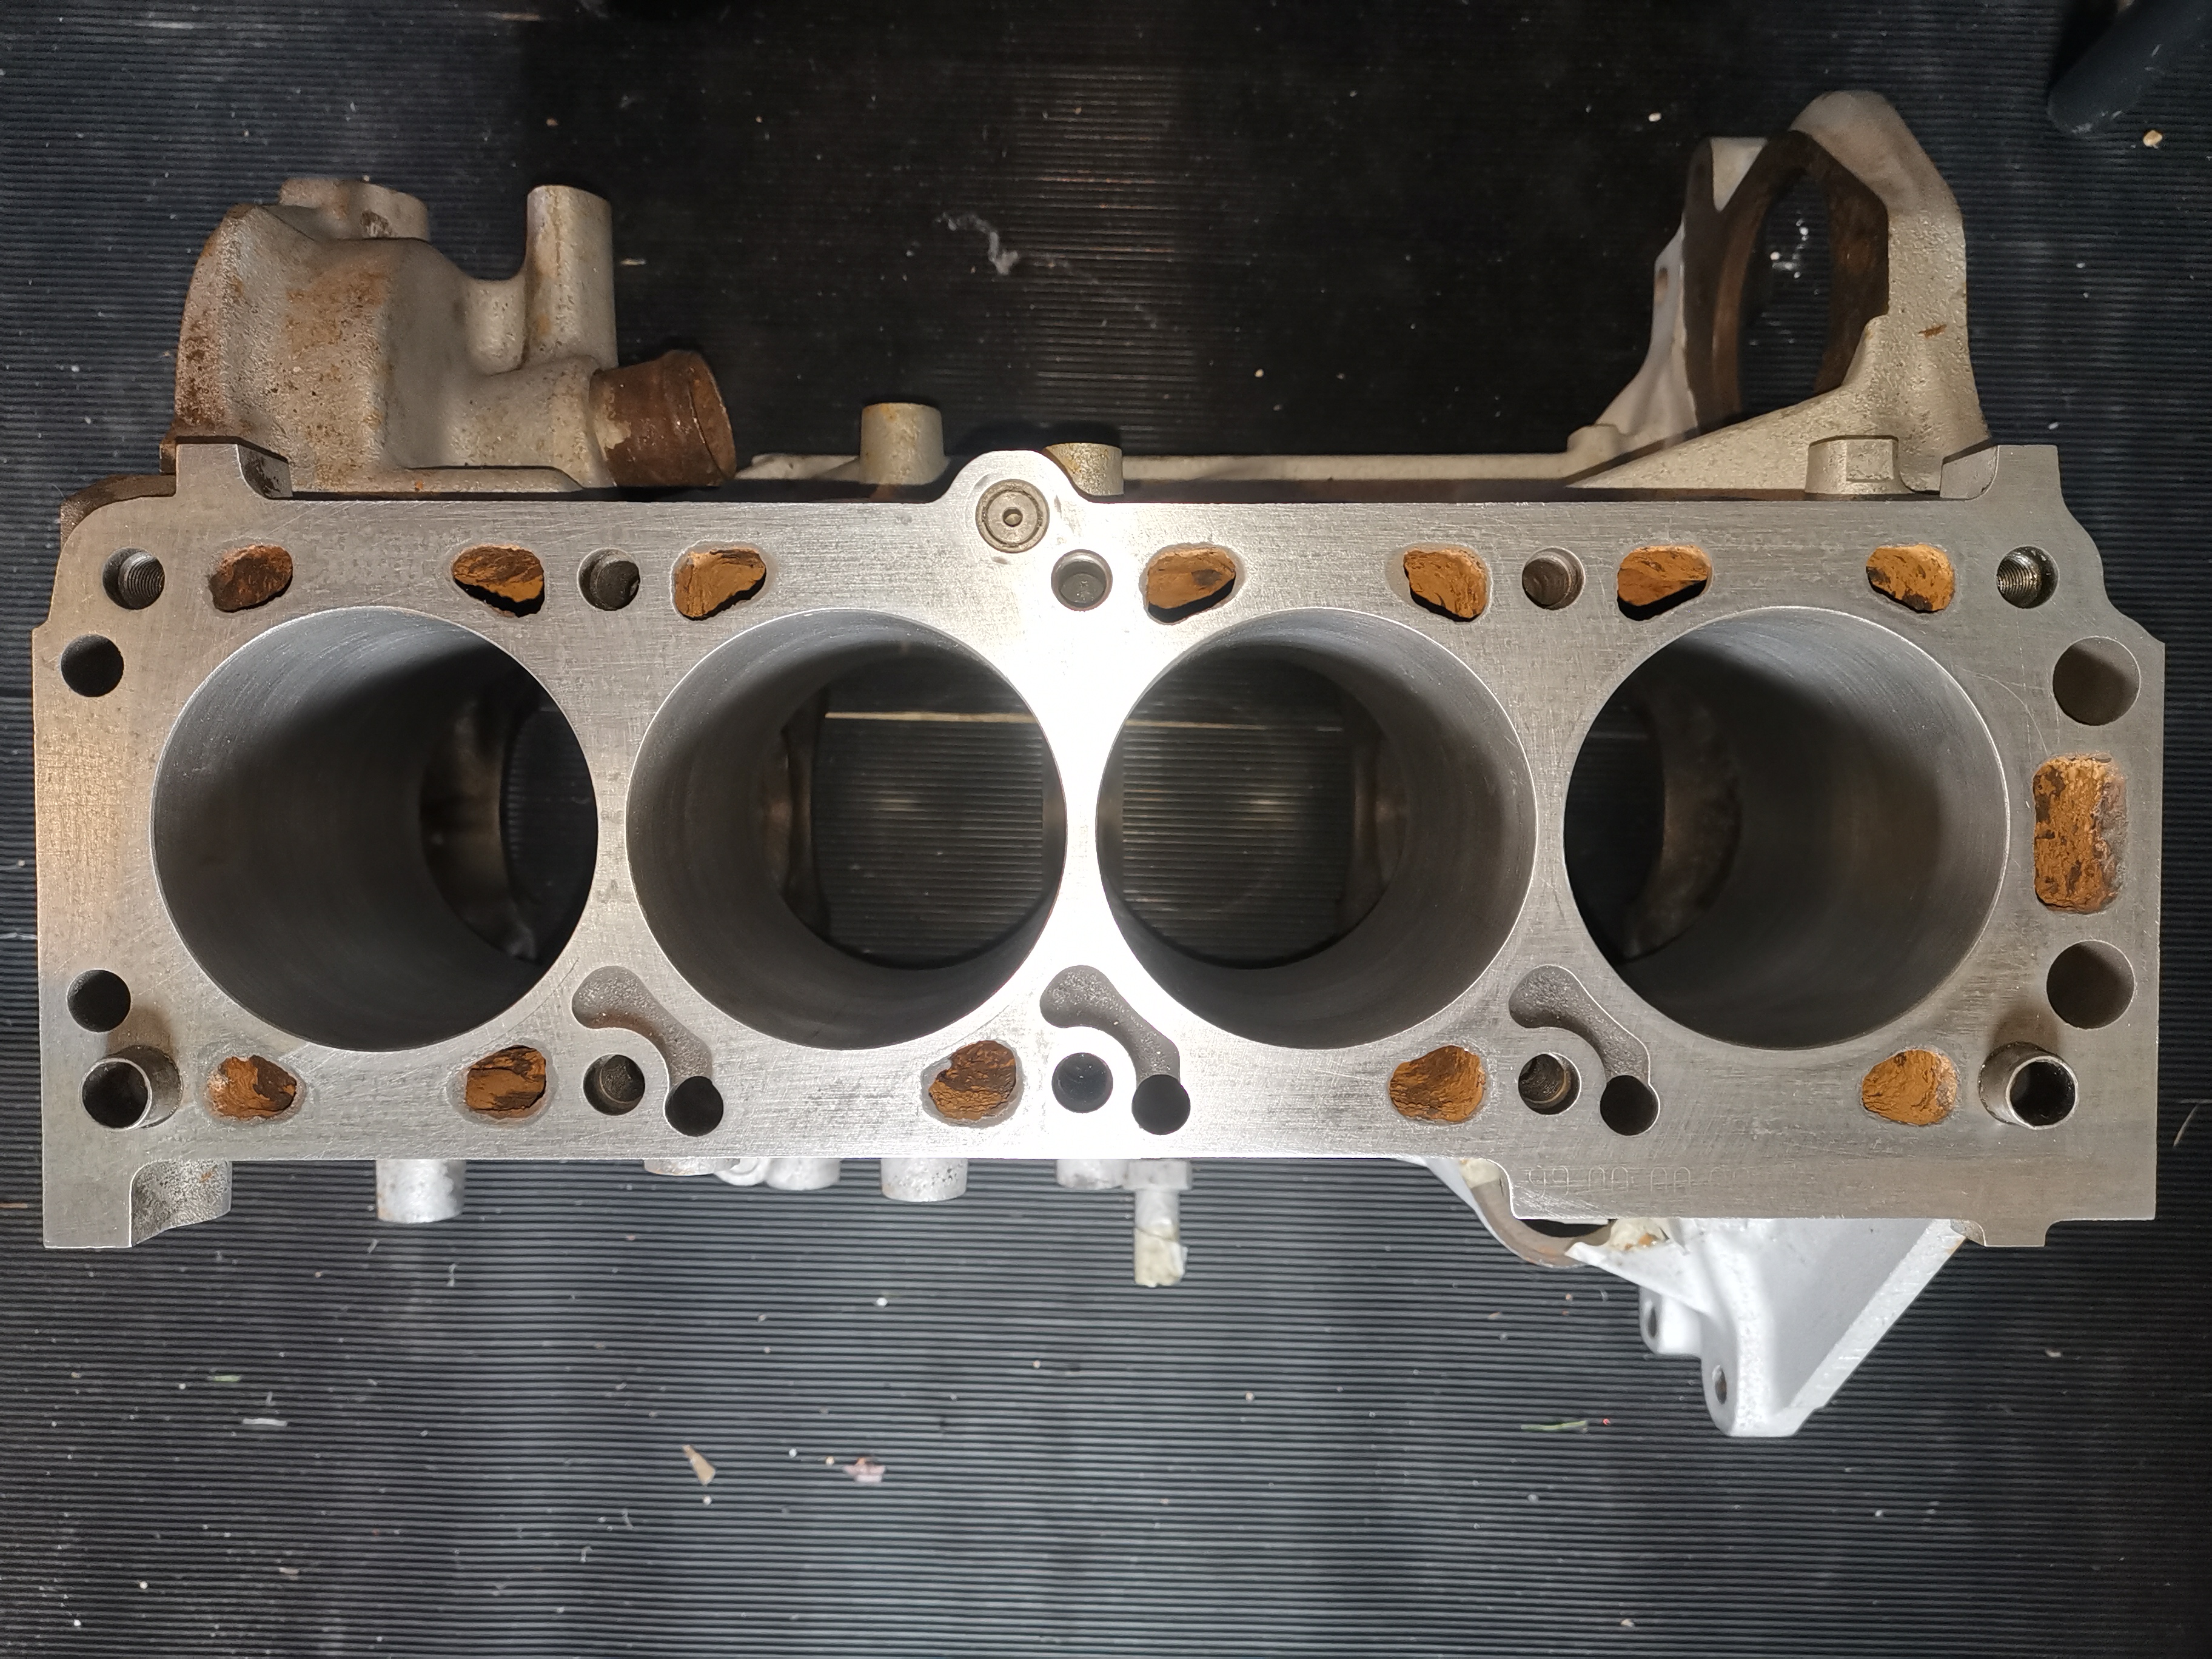
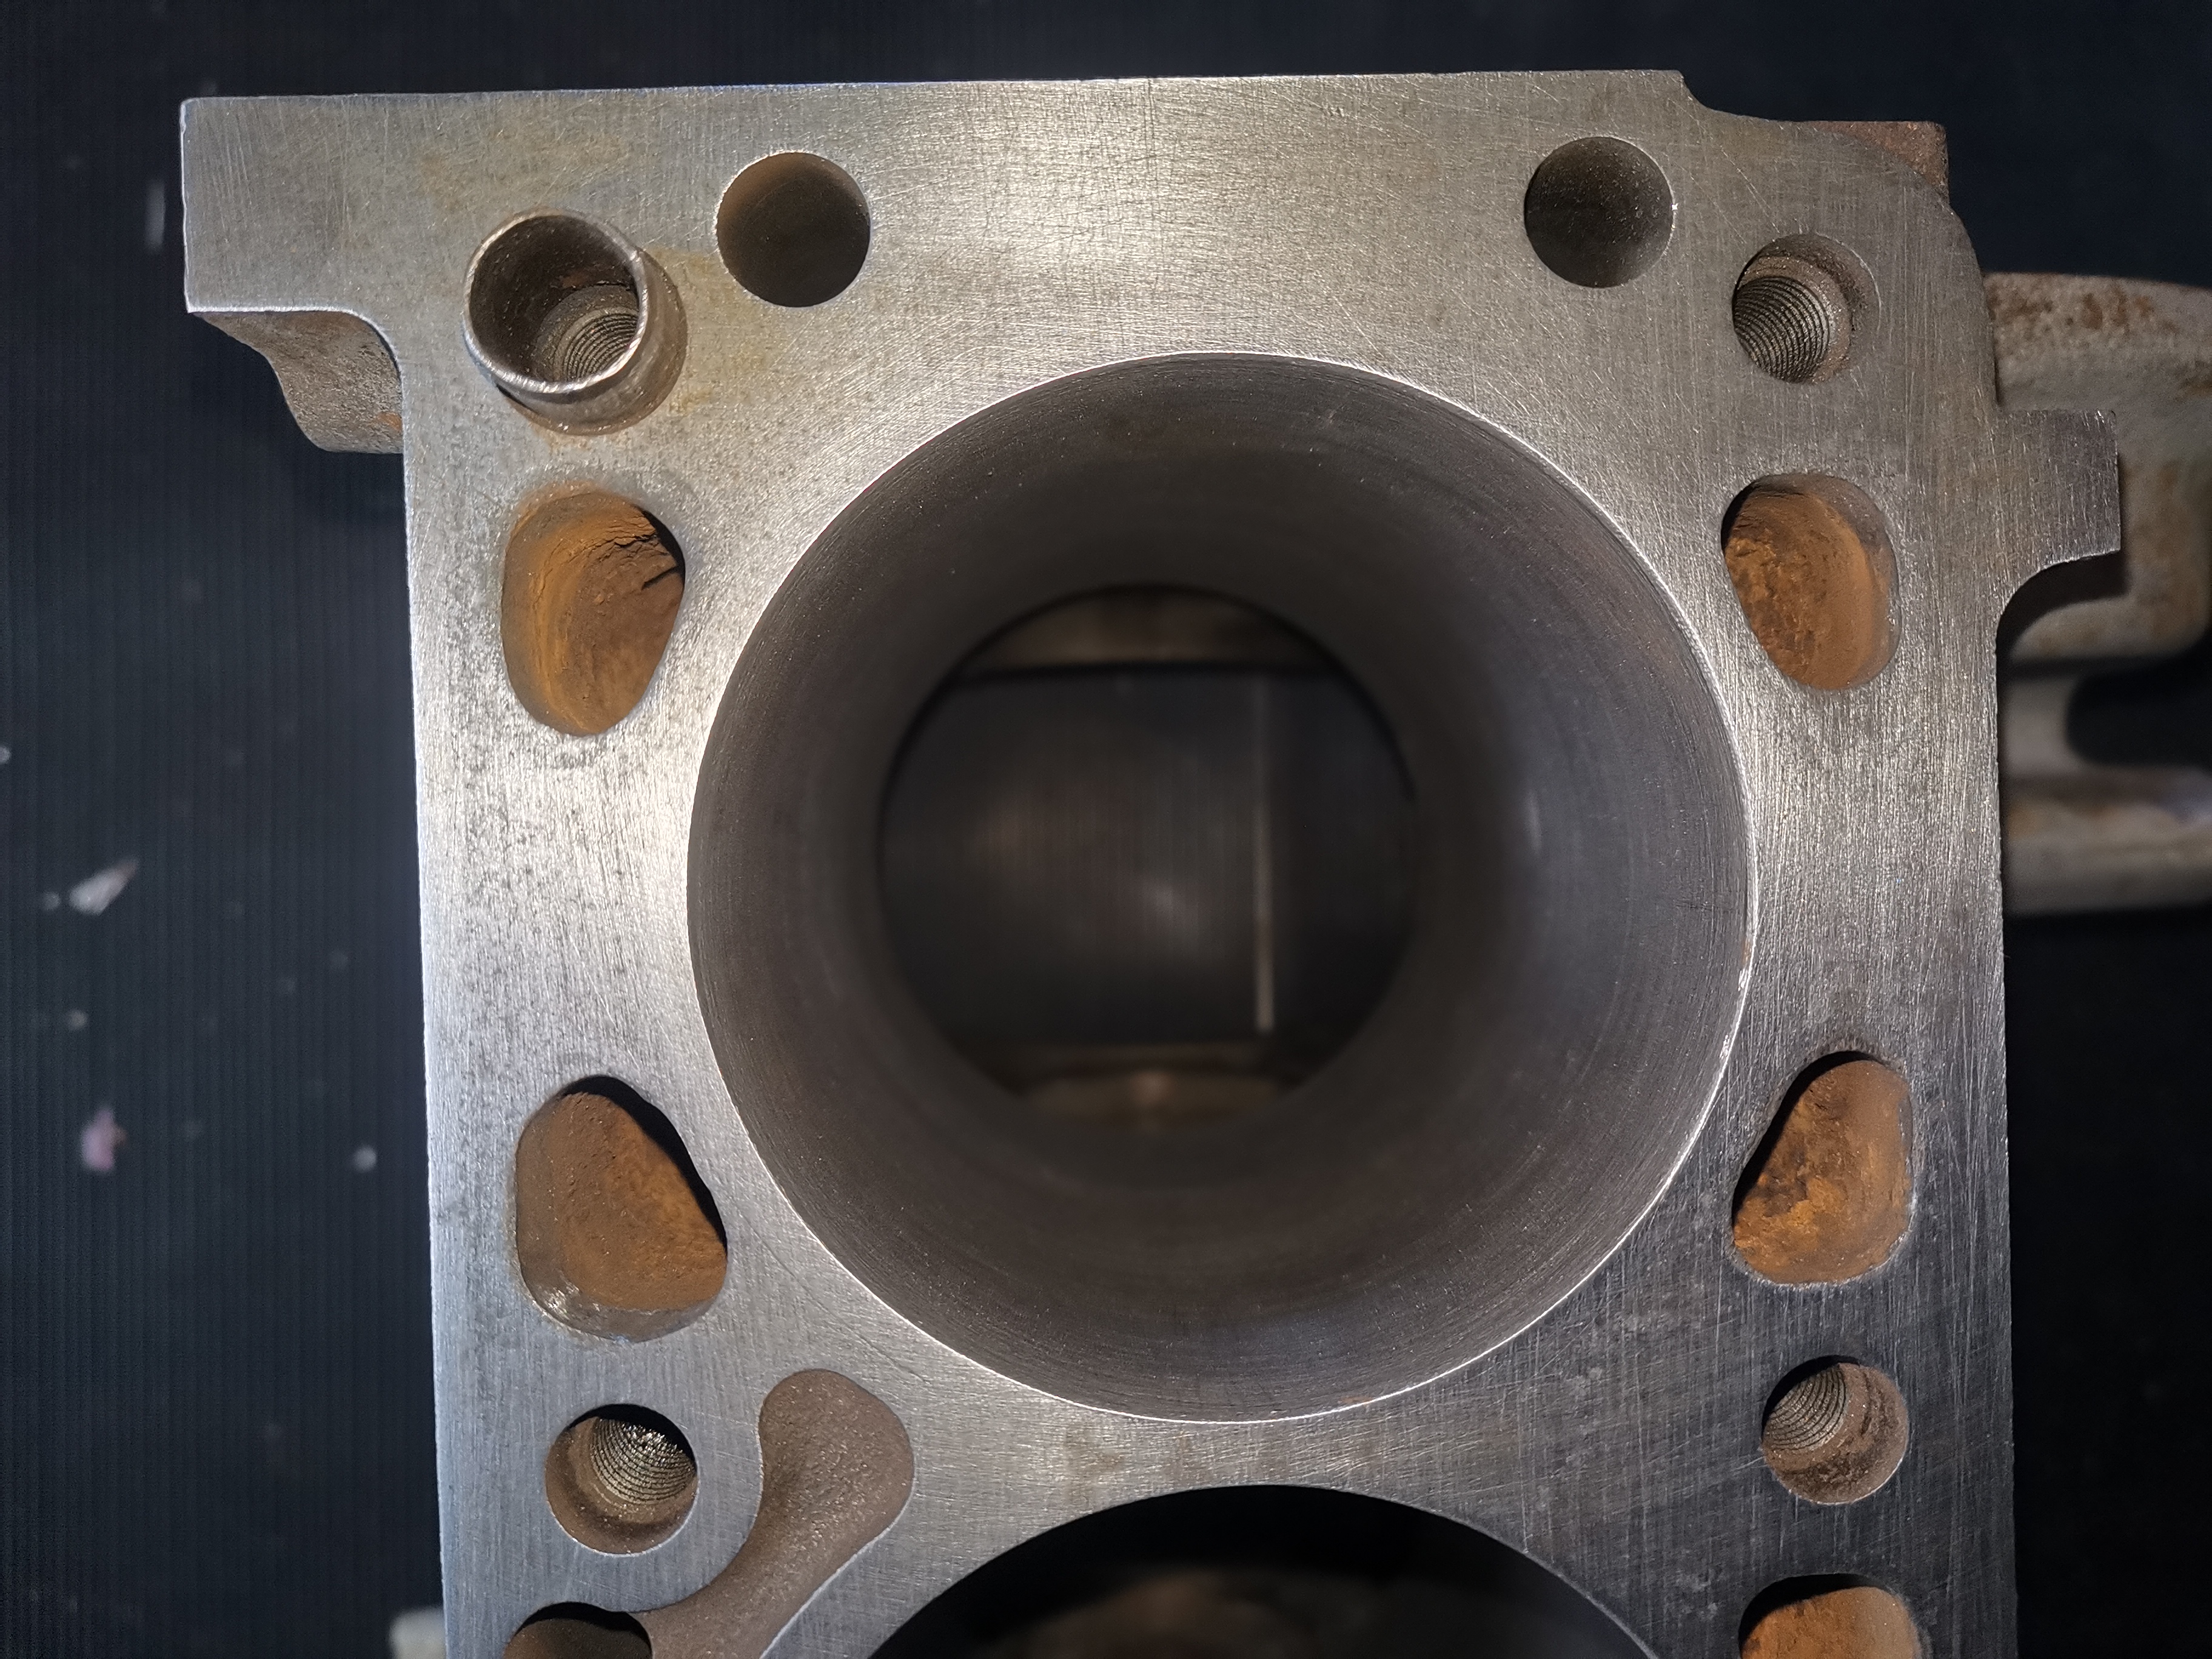
A few things have been done over the last few months to progress the project forward. First up was the block. There was plenty of signs of rusty crustiness in it, so I had to try make it better. It started out in this way:
It was pretty much like this all over
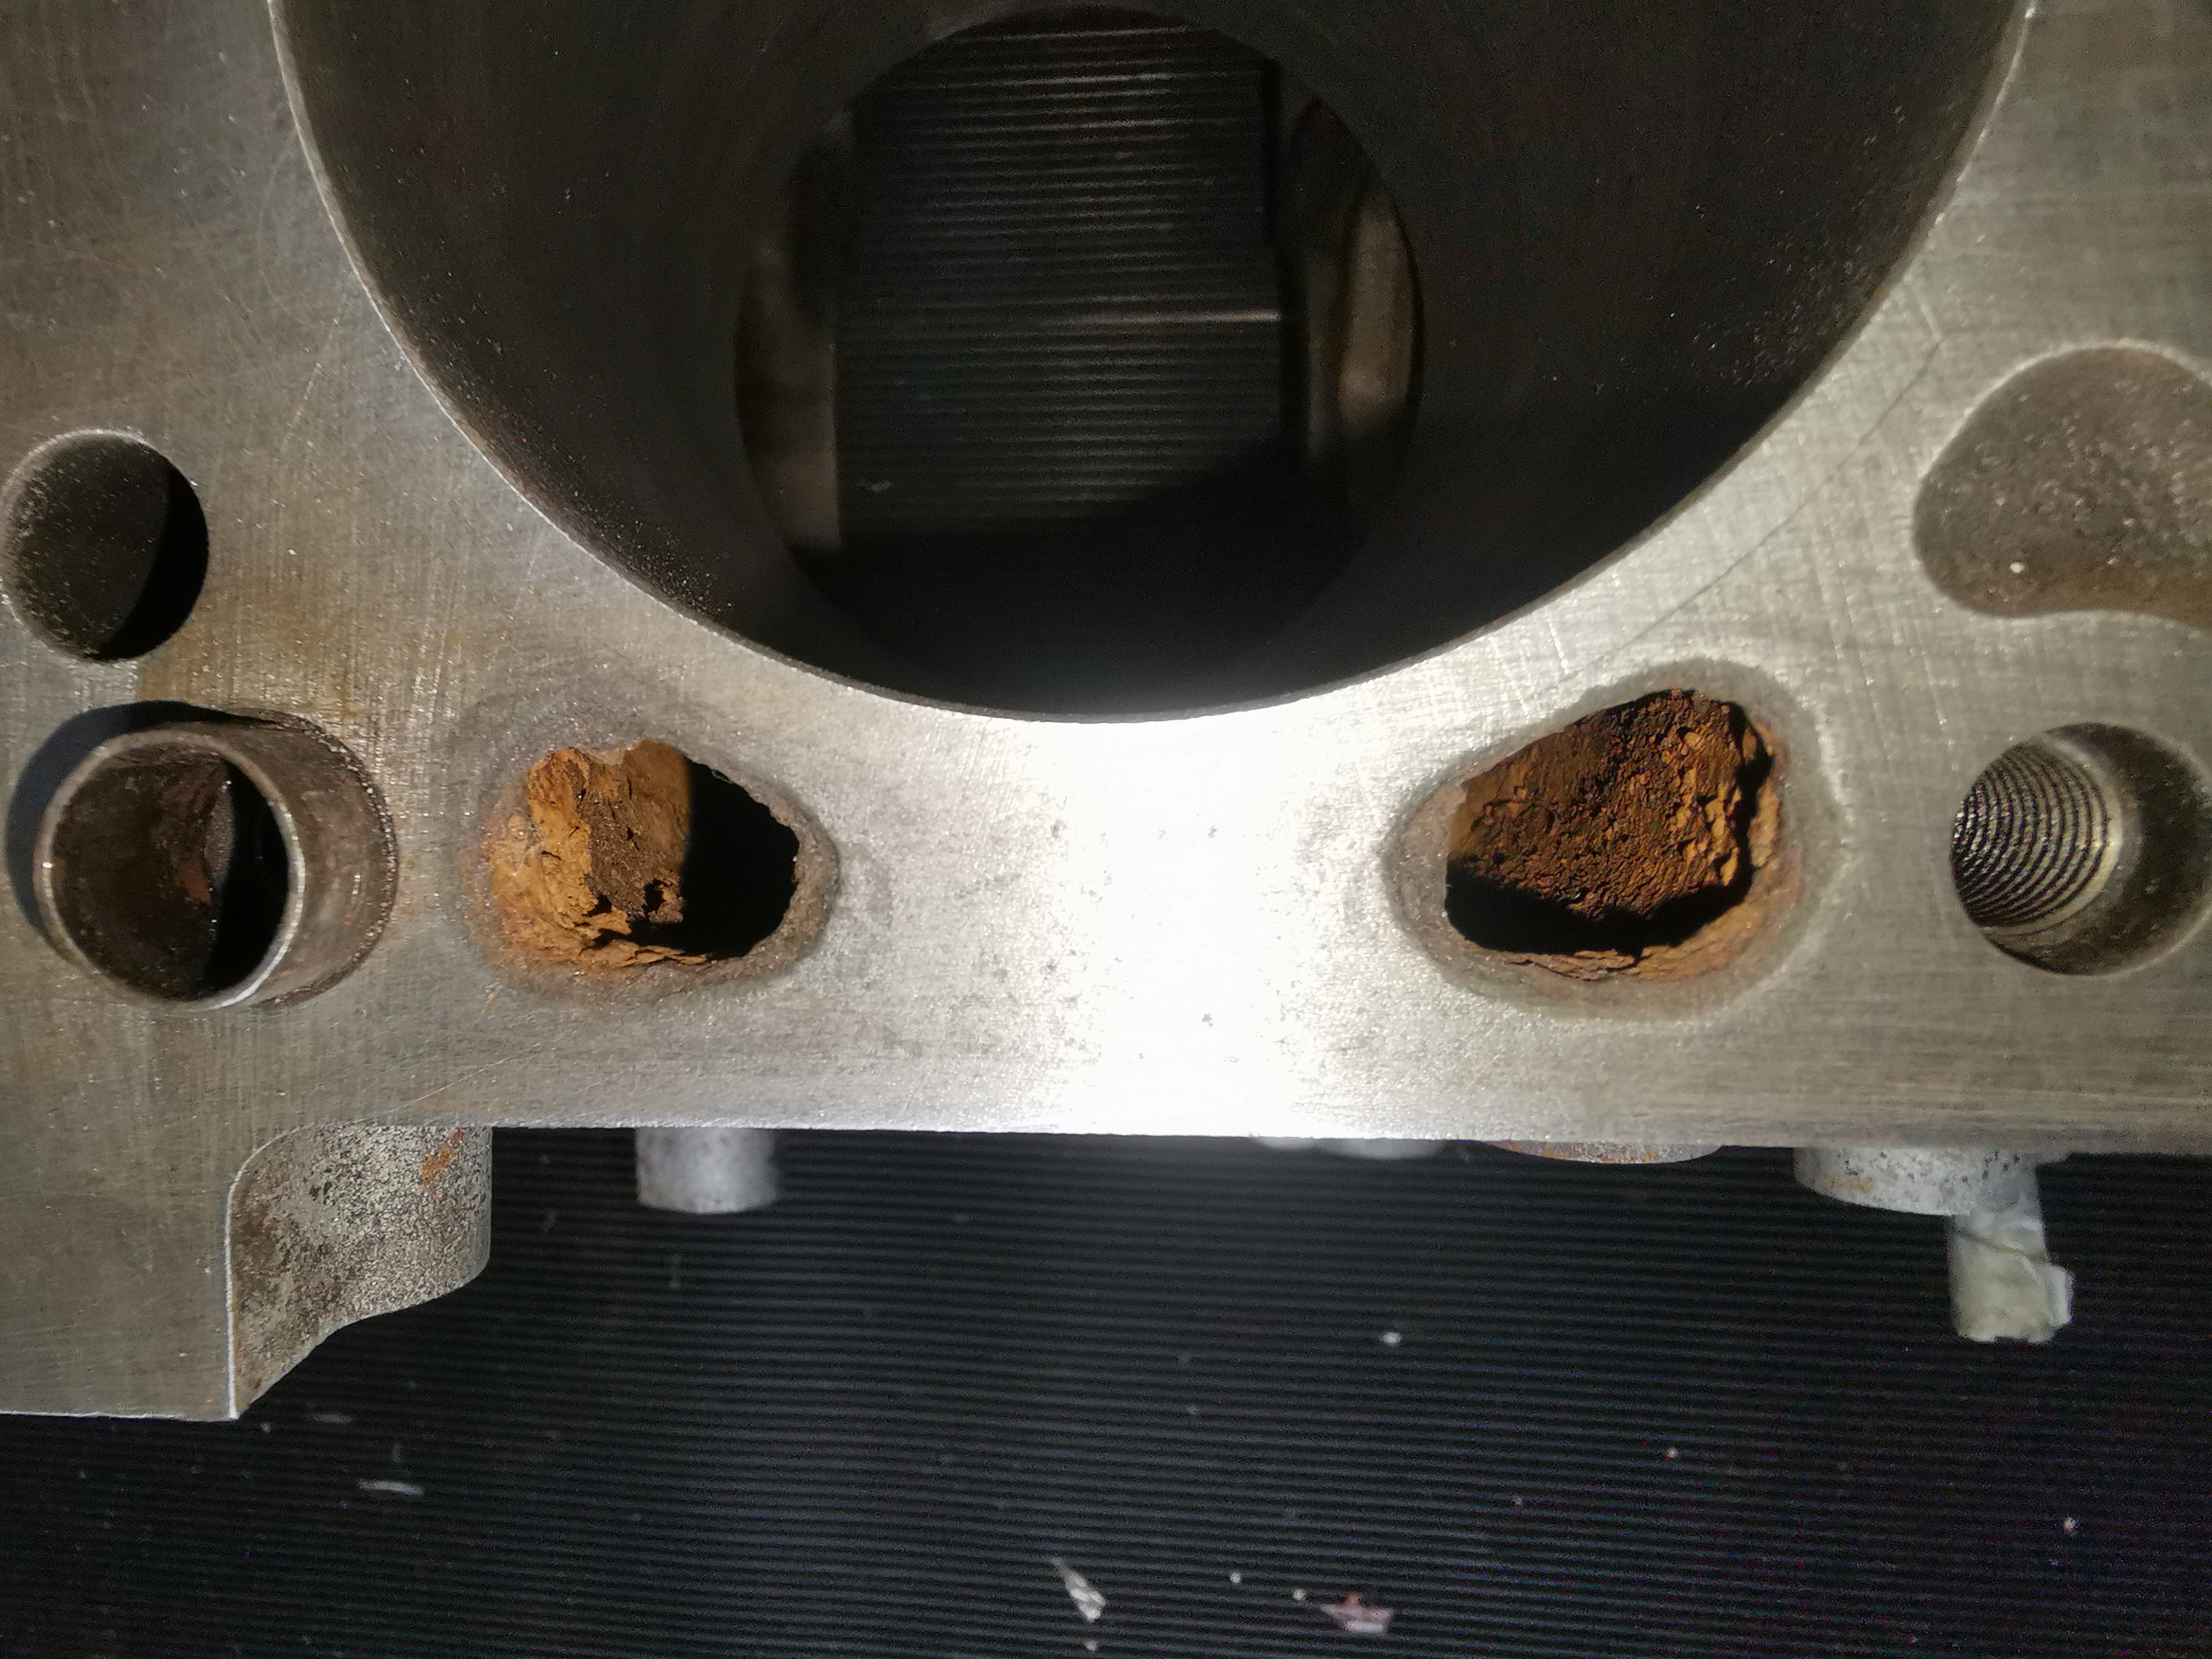
You can see the crust around the top of the waterways as well as get a glimpse of the rusty material in the block itself. Some might say leave it as is, but I'm likely to opt for waterless coolant seeing as the there is no trace of water in the system at all, it's a perfect time. Granted, it'll need a proper flush out but it's worth getting as much out whilst dry.
This is how it looked after a going over it with a sanding cone and the dremmel, didn't want no harsh grinding which the grinding stone would've done. Tried to get in there as deep as possible... it eventually looked like this:
Far better.
Turned the block over to get and loose bits out
Having seen all this I had to clean it out with something, so I decided to get the block flushed with some distilled white vinegar, which most of us will know has some rust clearing abilities.
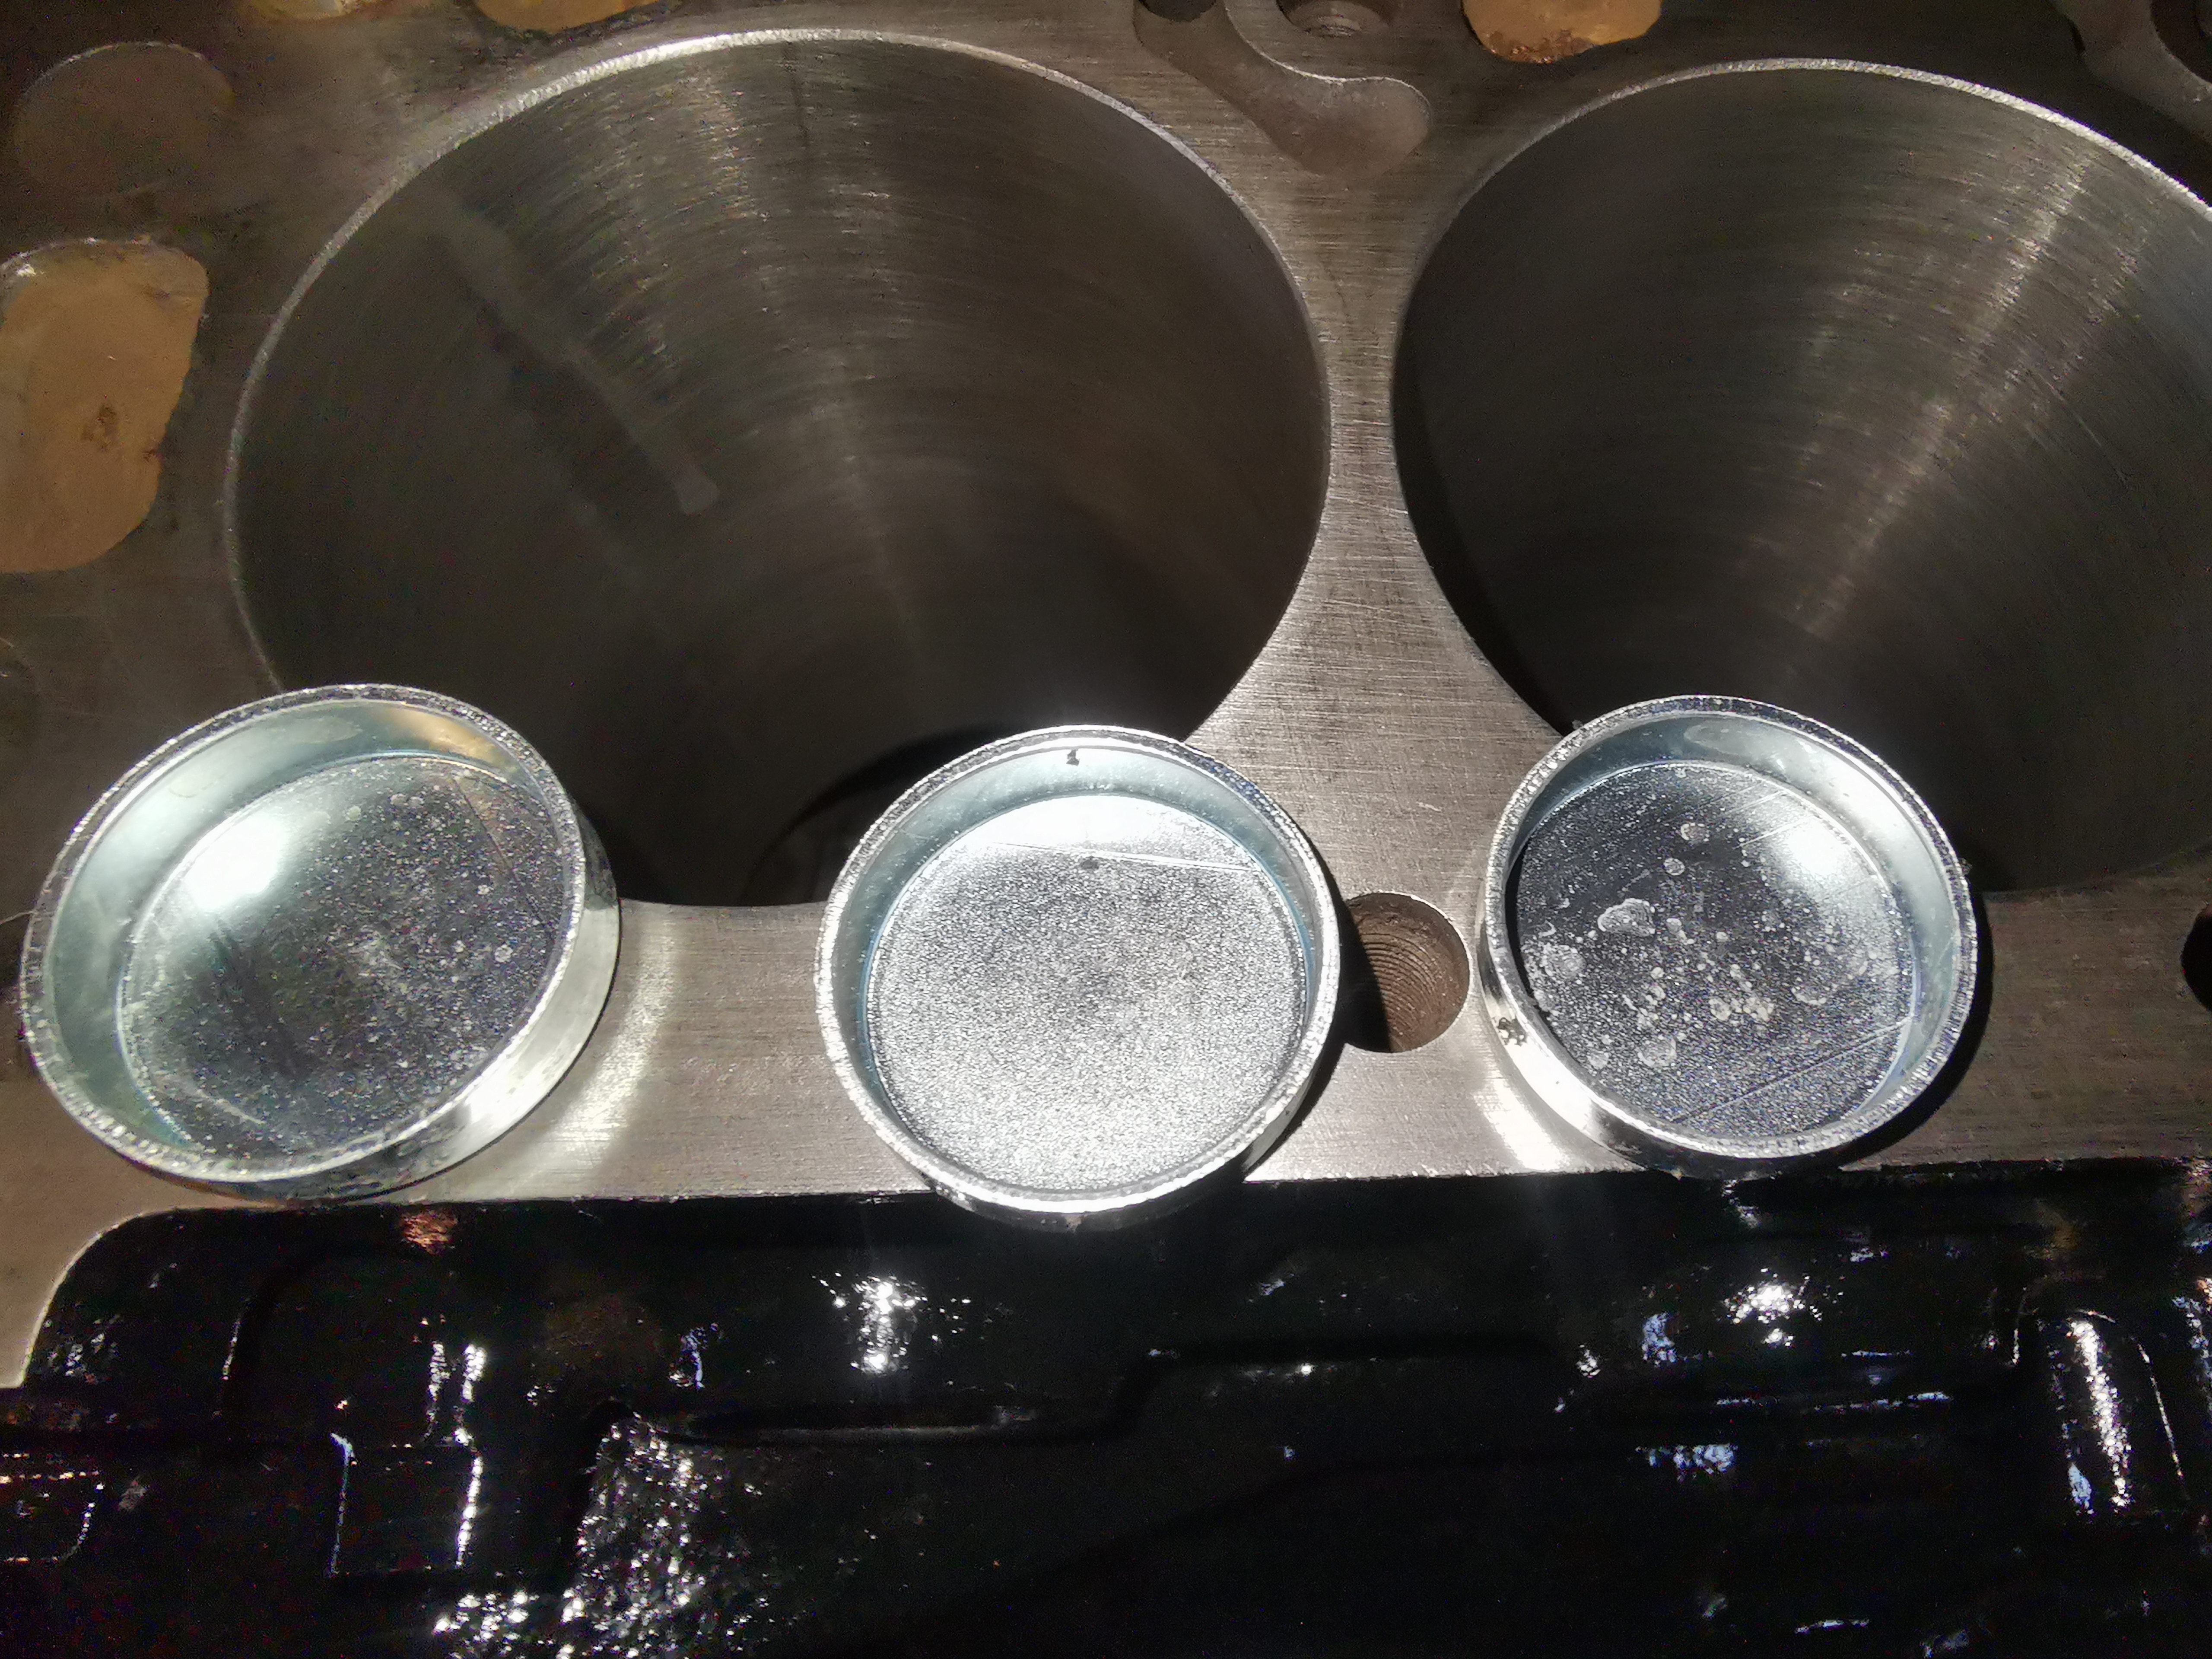
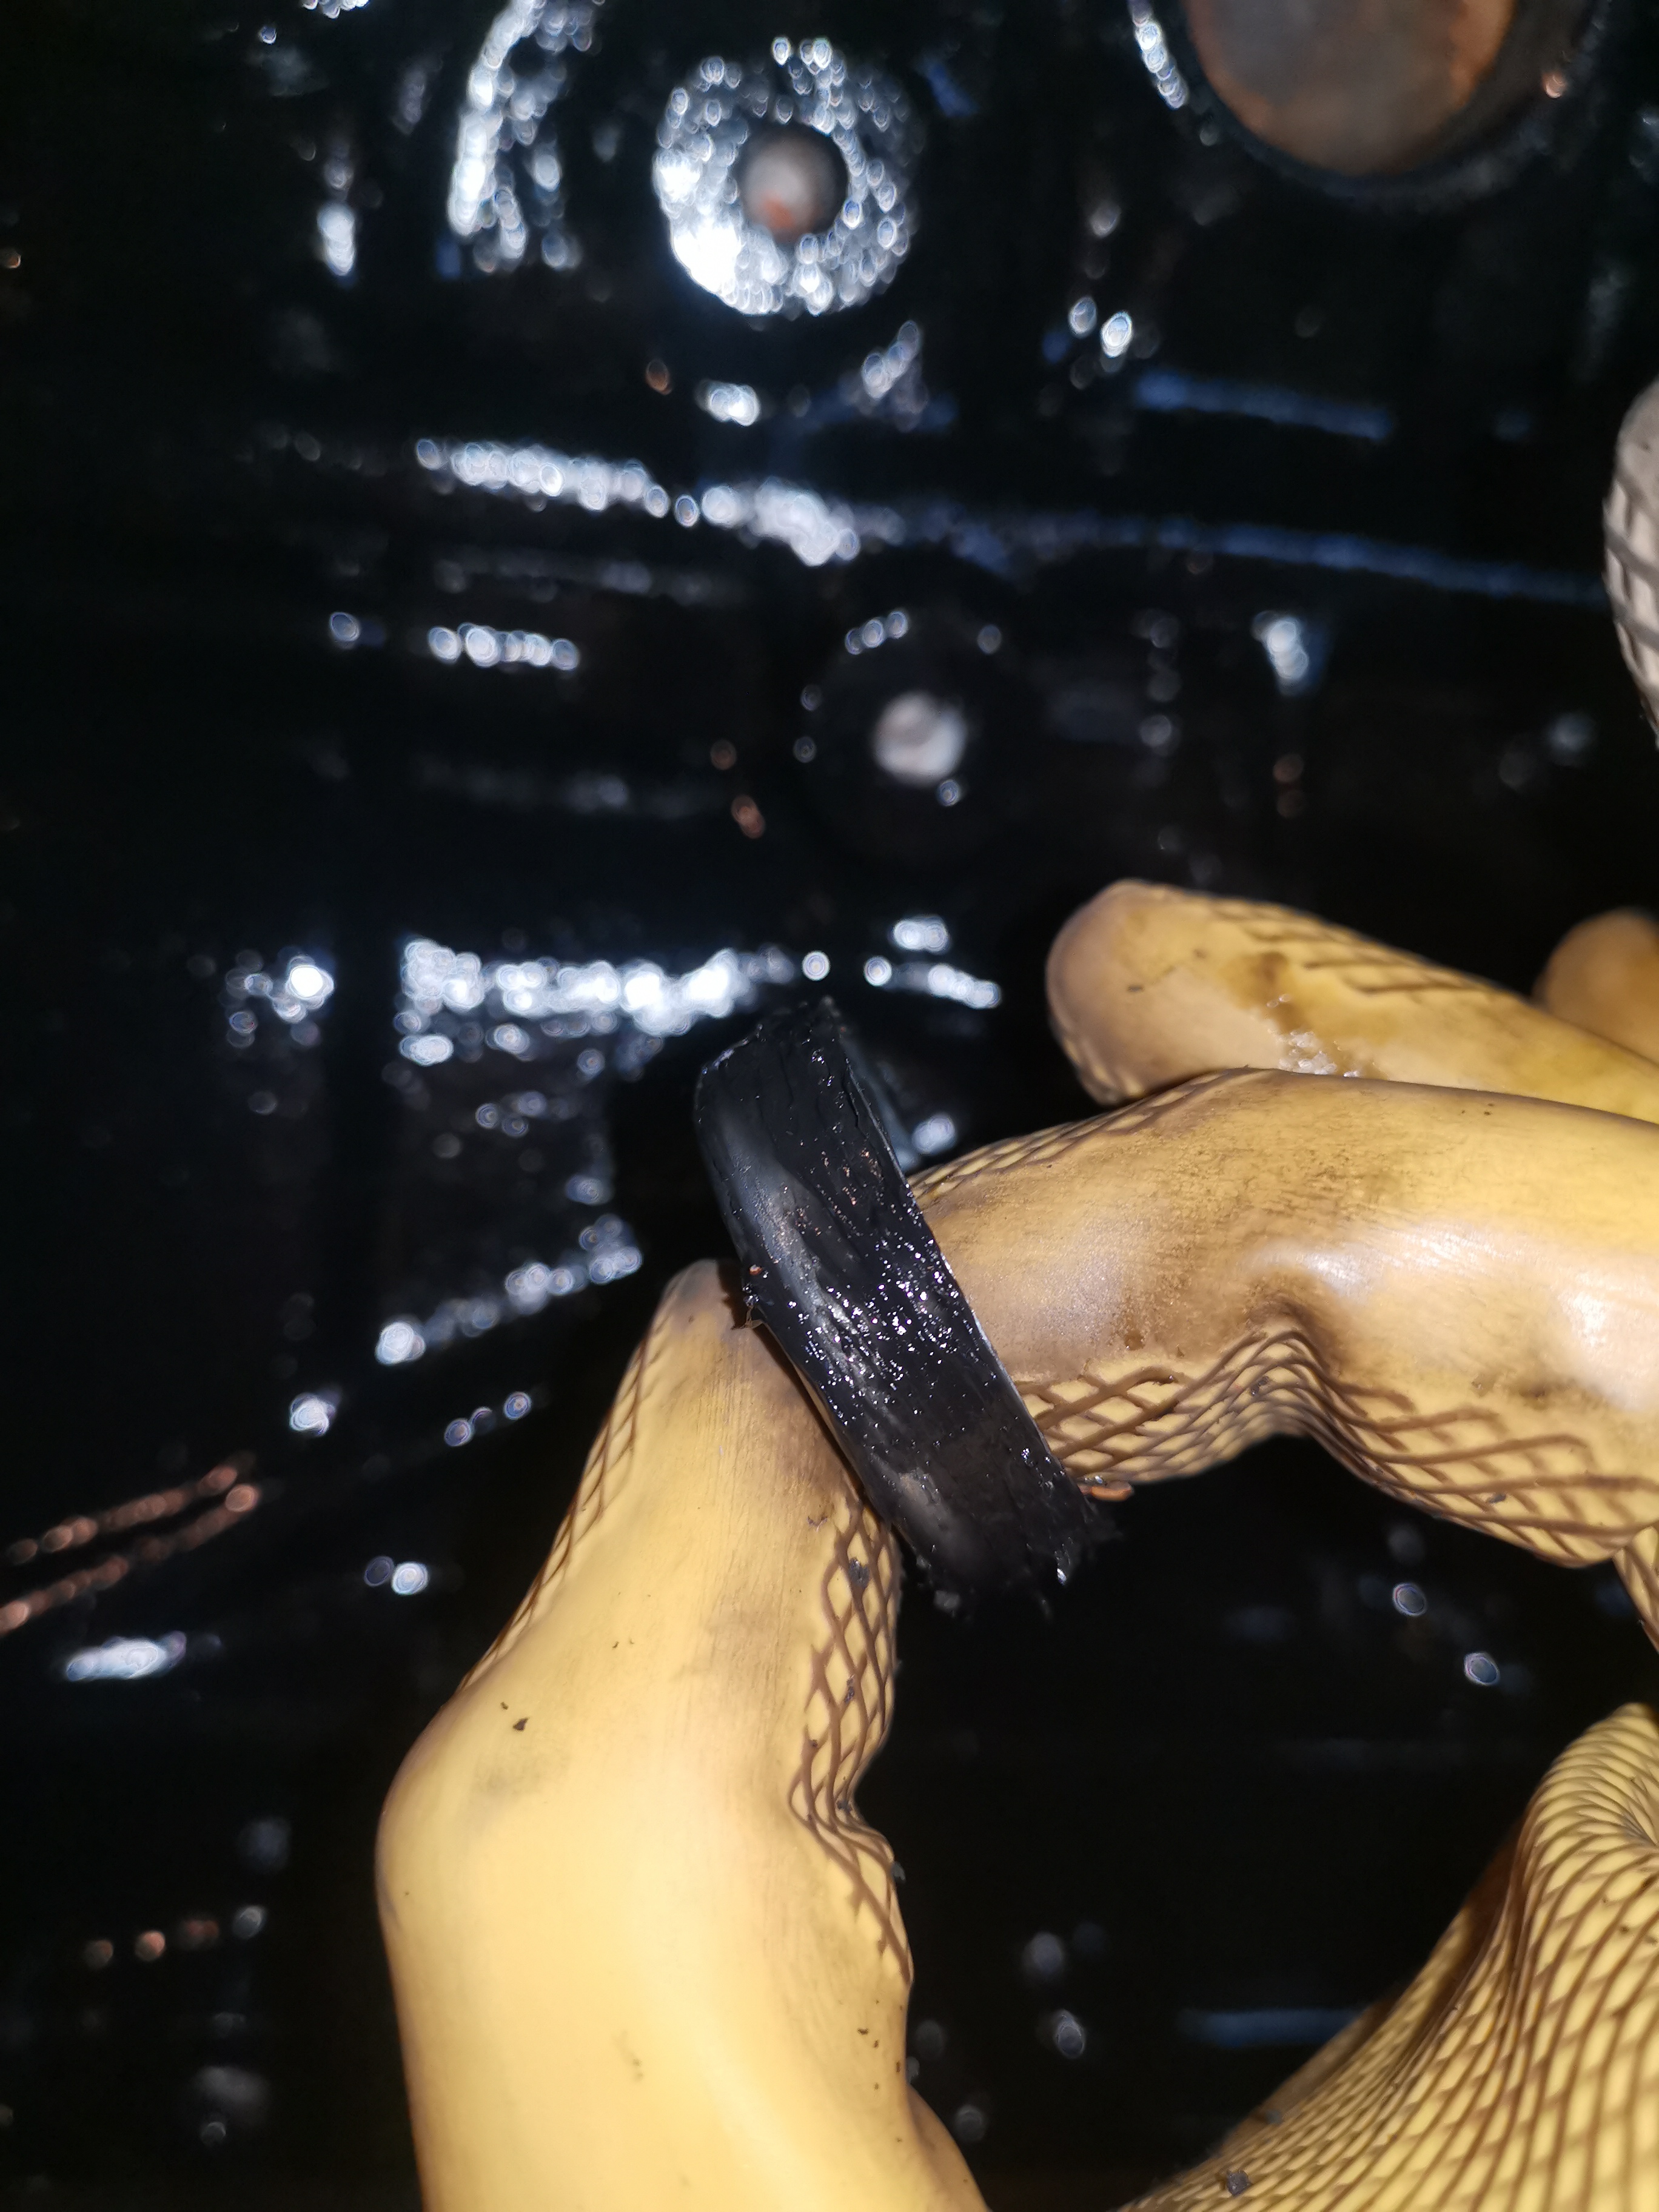
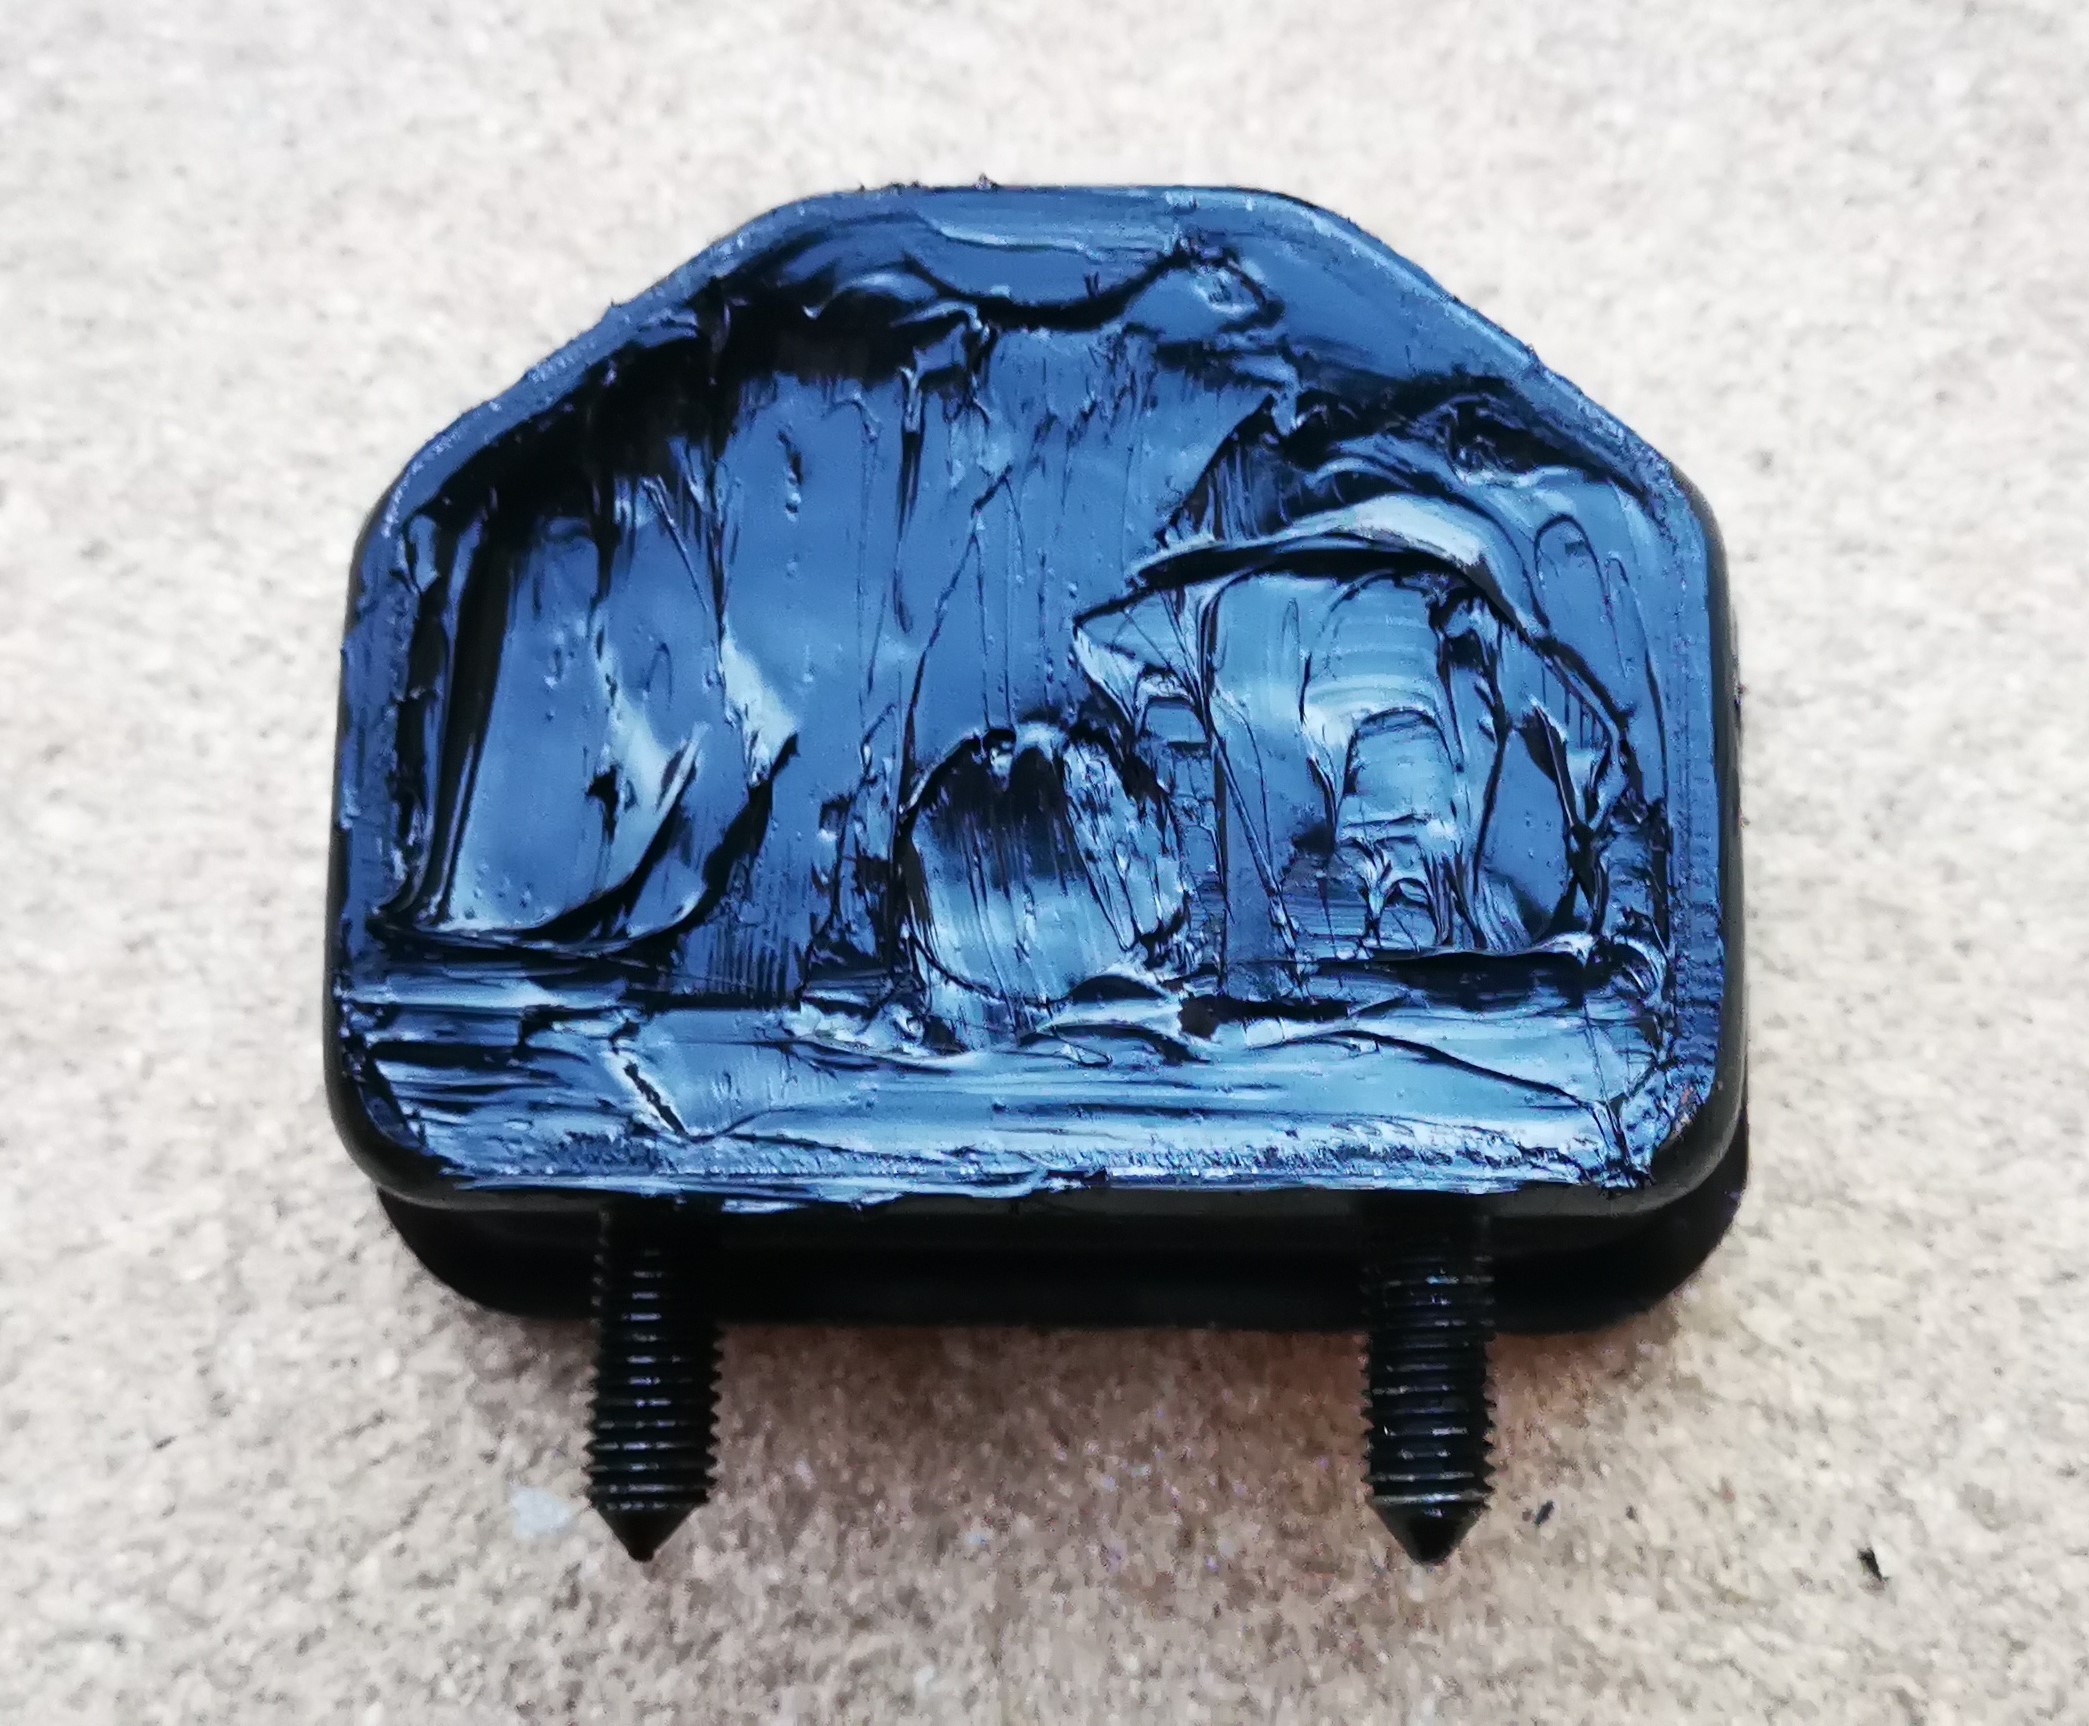
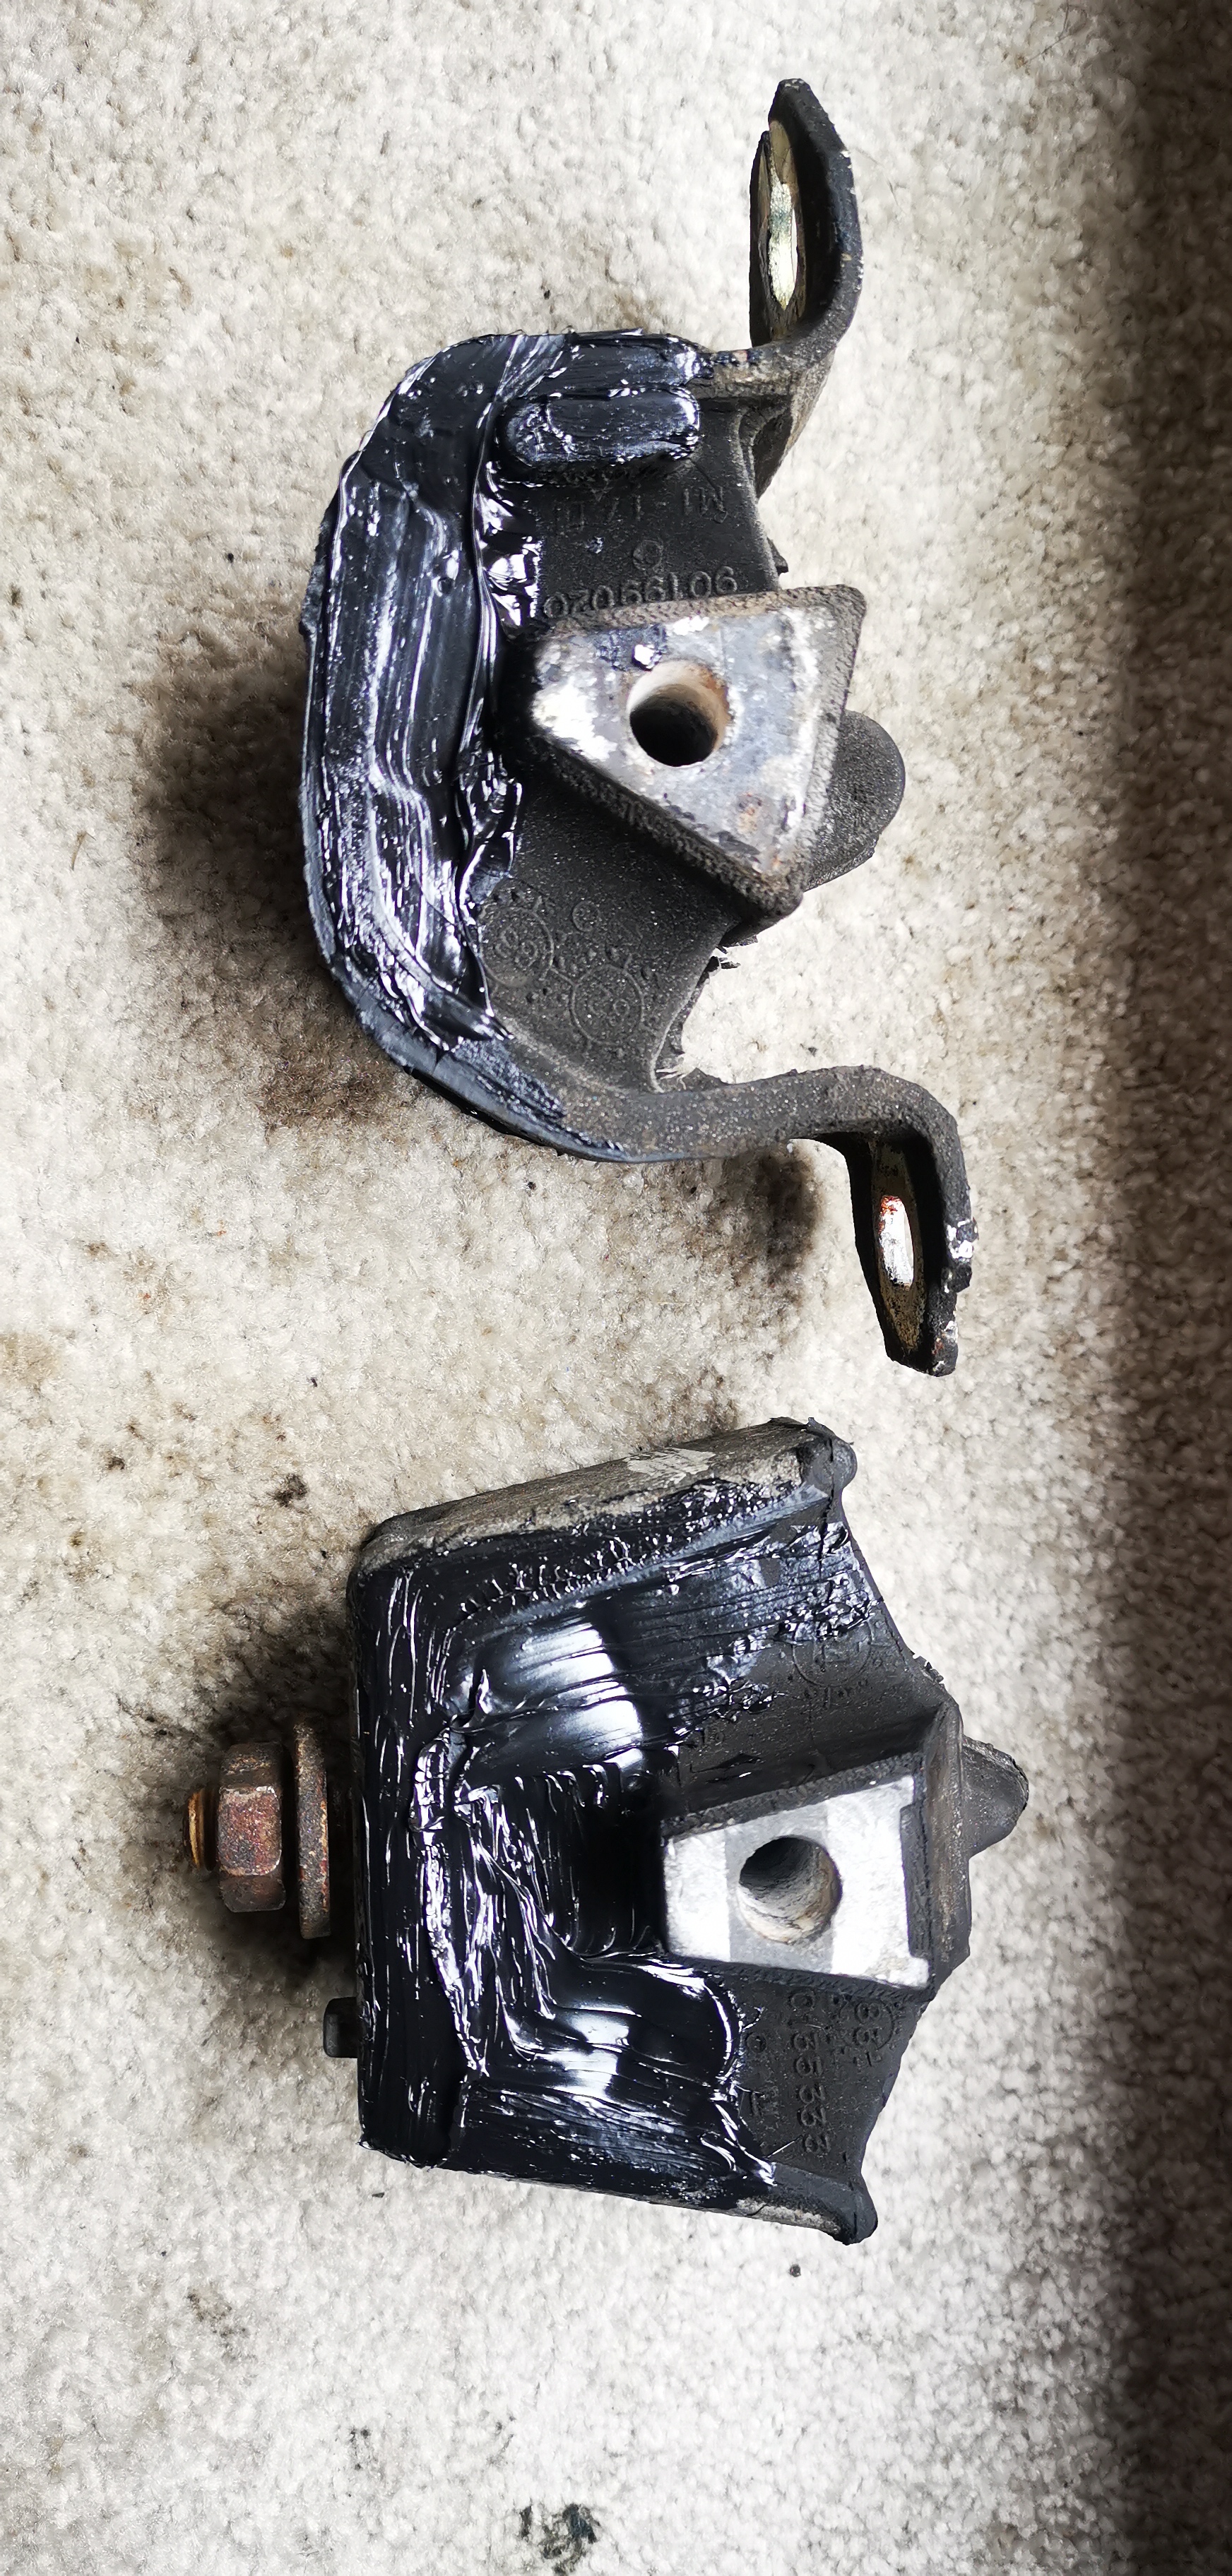
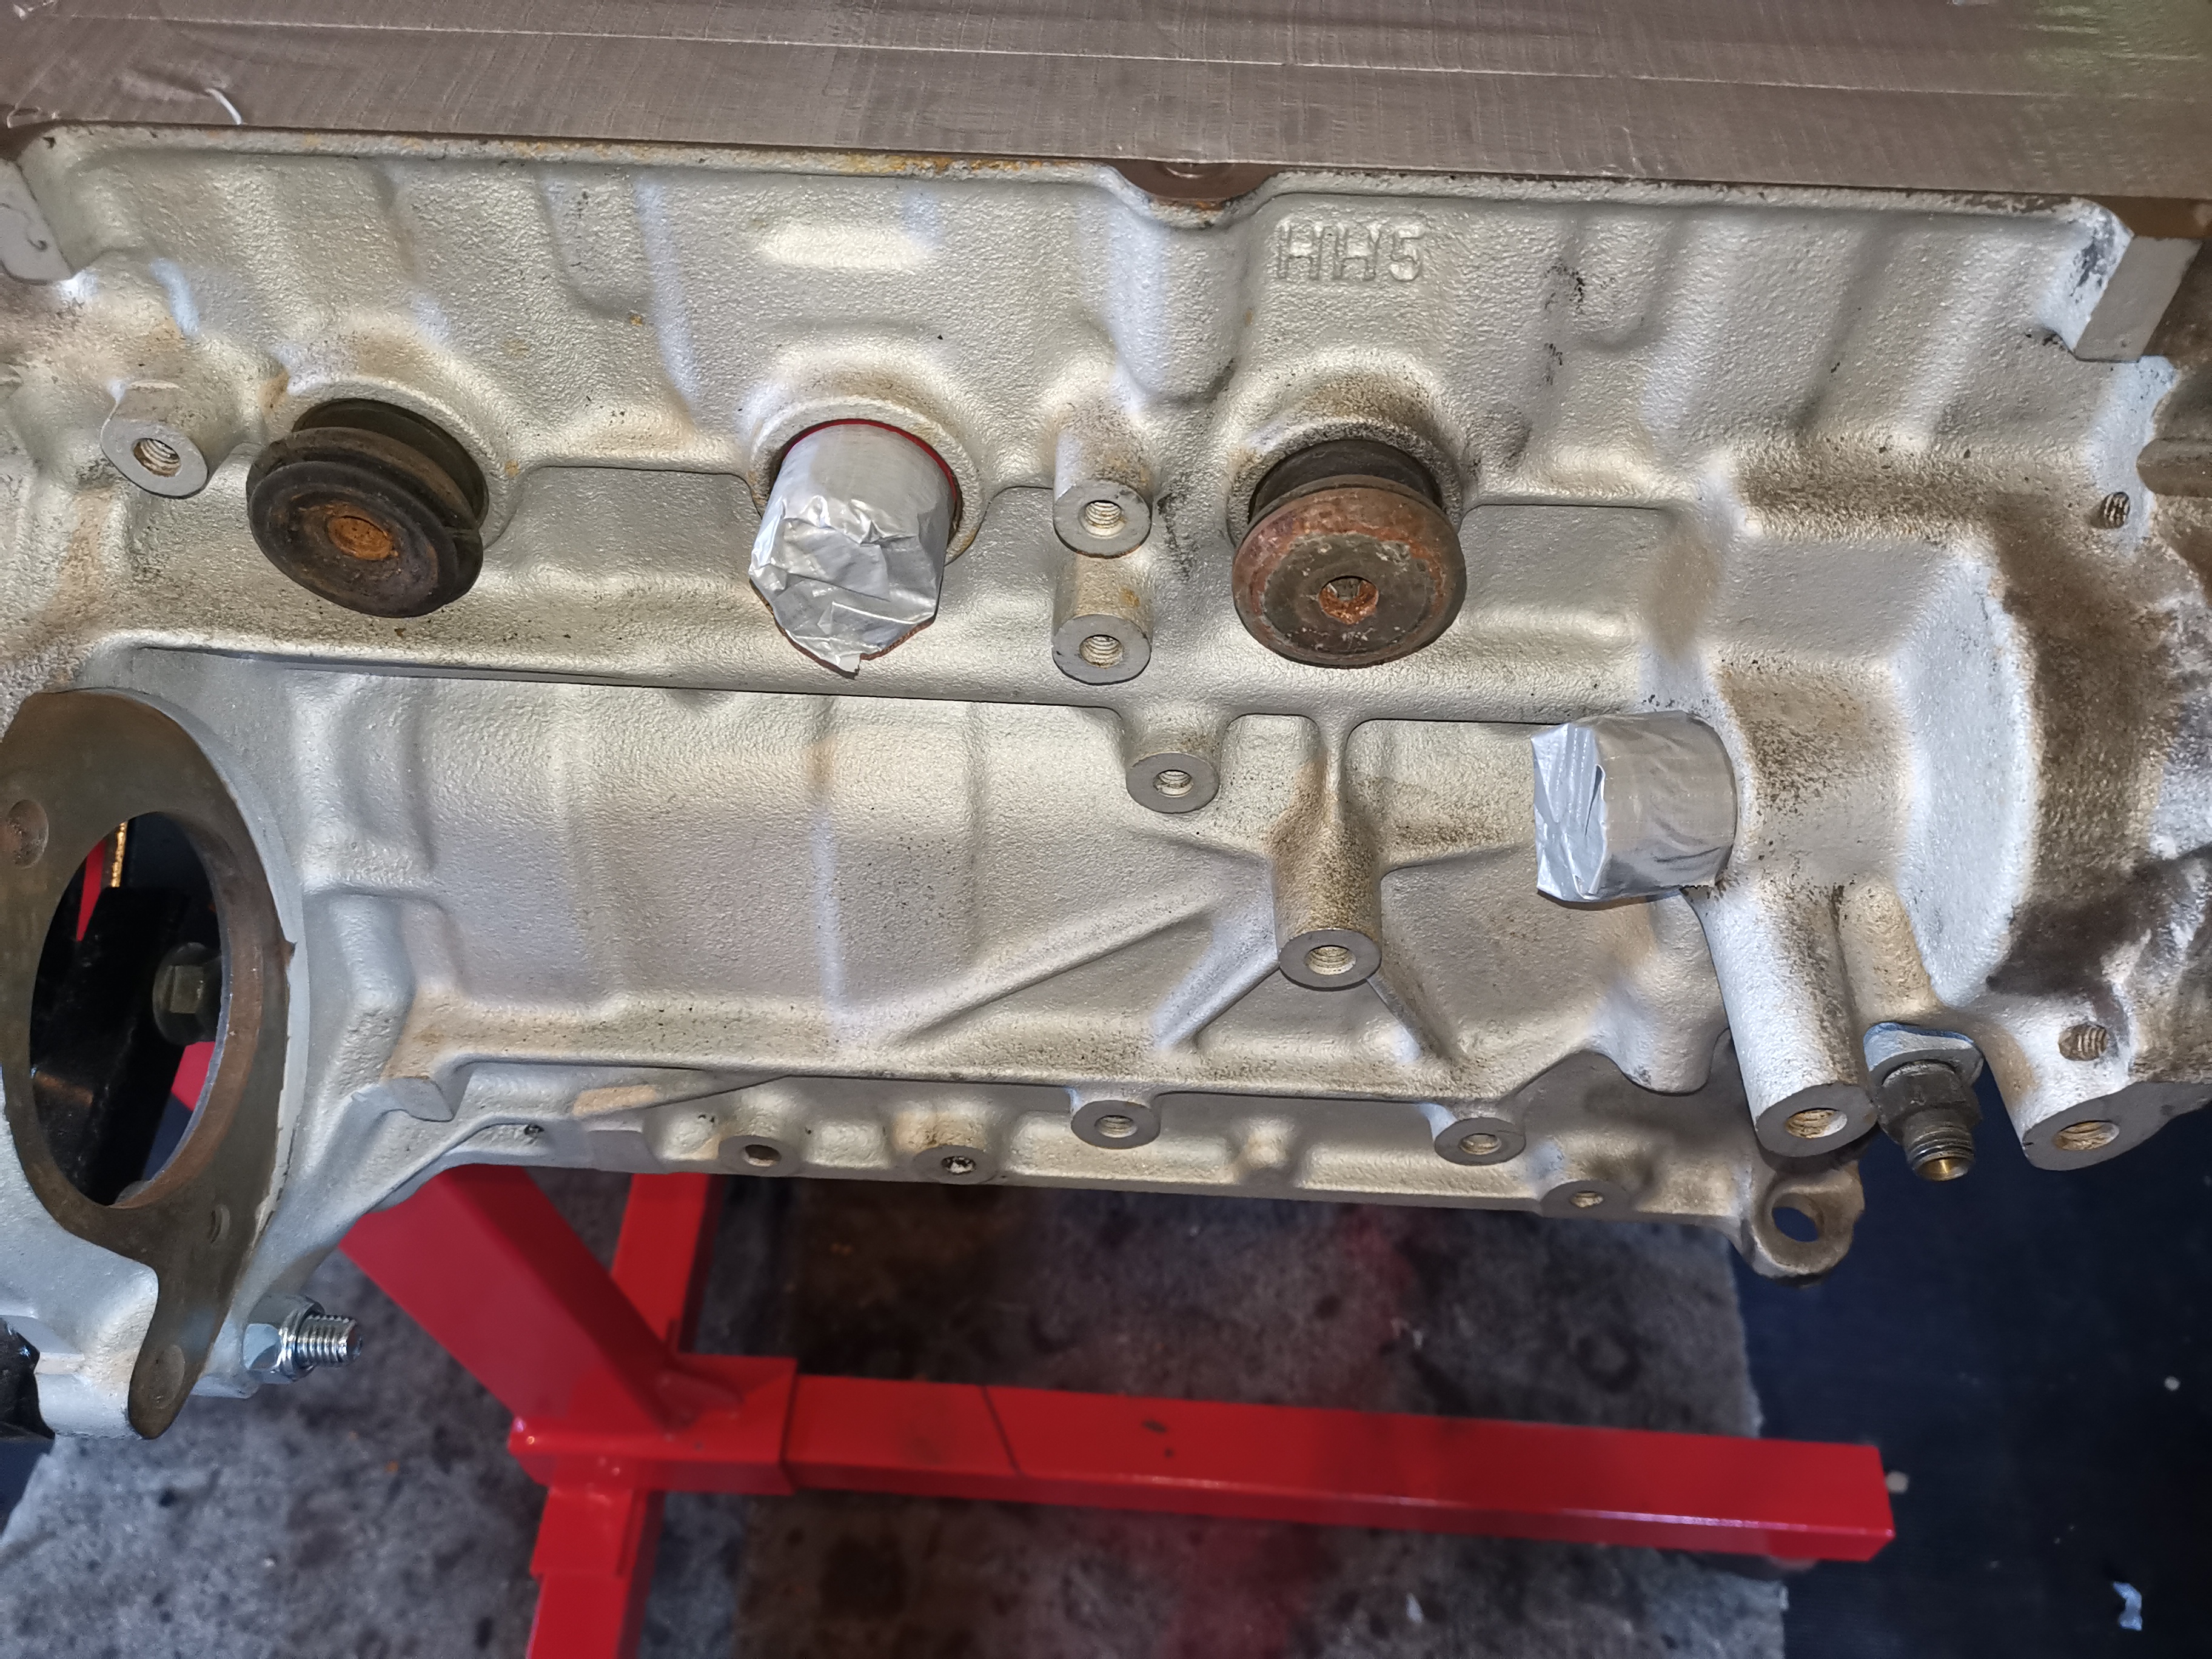
Got the block plugged up and sealed:
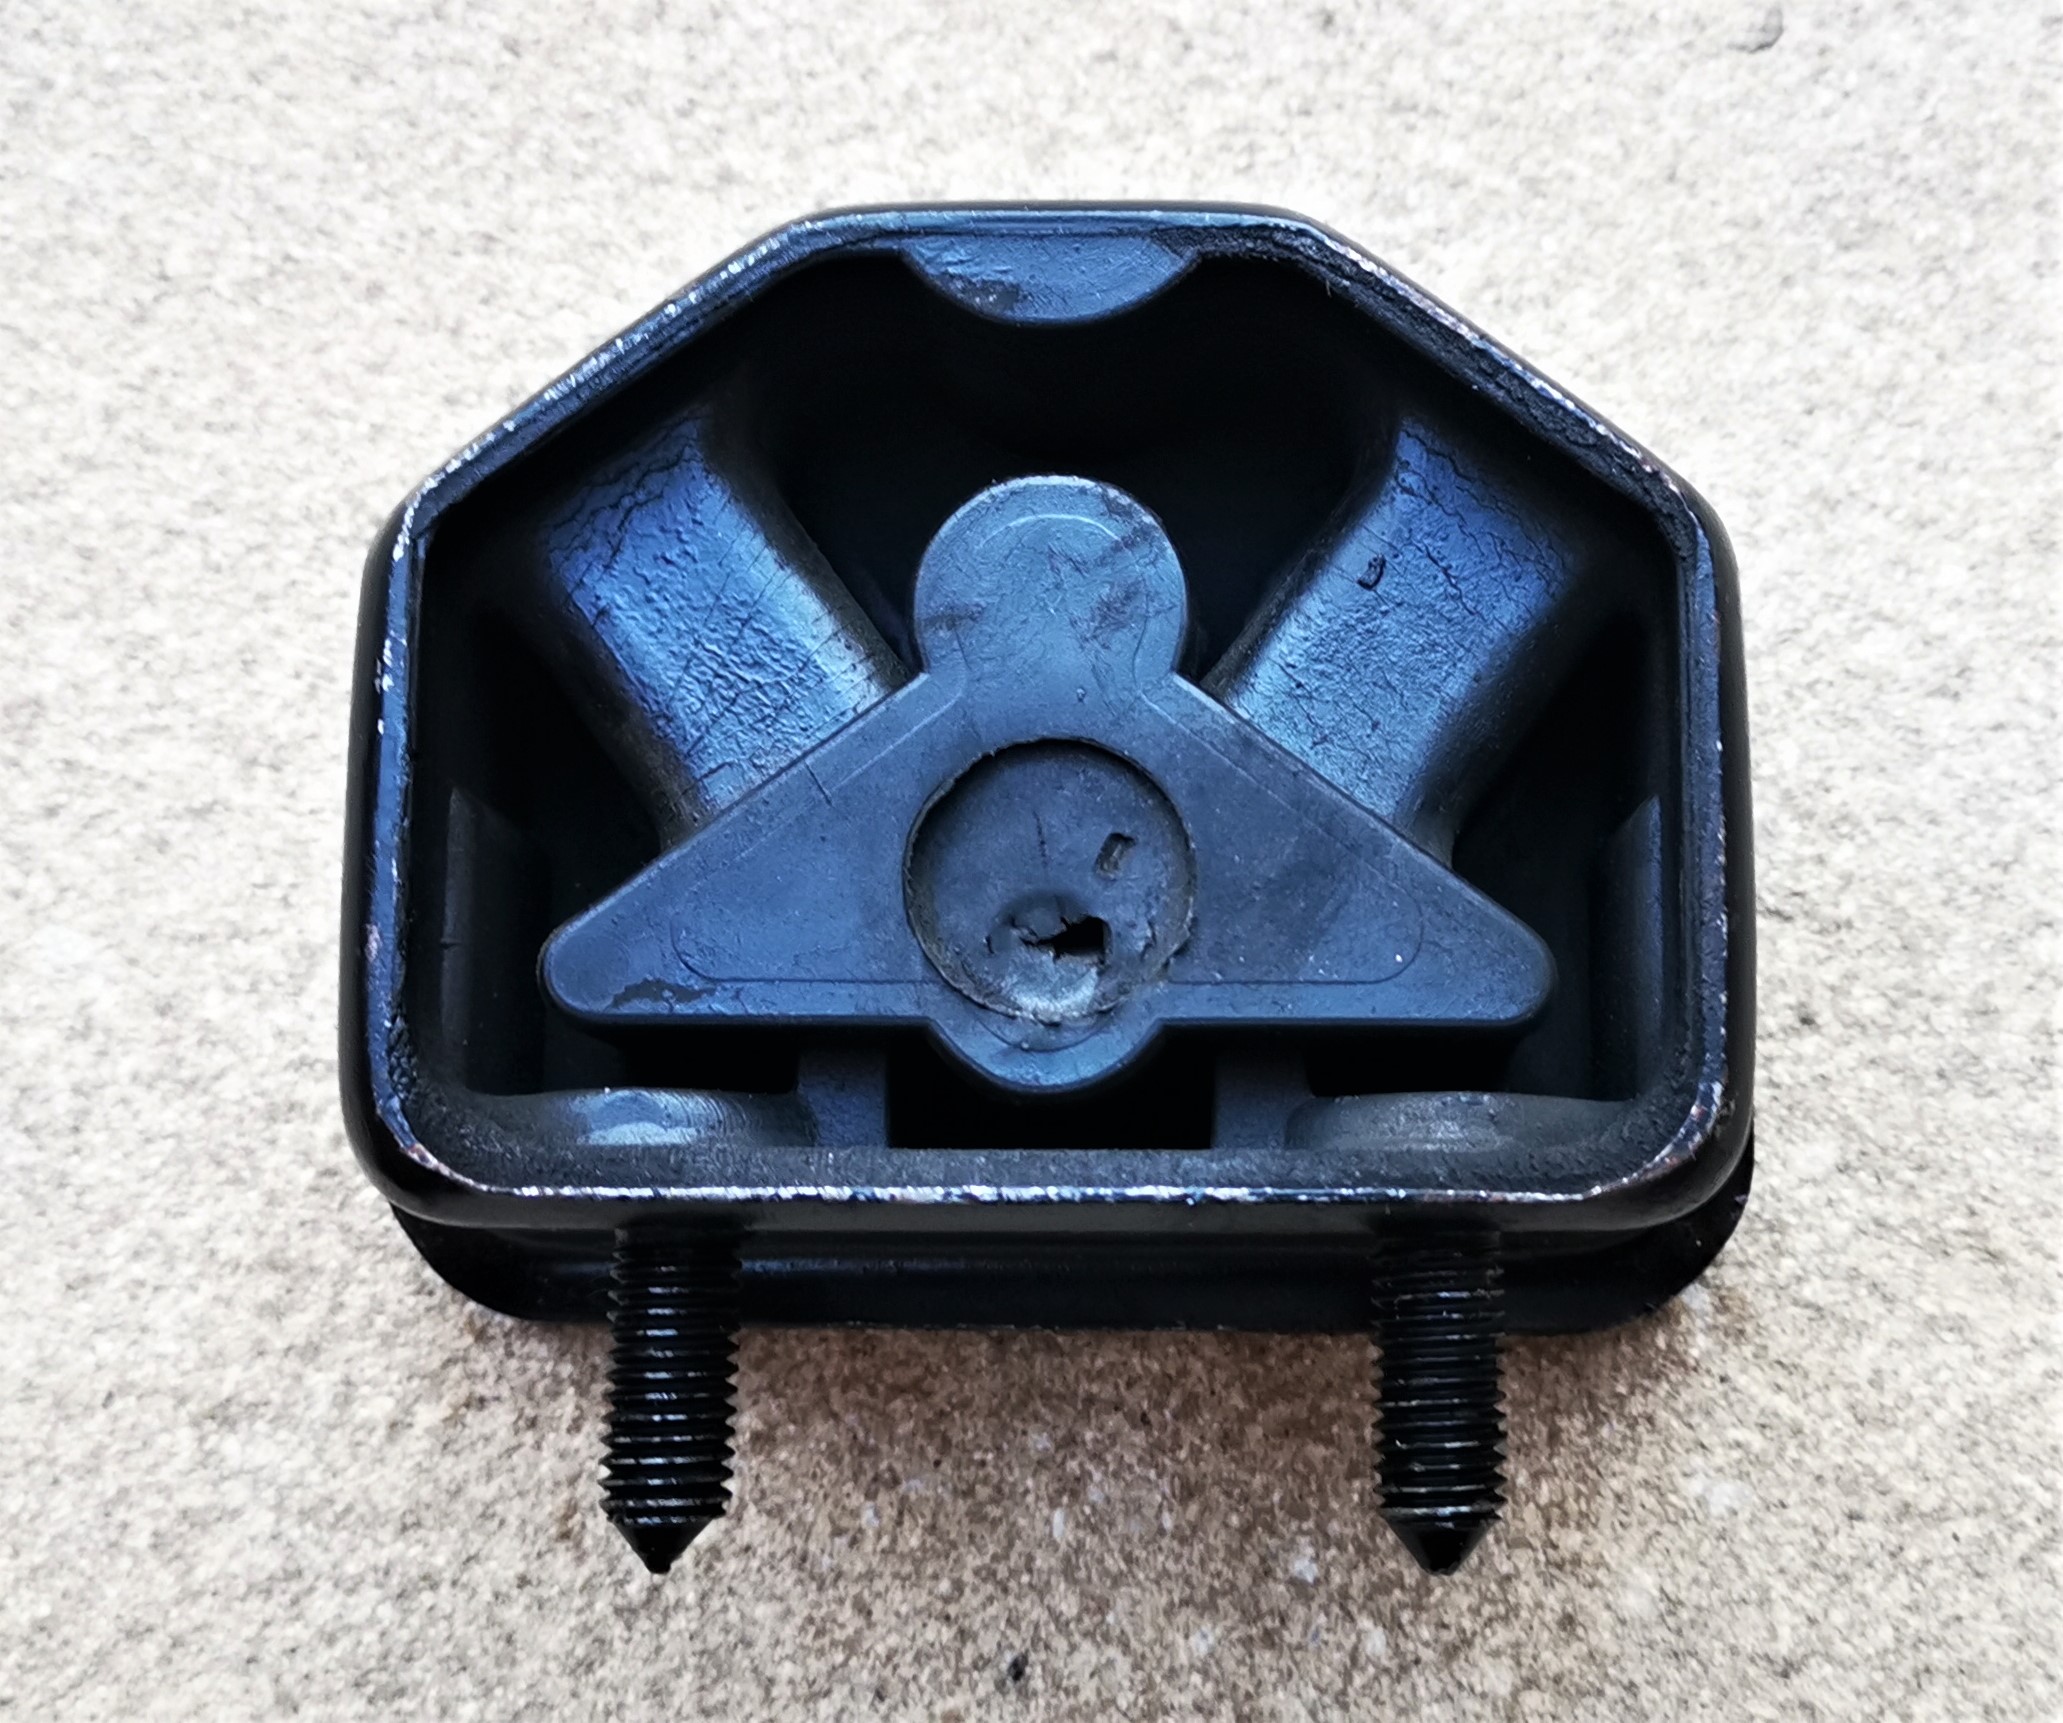
Who knew that Cavalier mk3 rear shock rubber mounts are a perfect fit to plug the block?
Then filled it up with the vinegar
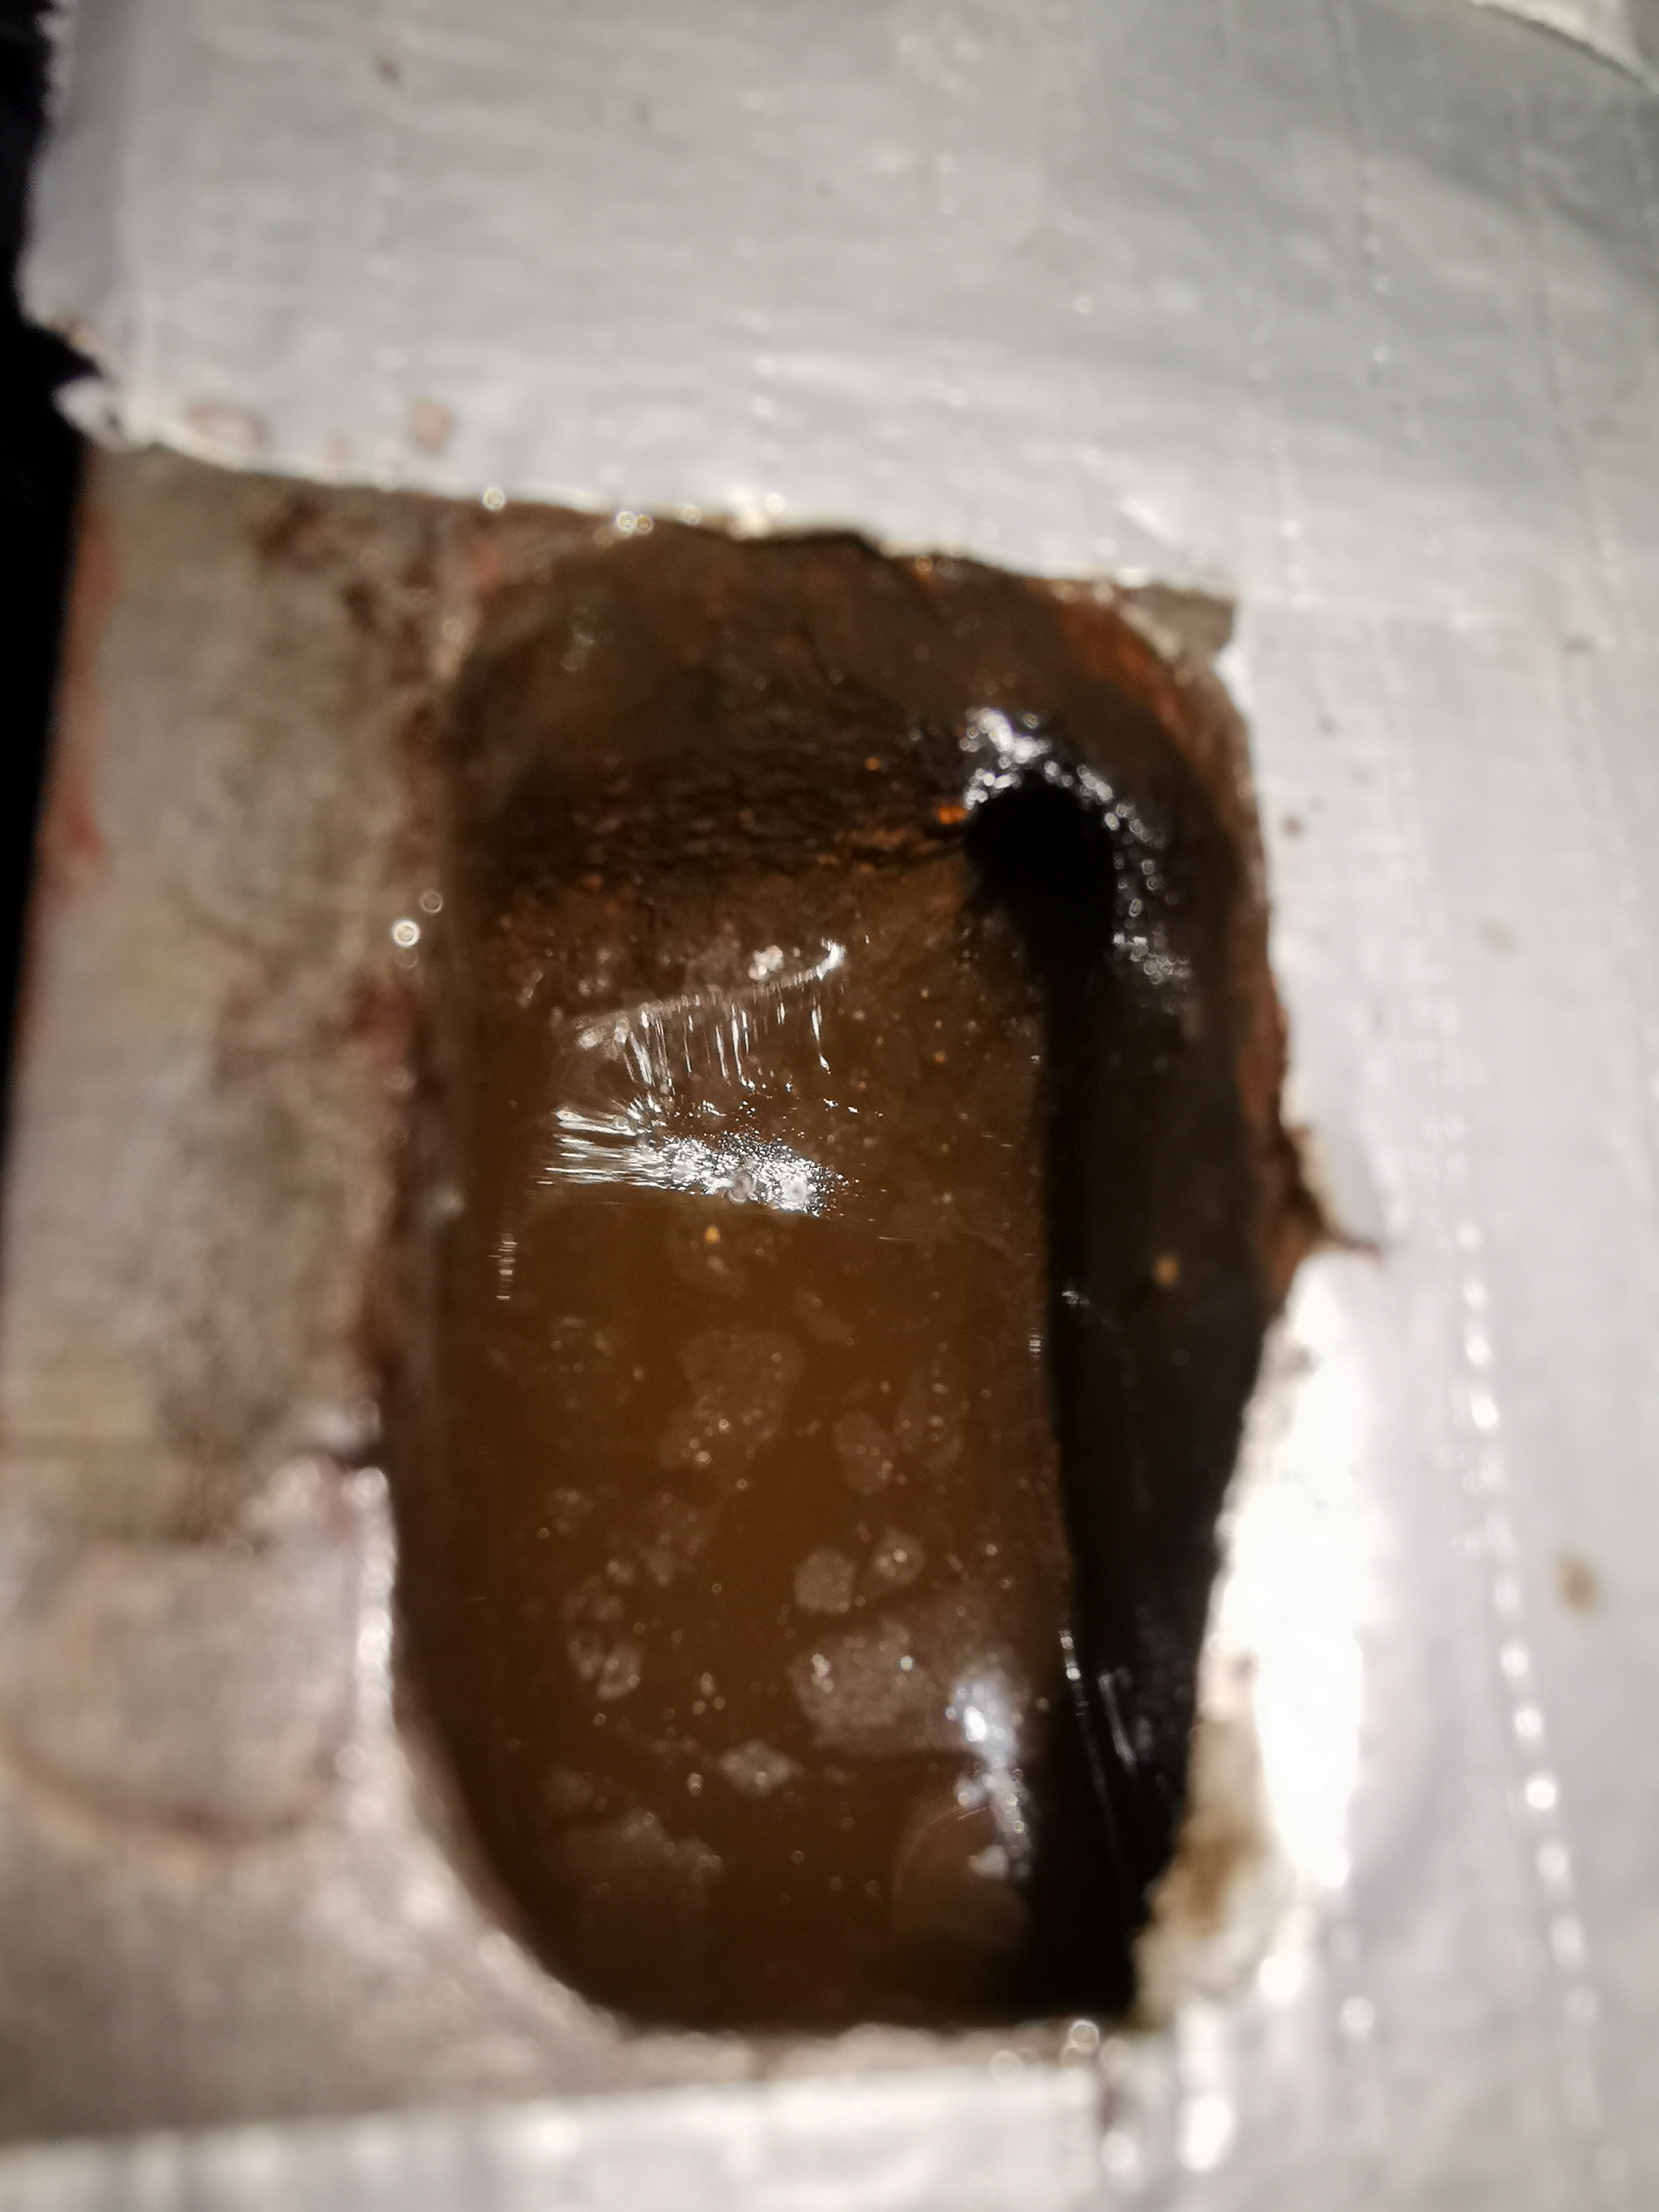
I actually left it for a couple days and emptied the block, ran some more vinegar through it allowing it to come out from the water pump aperture. Thought I snapped more pics but this was the only one I actually took... none-the-less from starting off very crusty, the vinegar dissolved most of the crust
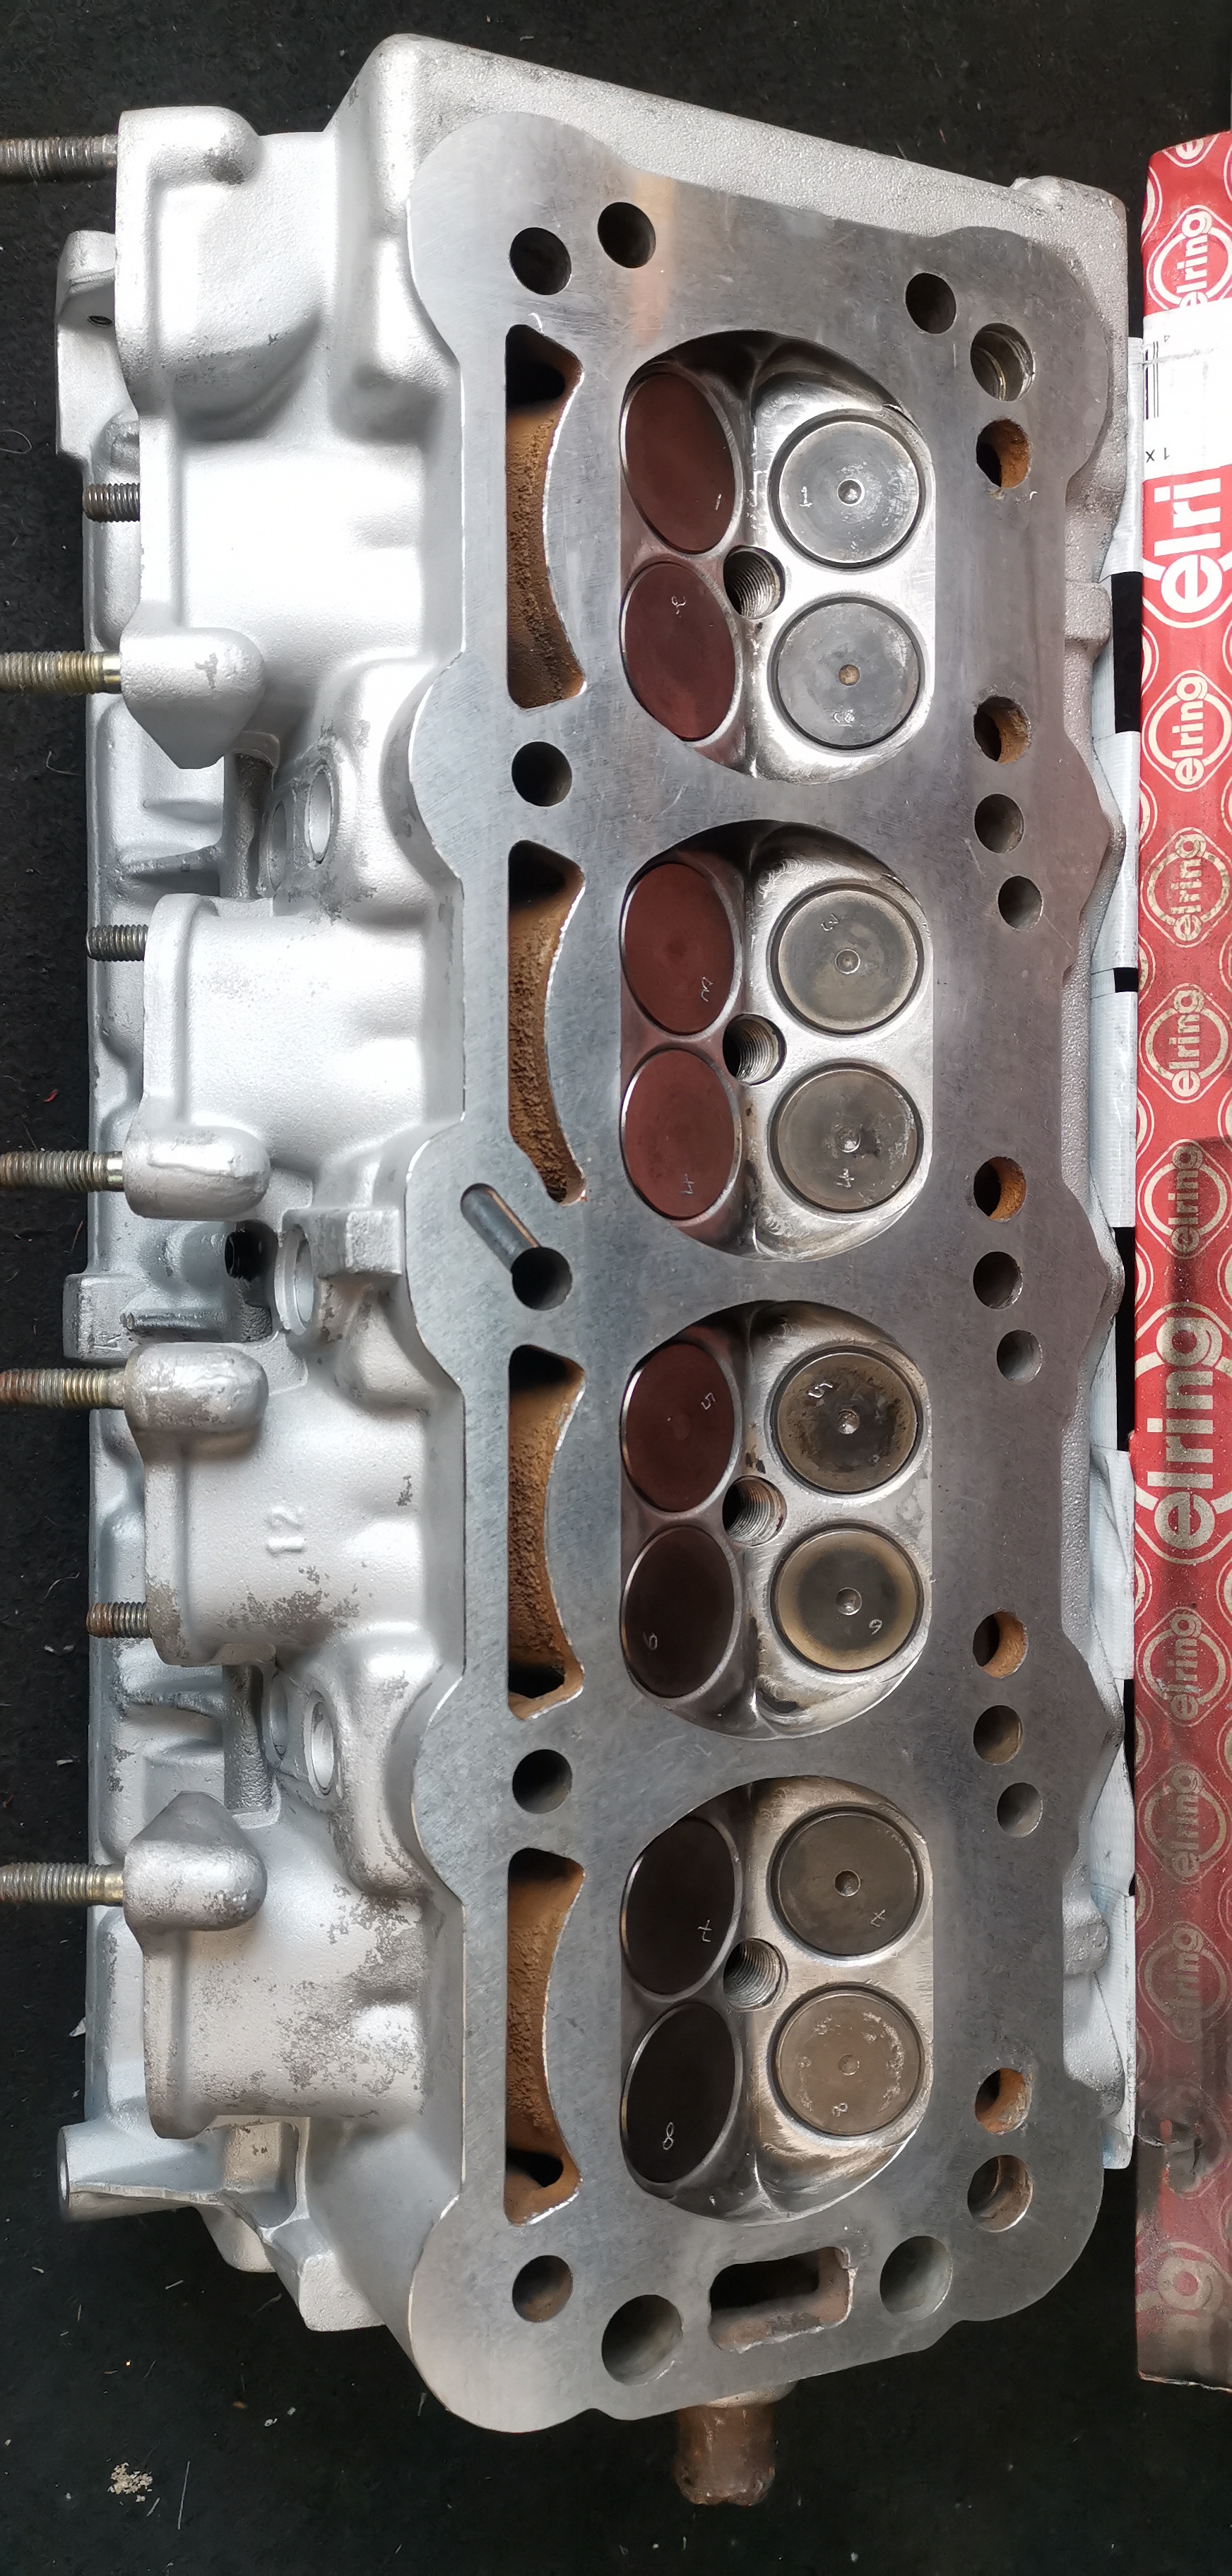
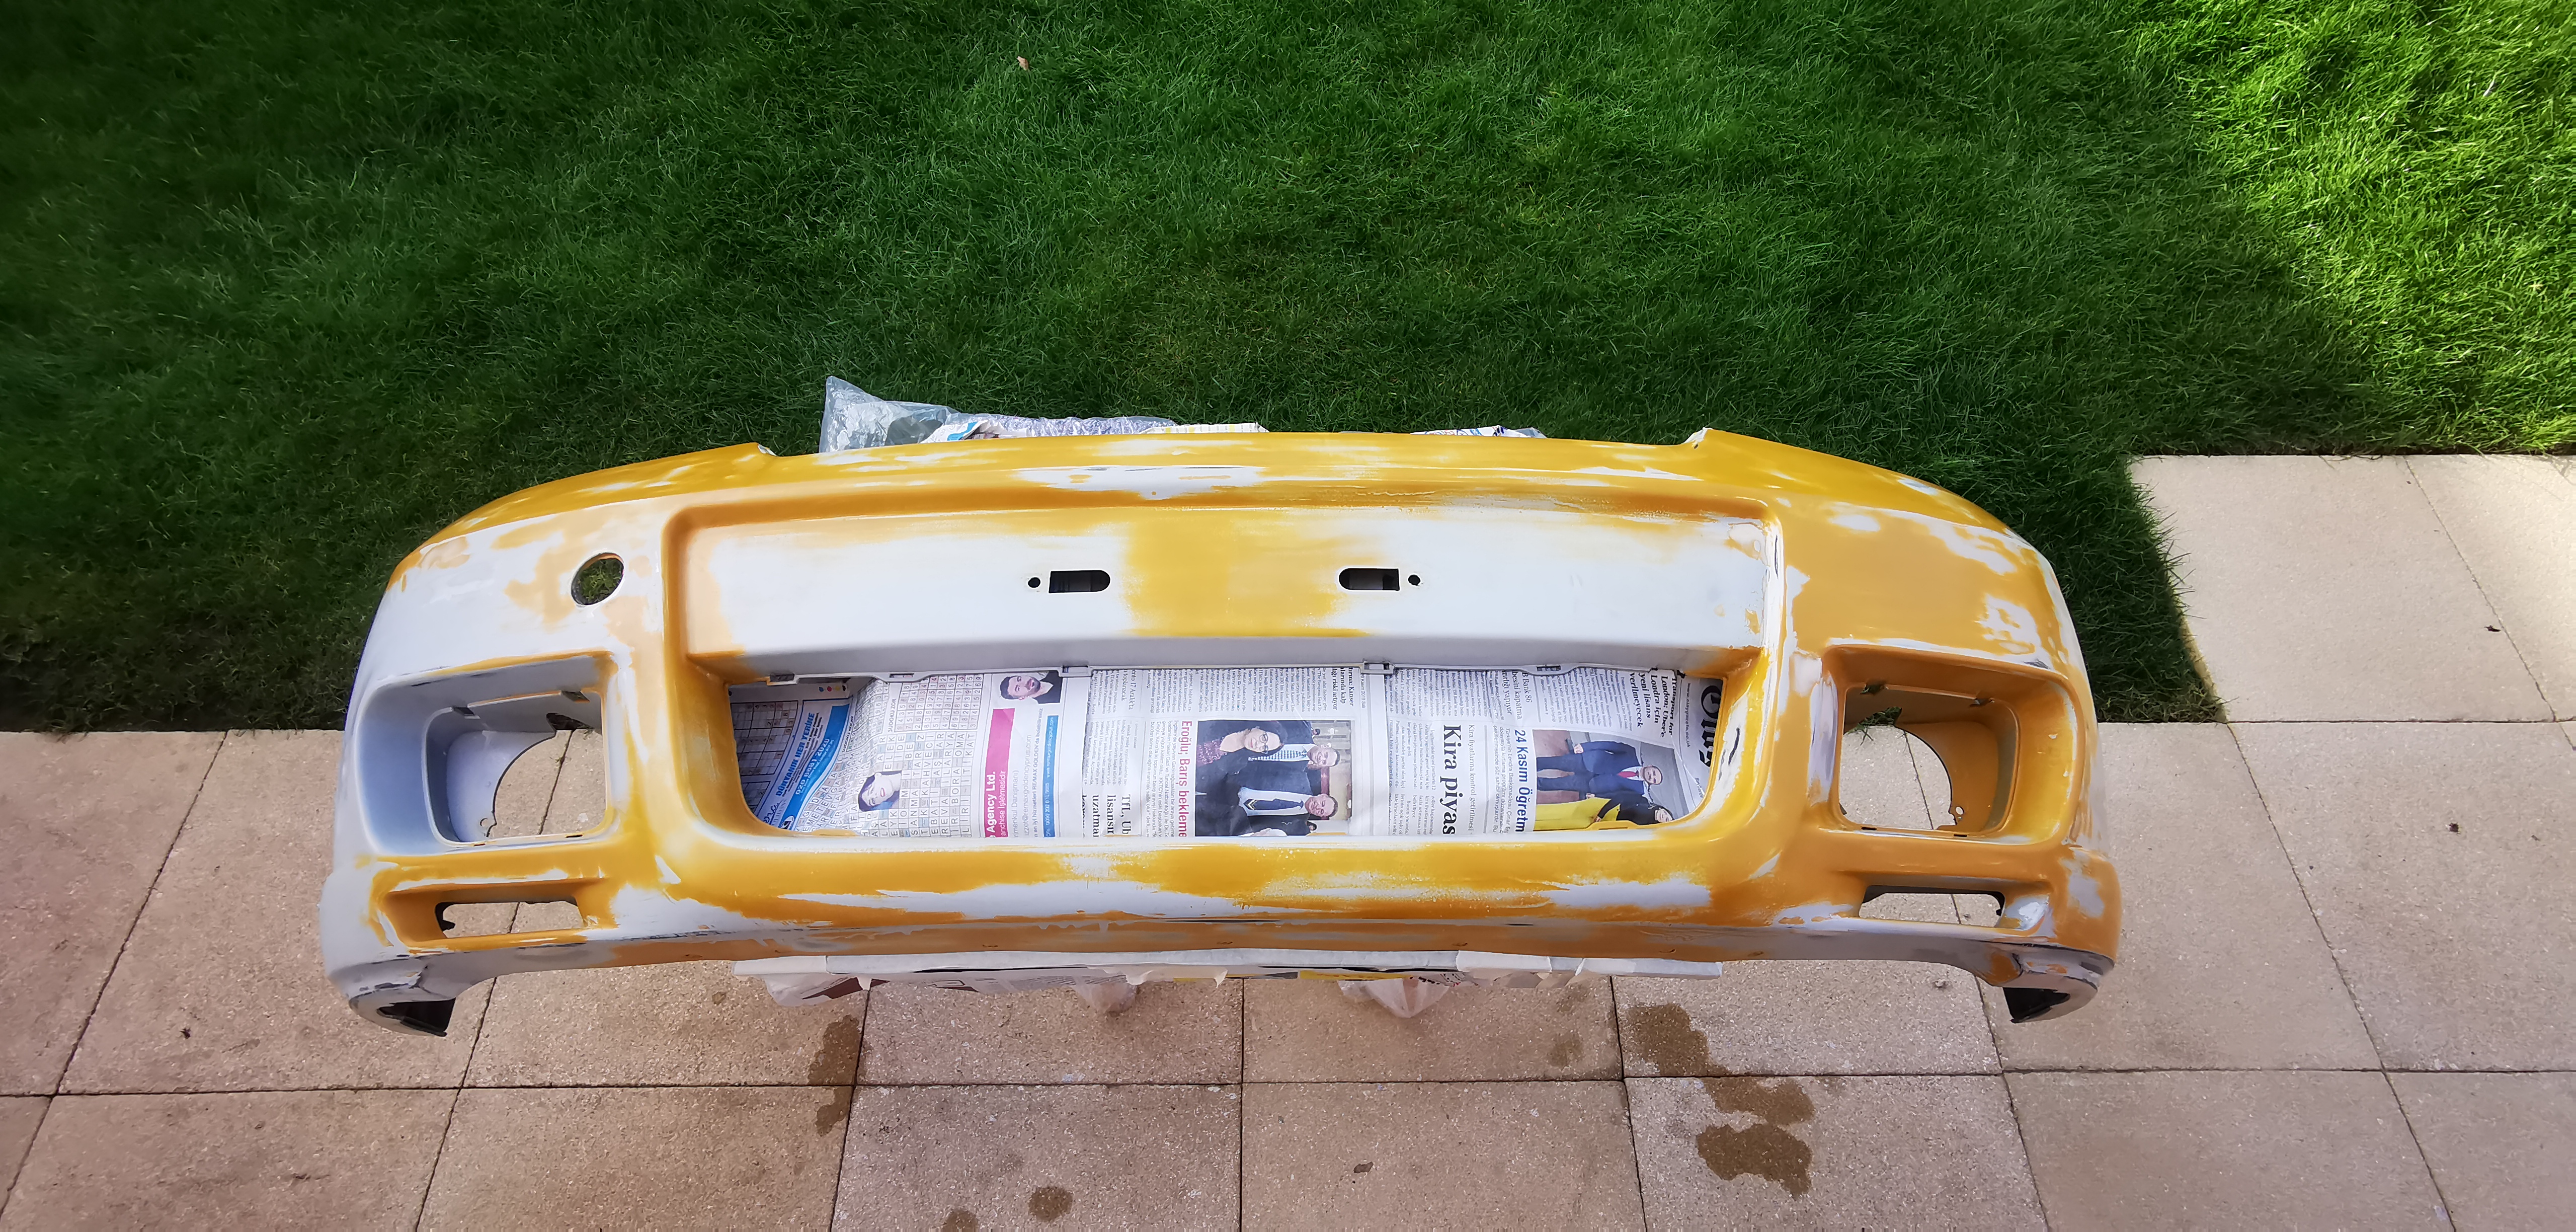
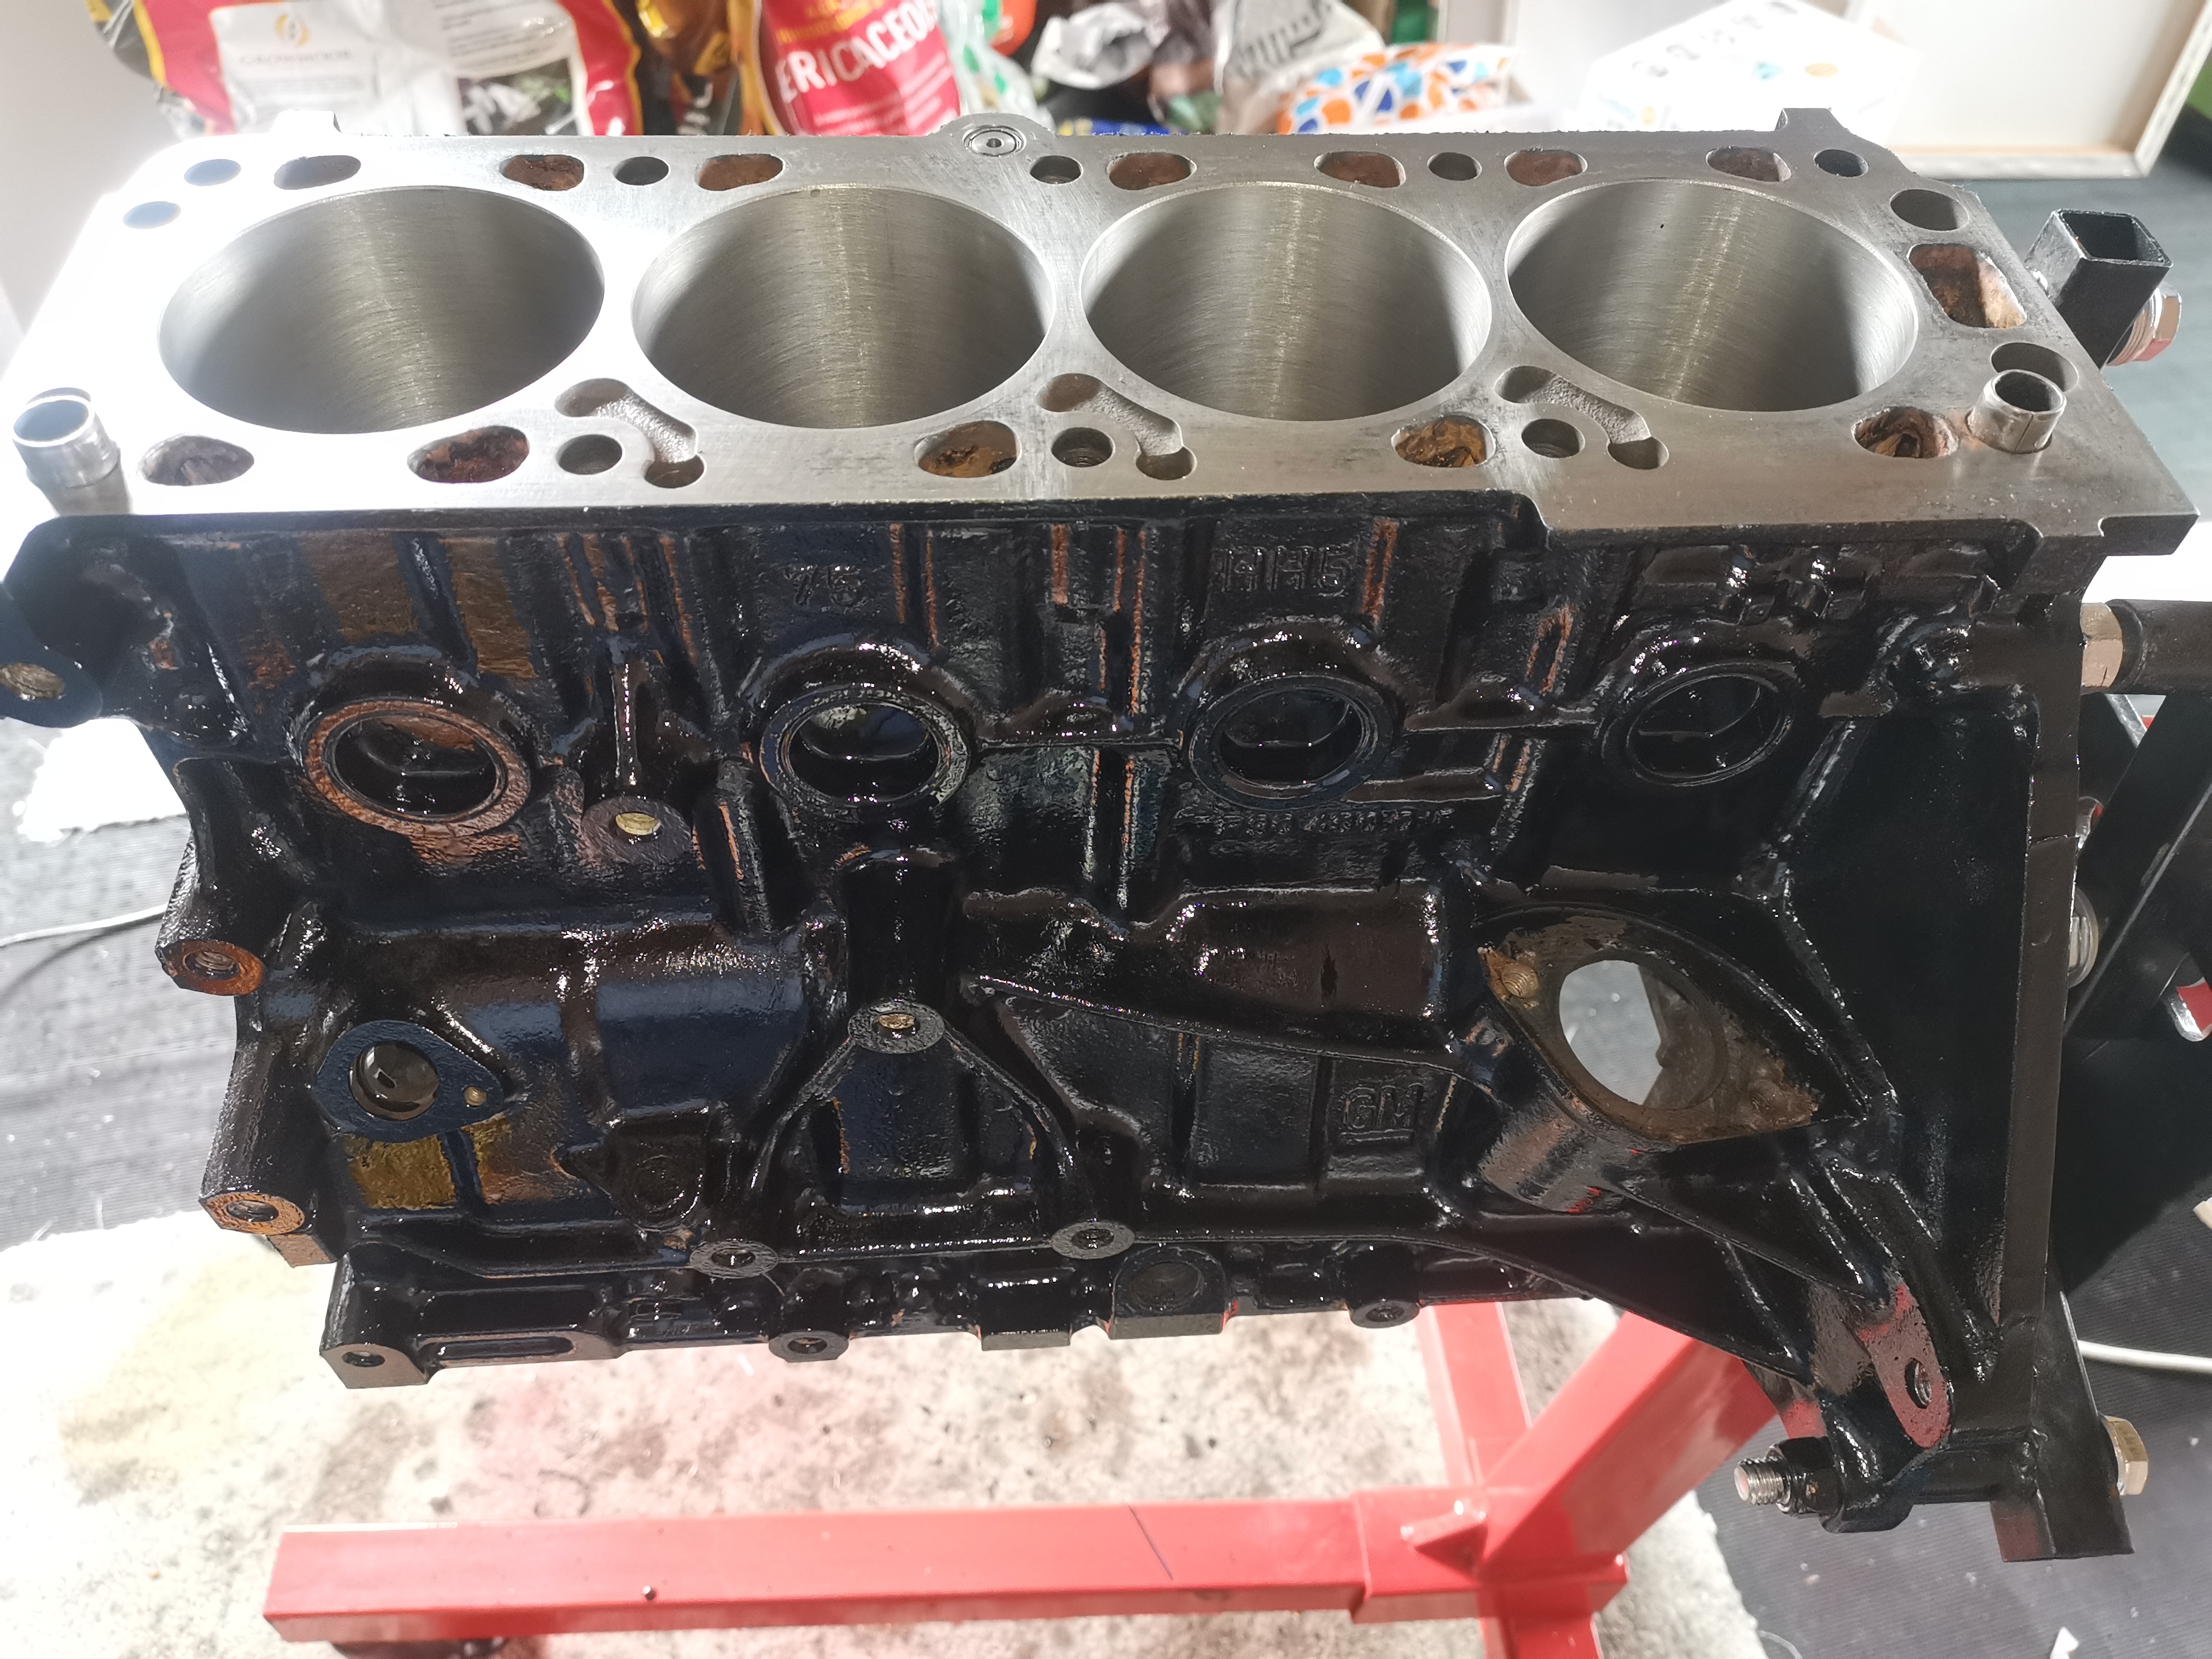
After allowing the block to dry off with the help of a hairdryer, there was a fair bit of residue on the silver paint. Seeing as it was already masked up, I thought I'd recoat it in high temp block paint, but this time in gloss black.
Certainly prefer it in black...


 Reply With Quote