Yeah true but it takes too long!


Yeah true but it takes too long!

mmmmm fresh....

Update
Have had a real good day today, got all of what I wanted to do done and more. Some hicups did crop up, but when don’t they.
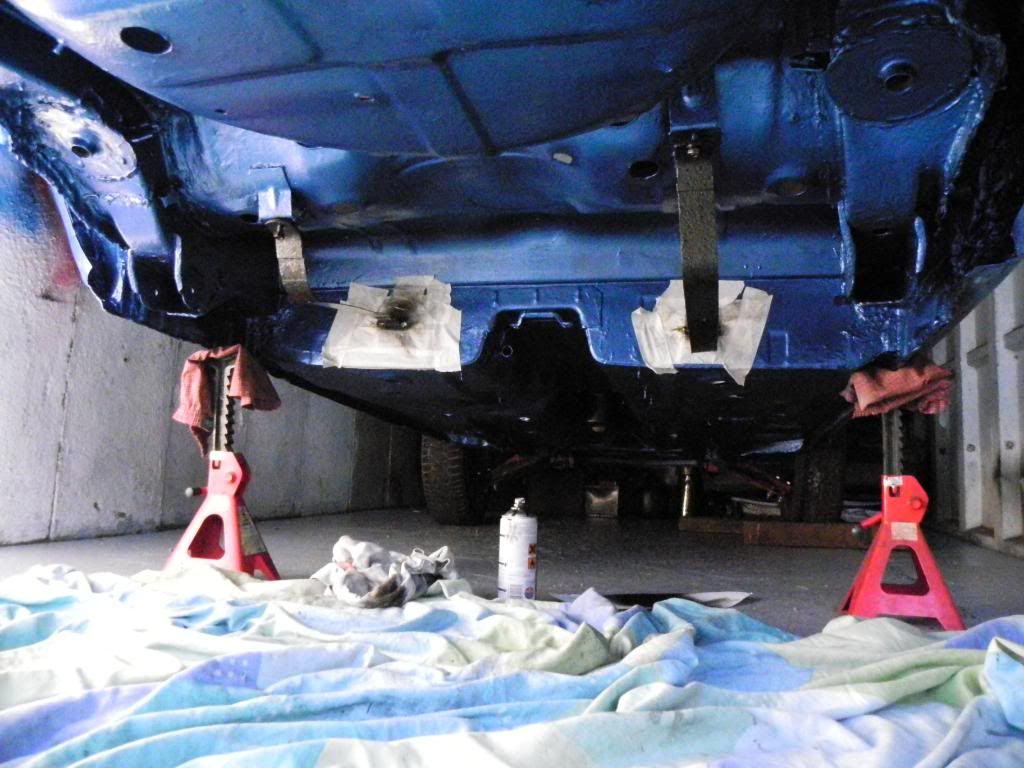
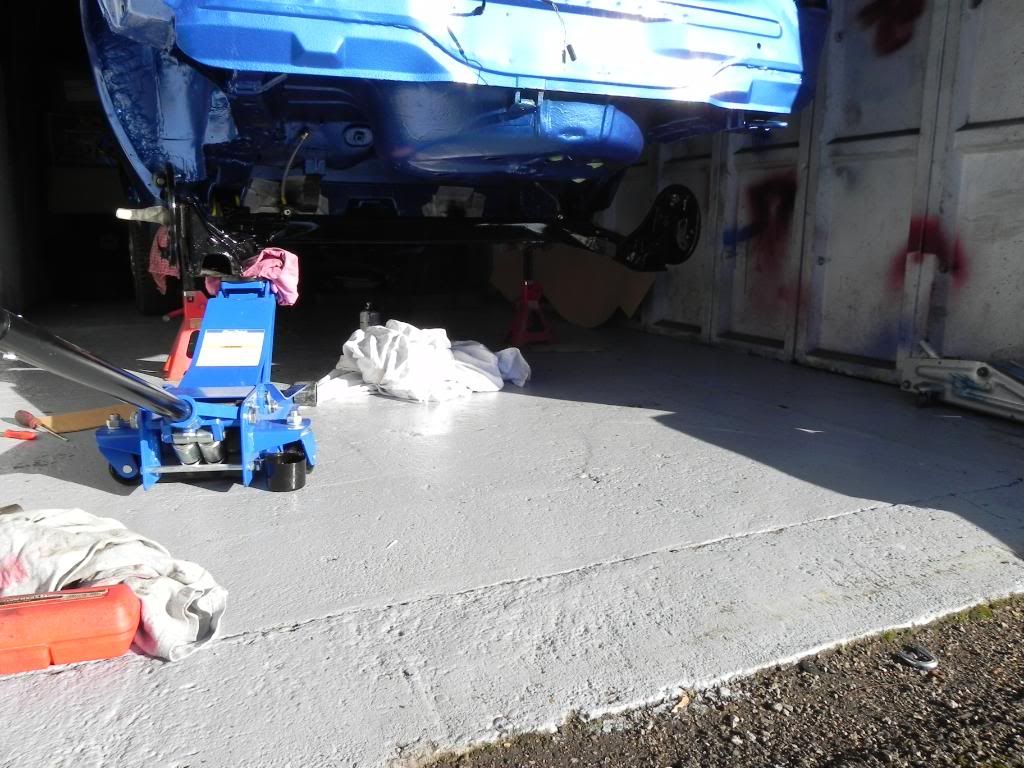
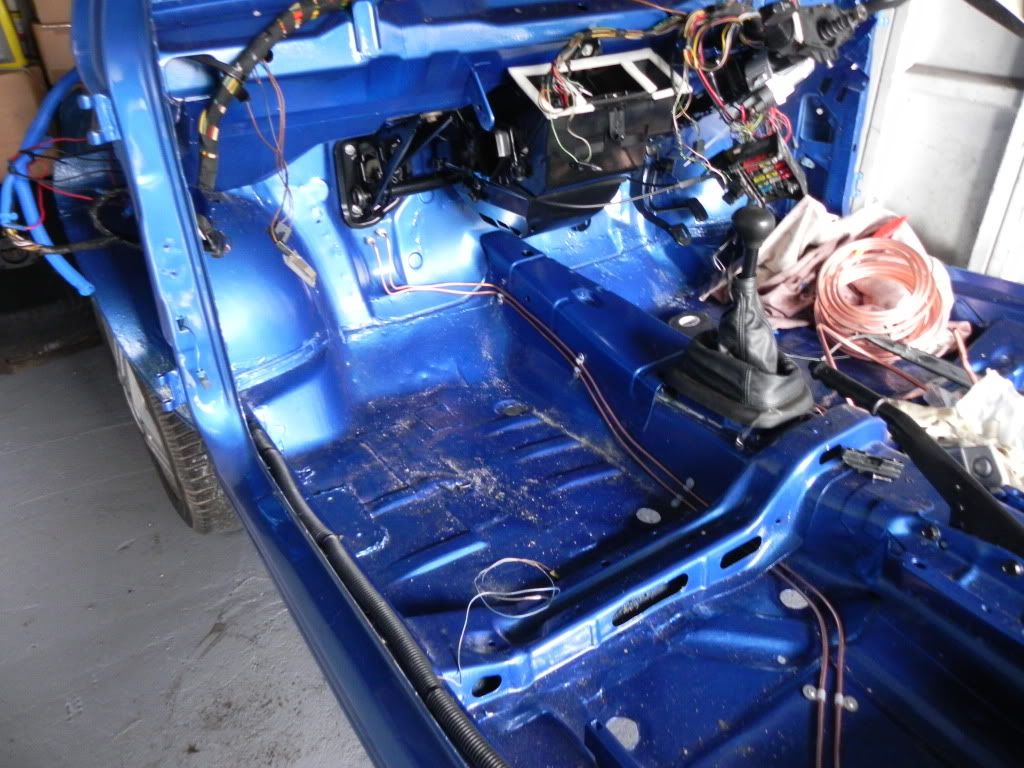
My attention today was on the back end still. Plans were to get the beam back up with the coilovers fitted and hopefully the fuel tank back in. my day goes as follows…
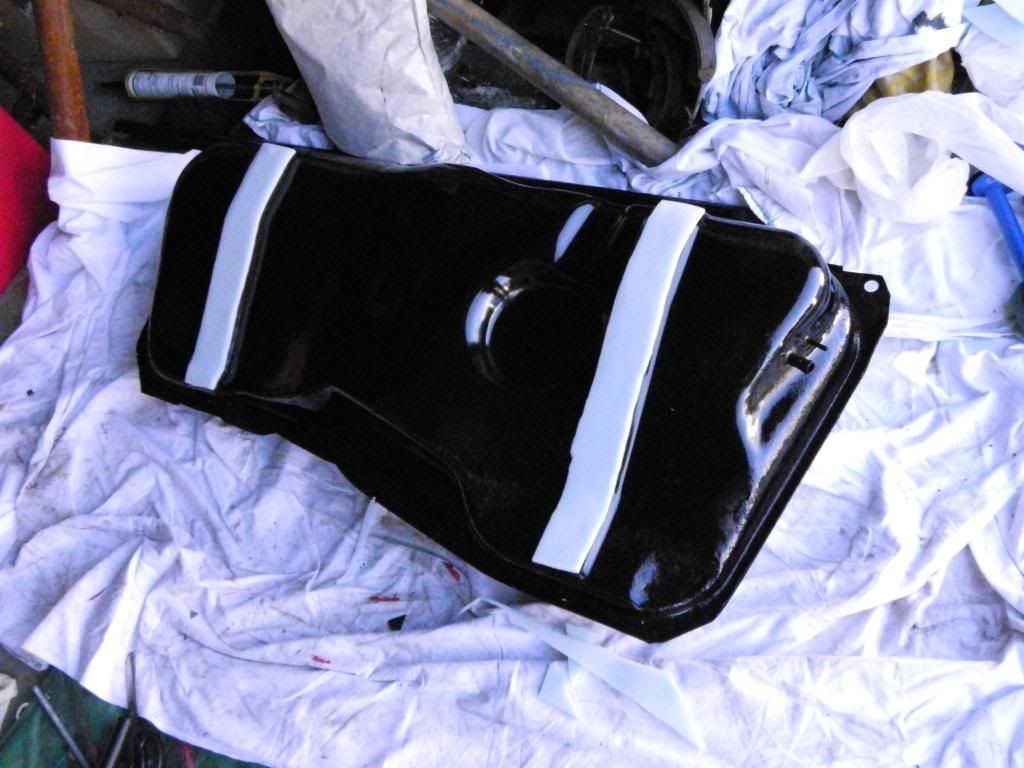
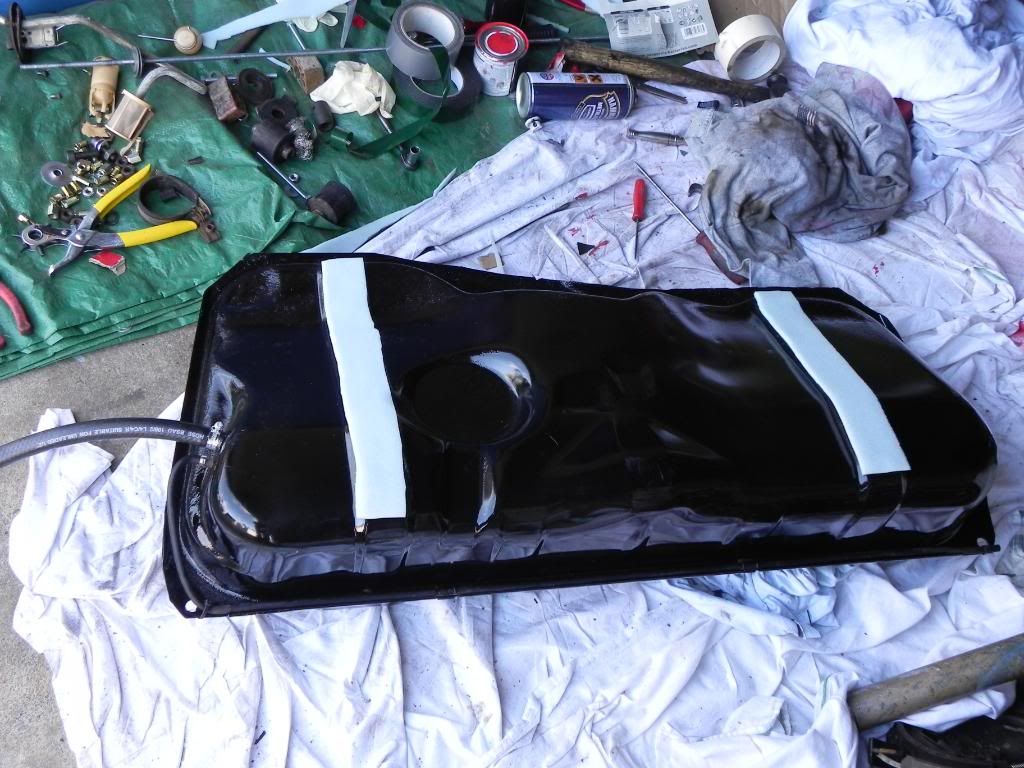
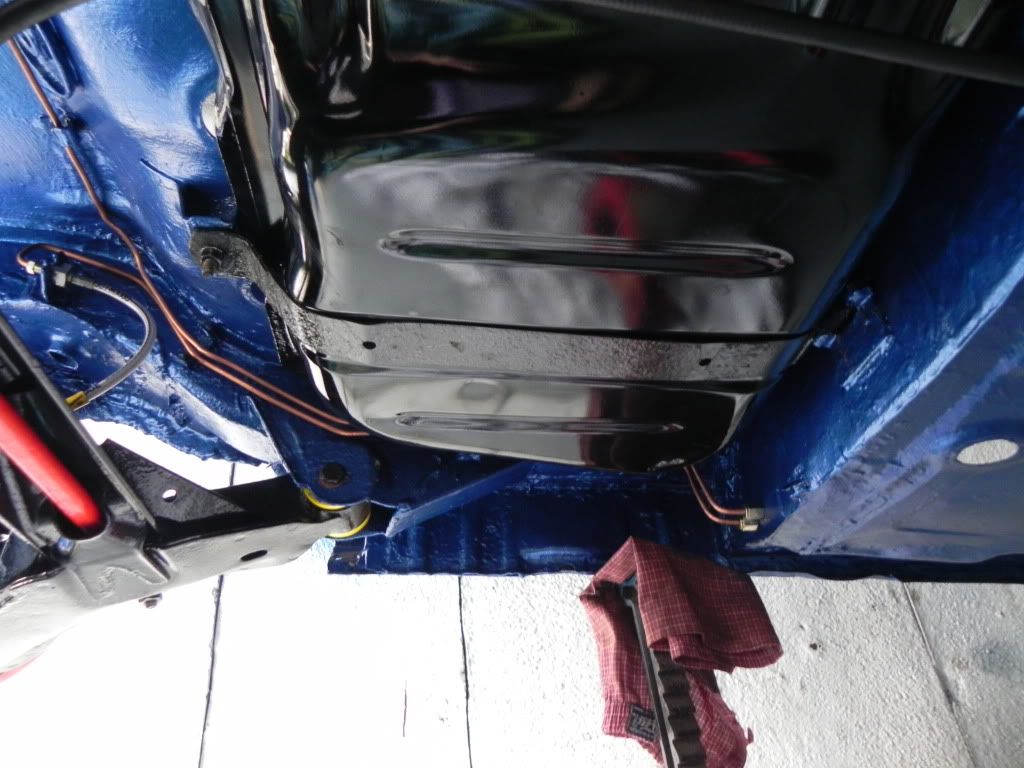
Wire wheeled the fuel tank straps and painted them black. While waiting for the paint to dry I put some new foam on the tank. This is replacing the bitumen strips that’s normally on there. I used the foam I had spare from making the rear door cards, this was placed on top of double sided foam tape.
Fitted the old thin breather hose and new 13mm I.D hose for the big breather. Bought a meter of the hose as its got to reach up to where the fuel cap is now relocated to.
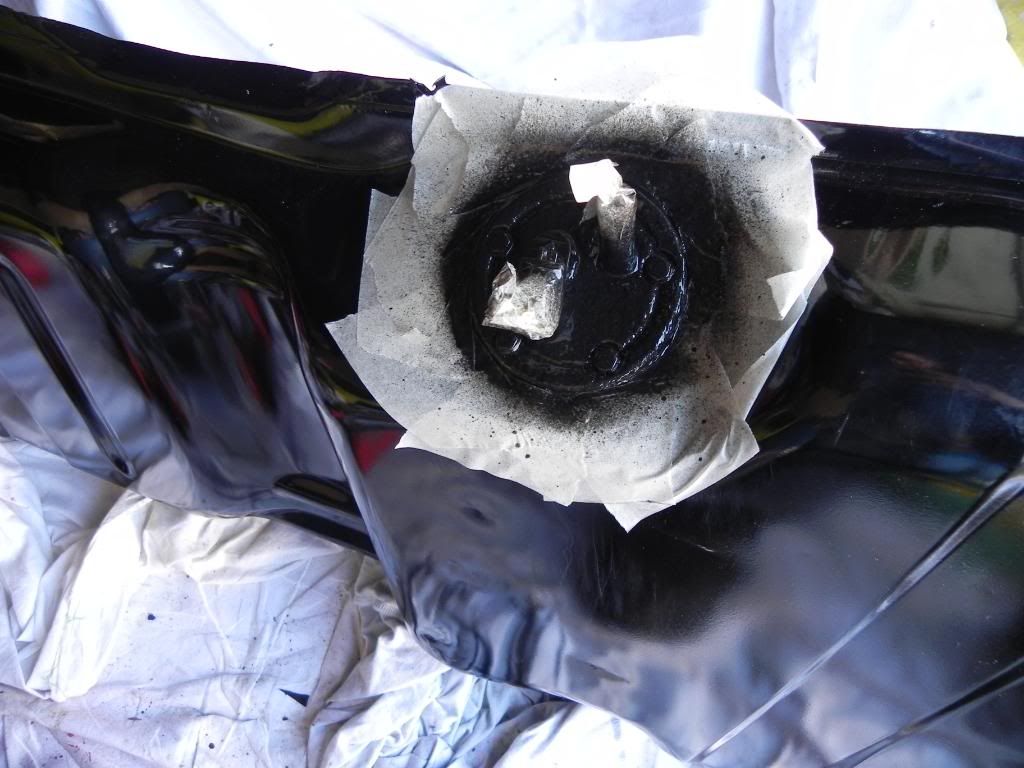
Also fitted the sender unit and painted that black.
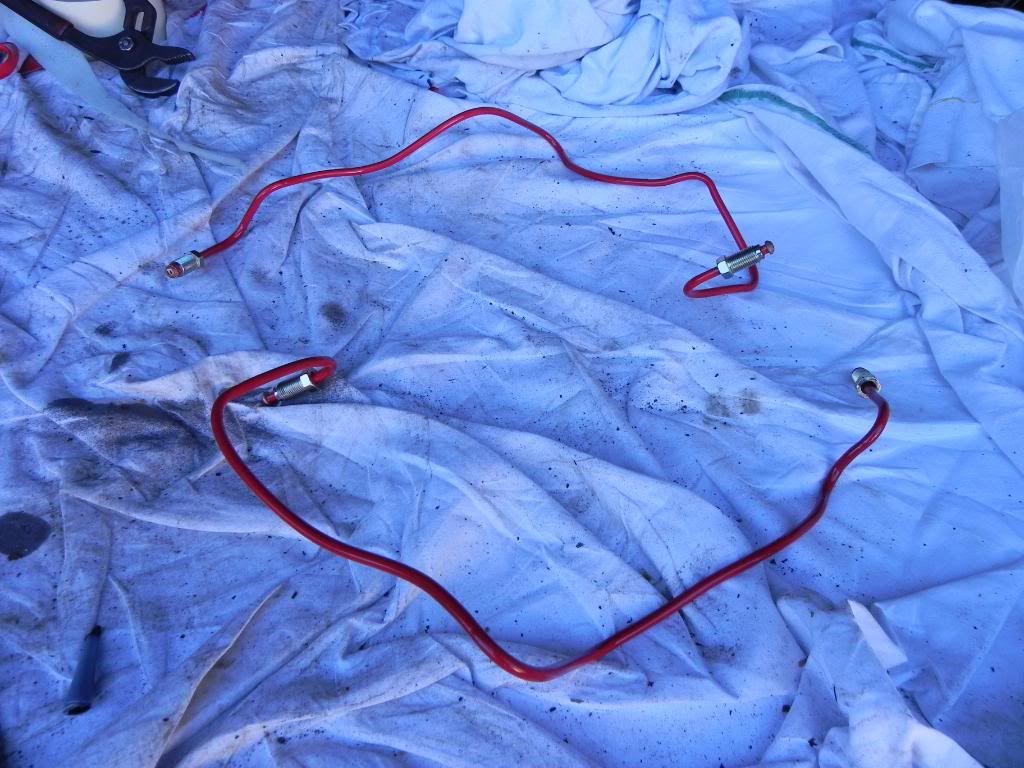
On to the beam now. I bought 2 new wheels cylinders to fit to the back plates and made up 2 new brake pipes to mount onto the beam
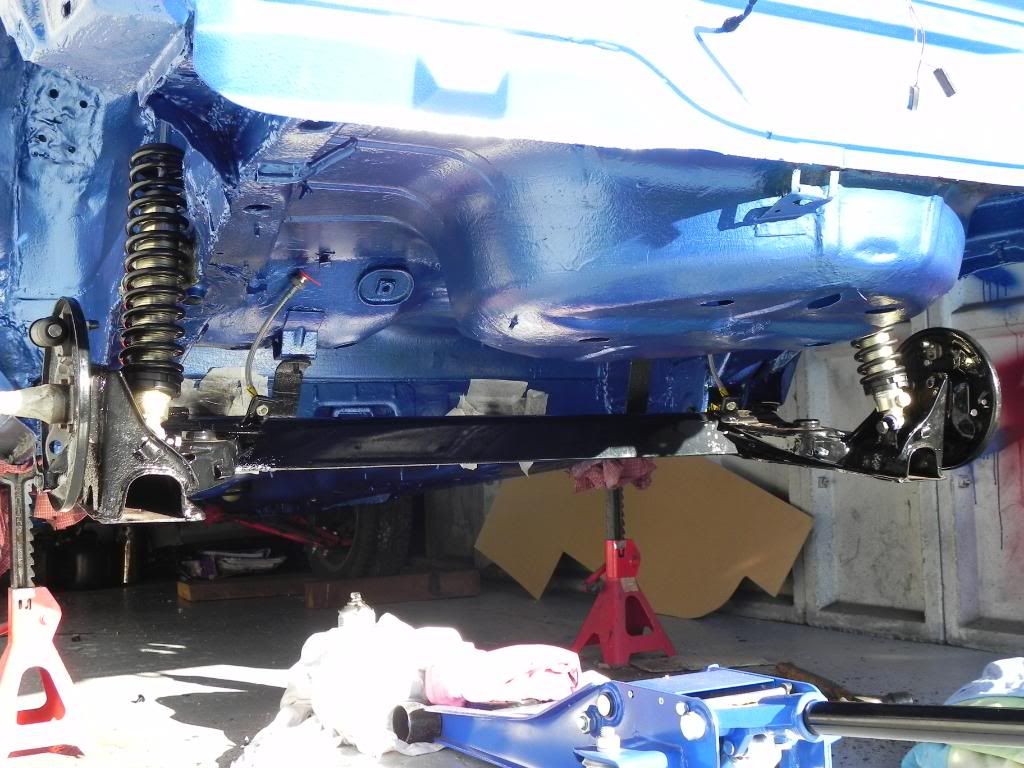
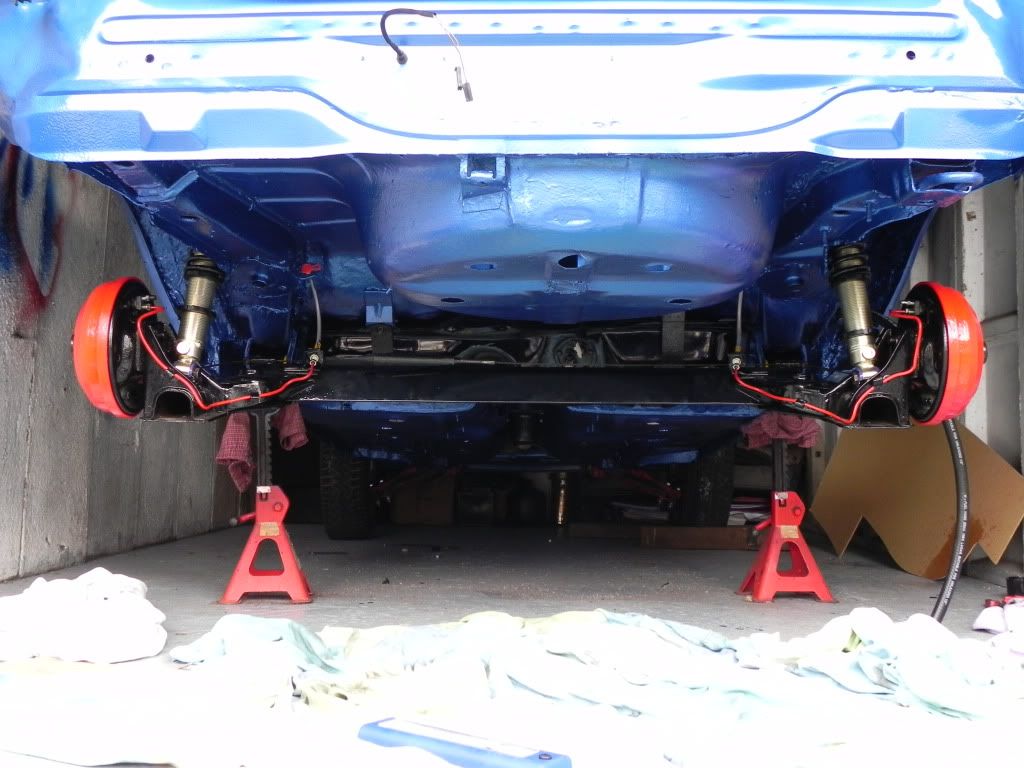
Managed to get the beam back into place, the one side kept coming away from the mounting point every time I tried to get the other side lined up. How annoying!! Arrgh! Slipped the bolts in but didn’t tighten the nuts.
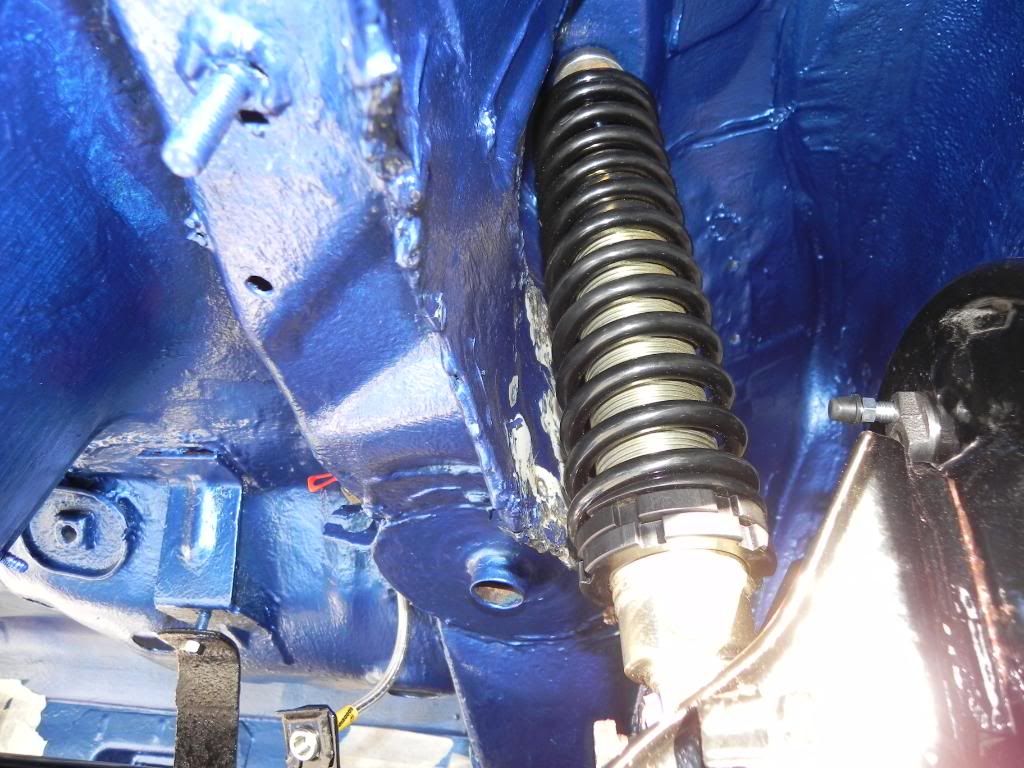
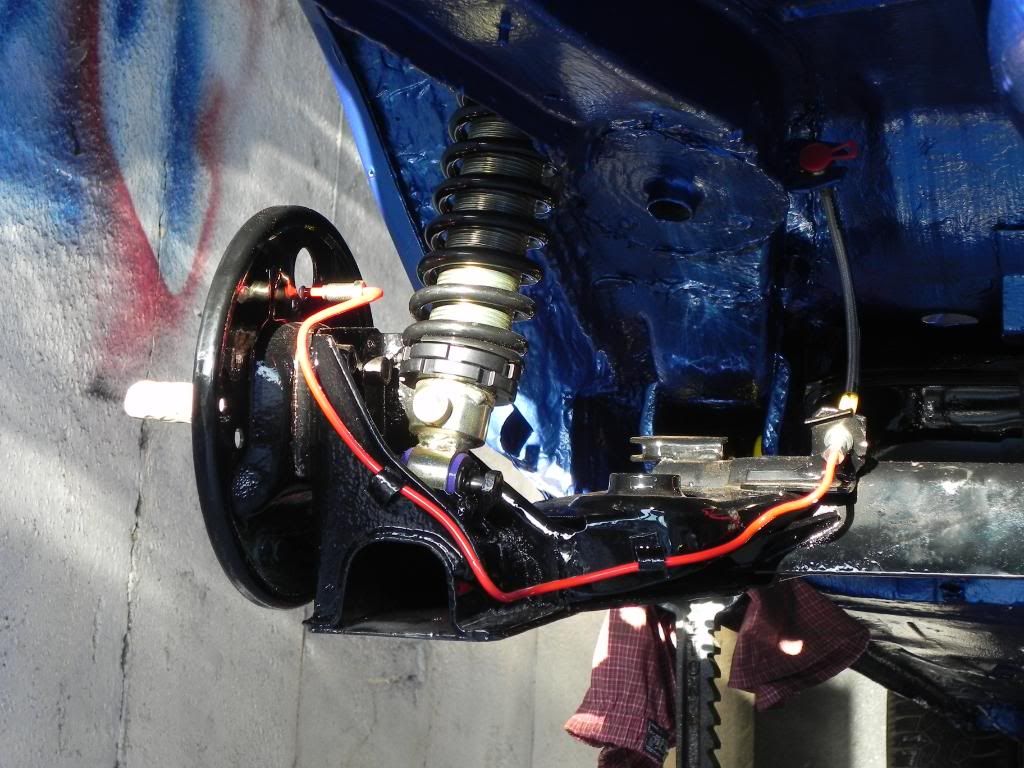
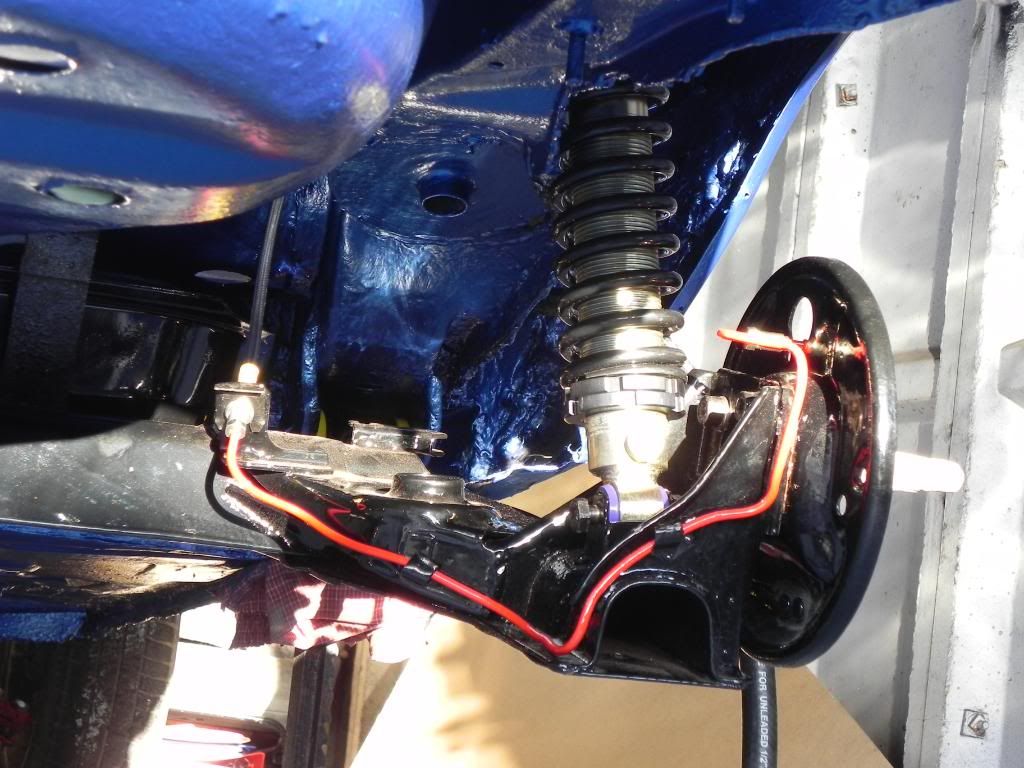
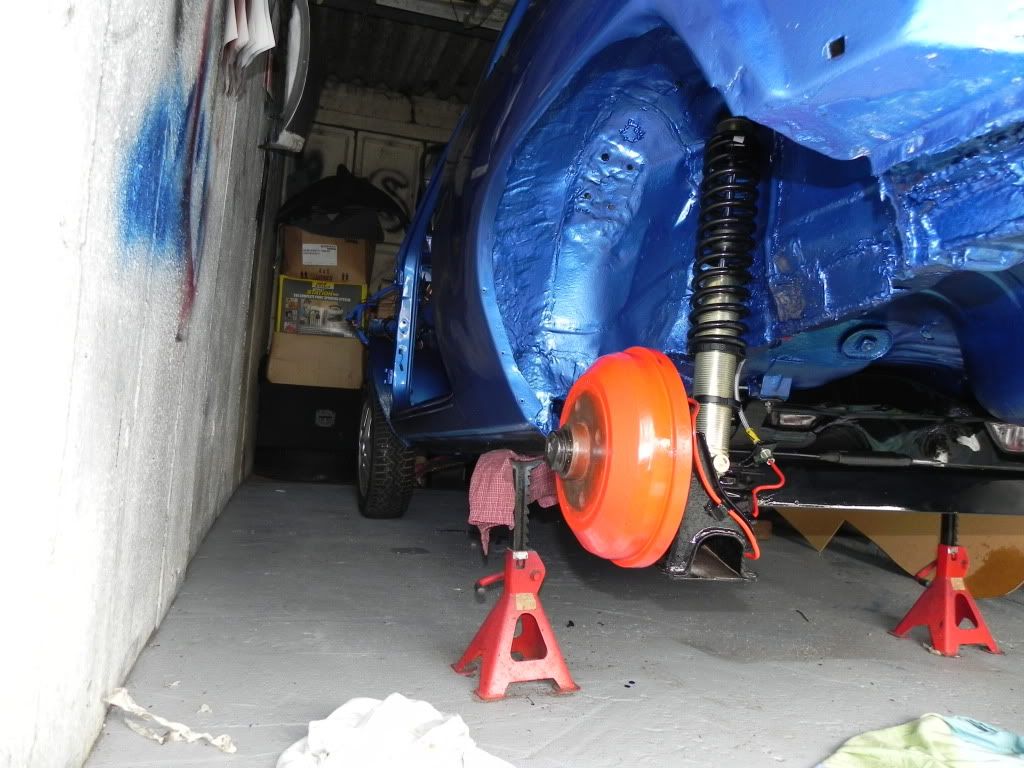
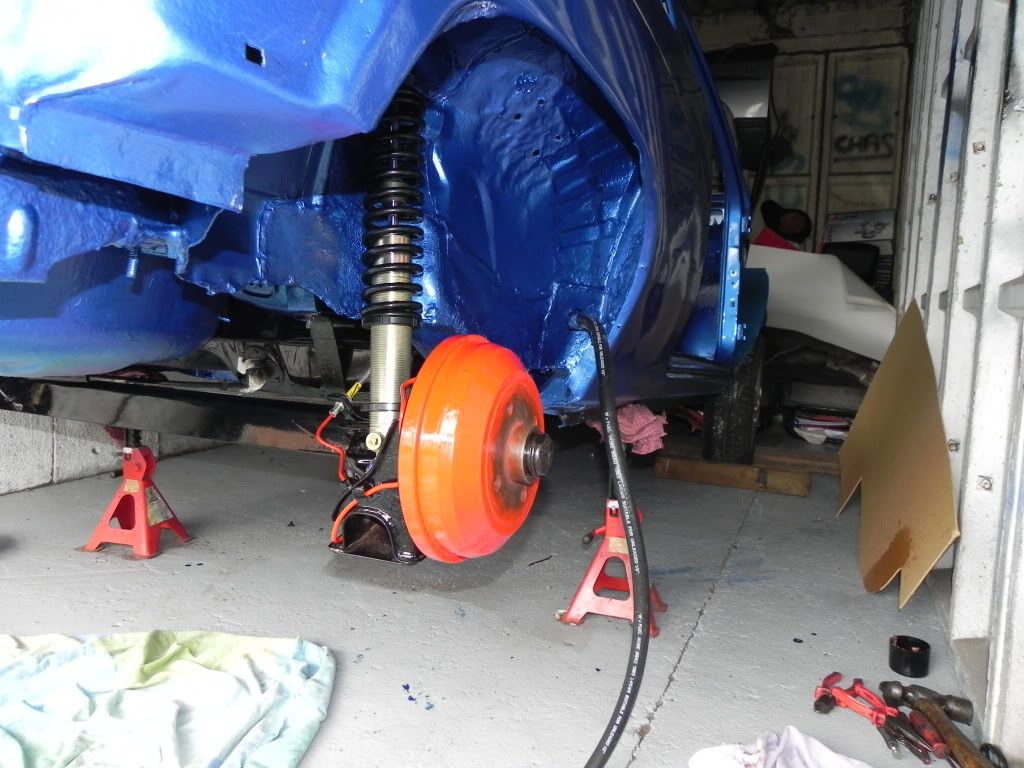
Offered the coilovers up to see if they fitted….guess what?? They didn’t. id like to say I had to massage the body work in, but that would be a lie. I beat the shxt out of it to make them fit. Only to realise that once the beam is in the correct sitting postion, the coilovers move outwards creating more of a gap between the body.
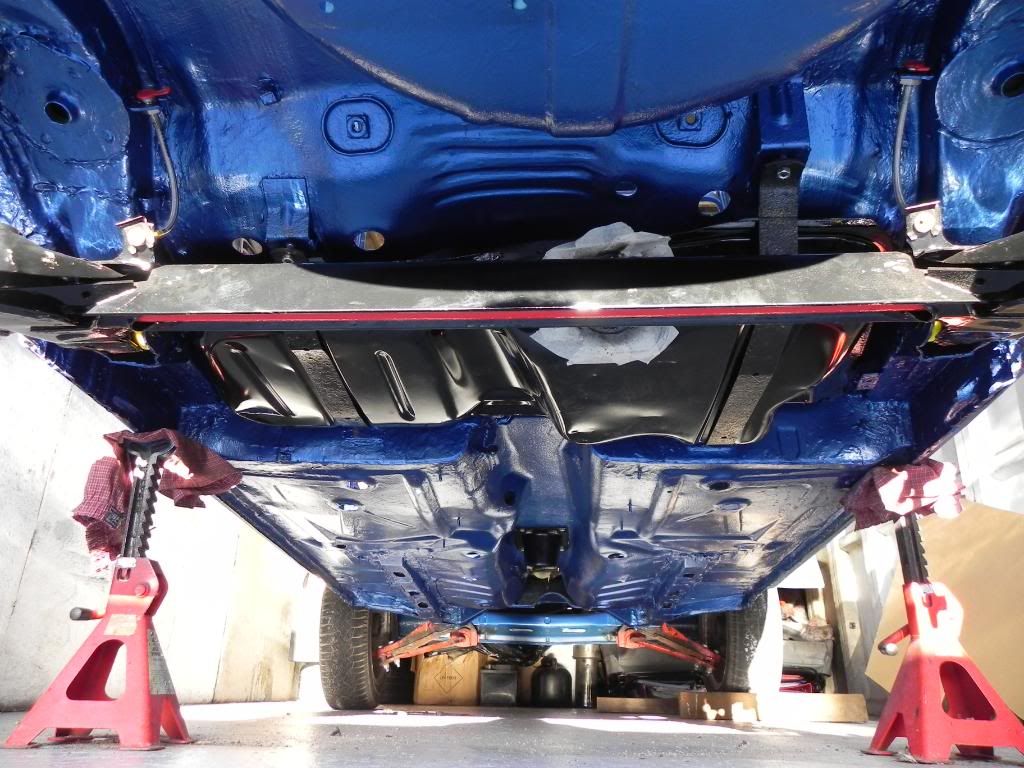
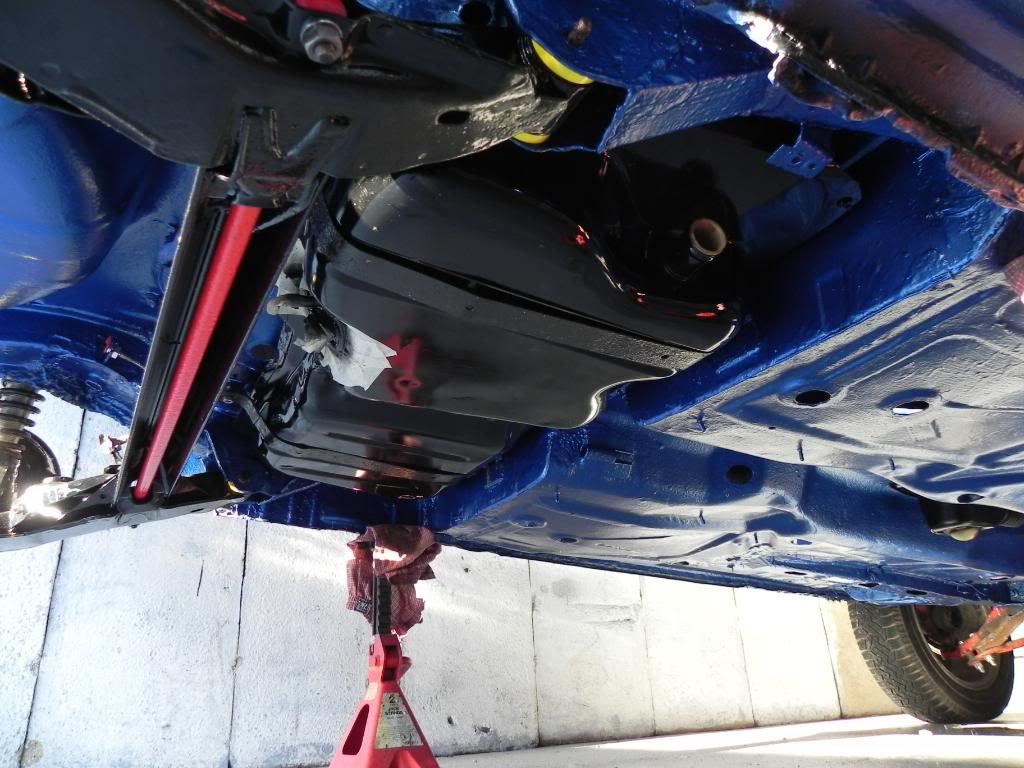
Back to the fuel tank now, got it up on the jack so I could position it right, fed the brather hose though the chassis leg and into the arch. Swung the straps around the tank and bolted it up.
Ill start sorting out the filler neck this week coming
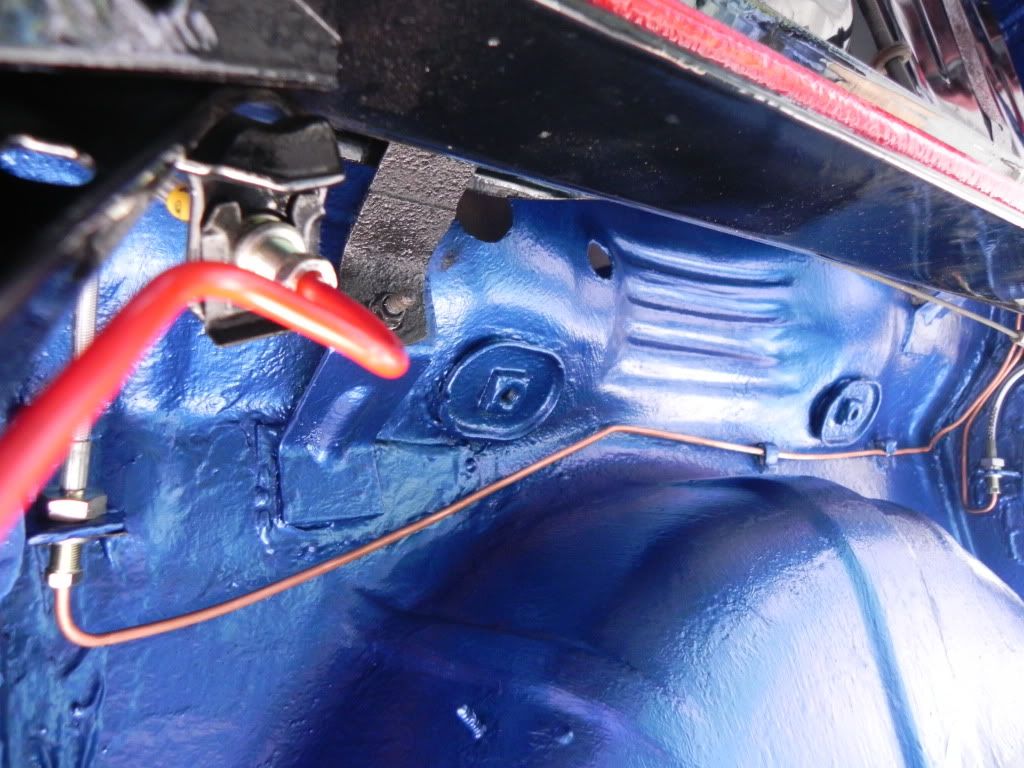
As I don’t want the brake pipes ive made to go a funny colour or the nuts to corrode onto the copper pipe, I decided to paint them. Thought red was most suitable as that’s the accent colour for the car. Think they look rather good tbh.
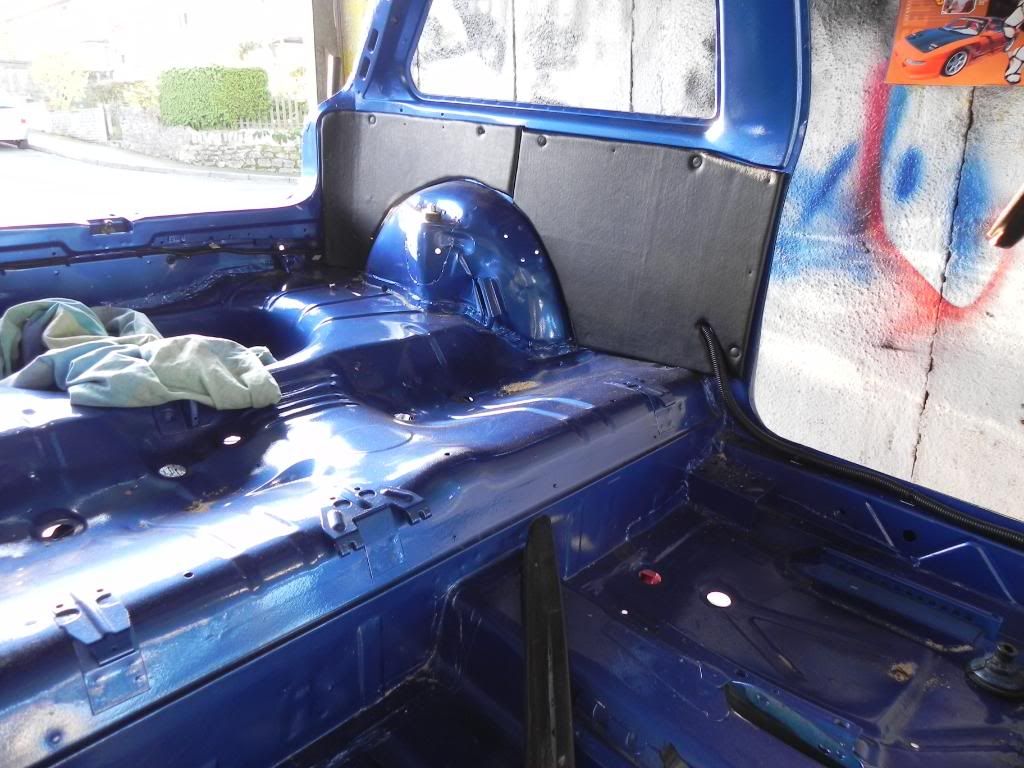
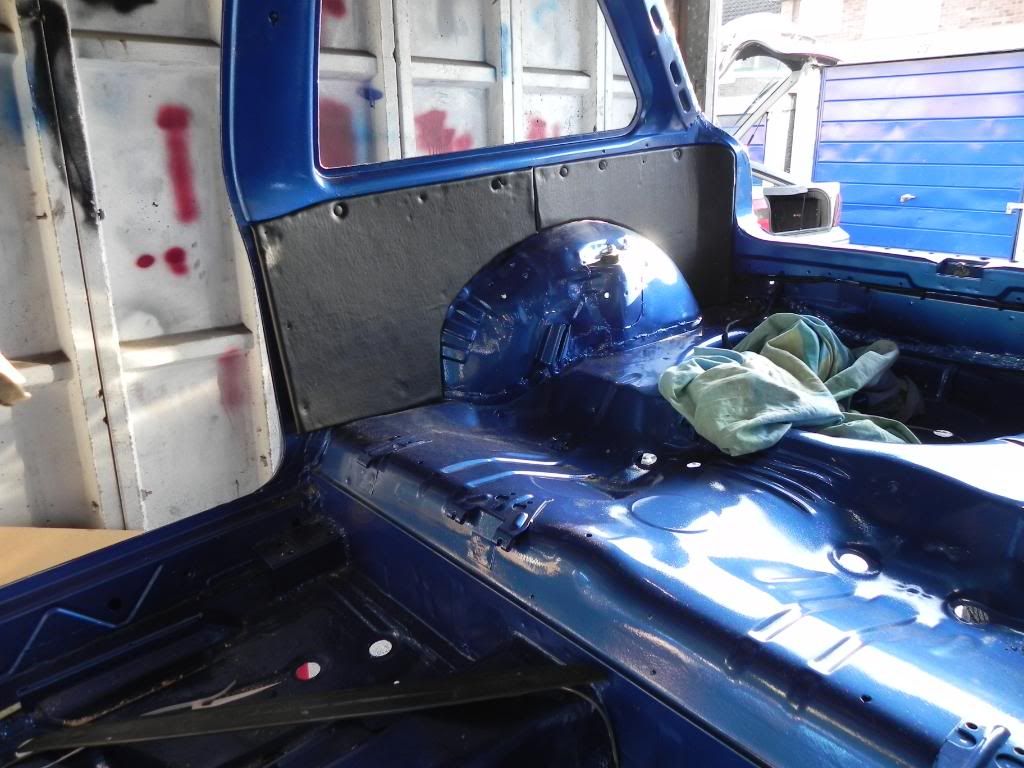
Heres a couple daylight pics of the rear panels I made, the other pics were rather useless.
Thanks all for looking.
bruce

Looks minty fresh that bruce well done mate.
Keep it up.
Top work Bruce. loving the red brake lines

Under side looks good dude.
All I wanted was a Pepsi, just one PepsiFar from suicidalStill I get them tendenciesBringing back them memories
That I really miss when I reminisce
Mate, what is the internal diameter of the little tiny breather hose next to the larger one? My one has cracked and is in three pieces, need to get a new one.Originally Posted by brucer
Great work as per usual
thanks for all the comments
afaik tek its 5mm, i might be wrong though.

Mate gutted you beat the inner arches! i did this very same mistake on my old GSi to then reallies that they moved out wards when the cars back on the deck, they do touch when the inners when the beams fully dropped/car jacked off the floor etc..
BUT apart from that mate it's looking really nice and clean..
Scott
Apache Orange OPC Corsa A | 1986 Jamaica Yellow 1.2L||GSi SALE PARTS / SRi PARTS / XE PARTS|Buyer/seller,feedback:
thanks scott, was a real bummer. have gave the arches another lick of paint so they look the same as they did...kind of.
update
had a couple days off last week so got a little bit more done.
got the shoes,drums and hand brake cables back on. all lubricated where necessary and adjusted correctly. i painted the yoke on the which join both h.brake cables together as that was rusty as a mo fo.
i made a move on with the rest of the brake pipes, flared the ends and routed them in the original clips. still yet to paint them as i got sort out the one niggle where the one comes across. will get that done at some point. drilled the holes for the male joiners to go through into the car. gave each drilled hole a dab of paint so it dont rust.
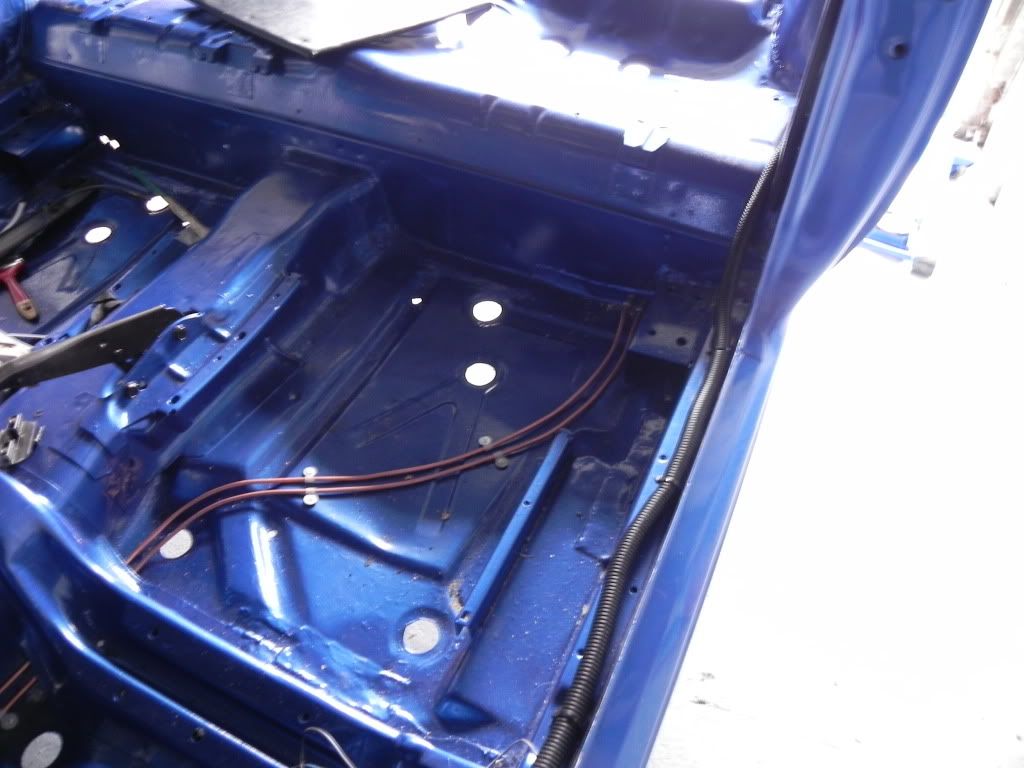
moving further into the car, made up 2 more pipes with female ends and routed them carfully on the floor pan and up on the exhaust tunnel. both come out into the engine bay just below the brake servo. i riveted the pipes down using 'p' clips and aluminium rivets.
was going to make a start on the fuel pipes coming through the car but i couldnt decide where i wanted them to come out into the engine bay.
that will be this weeks progress if i get time to myself.
bruce
Posting Permissions

 Reply With Quote